


Table of Contents Show
Fall is full of color, crunchy leaves, and big feelings—especially when little hands want to “make something” but you’re low on time and supplies. These scarecrow crafts look charming on a shelf or bulletin board, yet they’re simple enough for preschoolers to handle with minimal help.
We’ll use easy shapes, peel-and-stick pieces, and everyday items to create projects that feel exciting and achievable.
Pick a few favorites, set out the basics, and enjoy a calm, happy craft time with big, proud smiles at the end.
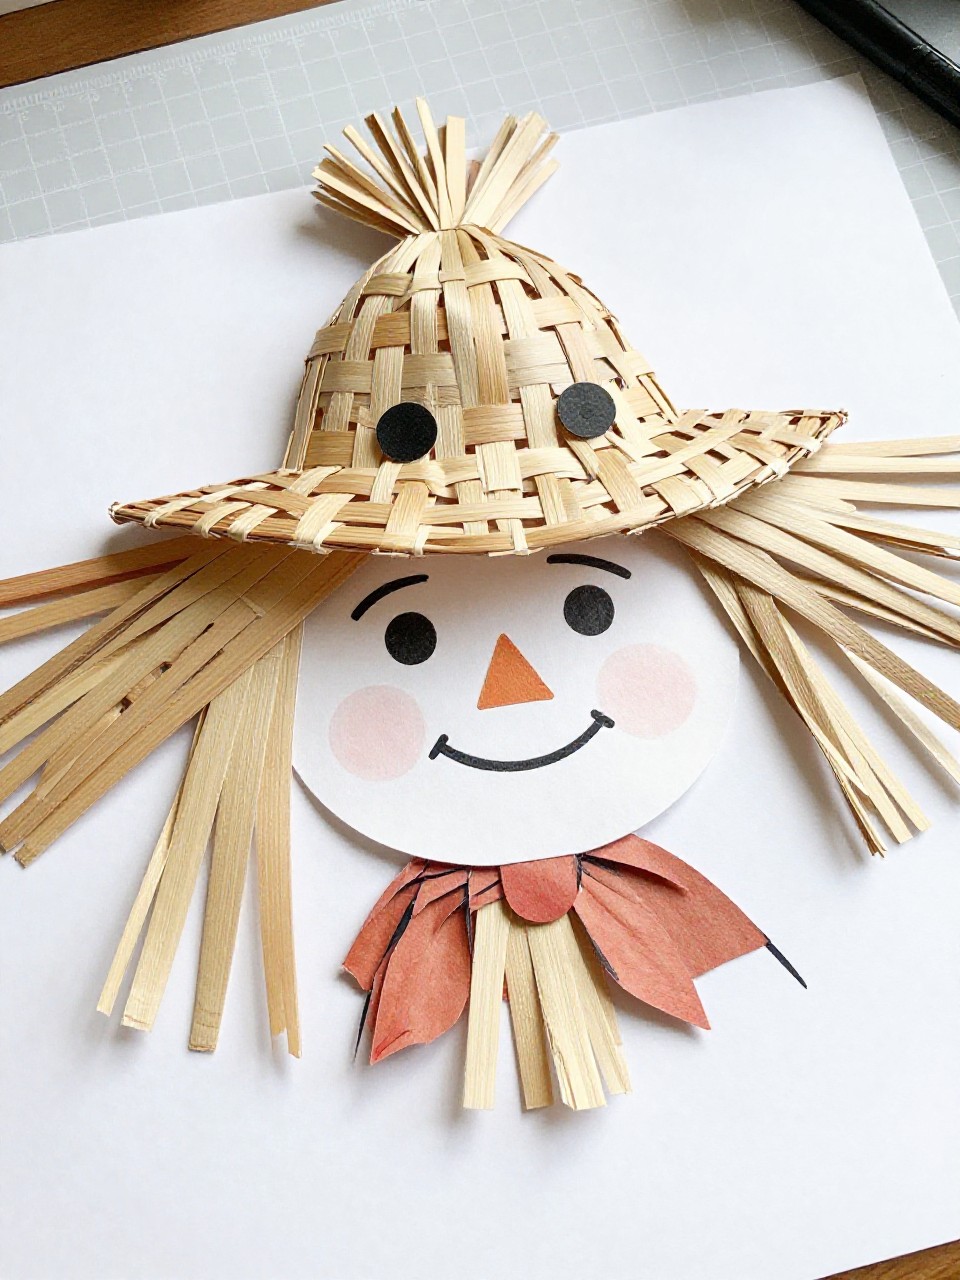
1. Paper Plate Patchwork Scarecrow
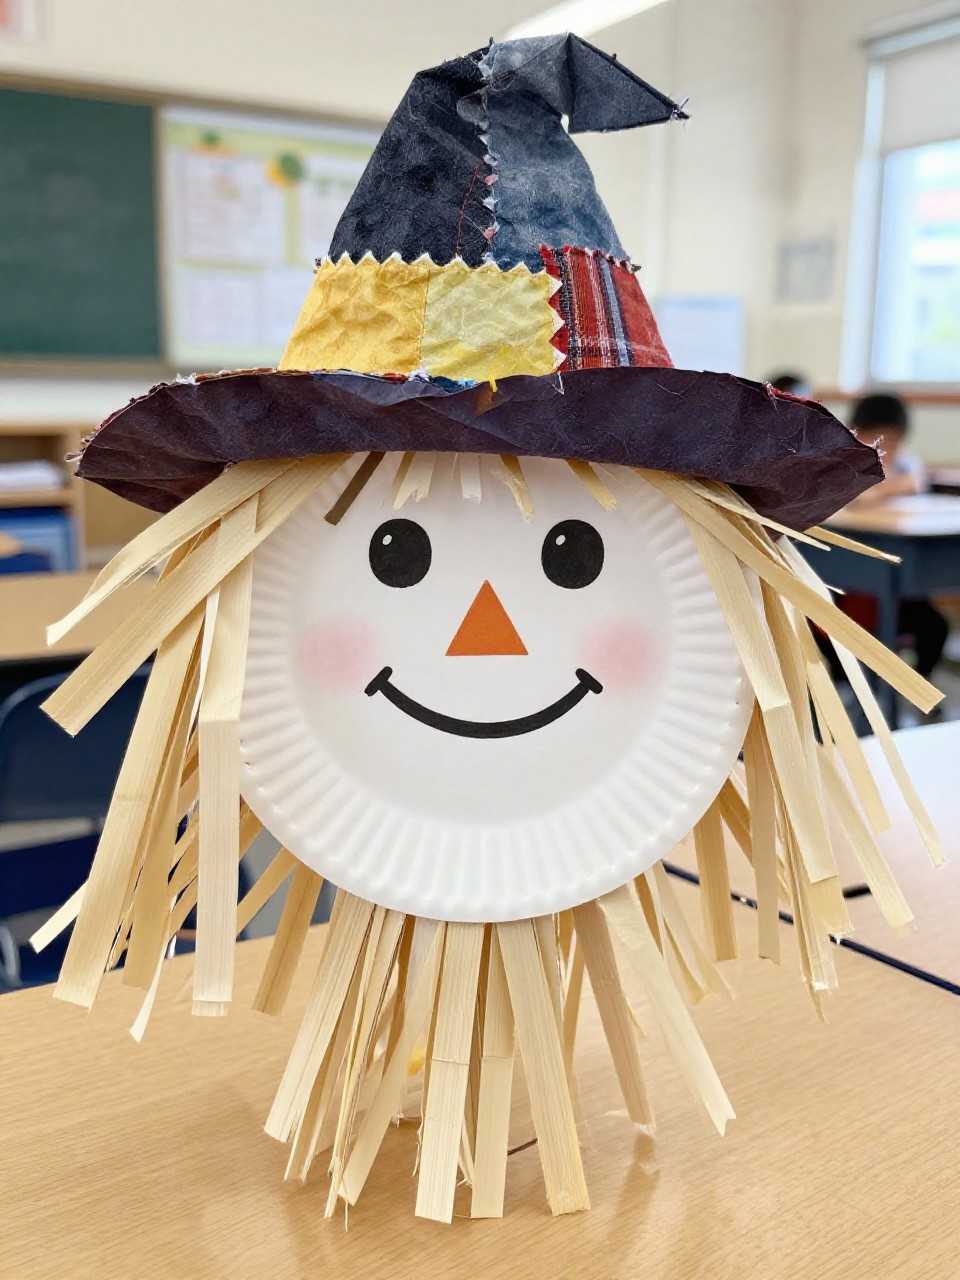
A cheerful face framed by a “straw” brim makes this craft an instant classroom favorite. The patchy hat gives it a cozy, homespun look, and kids love choosing the hat colors.
Materials Needed:
For People Who Love to Make Things ✂️
- Paper plate
- Construction paper scraps
- Yellow tissue paper or raffia
How to make it:
- 1. Color the paper plate peach or leave it white for the face.
- 2. Cut a big hat shape from construction paper; add small scrap “patches.”
- 3. Glue the hat on top of the plate and tuck tissue paper/raffia under the brim for straw hair.
- 4. Draw eyes, a triangle nose, and a stitched smile.
2. Popsicle Stick Mini Scarecrow Magnet
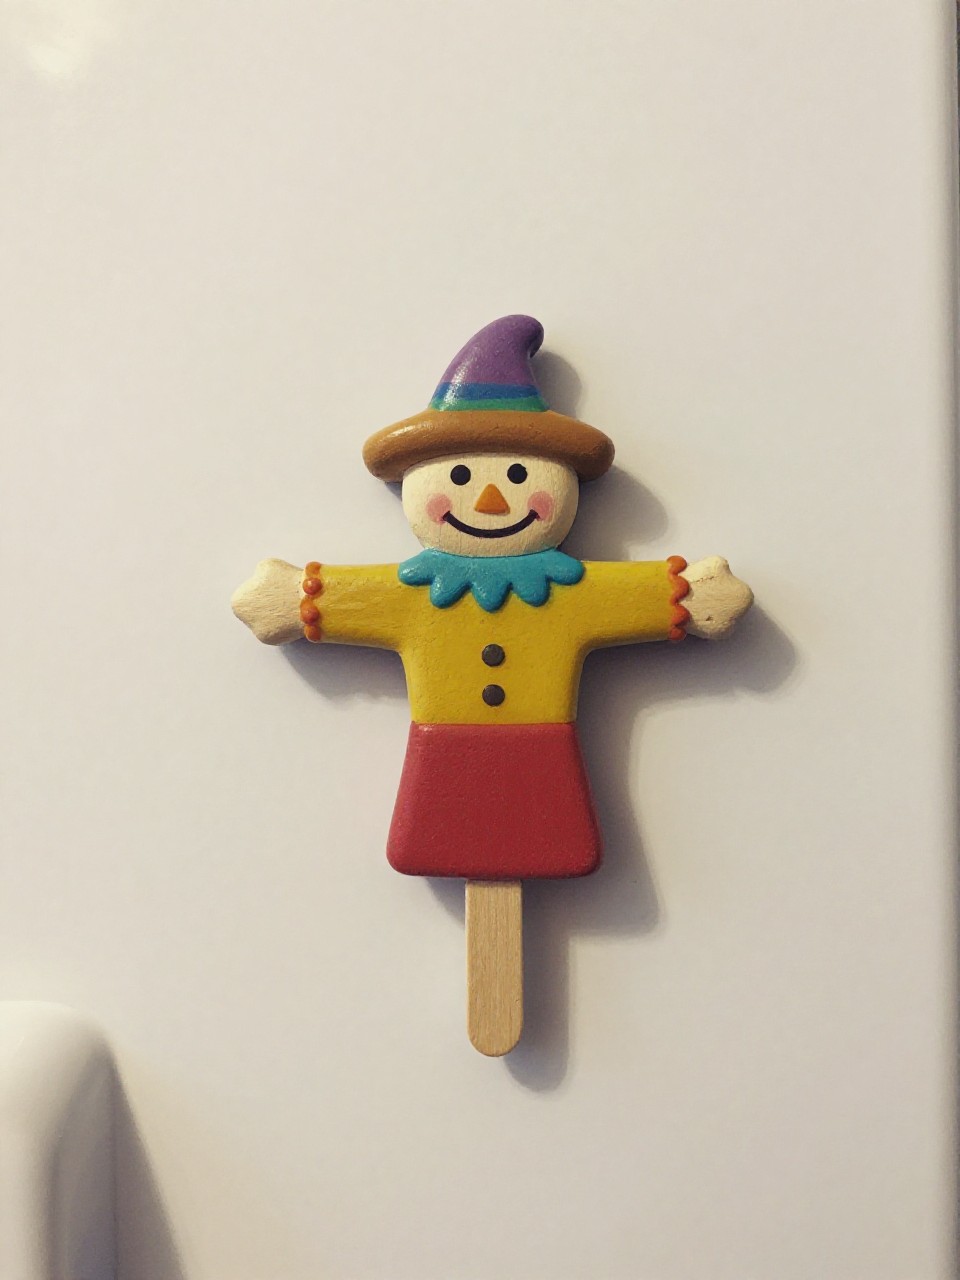
This tiny scarecrow looks like a wooden doodle and feels sturdy in little hands. The simple stick base keeps everything straight and neat.
Materials Needed:
- Craft sticks
- Glue stick or school glue
- Markers or crayons
How to make it:
- 1. Line up five craft sticks side by side; glue one across the top as the hat brim.
- 2. Color the top area like a hat and the bottom like a face.
- 3. Add eyes, a triangle nose, and stitch marks with markers.
- 4. Glue a small magnet strip on the back.
3. Coffee Filter Tie-Dye Scarecrow
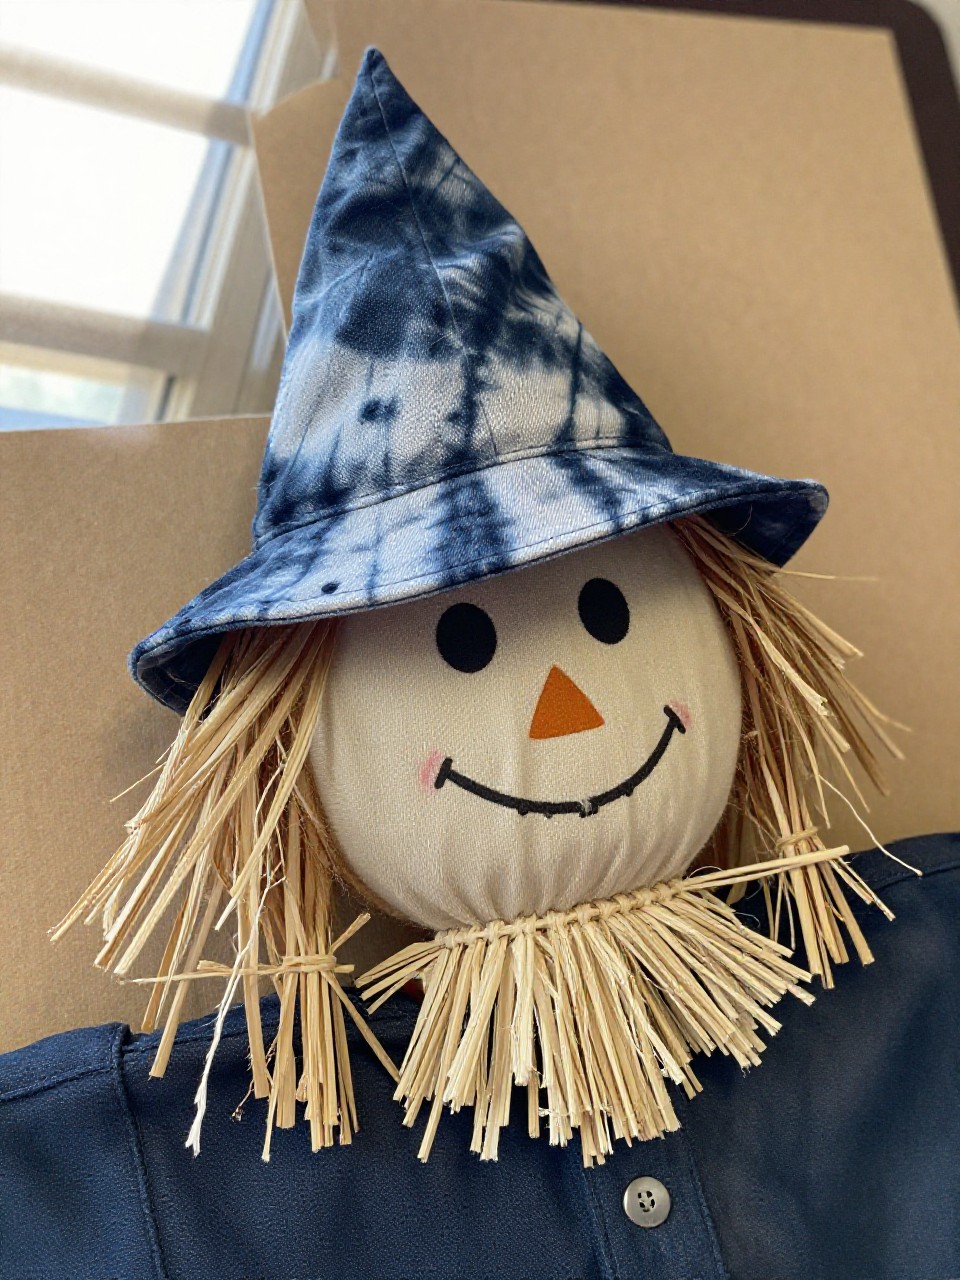
Soft watercolor blends make the hat and hair look dreamy and artistic. Kids feel like real artists while the coffee filter does the magic.
Materials Needed:
- Coffee filters
- Washable markers
- Spray bottle with water
How to make it:
- 1. Flatten two coffee filters; color with washable markers in fall tones.
- 2. Lightly mist with water to blend; let dry.
- 3. Use one filter as the hat (folded) and cut fringes from the other for hair.
- 4. Glue onto a small paper face and draw features.
4. Brown Bag Puppet Scarecrow

This classic puppet turns story time into a show. The big flap becomes a mouth kids can make “talk.”
Materials Needed:
- Paper lunch bag
- Construction paper
- Raffia or shredded paper
How to make it:
- 1. Place the bag flap-down for the face area.
- 2. Cut a hat, nose, and patches from construction paper.
- 3. Glue on the hat and tuck raffia under edges for hair.
- 4. Draw eyes and a stitched smile on the flap.
5. Shape Collage Scarecrow Face
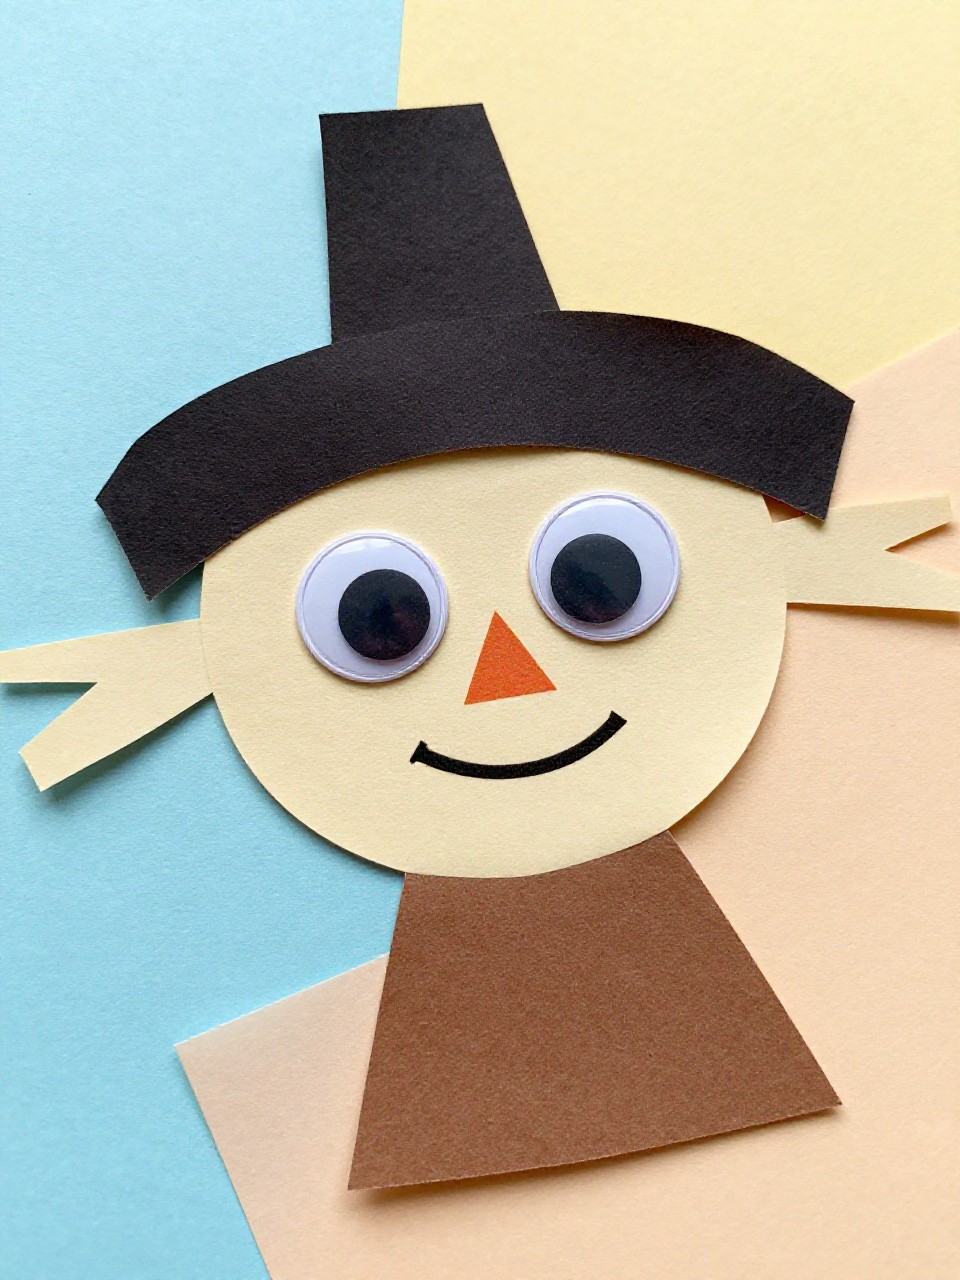
Simple shapes make this craft tidy and confidence-boosting. Circles, triangles, and rectangles come together like a friendly puzzle.
Materials Needed:
- Pre-cut paper shapes
- Glue stick
- Googly eyes
How to make it:
- 1. Glue a large circle for the face to a background sheet.
- 2. Add a rectangle brim and trapezoid hat top.
- 3. Stick on googly eyes and a triangle nose.
- 4. Draw a stitched smile and add tiny square patches.
6. Yarn Hair Clothespin Scarecrow Clip
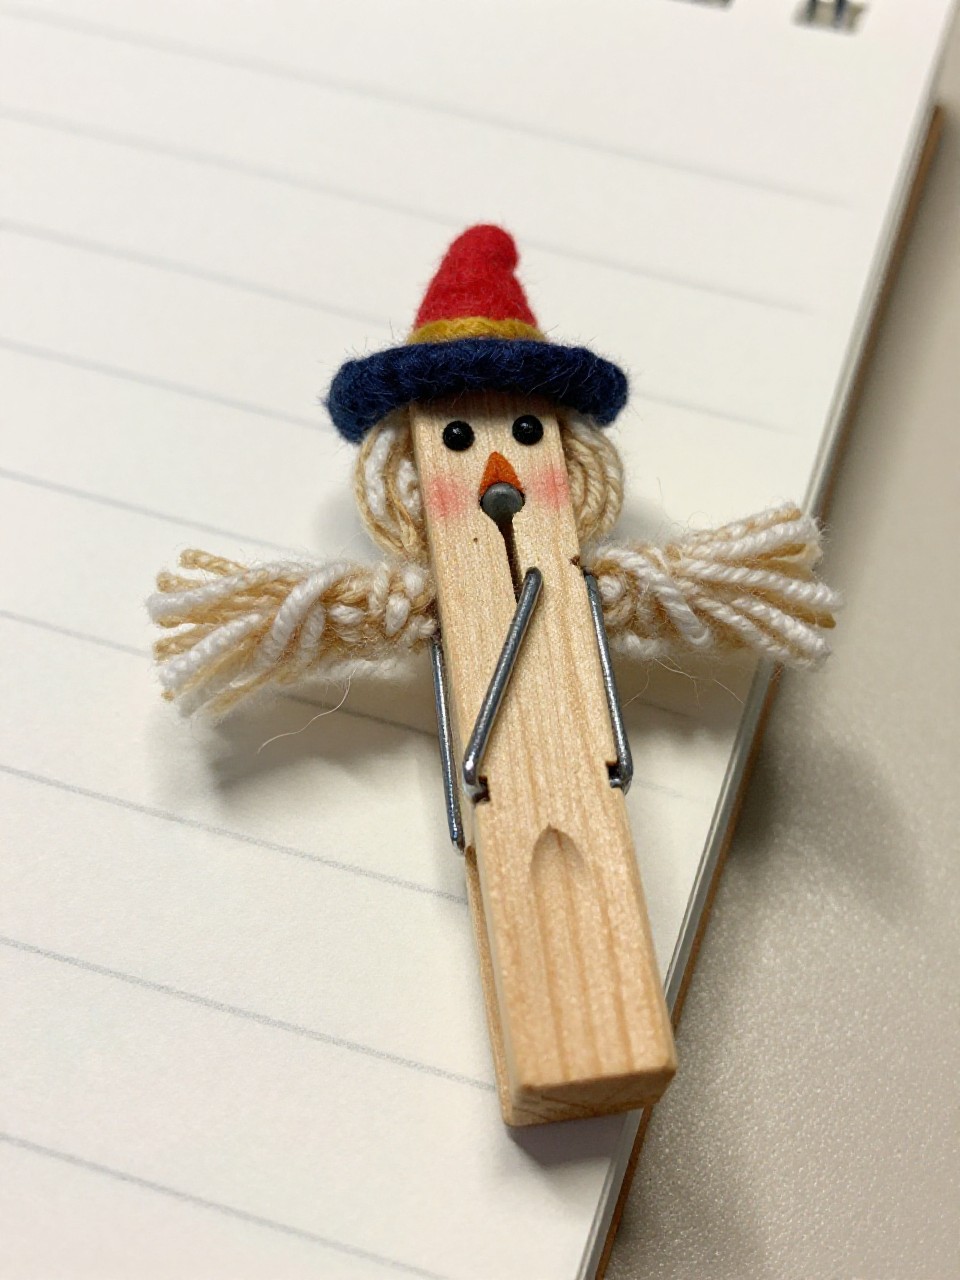
This sweet clip can hold notes or art. The chunky yarn hair and tiny hat make it irresistibly cute.
Materials Needed:
- Wooden clothespin
- Yarn scraps
- Felt or paper for hat
How to make it:
- 1. Wrap yarn around fingers, slide off, and tie in the middle to make a small bundle.
- 2. Glue the yarn bundle to the top of the clothespin as hair.
- 3. Cut a tiny hat from felt or paper and glue above the hair.
- 4. Draw a mini face on the pin with a fine-tip marker.
7. Paper Strip Weaving Scarecrow Hat
Weaving feels like a game and makes hats look fancy with very little effort. The result is textured and colorful.
Materials Needed:
- Construction paper
- Safety scissors
- Glue stick
How to make it:
- 1. Cut a rectangle “loom” and slice slits across it (adult helps).
- 2. Weave paper strips over-under through the slits to make a hat panel.
- 3. Trim edges and add a brim strip at the bottom.
- 4. Glue the finished hat to a paper face and draw features.
8. Sponge-Stamped Patchwork Scarecrow
Stamping patches makes a bold, quilted look. Little dabs become patterns and textures in seconds.
Materials Needed:
- Small sponge pieces
- Washable paint
- Cardstock
How to make it:
- 1. Cut a large hat and face shape from cardstock and glue to a background.
- 2. Dip sponge squares into paint and stamp patch shapes on the hat.
- 3. Add “stitch” lines with a marker around patches.
- 4. Draw or glue on face pieces.
9. Leaf Hair Nature Scarecrow
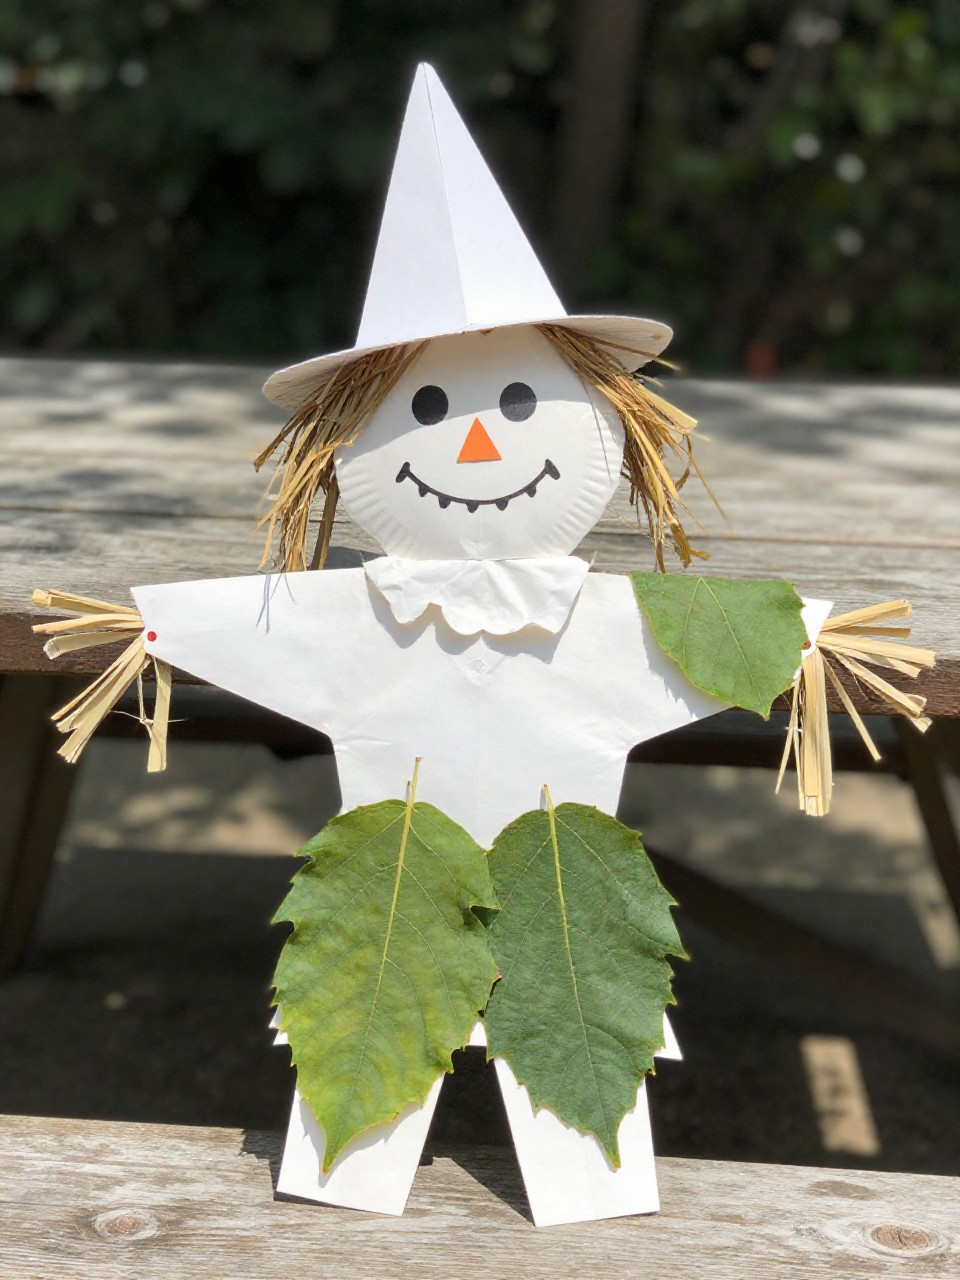
Real leaves turn this into a seasonal showstopper. The textures and colors do all the work.
Materials Needed:
- Collected leaves
- Paper plate
- Glue
How to make it:
- 1. Draw or paint a simple face on the paper plate.
- 2. Arrange and glue leaves around the top edge for hair.
- 3. Add a paper hat slightly tilted over the leaves.
- 4. Finish with a triangle nose and stitched smile.
10. Cupcake Liner Scarecrow Rosette
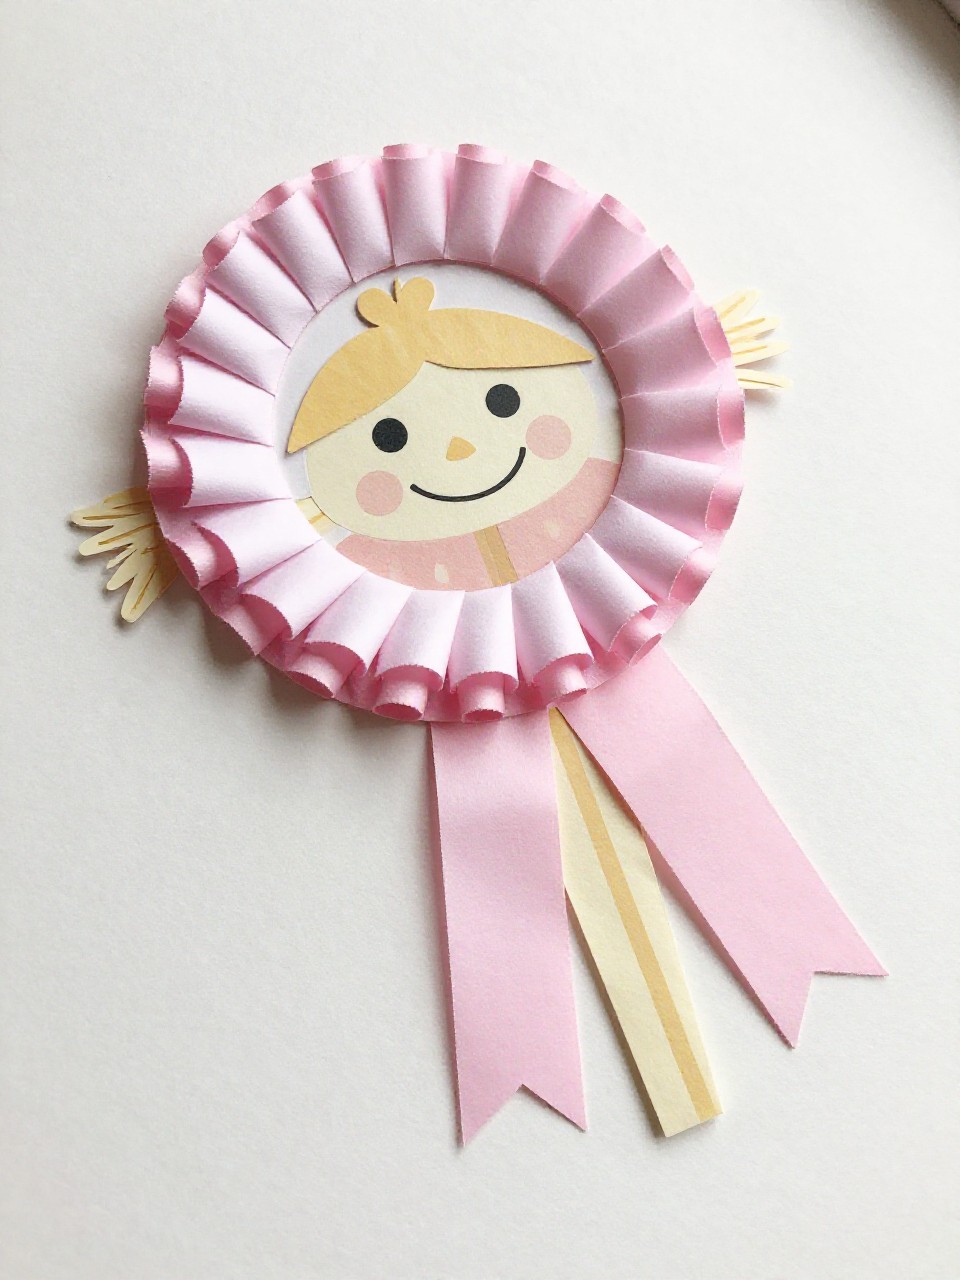
The crinkly liner becomes a sweet ruffled collar or hat detail. This craft looks boutique but is super quick.
Materials Needed:
- Cupcake liners
- Construction paper
- Markers
How to make it:
- 1. Flatten a cupcake liner and glue as a ruffled collar under a paper face circle.
- 2. Add a paper hat on top; fold a mini liner as a hat band accent.
- 3. Draw eyes, nose, and stitches.
- 4. Optional: Add a safety pin on back to wear as a badge (adult help).
11. Envelope Flap Scarecrow Card

Use a plain envelope to make a peek-a-boo card. The flap becomes a surprising, liftable hat brim.
Materials Needed:
- Plain envelope
- Crayons or markers
- Scrap paper
How to make it:
- 1. Seal the envelope and turn it so the flap opens downward like a brim.
- 2. Draw a scarecrow face on the body of the envelope.
- 3. Color the flap as the hat brim and glue a hat top from scrap paper above it.
- 4. Add a message inside the flap: “Hello, Fall!”
12. Button-Eye Burlap Scarecrow Patch
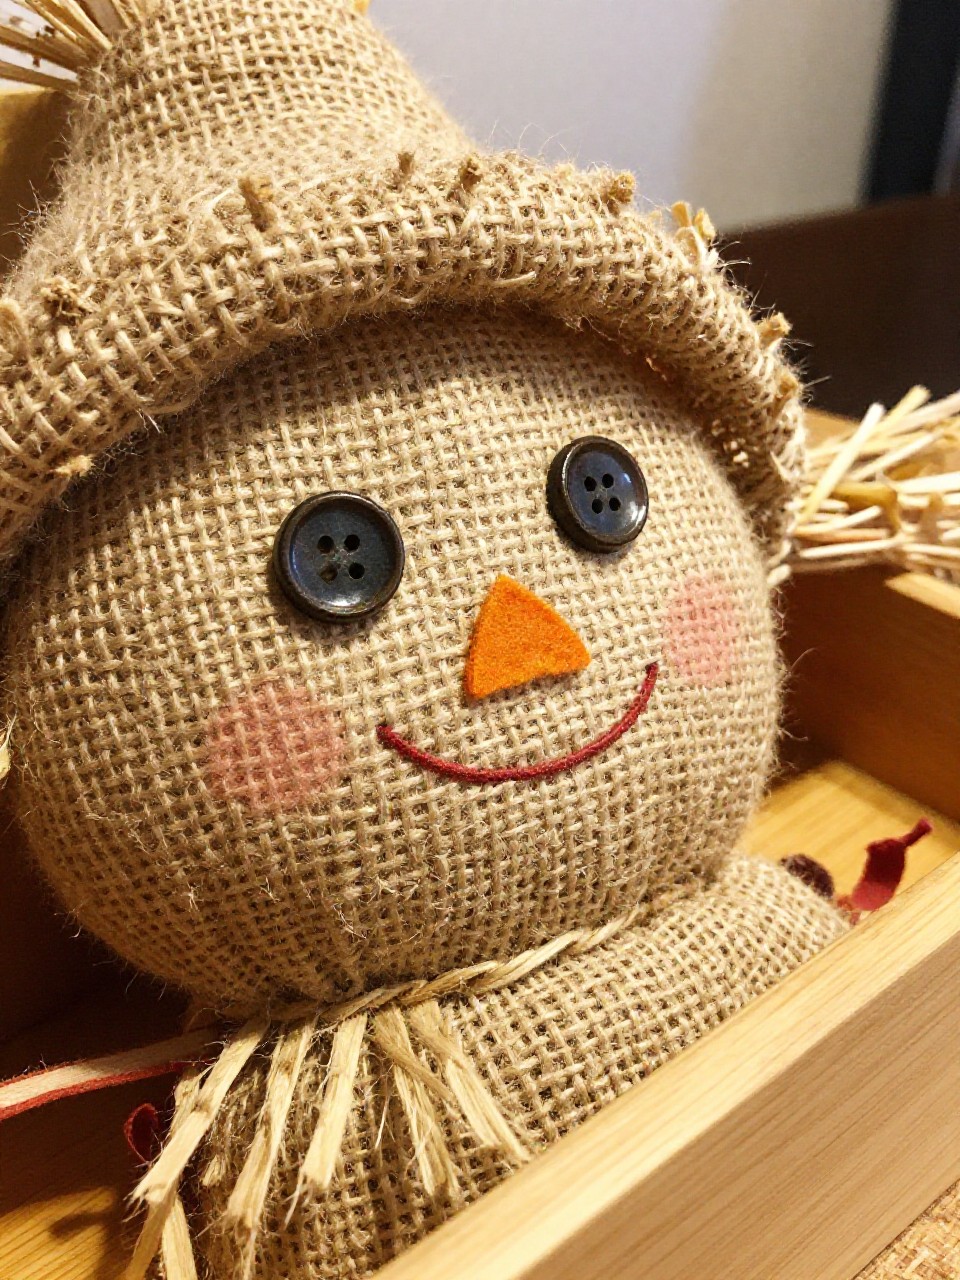
A tiny burlap square feels rustic and tactile. Button eyes add charm and help fine-motor skills.
Materials Needed:
- Small burlap square
- Buttons
- Craft glue
How to make it:
- 1. Glue two buttons as eyes on the burlap square.
- 2. Cut and glue a small felt triangle for a nose.
- 3. Draw a stitched smile with a fabric marker or pen.
- 4. Glue a mini paper hat above the face; trim frayed edges if needed.
13. Shape-Stack Stick Puppet Scarecrow
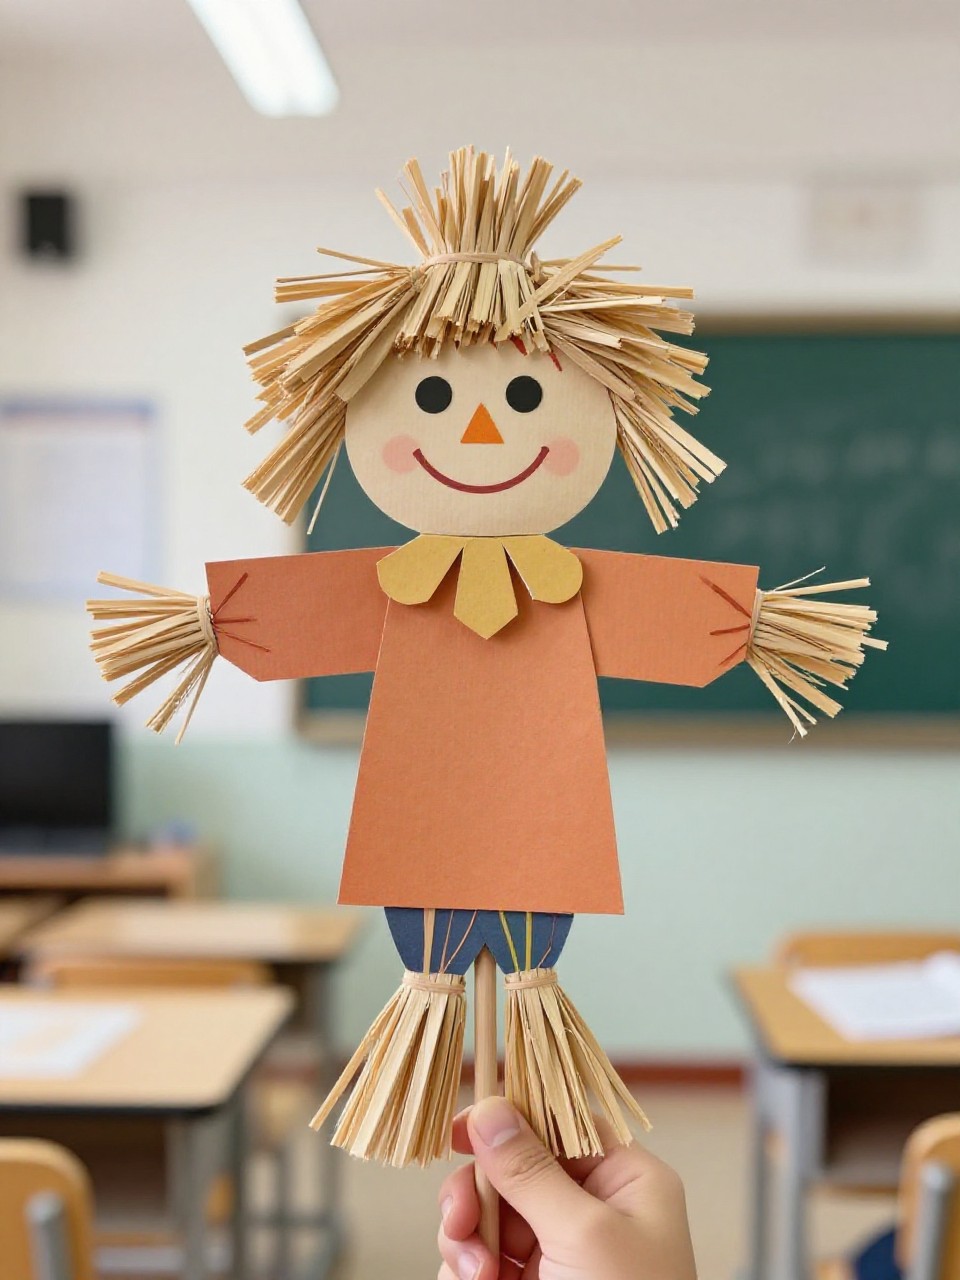
Layered shapes turn into a puppet ready for songs and circle time. The stick handle makes it easy for little hands.
Materials Needed:
- Jumbo craft stick
- Pre-cut paper shapes
- Glue stick
How to make it:
- 1. Glue a circle face near the top of the stick.
- 2. Add a rectangle shirt and triangle hat.
- 3. Tuck thin paper strips behind the face for straw hair.
- 4. Draw features and tiny patch details.
14. Fingerprint Patch Scarecrow
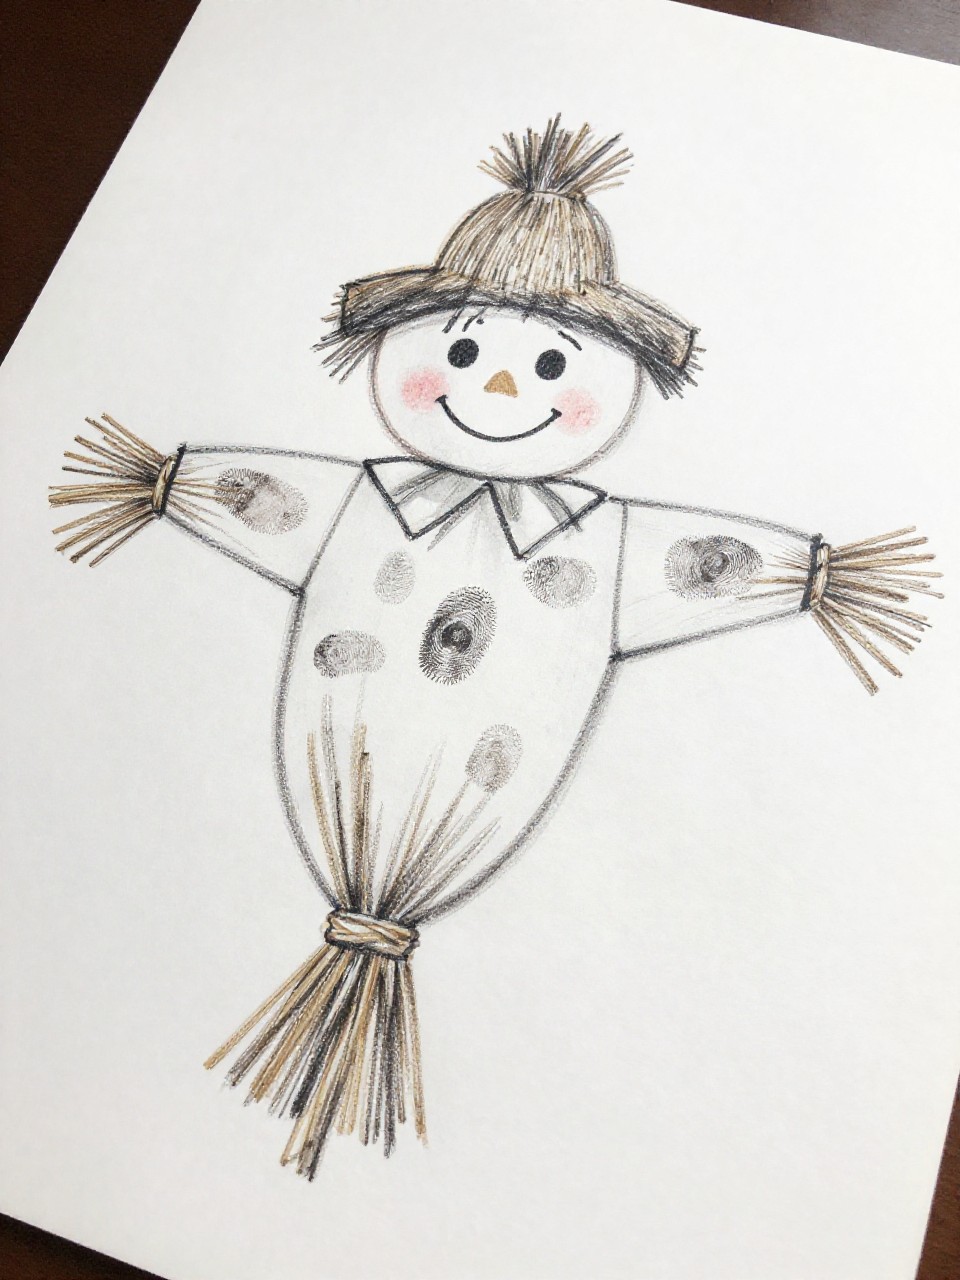
Tiny prints become colorful patches and rosy cheeks. It’s personal and adorable every time.
Materials Needed:
- Washable ink pads or paint
- Cardstock
- Black marker
How to make it:
- 1. Draw a simple scarecrow face and hat outline on cardstock.
- 2. Press fingertips into ink or paint and dot inside the hat as patch “fabric.”
- 3. Add two light pink fingerprints for cheeks.
- 4. Outline a few stitches with the black marker.
15. Tissue Box Scarecrow Cube
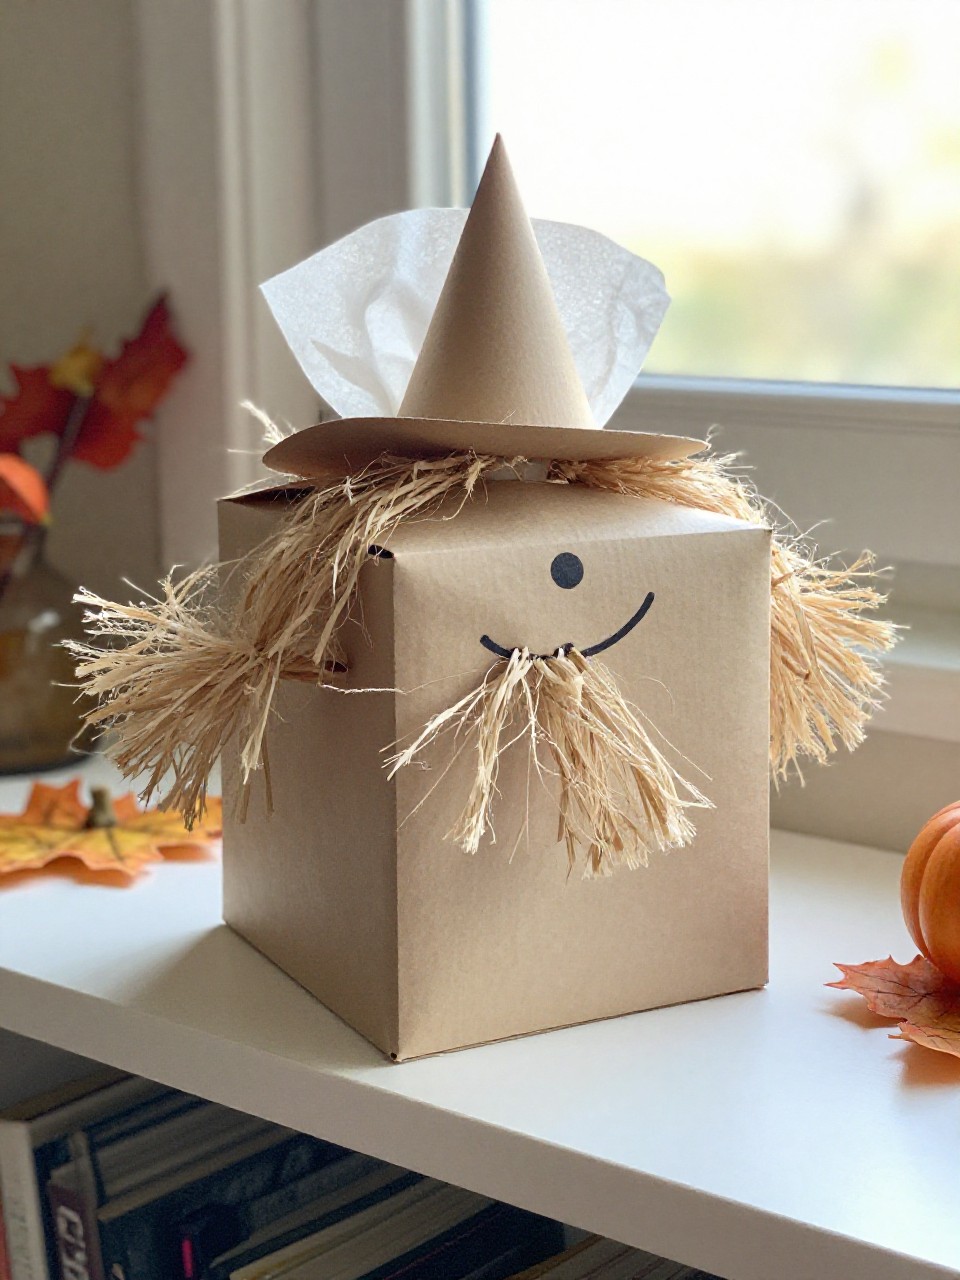
Turn an empty tissue box into a sturdy 3D friend. The open top becomes a perfect hat brim ledge.
Materials Needed:
- Empty tissue box
- Construction paper
- Raffia or paper shred
How to make it:
- 1. Wrap the box with paper for the face color.
- 2. Glue on eyes, nose, and a smile.
- 3. Add raffia around the top opening as hair.
- 4. Build a paper hat top and brim to sit over the opening.
16. Sticker Story Scarecrow Scene
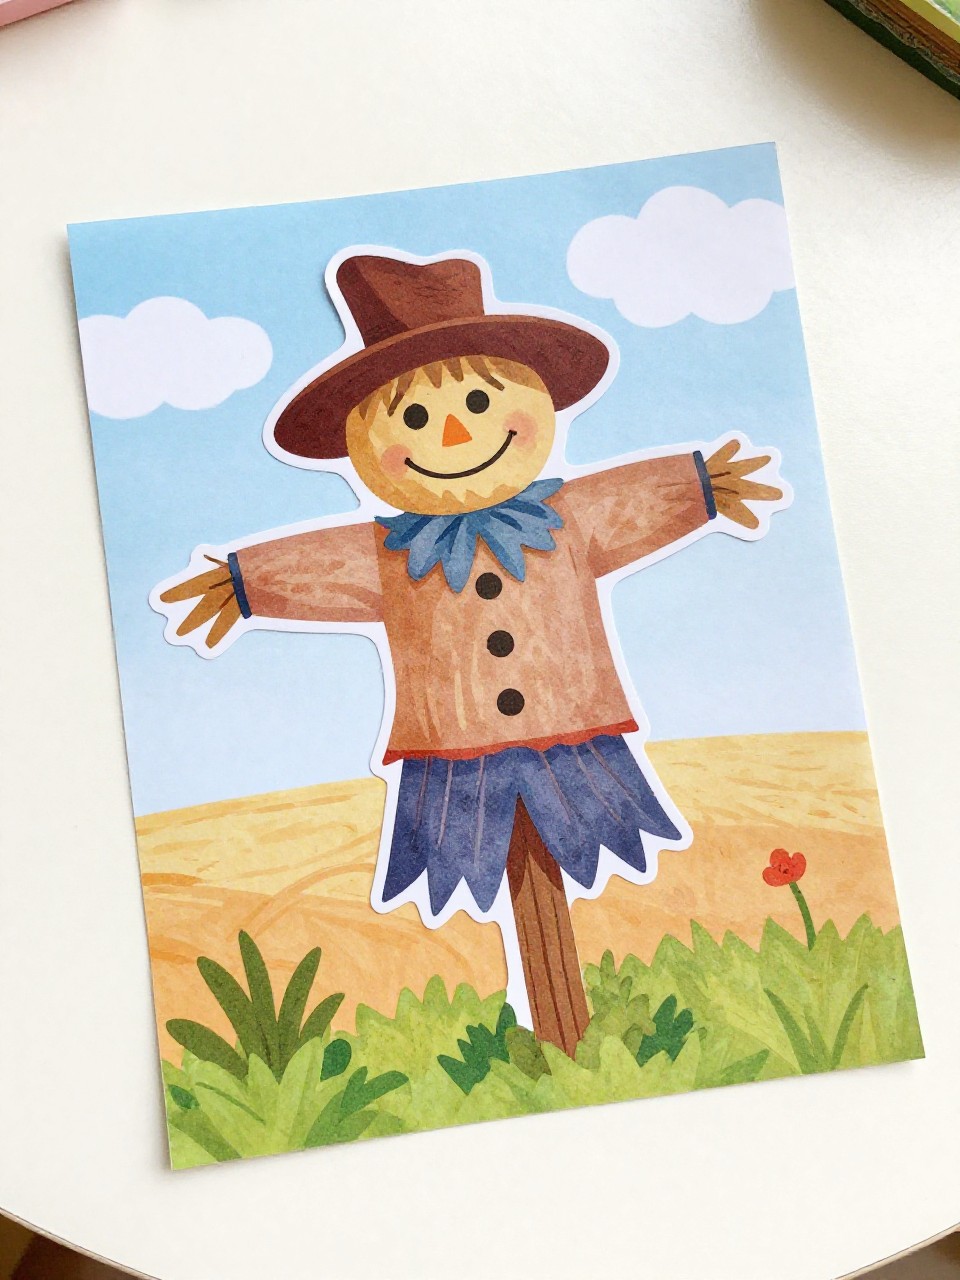
A full mini scene makes kids feel like set designers. Using stickers keeps it clean and quick.
Materials Needed:
- Fall-themed stickers
- Blue and green construction paper
- Crayons
How to make it:
- 1. Glue blue paper (sky) on top of green paper (field).
- 2. Build a scarecrow with simple sticker shapes or cut-paper pieces.
- 3. Add hay bales, crows, and sun stickers to tell a story.
- 4. Draw little stitch lines and grass for extra detail.


