


Table of Contents Show
Double Z fold cards are one of my go-to “wow” cards when I want something that looks fancy, but is still easy to make at home. The best part is that they pop open in a fun way, stand up nicely for display, and you can switch the theme for any event.
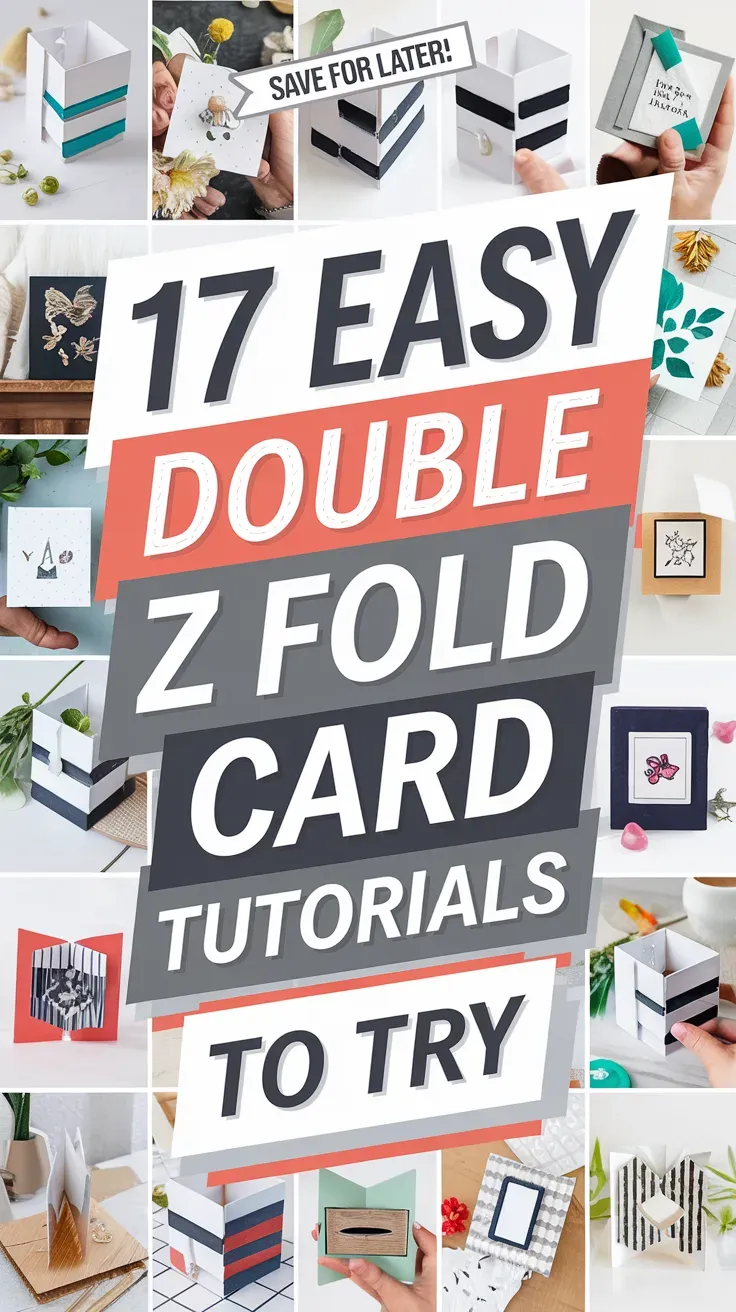
In this list, I’m sharing easy Double Z fold card tutorials you can copy, tweak, and make your own, even if you’re still getting comfortable with paper crafting.
1. Blush Floral Double Z Fold Card
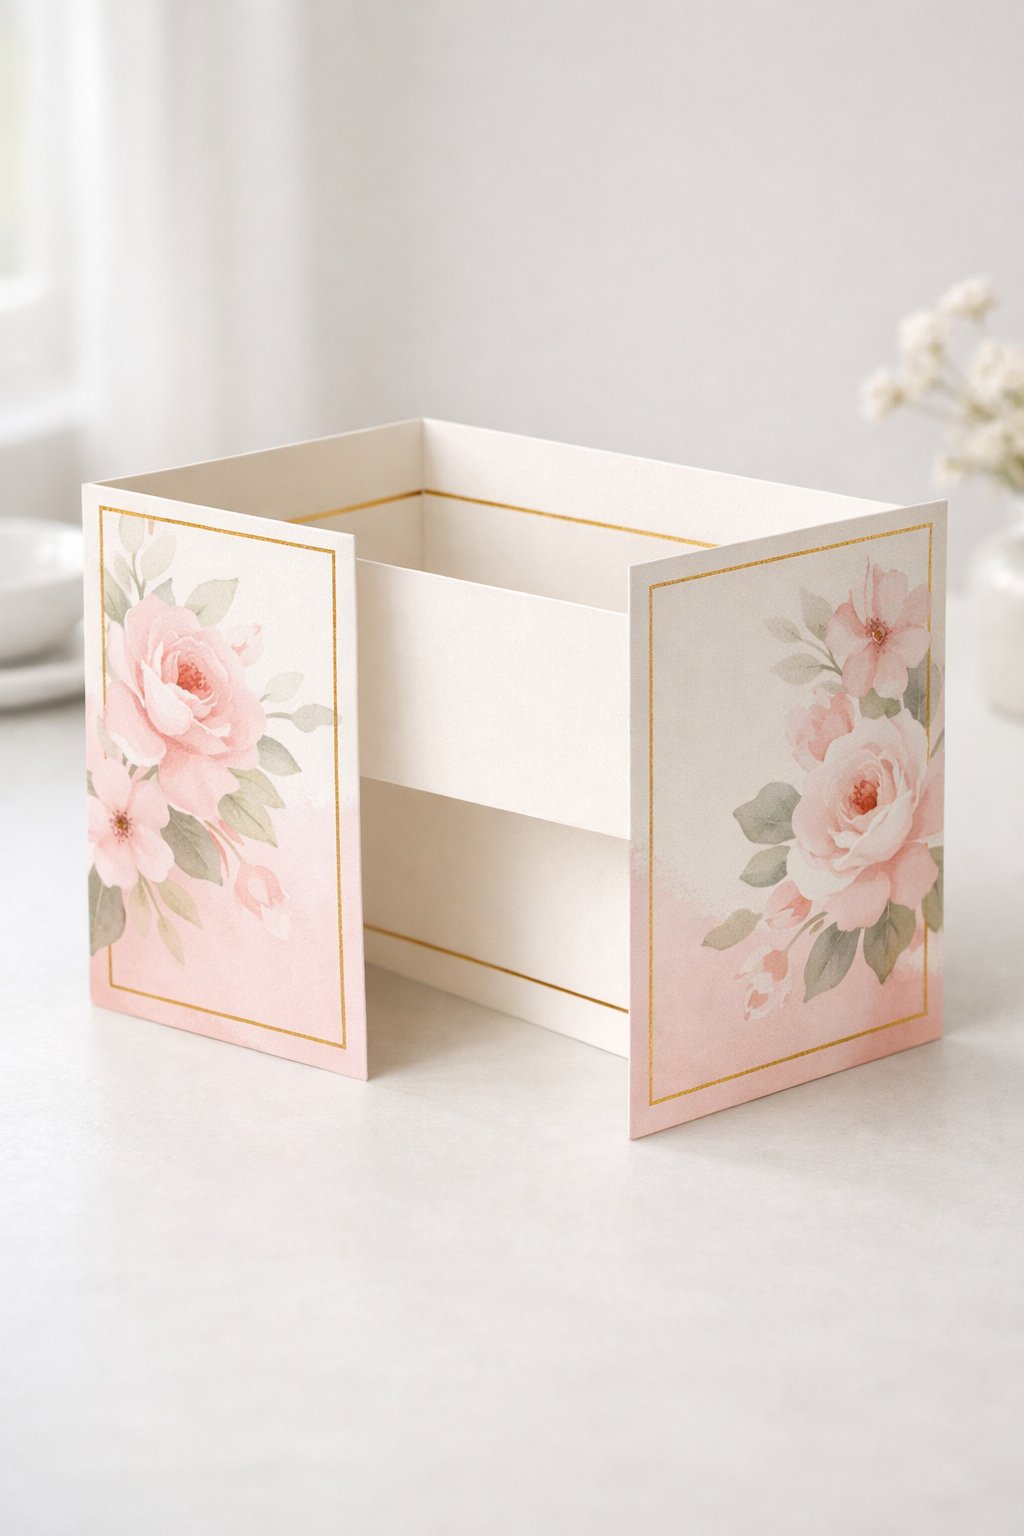
This blush floral version is soft, pretty, and works for almost anything: birthdays, bridal showers, thank you cards, or Mother’s Day.
The layered panels make it look advanced, but it’s really just careful scoring and clean folds. If you love a neat finish, add a thin border frame to the front panel and keep the flowers clustered to one side.
Materials needed
For People Who Love to Make Things ✂️
- 1 sheet of cardstock for base (8.5 x 11 in)
- 1 sheet of patterned paper (floral)
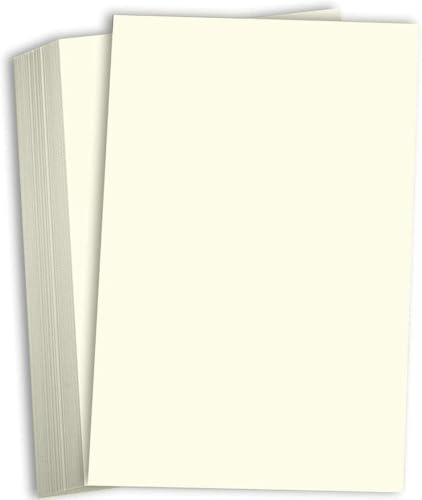
- Solid cardstock for mats (blush and ivory)
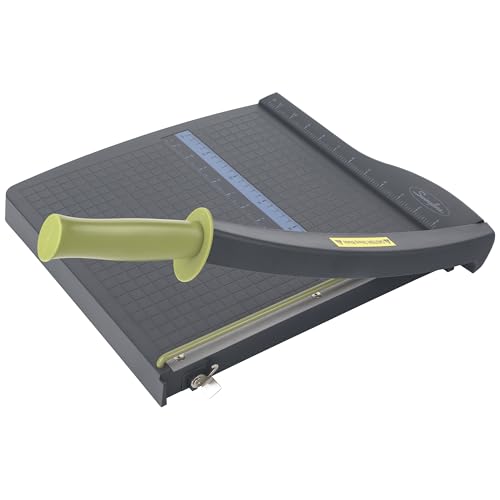
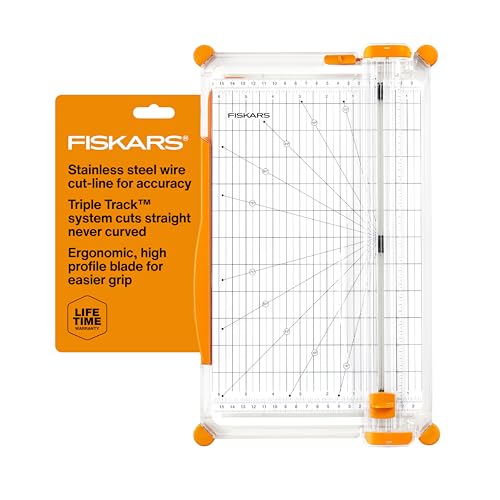
- Paper trimmer
- Scoring board (or ruler + blunt tool)
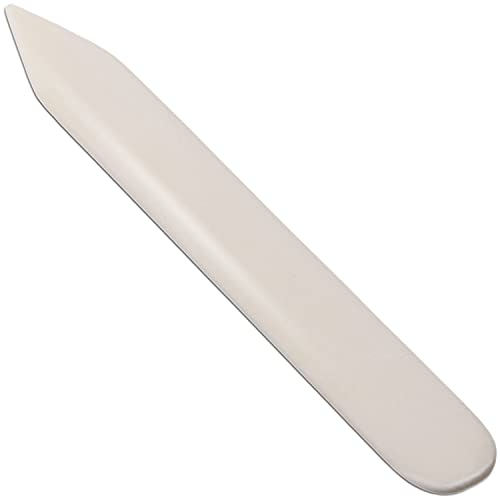
- Bone folder (optional but helpful)
- Adhesive (double-sided tape or glue)
- Foam tape (optional for layering)
- Scissors
- Corner rounder (optional).
Shop the materials


Detailed steps to make
- Cut the base cardstock. Trim cardstock to 11 x 5.5 inches.
- Score the base. Score along the 11-inch side at 2.75, 5.5, and 8.25 inches.
- Fold into a Double Z. Fold in a mountain-valley-mountain pattern so it forms a “Z” shape twice. Burnish each fold for crisp edges.
- Cut the front “Z” strip. Cut a strip of cardstock 8.25 x 2.75 inches.
- Score the strip. Score the strip at 2.75 and 5.5 inches.
- Fold the strip. Fold the strip into a Z shape, matching the direction of your base folds.
- Attach the strip to the base. Center the strip across the middle section of the base so it bridges the folds. Only glue the correct panels so it can open and close smoothly.
- Create mat layers. Cut blush and ivory mats slightly smaller than each panel (leave a small border).
- Add patterned paper. Cut floral paper slightly smaller than the mats and adhere.
- Decorate the front. Add a floral cluster to the outer panel and keep the center panel clean so the fold shows nicely.
- Optional: add dimension. Use foam tape on the front decoration only, not near folds.
- Final check. Open and close the card slowly to ensure nothing catches or bends.
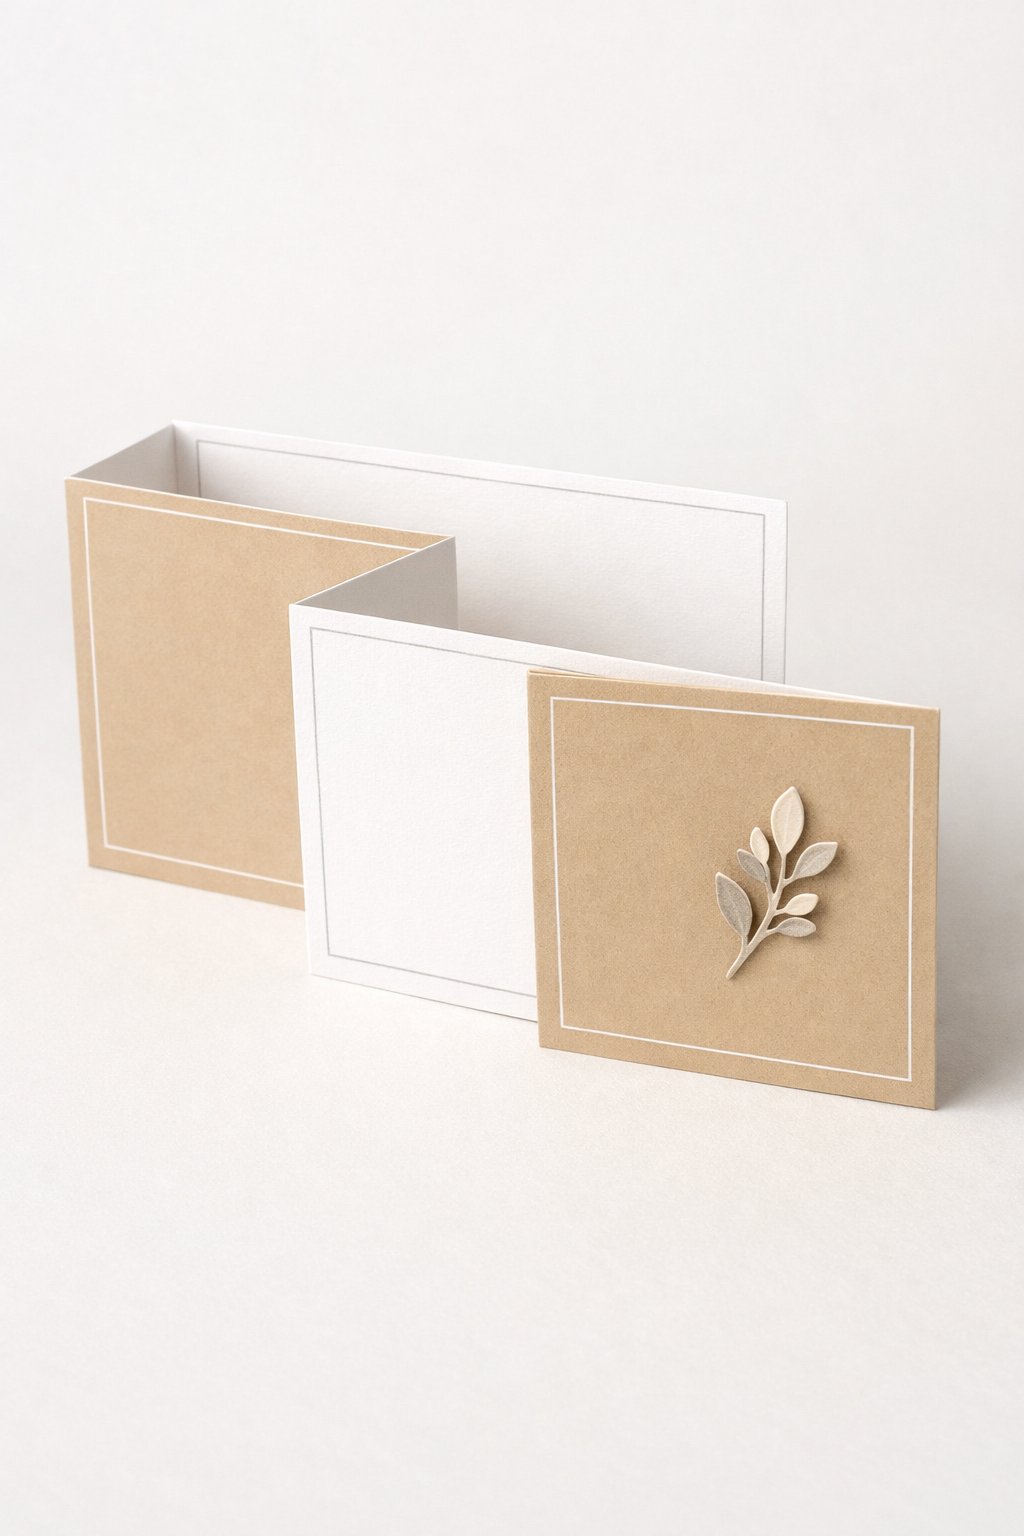
2. Clean Minimal Double Z Fold Card
Want all 17 tutorials in one place?
This post includes 5 free tutorials. If you want the full set, the $3.99 printable ebook includes Tutorials 6–17 plus a clean, easy layout you can keep and reuse anytime. Get instant access to the full guide.
If you like simple cards that look modern and expensive, this one is perfect. The Double Z fold already adds interest, so you don’t need heavy decorations.
Stick to clean frames, one small focal piece, and lots of white space. It’s the kind of card that fits weddings, thank you cards, or any “grown-up” occasion
Materials needed
- White cardstock for base (8.5 x 11 in)
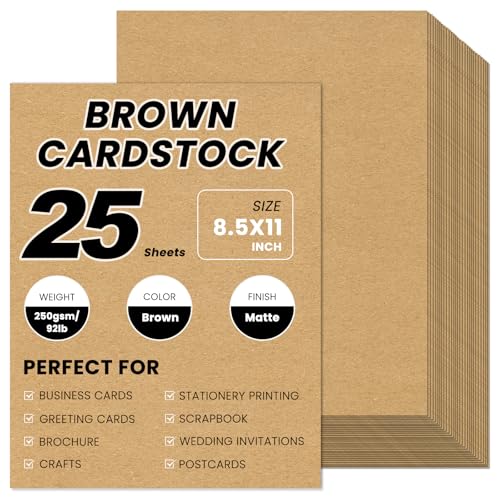
- Beige or kraft cardstock for mats
- Light grey cardstock or pen for thin frames
- Paper trimmer
- Scoring board (or ruler + blunt tool)
- Bone folder (optional)
- Adhesive (tape runner or glue)
- Small die-cut or hand-cut leaf sprig (paper)
- Foam tape (optional)
Shop the materials


Detailed steps to make
- Cut the base cardstock. Trim to 11 x 5.5 inches.
- Score the base. Score at 2.75, 5.5, and 8.25 inches along the long side.
- Fold into the Double Z. Fold mountain-valley-mountain and burnish for sharp folds.
- Cut the Z strip piece. Cut cardstock to 8.25 x 2.75 inches.
- Score the strip. Score at 2.75 and 5.5 inches.
- Fold the strip. Fold into a Z shape, lining it up with your base folds.
- Attach the strip carefully. Glue only the panels that need to connect so the card opens freely.
- Add mats. Cut beige mats with a small border for each visible panel.
- Add thin frames. Use light grey cardstock strips (or draw with a fine pen) to create simple rectangle frames on the panels.
- Add the sprig. Place a small botanical sprig on the front panel, slightly off-center.
- Keep it flat. Avoid bulky embellishments so it stays sleek.
- Test the fold. Open and close to make sure nothing bends or catches.
3. Bright Birthday Confetti Double Z Fold Card
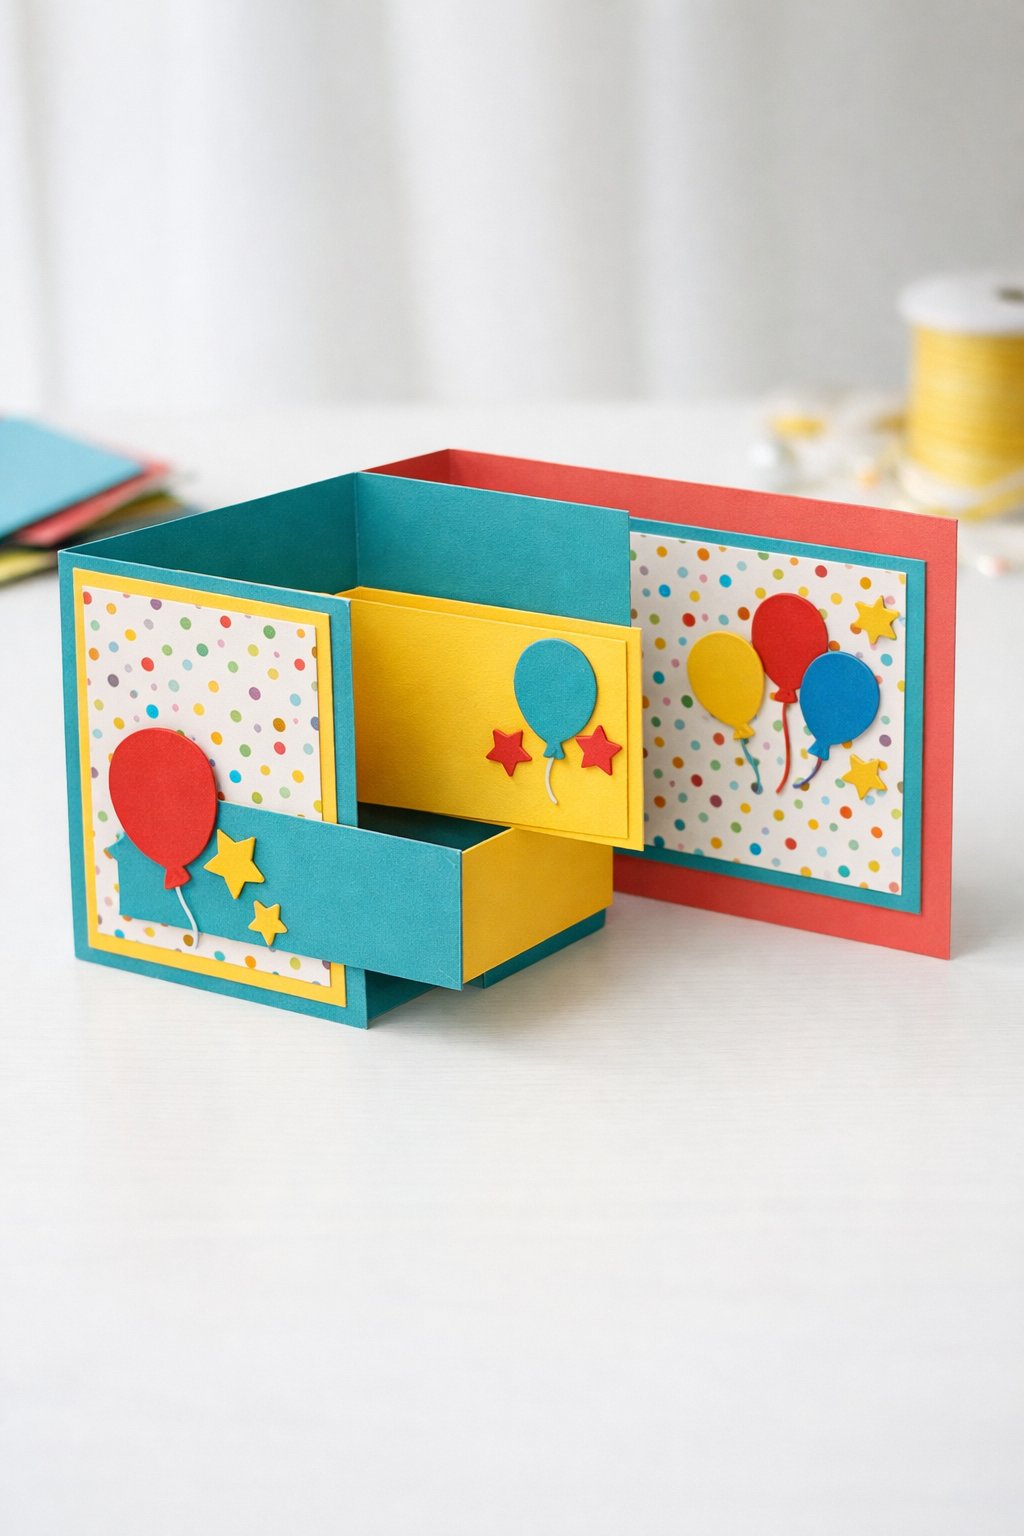
This is a fun one for kids, teens, or anyone who loves bold color. The confetti paper does most of the work, so you can keep the decorations simple and still get that “party” feel.
The Double Z fold makes it playful because it stands up like a display card.
Materials needed
- Cardstock for base (any bright color)
- Confetti patterned paper
- Coordinating solid cardstock (2 to 3 colors)
- Paper trimmer
- Scoring board (or ruler + blunt tool)
- Bone folder (optional)
- Adhesive (tape runner or glue)
- Scissors
- Balloon and star die-cuts (or hand-cut shapes)
- Foam tape (optional).
Shop the materials


Detailed steps to make
- Final fold test. Open and close slowly to ensure everything stays neat and aligned.
- Cut your base. Trim cardstock to 11 x 5.5 inches.
- Score the base. Score at 2.75, 5.5, and 8.25 inches.
- Fold into Double Z shape. Fold mountain-valley-mountain and press folds firmly.
- Cut the Z strip. Cut a piece 8.25 x 2.75 inches from matching or contrasting cardstock.
- Score the strip. Score at 2.75 and 5.5 inches.
- Fold the strip. Fold into a Z shape so it lines up neatly with the base.
- Attach the strip. Glue the strip onto the base panels so it forms the double Z connection and still opens smoothly.
- Cut panel mats. Cut solid mats for each panel, leaving a small border.
- Add confetti layers. Cut confetti paper slightly smaller than the mats and adhere.
- Decorate with shapes. Add balloons and stars to the front panel and one inside panel.
- Optional dimension. Foam tape the front balloons only, away from folds.
4. Soft Sage Botanical Double Z Fold Card
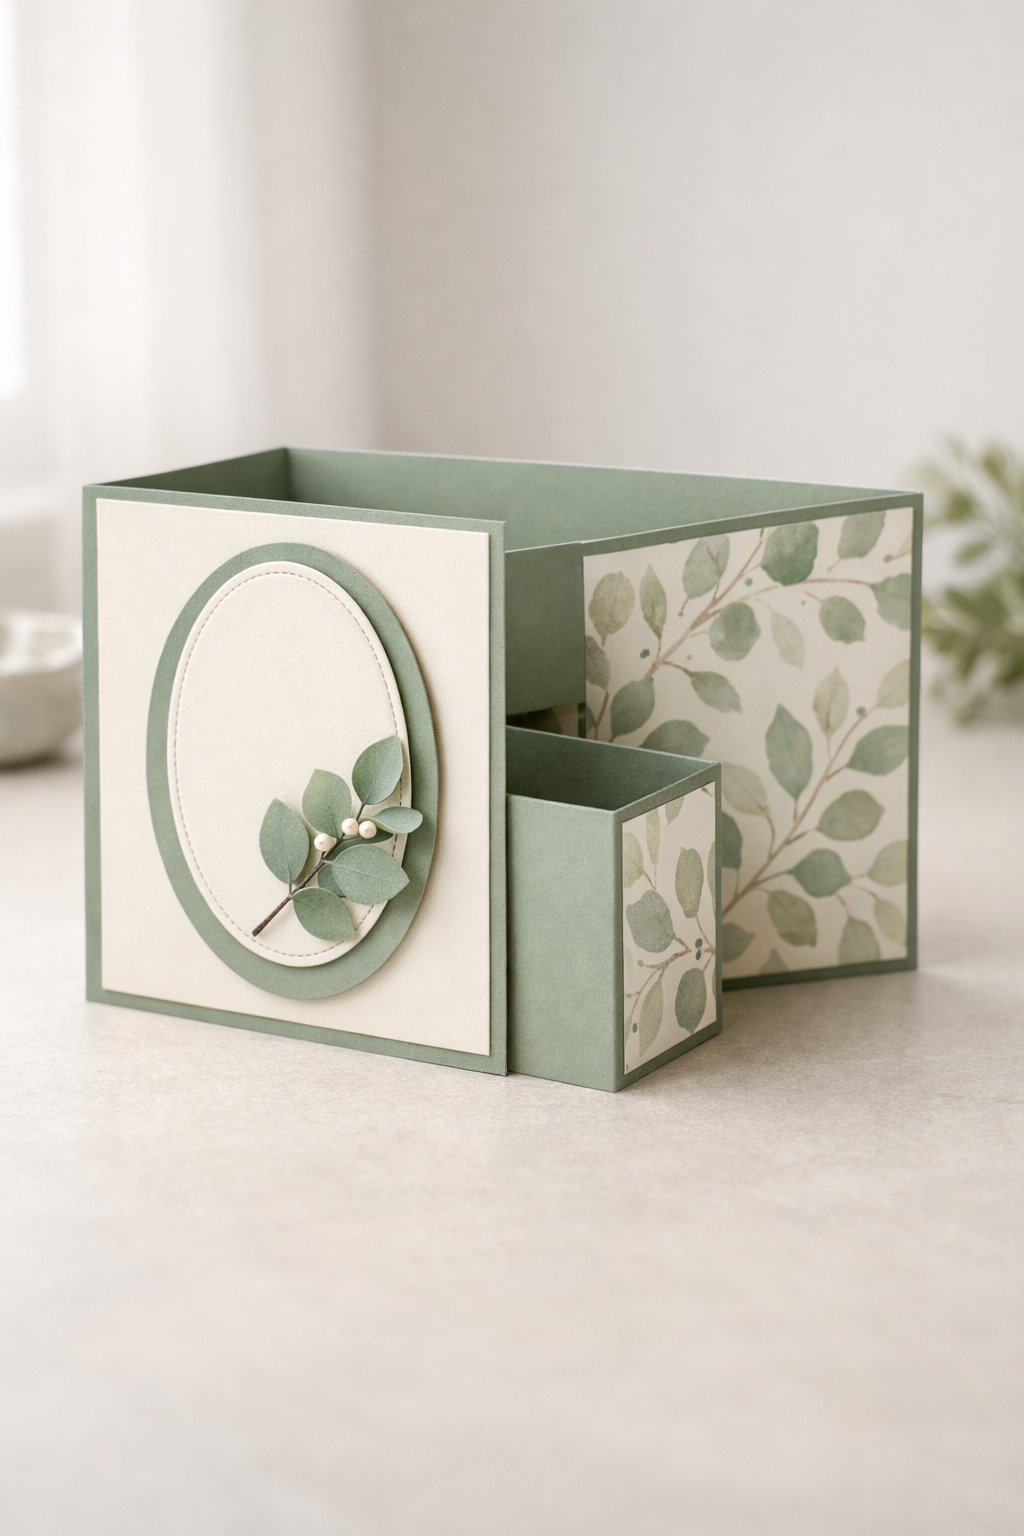
This card feels calm and classy, and it works for birthdays, thank you cards, and even small celebrations. The sage and cream combo looks clean without needing lots of extras. Keep the focal piece small so the fold still gets attention, and let the patterned paper carry the design.
Materials needed
- Cardstock for base (sage or white)
- Botanical patterned paper
- Cream cardstock for mats
- Paper trimmer
- Scoring board (or ruler + blunt tool)
- Bone folder (optional)
- Adhesive (double-sided tape or glue)
- Scissors
- Die-cut or hand-cut oval shapes
- Small paper sprig (or leaf die-cuts)
- Foam tape (optional)
Shop the materials


Detailed steps to make
- Cut base cardstock to 11 x 5.5 inches.
- Score along the 11-inch side at 2.75, 5.5, and 8.25 inches.
- Fold mountain-valley-mountain to form the Double Z base and burnish folds.
- Cut the Z strip to 8.25 x 2.75 inches.
- Score the strip at 2.75 and 5.5 inches.
- Fold the strip into a Z shape, matching the direction of the base folds.
- Attach the strip to the base by gluing only the correct panels so it opens smoothly.
- Cut cream mats slightly smaller than each panel, leaving a thin border.
- Cut botanical paper slightly smaller than the mats and adhere flat.
- Layer an oval frame on the front panel, then add a small eucalyptus sprig on top.
- Add foam tape only to the oval if you want light dimension, keep it away from fold lines.
- Open and close the card to confirm nothing catches.
5. Navy and Gold Geometric Double Z Fold Card
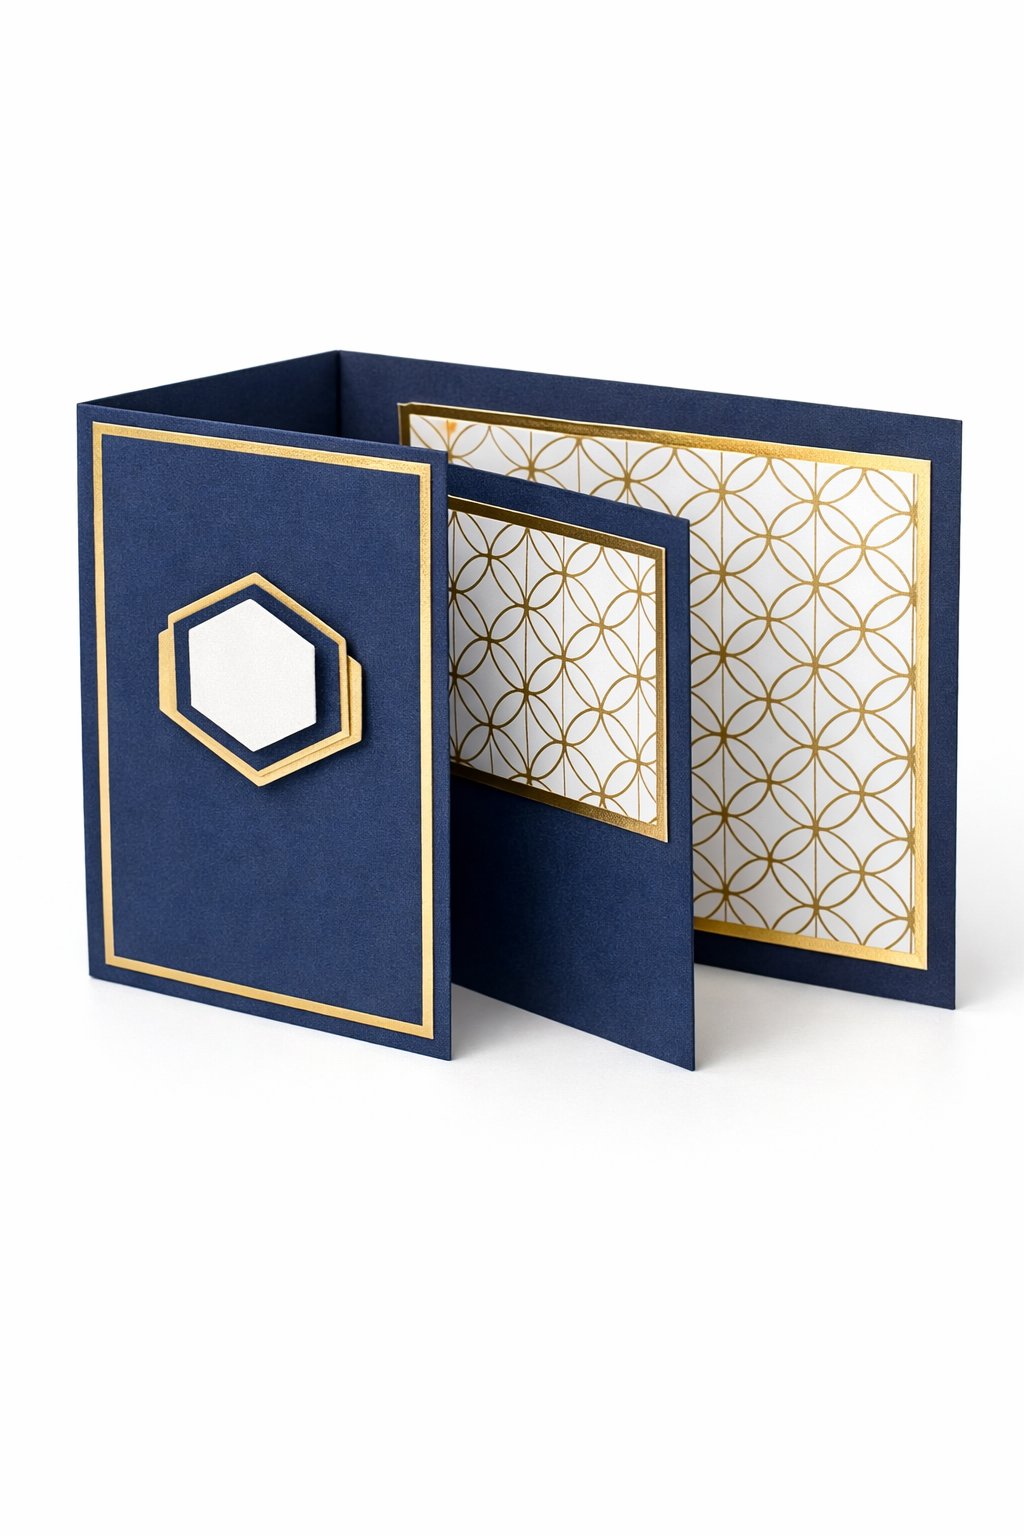
This is a bold “modern” card that looks expensive without doing too much. Navy and gold always feels polished, and geometric paper makes it look sharp and clean. Stick to one main shape on the front so the design stays balanced.
Materials needed
- Navy cardstock for base
- White cardstock for mats
- Geometric patterned paper
- Gold cardstock or thin gold foil tape (for borders)
- Paper trimmer
- Scoring board (or ruler + blunt tool)
- Bone folder (optional)
- Adhesive (tape or glue)
- Scissors
- Hexagon die-cuts (or hand-cut)
- Foam tape (optional)


Detailed steps to make
- Cut base cardstock to 11 x 5.5 inches.
- Score at 2.75, 5.5, and 8.25 inches.
- Fold into Double Z shape and burnish edges.
- Cut Z strip to 8.25 x 2.75 inches.
- Score strip at 2.75 and 5.5 inches and fold into a Z.
- Attach Z strip to the base panels carefully so the fold still moves freely.
- Cut white mats for panels, leaving a thin border around edges.
- Cut geometric patterned paper slightly smaller and adhere to mats.
- Add thin gold border frames to the front and one inside panel.
- Layer hexagon shapes on the front panel as the main focal point.
- Use foam tape lightly if you want depth, but keep it away from folds.
- Test the card movement and adjust any pieces that sit too close to fold lines.
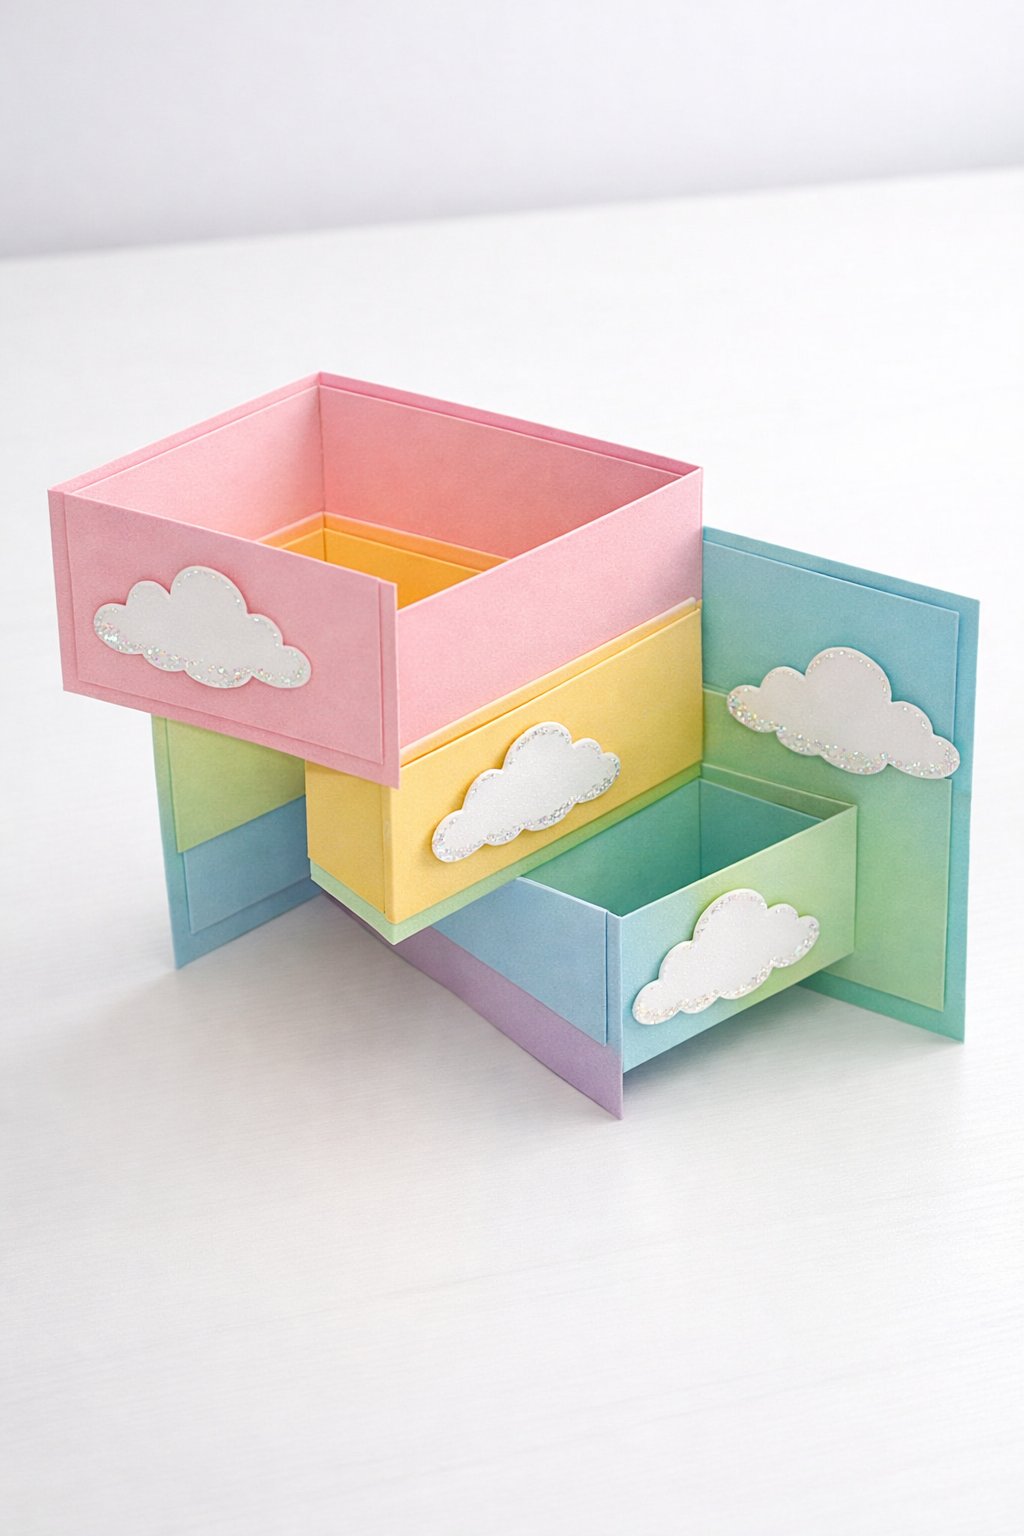
6. Pastel Rainbow Double Z Fold Card
Unlock Tutorials 6–17 (Printable PDF)
We saved the rest of the Double Z Fold card tutorials for the printable guide so you can follow along without scrolling or ads.
- 12 extra tutorials (6–17)
- Easy measurements + clear steps
- Print and reuse anytime
Grab the ebook for $3.99 and keep crafting.
This one is cheerful and sweet, and it works for birthdays, kids’ parties, or a “just because” card. The pastel rainbow paper gives you instant color without needing a lot of decorating. Keep the clouds small and spread them out across the panels so it still looks clean.
Materials needed
- White cardstock for base
- Pastel rainbow patterned paper
- Coordinating pastel cardstock for mats
- Paper trimmer
- Scoring board (or ruler + blunt tool)
- Bone folder (optional)
- Adhesive (tape runner or glue)
- Scissors
- Cloud die-cuts (or hand-cut)
- Fine glitter tape (optional)
Shop the materials


7. Rustic Kraft and Lace Double Z Fold Card
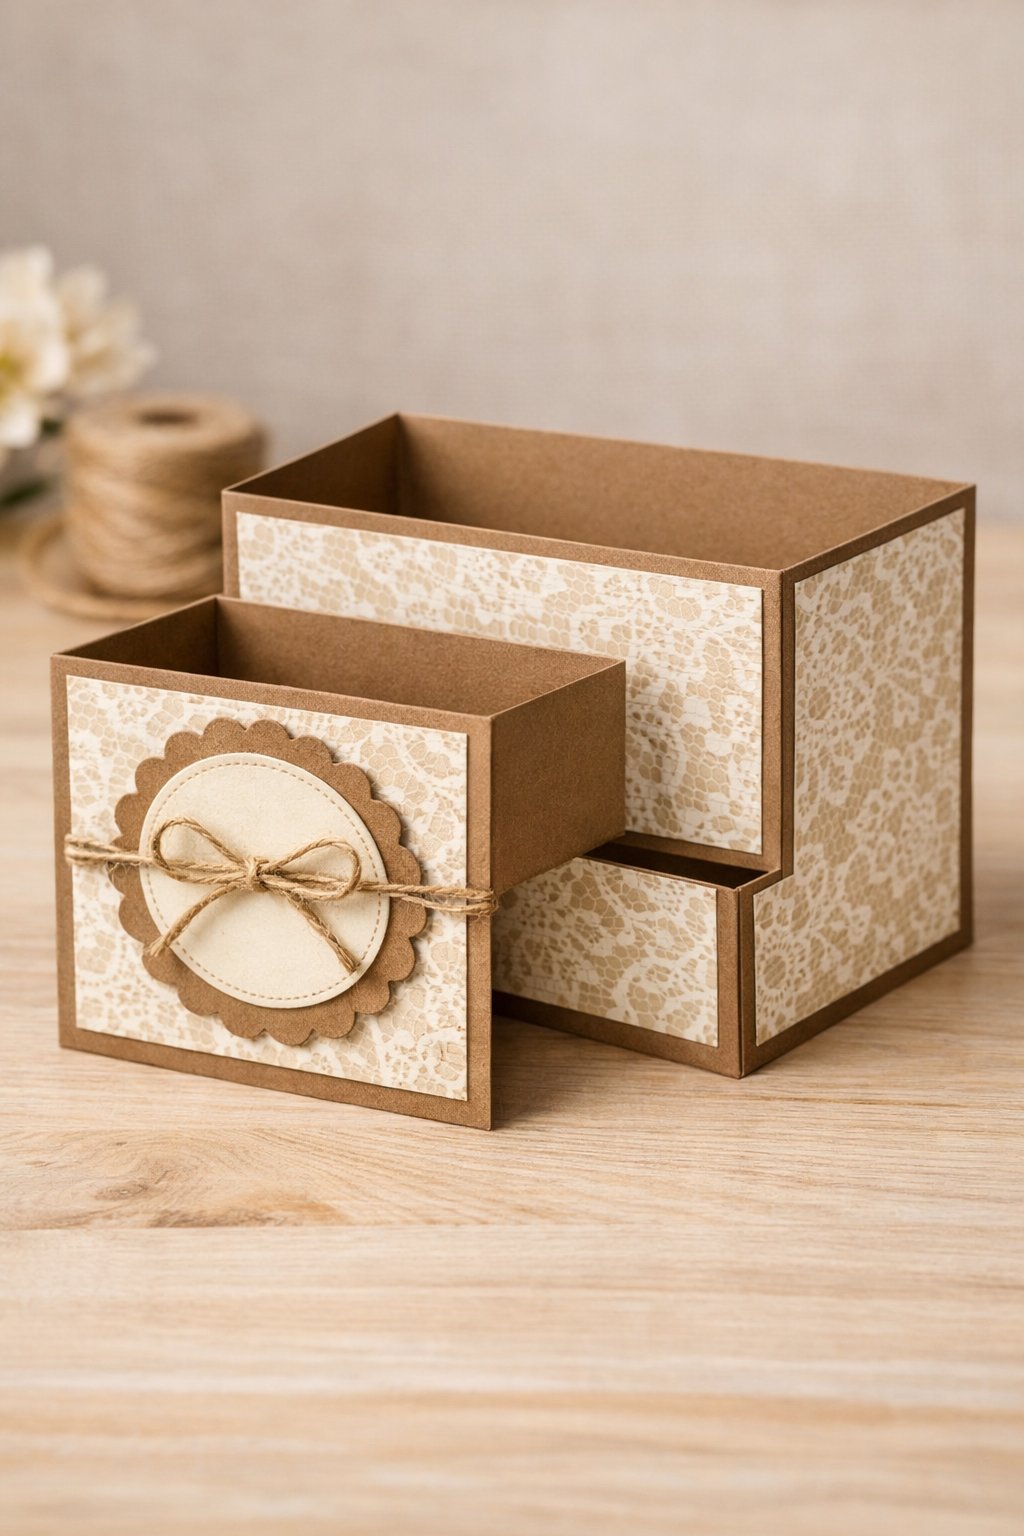
If you like a cozy handmade look, this is a great one. Kraft cardstock instantly feels warm and rustic, and lace-style paper adds detail without being too busy. A little twine bow on the front is enough to make it feel special.
Materials needed
- Kraft cardstock for base
- Cream cardstock for mats
- Lace-style patterned paper
- Paper trimmer
- Scoring board (or ruler + blunt tool)
- Bone folder (optional)
- Adhesive (strong tape recommended)
- Scissors
- Twine
- Circle die-cuts (or hand-cut)
- Foam tape (optional)
Shop the materials


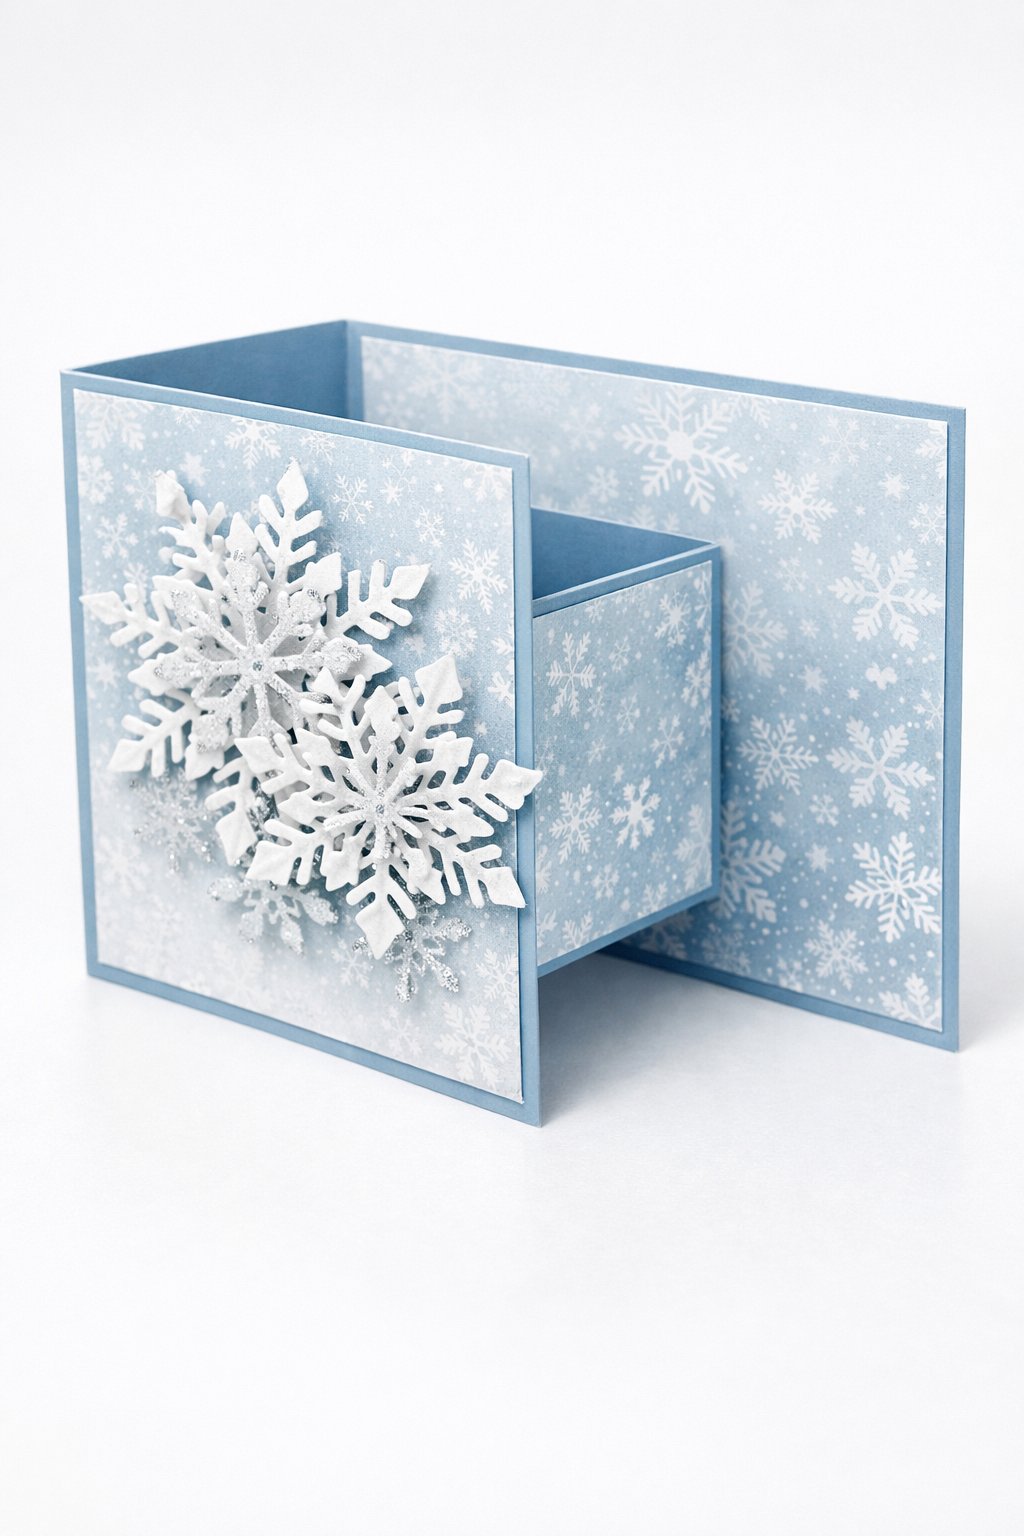
8. Winter Snowflake Double Z Fold Card
Prefer a printable version?
We kept the full set inside the ebook so you can print it once and use it anytime you need a quick card idea.
This blog post includes tutorials 1–5 free. The ebook includes 6–17 for $3.99.
Get the printable guide now.
This winter version is perfect for holiday season crafting, and it looks extra nice standing up on a shelf or table. Snowflake paper plus a few layered snowflakes gives a clean festive look without doing too much.
Keep shimmer light so it stays elegant.
Materials needed
- White or icy blue cardstock for base
- Snowflake patterned paper
- White cardstock for mats
- Paper trimmer
- Scoring board (or ruler + blunt tool)
- Bone folder (optional)
- Adhesive (tape or glue)
- Snowflake die-cuts (or hand-cut)
- Silver shimmer cardstock or light glitter tape (optional)
- Foam tape (optional)
Shop the materials


9. Romantic Red Rose Double Z Fold Card
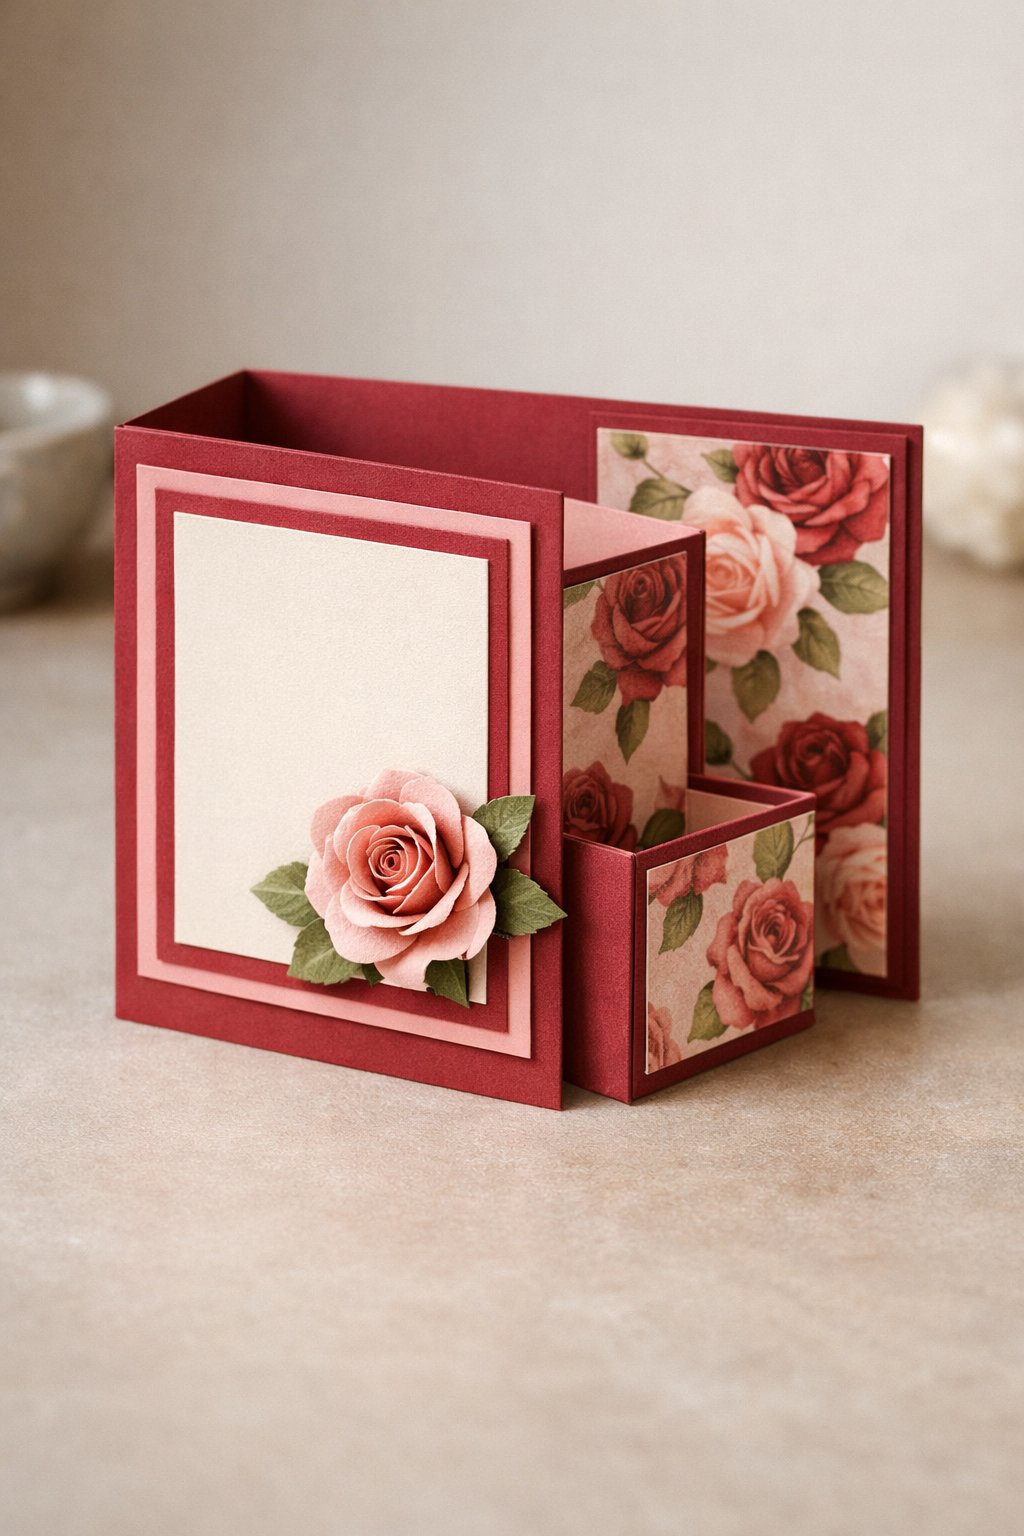
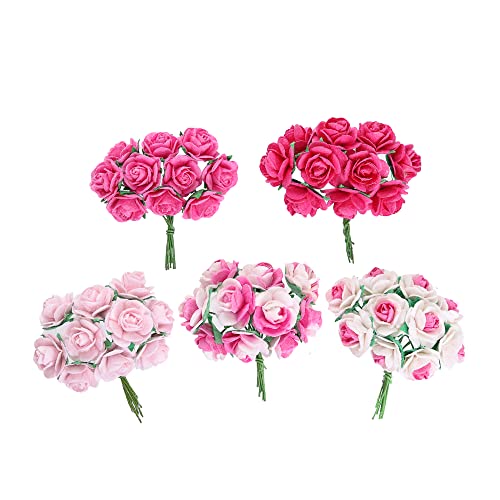
This rose version is great for anniversaries, Valentine’s Day, or a romantic birthday card. The rose pattern already sets the mood, so you only need one statement flower on the front. Keep the rose centered on the front panel so it feels balanced.
Materials needed
- Cardstock for base (red or blush)
- Rose patterned paper
- Blush or cream cardstock for mats
- Paper trimmer
- Scoring board (or ruler + blunt tool)
- Bone folder (optional)
- Adhesive (tape or glue)
- Scissors
- Paper rose embellishment (store-bought or handmade)
- Frame die-cuts (or hand-cut rectangles)
- Foam tape (optional)
Shop the materials


10. Beachy Blue Ocean Double Z Fold Card
Get instant access to Ad-free version!
Get the $3.99 Printable
Unlock Tutorials 6–17
Download the Full Guide
Get Instant Access
Grab the Ebook. Click here now 👈
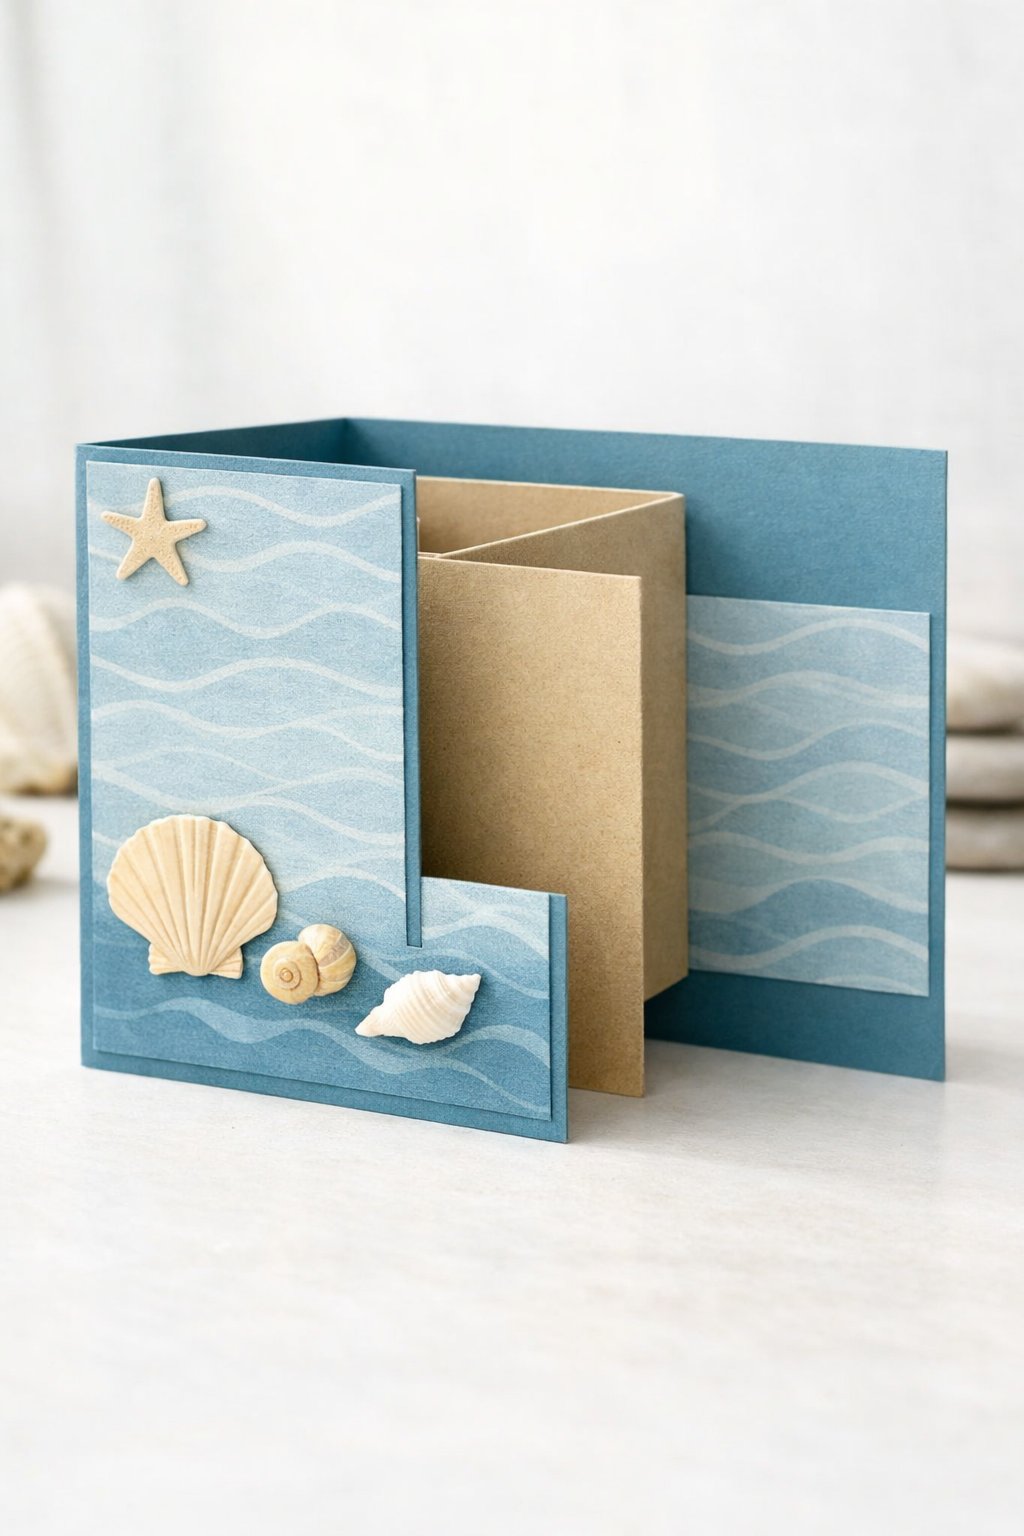
This one is perfect for summer birthdays, beach trips, or a “wish you were here” style card without using words. The wave paper adds movement, and the shell cutouts give it a clear theme.
Keep the shells flat or lightly raised so the card still folds smoothly.
Materials needed
- Cardstock for base (ocean blue or white)
- Wave patterned paper
- Beige cardstock for mats
- Paper trimmer
- Scoring board (or ruler + blunt tool)
- Bone folder (optional)
- Adhesive (tape or glue)
- Scissors
- Seashell and starfish die-cuts (or hand-cut)
- Foam tape (optional)
Shop the materials


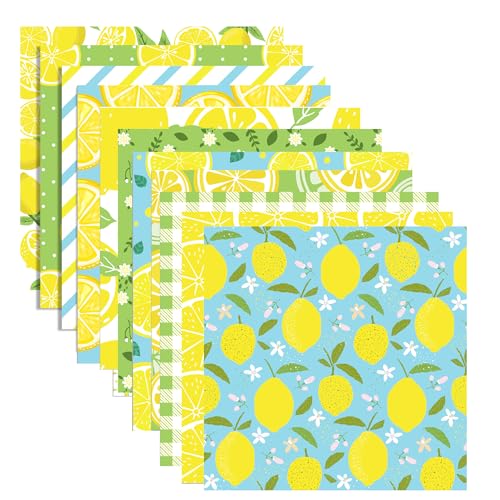
11. Sunny Lemon Double Z Fold Card
Get instant access to Ad-free version!
Get the $3.99 Printable
Unlock Tutorials 6–17
Download the Full Guide
Get Instant Access
Grab the Ebook. Click here now 👈
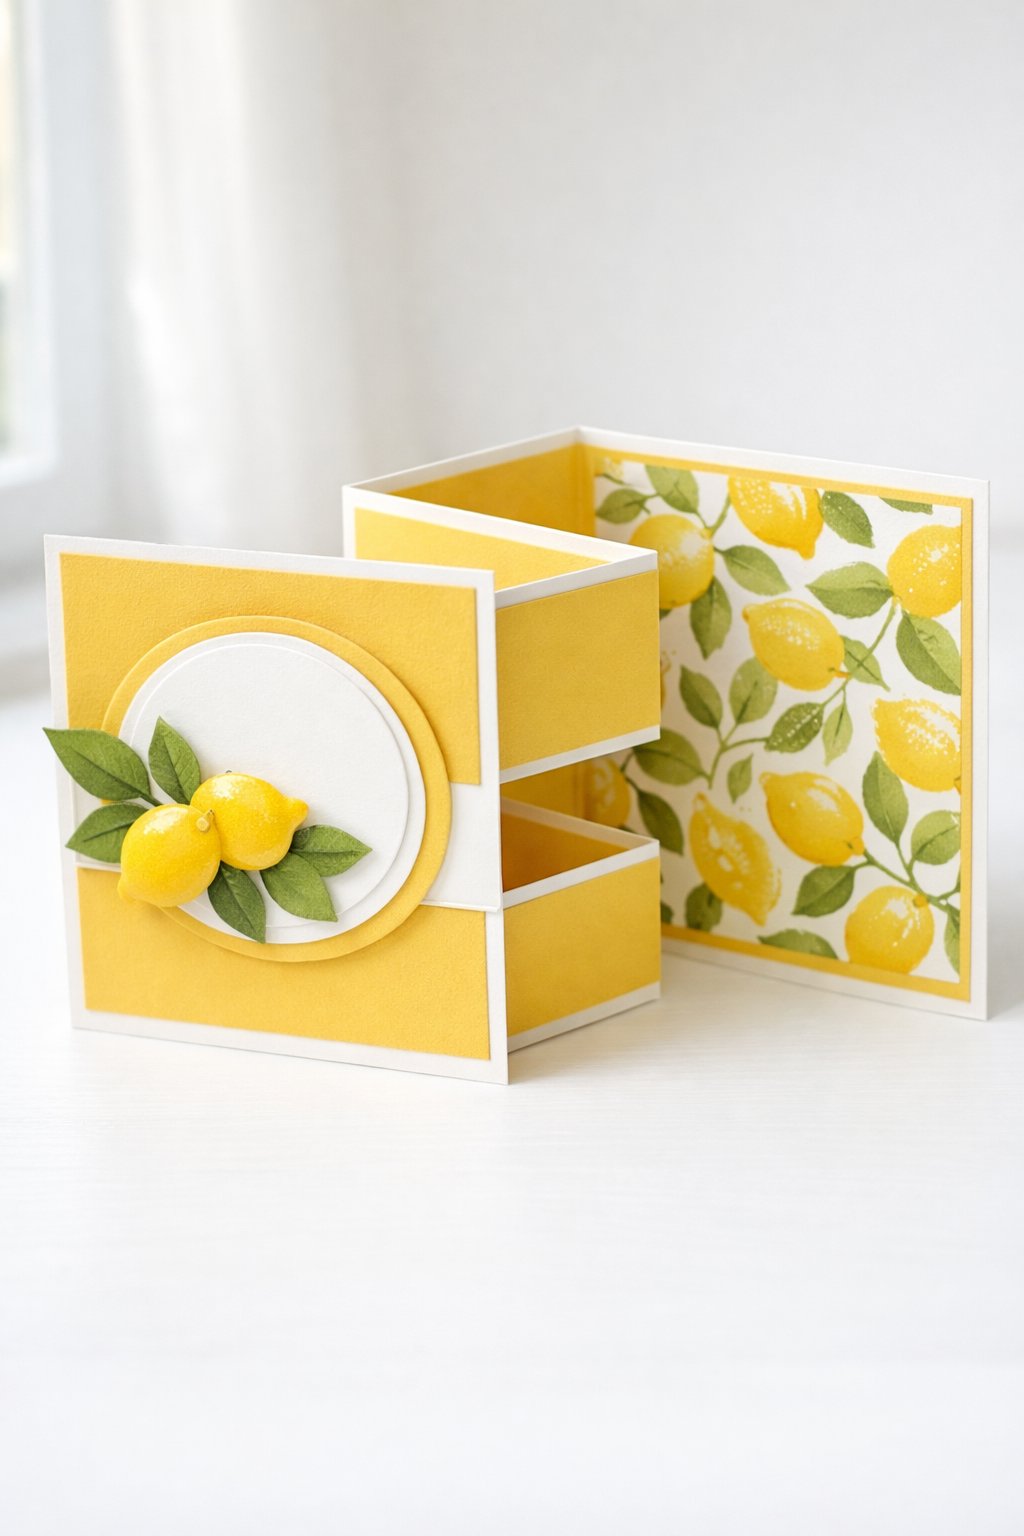
This lemon card feels fresh and happy, and it works for summer birthdays, thank you cards, or a cheerful hello. The lemon pattern gives instant theme, so you only need a small focal cluster on the front.
Keep the lemons grouped low or to one side so the fold design still stands out.
Materials needed
- White cardstock for base
- Yellow cardstock for mats
- Lemon patterned paper
- Paper trimmer
- Scoring board (or ruler + blunt tool)
- Bone folder (optional)
- Adhesive (tape runner or glue)
- Scissors
- Circle die-cuts (or hand-cut circles)
- Lemon and leaf die-cuts (or hand-cut shapes)
- Foam tape (optional)
Shop the materials


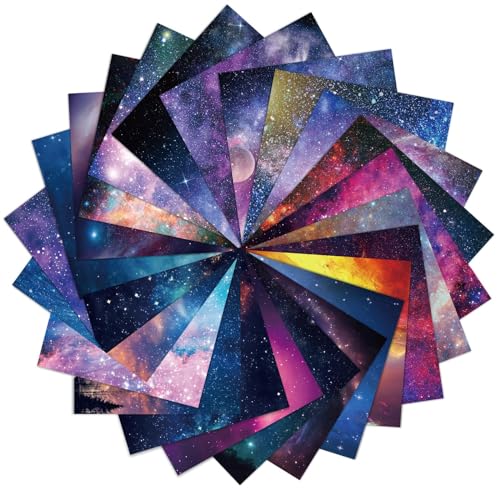
12. Purple Galaxy Double Z Fold Card
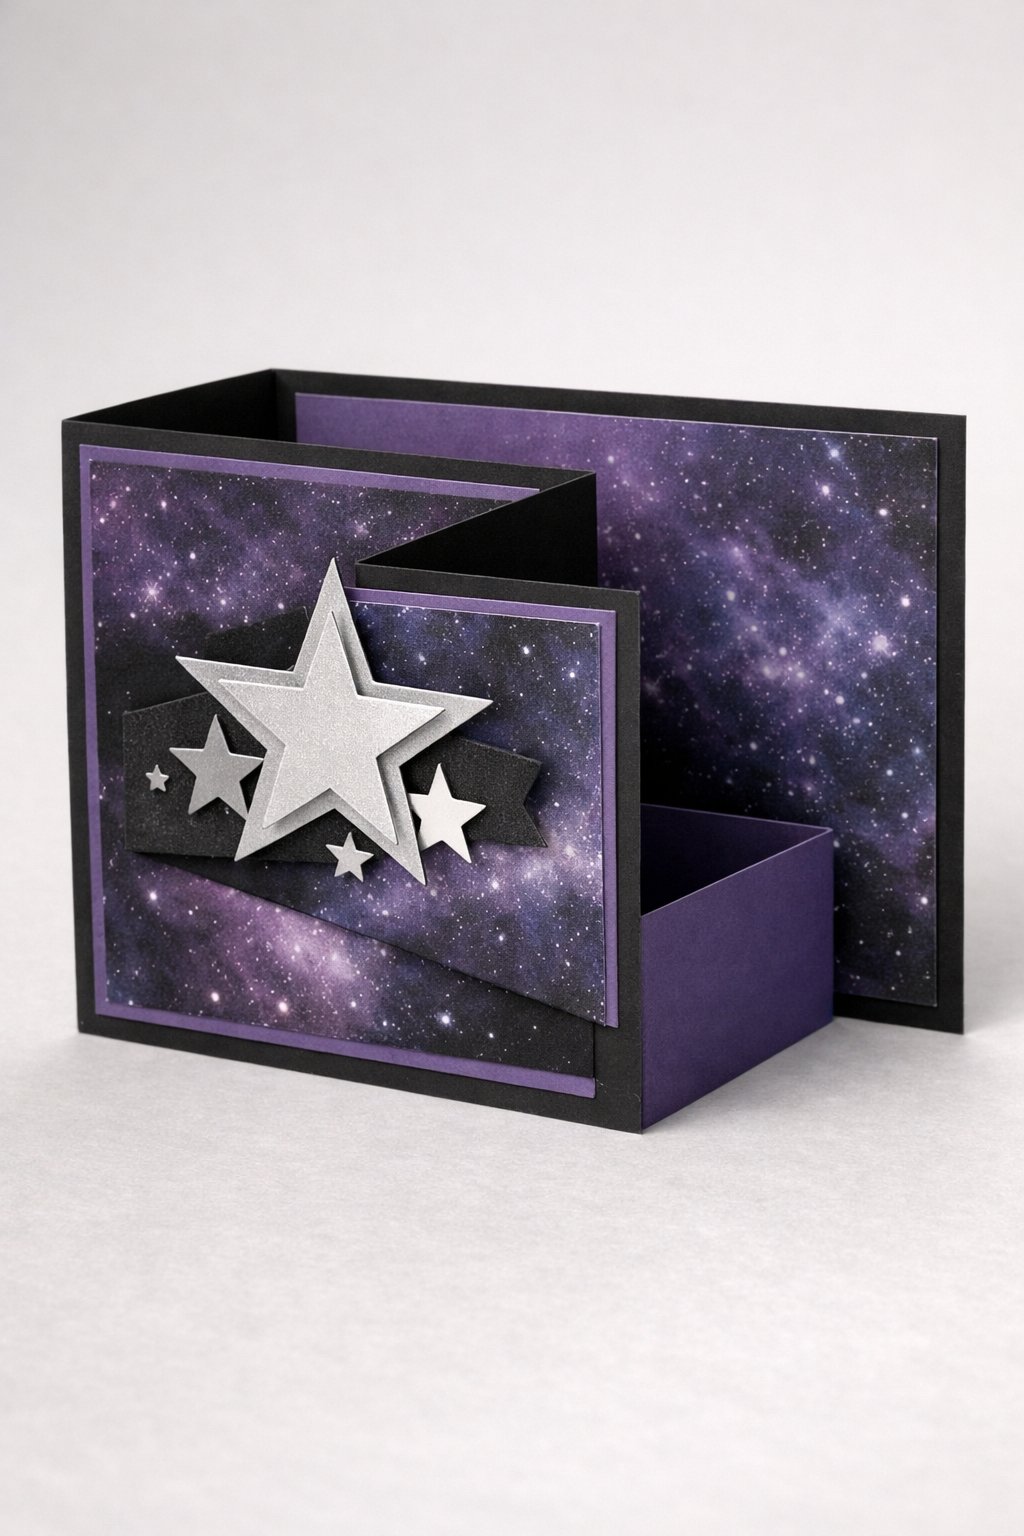
This galaxy version is bold and fun, and it works great for teens, sci-fi lovers, or anyone who likes darker themes. Galaxy paper already looks busy in a good way, so keep decorations simple. A few silver stars on the front panel is enough to make it feel special.
Materials needed
- Black or deep purple cardstock for base
- Silver or light grey cardstock for mats
- Galaxy patterned paper
- Paper trimmer
- Scoring board (or ruler + blunt tool)
- Bone folder (optional)
- Adhesive (strong tape or glue)
- Scissors
- Star die-cuts (or hand-cut)
- Foam tape (optional)
Shop the materials


13. Cute Polka Dot Double Z Fold Card
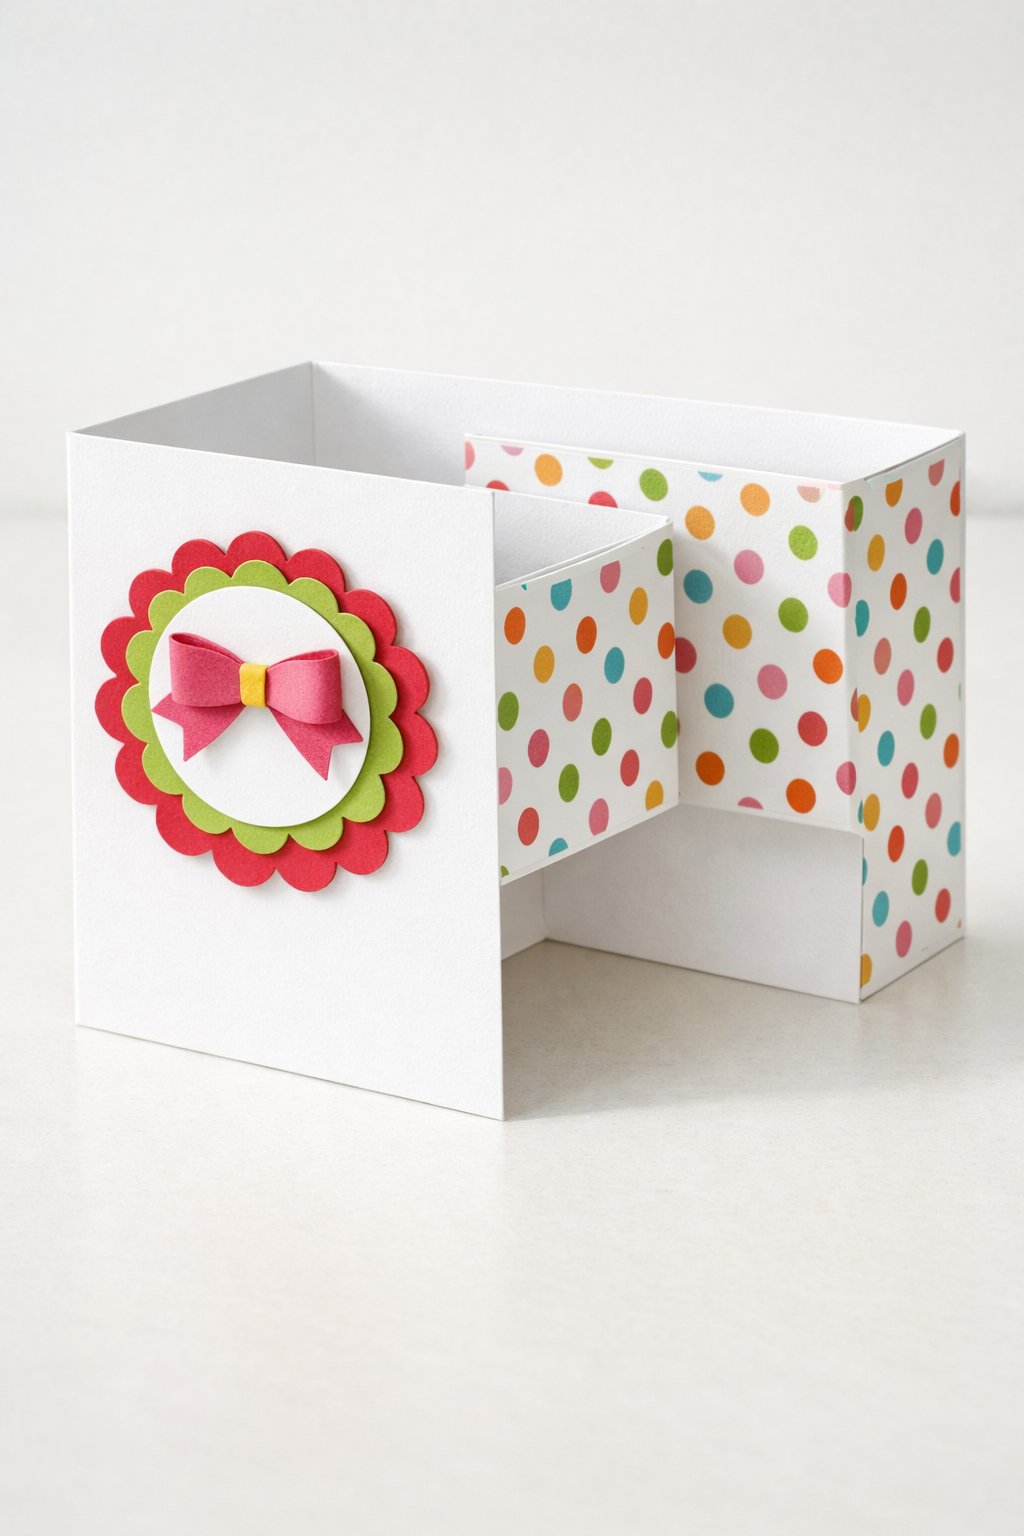
Polka dots are playful, easy to style, and perfect when you want a card that feels fun without needing a complicated theme. This design is great for birthdays and kids’ celebrations. The scalloped circle adds charm, and a small bow gives it a neat handmade touch.
Materials needed
- White cardstock for base
- Colorful polka dot patterned paper
- Solid cardstock for mats (2 colors)
- Paper trimmer
- Scoring board (or ruler + blunt tool)
- Bone folder (optional)
- Adhesive (tape runner or glue)
- Scissors
- Scalloped circle die-cuts (or hand-cut circles)
- Cardstock strip for a small bow
- Foam tape (optional)
Shop the materials


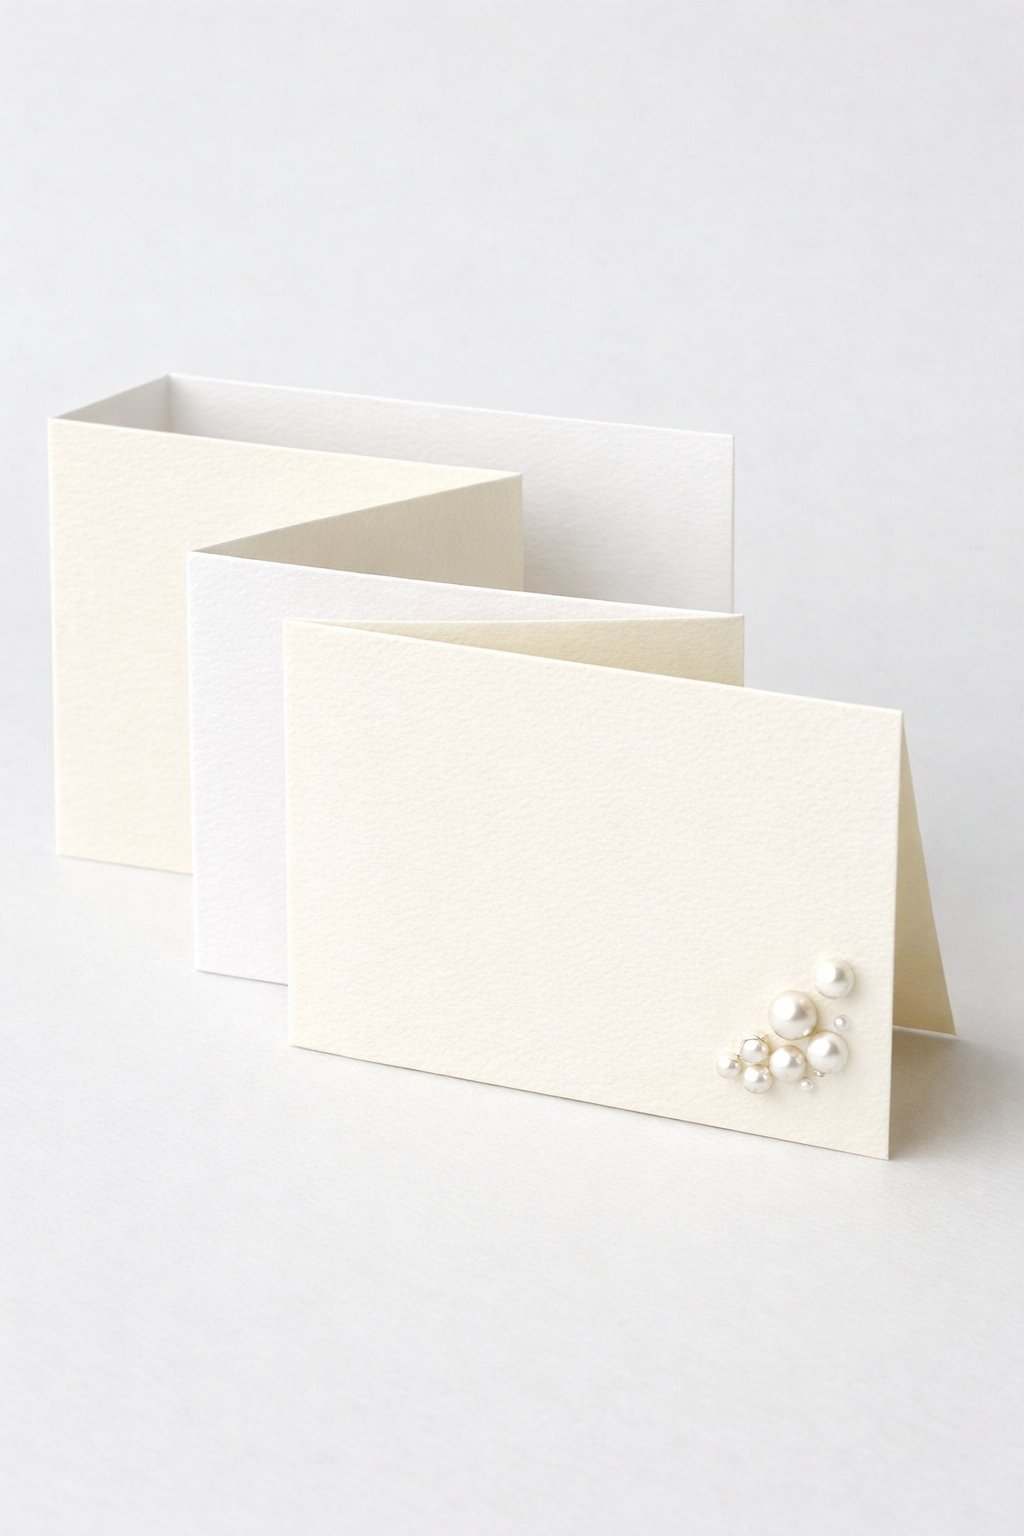
14. Elegant White and Pearl Double Z Fold Card
Get instant access to Ad-free version!
Get the $3.99 Printable
Unlock Tutorials 6–17
Download the Full Guide
Get Instant Access
Grab the Ebook. Click here now 👈
This is a simple, elegant card that looks expensive because of texture and small details. It’s perfect for weddings, anniversaries, and classy celebrations.
The key is keeping it clean, using embossed panels, and adding pearl accents only in one small area.
Materials needed
- White cardstock for base
- Ivory cardstock for mats
- Embossed white paper or embossing folder + machine
- Paper trimmer
- Scoring board (or ruler + blunt tool)
- Bone folder (optional)
- Adhesive (strong tape or glue)
- Pearl half-beads (flat back)
- Tweezers (optional but helpful)
Shop the materials


15. Autumn Leaves Double Z Fold Card
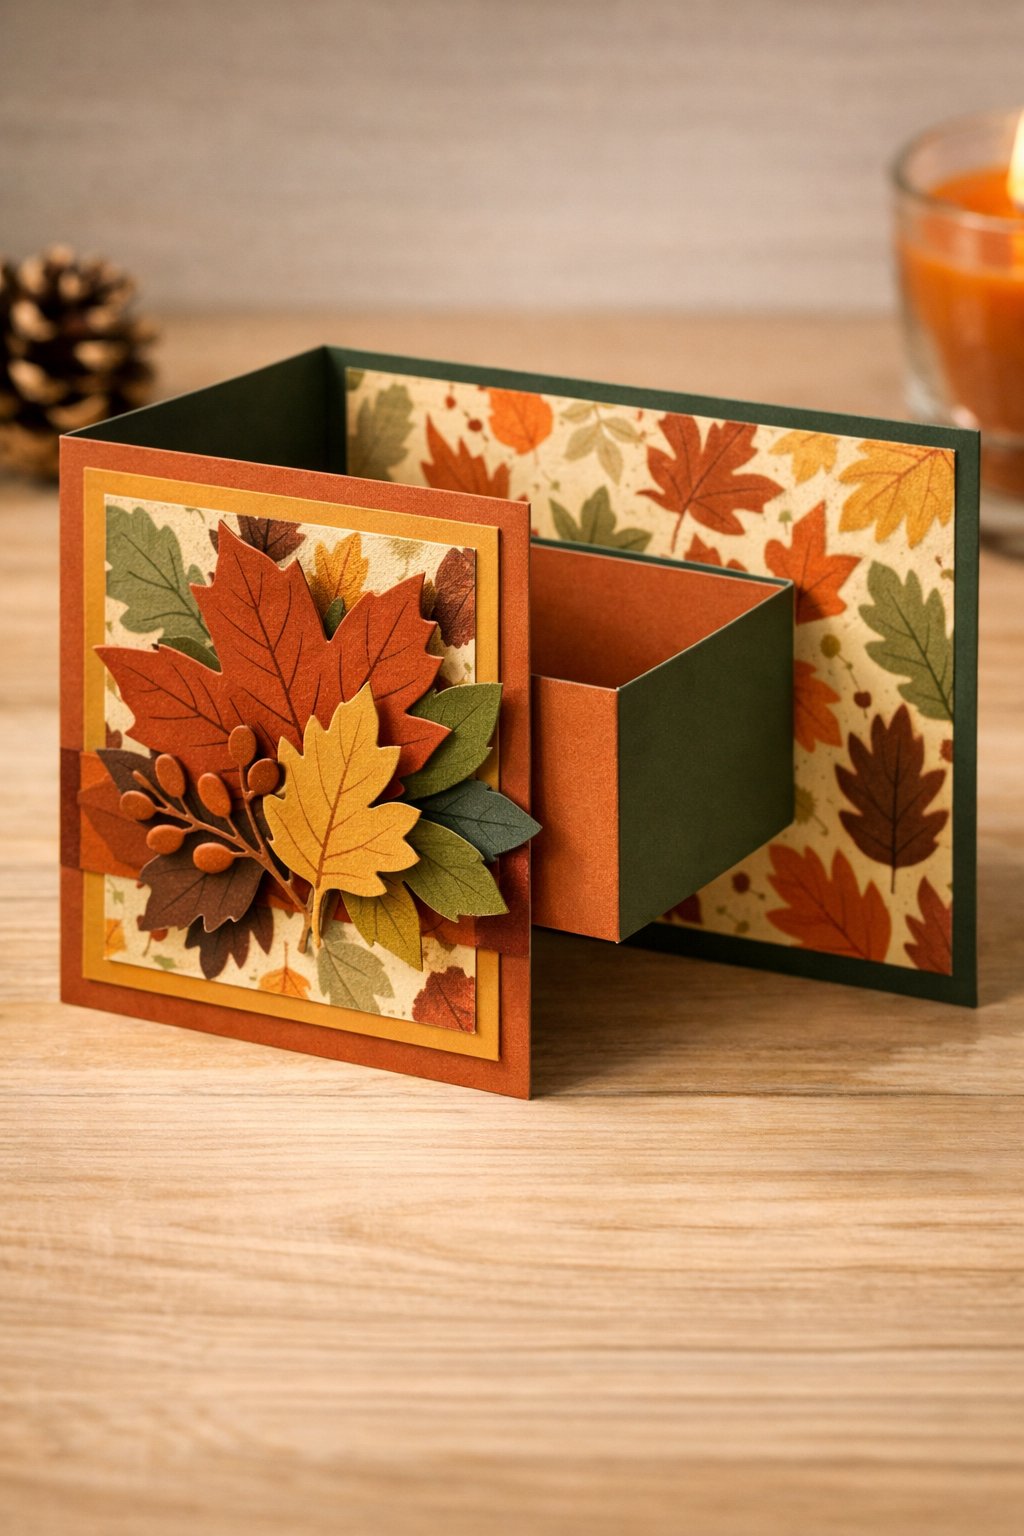
This autumn version is cozy and perfect for fall birthdays, thanksgiving hosting cards, or seasonal greetings. The warm leaf paper gives you instant fall vibes. Add two or three layered leaves on the front panel and you’re done.
Materials needed
- Cardstock for base (rust, brown, or deep green)
- Autumn leaves patterned paper
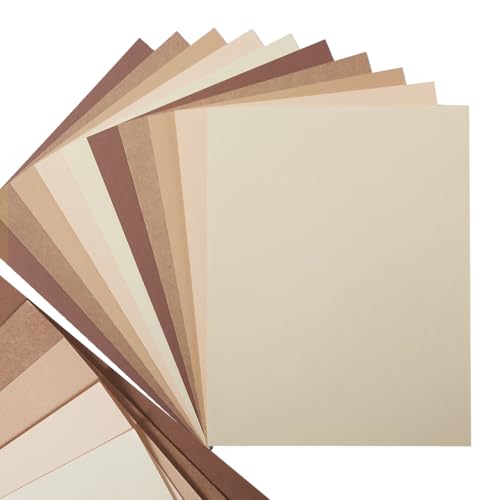
- Neutral cardstock for mats (cream or kraft)
- Paper trimmer
- Scoring board (or ruler + blunt tool)
- Bone folder (optional)
- Adhesive (tape or glue)
- Leaf die-cuts (or hand-cut leaves)
- Foam tape (optional)
Shop the materials


16. Black and White Stripes Double Z Fold Card

This is a bold, modern design that looks sharp and clean. Black and white stripes always stand out, and the Double Z fold gives it extra interest. Keep decorations simple so the stripes stay the main feature.
Materials needed
- White cardstock for base
- Black and white striped patterned paper
- Black cardstock for mats
- Paper trimmer
- Scoring board (or ruler + blunt tool)
- Bone folder (optional)
- Adhesive (tape runner or glue)
- Scissors
- Circle die-cuts (or hand-cut circles)
- Foam tape (optional)
Shop the materials


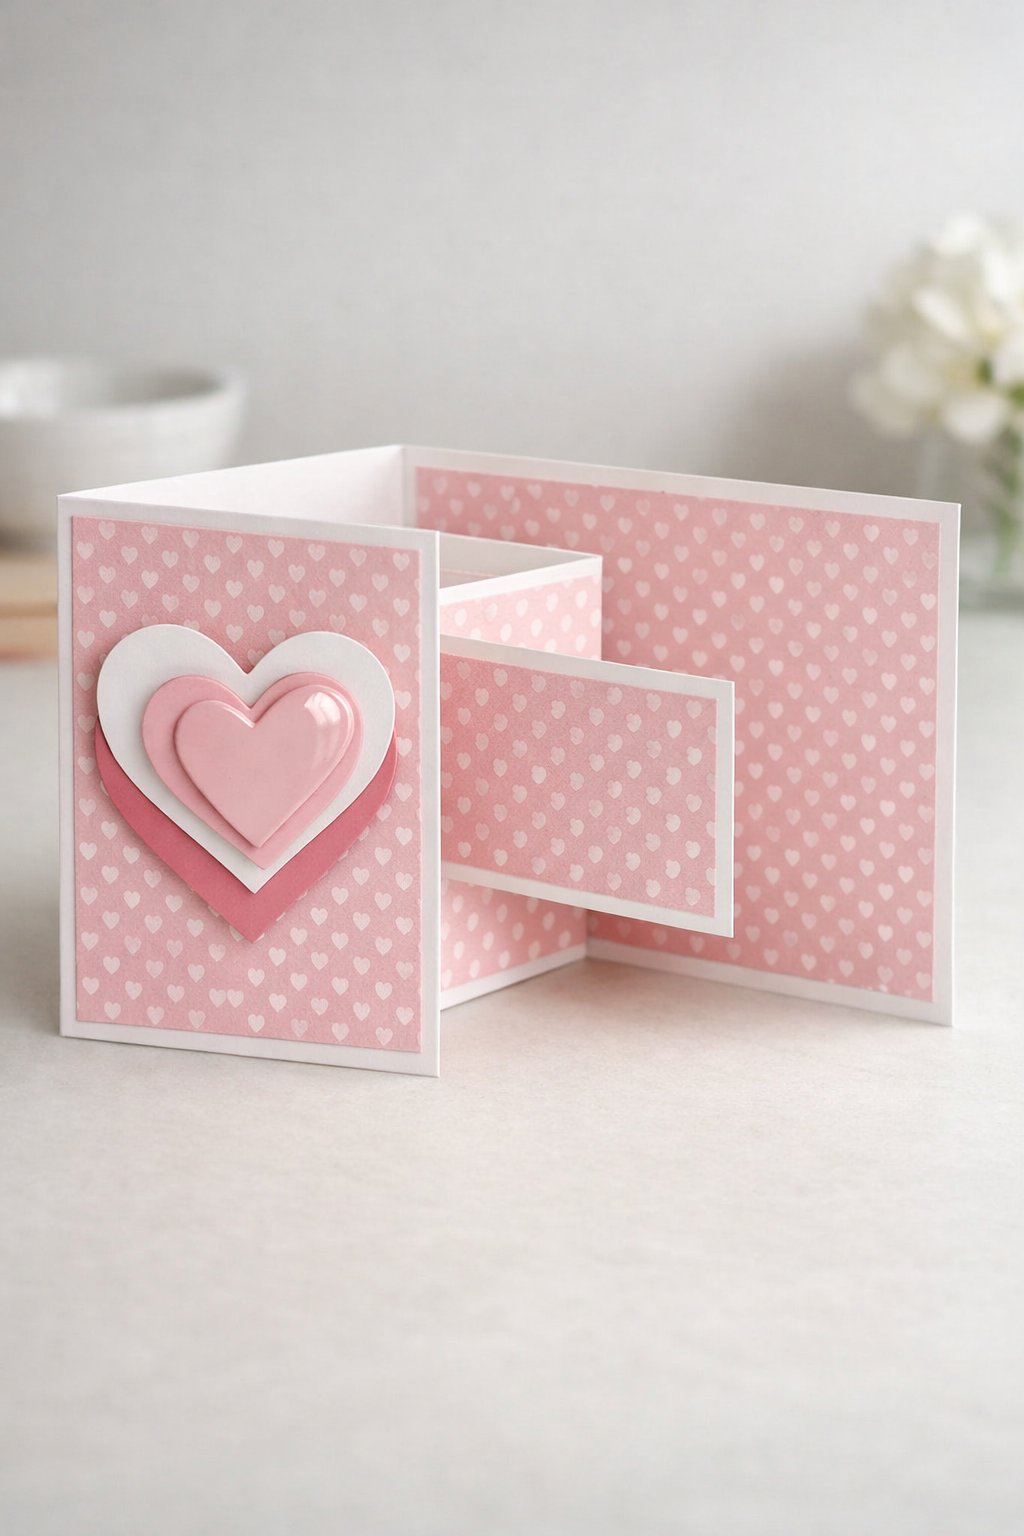
17. Pink Hearts Double Z Fold Card
Get instant access to Ad-free version!
Get the $3.99 Printable
Unlock Tutorials 6–17
Download the Full Guide
Get Instant Access
Grab the Ebook. Click here now 👈
This is sweet, simple, and perfect for Valentine’s Day, anniversaries, or a cute love-themed card.
Heart paper makes it easy, and layered hearts on the front give it a nice focal point. Keep it clean and let the fold do the rest.
Materials needed
- White cardstock for base
- Pink cardstock for mats
- Heart patterned paper
- Paper trimmer
- Scoring board (or ruler + blunt tool)
- Bone folder (optional)
- Adhesive (tape runner or glue)
- Scissors
- Heart die-cuts (or hand-cut hearts)
- Glossy accents (optional)
- Foam tape (optional)
Shop the materials