


Table of Contents Show
Sometimes we want to paint, but we don’t know what to paint—especially when we’re tired and just want something calm and pretty. Star paintings are perfect for that because they can be simple, forgiving, and still look magical on a wall.
This list gives you 15 beginner-friendly star painting ideas that shine on canvas, with clear steps and materials.
Pick one that matches your mood, grab a brush, and let’s start.
1. Midnight Sky Starfield Canvas
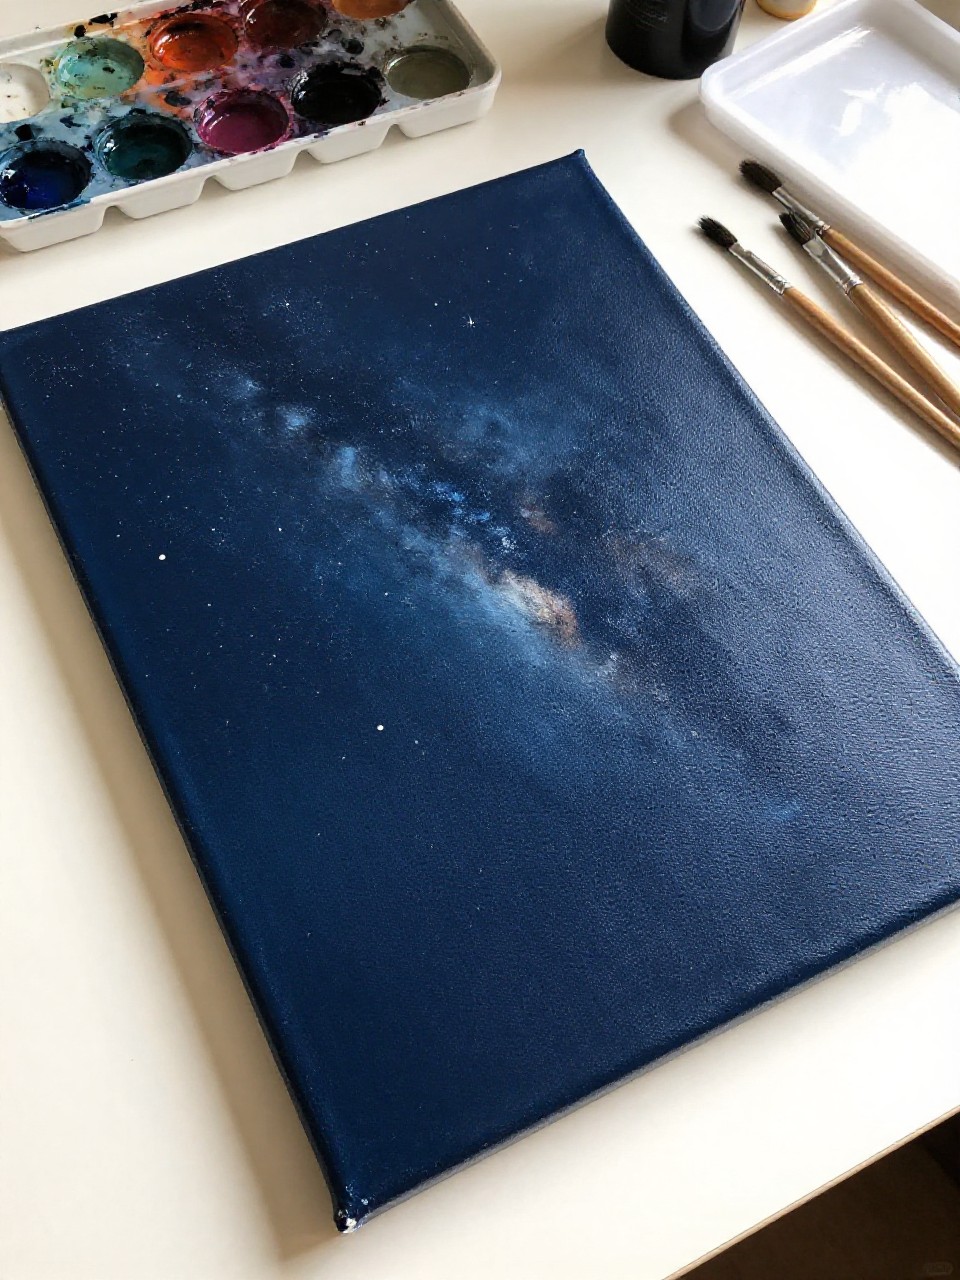
A deep navy canvas filled with tiny white stars and soft, hazy clouds looks like a quiet night you can hang on your wall. This one is soothing because you don’t need perfect shapes—random dots and gentle blending are the whole point, so it’s great for beginners.
Materials Needed:
For People Who Love to Make Things ✂️
- Stretched canvas
- Acrylic paint (navy, black, white)
- Paintbrushes in multiple sizes
- Palette or paint tray
- Water jar and paper towel
- Optional sealer or varnish
Steps to Make:
- Paint the whole canvas navy and blend a little black into the corners while it’s still wet.
- Lightly brush a few cloudy patches with thinned white to create soft “space fog.”
- Dip a small brush in white and add scattered star dots in different sizes.
- Add a few brighter stars by layering thicker white paint for raised texture.
- Let it dry fully, then seal and hang it where light can catch the details.
2. Gold Constellation Lines on Black Canvas
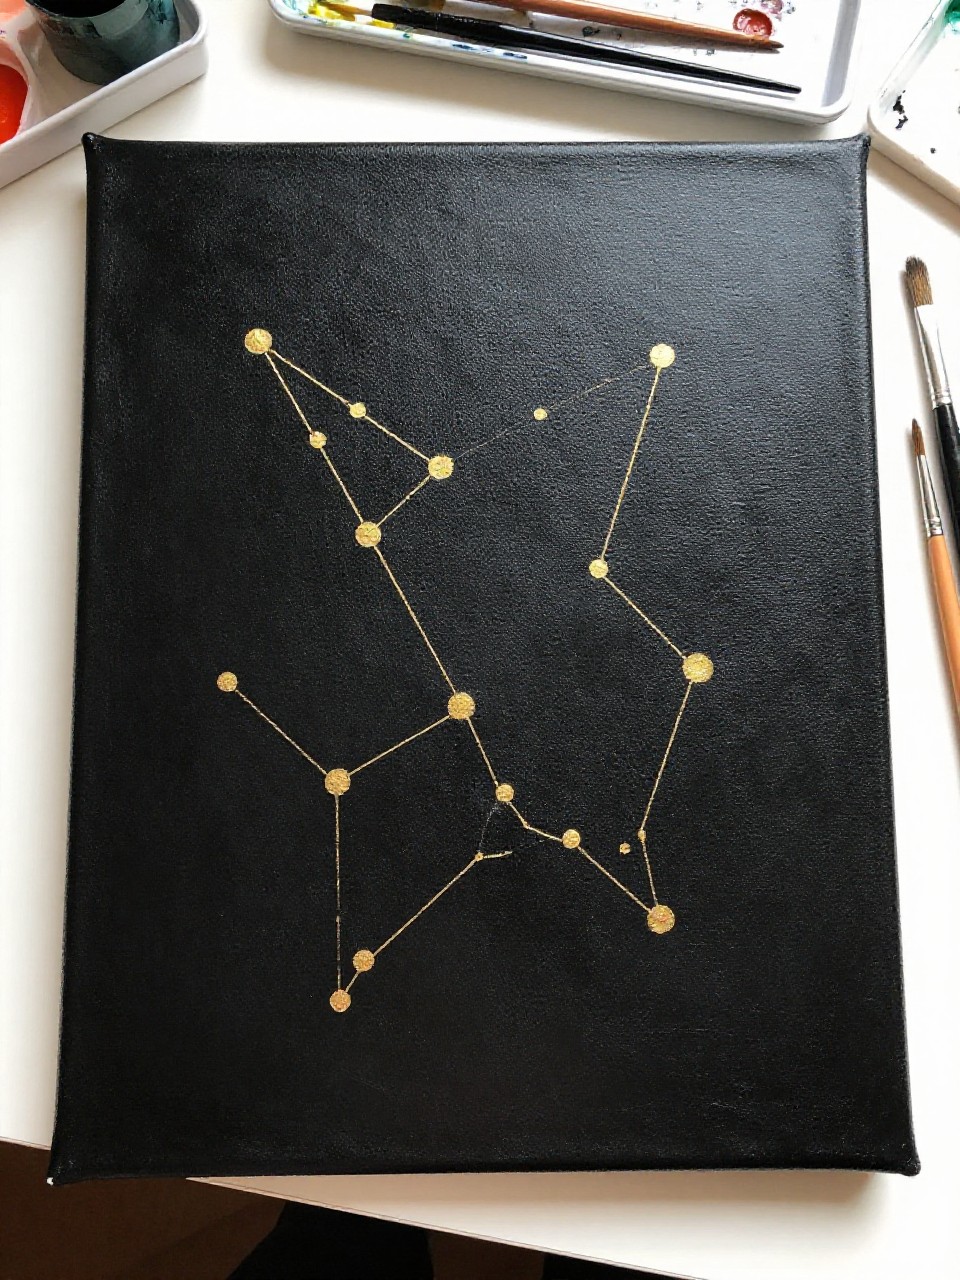
A matte black canvas with thin gold constellation lines and small star points looks clean, modern, and a little magical. It’s satisfying because the design is simple and slow—just dots and lines—so it feels relaxing and ends up looking very “gallery wall” ready.
Materials Needed:
- Stretched canvas
- Acrylic paint (black, metallic gold)
- Paintbrushes in multiple sizes
- Palette or paint tray
- White chalk pencil (for sketching)
- Optional sealer or varnish
Steps to Make:
- Paint the canvas black and let it dry until it’s fully matte.
- Lightly sketch a few constellations with a chalk pencil using simple dot patterns.
- Paint small gold star dots where your sketch marks are placed.
- Use a thin brush to connect the dots with delicate gold lines that taper at the ends.
- Dry completely, erase leftover chalk gently, then seal for a soft shine.
3. Pastel Galaxy Wash with Sparkle Stars
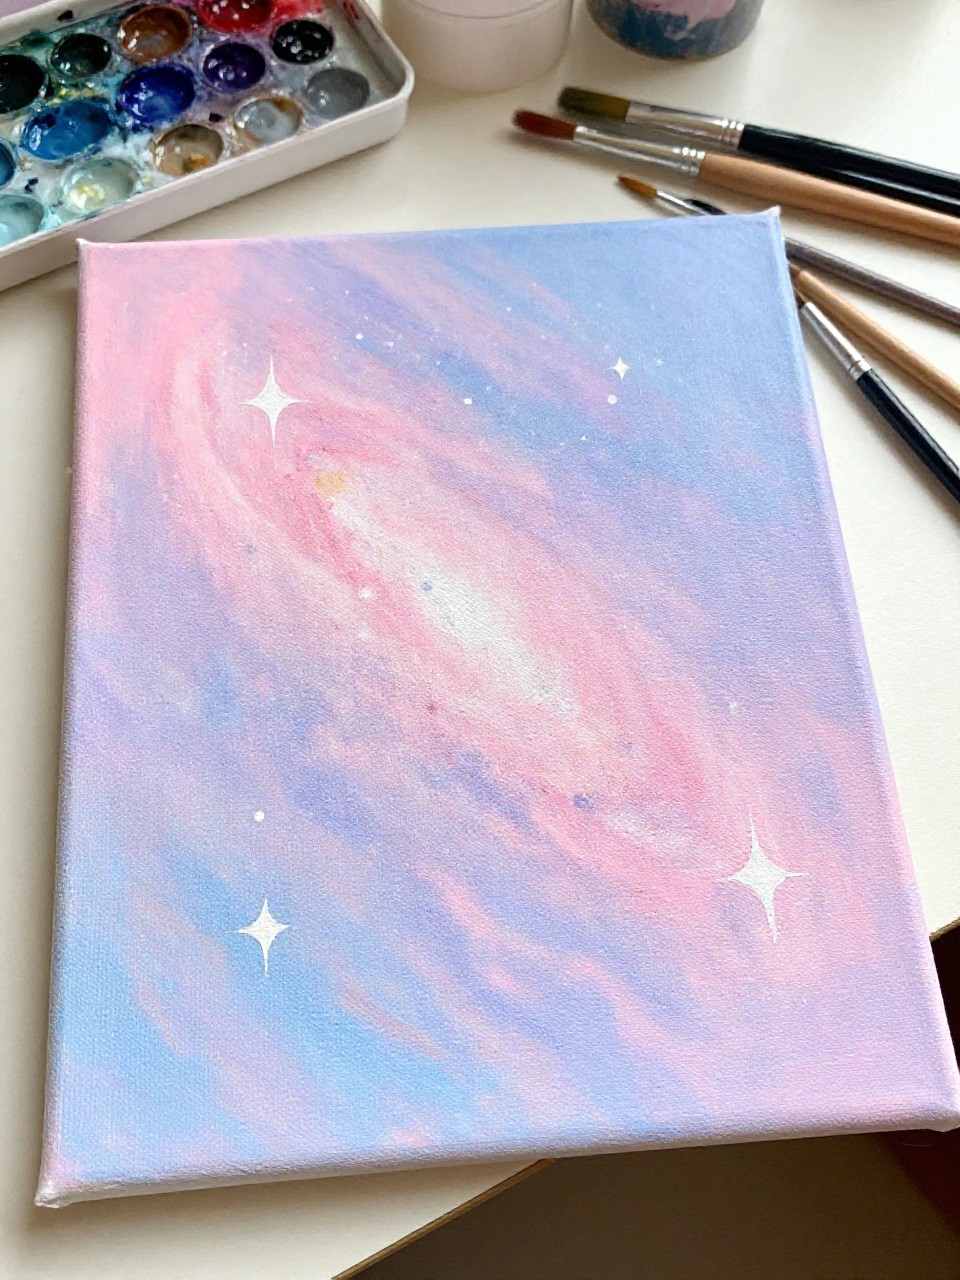
A soft pastel galaxy with blended pink, lavender, and blue swirls, topped with bright white stars, looks dreamy and gentle. It’s a great beginner project because blending big color areas is forgiving, and the star details can be as simple as dots and tiny crosses.
Materials Needed:
- Stretched canvas
- Acrylic paint (pink, lavender, light blue, white)
- Paintbrushes in multiple sizes
- Palette or paint tray
- Sponge (optional for blending)
- Optional sealer or varnish
Steps to Make:
- Dampen a sponge or wide brush and lay down soft pastel patches across the canvas.
- Blend where the colors meet by tapping and lightly sweeping so no edge looks harsh.
- Add a few deeper strokes of purple or blue to create depth in the “space” areas.
- Dot in stars with white paint, then add a few tiny cross-star sparkles for variety.
- Let dry, add one last bright star layer if needed, then seal and display.
4. Shooting Star Over a Gradient Sky
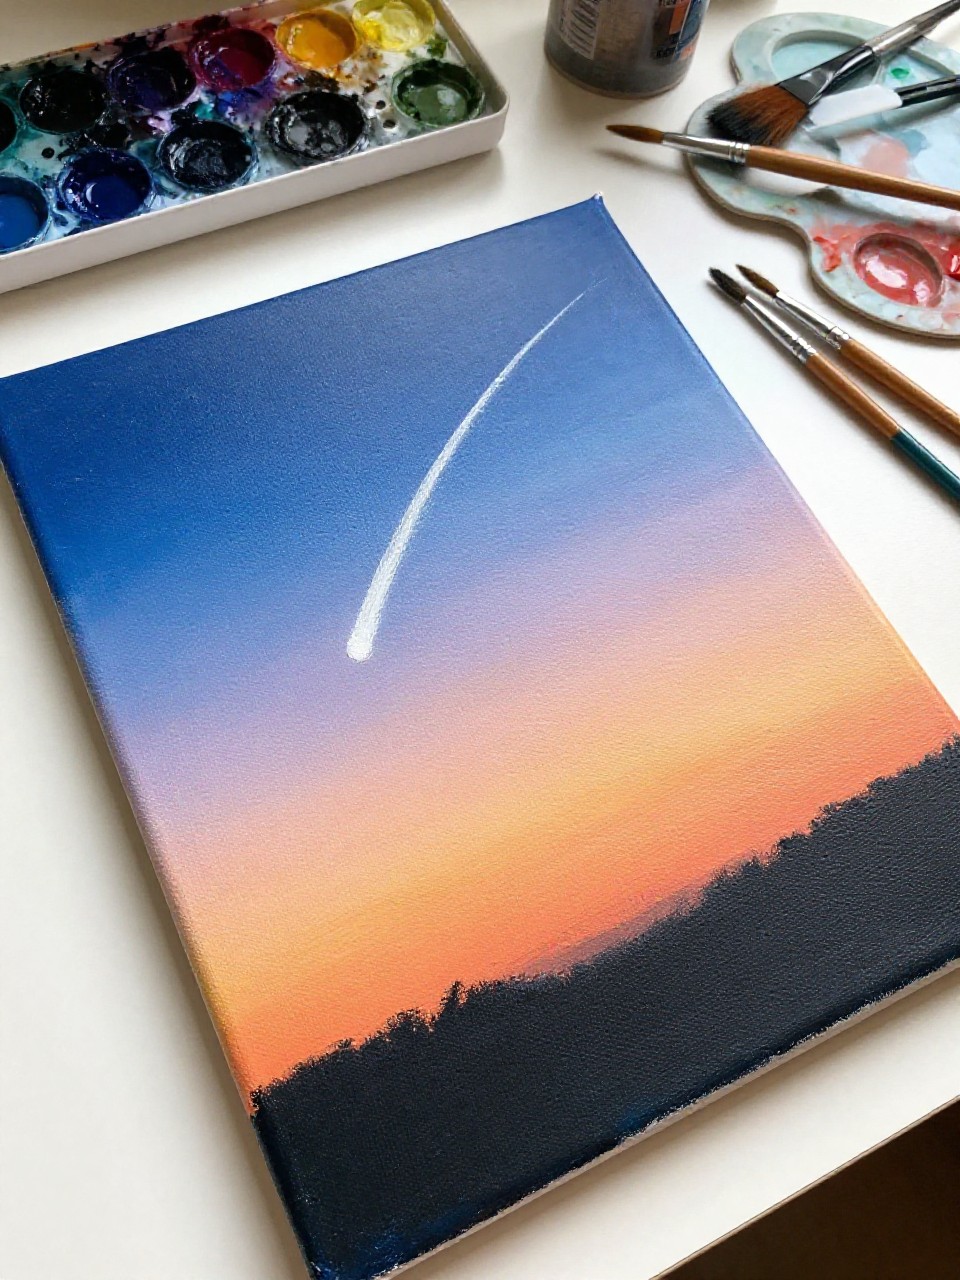
A smooth sunset-to-night gradient with one bright shooting star streaking across the canvas feels hopeful and calm. This is fun for beginners because the main work is blending the background, and the shooting star is just a simple curved stroke with a few glowing layers.
Materials Needed:
- Stretched canvas
- Acrylic paint (orange, purple, navy, white)
- Paintbrushes in multiple sizes
- Palette or paint tray
- Small liner brush (for the streak)
- Optional sealer or varnish
Steps to Make:
- Paint a gradient background from warm orange to purple to navy, blending while wet.
- Once dry, lightly mark a curved shooting-star path with a faint pencil line.
- Paint the star head as a bright white dot, then pull paint outward into a tapered streak.
- Add a soft glow by brushing a thin haze of diluted white around the star head.
- Dry fully, seal, and hang where the gradient can really stand out.
5. Starry Night Mountain Silhouette Canvas
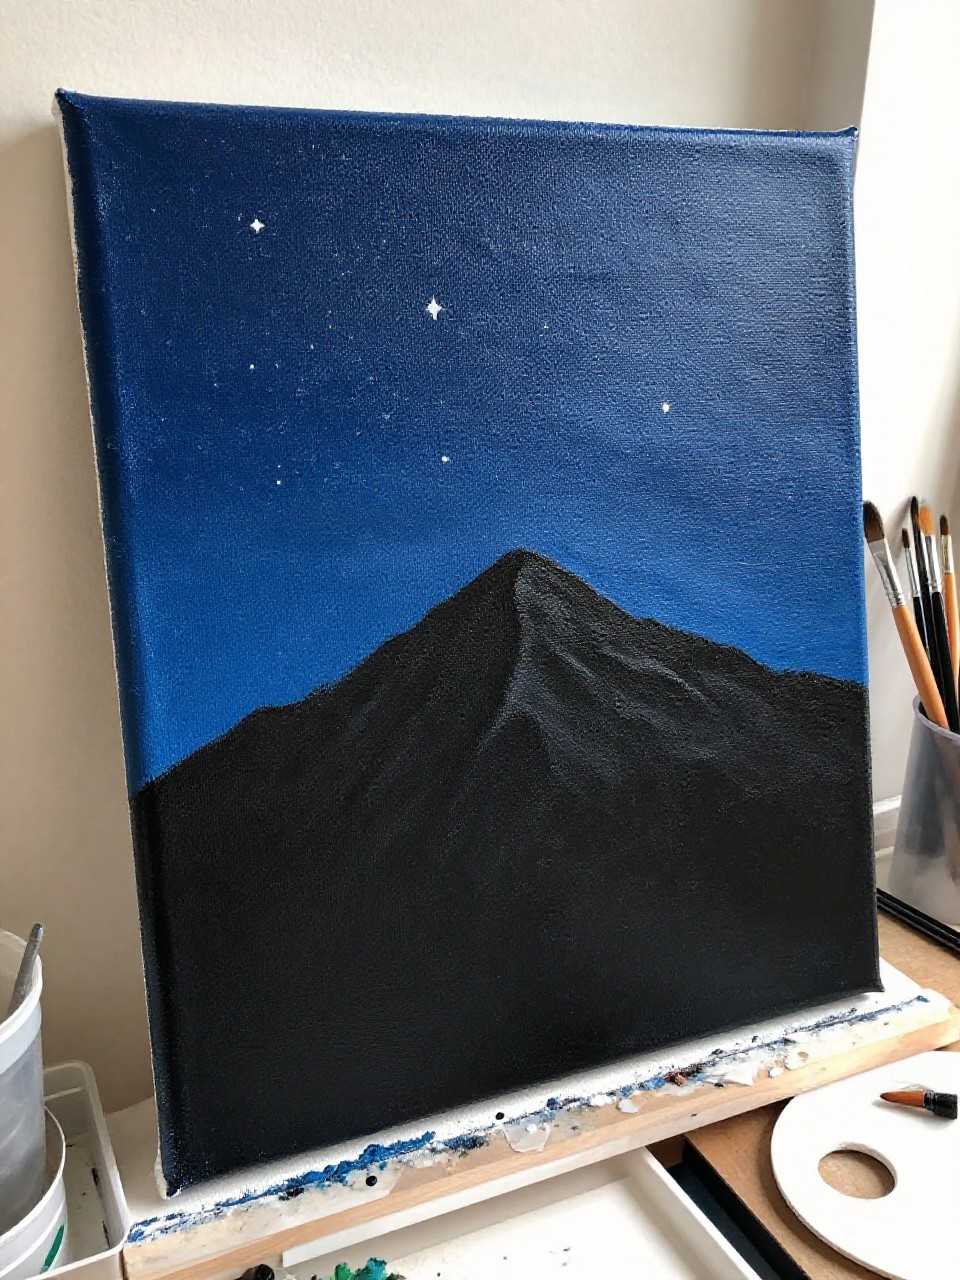
A dark mountain silhouette under a sky full of scattered stars looks bold and cozy at the same time. It’s satisfying because the mountain shapes are easy to block in, and the stars are quick dots—perfect if you want a relaxing project that still feels like real wall art.
Materials Needed:
- Stretched canvas
- Acrylic paint (navy, black, white)
- Paintbrushes in multiple sizes
- Palette or paint tray
- Sponge or dry brush (optional)
- Optional sealer or varnish
Steps to Make:
- Paint the sky navy and blend darker tones near the top edge for depth.
- Use black paint to block in a simple mountain ridge along the bottom third.
- Dry-brush a faint lighter edge on one mountain side to suggest moonlight.
- Add stars with white paint in clusters, leaving a few open areas for contrast.
- Let it dry, seal it, and place it above a bed or reading corner.
6. Moon and Stars Nursery Canvas
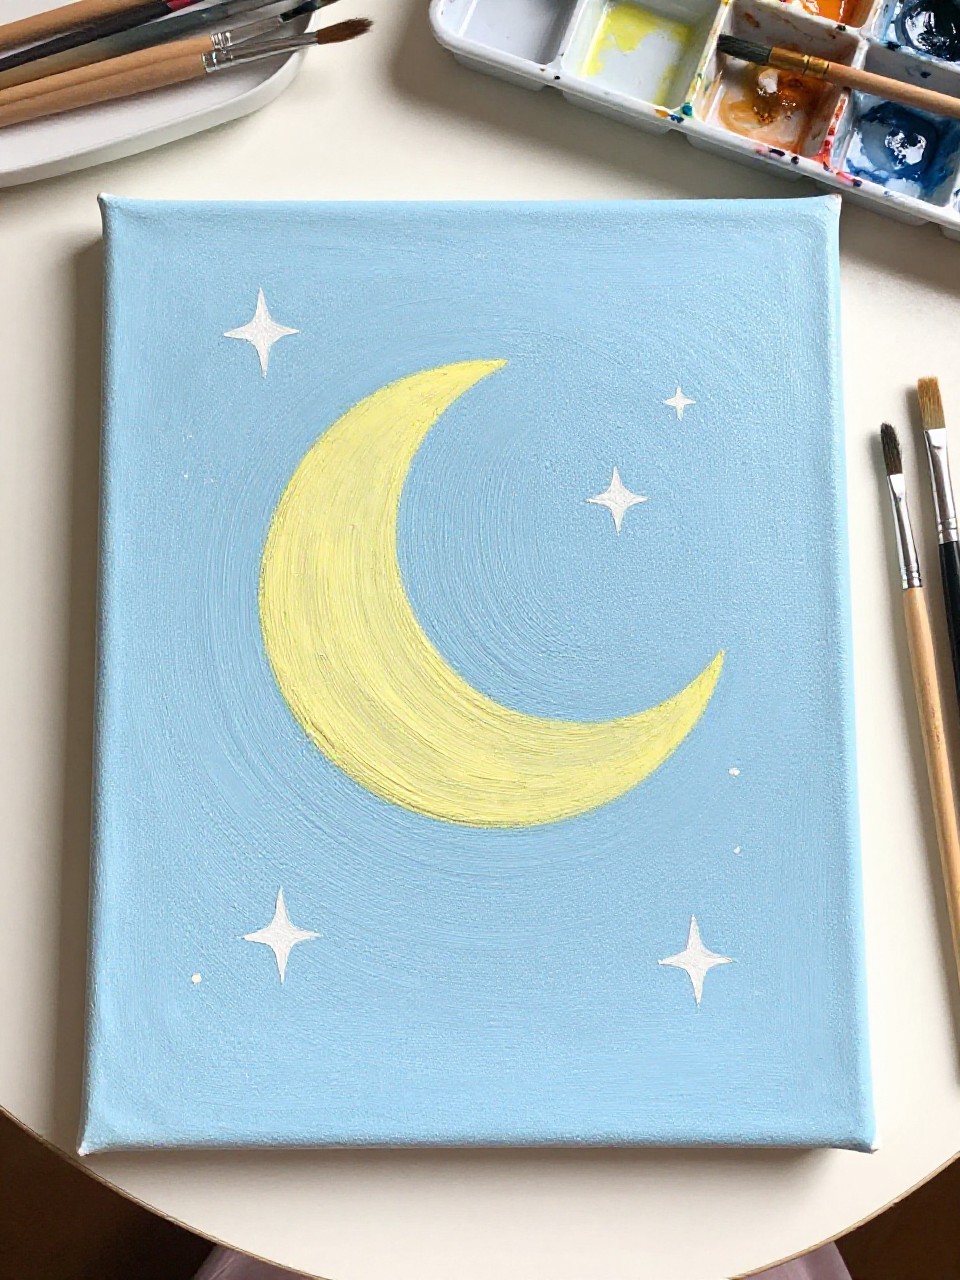
A soft cream or pale blue background with a smiling crescent moon and simple stars looks sweet and peaceful. This one is great if you want gentle home decor, and it’s beginner-friendly because the shapes are simple and you can sketch them first to feel confident.
Materials Needed:
- Stretched canvas
- Acrylic paint (cream or pale blue, white, soft yellow, gray)
- Paintbrushes in multiple sizes
- Palette or paint tray
- Pencil and eraser
- Optional sealer or varnish
Steps to Make:
- Paint the background a light, calming color and let it dry flat.
- Sketch a crescent moon and a few star shapes with light pencil lines.
- Fill in the moon with soft yellow and add a little gray shading on one edge.
- Paint the stars in white or pale yellow, adding tiny dot accents around them.
- Dry completely, erase any pencil marks, then seal for a gentle finish.
7. Chunky Textured Star on Minimal Canvas
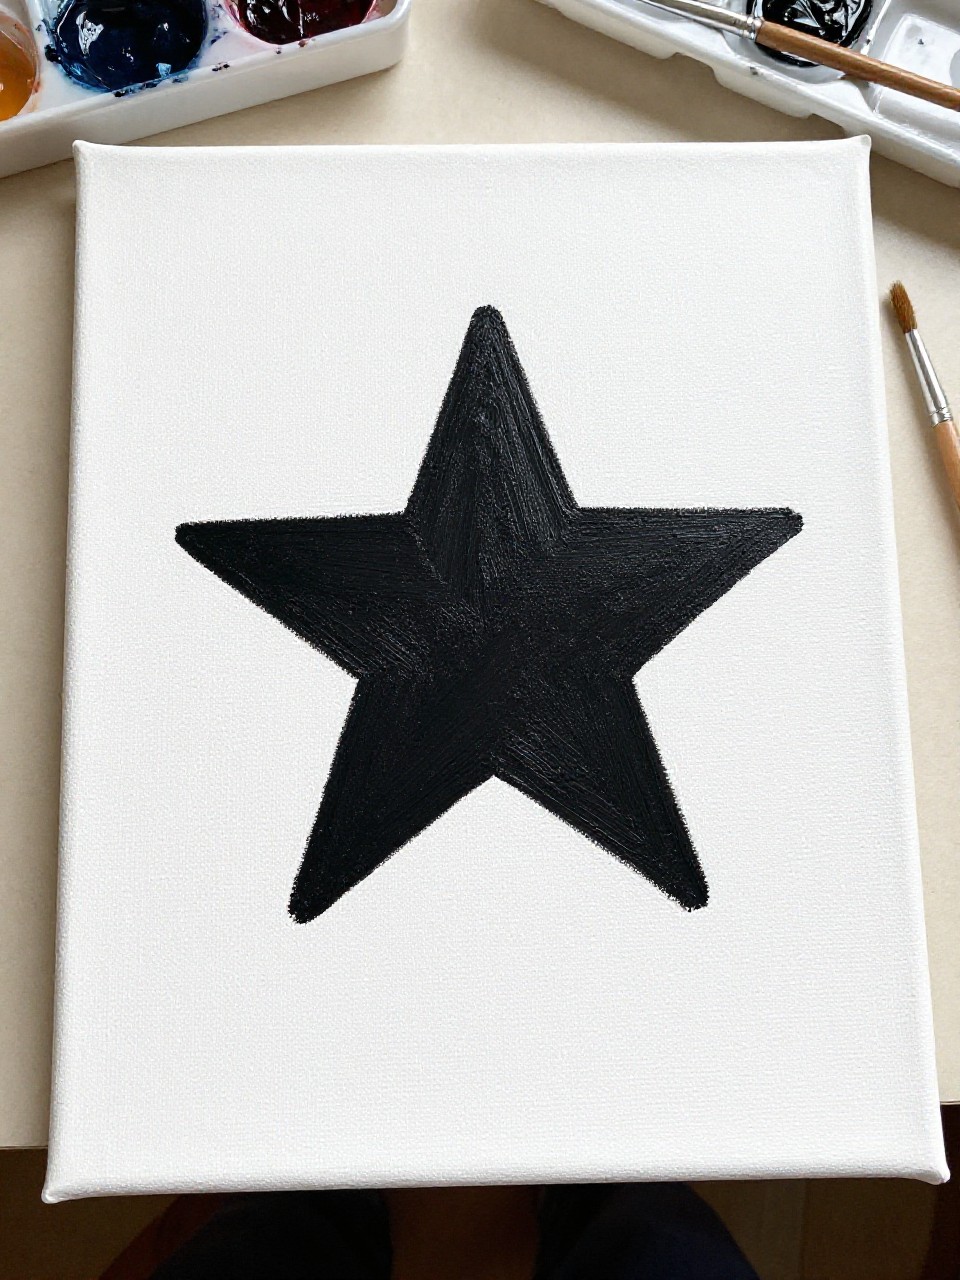
A clean white canvas with one raised, chunky star painted in bold color looks modern and eye-catching. It’s satisfying because you can lay on thick paint and see brush marks and texture, and you don’t need many details for it to look finished.
Materials Needed:
- Stretched canvas
- Acrylic paint (white plus one bold color)
- Paintbrushes in multiple sizes
- Palette or paint tray
- Masking tape (optional for crisp edges)
- Optional sealer or varnish
Steps to Make:
- Paint the canvas white and let it dry so the background stays clean.
- Lightly draw a large star in the center, or tape the star edges for sharp lines.
- Load a medium brush with thicker paint and fill the star with visible strokes.
- Add a second layer in spots to create raised texture and slight color variation.
- Peel tape if used, let dry fully, then seal to protect the thick paint.
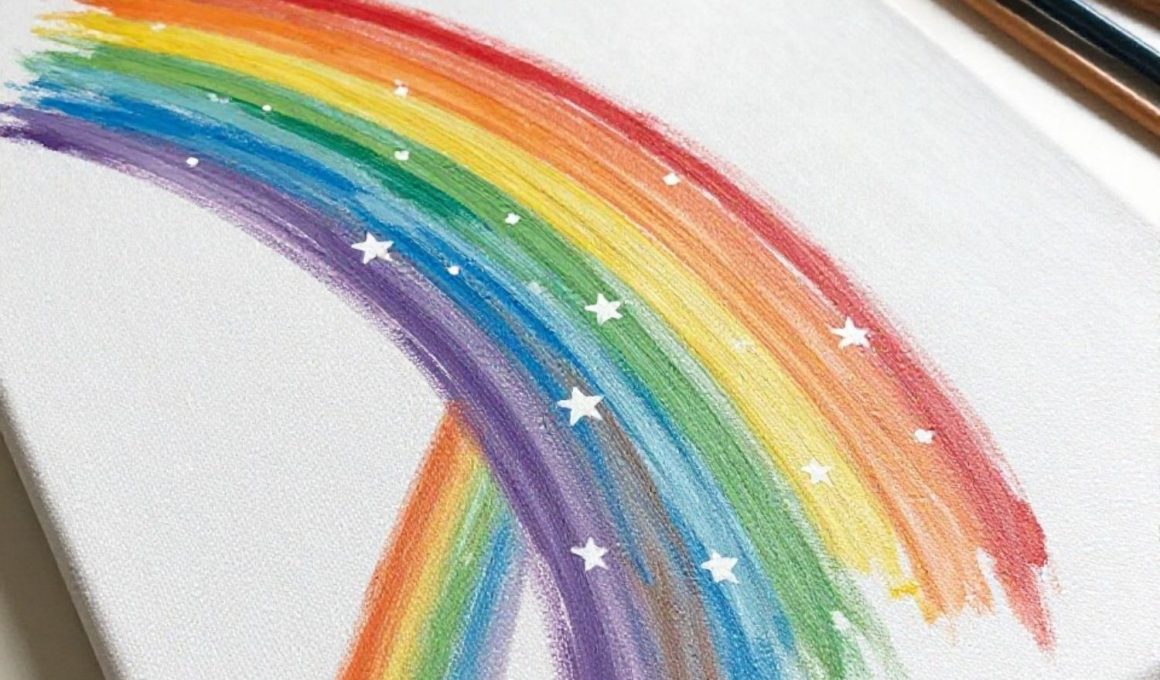
8. Rainbow Star Burst Canvas
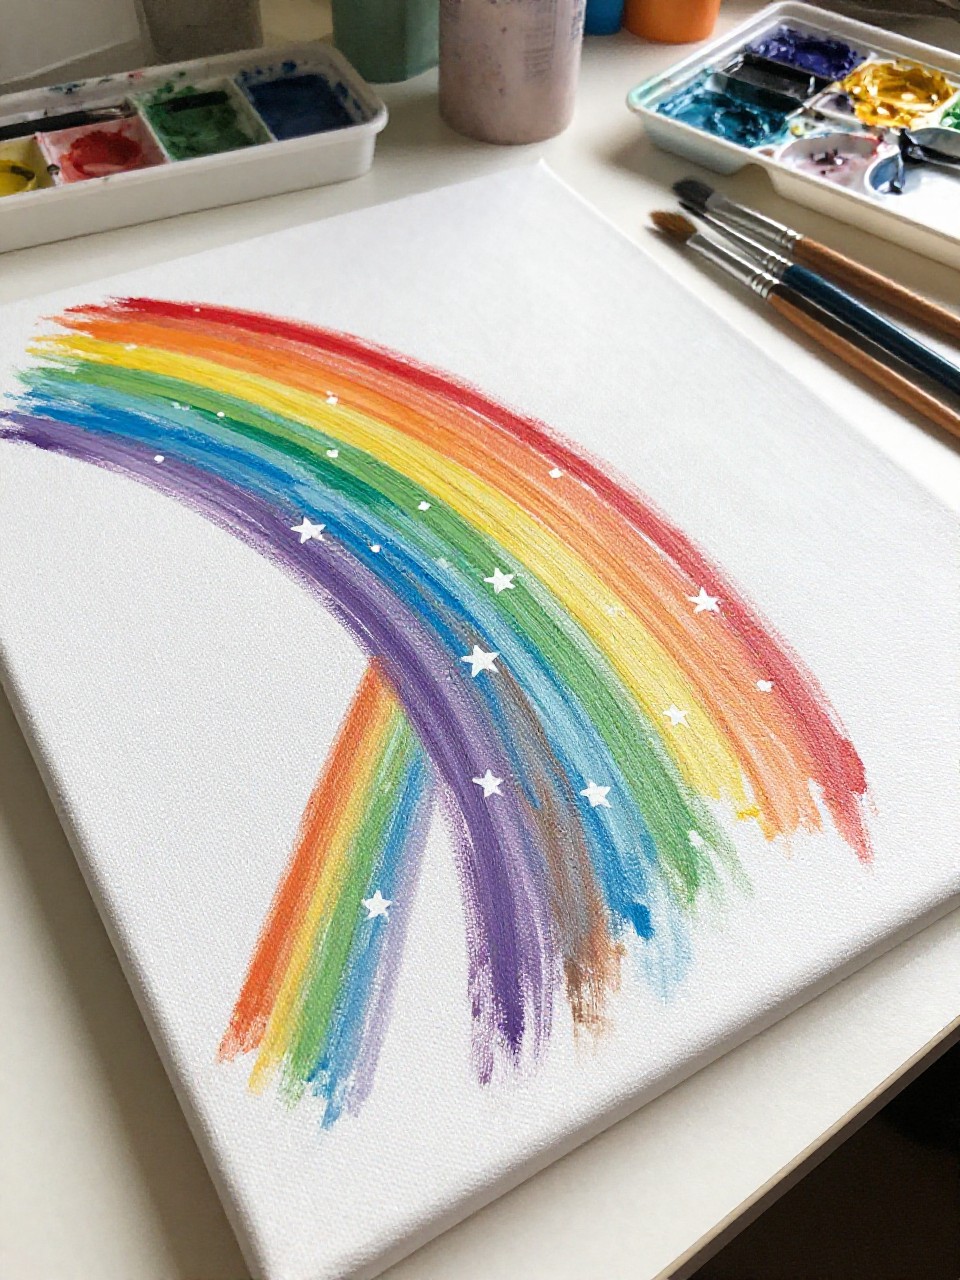
A bright star burst made of rainbow brush strokes shooting outward from the center looks energetic and happy. It’s great for beginners because it’s just repeated strokes, and it’s a fun way to practice color blending without worrying about perfect lines.
Materials Needed:
- Stretched canvas
- Acrylic paint (red, orange, yellow, green, blue, purple, white)
- Paintbrushes in multiple sizes
- Palette or paint tray
- Pencil (optional for center mark)
- Optional sealer or varnish
Steps to Make:
- Mark a small center point on the canvas where your burst will begin.
- Paint short strokes radiating outward, changing colors as you go around the circle.
- Layer a second pass of strokes so colors look richer and slightly blended at edges.
- Add tiny white star dots between some rays to make the burst feel “spacey.”
- Dry completely, seal, and hang it where you want a pop of color.
9. Tiny Stars Border Frame Canvas
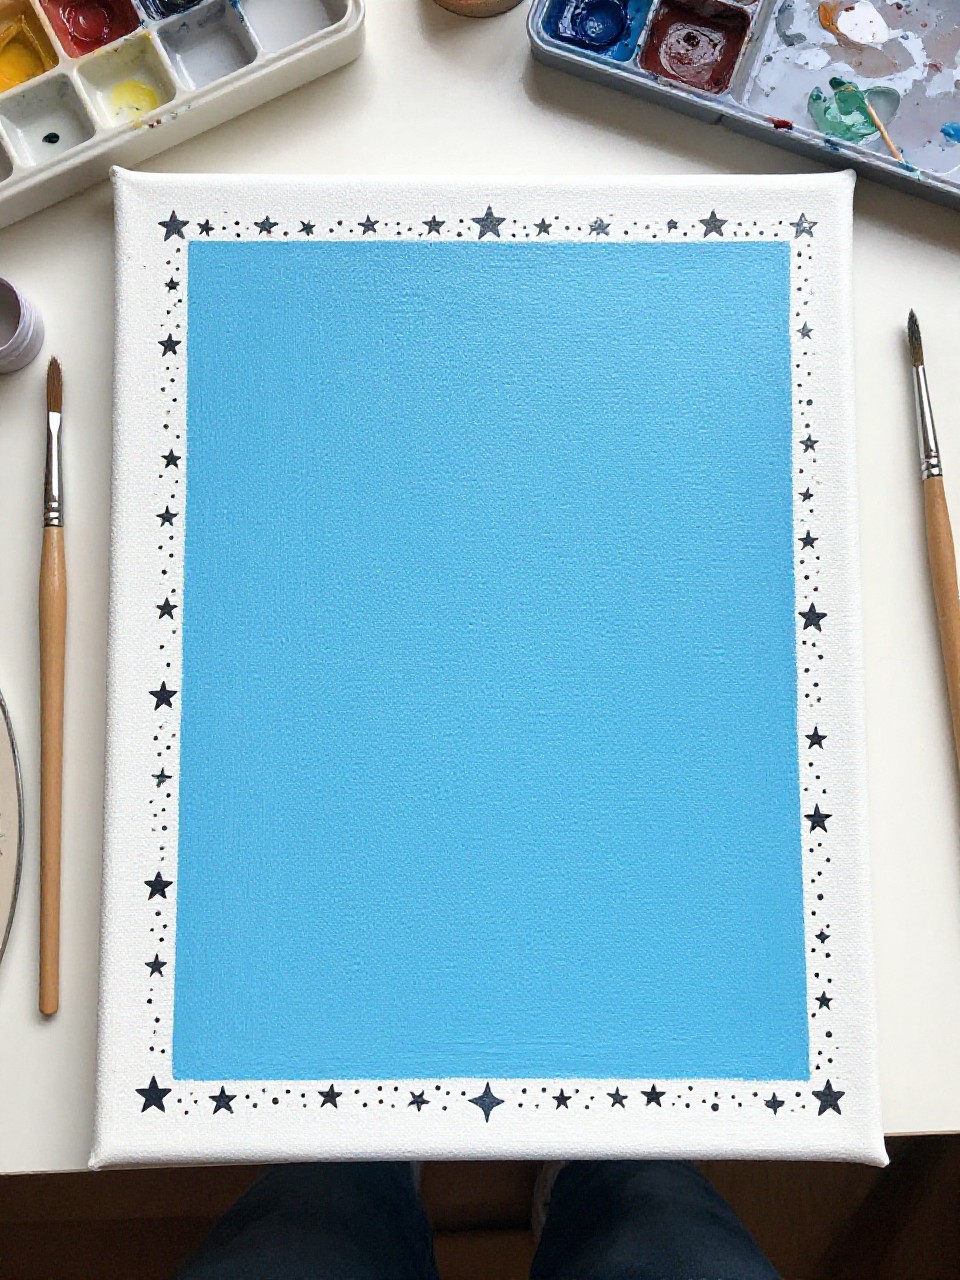
A simple canvas with a clean center and a border of tiny stars around the edges looks neat and decorative, like a hand-painted frame. This is relaxing because you can take your time with small repeats, and it’s perfect if you want a background for a quote later or a minimal look.
Materials Needed:
- Stretched canvas
- Acrylic paint (one background color, plus white or gold)
- Paintbrushes in multiple sizes
- Palette or paint tray
- Ruler or masking tape
- Optional sealer or varnish
Steps to Make:
- Paint the canvas a solid background color and let it dry evenly.
- Use a ruler or tape to mark a border area about 1–2 inches from the edges.
- Paint tiny stars all around the border, spacing them in a loose repeating pattern.
- Add a few dots and mini sparkles to break up the border and add texture.
- Remove tape, let dry fully, then seal to keep the border crisp.
10. Starry Ocean Horizon Canvas
A calm dark ocean with a straight horizon line under a starry sky looks peaceful and balanced. It’s great for beginners because the ocean is mostly long brush strokes, and the stars can be simple dots—plus it makes lovely decor for a bedroom or hallway.
Materials Needed:
- Stretched canvas
- Acrylic paint (navy, black, white, teal)
- Paintbrushes in multiple sizes
- Palette or paint tray
- Flat brush (for the horizon)
- Optional sealer or varnish
Steps to Make:
- Paint the top half as a night sky and the bottom half as a darker ocean base.
- Blend a thin, lighter band near the horizon to suggest distant light.
- Add horizontal teal and navy strokes in the water to create gentle wave texture.
- Dot white stars in the sky and add a few faint reflections in the water below.
- Let dry, seal, and display where the horizon line feels calming.
11. Soft Cloud Stars Canvas (Negative Space)
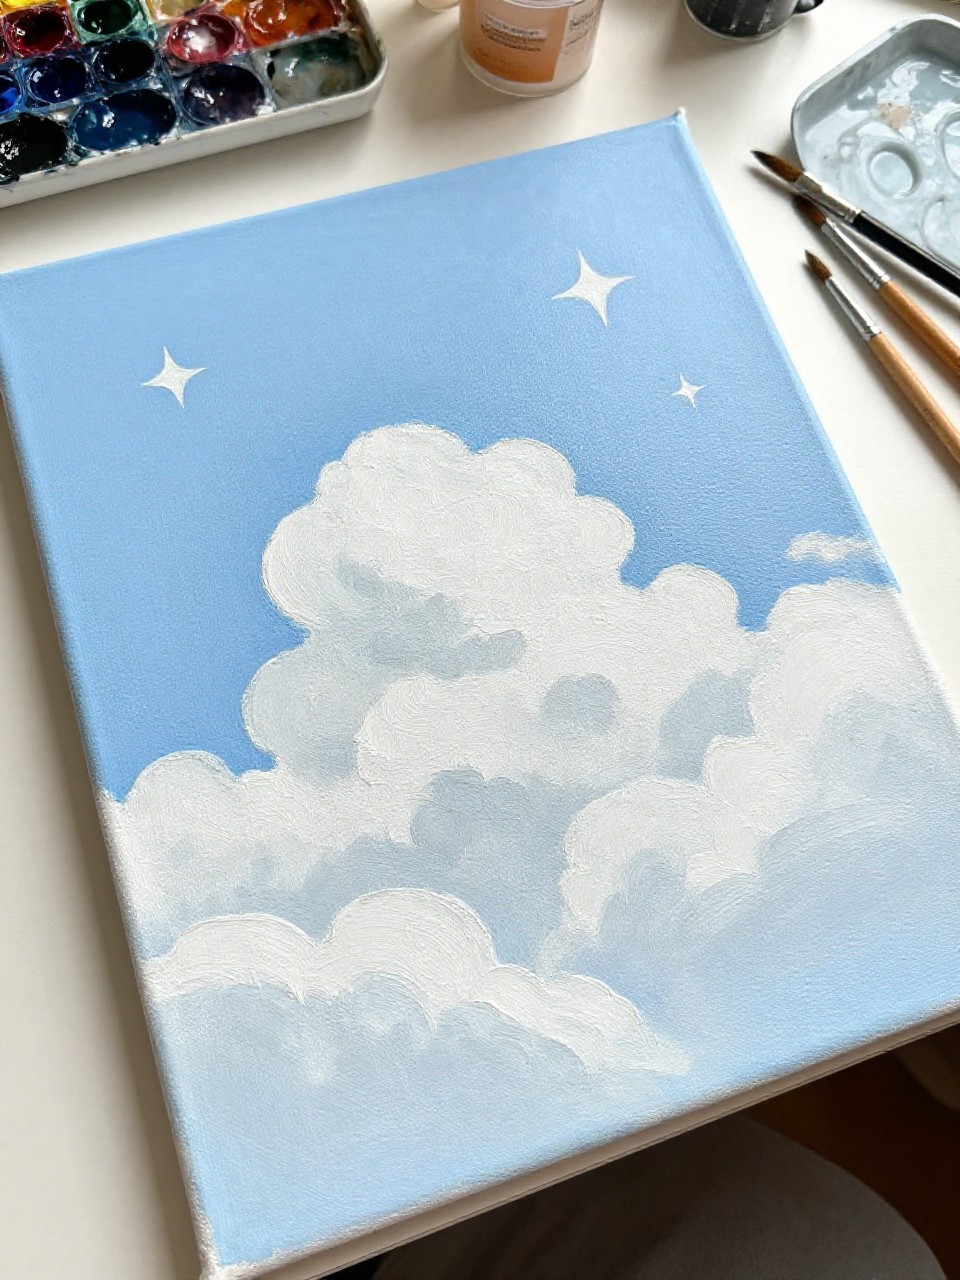
A pale sky with fluffy clouds and star shapes left unpainted as negative space looks light, airy, and a little surprising. This is satisfying because you paint around the stars instead of filling them in, and it’s a gentle way for beginners to practice control without stress.
Materials Needed:
- Stretched canvas
- Acrylic paint (pale blue, white, light gray)
- Paintbrushes in multiple sizes
- Palette or paint tray
- Star stencil or masking tape
- Optional sealer or varnish
Steps to Make:
- Place star stencils or taped star shapes on the canvas where you want the “empty” stars.
- Paint the background pale blue, brushing lightly around the stencils’ edges.
- Blend in cloud shapes using white with a touch of gray for soft shadow areas.
- Peel stencils carefully to reveal crisp negative-space stars, then soften nearby edges.
- Dry fully, seal, and hang it in a bright spot for a clean, airy look.
12. Big Dipper Star Map Mini Canvas
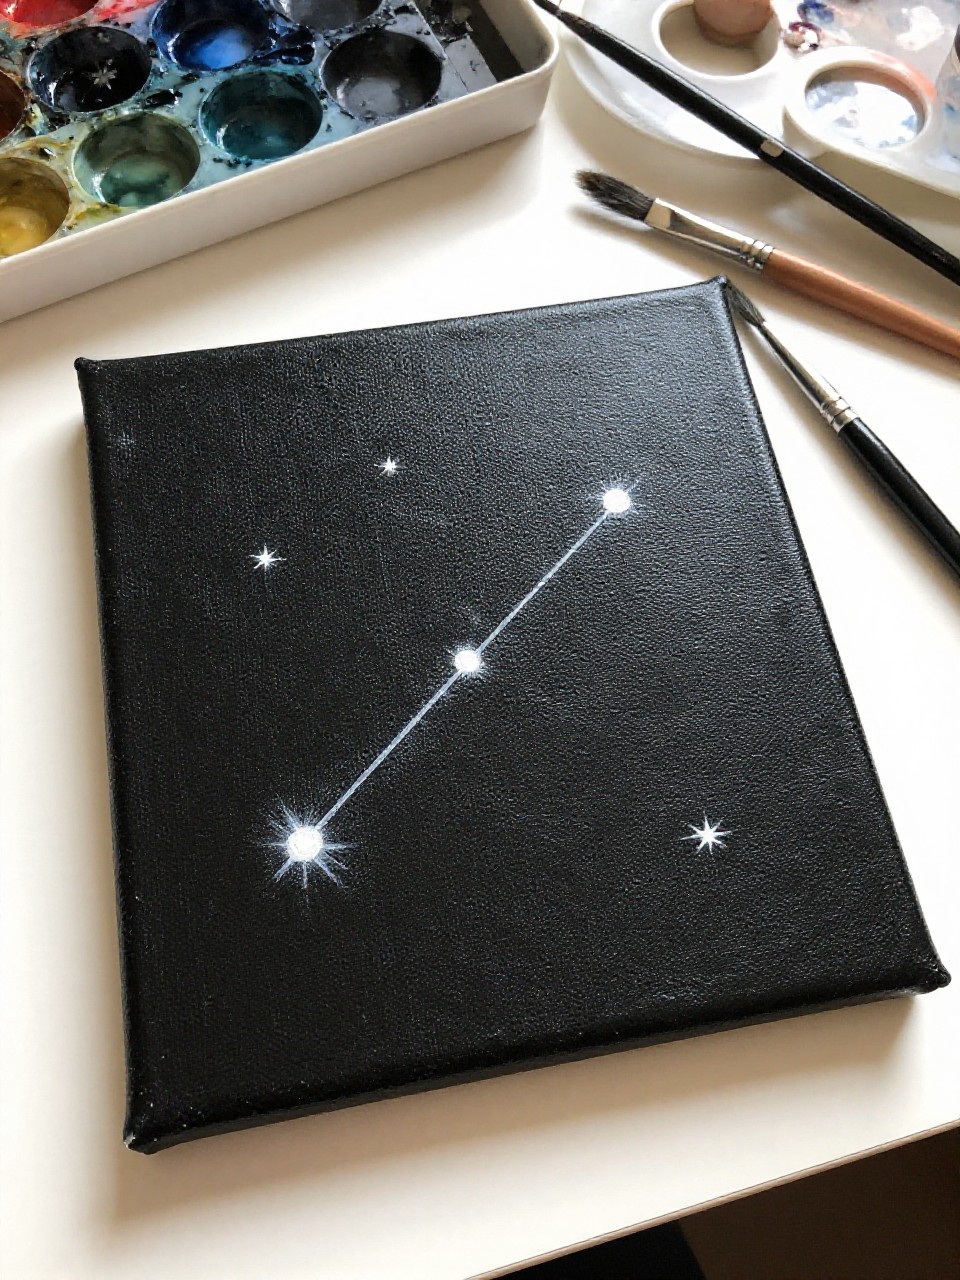
A small canvas with the Big Dipper painted as bright dots and simple connecting lines looks cute, personal, and easy to gift. It’s relaxing because it’s not complicated, and working small helps beginners finish quickly while still making something that feels meaningful.
Materials Needed:
- Stretched mini canvas
- Acrylic paint (black, white, silver or gold)
- Paintbrushes in multiple sizes
- Palette or paint tray
- White chalk pencil (for dots)
- Optional sealer or varnish
Steps to Make:
- Paint the mini canvas black and let it dry fully.
- Mark the Big Dipper dots lightly with a chalk pencil, spacing them like a simple ladle.
- Paint each star dot in white, then add a tiny silver or gold highlight on a few.
- Use a thin brush to connect the stars with light, uneven lines for a hand-drawn feel.
- Dry, seal, and prop it on a shelf or add it to a gallery wall.
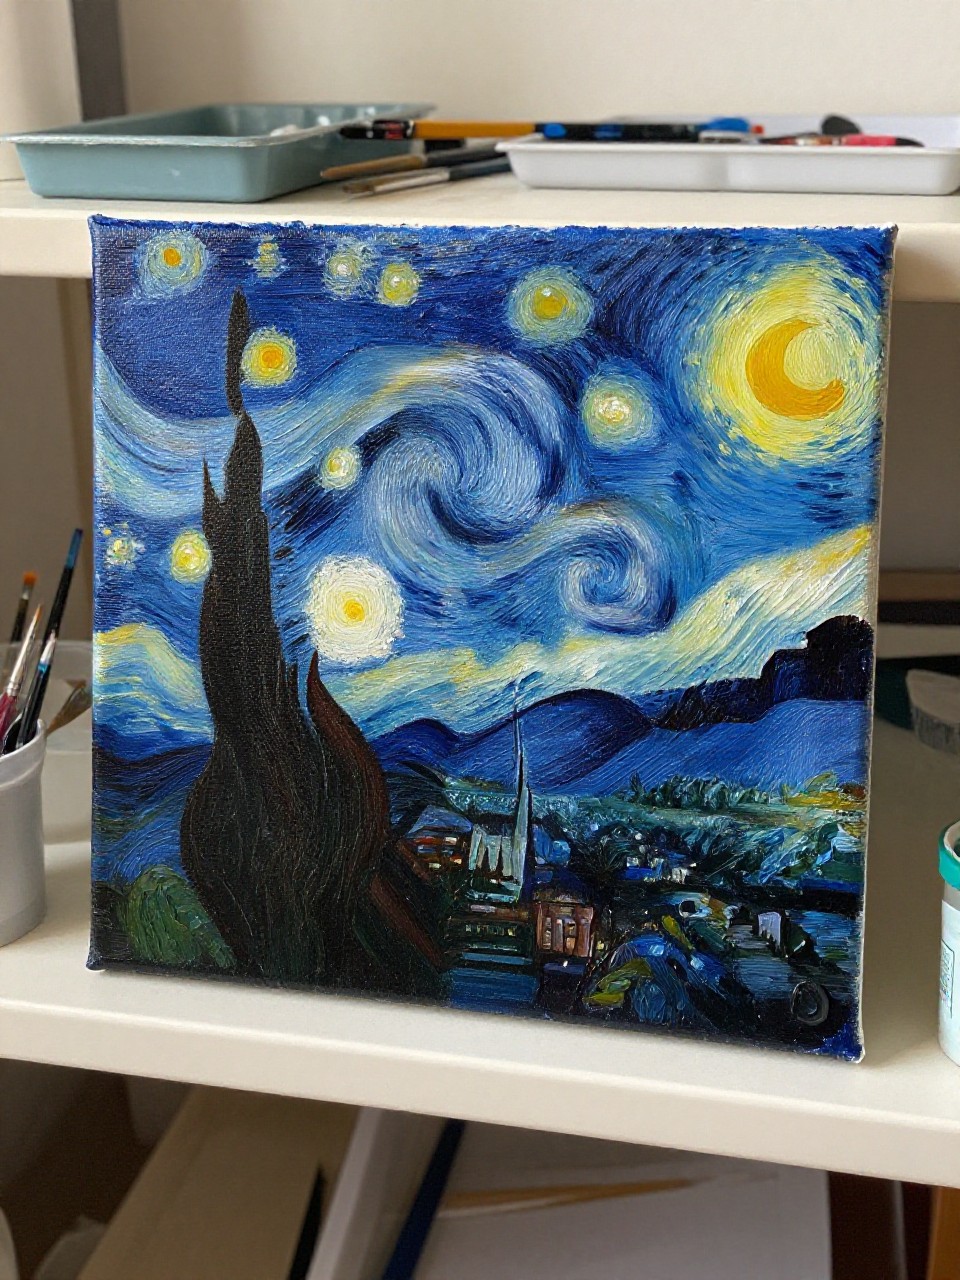
13. Starry Spiral Galaxy Canvas
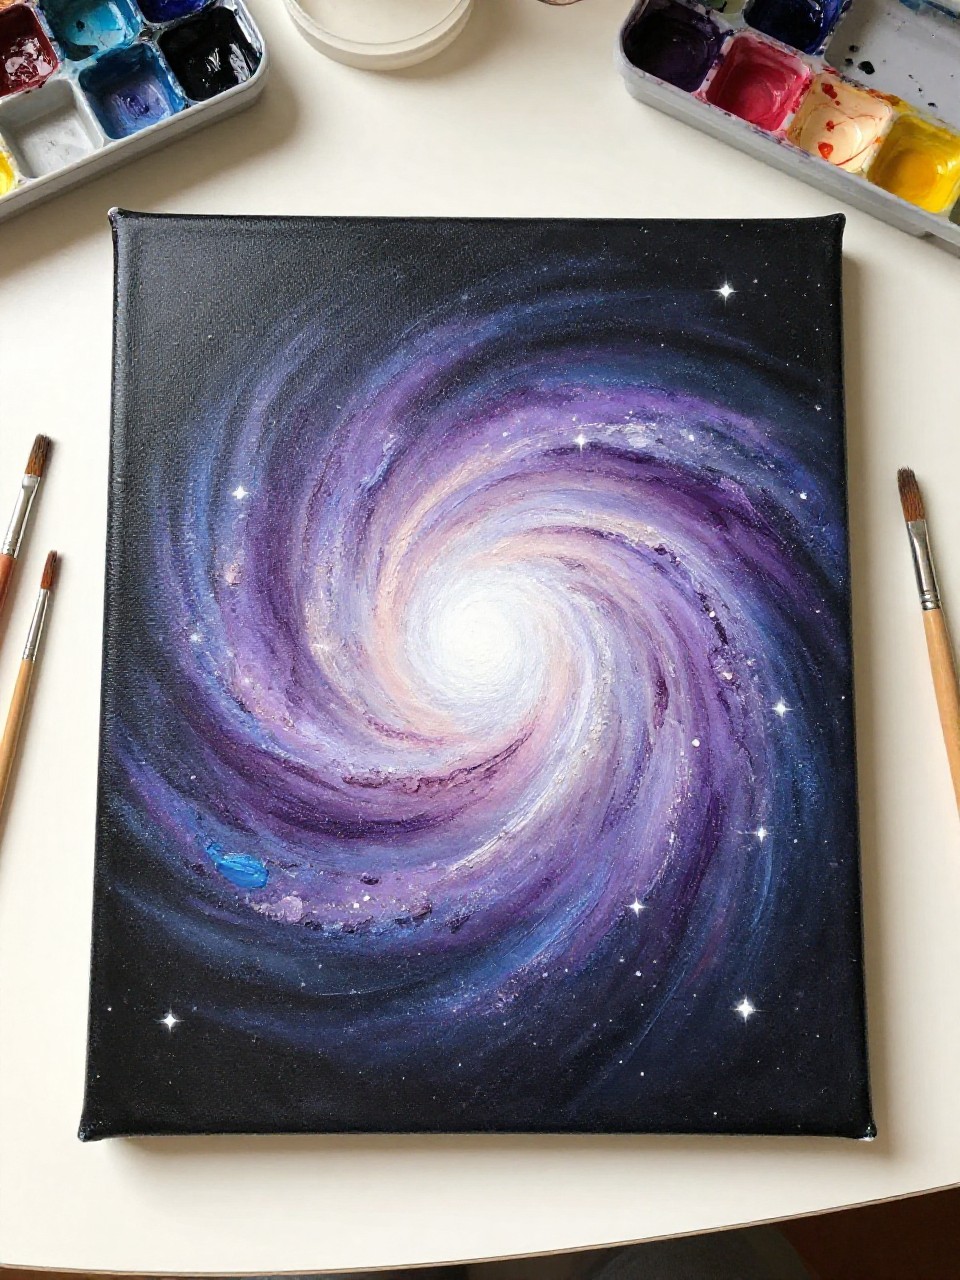
A swirling spiral galaxy with a bright center and scattered stars looks dramatic, even with simple brushwork. It’s satisfying because you build it in layers—dark base, then lighter swirls—so you can watch it appear step by step without needing perfect realism.
Materials Needed:
- Stretched canvas
- Acrylic paint (black, navy, white, purple)
- Paintbrushes in multiple sizes
- Palette or paint tray
- Round brush (for spiral strokes)
- Optional sealer or varnish
Steps to Make:
- Paint the canvas black with hints of navy and let it dry to a deep, dark base.
- Using purple and white, paint a loose spiral shape starting from a bright center point.
- Blend the edges of the spiral with a slightly damp brush so it looks smoky and soft.
- Dot stars around the spiral, adding a few thicker bright ones for raised texture.
- Dry fully, seal, and place it where the swirl can be seen from across the room.
14. Watercolor-Style Stars on Acrylic Canvas
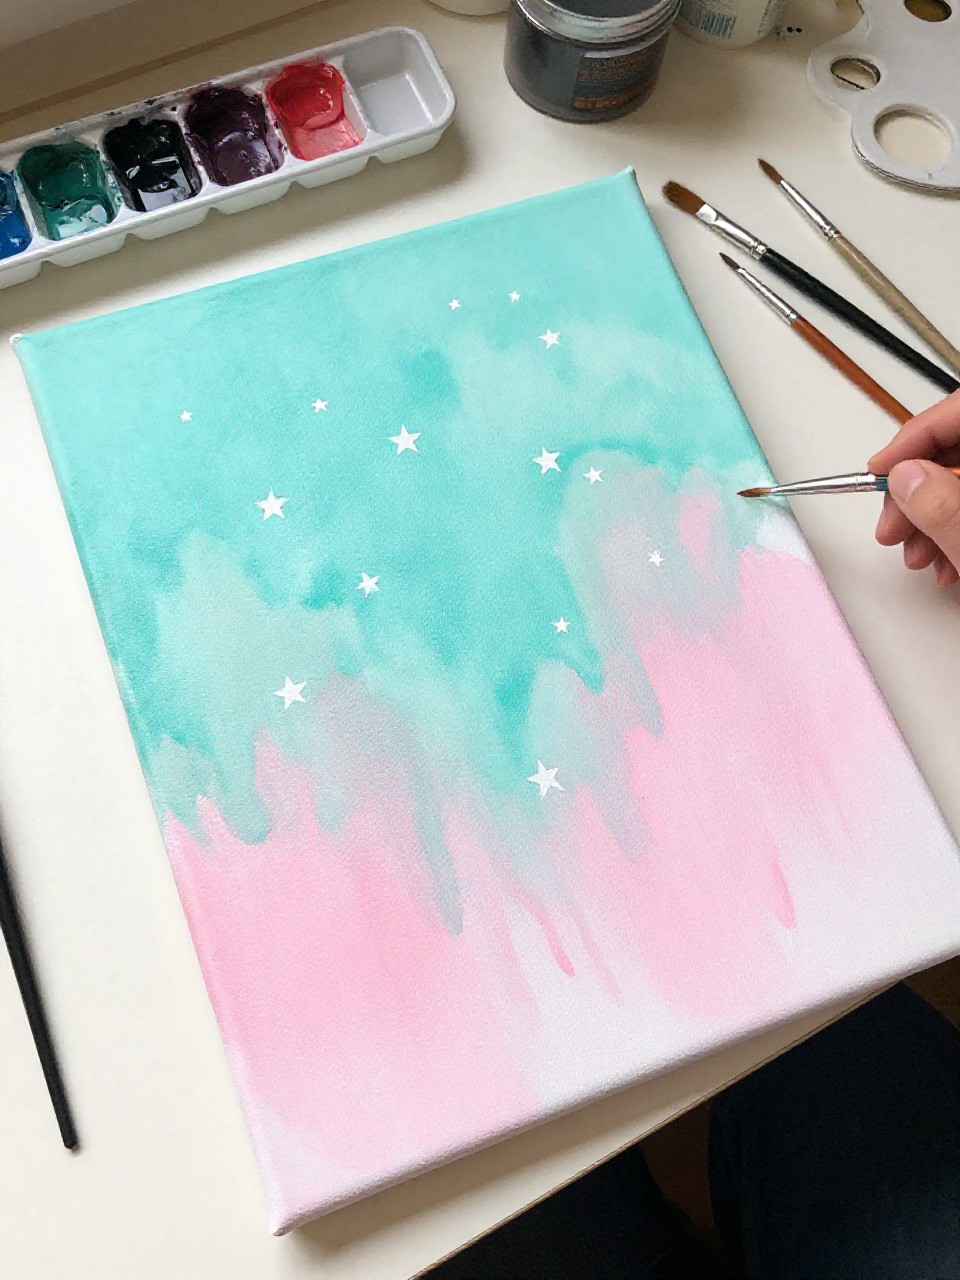
A light, watercolor-style background with soft drips and gentle blends, topped with crisp little stars, looks loose and artsy. This is great for beginners who like messy, relaxing painting, because the background can be imperfect while the small stars bring it all together.
Materials Needed:
- Stretched canvas
- Acrylic paint (turquoise, pink, white)
- Paintbrushes in multiple sizes
- Palette or paint tray
- Spray bottle (for misting)
- Optional sealer or varnish
Steps to Make:
- Mist the canvas lightly with water so paint can move and blend more easily.
- Brush on turquoise and pink in loose patches, letting colors bleed into each other.
- Tilt the canvas slightly to create soft drips and natural-looking streaks.
- When dry, paint small white stars on top so they sit clearly above the wash.
- Dry completely, seal, and display it near plants or bright decor for a fresh feel.
15. Layered Star Quilt Pattern Canvas
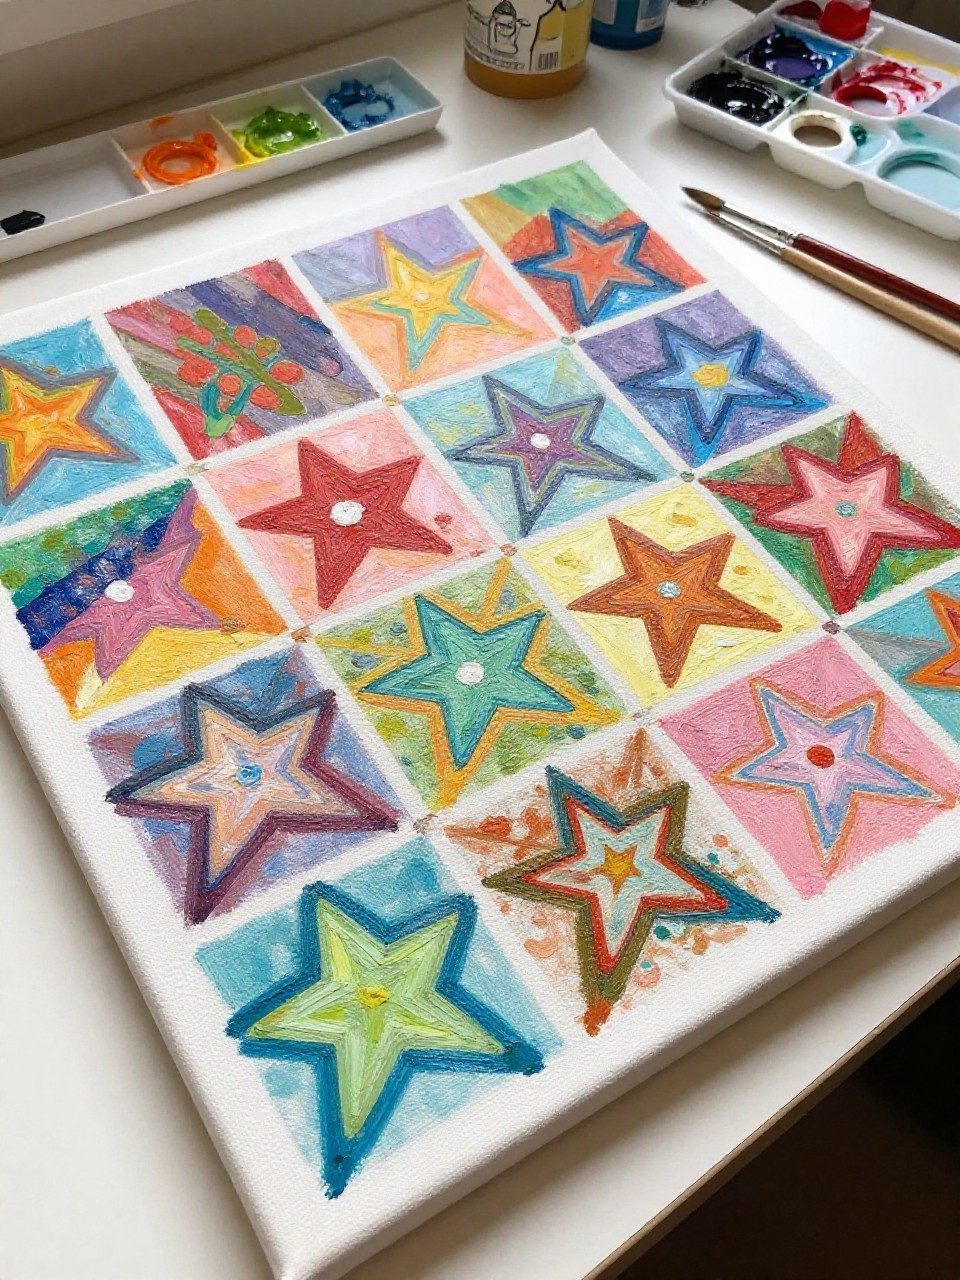
A canvas filled with a simple quilt-like grid of star blocks—each one a little different in color—looks cozy, bright, and handmade. It’s satisfying because you work one square at a time, so beginners can focus on small steps and still end up with a detailed piece.
Materials Needed:
- Stretched canvas
- Acrylic paint (4–6 coordinating colors plus white)
- Paintbrushes in multiple sizes
- Palette or paint tray
- Ruler and pencil
- Optional sealer or varnish
Steps to Make:
- Use a ruler to draw a light grid of equal squares across the canvas.
- In each square, sketch a simple star block with basic triangles and a center shape.
- Paint the blocks with alternating colors, letting brush strokes show for a quilt feel.
- Add small highlights or dotted borders in white to separate shapes and add texture.
- Let dry, seal, and hang it where the pattern can be enjoyed up close.


