
Table of Contents Show
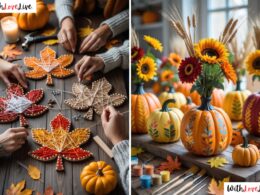
Spring is the season when people refresh their homes—new colors, new textures, lighter moods. If you’ve been thinking about selling crafts, this is a great time to offer small, joyful pieces that feel special but don’t take forever to make.
The secret is choosing projects that look high-end and “boutique,” yet use simple tools and easy steps.
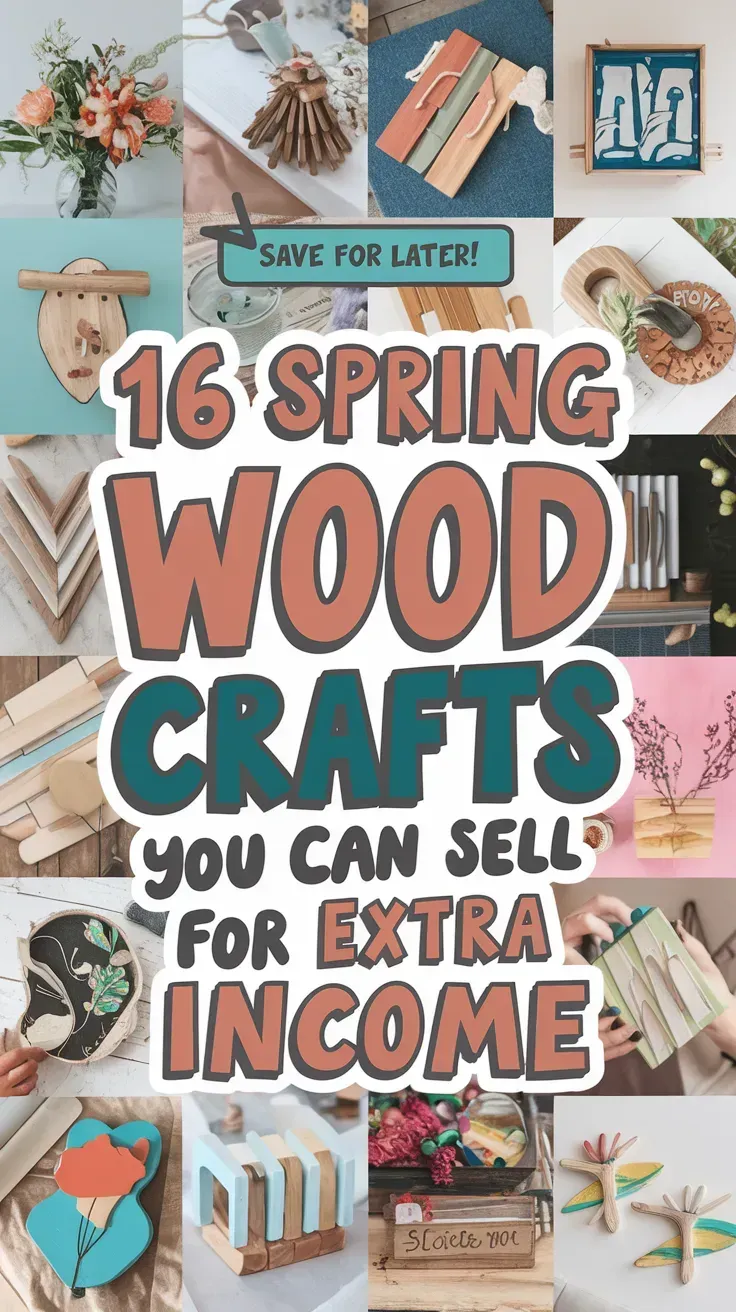
Below are 16 creative, beginner-friendly wood crafts that customers love for gifts, porch decor, and table styling. Each one is simple to batch-make and ship, so you can earn extra income without burning out.
1. Pressed Flower Wood Suncatcher

A modern, airy window charm that lets spring light shine through real blooms. It looks like gallery decor but uses simple frames and clear acrylic.
Materials Needed:
- Thin craft wood strips or balsa wood
- Clear acrylic sheets (small)
- Pressed flowers and UV resin or clear-drying glue
How to make it:
- 1. Cut and glue wood strips into a small square or hexagon frame.
- 2. Sandwich pressed flowers between two acrylic pieces with UV resin or glue.
- 3. Secure the acrylic “pane” inside the wood frame with tiny nails or glue.
- 4. Add twine for hanging and finish wood with natural oil.
2. Minimalist Wood Bud Vases (Test Tube Holders)
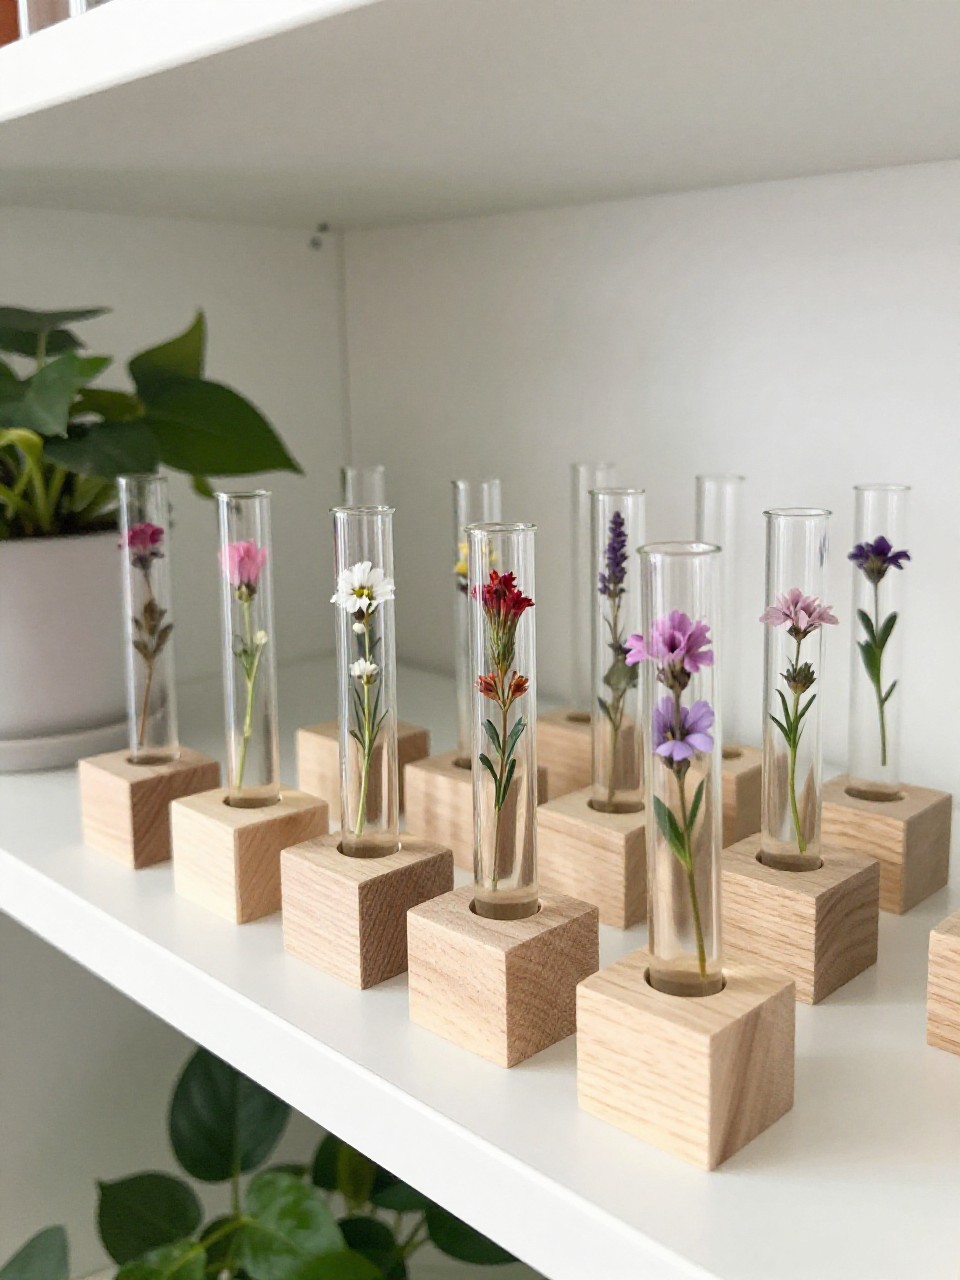
Clean-lined stands that hold a single stem. They feel like Scandinavian decor—perfect for desks and small shelves.
Materials Needed:
- 1×2 or 2×2 pine
- Glass test tubes or slim bud vases
- Sandpaper and food-safe oil or matte poly
How to make it:
- Cut blocks to 4–6 inches and sand smooth.
- Drill a hole sized for the test tube near the top.
- Wipe on oil or matte finish and let dry.
- Insert test tube and style with a spring bloom.
3. Layered Wood Butterfly Wall Art

Dimensional butterflies flutter across a board—light, airy, and joyful. The layered look feels boutique but is easy with a template.
Materials Needed:
- Thin plywood or craft wood sheets
- Craft knife or scroll saw
- Paint or watercolor and wood glue
How to make it:
- 1. Cut a backing board and sand edges.
- 2. Trace and cut simple butterfly shapes from thin wood.
- 3. Lightly paint or stain butterflies in soft spring colors.
- 4. Glue center bodies only so wings lift for 3D effect.
4. Cottage-Style Wood Herb Markers

Charming, handwritten markers that make kitchen gardens look curated. They sell great as sets.
Materials Needed:
- Cedar or poplar paint stirrers/tongue depressors
- Wood-burning tool or paint pen
- Food-safe oil
How to make it:
- 1. Cut sticks to 6–8 inches and round the tops.
- 2. Sand and wipe clean.
- 3. Burn or write herb names in neat script.
- 4. Oil lightly for weather resistance.
5. Painted Arch Shelf Sitters

Small, curved wood shapes with color-blocked paint. They style shelves instantly and look like boutique decor sets.
Materials Needed:
- 2×4 offcuts or craft wood arches
- Acrylic paint and painter’s tape
- Sandpaper
How to make it:
- 1. Cut wood into arch shapes (or buy pre-cut blanks) and sand smooth.
- 2. Tape off sections for color blocking.
- 3. Paint in spring hues (sage, blush, butter yellow).
- 4. Remove tape and touch up edges.
6. Wood Bead Daisy Napkin Rings

Sweet, simple table accents shaped like daisies. Lightweight, giftable, and perfect for spring brunches.
Materials Needed:
- Wood beads (small and medium)
- Elastic cord or jute twine
- White and yellow acrylic paint
How to make it:
- 1. Paint small beads white and one medium bead yellow.
- 2. String six white beads in a circle and tie.
- 3. Add the yellow bead to the center with a second loop of cord.
- 4. Knot securely to fit around a napkin.
7. Botanical Wood Block Prints
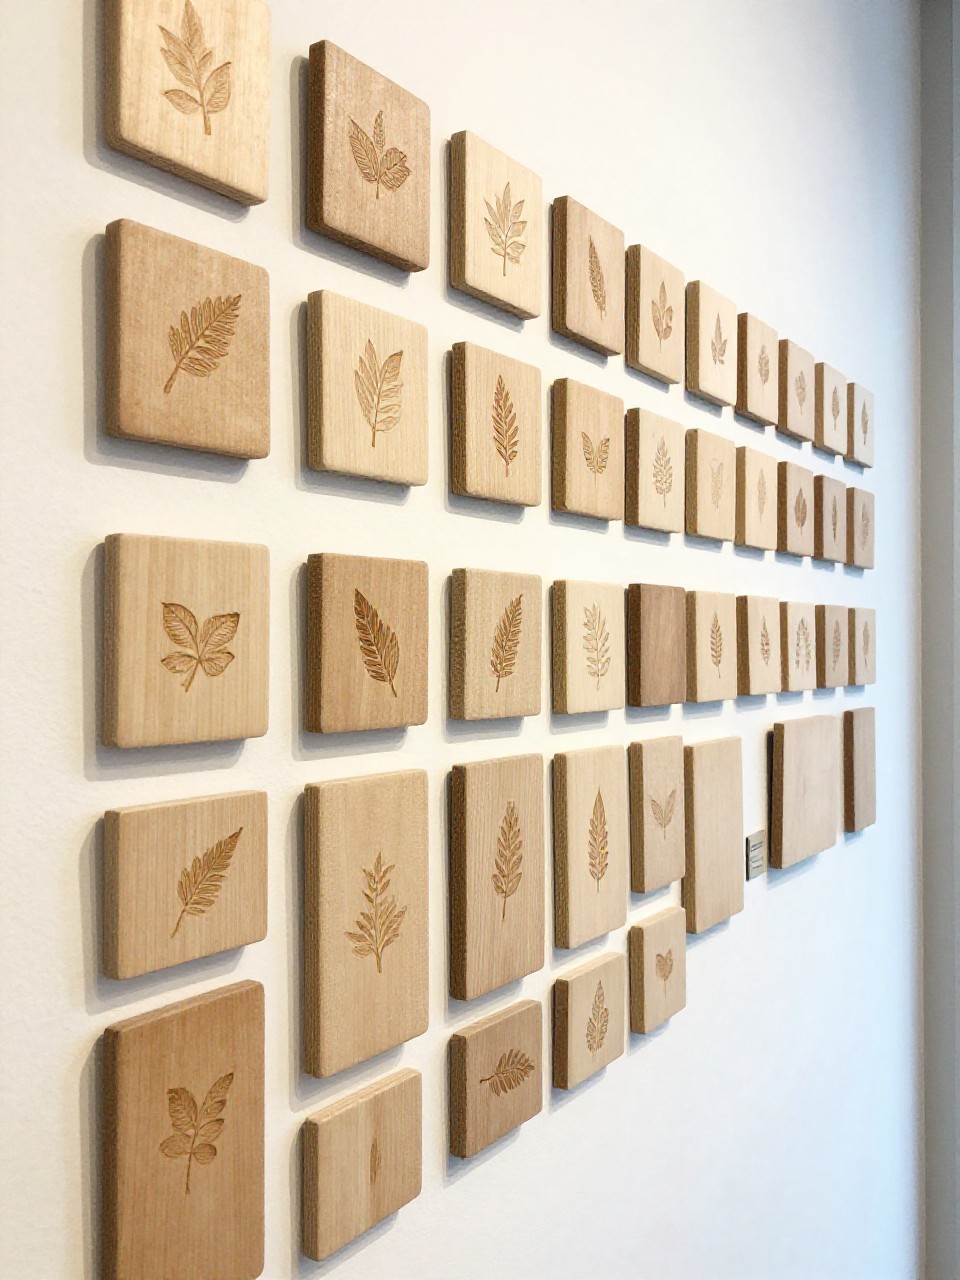
Faux “printmaking” using leaves and paint on sanded wood blocks. They look like curated art tiles with minimal effort.
Materials Needed:
- 1×6 pine cut into squares
- Real or faux leaves
- Acrylic paint and matte sealer
How to make it:
- 1. Sand wood squares and wipe clean.
- 2. Paint leaf with a thin coat and press onto wood.
- 3. Lift to reveal the print; repeat with varying leaves.
- 4. Seal with matte finish and add sawtooth hanger.
8. Rustic Wood Birdhouses with Painted Doors

Tiny, charming birdhouses with bold little doors—adorable porch decor. Easy to batch and customize.
Materials Needed:
- Pre-cut birdhouse kits or scrap wood
- Acrylic paint
- Exterior sealer
How to make it:
- 1. Assemble basic house shape and sand edges.
- 2. Paint the door in a bright spring color; keep walls natural.
- 3. Add simple details like dots or stripes.
- 4. Seal for outdoor use.
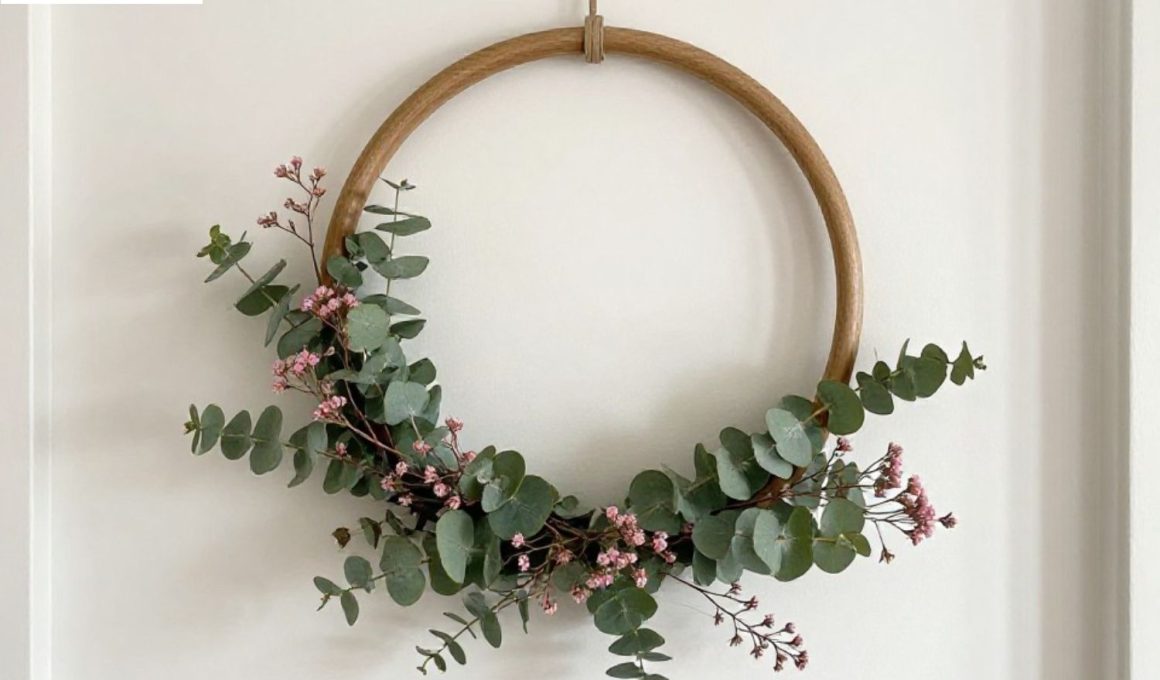
9. Floating Wood Ring Wreaths

Light, airy wreaths using wood rings and dried florals. Minimalist, modern, and quick to make.
Materials Needed:
- Large wood embroidery hoop or wood ring
- Floral wire
- Dried flowers or faux eucalyptus
How to make it:
- 1. Secure greenery along the lower third of the ring with wire.
- 2. Layer in small dried blooms for color.
- 3. Hide wire with twine wrap.
- 4. Add ribbon loop for hanging.
10. Wooden Egg Place Cards

Reusable spring place cards shaped like eggs—a cute Easter or brunch seller. They stand up on their own and look polished.
Materials Needed:
- Thin plywood or craft wood egg blanks
- Paint or stain
- Paint pen or vinyl letters
How to make it:
- 1. Sand egg blanks and paint in soft colors.
- 2. Add names with a paint pen or apply vinyl.
- 3. Cut a simple wood slit base or use mini stands.
- 4. Seal lightly for durability.
11. Wood Mosaic Coasters (Spring Palette)

Geometric coasters that look like tiny art pieces. The trick is cutting simple strips and mixing soft colors.
Materials Needed:
- Poplar or pine strips
- Wood glue
- Paint or stain and cork backing
How to make it:
- 1. Cut strips into small triangles and rectangles.
- 2. Arrange a mosaic on a square base and glue.
- 3. Sand edges flush and paint/stain pieces.
- 4. Add cork backing and seal.
12. Honeycomb Wall Shelves (Mini)
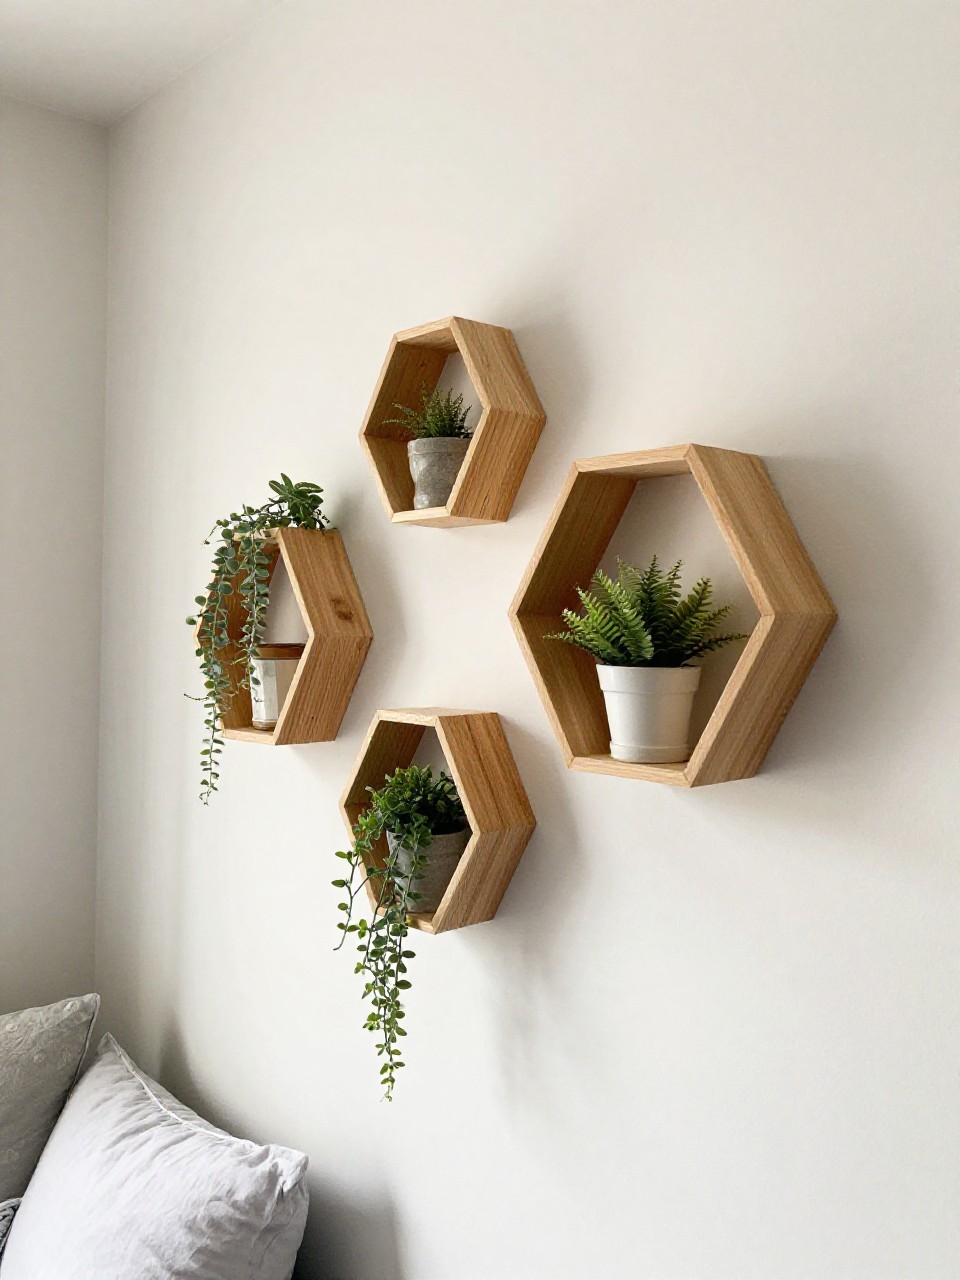
Small hexagon shelves perfect for plants and trinkets. They look complex, but straight cuts make them beginner-friendly.
Materials Needed:
- 1×4 boards
- Wood glue and brad nails
- Stain or paint
How to make it:
- 1. Cut six equal pieces with 30-degree angles on each end.
- 2. Glue and nail edges to form a hexagon.
- 3. Sand, stain or paint in a light spring tone.
- 4. Add a sawtooth hanger or stack multiples.
13. Floral Inlay Cheese Boards (Painted Faux Inlay)

A boutique look without power tools—painted “inlay” blooms on a sanded board. Great for gifting and market stalls.
Materials Needed:
- Small wood cutting board blanks
- Painter’s tape and acrylic paint
- Food-safe board oil
How to make it:
- 1. Sand board smooth and tape simple petal shapes.
- 2. Paint petals and stems in muted colors; peel tape.
- 3. Add tiny dot details for “inlay” illusion.
- 4. Condition with food-safe oil once fully cured.
14. Wood Rainbow Bookends

Playful, pastel rainbows cut from simple arches. Perfect for nurseries and spring shelves.
Materials Needed:
- 1×6 or 2×6 board
- Acrylic paint
- L-shaped bookend bases and wood glue
How to make it:
- 1. Cut two arch shapes and sand smooth.
- 2. Paint rainbow bands in soft hues.
- 3. Glue arches to L-shaped bases.
- 4. Seal with matte clear coat.
15. Spring Motif Wood Key Hooks

A slim entryway hook rail with a carved or painted motif—bee, tulip, or lemon. Sleek, useful, and giftable.
Materials Needed:
- 1×3 board
- Small cup hooks
- Stencil and paint or wood-burning tool
How to make it:
- 1. Cut board to 12–16 inches and sand.
- 2. Add motif with stencil paint or burn design.
- 3. Measure and pre-drill for hooks; twist them in.
- 4. Add D-rings for hanging and seal.
16. Layered Wood Wildflower Nightlight
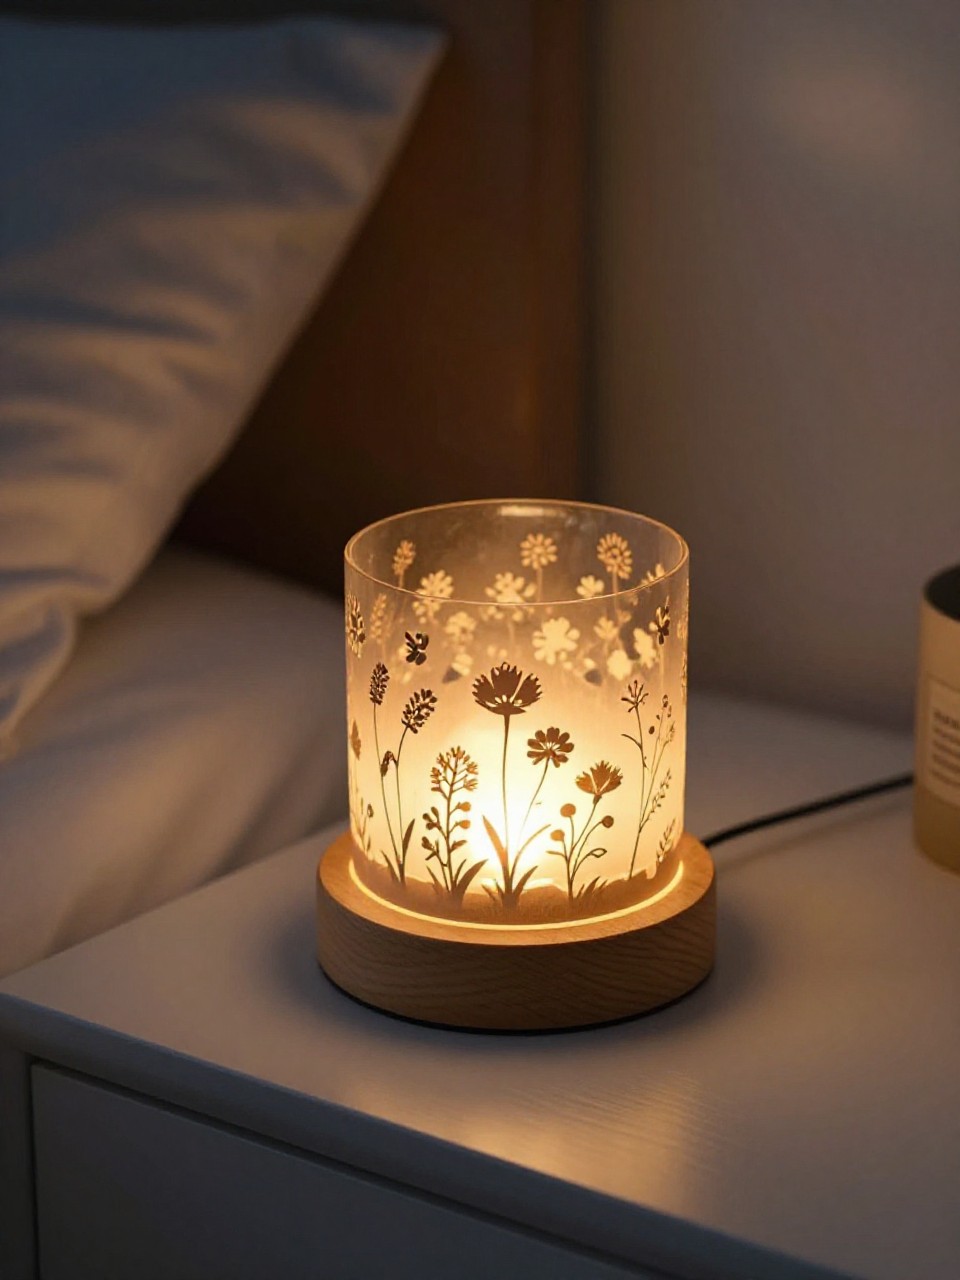
A soft-glow nightlight with a layered wood scene in front of a puck light. Feels magical but builds fast.
Materials Needed:
- Thin craft wood sheets
- Battery puck light
- Wood glue and matte paint
How to make it:
- 1. Cut a simple box frame sized to your puck light.
- 2. Stack two or three wood layers with cut-out wildflowers.
- 3. Paint layers in subtle tones and glue into the frame.
- 4. Mount puck light at the back for a gentle glow.