


Table of Contents Show
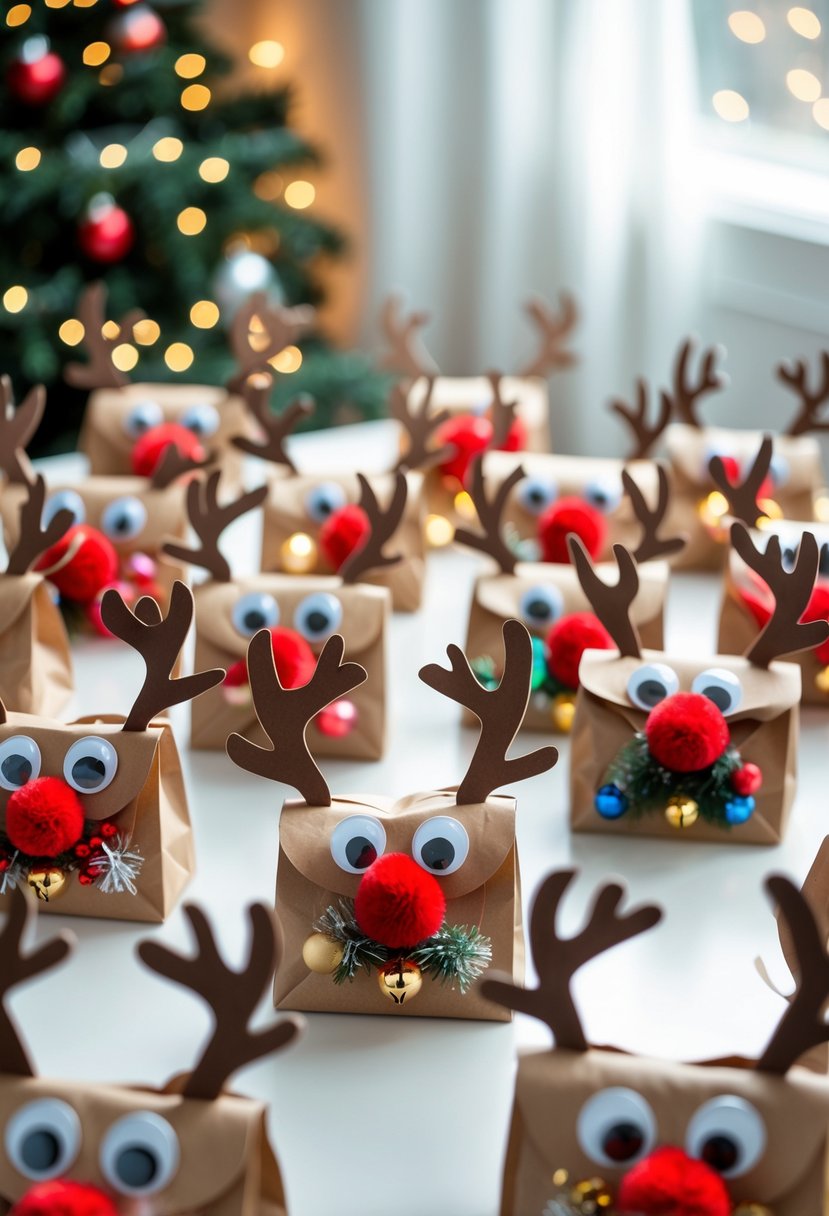
Paper bag reindeer masks are a fun and festive craft that combines creativity, laughter, and a bit of holiday magic.

Perfect for kids’ Christmas parties, school events, or family crafting days, these cute reindeer faces are made using simple materials like brown paper bags, pom-poms, and googly eyes.
Each one can be personalized—some with shiny red noses like Rudolph, others with bells, glitter, or even colorful antlers.
How to Make Paper Bag Reindeer Masks
The best part about this craft? They’re easy to make, budget-friendly, and double as adorable gift bags or party favors.
For People Who Love to Make Things ✂️
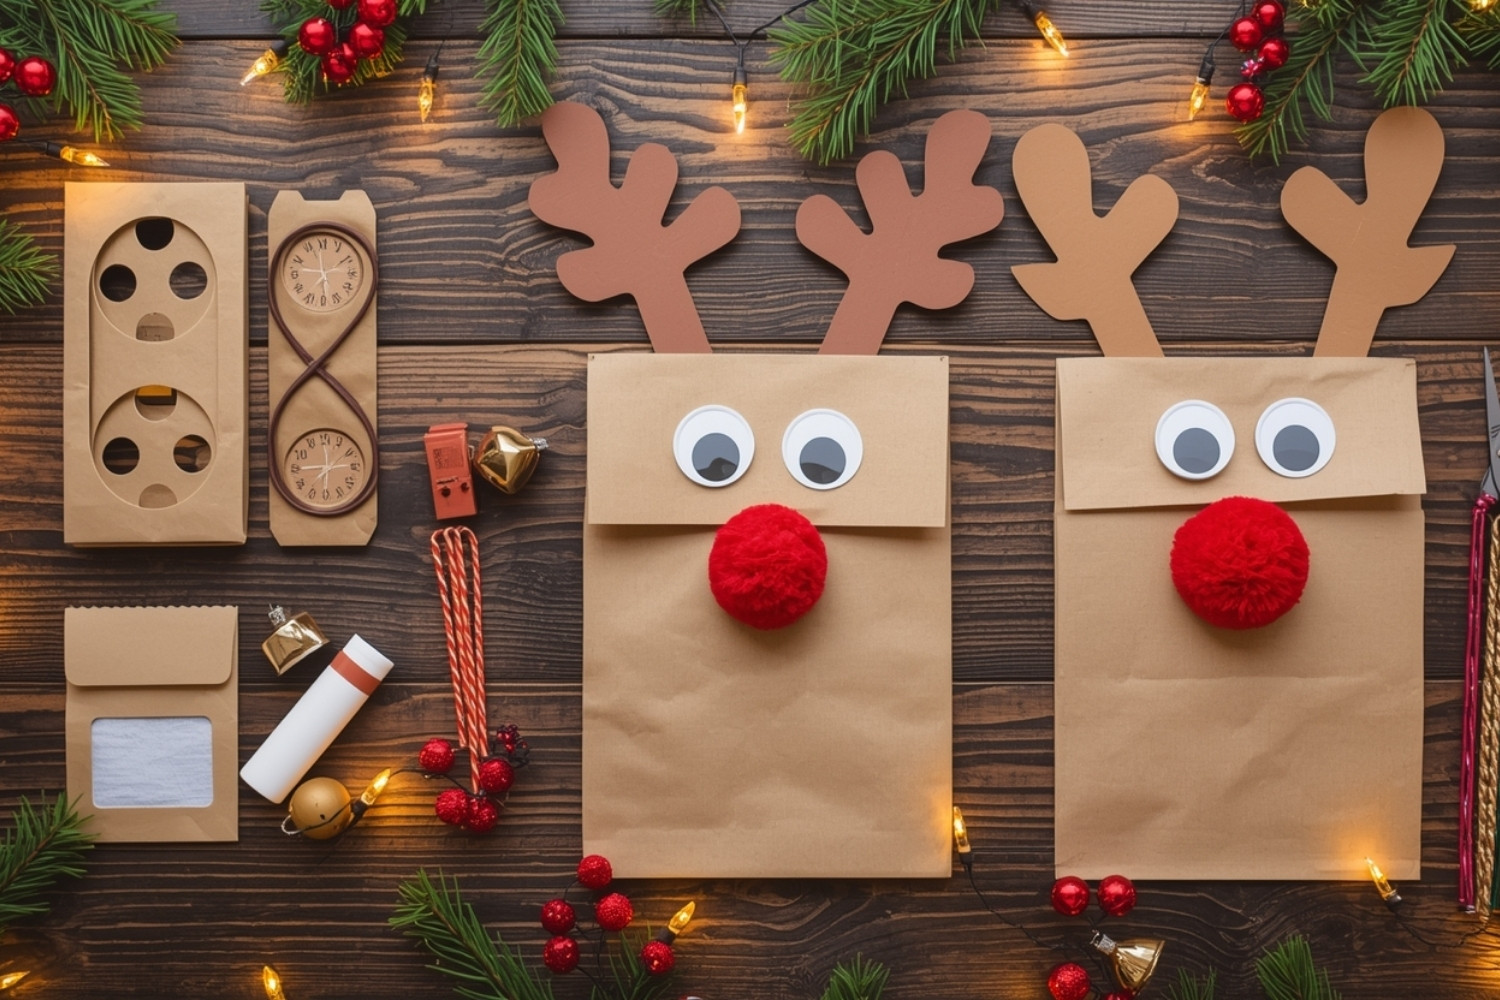
Materials
- Brown paper bags (lunch-size or medium)
- Large red pom-poms (for noses)
- Googly eyes (large size works best)
- Brown cardstock or construction paper (for antlers)
- Scissors
- Glue stick or hot glue gun (with supervision if kids are crafting)
- Small jingle bells, mini ornaments, or pipe cleaners (optional decorations)
- Pencil for tracing
Shop the materials


The steps
Step 1: Prepare Your Base
Start with a clean brown paper bag. If you’re making masks to wear, cut out an opening at the bottom large enough for the child’s face.
If you’re using the bags as treat holders or decorations, you can skip this step and keep them intact.
Step 2: Create the Antlers
Draw two large reindeer antlers on brown cardstock or construction paper. You can make them classic and simple or curvy and whimsical.
Cut them out and glue or tape them to the top of the paper bag—either on the inside flap for a cleaner look or outside for more visibility.
Step 3: Add the Eyes
Glue two large googly eyes onto the upper section of the bag. Space them evenly and press down until secure. If you don’t have googly eyes, you can draw circles with a black marker or cut out white and black paper shapes to create your own.
Step 4: Attach the Nose
Glue a large red pom-pom below the eyes to create the signature Rudolph nose. For variety, you can also use brown or black pom-poms for other reindeer in the “herd.” Kids love naming their reindeer after adding this step—it’s a perfect way to personalize each one.
Step 5: Decorate the Face
Use small bells, tinsel, or mini ornaments to add festive flair around the “muzzle.” You can twist pipe cleaners into little wreath shapes or bows and glue them under the nose. Some gold glitter or white paint on the edges also gives a snowy touch.
Step 6: Add Finishing Touches
If you’re making wearable masks, punch small holes in the sides of the bag and thread string or elastic through them so they can fit comfortably on a child’s head.
For treat bags, fold the top flap closed and secure it with tape or a sticker. Add a gift tag with names for a sweet finishing detail.
Step 7: Display or Play!
Once your reindeer masks are dry, it’s time to have fun! Use them for a reindeer parade, classroom activity, or festive table décor.
You can line them up under the Christmas tree or fill them with candies, cookies, or small toys for party favors that look as cute as they are creative.