
Table of Contents Show
Spring can feel busy, but your hands might be asking for calm. If you want gentle projects that look special without lots of fuss, this list is for you. These crafts are beginner-friendly, easy on the joints, and finished in an afternoon.

Most use simple supplies you may already have, and each one ends with something you’ll be proud to display or gift.
1. Pressed Flower Suncatcher Frames

Turn delicate blooms into glowing window art that catches spring light. The process is slow and soothing, and the results look like boutique decor.
Materials Needed:
- Flat glass frames (floating frames)
- Pressed flowers or leaves
- Clear-drying craft glue
How to make it:
- 1. Open the frame and clean both glass sides.
- 2. Arrange pressed flowers on one glass pane until you like the look.
- 3. Add tiny dots of clear glue to hold petals in place.
- 4. Close the frame and hang in a sunny window.
2. Watercolor Bookmark Garden
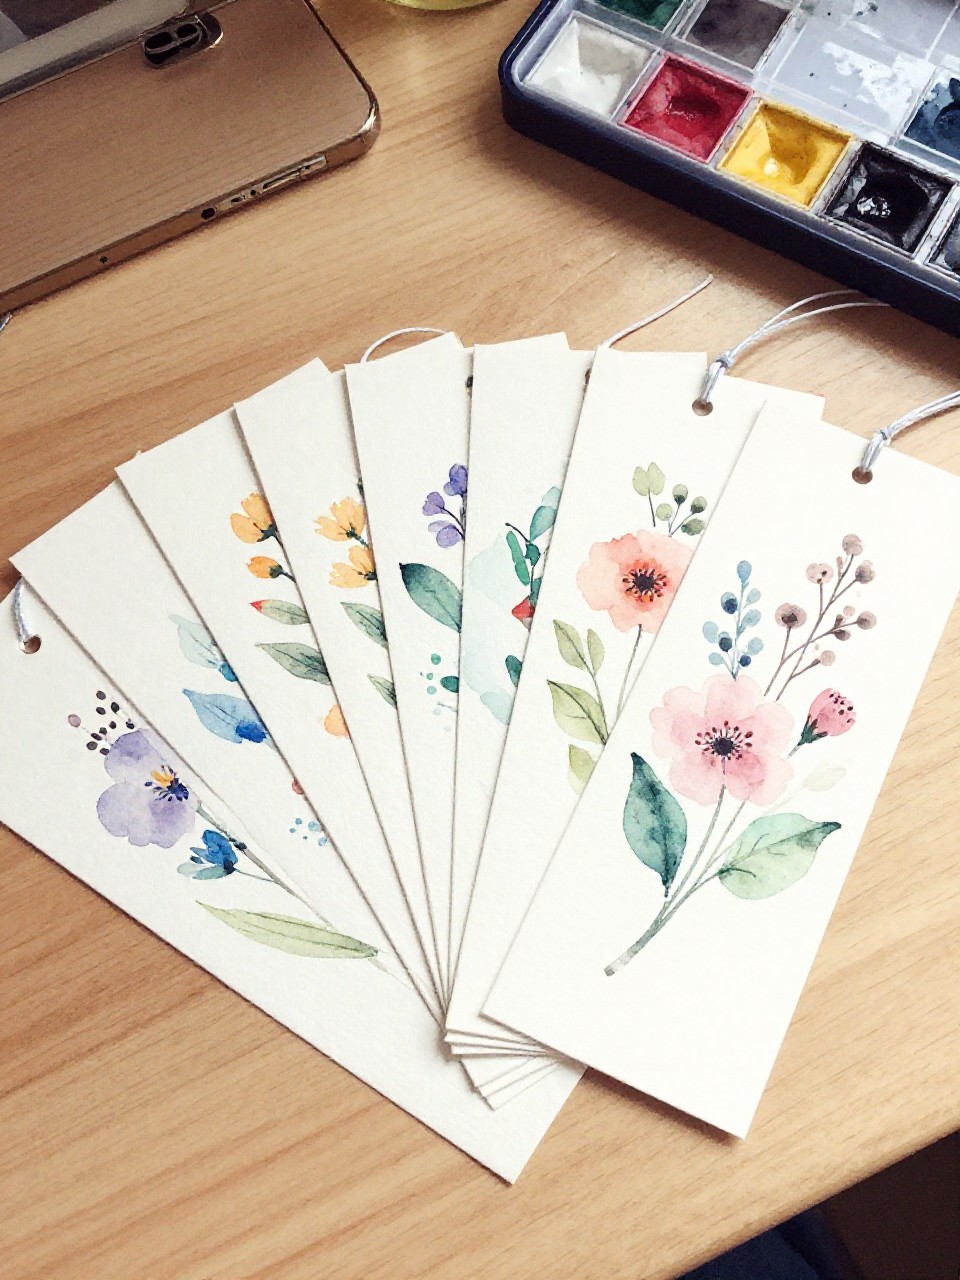
Create dreamy watercolor bookmarks with simple brush sweeps and garden doodles. They dry fast and make sweet gifts for friends.
Materials Needed:
- Watercolor paper or blank bookmarks
- Watercolor paints and brush
- Black fine-tip pen
How to make it:
- 1. Paint simple washes in soft spring colors across the paper.
- 2. Let dry, then cut into bookmark strips if using a sheet.
- 3. Add small pen drawings—stems, leaves, tiny flowers—on top.
- 4. Punch a hole and tie a ribbon if you like.
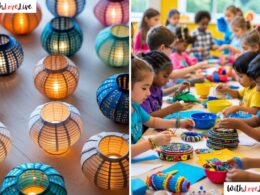
3. No-Sew Fabric-Covered Plant Pots
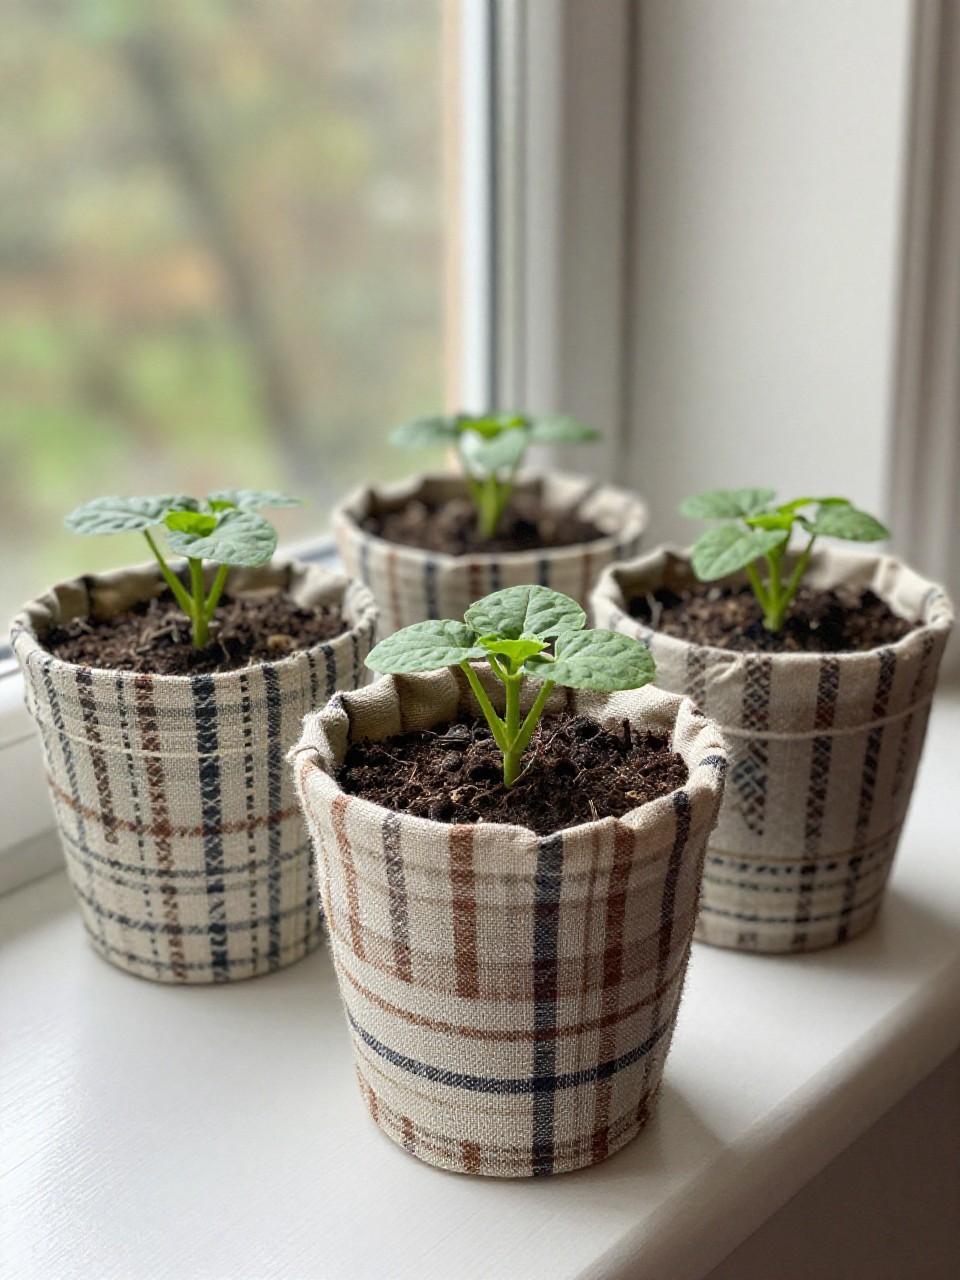
Dress up plain pots with fabric wraps—no sewing required. The texture looks high-end and adds a cozy pop of pattern to any windowsill.
Materials Needed:
- Terracotta or plastic pots
- Cotton fabric scraps
- Mod Podge or watered-down white glue
How to make it:
- 1. Cut fabric to fit around the pot with a small overlap.
- 2. Brush glue on the pot, then smooth fabric over it.
- 3. Fold excess over the rim, gluing neatly inside.
- 4. Seal with a thin top coat of glue and let dry.
4. Air-Dry Clay Trinket Dishes
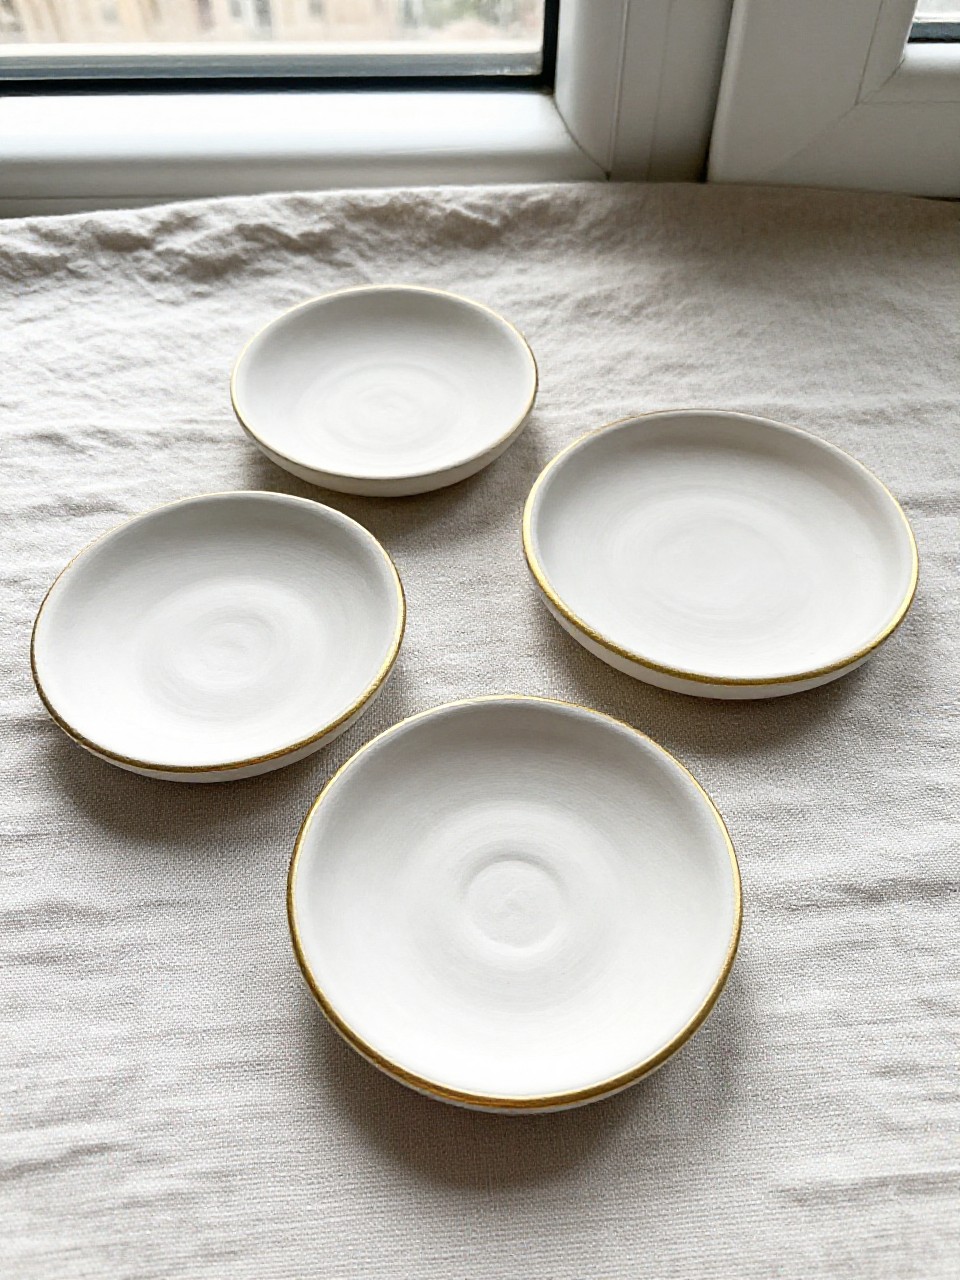
Shape simple clay dishes with your hands for rings, keys, or tea bags. The natural fingerprints and gentle curves make each dish feel special.
Materials Needed:
- Air-dry clay (white)
- Small bowl for shaping
- Acrylic paint or gold paint pen
How to make it:
- 1. Roll a clay ball and press it into the inside of a small bowl.
- 2. Smooth edges with a damp finger and lift out carefully.
- 3. Let dry fully per package directions.
- 4. Paint the rim or add simple dots/lines for a chic finish.
5. Botanical Stamped Tea Towels

Make your own printed linens using real leaves and fabric paint. Each press captures tiny veins and turns out like studio textiles.
Materials Needed:
- Plain cotton tea towels
- Leaves or fern fronds
- Fabric paint
How to make it:
- 1. Place a leaf face-up and brush a thin coat of fabric paint on the textured side.
- 2. Flip and press onto the towel, smoothing lightly.
- 3. Lift carefully to reveal the print; repeat a pattern.
- 4. Heat-set paint per instructions (usually iron on reverse).
6. Pastel Mason Jar Luminaries

Soft frosted color turns jars into cozy night lights. When you drop in a tea light, the jars glow like springtime lanterns.
Materials Needed:
- Mason jars
- Frosted glass spray or chalk paint
- LED tea lights
How to make it:
- 1. Clean jars and apply a light coat of frosted spray or chalk paint.
- 2. Let dry, then add a second coat if needed.
- 3. Wrap twine around the rim for a rustic touch (optional).
- 4. Place LED tea lights inside and enjoy the glow.
7. Seed Paper Greeting Cards
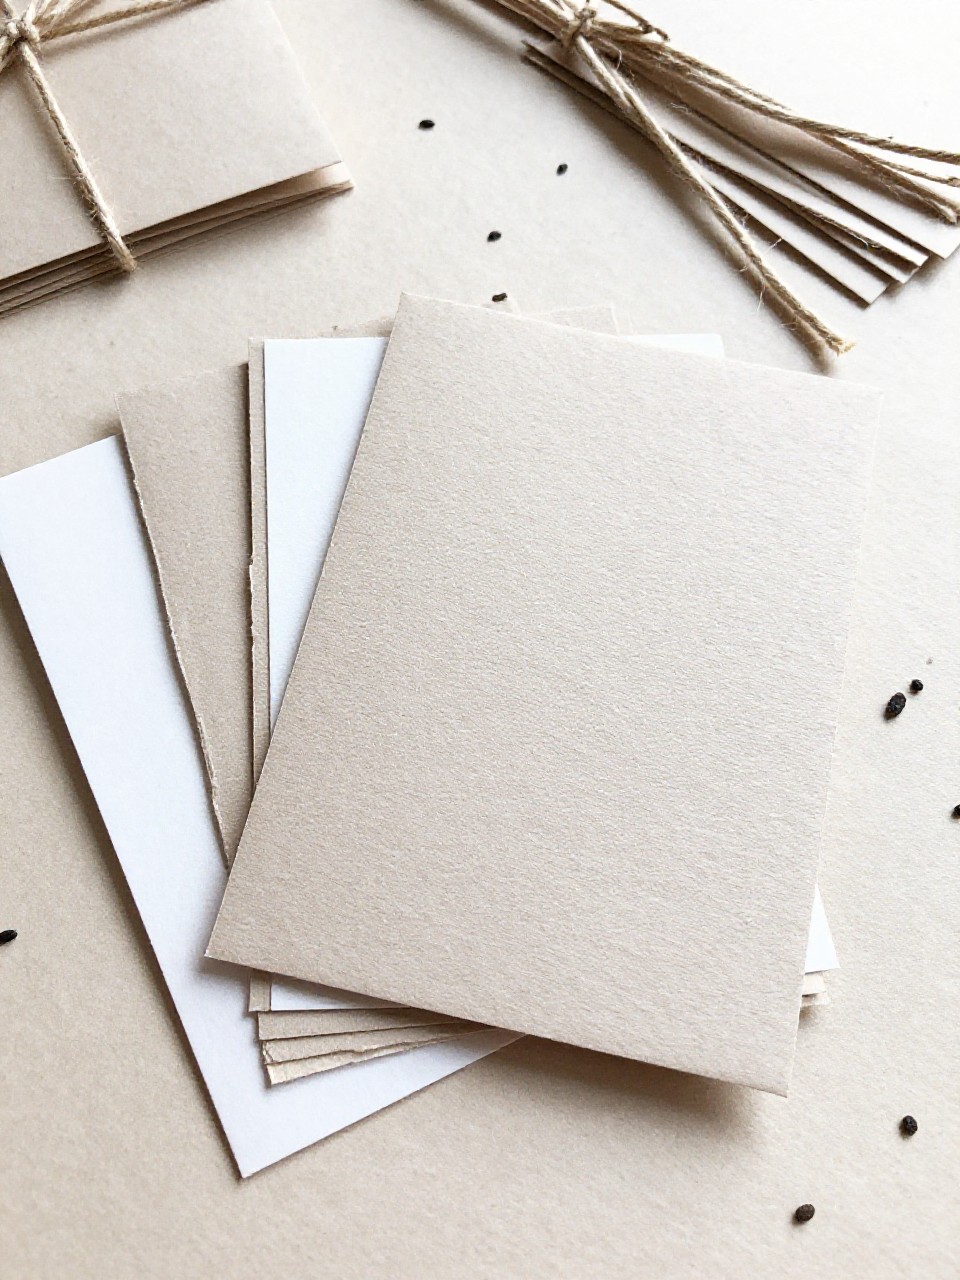
Make cards that can be planted after reading—pretty now, blooms later. The paper texture is charming and easy on the hands.
Materials Needed:
- Scrap paper (torn)
- Wildflower seeds
- Blender
How to make it
- 1. Soak torn paper in warm water for 30 minutes, then blend into pulp.
- 2. Stir in a teaspoon of seeds by hand (don’t blend seeds).
- 3. Spread pulp thinly on a mesh screen or fine strainer and press out water.
- 4. Let dry flat, cut into cards, and write a sweet note.
8. Ribbon-Woven Picture Frames
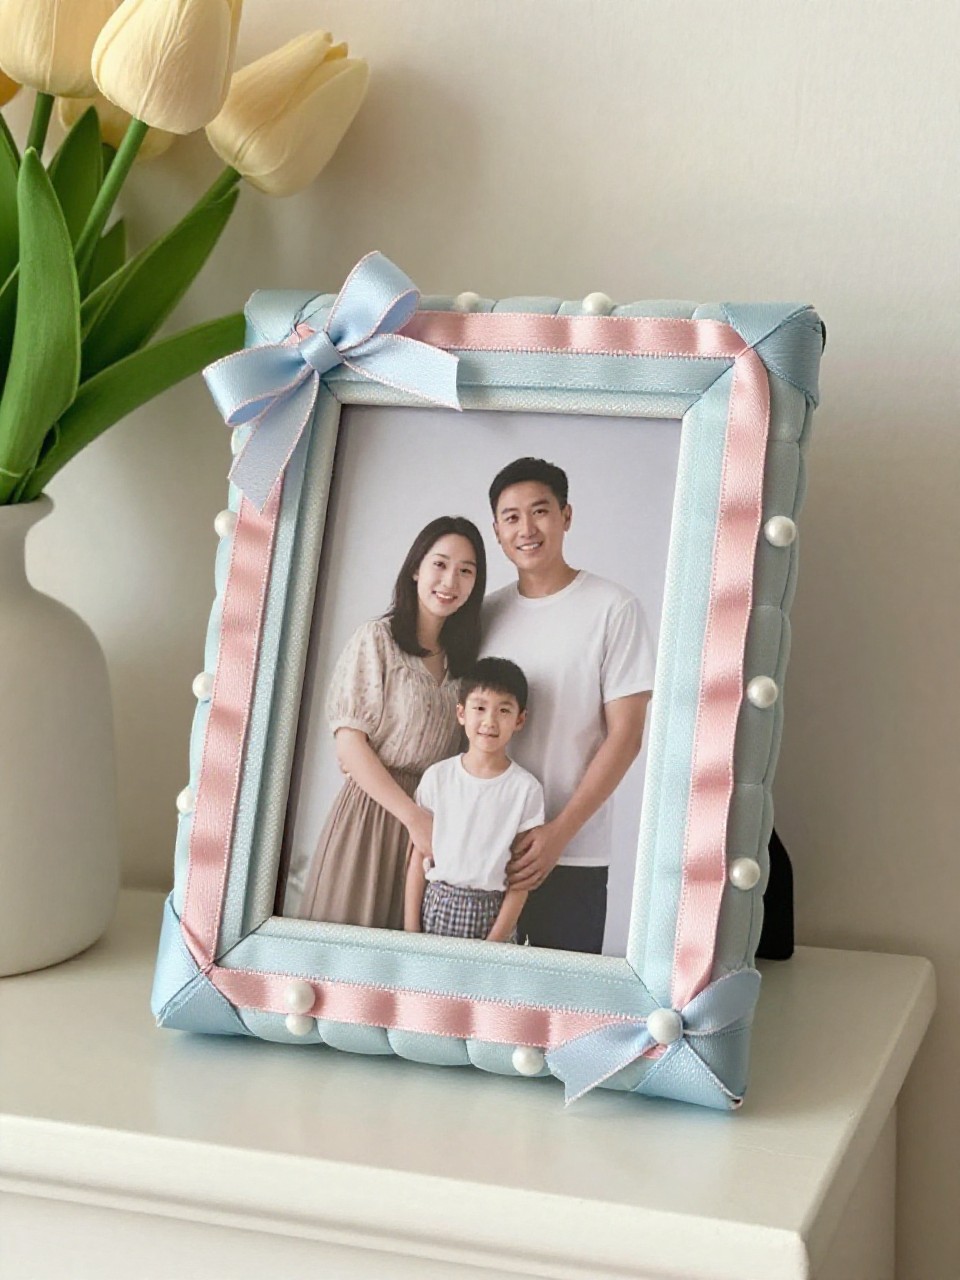
Transform a plain frame with simple over-under ribbon weaving. The pattern looks luxe and holds memories in a soft, spring palette.
Materials Needed:
- Simple flat-edged frame
- Assorted ribbons (varied widths)
- Hot glue or double-sided tape
How to make it:
- 1. Cut ribbon strips slightly longer than the frame edges.
- 2. Adhere vertical strips first around the frame border.
- 3. Weave horizontal strips over-under and secure on the back.
- 4. Trim excess neatly and add your photo.
9. Painted Pebble Garden Markers
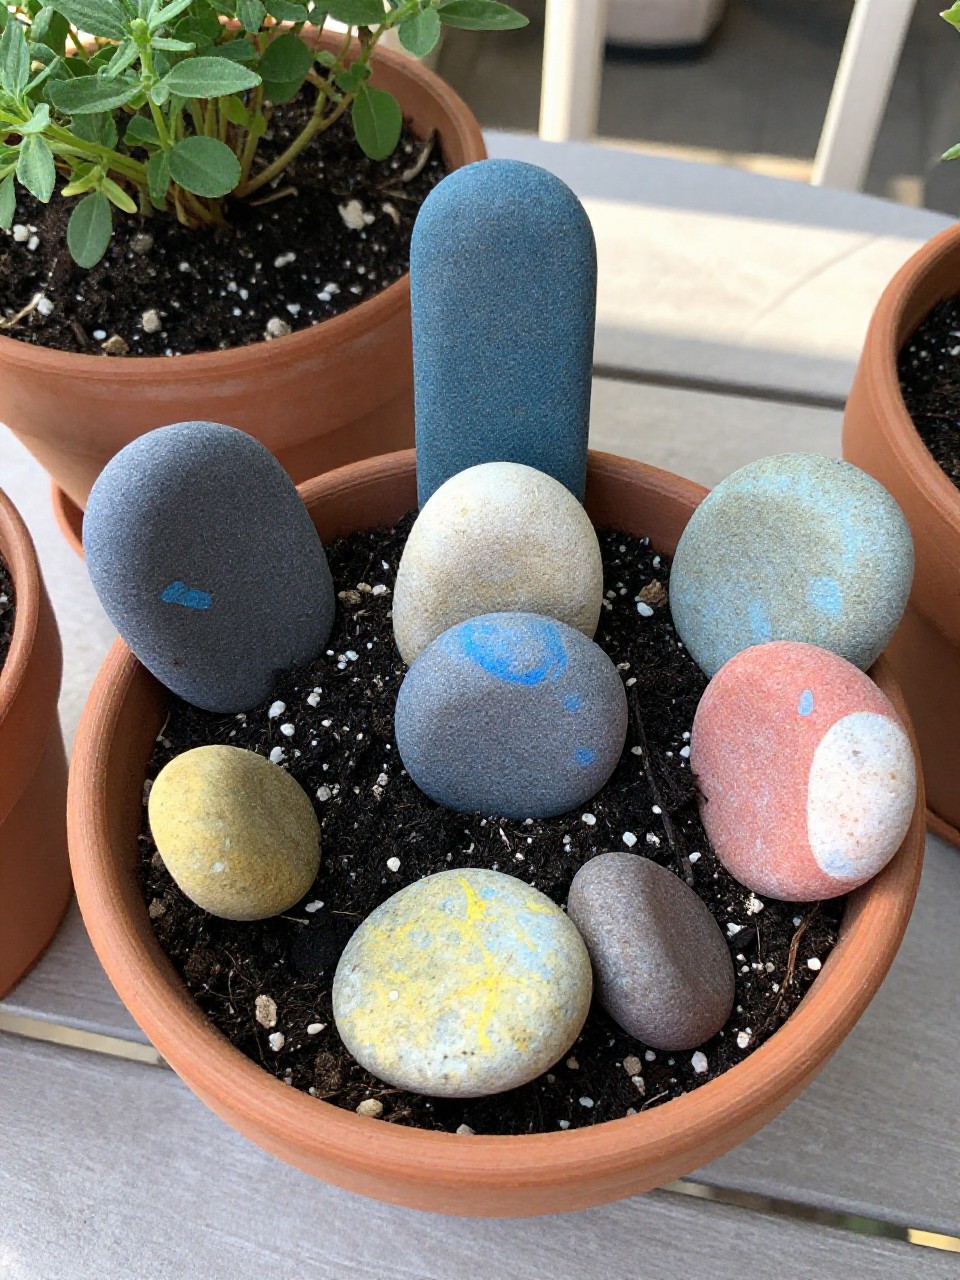
Smooth stones become charming plant labels with quick paint and pen work. They bring whimsy to pots and garden beds.
Materials Needed:
- Smooth pebbles
- Acrylic paint
- Paint pen or permanent marker
How to make it:
- 1. Paint pebbles in soft colors and let dry.
- 2. Write herb or flower names on top with a paint pen.
- 3. Add tiny leaves or dots for decoration.
- 4. Seal with a clear outdoor-safe sealer if used outside.
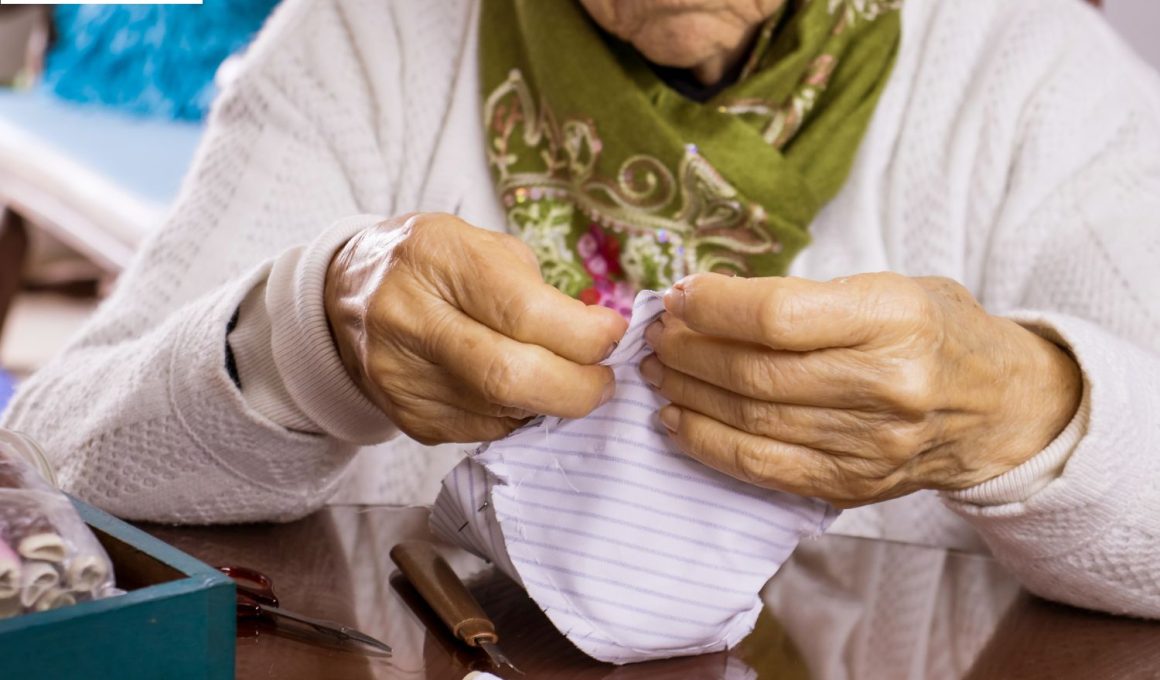
10. Lavender Sachet Envelopes (No Sew)
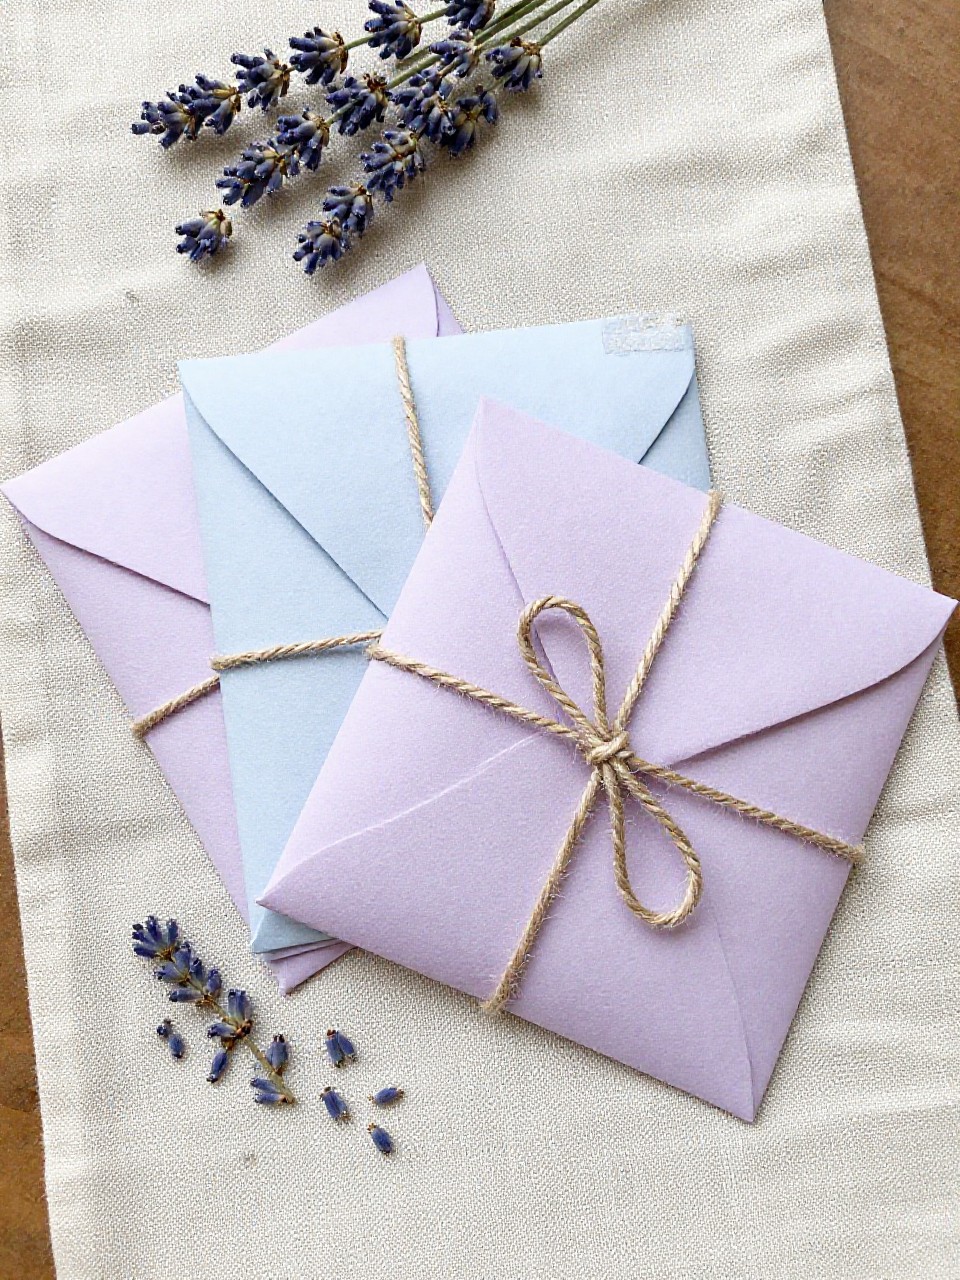
Calming scent and pretty paper—these little envelopes tuck into drawers or gifts. They’re simple folds with a spa-like feel.
Materials Needed:
- Decorative scrapbook paper
- Dried lavender
- Double-sided tape
How to make it:
- 1. Cut paper into rectangles and fold into small envelopes.
- 2. Secure edges with double-sided tape, leaving a top flap open.
- 3. Spoon in dried lavender.
- 4. Seal the flap and add a sticker or washi tape.
11. Tissue Paper Stained Glass Birds

Create bright, airy birds that glow in a window. Layered tissue gives a jewel-tone effect without any tricky cutting.
Materials Needed:
- Black cardstock
- Tissue paper in assorted colors
- Glue stick
How to make it:
- 1. Cut a simple bird silhouette with open “wing” spaces from cardstock.
- 2. Flip over and glue tissue paper pieces to cover the openings.
- 3. Trim extra tissue from edges.
- 4. Tape to a window and enjoy the color.
12. Floral Decoupage Wooden Spoons (Decor Only)
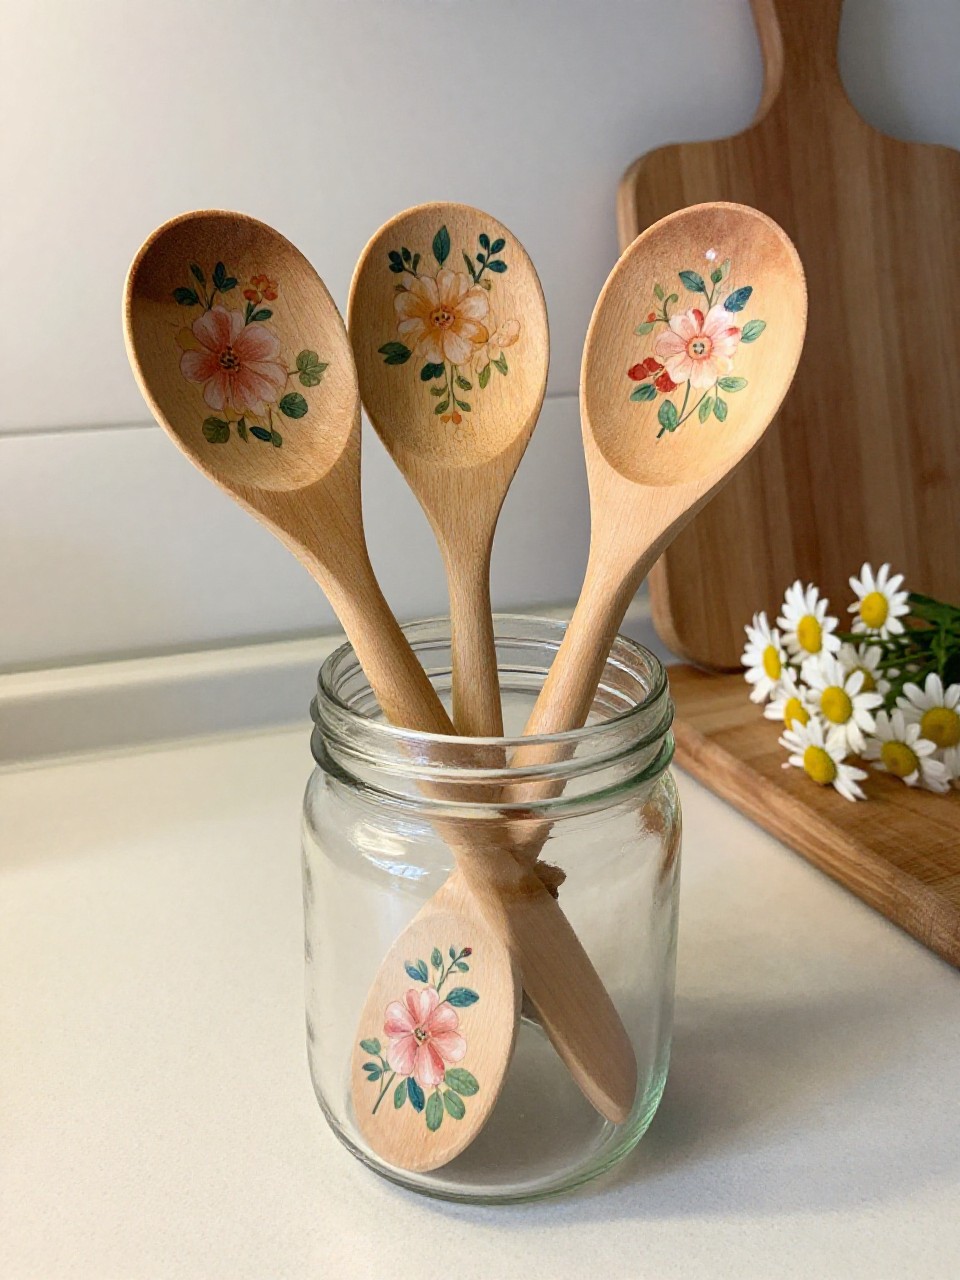
Turn plain wooden spoons into cheerful countertop art. The floral patterns are easy to apply and look boutique.
Materials Needed:
- Wooden spoons
- Floral napkins (2-ply)
- Mod Podge
How to make it:
- 1. Separate napkin layers to use the thin printed layer.
- 2. Brush Mod Podge on the spoon handle and lay the print over it.
- 3. Smooth gently and seal with another thin coat.
- 4. Let dry and display (decor only, not for food use).
13. Eucalyptus Wreath on a Hoop

A minimalist wreath that smells fresh and looks modern. It’s light to handle and finished in minutes.
Materials Needed:
- Metal or wooden hoop
- Faux or fresh eucalyptus stems
- Floral wire
How to make it:
- 1. Lay stems along the lower half of the hoop.
- 2. Wrap floral wire around stems and hoop to secure.
- 3. Layer more stems for fullness, all in one direction.
- 4. Add a ribbon to hang and fluff the leaves.
14. Embossed Foil Art Tiles

Shiny, raised patterns make dramatic wall tiles with almost no effort. The texture is relaxing to create and looks like metalwork.
Materials Needed:
- Heavy-duty aluminum foil
- Cardboard squares
- Cotton swab and blunt pen
How to make it:
- 1. Wrap cardboard squares with foil, shiny side out, and fold edges to the back.
- 2. Lightly sketch a design with a blunt pen—leaves, spirals, or dots.
- 3. Press lines deeper and smooth raised areas with a cotton swab.
- 4. Mount tiles in a grid or frame them.
15. Painted Wildflower Silhouette Canvas

Use simple stencils or tape to block shapes and brush soft color around them. Peel away to reveal crisp white wildflowers—instant gallery art.
Materials Needed:
- Small canvas
- Low-tack stencil or painter’s tape
- Acrylic paint and sponge brush
How to make it:
- 1. Place flower or leaf stencils on the canvas (or shape with tape).
- 2. Dab soft colors around and slightly over the edges with a sponge.
- 3. Let paint set, then carefully lift stencils.
- 4. Touch up edges and sign your art.