


Table of Contents Show
When we want a relaxing hobby, it can be hard to pick a painting idea that feels fun but not too hard. Solar system art is great for beginners because it’s mostly simple shapes, soft blending, and tiny details that you can add at your own pace.
This list will give you easy, calming projects you can finish in a weekend and proudly hang up or gift.
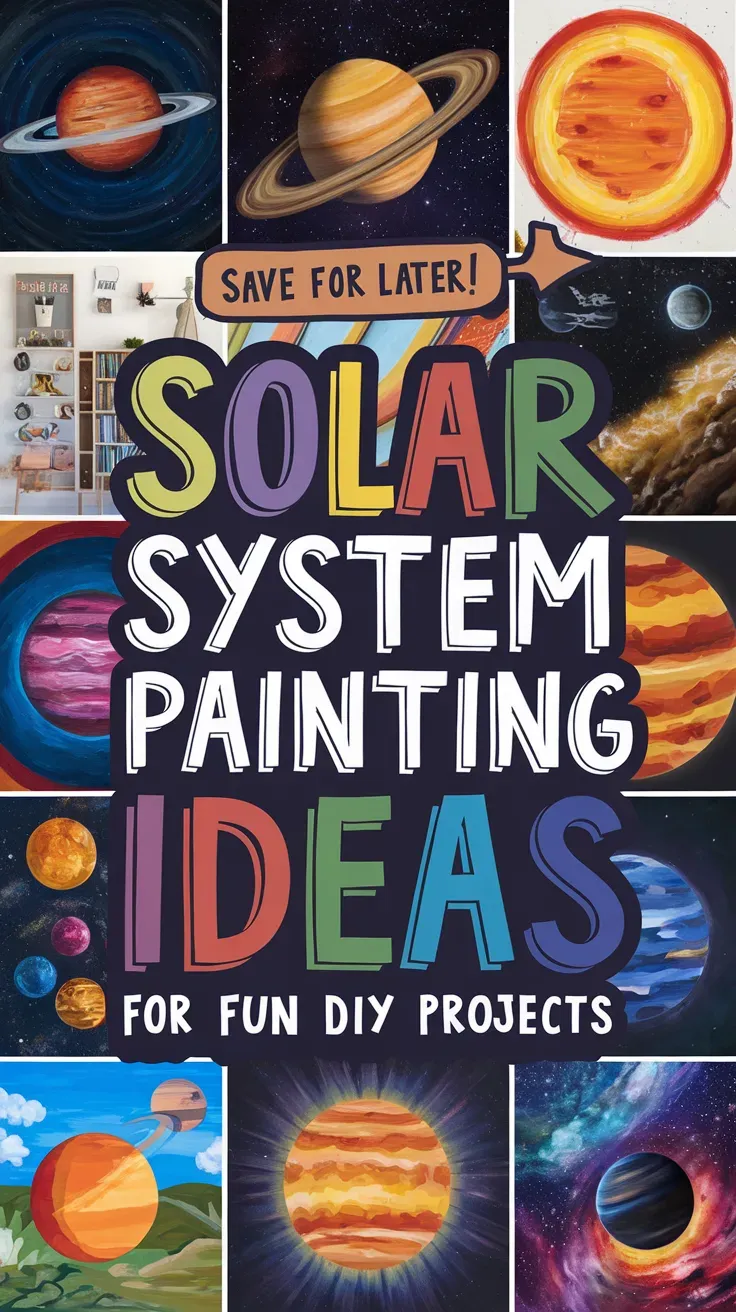
Let’s jump into 15 solar system painting ideas you can try at home.
1. Classic Solar System Canvas Line-Up
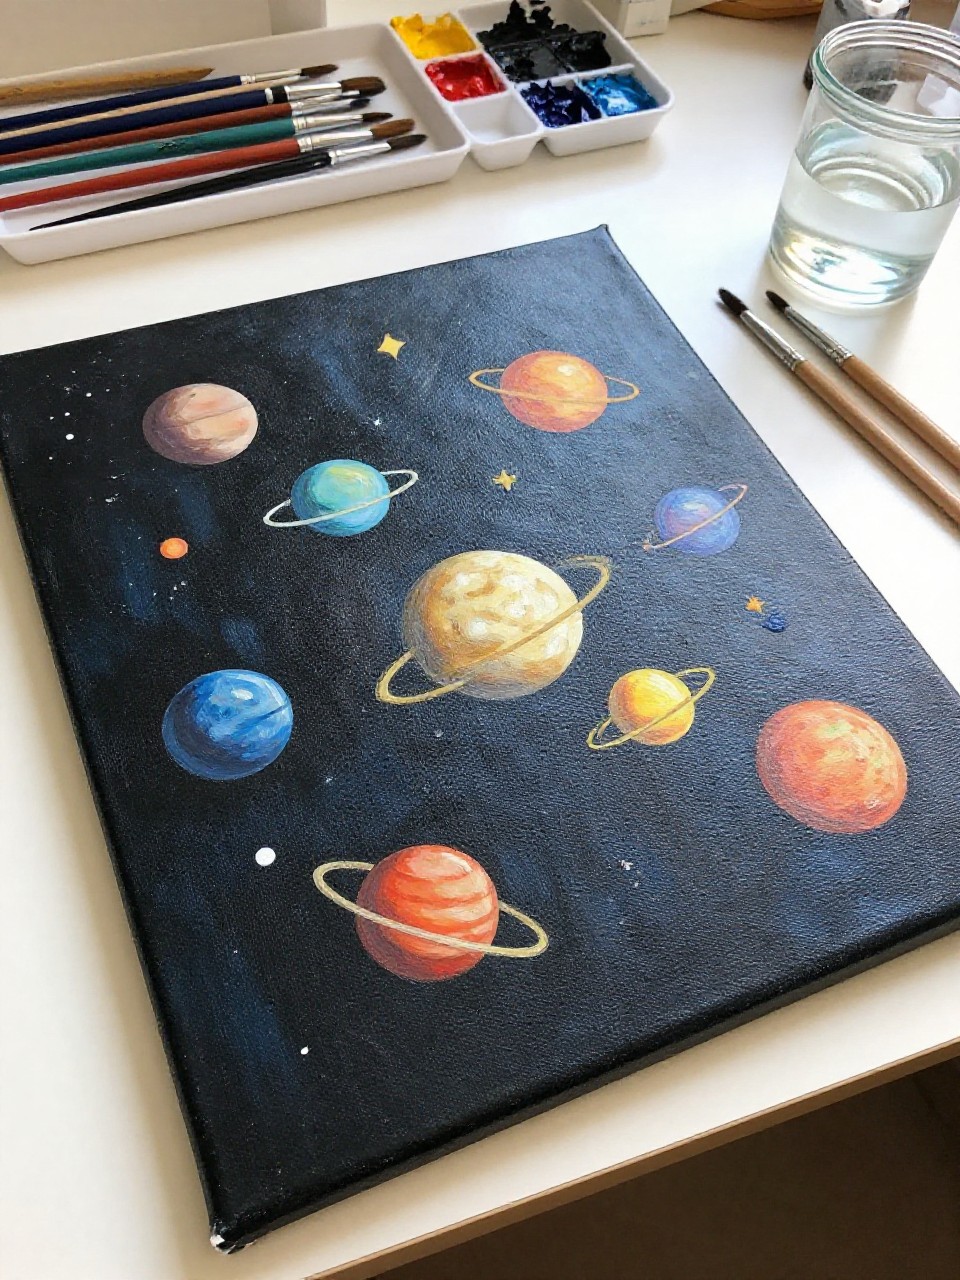
A dark space background holds eight colorful planets in a neat row, with small rings and tiny star dots scattered around them. This one feels satisfying because you can take it step by step, and the simple circles make it very beginner-friendly while still looking like real wall art.
Materials Needed:
For People Who Love to Make Things ✂️
- Stretched canvas
- Acrylic paint
- Paintbrushes in multiple sizes
- Palette or paint tray
- White paint pen (optional)
Steps to Make:
- Paint the whole canvas a deep navy-to-black blend and let it dry.
- Lightly sketch a straight line and mark spots for each planet.
- Paint each planet as a circle, changing colors and sizes as you go.
- Add rings, a few bands, and tiny white star dots for depth.
- Let it fully dry, then add a few bright highlight dots and display.
2. Galaxy Watercolor Planet Set
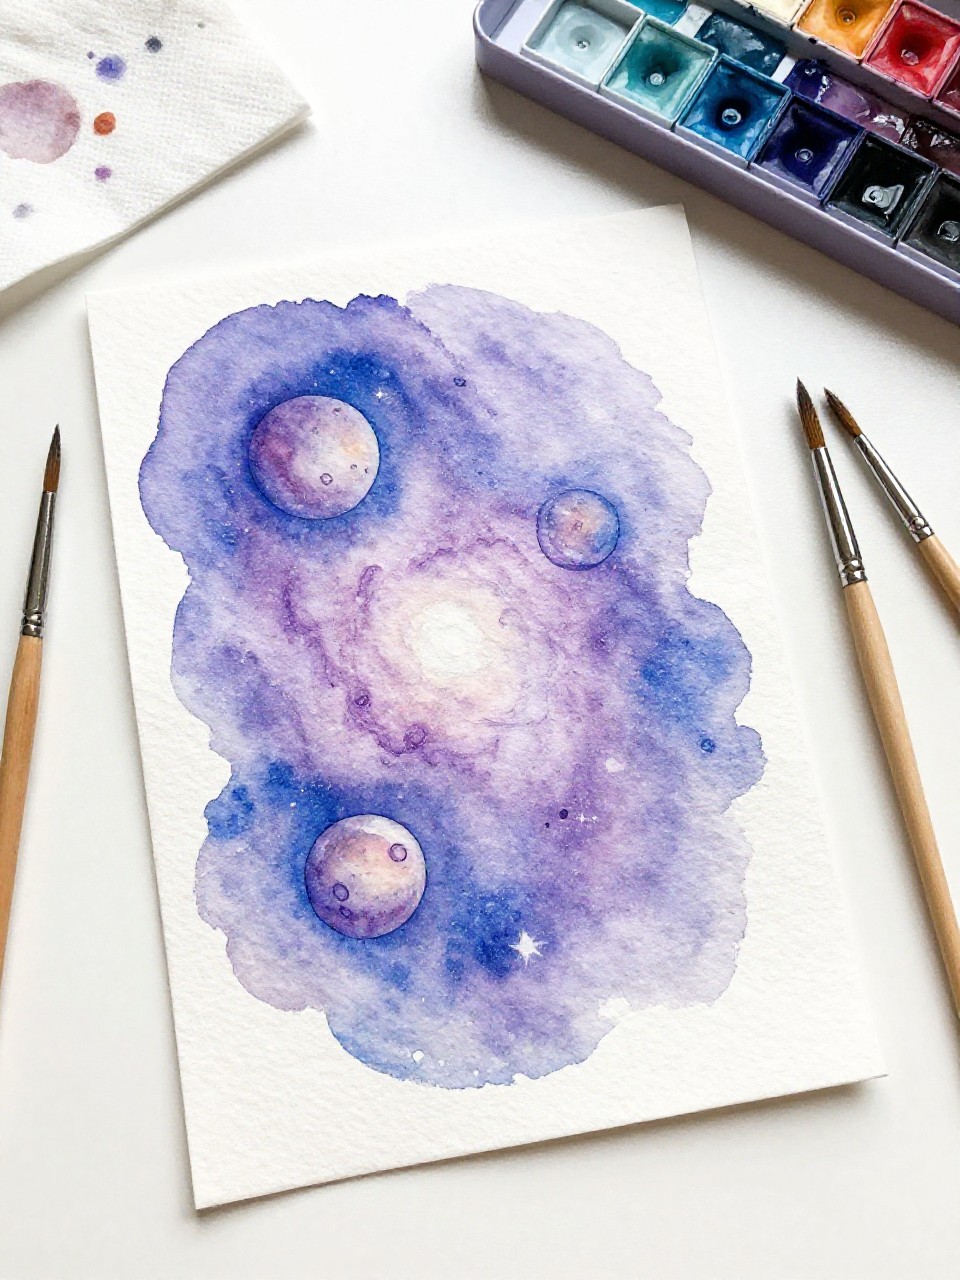
This painting looks like a soft galaxy wash with a few round planets floating across the page, each with gentle shading and small craters. It’s a calm project for evenings because watercolor does a lot of the work, and you don’t have to be perfect for it to look dreamy.
Materials Needed:
- Watercolor paper
- Watercolor paint
- Paintbrushes in multiple sizes
- Palette or paint tray
- White gel pen (optional)
Steps to Make:
- Tape the paper edges down and wet the background area with clean water.
- Drop in blues, purples, and a little black to form a loose galaxy wash.
- When dry, paint planet circles on top using layered watercolor.
- Add craters and soft shadows with a slightly darker tone.
- Flick on tiny stars, then lift tape and let the paper dry flat.
3. Moon Phases on a Mini Canvas Panel
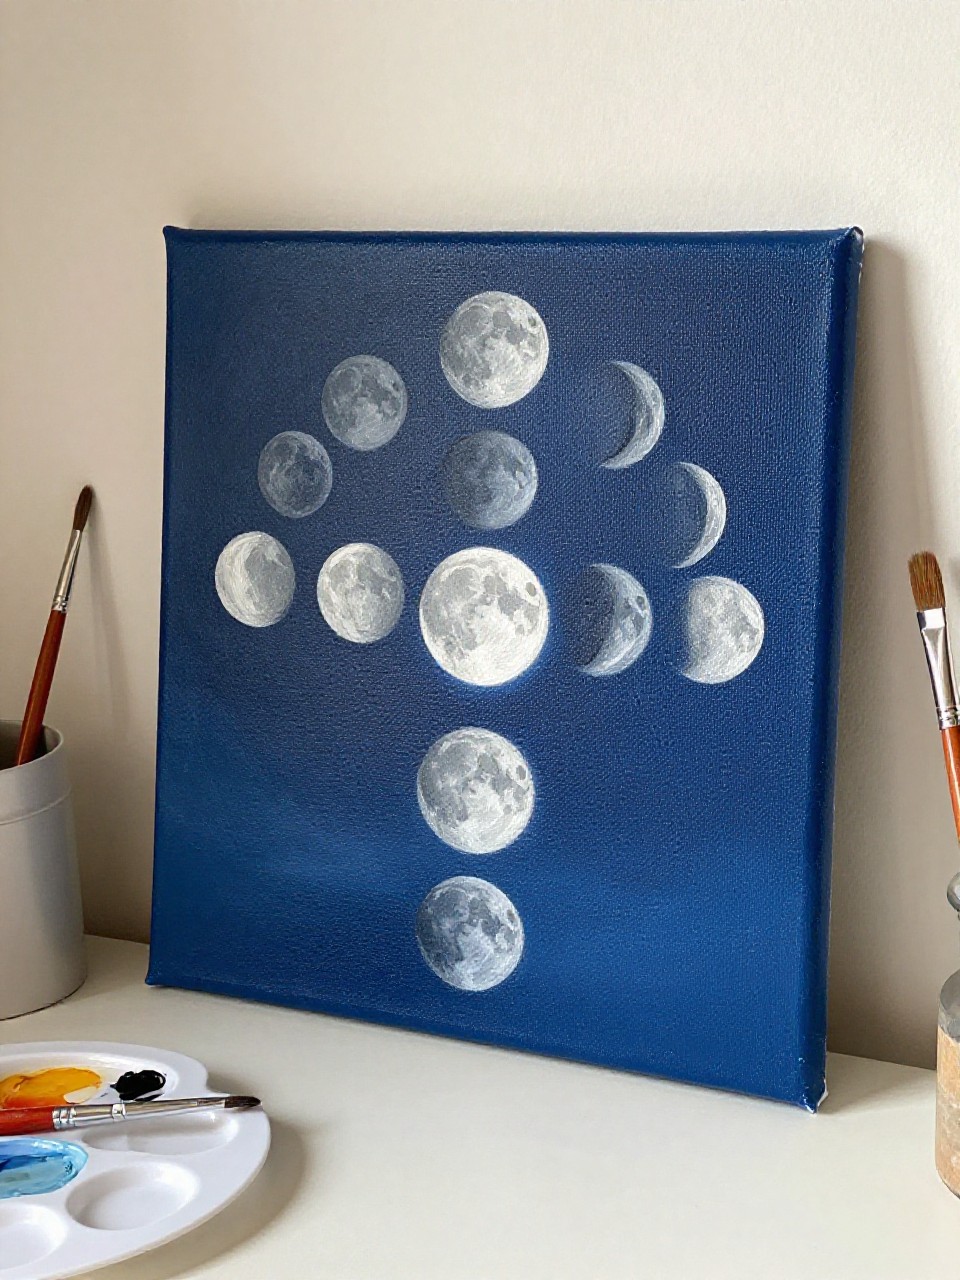
A row of moon phases arcs across a night sky, going from new moon to full moon with gentle gray shading. This is great for beginners because it uses just a few colors, and the repeating shapes make it easy to practice smooth blending and tiny highlights.
Materials Needed:
- Mini canvas panel
- Acrylic paint
- Paintbrushes in multiple sizes
- Palette or paint tray
- Matte varnish (optional)
Steps to Make:
- Paint the background a dark midnight blue and let it dry.
- Lightly pencil a curved guide line and place circles for each phase.
- Paint the full moon first, then paint the shadow shapes for other phases.
- Add small crater dots and a thin glow around the brighter moons.
- Dry completely and seal with a light coat of matte varnish.
4. Saturn Ring Planet Canvas with Thick Paint Texture
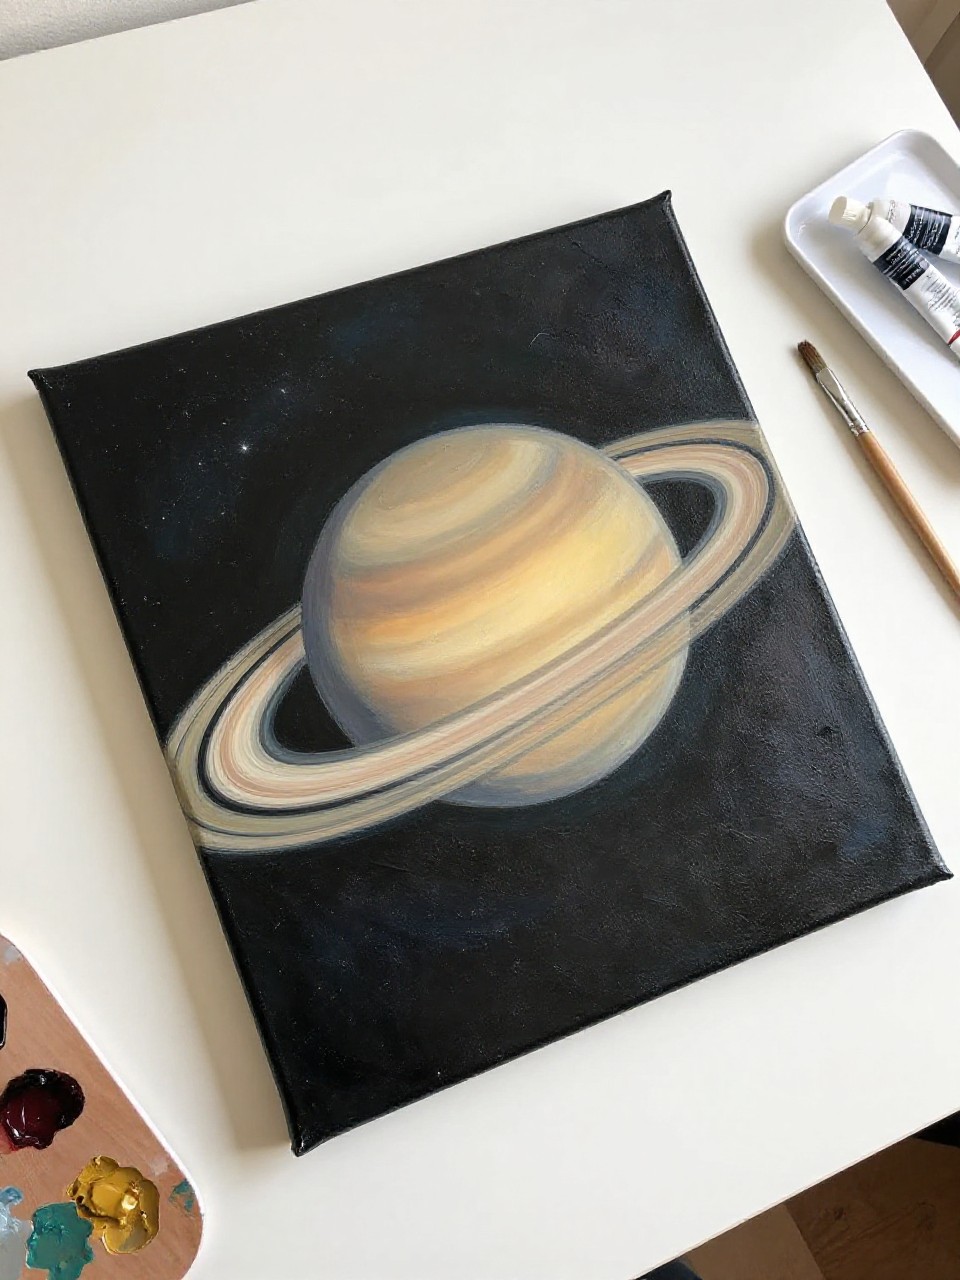
A big Saturn sits in the center with a wide ring that wraps naturally around the planet, painted with visible strokes and warm color bands. This project is satisfying because it’s bold and simple, and it teaches you how to layer paint for a textured, “real” planet look.
Materials Needed:
- Stretched canvas
- Acrylic paint
- Paintbrushes in multiple sizes
- Palette or paint tray
- Gloss varnish (optional)
Steps to Make:
- Paint a dark space background, blending black with a hint of purple.
- Sketch a large circle for Saturn and an oval ring that crosses in front.
- Block in the planet color, then add bands with slightly different tones.
- Paint the ring in layers, adding a shadow where it passes behind Saturn.
- Let it dry, then add a few bright star points and seal if desired.
5. Milky Way Spiral on Black Canvas Board
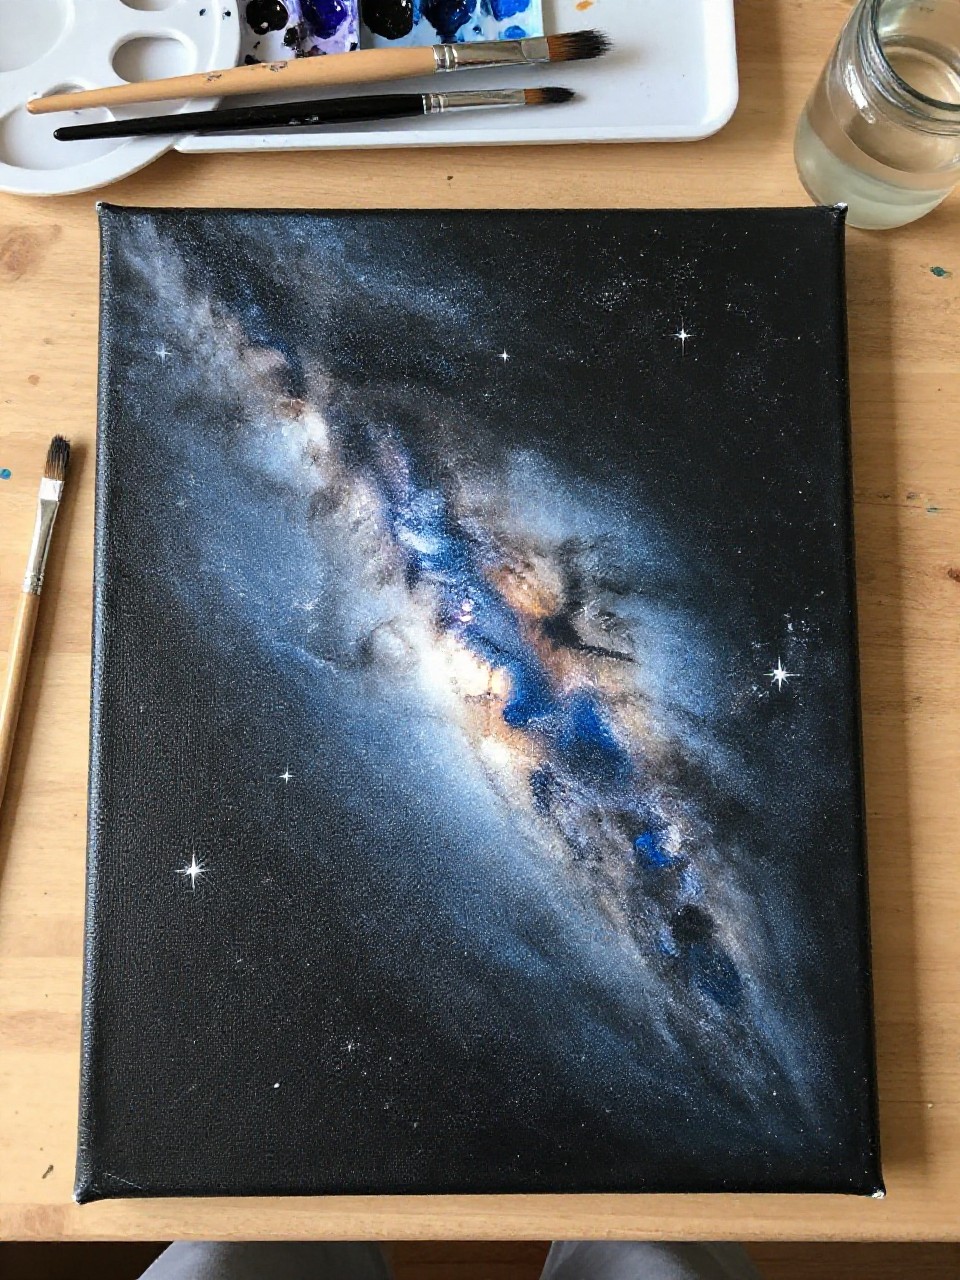
A sweeping Milky Way band curves across the painting, with cloudy whites and blues that look like misty stardust. It’s relaxing because you can dab and blend without strict lines, and beginners usually love how quickly the “space fog” effect appears.
Materials Needed:
- Black canvas board
- Acrylic paint
- Paintbrushes in multiple sizes
- Palette or paint tray
- Old sponge (optional)
Steps to Make:
- Start with a black canvas board so the space looks deep right away.
- Lightly mark a curved band where the Milky Way will go.
- Dab whites and pale blues along the band using a sponge or dry brush.
- Blend the edges softly and add darker gaps for a layered cloud look.
- Flick tiny stars with a brush, then let everything dry flat.
6. Solar Eclipse Silhouette Painting on Canvas
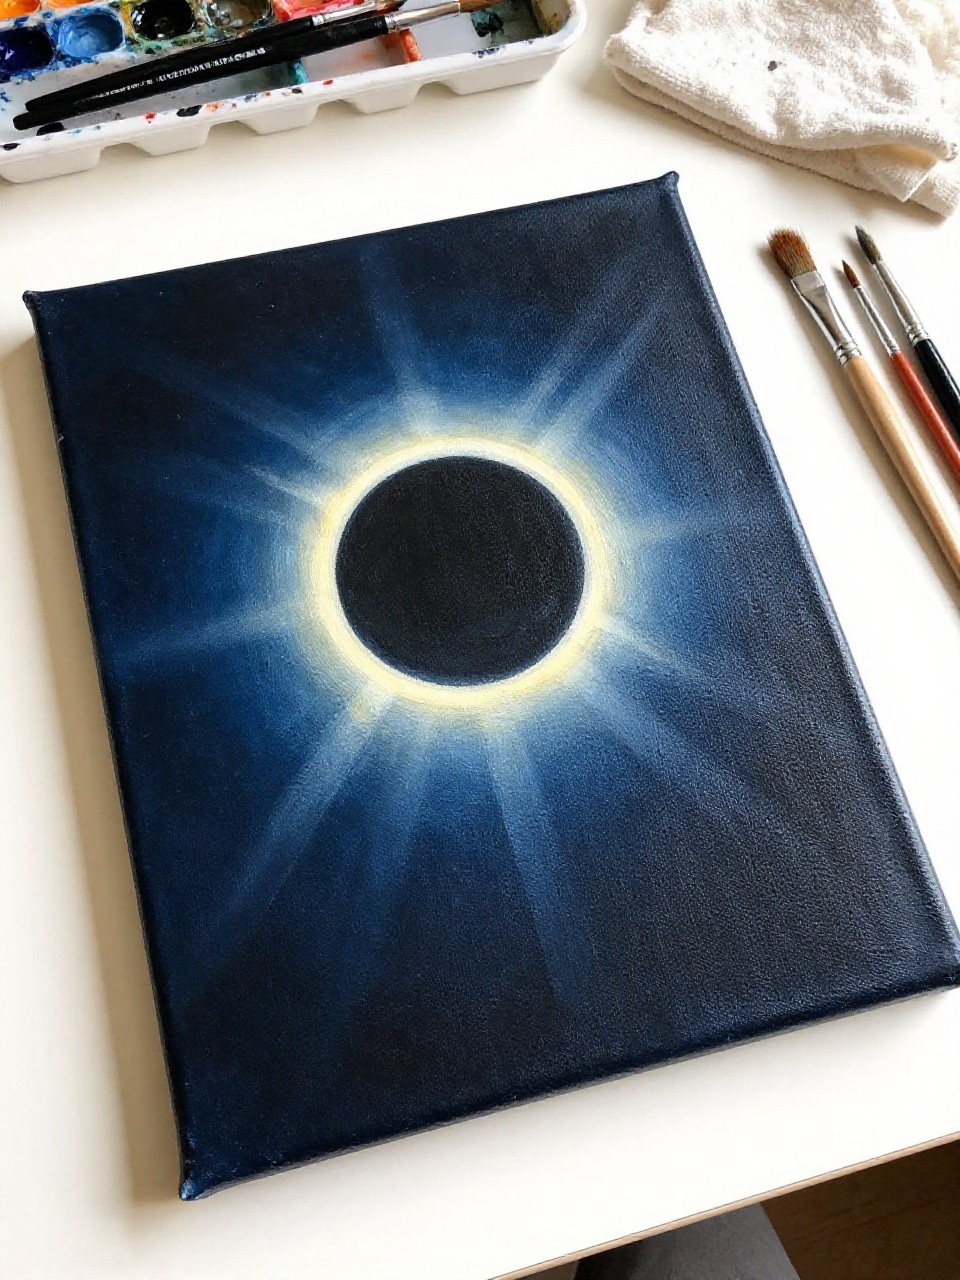
A dark circle blocks a bright sun, with a glowing ring and soft rays spreading into a deep space sky. This is great for beginners because the main shapes are simple, and the glow effect is a fun way to practice gentle blending without needing lots of details.
Materials Needed:
- Stretched canvas
- Acrylic paint
- Paintbrushes in multiple sizes
- Palette or paint tray
- Round sponge dauber (optional)
Steps to Make:
- Paint the background with dark blues and blacks, blending smoothly.
- Trace a circle for the moon silhouette in the center.
- Paint the circle solid black, keeping the edge clean.
- Use a sponge or dry brush to add a bright ring glow around it.
- Add a few stars, let dry, and hang where light can catch the glow.
7. Meteor Shower Night Sky on Canvas Panel
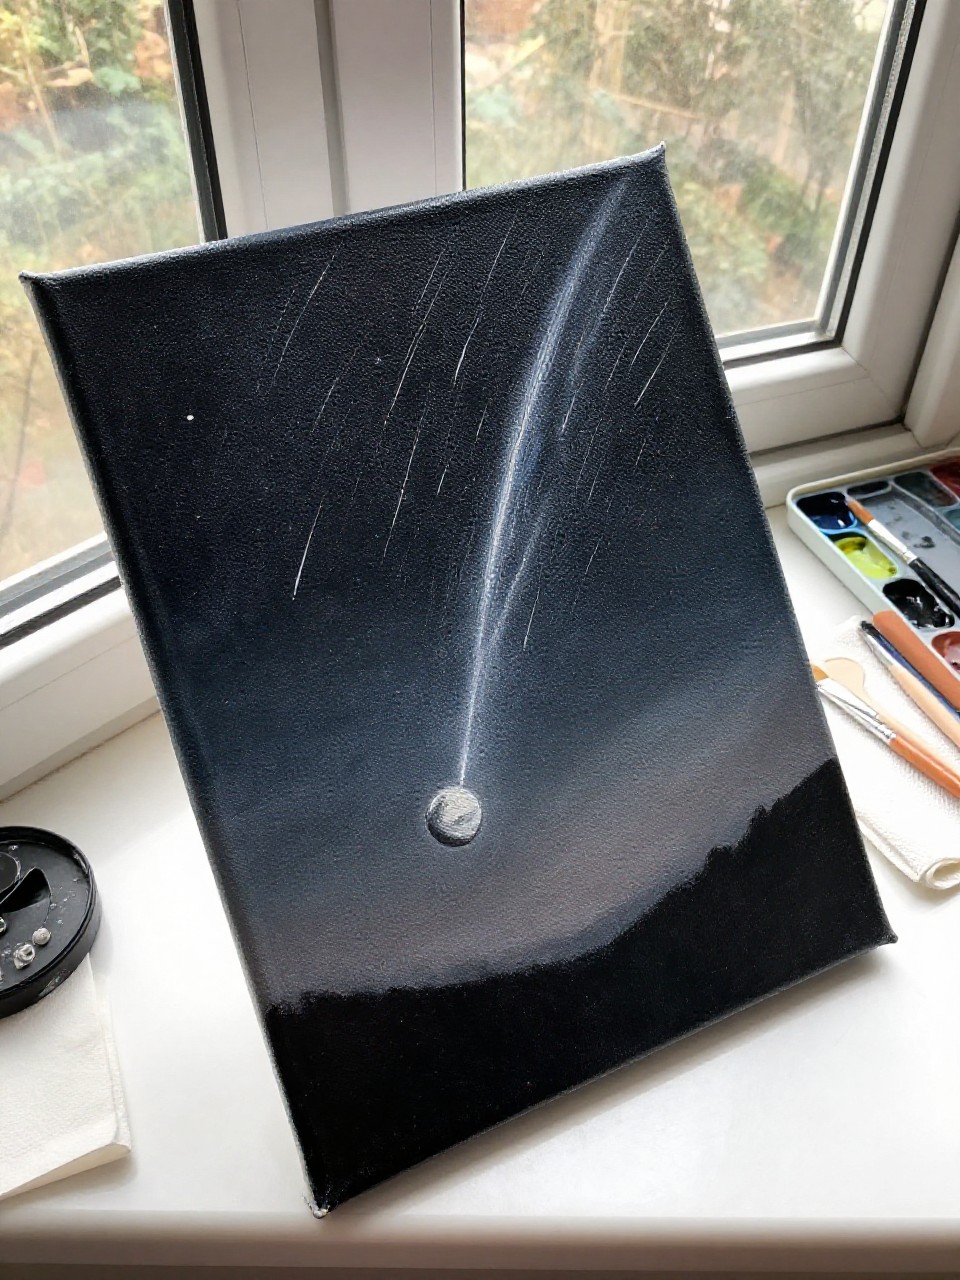
This piece shows a night sky with a small planet near the bottom and several bright meteors streaking across in curved lines. It’s a quick, fun project for beginners because the meteors are just confident brush strokes, and a few highlights make the whole painting feel lively.
Materials Needed:
- Canvas panel
- Acrylic paint
- Paintbrushes in multiple sizes
- Palette or paint tray
- White paint pen (optional)
Steps to Make:
- Paint a dark gradient sky, going from deep blue to near-black.
- Add a small planet at the bottom edge with simple shading.
- Pull thin diagonal streaks for meteors using a small brush and white paint.
- Layer a second, brighter streak on each meteor for a glowing effect.
- Dot in stars, let dry, and prop it on a shelf or desk.
8. Cratered Moon Rock Painting (Painted Stone)
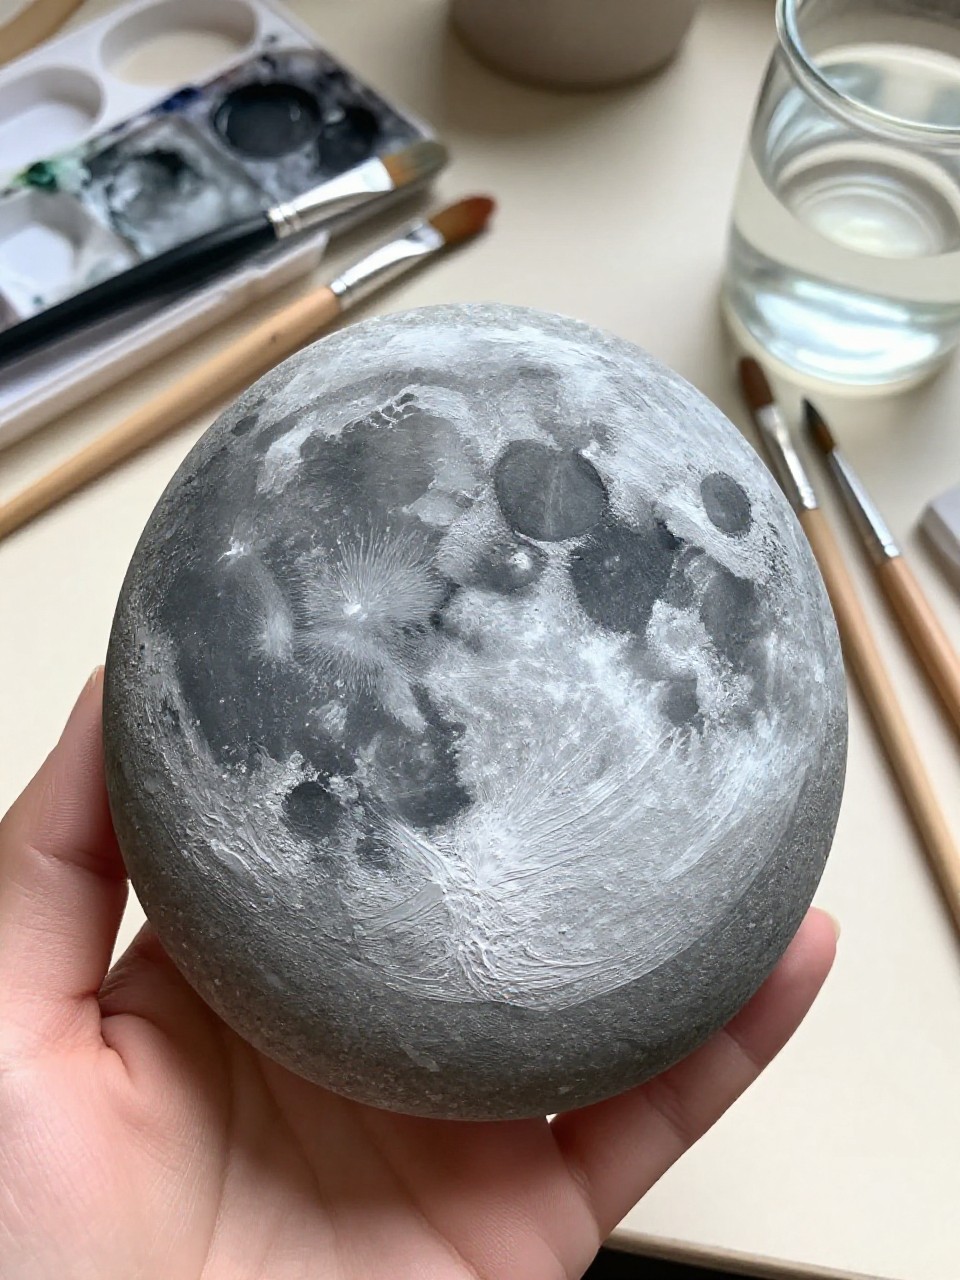
A smooth stone becomes a mini moon with gray layers, crater circles, and tiny shadowed pits that look touchable. This is perfect if you want a no-pressure project, and it’s also a sweet handmade gift or desk decoration that doesn’t take much paint.
Materials Needed:
- Smooth flat rock (painting surface)
- Acrylic paint
- Paintbrushes in multiple sizes
- Palette or paint tray
- Clear sealer (optional)
Steps to Make:
- Wash and dry the rock so paint sticks well.
- Paint a base coat of light gray and let it dry completely.
- Add darker gray crater circles, then blend one side for shadow.
- Dot smaller pits and add a few bright highlights on raised areas.
- Seal when dry so the paint holds up to handling.
9. Jupiter Bands Practice Canvas
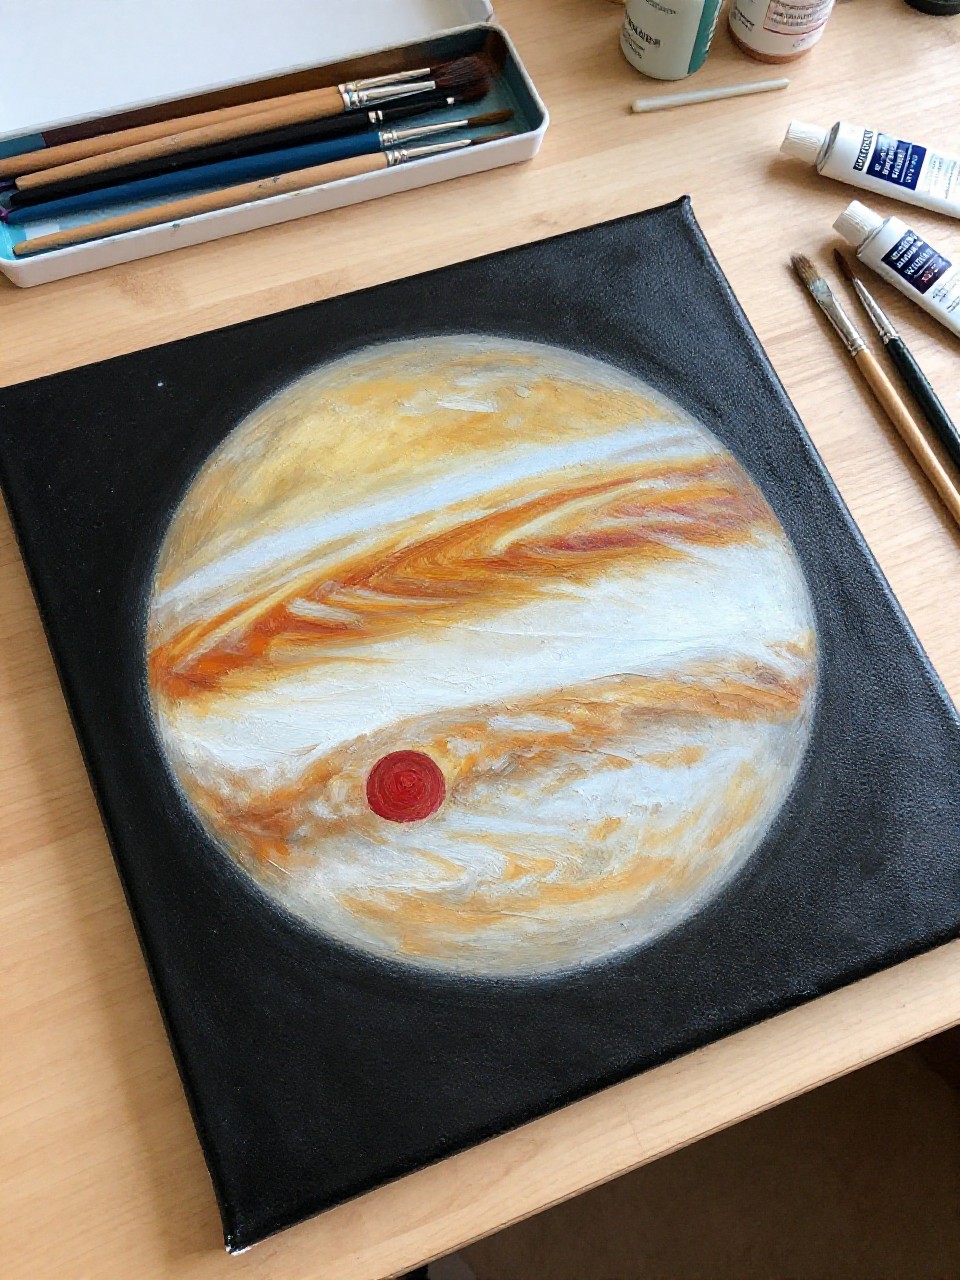
A large Jupiter fills most of the canvas, with warm tan, orange, and cream bands and a simple red spot swirling on one side. It’s a great beginner study because you can practice blending in stripes, and the final result looks impressive even with loose, painterly brushwork.
Materials Needed:
- Stretched canvas
- Acrylic paint
- Paintbrushes in multiple sizes
- Palette or paint tray
- Gloss varnish (optional)
Steps to Make:
- Paint a dark space background and leave it to dry.
- Sketch a big circle for Jupiter, filling most of the canvas.
- Paint the base color, then add wide bands in warm tones.
- Blend the band edges lightly and paint a red spot with a soft swirl.
- Add a few stars, dry fully, and varnish for a rich finish if you want.
10. Neon Planets on Black Paper Poster
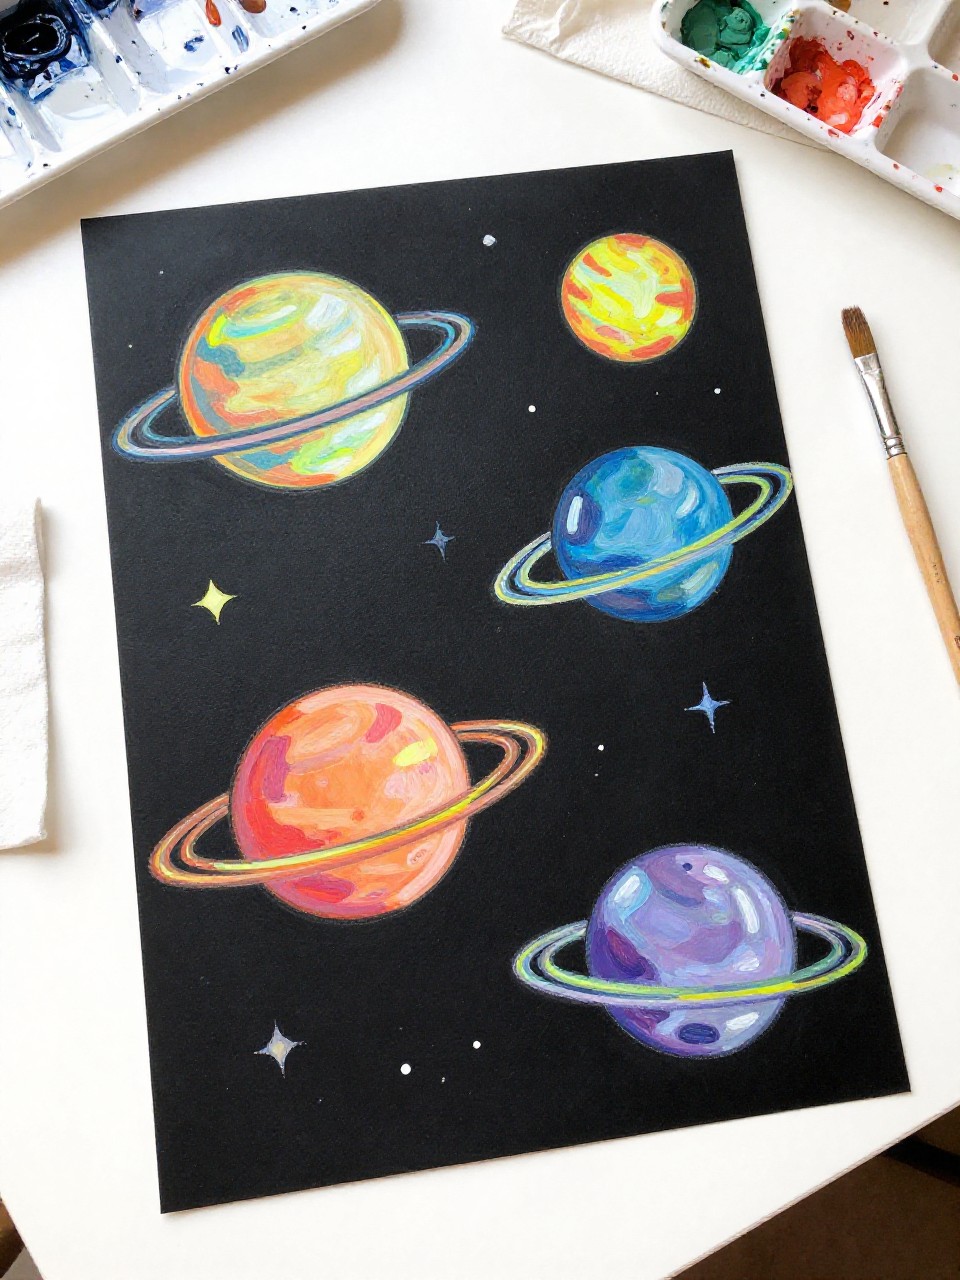
Bright neon planets pop off a black poster sheet, each one with quick rings, dots, and bold outlines that feel playful. This is a fun project for beginners and kids because you can keep shapes simple, and the high-contrast colors make everything look finished fast.
Materials Needed:
- Black mixed-media paper (painting surface)
- Acrylic paint
- Paintbrushes in multiple sizes
- Palette or paint tray
- White gel pen (optional)
Steps to Make:
- Tape the black paper to a board so it stays flat while painting.
- Plan your planet placement with light pencil circles.
- Paint neon circles and rings, letting some brush texture show through.
- Add dots, tiny moons, and simple highlights with lighter neon shades.
- Finish with white star specks, then remove tape when fully dry.
11. Constellation Map with a Painted Planet Corner
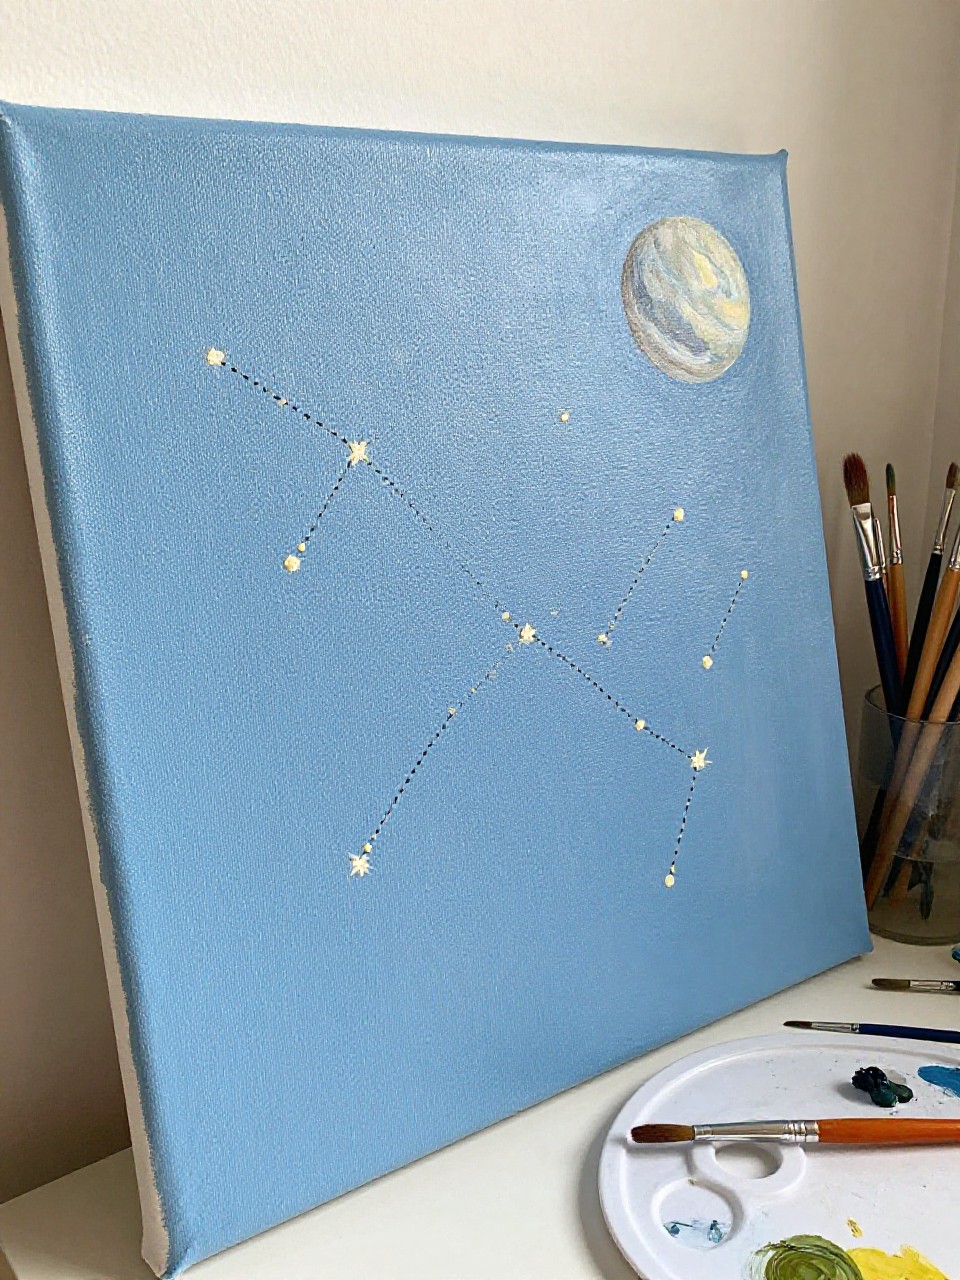
A simple constellation pattern stretches across the sky, while one corner holds a softly shaded planet that looks like it’s floating into the scene. It’s a relaxing project if you like clean, tidy designs, and it’s beginner-friendly because you can use dots and lines instead of complex shading.
Materials Needed:
- Canvas panel
- Acrylic paint
- Paintbrushes in multiple sizes
- Palette or paint tray
- White paint pen (optional)
Steps to Make:
- Paint the background a smooth dark blue and let it dry.
- Add a large planet in one corner with gentle shading and a thin glow.
- Dot star points across the canvas with a small brush or paint pen.
- Connect a few star groups with thin lines to form constellations.
- Let dry, then add a couple brighter “feature stars” for balance.
12. Solar System Painted Wooden Round (Wall Hanging)

A wooden round becomes a warm, rustic solar system, with planets painted in a gentle circle and small star dots around them. This feels great for home decor because the wood grain shows through the paint a bit, and beginners can keep the planets simple while still getting a charming, handmade look.
Materials Needed:
- Wooden round plaque (painting surface)
- Acrylic paint
- Paintbrushes in multiple sizes
- Palette or paint tray
- Clear varnish (optional)
Steps to Make:
- Wipe the wood clean and decide if you want the grain to show.
- Paint a dark space area or leave some wood visible as a background.
- Mark a circular path and paint small planets along it in different colors.
- Add rings, tiny moons, and scattered stars with a small brush.
- Let dry, varnish lightly, and add string on the back to hang it.
13. Painted Planets Tote Bag (Wearable Solar System)
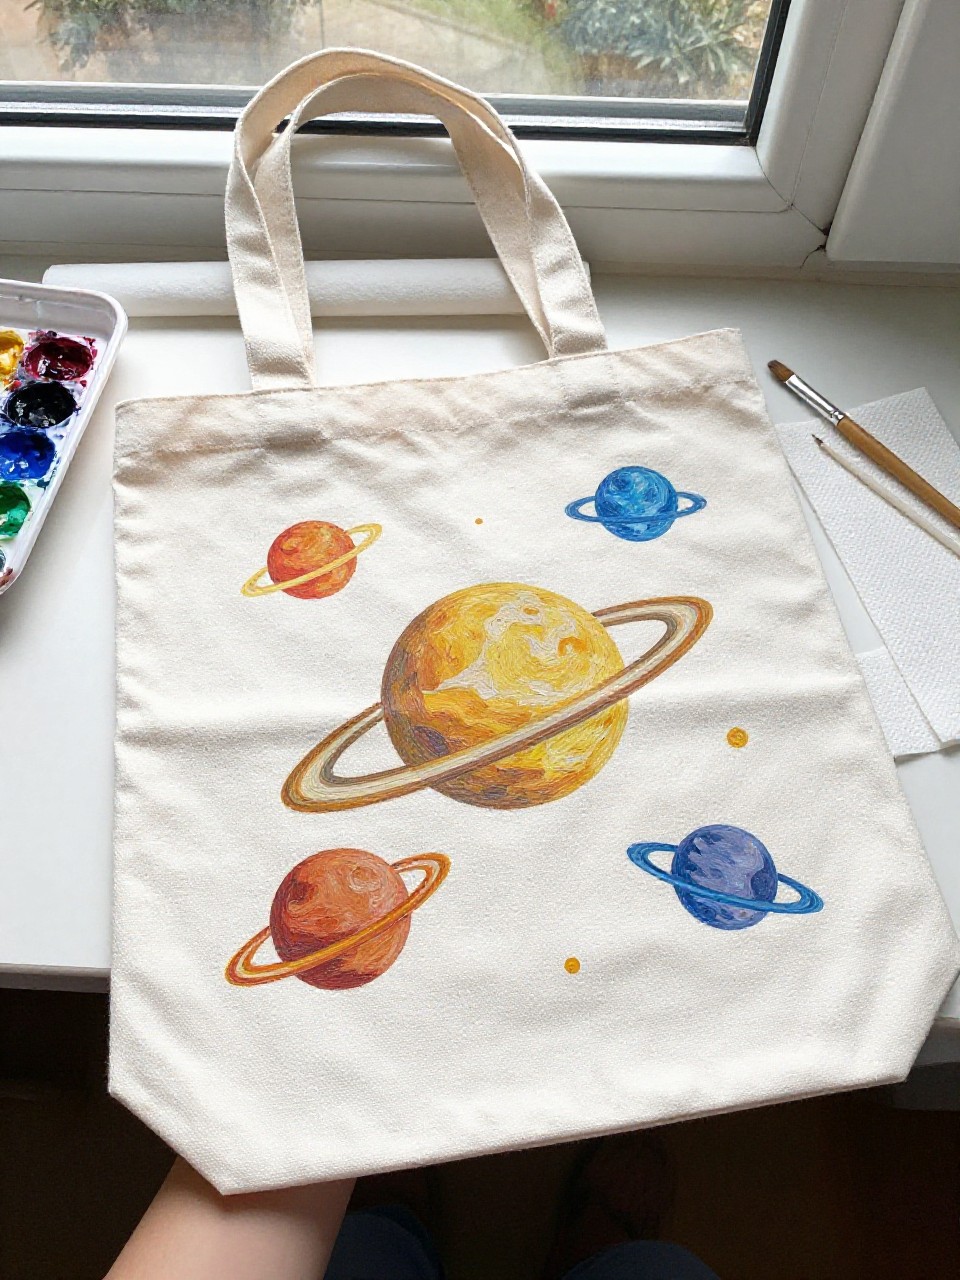
A plain tote bag turns into a wearable solar system, with planets painted across the fabric so the design flows naturally with the bag’s shape. This is satisfying because it’s useful and handmade, and beginners can do simple circles and build up details slowly with fabric paint.
Materials Needed:
- Plain cotton tote bag (painting surface)
- Fabric paint
- Paintbrushes in multiple sizes
- Palette or paint tray
- Cardboard insert (optional)
Steps to Make:
- Slip cardboard inside the tote so paint doesn’t bleed through.
- Lightly sketch planet circles and a curved orbit line across the bag front.
- Paint the planets in flat colors first, letting the fabric texture show.
- Add rings, stripes, and highlights that follow the curve of the bag.
- Let dry fully, then heat-set according to the fabric paint directions.
14. Space Gradient Bookmark with Tiny Planets

A long bookmark shows a smooth space gradient with two or three tiny planets and scattered stars, perfect for a book lover. It’s a calming mini project because it’s small, quick, and easy to redo if you don’t like your first try, yet it still looks detailed and special.
Materials Needed:
- Thick watercolor paper strip (painting surface)
- Gouache paint
- Paintbrushes in multiple sizes
- Palette or paint tray
- Clear laminating sheet (optional)
Steps to Make:
- Cut a thick paper strip and tape it down so it stays flat.
- Paint a gradient background, blending dark blue into purple and black.
- Add small planet circles and shade one side for a round look.
- Dot stars and add a few brighter ones with thicker paint.
- Dry fully, then laminate or seal to protect it from wear.
15. “View From a Spaceship Window” Canvas Painting
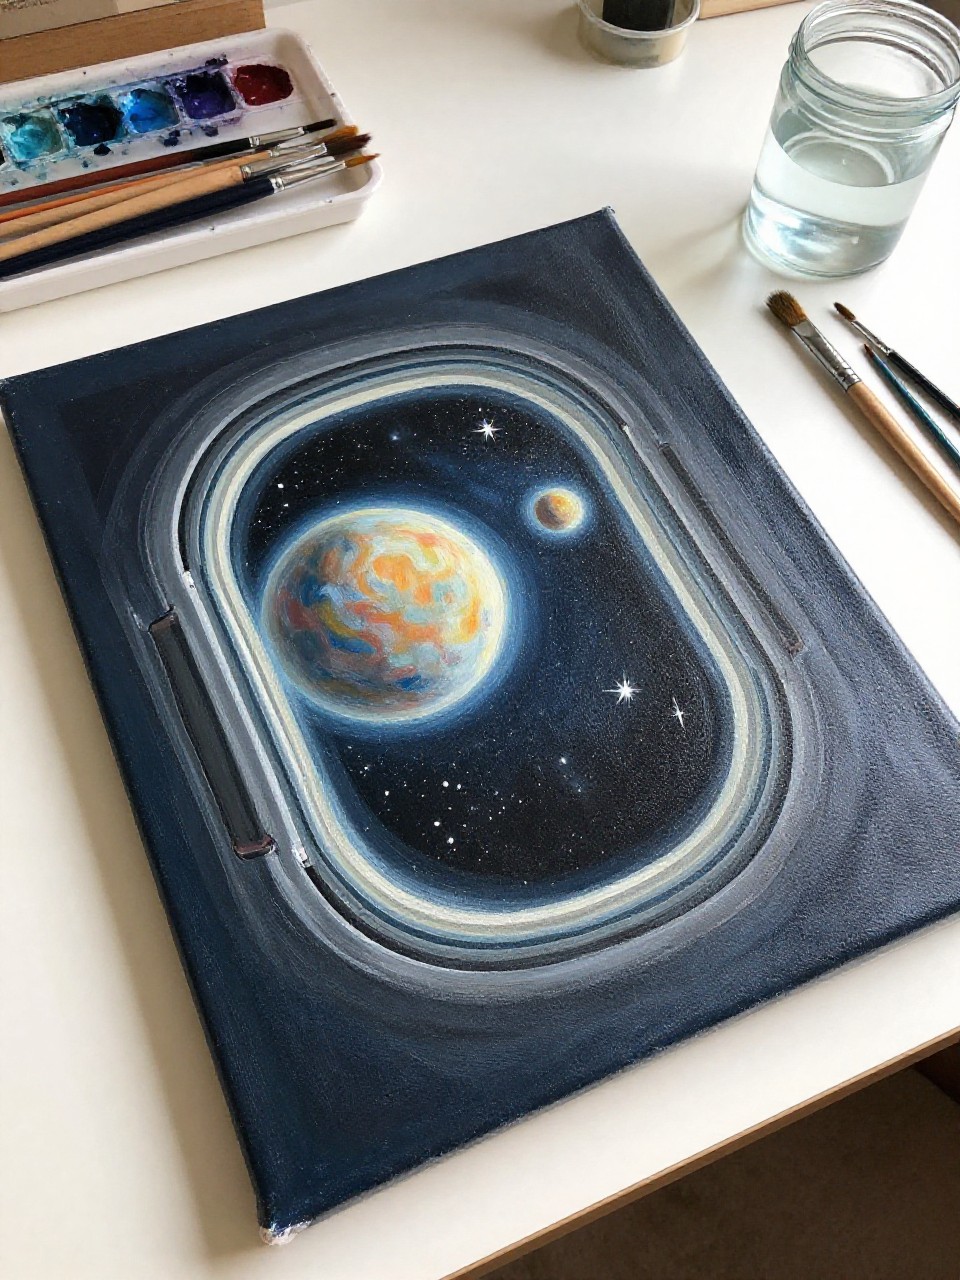
This painting looks like you’re inside a spaceship, looking out a rounded window at a bright planet and scattered stars beyond. It’s a fun beginner project because the window frame hides messy edges, and the space scene is mostly blending and simple shapes that still feel dramatic.
Materials Needed:
- Stretched canvas
- Acrylic paint
- Paintbrushes in multiple sizes
- Palette or paint tray
- Masking tape (optional)
Steps to Make:
- Paint a dark space background and blend in a few soft nebula clouds.
- Sketch a large rounded window frame shape over the scene.
- Paint the window frame in gray tones, adding simple light and shadow.
- Paint a planet outside the “window,” with a glow along one edge.
- Add tiny stars, let dry, and hang it where it feels like a real view.


