


Table of Contents Show
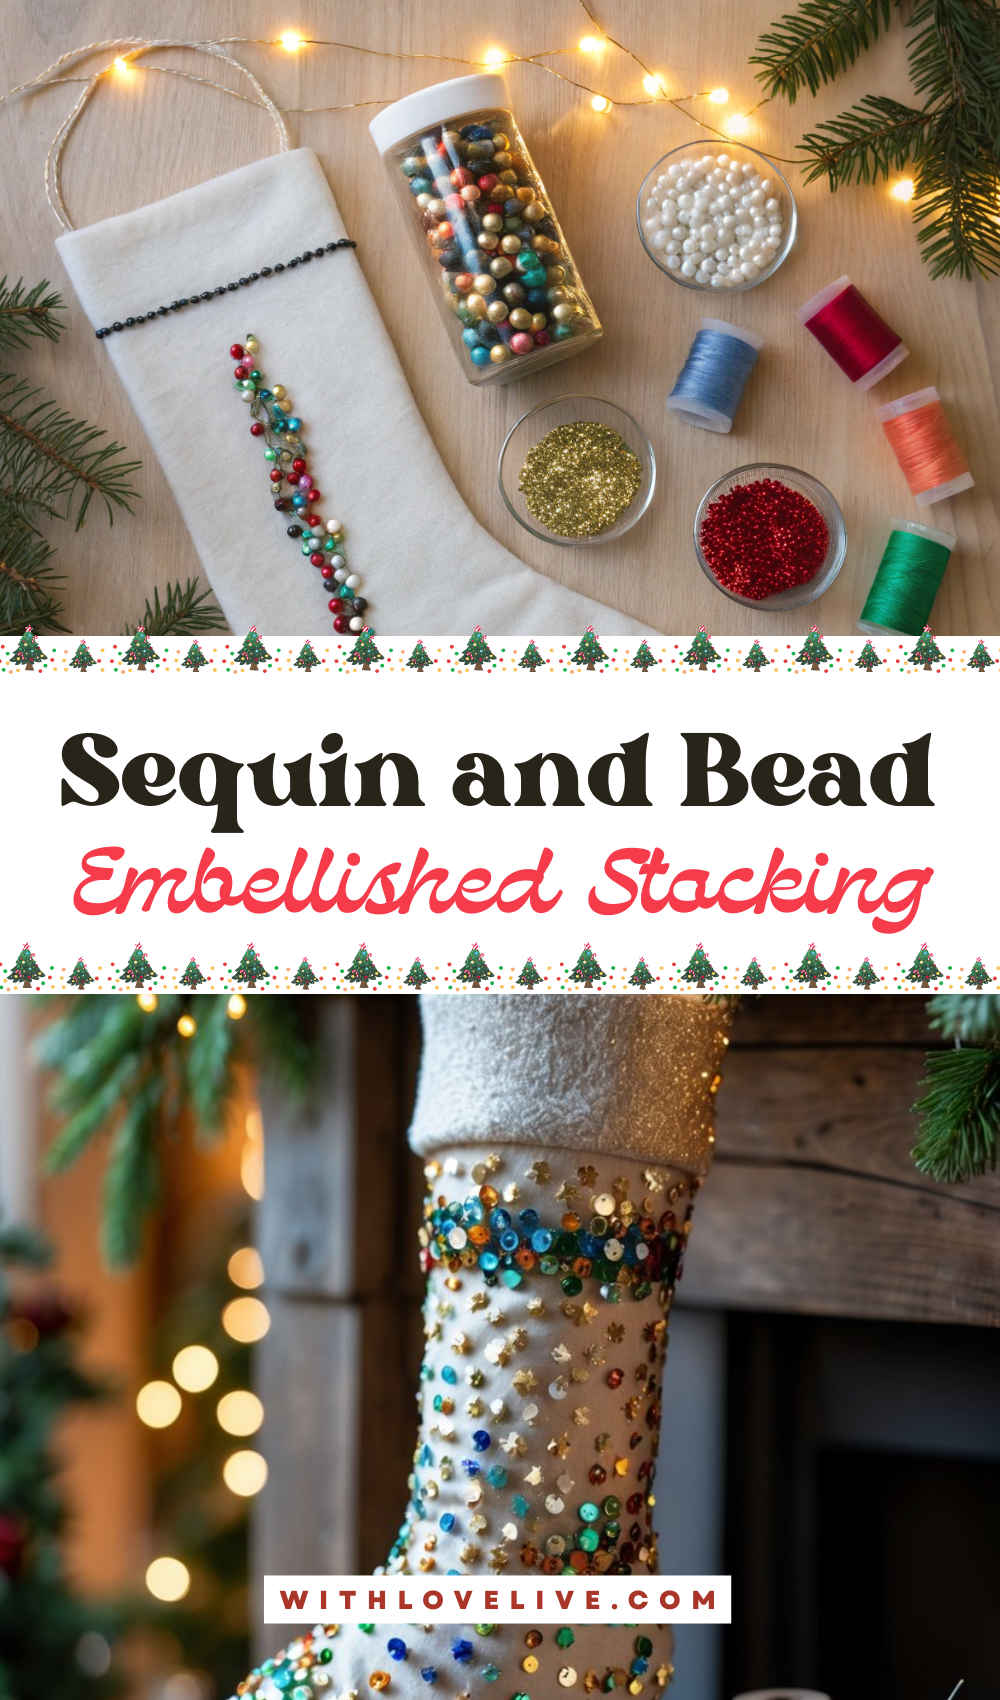
A sequin and bead embellished stocking is the perfect way to add a little sparkle and glamour to your Christmas décor. It’s festive, eye-catching, and customizable — whether you want something chic and elegant in metallics or playful with bursts of color.
This craft combines creativity and a touch of patience, rewarding you with a stocking that shines beautifully under twinkling holiday lights.
This project works well with both store-bought plain stockings and handmade ones. You can use sequins, seed beads, rhinestones, or even metallic thread to create a dazzling effect that reflects your personal style.
How to Make Sequin and Bead Embellished Stockings
It’s a lovely craft for anyone who enjoys adding a touch of luxury and shimmer to traditional holiday décor.
For People Who Love to Make Things ✂️
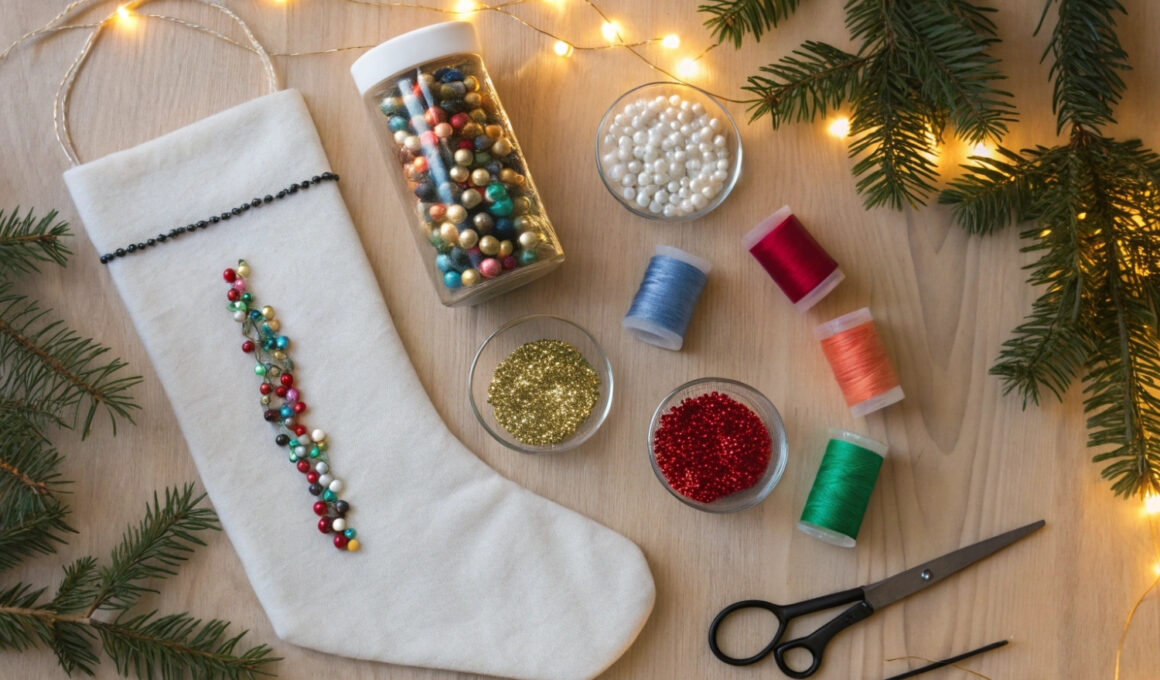
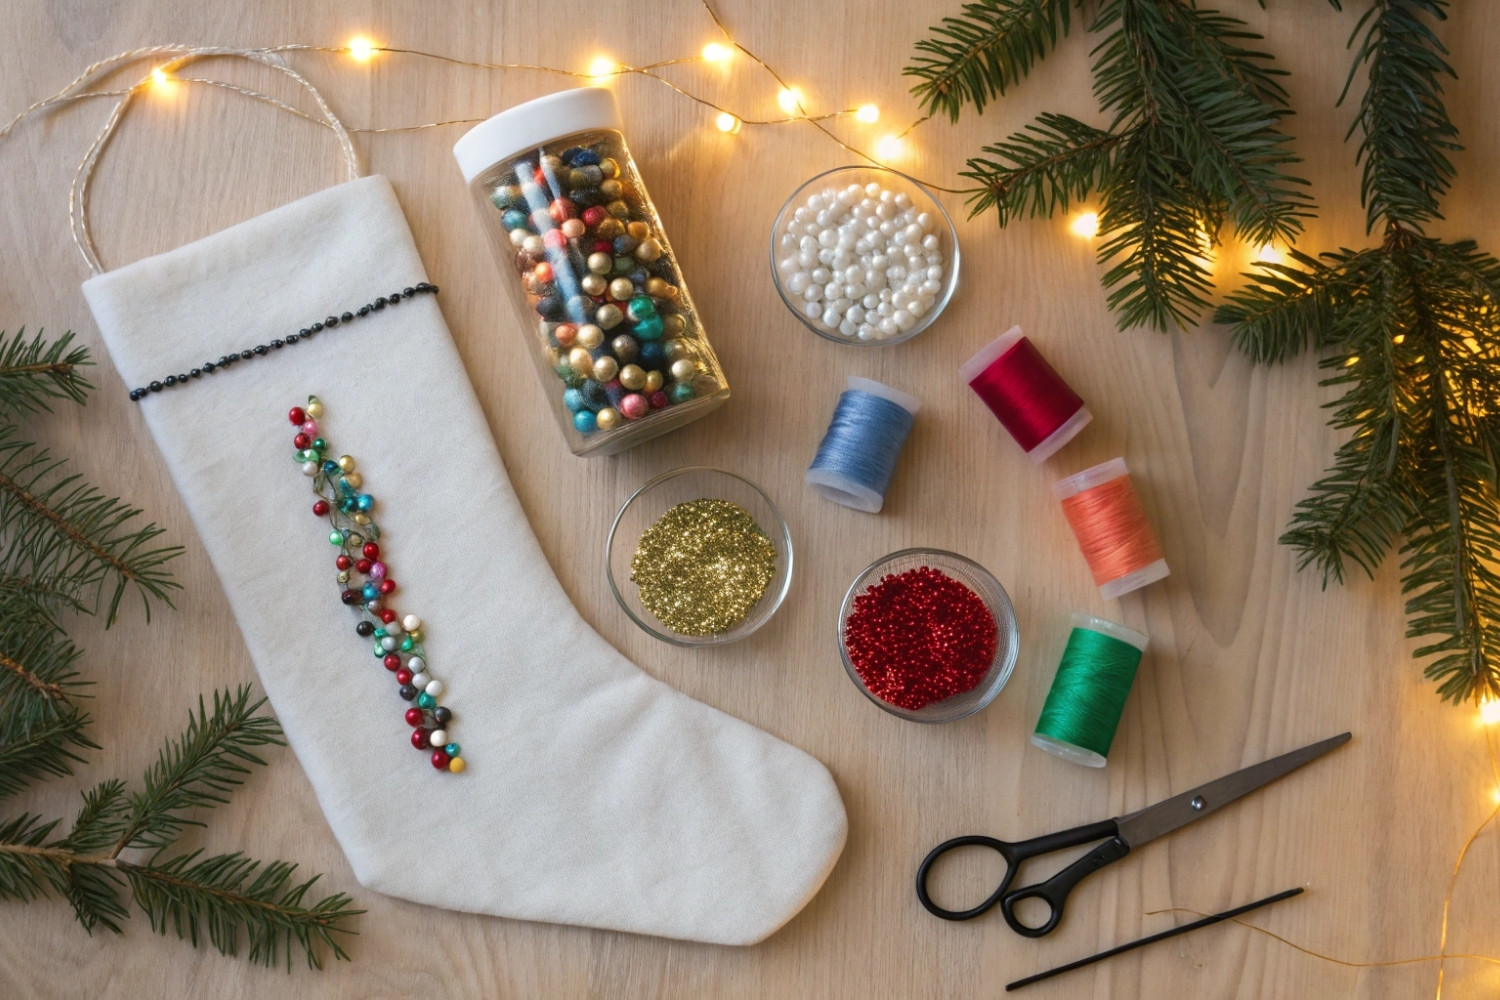
Materials
- Plain stocking (fabric or felt)
- Sequins in assorted colors and sizes
- Seed beads or small embellishments
- Strong thread (gold, silver, or clear nylon)
- Needle or fabric glue (depending on your preference)
- Fabric chalk or pencil (for sketching design)
- Ribbon or trim (optional, for top edge)
- Small containers for organizing beads
- Scissors
Shop the materials
The steps
Step 1: Choose and Prepare Your Stocking
Start with a clean, plain stocking — preferably in a neutral or metallic shade like white, cream, gold, or silver.
If you’re making your own stocking, ensure the seams are finished before decorating. Lay it flat on a table and smooth out any wrinkles before starting your design.
Step 2: Plan Your Design
Decide on your pattern or layout. You can go for a scattered effect, stripes, snowflakes, stars, or even spell out names with sequins. Lightly sketch your design on the fabric using a fabric pencil.
For beginners, random scattering or gradient designs (where sequins cluster heavily at the bottom and fade upward) work beautifully and are easy to achieve.
Step 3: Attach Sequins and Beads
Thread your needle with strong thread or use fabric glue for a quicker option. If sewing, bring the needle up through the back of the fabric, thread a sequin, then a small bead, and pass the needle back through the center of the sequin.
This anchors it securely and adds texture. Continue attaching sequins one by one, following your design.
For glued designs, apply a small dab of glue with a toothpick and press each sequin gently into place. Allow sections to dry before moving to the next area to prevent smudging.
Step 4: Add Layered Details
For a more intricate design, layer larger sequins with smaller ones or combine beads and metallic embroidery thread.
You can also create small motifs, like stars or holly leaves, by clustering sequins in tight shapes. This layering adds depth and catches more light for an extra shimmer.

Step 5: Finish the Top and Edges
Once the body of the stocking is complete, decorate the cuff. You can add a strip of ribbon, glitter fabric, or a line of gold beads for a polished look.
If your stocking has a hanging loop, wrap it with metallic thread or ribbon to tie the design together.
Step 6: Dry and Display
If you used glue, allow the stocking to dry completely before hanging. Shake off any loose sequins or beads, then step back and admire your sparkly masterpiece.
It’s perfect for mantel displays or as a glamorous addition to your gift presentation.
This stocking doesn’t just hold treats — it captures the light and joy of the season. Each sequin adds a glimmer of magic, making it a keepsake you’ll look forward to displaying year after year.