Table of Contents Show
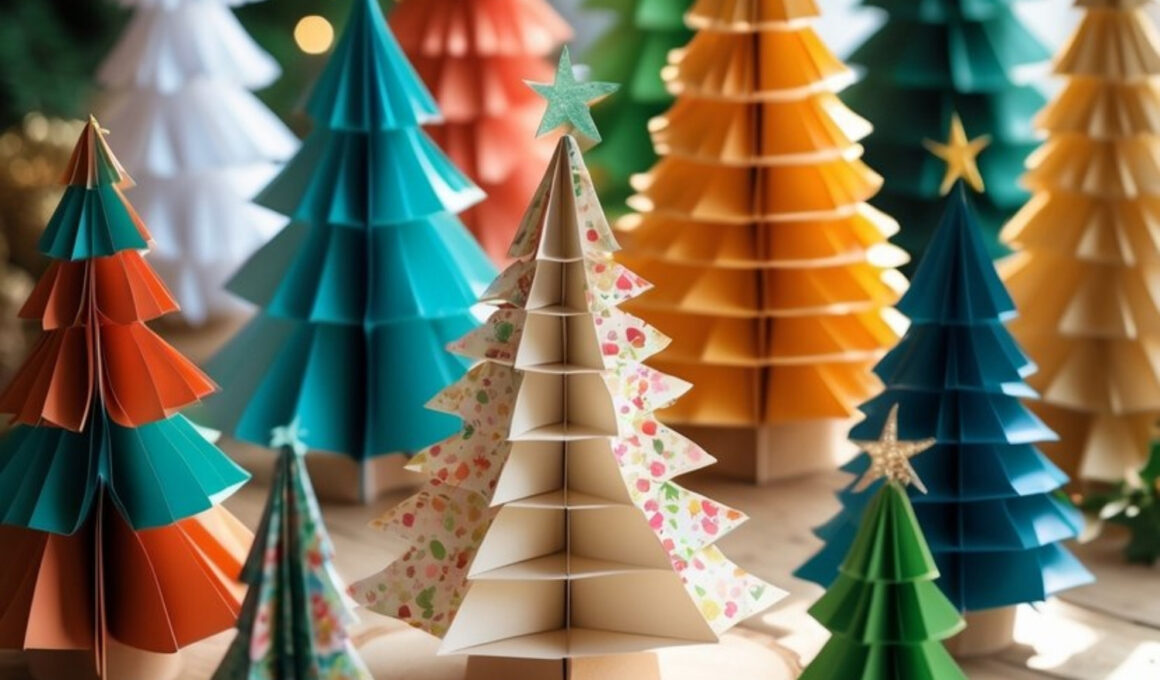
Paper Christmas trees are a delightful and colorful way to bring holiday cheer into any space without spending much. They’re lightweight, easy to make, and perfect for decorating your dining table, mantel, or office desk. You can even turn it into a family crafting afternoon by making different styles of trees, from folded and layered ones to modern geometric shapes.
You can create them using plain, patterned, or metallic paper, and customize the size and color scheme to match your seasonal decor.
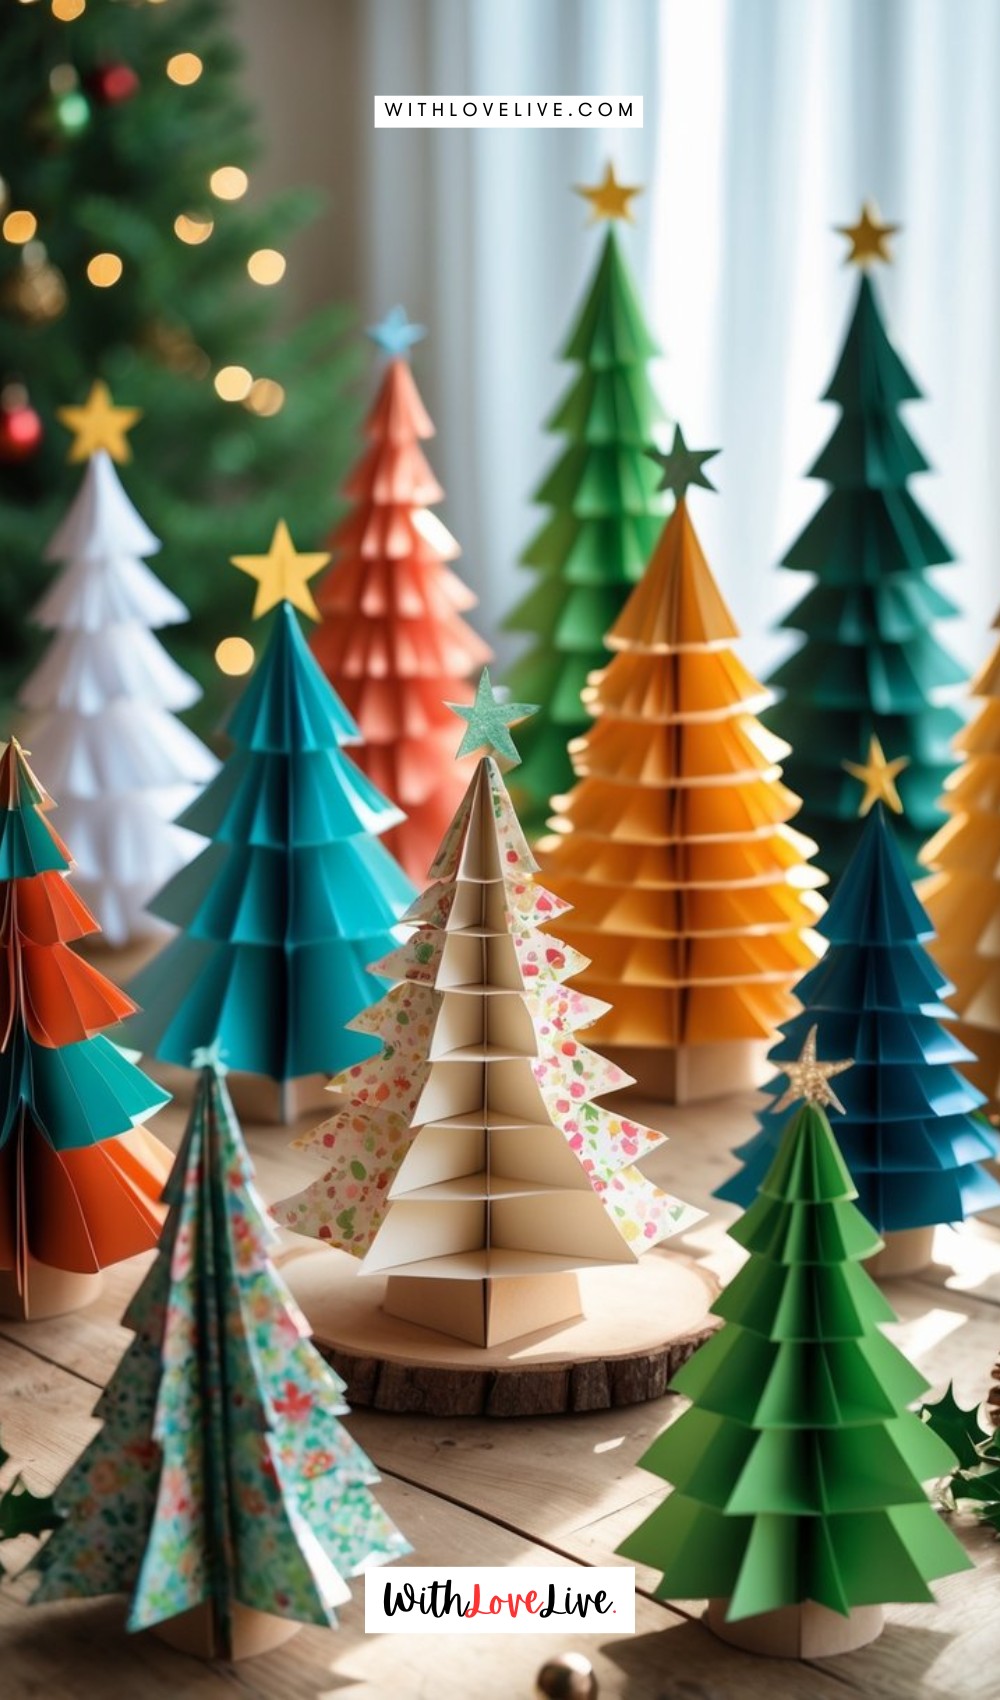
These trees look especially charming when arranged in small clusters — almost like a mini paper forest glowing under your Christmas lights.
How to Make Paper Christmas Trees Craft
This project is beginner-friendly and great for both adults and kids. It’s a fun way to get creative while keeping your holiday decorations simple and handmade.
For People Who Love to Make Things ✂️
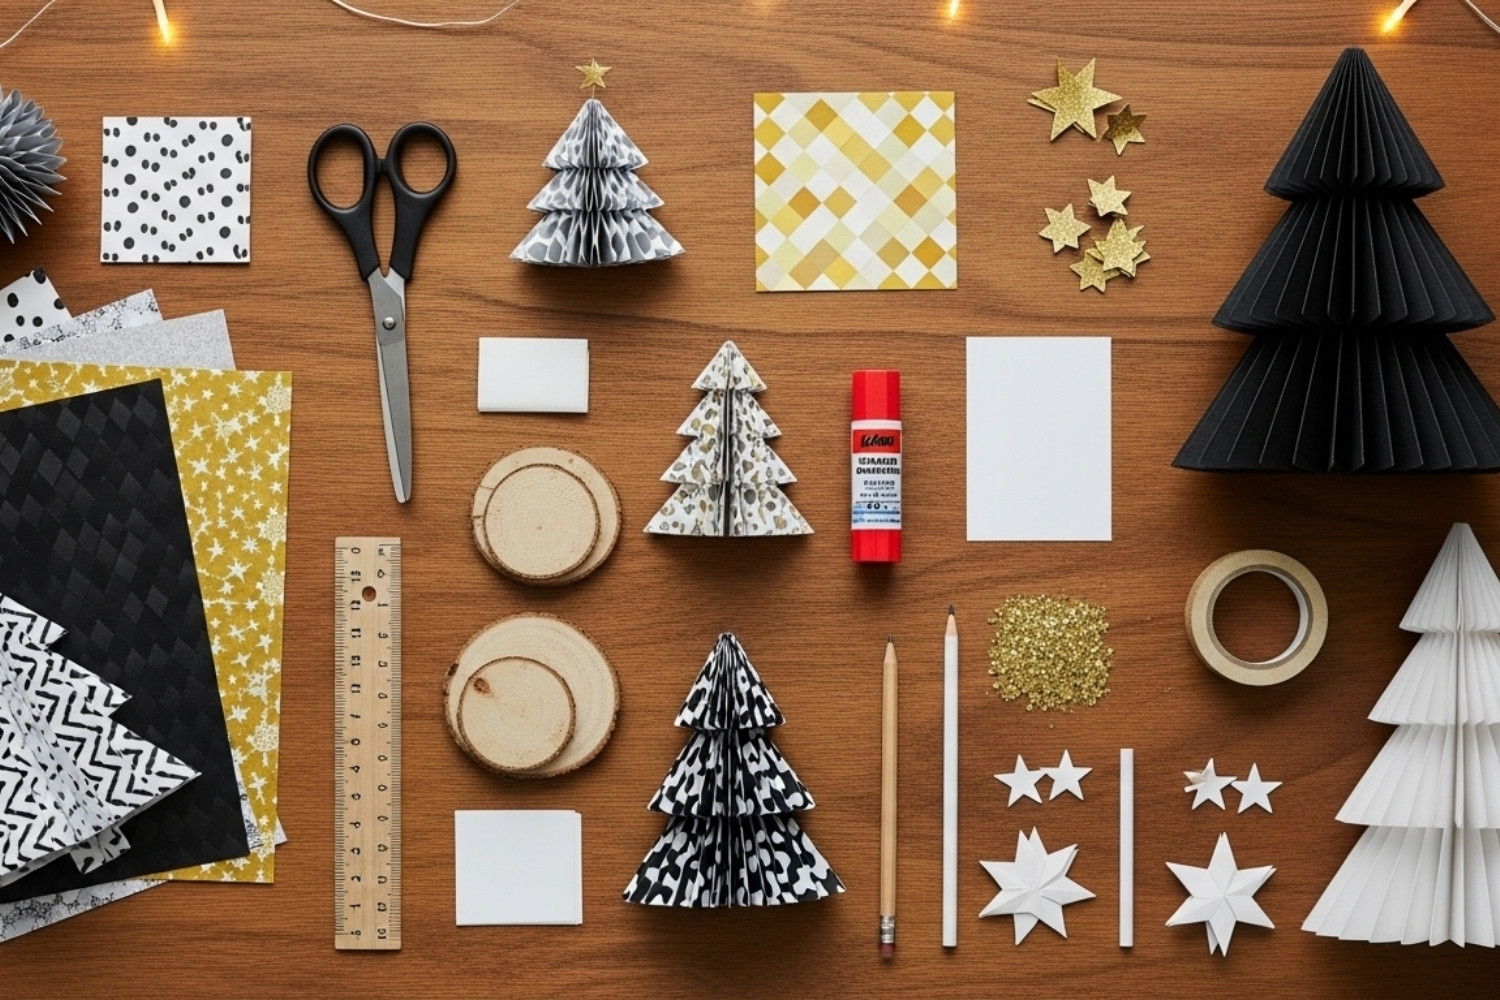
Materials
- Colored or patterned craft paper (various shades of green, gold, red, or pastel tones)
- Scissors
- Ruler and pencil
- Craft glue or double-sided tape
- Wooden discs or cardboard bases (optional for display)
- Small paper or foam stars for the tops
- Glitter or metallic markers (optional for decoration)
Shop the materials


The steps
Step 1: Prepare and Measure Your Paper
Choose the paper colors you want for your trees — you can go for traditional green and gold, or mix things up with bright modern hues. Cut your paper into squares of different sizes (for example, 8×8 inches, 6×6 inches, and 4×4 inches).
These will become the layers of your tree, so the larger pieces go at the bottom and the smaller ones on top.
Step 2: Fold the Paper to Create Tree Layers
Take one paper square and fold it diagonally in both directions. Then, fold it horizontally and vertically to create creases that form an “X” and a “+” shape.
Use these folds to gently pinch and collapse the paper into a triangular, cone-like shape. Repeat this process with your other paper squares, creating several folded pieces of decreasing size.
Step 3: Assemble the Tree
Start stacking your folded pieces from largest to smallest, gluing each one in the center as you go. Align them so the folds face outward, giving your tree a full, layered look.
If you want extra height, add a rolled paper cone or a small cardboard cylinder at the bottom as the base. Let everything dry for a few minutes before adding details.
Step 4: Decorate Your Tree
Once assembled, you can decorate your tree with small dots of glue and a sprinkle of glitter for a frosty touch. Use metallic markers to draw simple garlands or stars.
Glue a small foam or paper star on top for the finishing touch. You can also lightly dust the edges of the paper with white paint to mimic snow.
Step 5: Display Your Paper Forest
Place your finished paper trees on wooden discs, tabletops, or window sills. Mix different sizes and colors together for a charming forest effect.
They look especially beautiful near warm lights or candles. When the season’s over, these trees can be folded flat for easy storage and reused next year.