Table of Contents Show
Keeping kids busy can be hard, especially on rainy days or during quiet classroom time. If you’re looking for simple activities that teach letters and spark creativity, this list will help. Below are fun, easy Letter H crafts that turn learning into play.
You’ll find hands-on projects that highlight the shape and sound of H.
Let’s jump into these happy, helpful “H” ideas.
1. H Is for House Collage
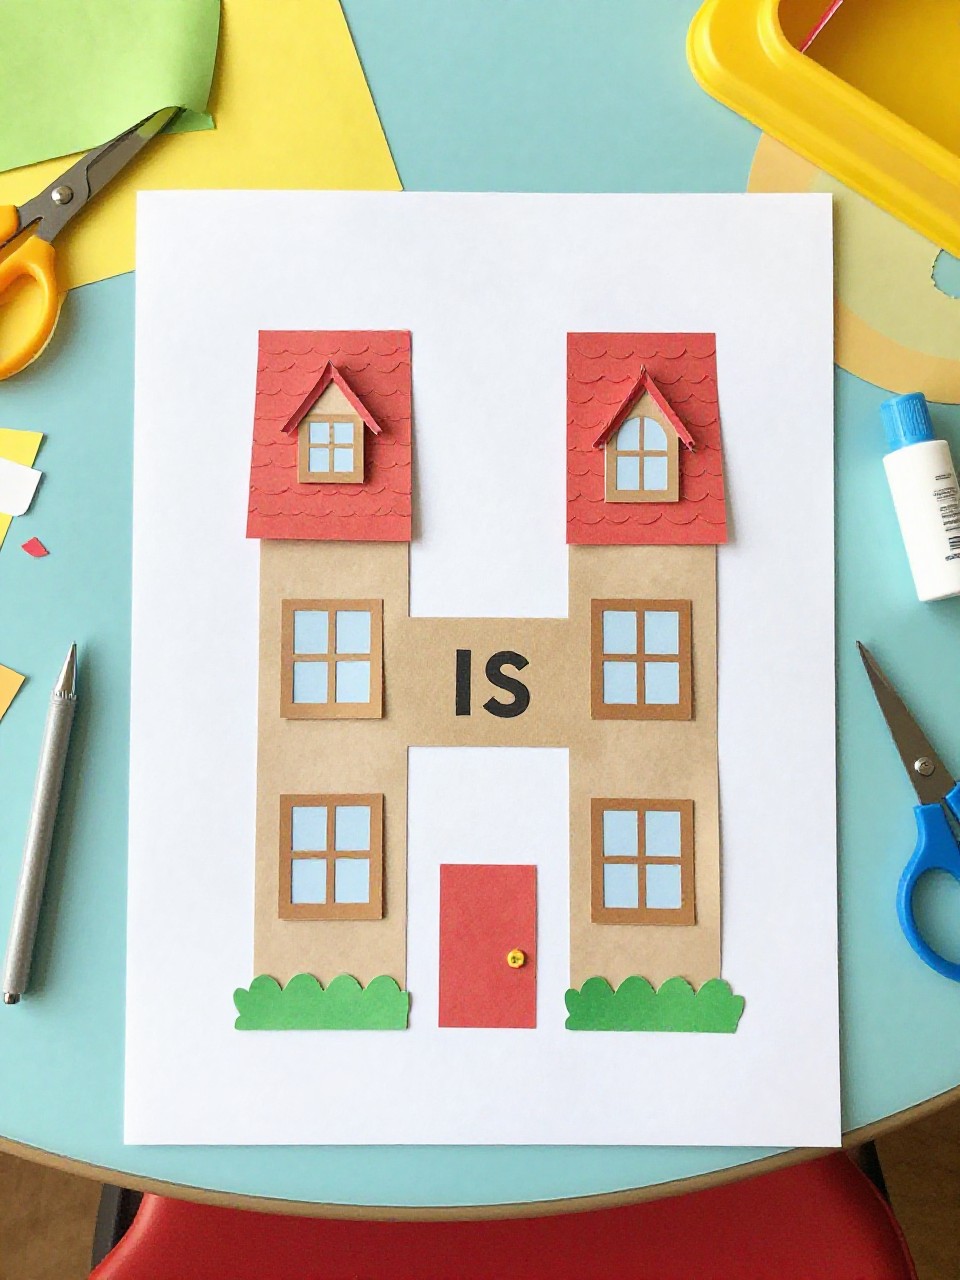
This craft turns a big paper letter H into a cozy paper house with windows, a door, and a roof on top. Kids love choosing colors and textures for the house and decorating it with little details like curtains or flowers.
Materials Needed:
For People Who Love to Make Things ✂️
- Cardstock letter H (cut large)
- Construction paper scraps (roof, door, windows)
- Glue stick
- Markers or crayons
- Stickers or washi tape (optional)
How to make it:
- 1. Cut a large H from cardstock and place it vertically.
- 2. Cut a triangle roof and rectangle door; glue them to the top and center of the H.
- 3. Add windows, paths, and garden details with paper and markers.
- 4. Let dry and hang on a wall “neighborhood” display.
2. Handprint H Hedgehog
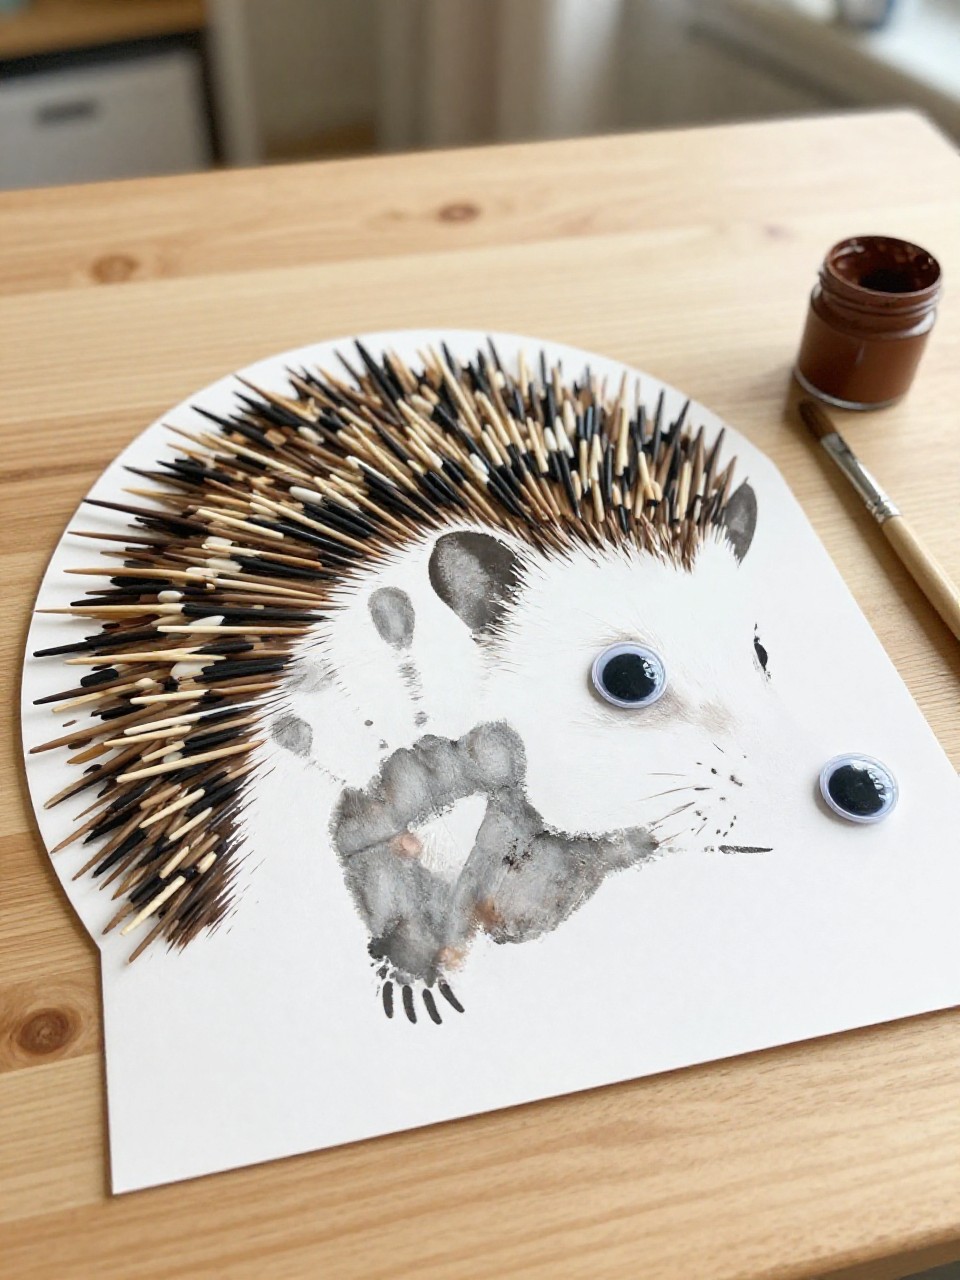
A bold block letter H becomes a hedgehog with handprint “spines” fanning out from the sides. Kids enjoy tracing their hands, painting them, and seeing how their own prints turn into a cute animal.
Materials Needed:
- White cardstock
- Brown and tan paint
- Black marker
- Googly eye (optional)
- Paintbrush
How to make it:
- 1. Draw and cut a large H from cardstock; paint it tan.
- 2. Paint a child’s hand brown; stamp prints along both sides of the H as spines.
- 3. Add a face, nose, and tiny feet with marker; glue on a googly eye.
- 4. Let the paint dry flat before displaying.
3. Popsicle Stick H Helicopter
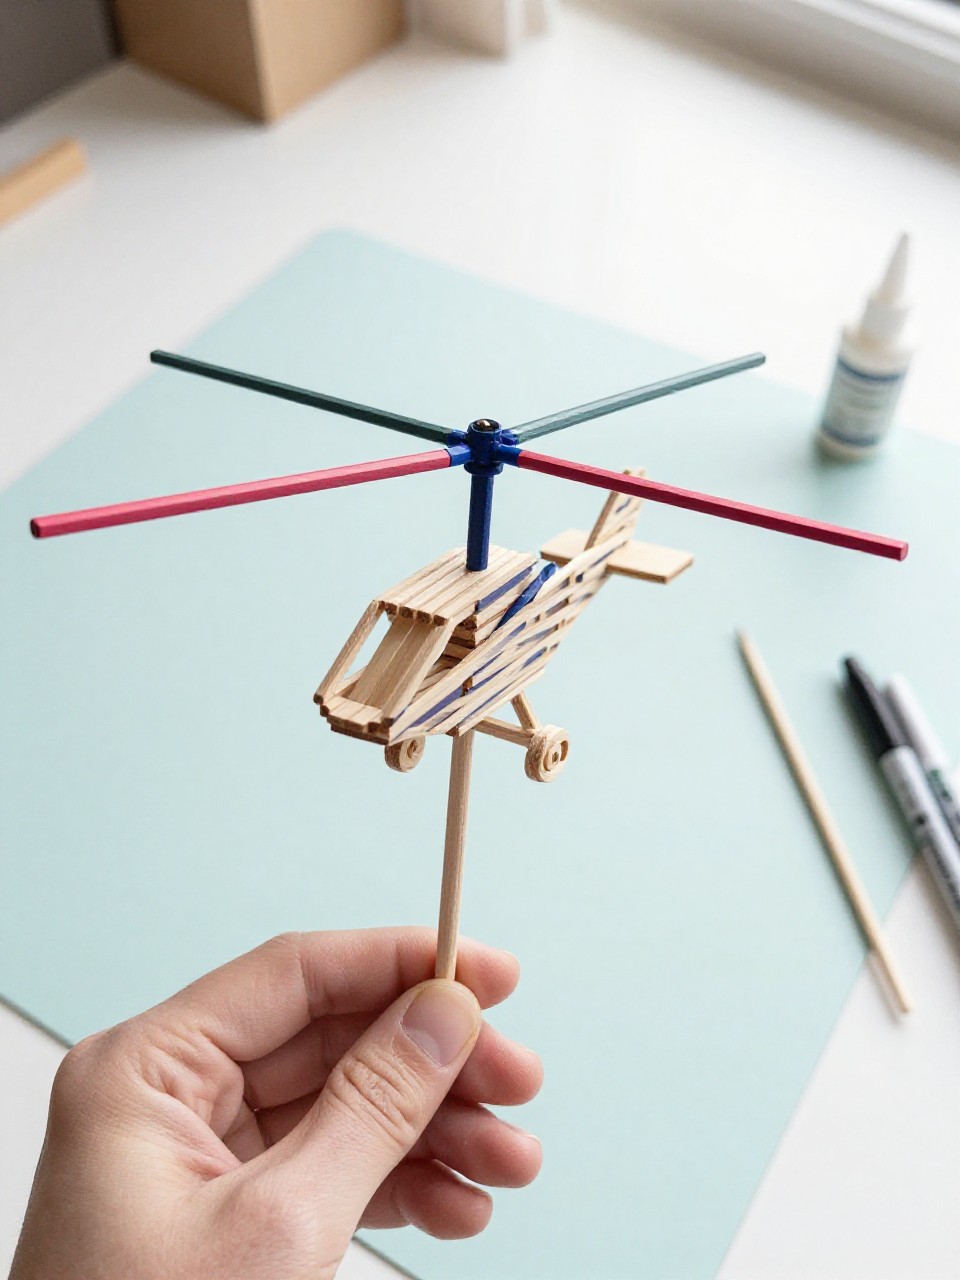
This looks like a chunky letter H turned into a helicopter, with craft stick blades on top and a tail rotor. Kids love spinning the blades and pretending their “H-copter” is flying around the room.
Materials Needed:
- Jumbo popsicle sticks
- Mini craft sticks
- Bottle cap or paper circle (for top rotor hub)
- Glue (tacky glue or hot glue with adult help)
- Markers or paint
How to make it:
- 1. Glue two jumbo sticks parallel with a third across the middle to form H.
- 2. Glue a mini stick across the top as blades and another mini at the side as a tail.
- 3. Add a bottle cap at the top for the rotor hub; color or paint.
- 4. Let dry completely before gentle play.
4. Honeycomb H Sponge Print
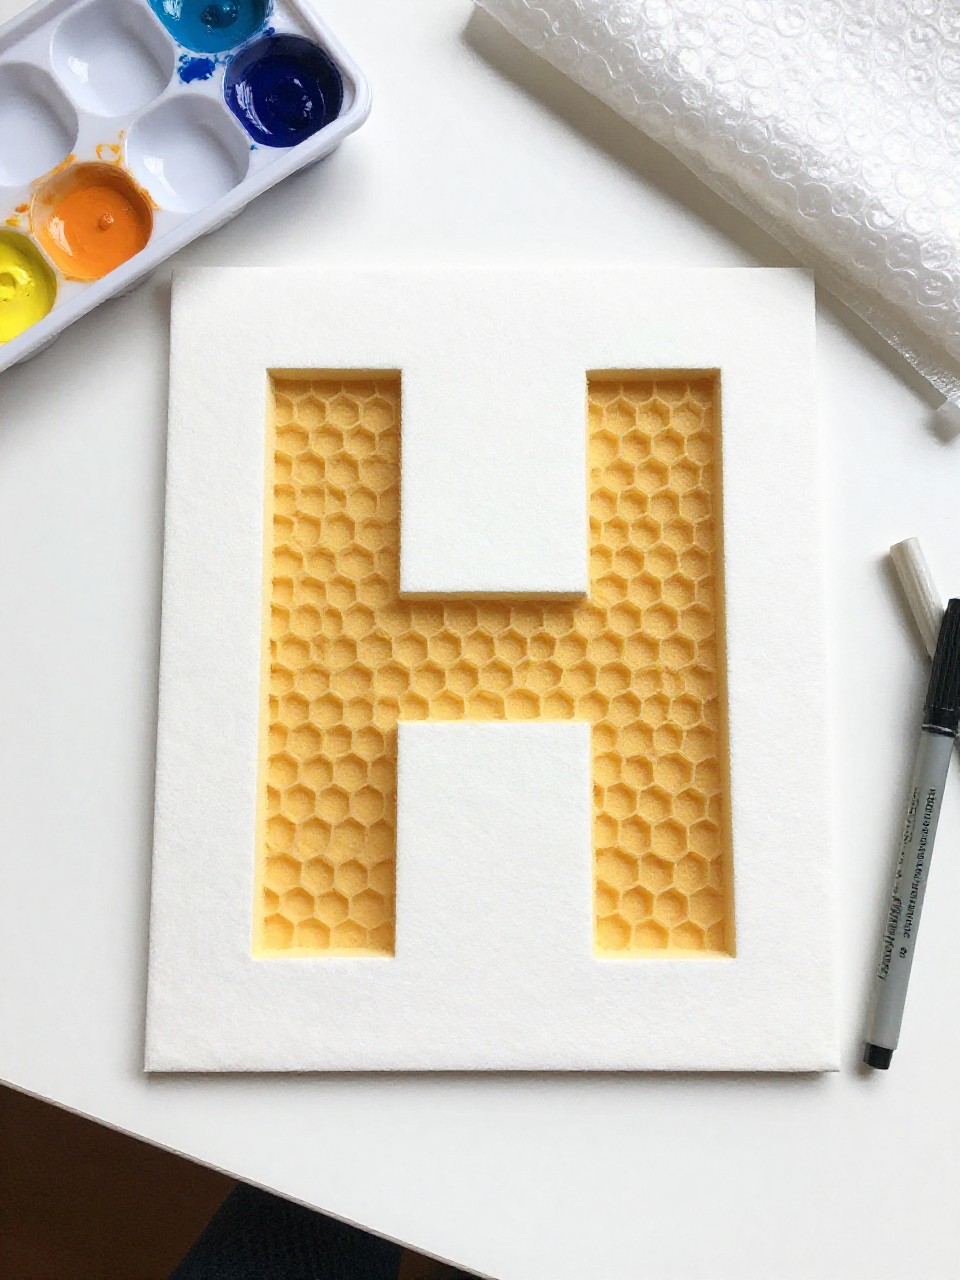
A large letter H is filled with golden “honeycomb” prints using a piece of bubble wrap as a stamp. Kids enjoy the satisfying texture prints and the chance to talk about bees and honey.
Materials Needed:
- White paper or cardstock with a big H drawn
- Bubble wrap square
- Yellow and orange paint
- Small paint tray
- Black marker (for tiny bees, optional)
How to make it:
- 1. Outline a large H on paper.
- 2. Brush paint on bubble wrap and press it inside the H shape to stamp honeycomb.
- 3. Add little bees or a honey dipper doodle with marker if desired.
- 4. Let dry flat and place in a “Bee Happy” display.
5. Happy Face H Collage
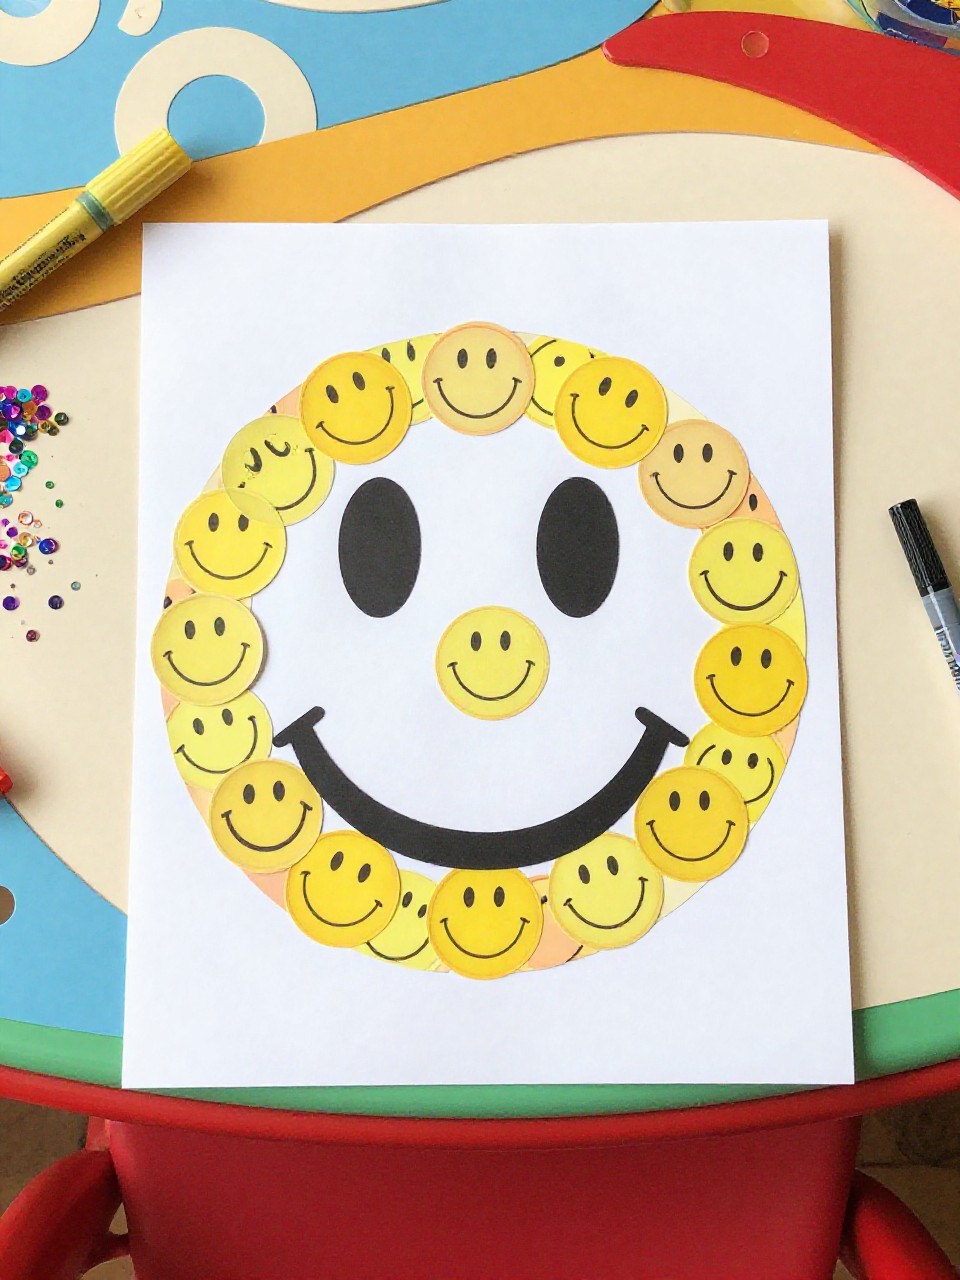
This cheerful H is covered with cut-out smiley faces, emojis, or drawn happy faces. Kids like choosing expressions and colors, making the letter look lively and silly.
Materials Needed:
- Cardstock letter H
- Yellow paper circles or stickers
- Markers or crayons
- Glue stick
- Sequins or small stickers (optional)
How to make it:
- 1. Cut a big H from cardstock.
- 2. Glue yellow circles all over the H.
- 3. Draw different happy faces on each circle; add small sparkly accents.
- 4. Let dry and tape to the door for instant smiles.
6. H Is for Horse Paper Bag Puppet

A paper bag turns into a horse whose body forms a bold H when it stands. Kids enjoy “neighing” and putting on a mini puppet show after decorating manes and spots.
Materials Needed:
- Brown paper lunch bag
- Construction paper (ears, mane, muzzle)
- Googly eyes
- Glue stick
- Marker
How to make it:
- 1. Turn bag so the flap is the horse’s mouth.
- 2. Cut and glue on ears, a paper mane along the top, and a muzzle.
- 3. Add eyes, nostrils, and spots; draw a big letter H on the body side.
- 4. Let glue set, then use as a puppet.
7. Heart-Filled Letter H Card
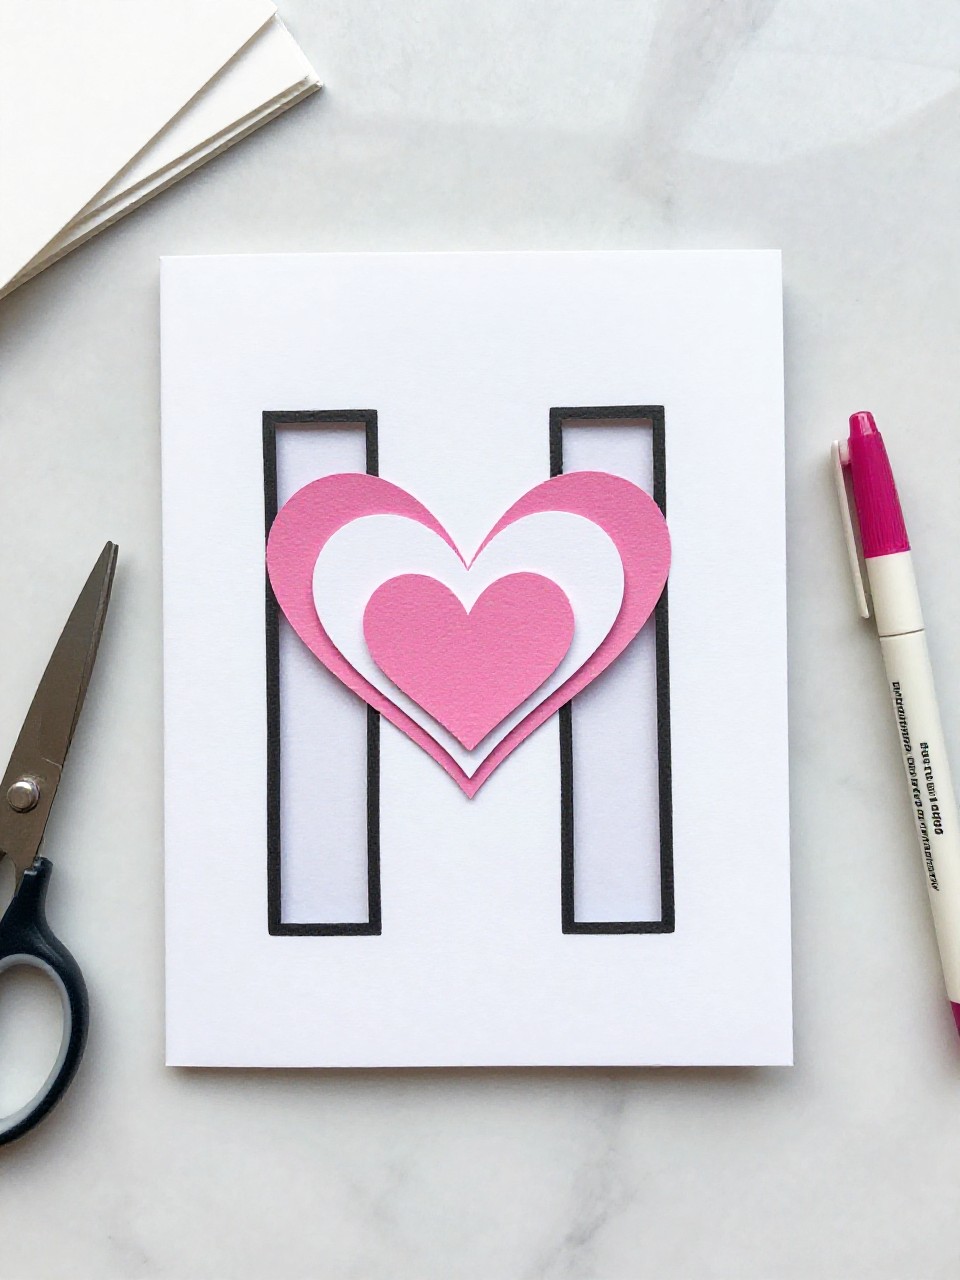
This is a folded card with a bold H on the front, filled with layered paper hearts in different sizes. Kids enjoy gifting it to family or teachers and practicing fine motor skills as they layer shapes.
Materials Needed:
- Blank cardstock card
- Construction paper hearts (various sizes)
- Glue stick
- Marker or gel pen
- Stickers (optional)
How to make it:
- 1. Draw a large block H on the card front.
- 2. Glue hearts to fill the H outline, overlapping for texture.
- 3. Add a short message like “H is for Hugs.”
- 4. Let dry and place under a book to flatten.
8. H Is for Hot Air Balloon Cut-and-Paste
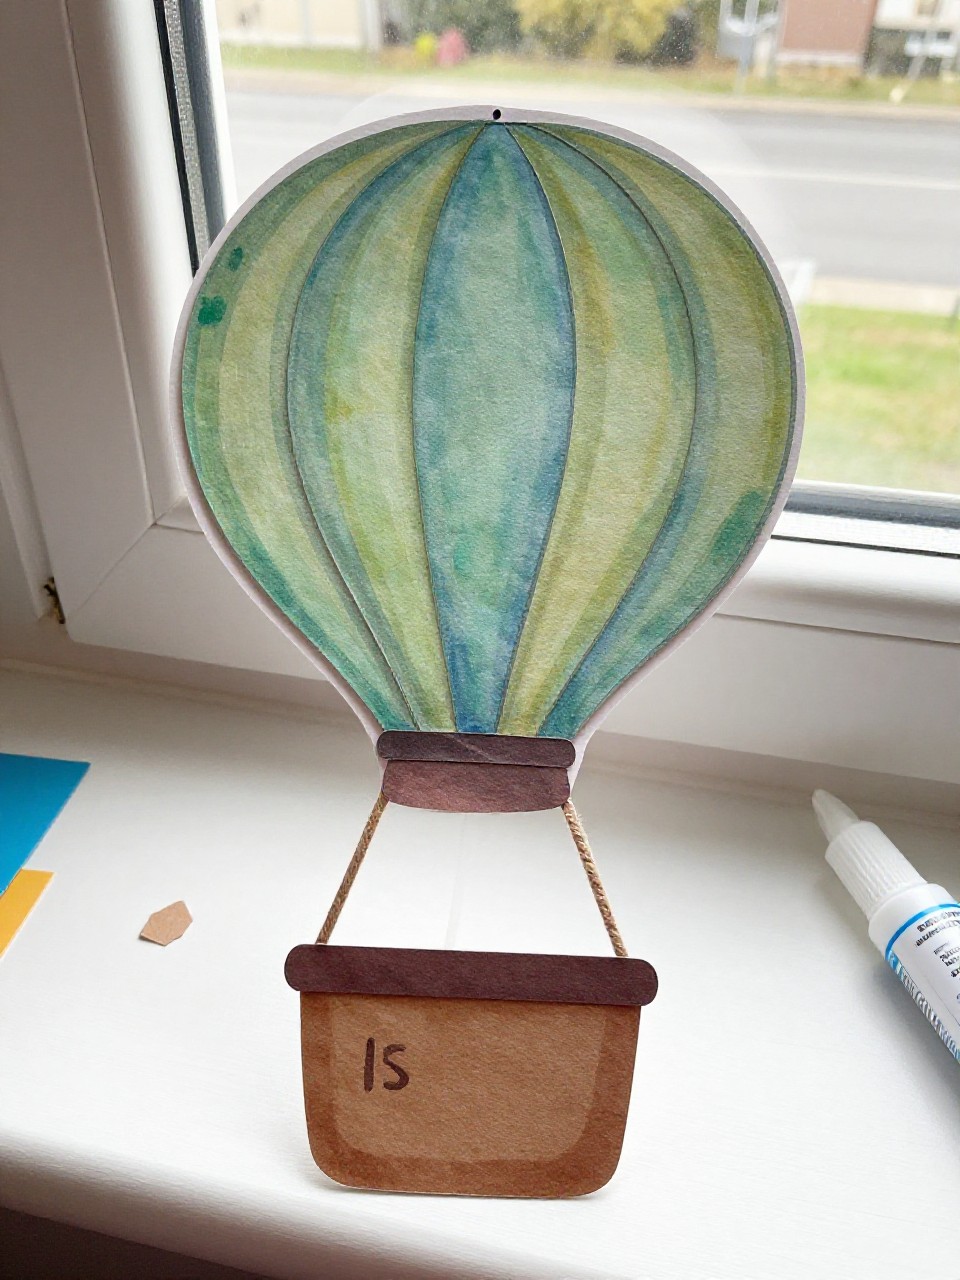
A tall H becomes the basket and frame for a round paper balloon on top. Kids love choosing patterns for the balloon and imagining faraway places.
Materials Needed:
- Cardstock letter H
- Patterned scrapbook paper or painted paper (balloon)
- String or yarn (for ropes)
- Glue stick
- Markers
How to make it:
- 1. Cut a big H and a large circle for the balloon.
- 2. Glue the circle above the H; add two yarn “ropes” from balloon to H’s crossbar.
- 3. Decorate with stripes, clouds, and a tiny flag.
- 4. Let dry and hang from a window with tape.
9. Hammer and Hard Hat H Shape Craft
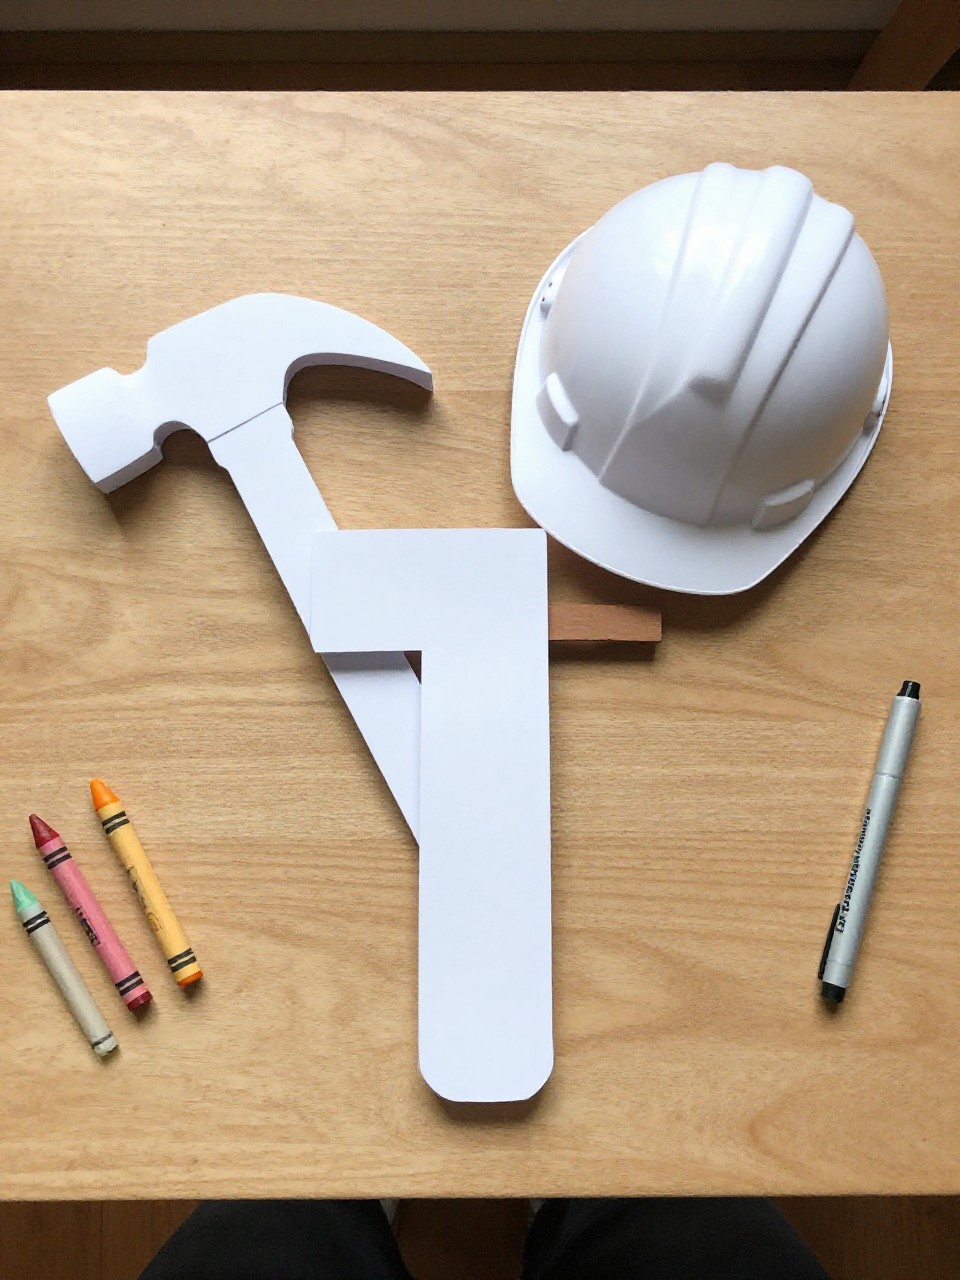
This craft turns an H into a mini construction scene with a paper hammer and a bright yellow hard hat. Kids enjoy pretending to “build” letters while learning about safety gear.
Materials Needed:
- Cardstock letter H
- Yellow, gray, and black construction paper
- Glue stick
- Silver marker or foil (for hammer shine)
- Crayons
How to make it:
- 1. Cut a large H from cardstock.
- 2. Cut a small hard hat and a simple hammer shape; glue them onto the H.
- 3. Add stripes, name label on the hat, and shiny details.
- 4. Let dry and post on a “Letter Builders” wall.
10. H Is for Hive Paper Plate Craft
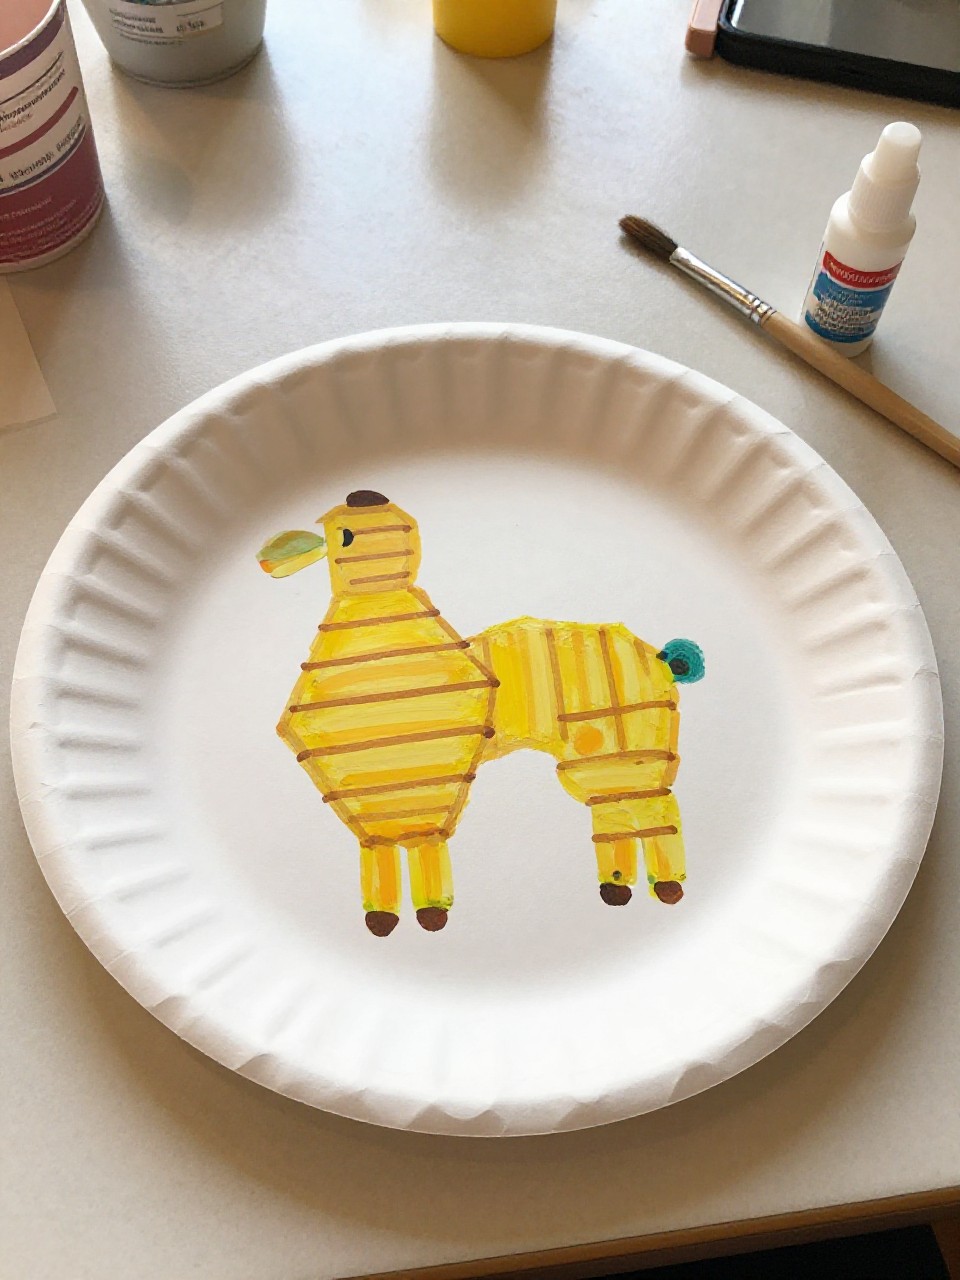
A painted paper plate becomes a honey hive attached to a big H branch. Kids like dot-painting the hive and adding tiny bee cutouts buzzing around.
Materials Needed:
- Paper plate
- Yellow and brown paint
- Cardstock letter H (as a tree branch)
- Black marker
- Glue stick
How to make it:
- 1. Paint the plate yellow with brown rings like a hive.
- 2. Glue the painted plate to one side of the H to look like it’s hanging.
- 3. Draw bees and flight trails around the hive and letter.
- 4. Let dry and display as a nature-themed H.
11. H Highway Play Mat
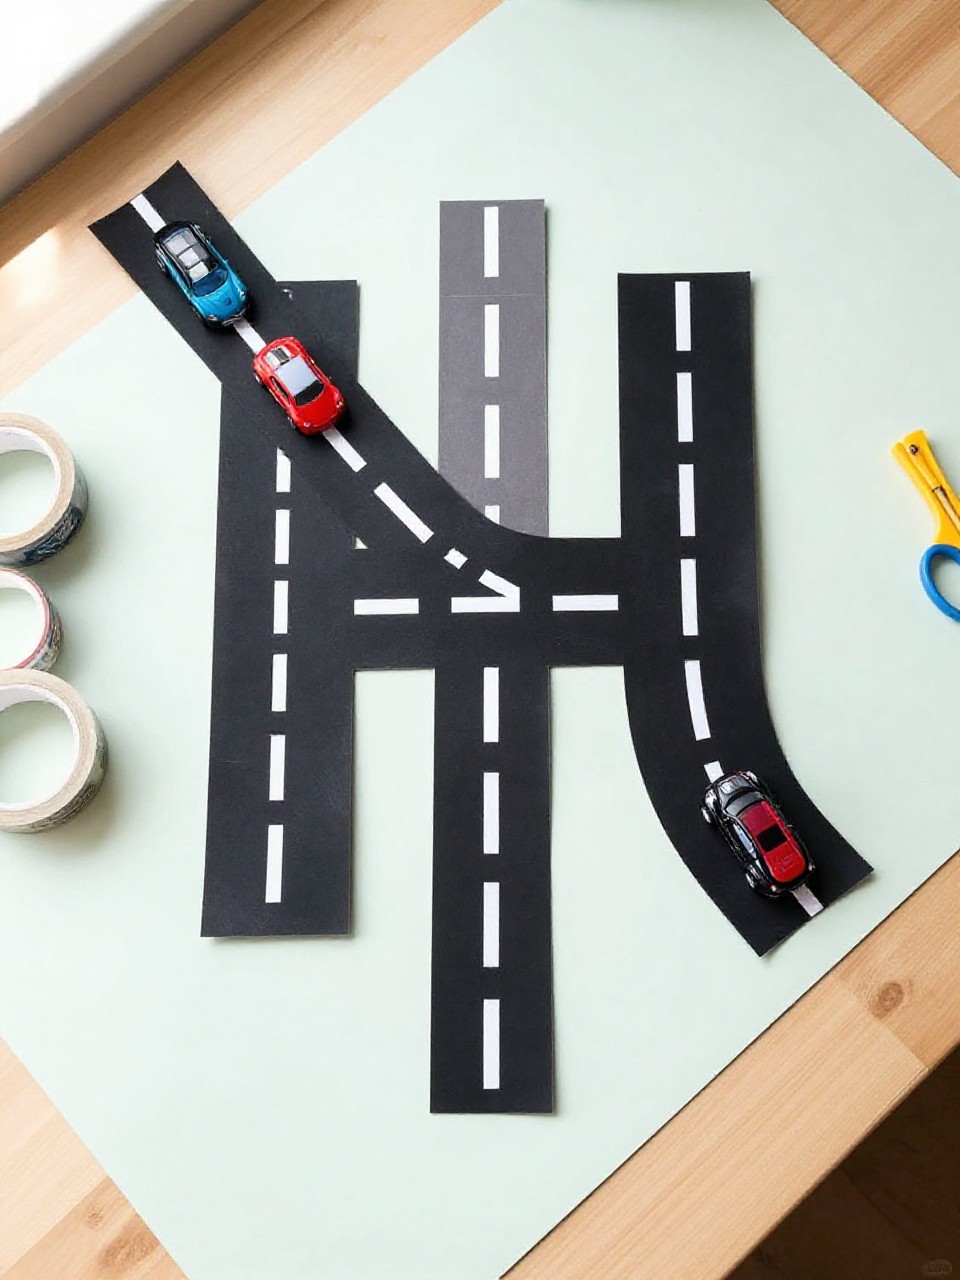
The letter H becomes a mini roadway with white lane dashes and tiny cars driving across. Kids enjoy pushing toy cars over the H and practicing letter sounds as they play.
Materials Needed:
- Black construction paper H
- White paint pen or white tape strips
- Toy cars
- Glue (if mounting on background)
- Green paper for grass (optional)
How to make it:
- 1. Cut a big H from black paper.
- 2. Add white dashed lines down the roads; glue to a larger sheet if desired.
- 3. Add grass or trees with green paper bits.
- 4. Let dry and drive toy cars along the H.
12. H Is for Handprint Hydra (Mythical Creature)

This playful H features a friendly three-headed “hydra” with handprint neck frills. Kids enjoy imagining stories for their creature and choosing bright colors without anything scary.
Materials Needed:
- Cardstock letter H
- Paint in bright colors
- Googly eyes
- Marker
- Glue
How to make it:
- 1. Cut a large H and paint it a base color.
- 2. Paint three handprints; cut them out and glue as frills behind three paper heads on the H.
- 3. Add eyes, smiles, and dots or scales with marker.
- 4. Dry flat and use for storytelling time.
13. H Hedge Maze Drawing
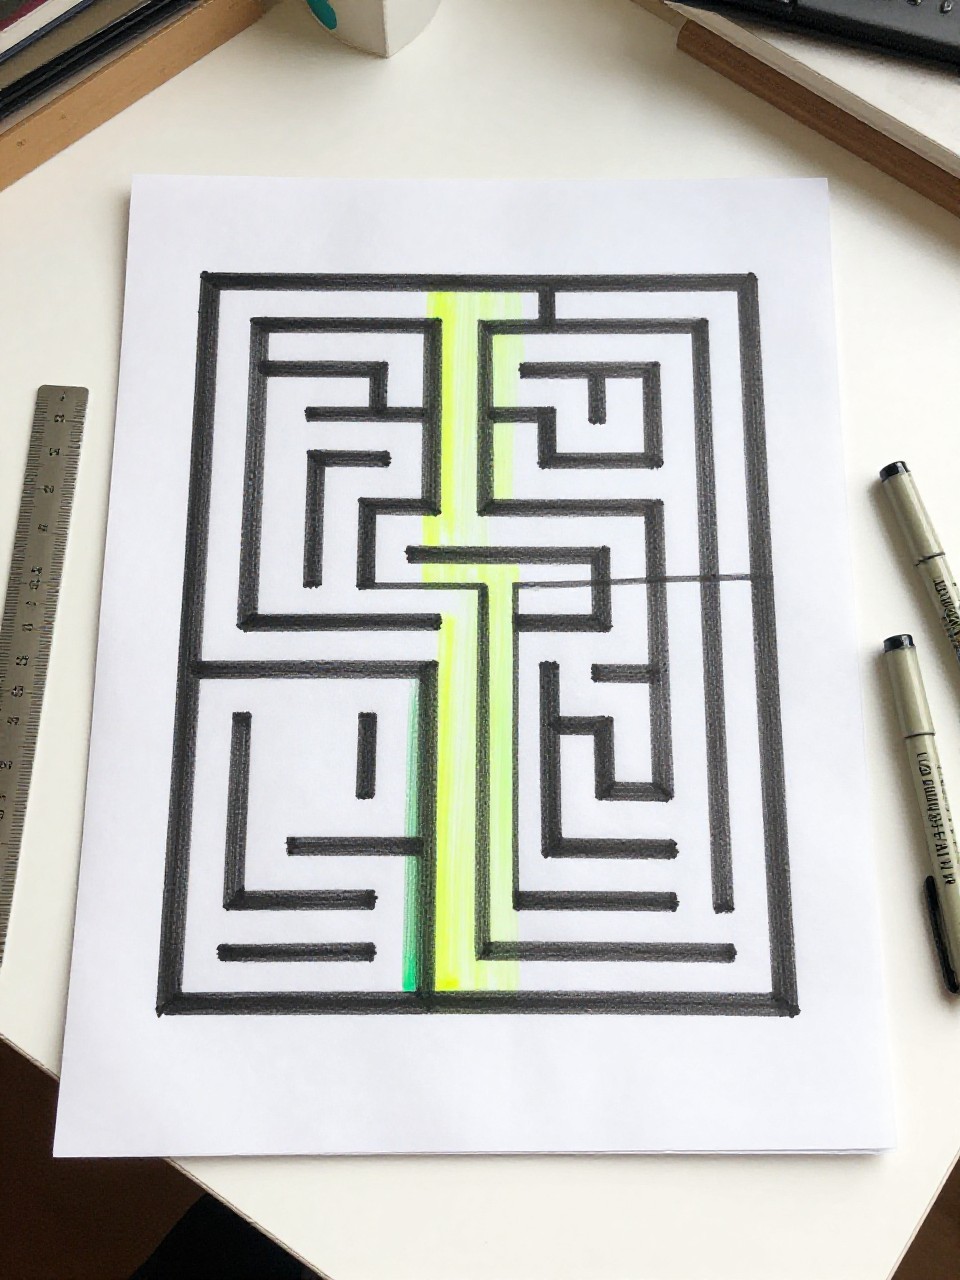
This is a maze drawn inside a big H where kids trace a path from top to bottom. Kids enjoy solving their own maze and then swapping with a friend to try theirs.
Materials Needed:
- White cardstock
- Ruler
- Fine-tip marker
- Highlighter or crayon
- Stickers (optional)
How to make it:
- 1. Lightly sketch a large block H with a ruler.
- 2. Draw paths and walls inside the H to form a simple maze.
- 3. Trace final lines in marker; solve with a highlighter.
- 4. Add a start and finish sticker and display.
14. H Is for Hotdog Felt Craft
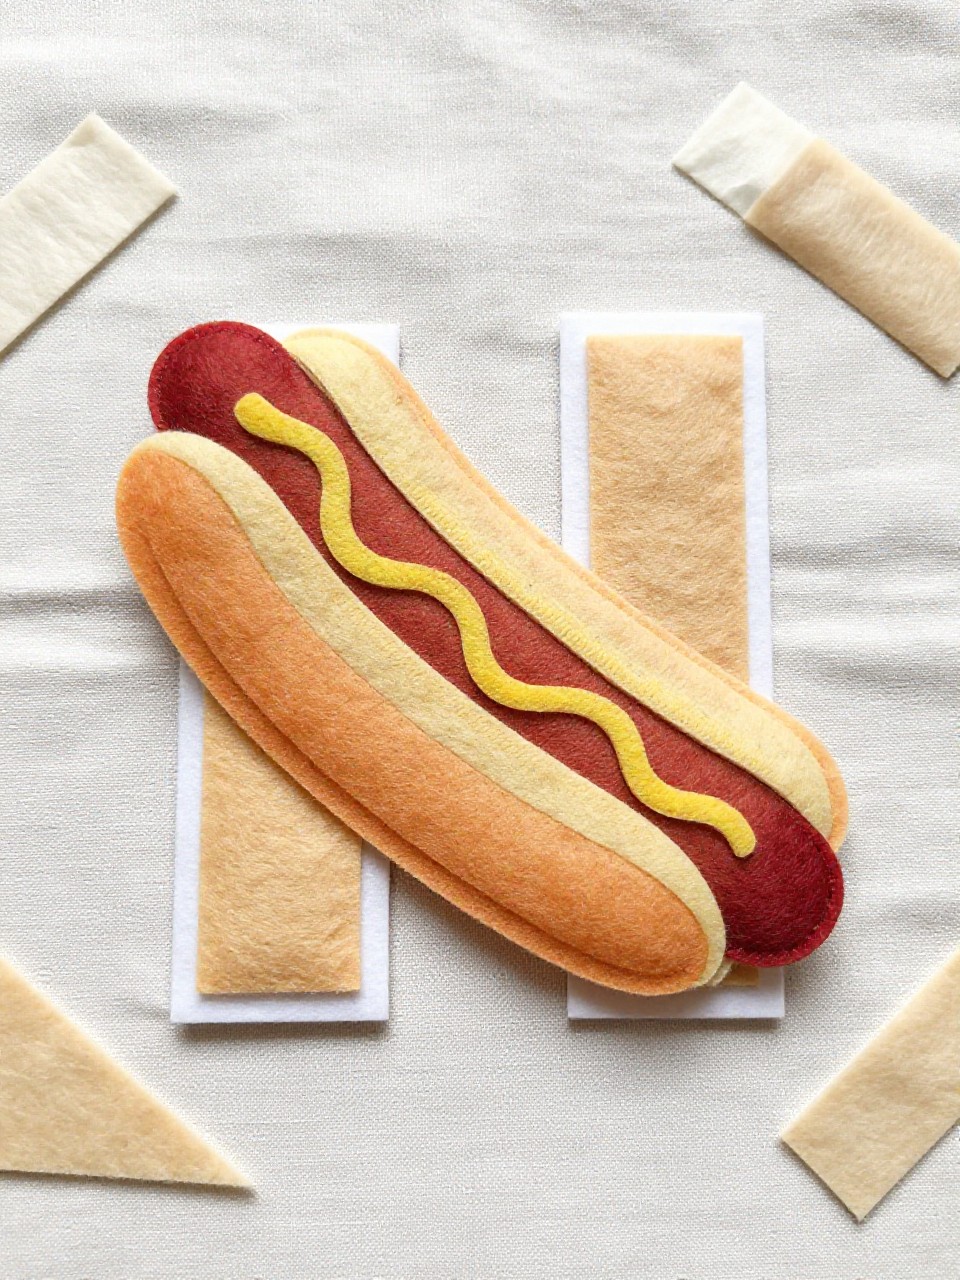
A felt hotdog sits across a letter H background, complete with wavy mustard or ketchup lines. Kids like the sensory feel of felt and the silly food theme tied to the letter H.
Materials Needed:
- Cardstock letter H base
- Felt sheets (tan bun, brown dog, red/yellow condiments)
- Child-safe fabric glue
- Scissors
- Marker (optional for sesame seeds)
How to make it:
- 1. Cut a big H from cardstock as the background.
- 2. Cut felt shapes for bun and hotdog; glue across the H.
- 3. Add thin felt strips for ketchup or mustard; draw tiny sesame seeds.
- 4. Press flat and let glue cure before hanging.
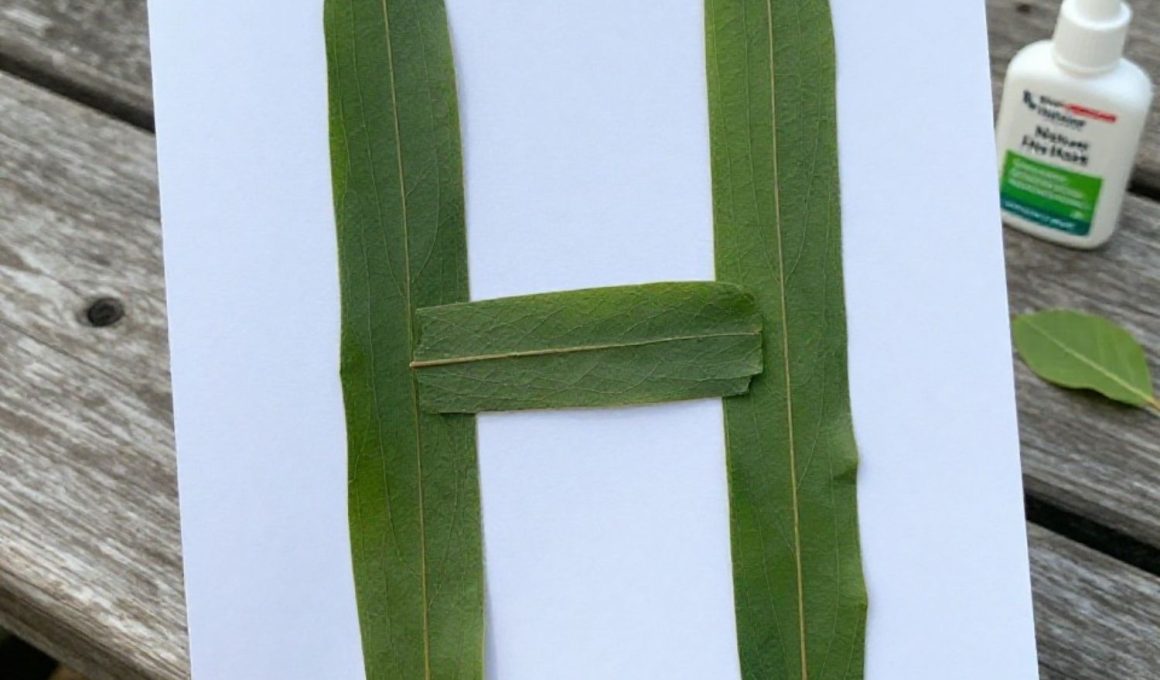
15. Nature Hunt Letter H
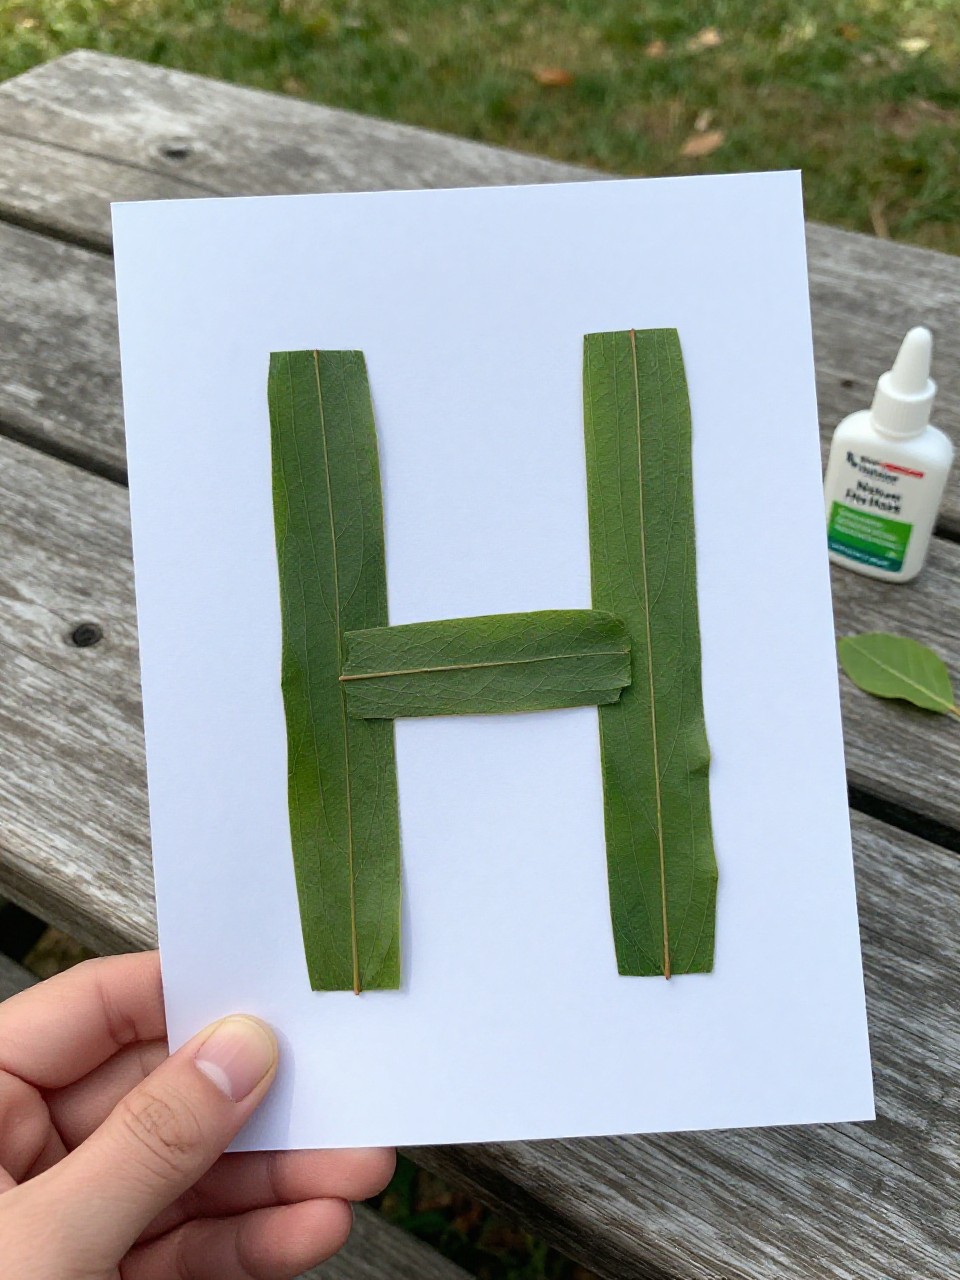
Sticks, leaves, and small flowers are glued to outline a sturdy H, creating a natural, earthy look. Kids enjoy going on a mini nature walk to collect items and then arranging them into the letter.
Materials Needed:
- Cardboard backing
- White glue
- Small sticks, leaves, petals (dry)
- Twine (optional hanger)
- Marker (to sketch the H)
How to make it:
- 1. Sketch a large H on cardboard.
- 2. Glue sticks along the lines to form the H base.
- 3. Fill spaces with leaves and petals for texture and color.
- 4. Let dry fully; add a twine loop to hang.