Table of Contents Show
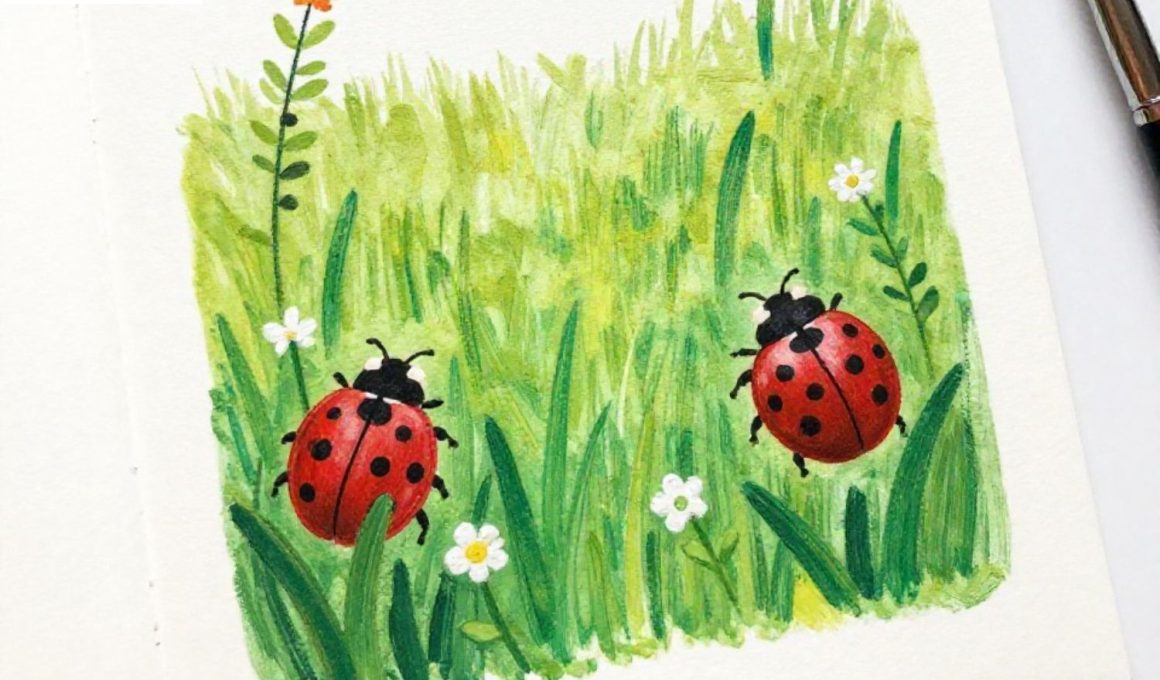
If your little one loves bugs but you’re tired of the same paper plate craft, you’re in the right spot. These ladybug projects look impressive on the bulletin board yet stay totally doable for tiny hands. We’ll use simple shapes, bold colors, and forgiving techniques that make “oops” moments part of the charm.
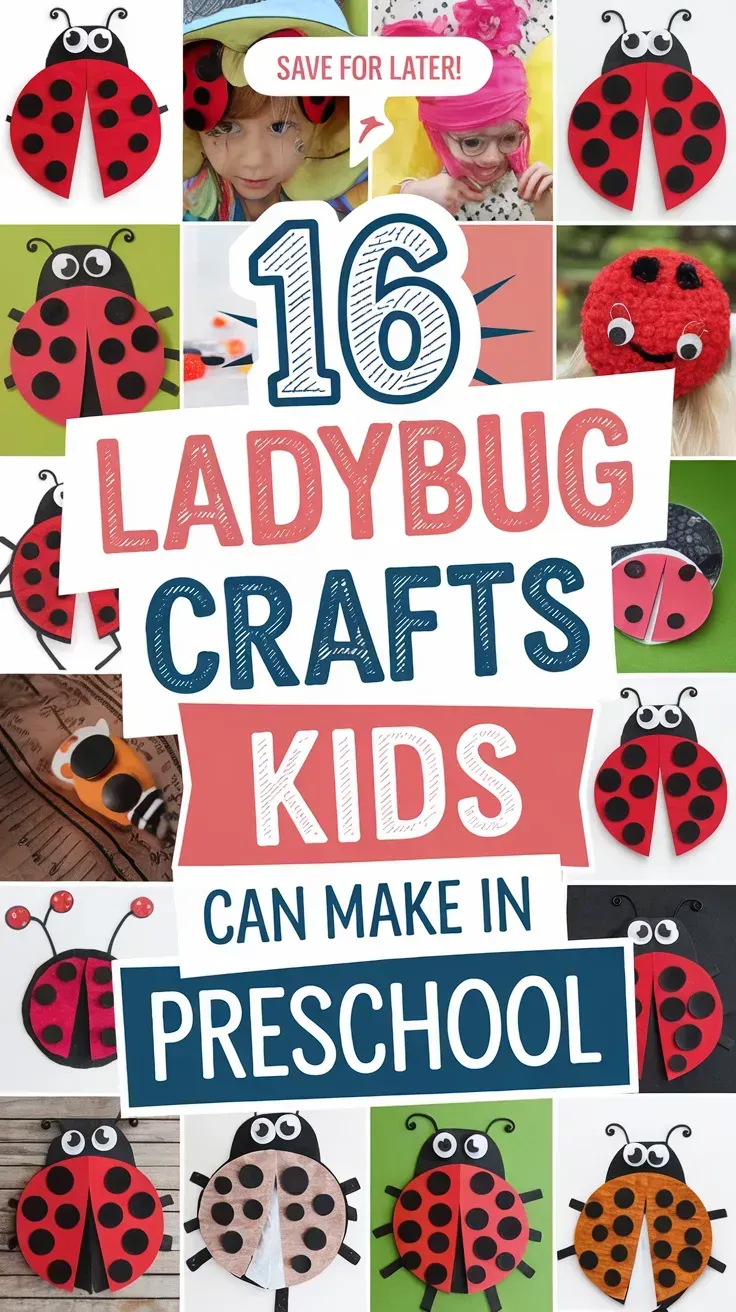
Grab some red and black supplies, and let’s make ladybugs that your preschoolers will proudly show off.
1. Rock Garden Ladybugs
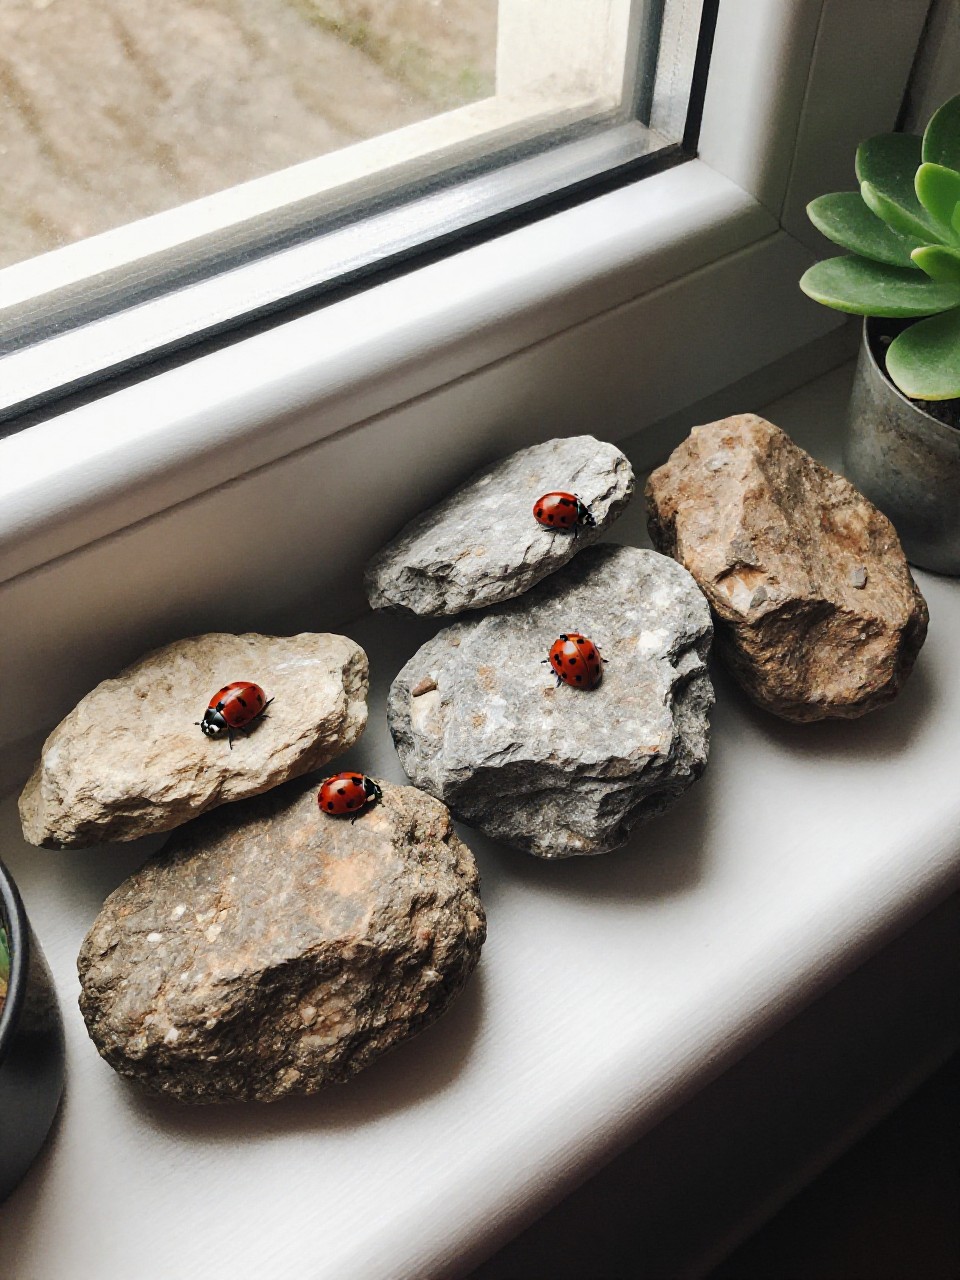
Smooth stones turn into shiny little beetles that sit perfectly in a windowsill garden. Kids love the instant transformation from “plain rock” to cheerful bug with big dotted wings.
Materials Needed:
- Smooth river rocks
- Red and black acrylic paint
- Cotton swabs or pencil erasers for dots
- Googly eyes
How to make it:
- 1. Paint each rock red and let dry.
- 2. Add a black head on one end and a line down the middle for wings.
- 3. Dip a cotton swab in black paint to dot the wings.
- 4. Glue on googly eyes and let set.
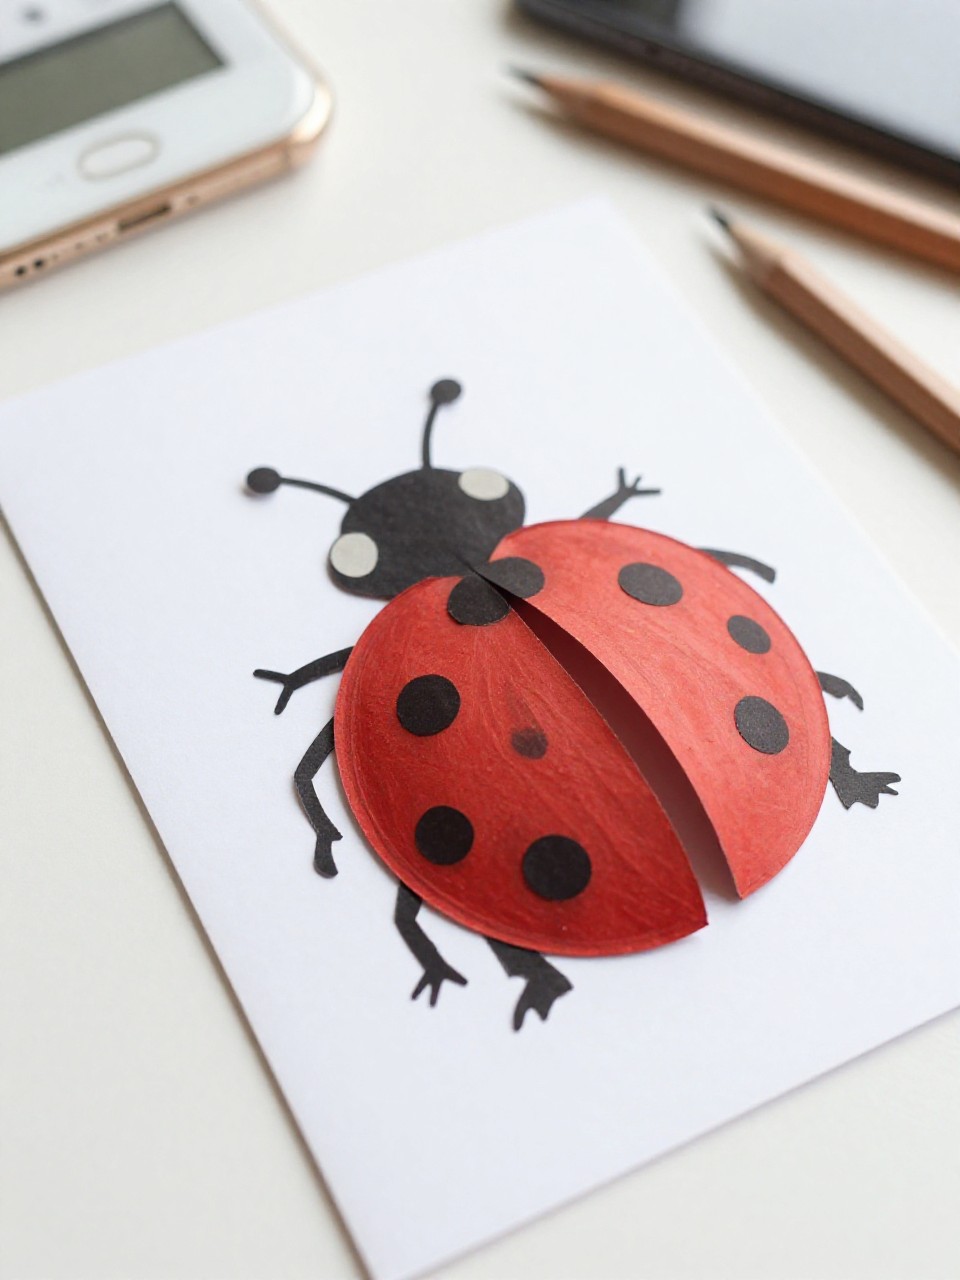
2. Heart-Wing Ladybug Cards
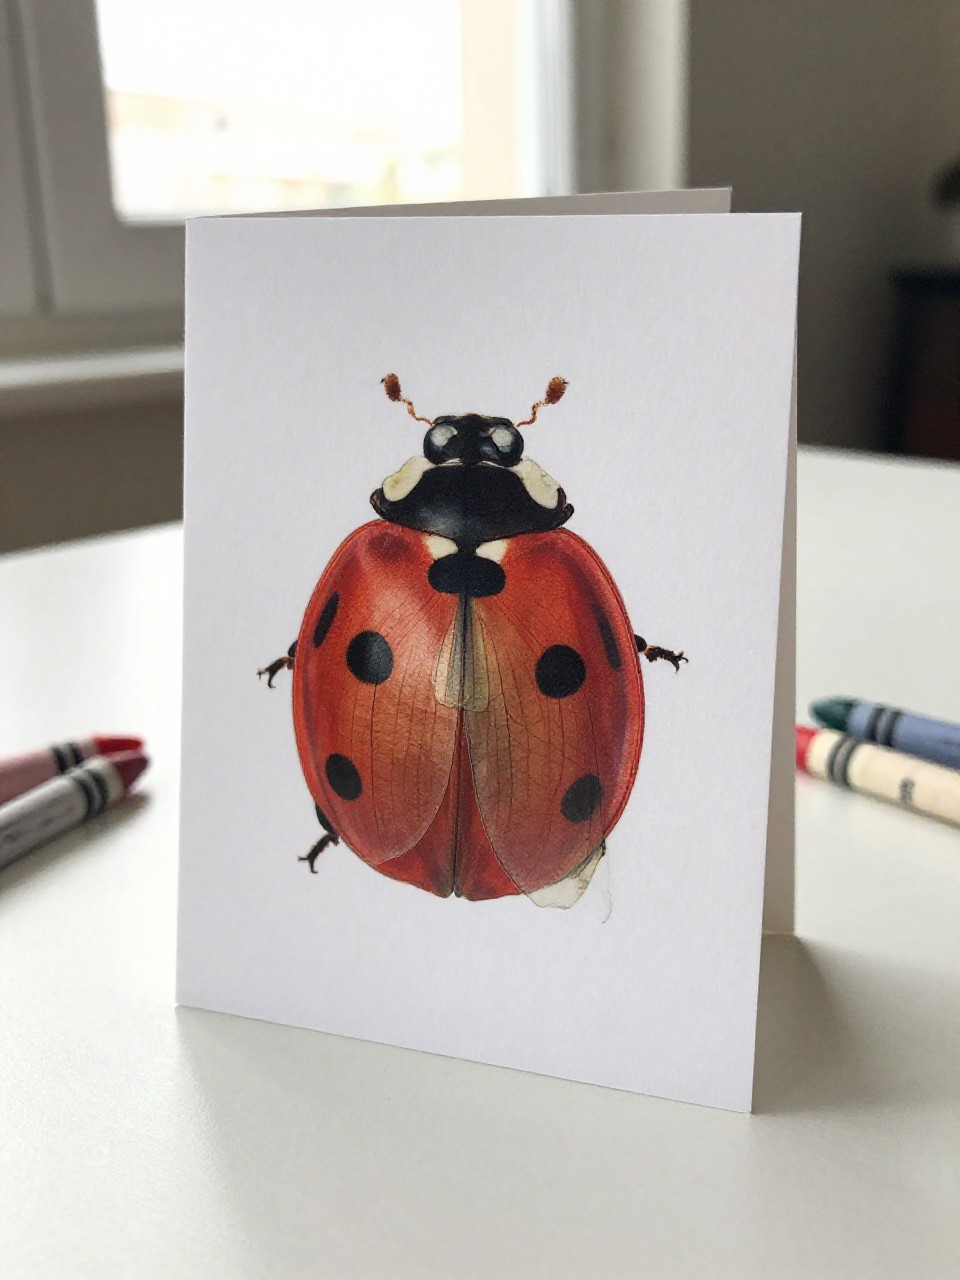
Two paper hearts become sweet, puffy wings on a card that’s ready for a note. The layered hearts give a 3D look without any tricky folding.
Materials Needed:
- Red and black construction paper
- Glue stick
- Scissors
- White gel pen or crayon
How to make it:
- 1. Fold a card base from black paper.
- 2. Cut two red hearts and a small black circle for the head.
- 3. Glue the circle at the top center; glue heart tips together as wings so edges lift.
- 4. Add dots and a little note with the white pen.
3. Cupcake Liner Peekaboo Ladybug
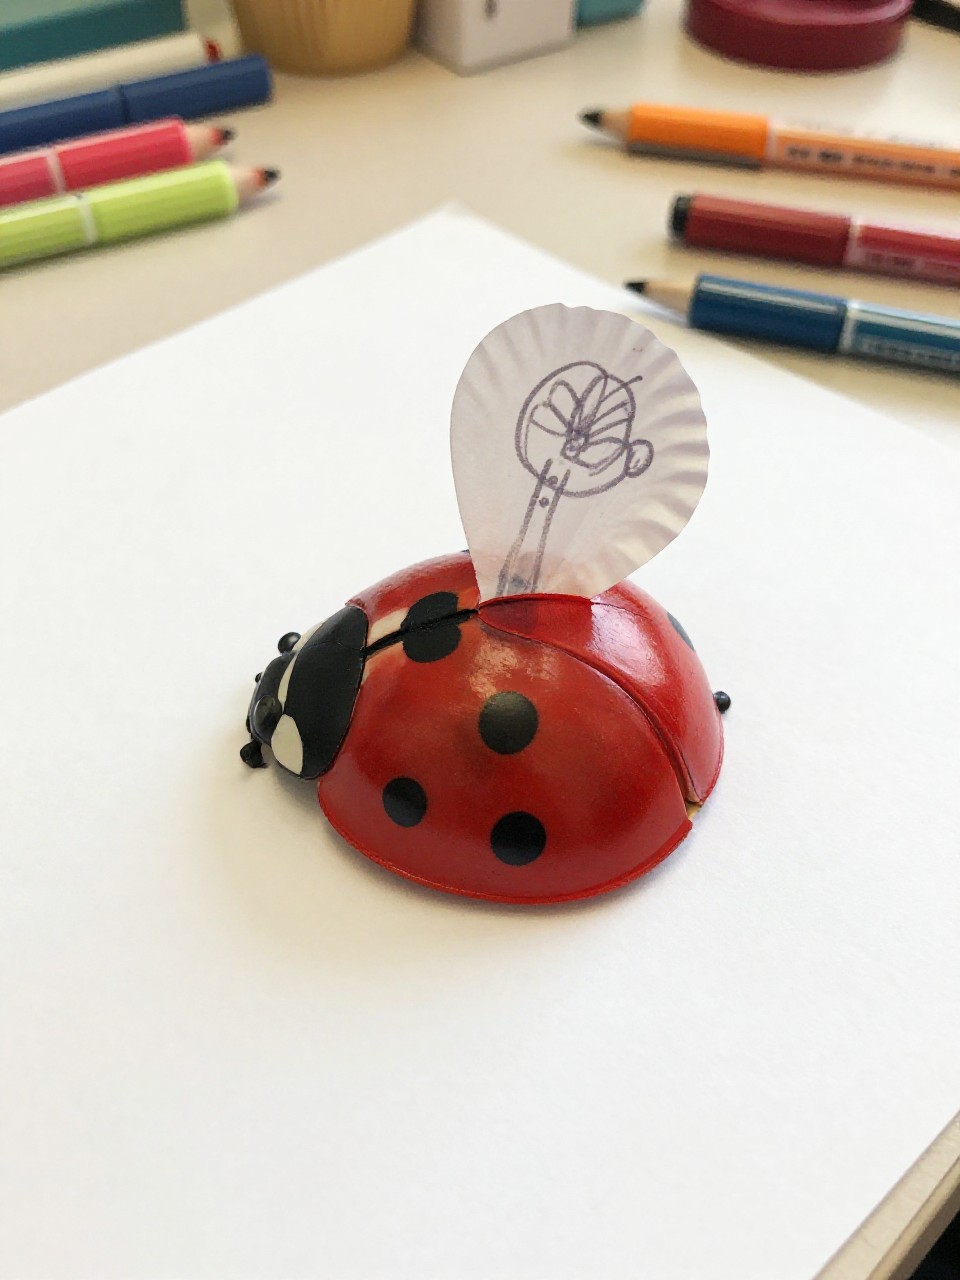
Ruffled cupcake liners make perfect wings that lift to “peek” at a hidden message. The texture looks fancy, but it’s just flatten-and-glue.
Materials Needed:
- Red cupcake liners
- Black marker
- Googly eyes
- Glue stick
How to make it:
- 1. Flatten a red liner and draw a black line down the center.
- 2. Add black dots with marker.
- 3. Glue the bottom half of the liner to paper so the top can lift.
- 4. Glue on eyes and write a secret message under the flap.
4. Clothespin Clippy Ladybugs
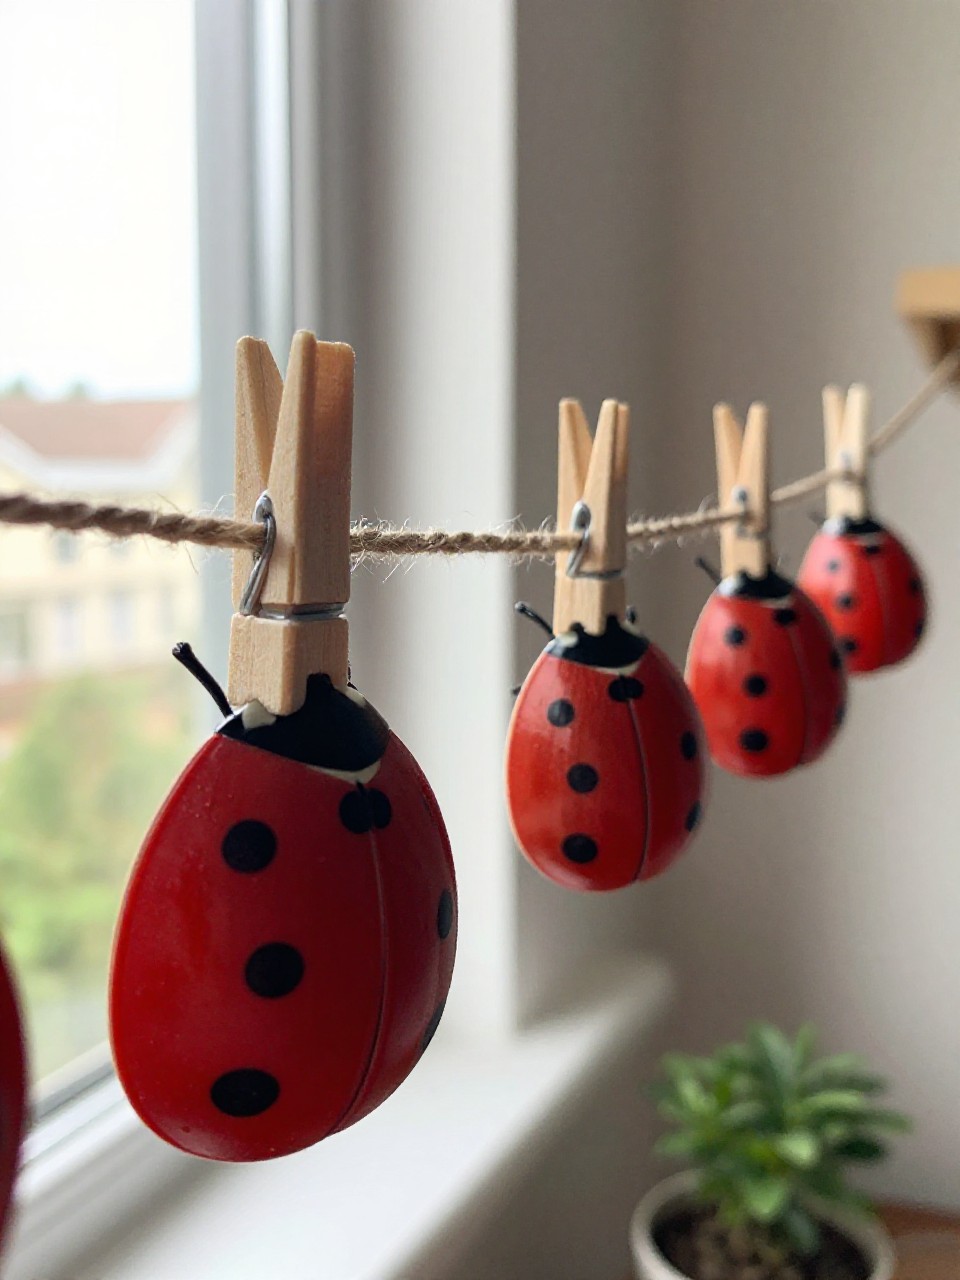
These cheerful clips can hold art or snack bags. The simple stripe-and-dot pattern turns an everyday clothespin into a friendly helper.
Materials Needed:
- Wooden clothespins
- Red and black paint or paint pens
- Googly eyes
- Glue
How to make it:
- 1. Paint the clothespin red and let dry.
- 2. Draw a black head at the clippy end and a center line.
- 3. Add black dots along both sides.
- 4. Glue on eyes and clip to show off.
5. Bubble Wrap Dot-Print Ladybugs
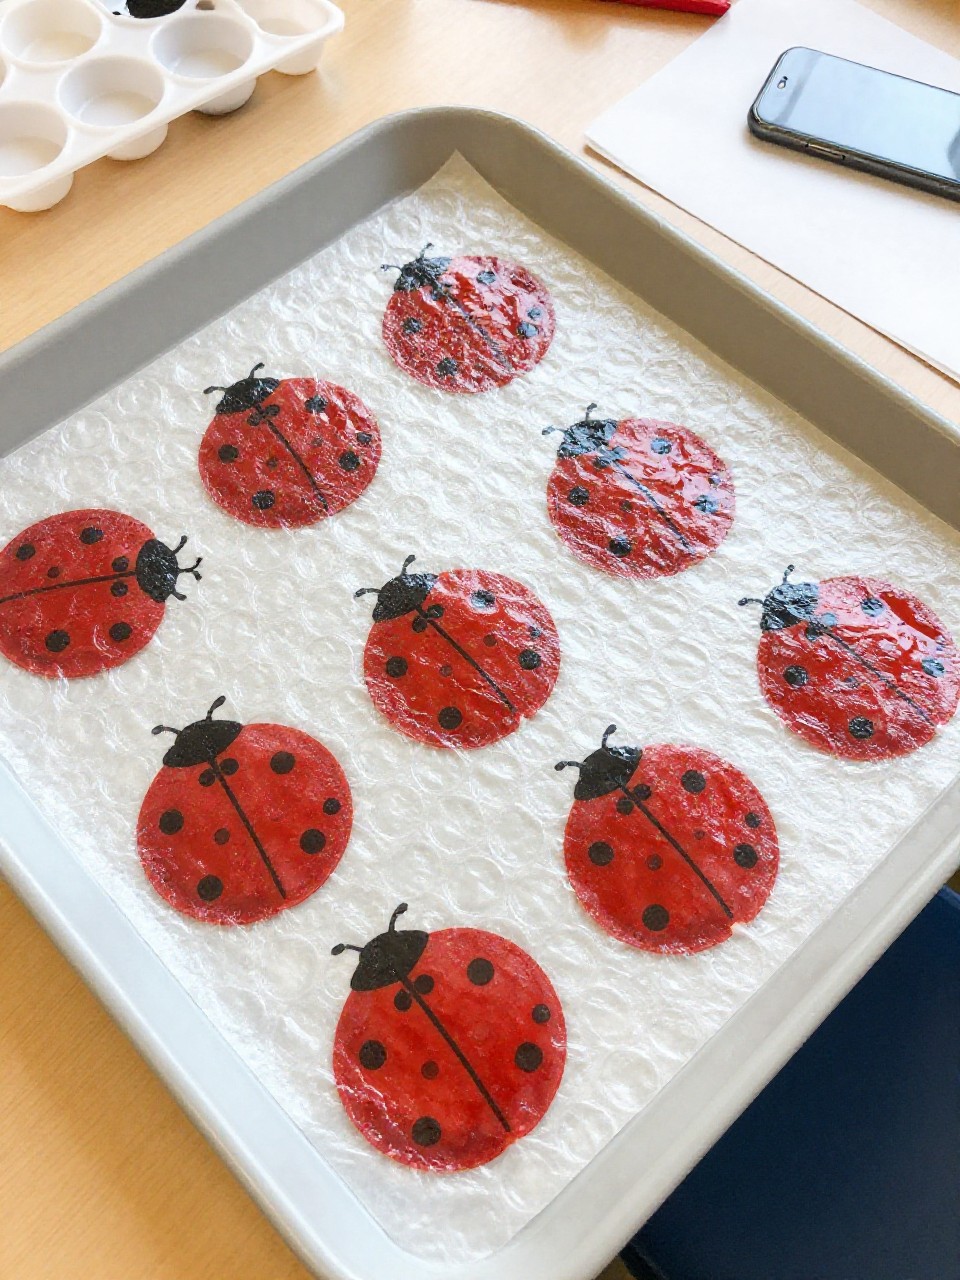
Stamping with bubble wrap creates perfect textured dots in seconds. Kids love the poppy pattern that turns a red circle into lively wings.
Materials Needed:
- Red paper circles
- Black paint
- Small piece of bubble wrap
- Glue stick
How to make it:
- 1. Brush black paint lightly onto the bubble wrap.
- 2. Press the wrap onto a red circle to make dotted wings.
- 3. Glue on a black paper head and draw a center line.
- 4. Add eyes or draw them with marker.
6. Fingerprint Family Ladybug Jar
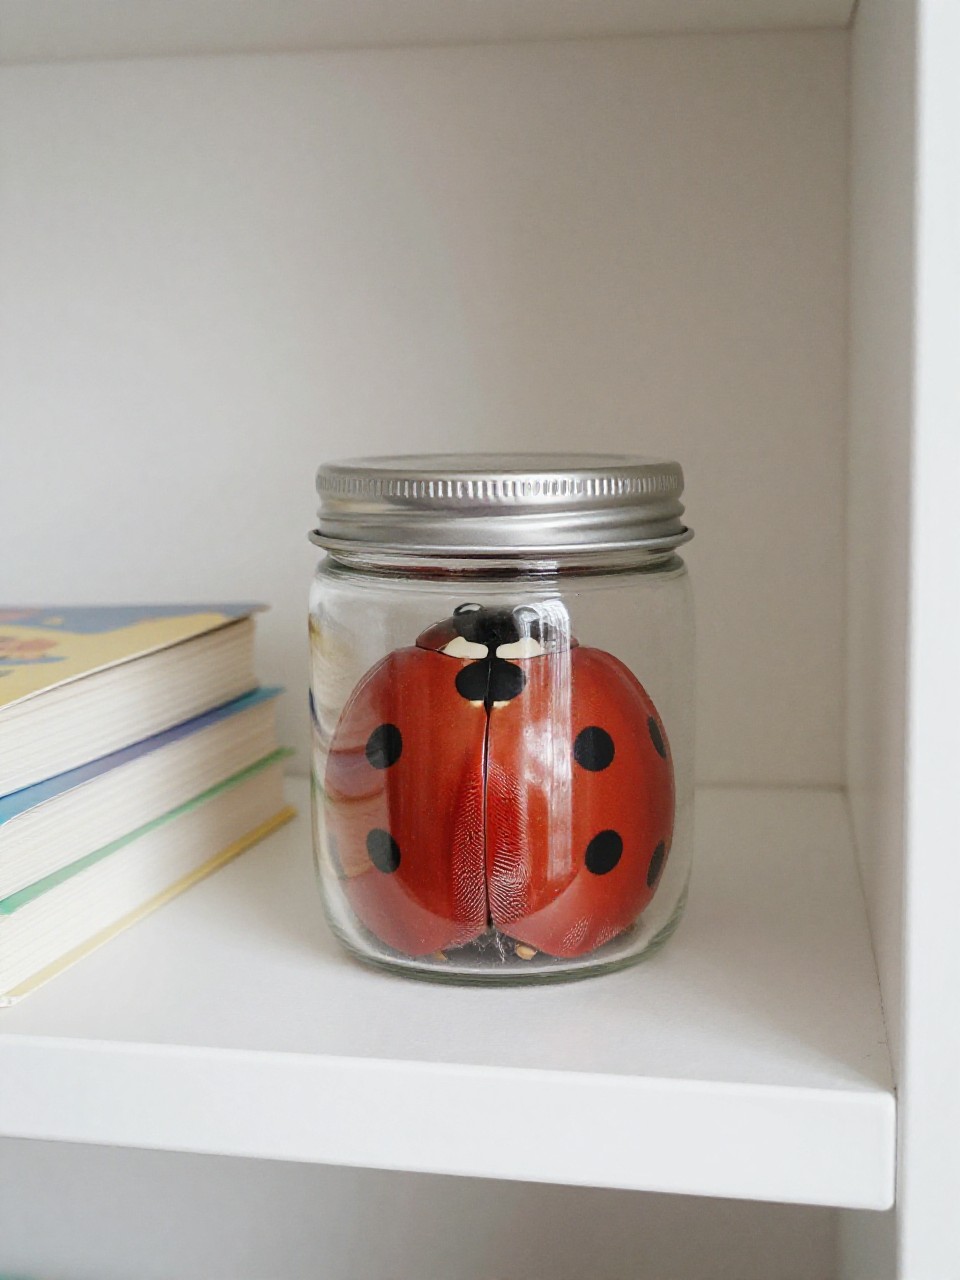
A clear jar turns into a tiny terrarium of fingerprint bugs crawling on leaves. Each print becomes a “family member” with its own dots.
Materials Needed:
- Clean a glass or plastic jar
- Red and black washable ink pads or paint
- Permanent marker
- Paper leaves (optional)
How to make it:
- 1. Press fingertip in red ink and print bugs around the jar.
- 2. Add black heads, dots, and antennae with marker.
- 3. Tuck paper leaves inside for a green backdrop.
- 4. Let dry and display in a sunny spot.
7. Paper Loop Ladybug Mobile
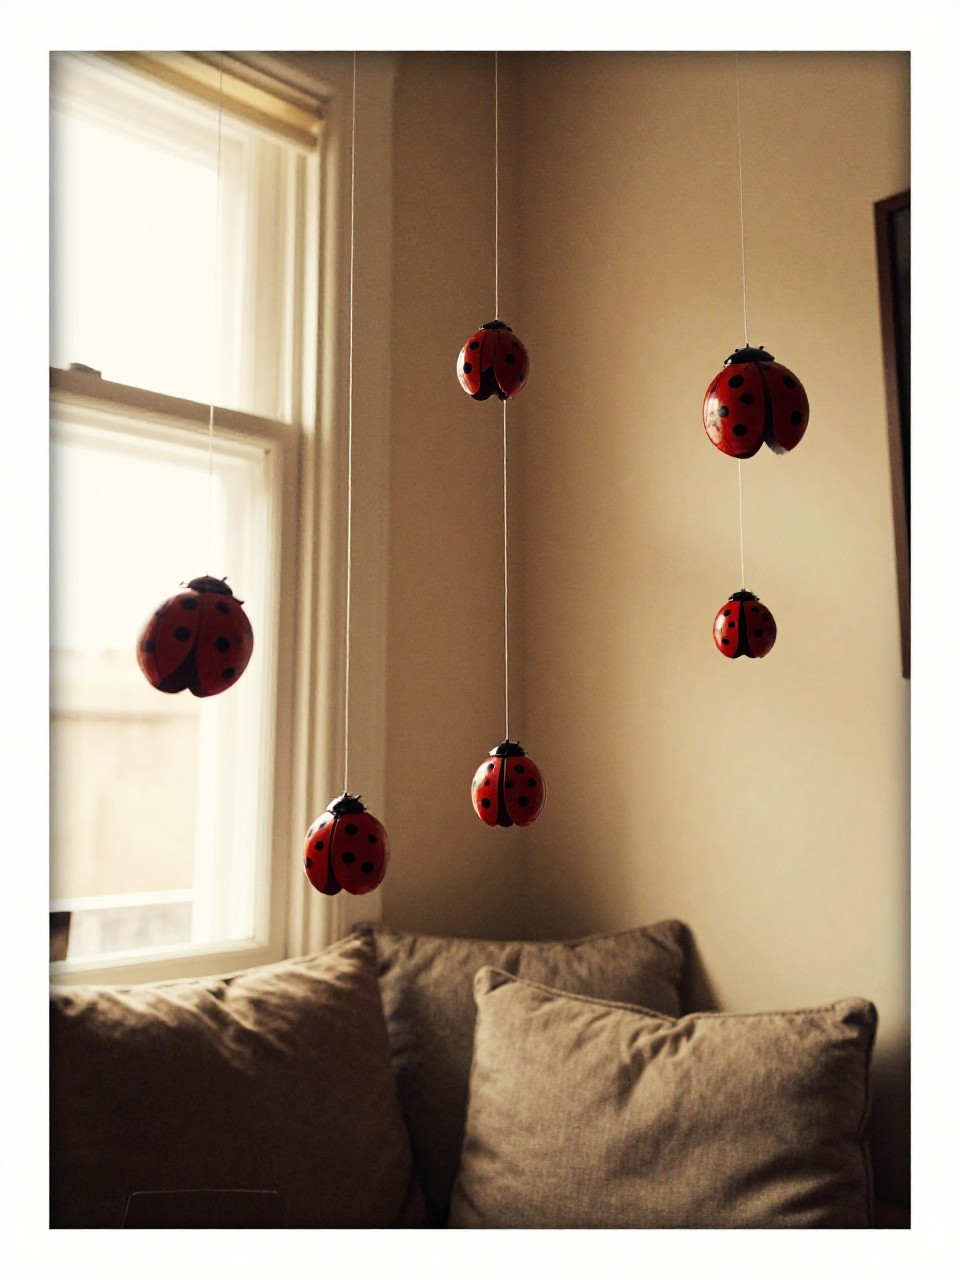
Chubby paper loops make 3D bodies that dangle and sway. The gentle movement feels magical over a reading corner.
Materials Needed:
- Red and black paper strips
- Stapler or glue
- String
- Hole punch
How to make it:
- 1. Form a red strip into a loop and staple.
- 2. Add a small black loop on one end for the head.
- 3. Draw a center line and dots on the red loop.
- 4. Punch a hole on top, tie a string, and hang a few together.
8. Leaf-Sled Ladybug Magnets
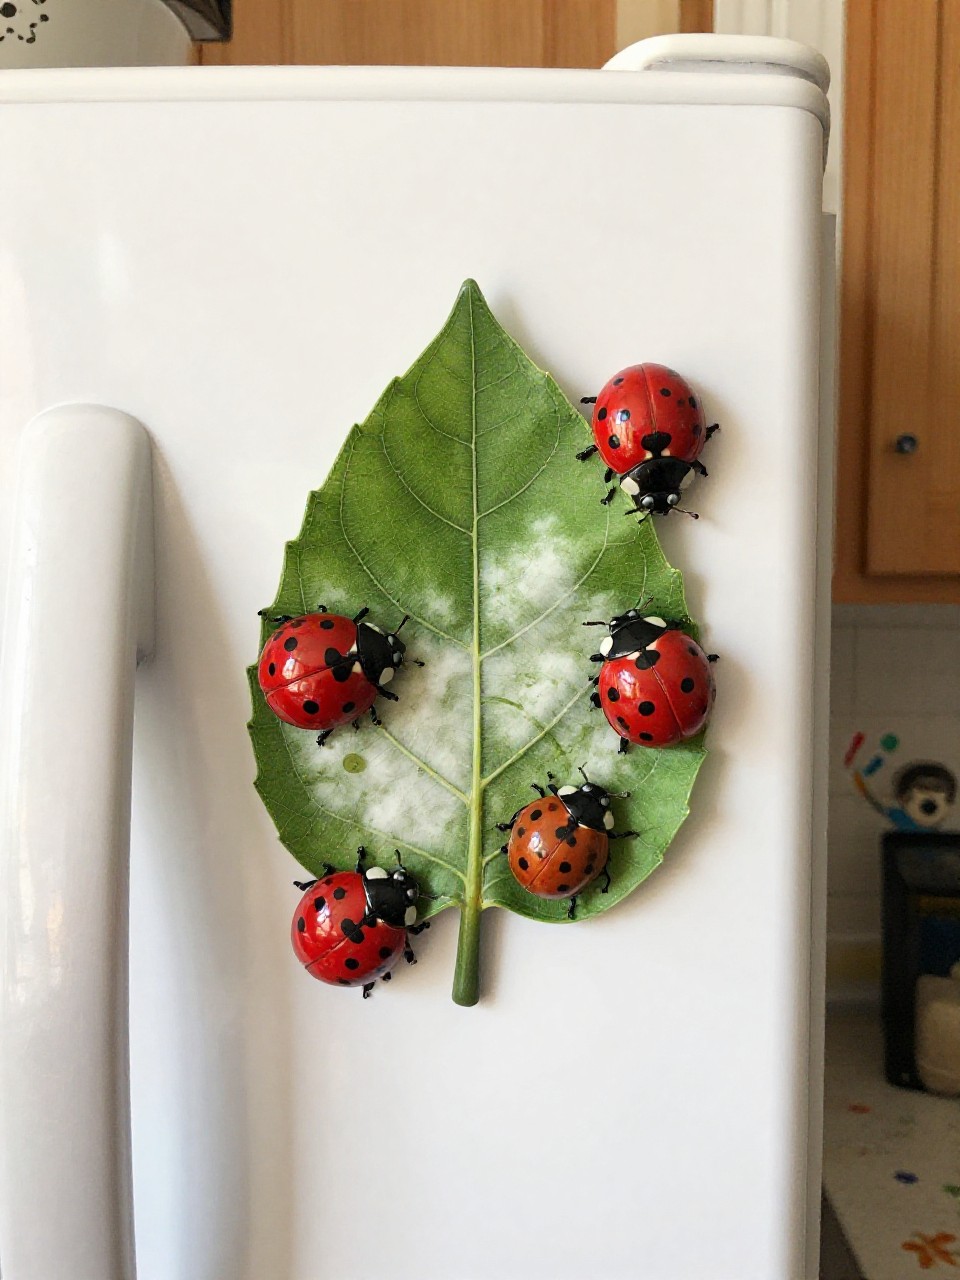
A tiny felt ladybug rides a little paper leaf, ready for the fridge. The layered shapes look detailed but cut fast with simple ovals.
Materials Needed:
- Red and black felt or foam
- Green cardstock
- Small magnets
- Glue
How to make it:
- 1. Cut a red oval body and small black head; glue together.
- 2. Add a drawn center line and black dot stickers or felt dots.
- 3. Cut a simple green leaf and glue the bug on top.
- 4. Attach a magnet to the back.
9. Paper Bowl Pop-Up Ladybug

Flip a paper bowl and it becomes a rounded beetle back. The curved shape gives instant dimension with almost no effort.
Materials Needed:
- Small paper bowls
- Red and black paint
- Googly eyes
- Glue
How to make it:
- 1. Paint the outside of the bowl red and let dry.
- 2. Add a black head area and a center line.
- 3. Dot the back with black paint using a cotton swab.
- 4. Glue on eyes at the head edge.
10. Accordion Wing Ladybug Puppets
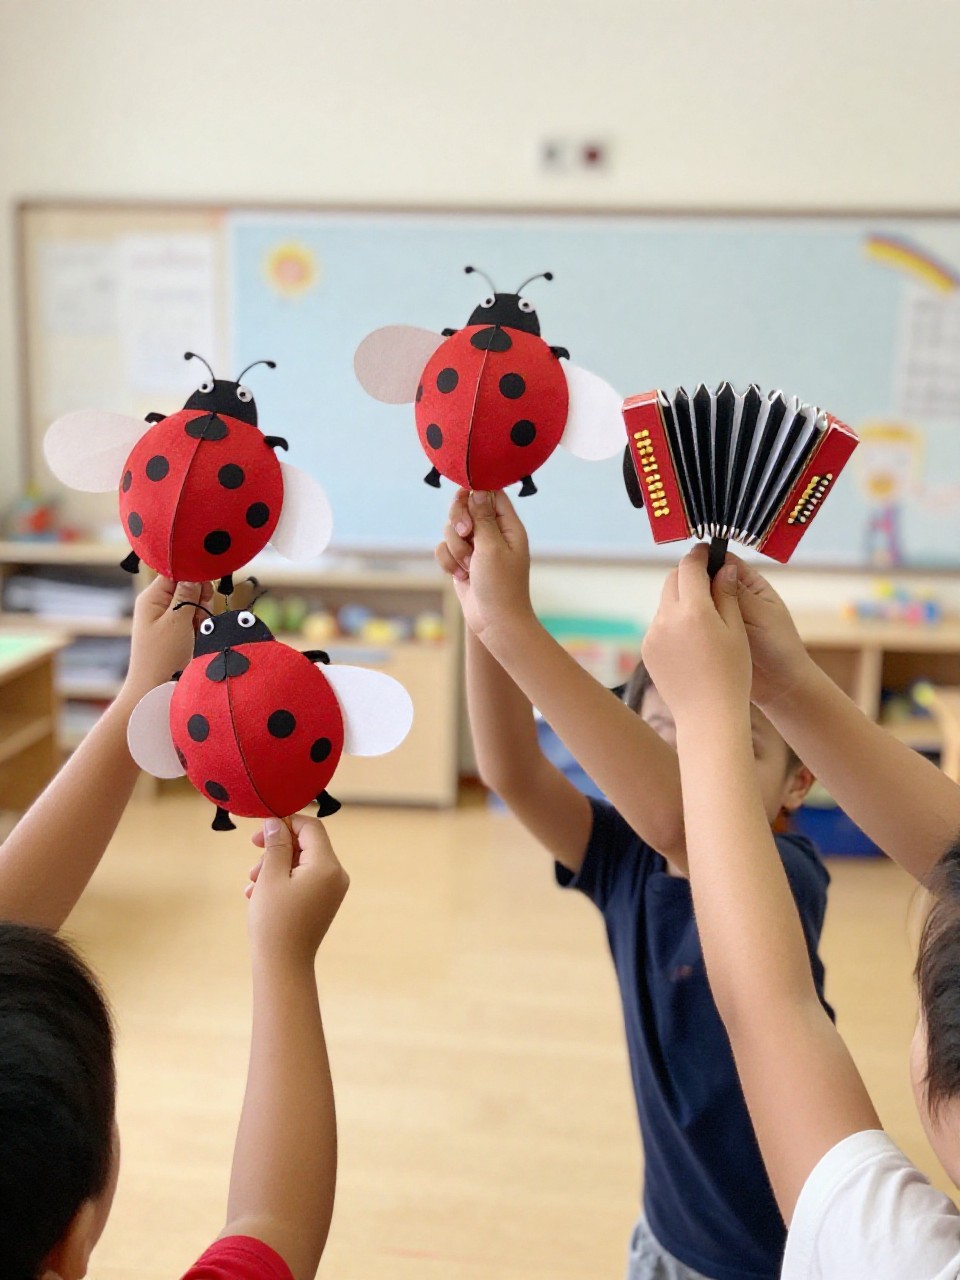
Folded paper wings make a springy puppet kids can wiggle as it “flies.” The accordion folds look clever but are easy for small hands.
Materials Needed:
- Red and black paper
- Craft stick
- Marker
- Glue
How to make it:
- 1. Cut two red rectangles and accordion-fold each.
- 2. Glue the folded wings to a black oval body.
- 3. Draw a center line, dots, and a happy face.
- 4. Glue the body to a craft stick to make a puppet.
11. Button-Dot Ladybug Headbands
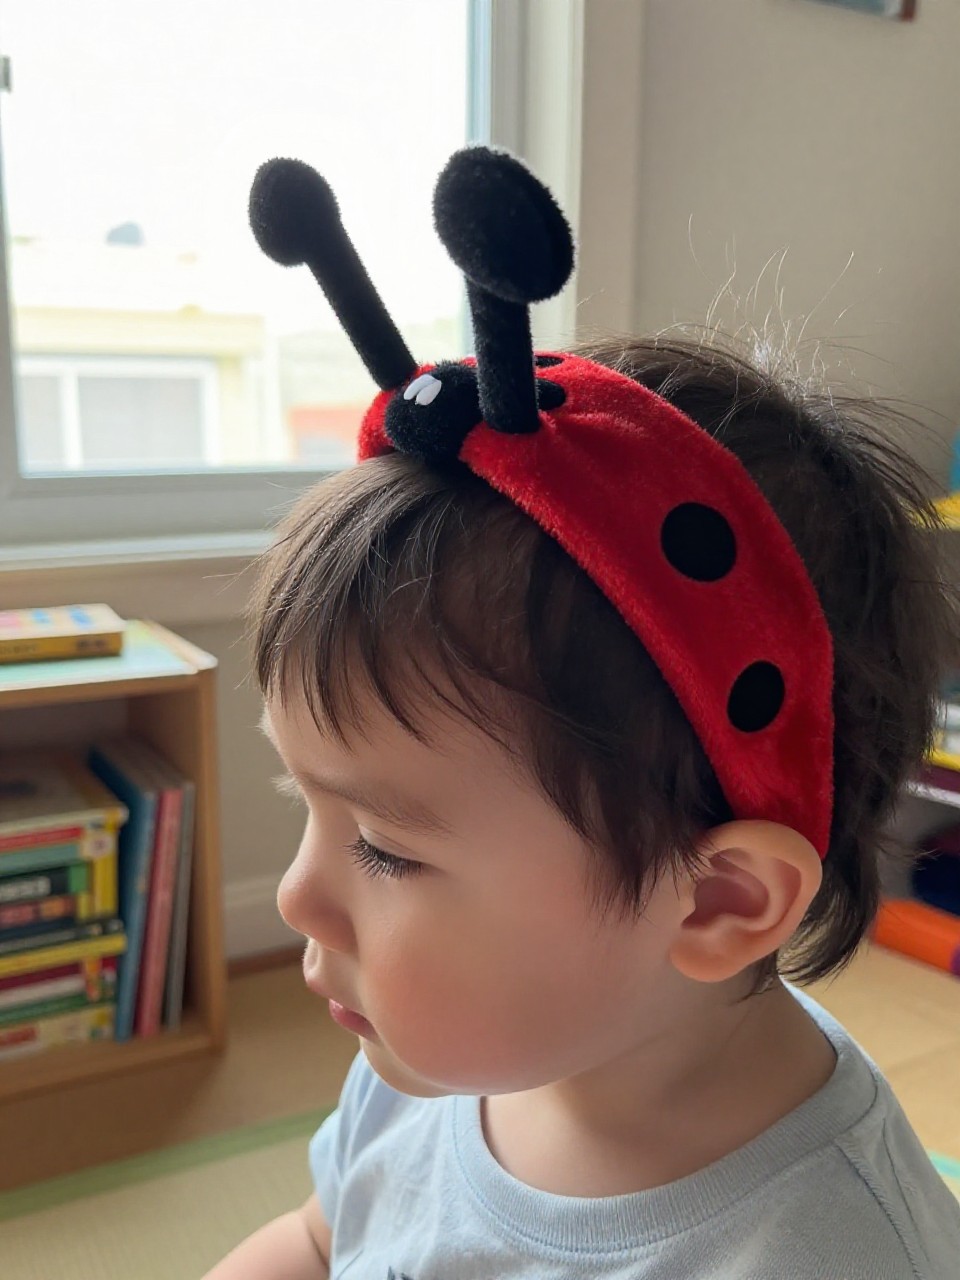
A row of shiny black buttons becomes cute spotted wings on a simple band. It’s dress-up friendly and stays comfy for playtime.
Materials Needed:
- Red cardstock
- Black buttons
- Stapler or tape
- Glue
How to make it:
- 1. Cut a long red band to fit around the child’s head.
- 2. Cut a red oval “wing” and glue it on the front center.
- 3. Glue black buttons as dots and draw a center line.
- 4. Staple or tape the band to size.
12. Sponge-Stamp Meadow Ladybugs
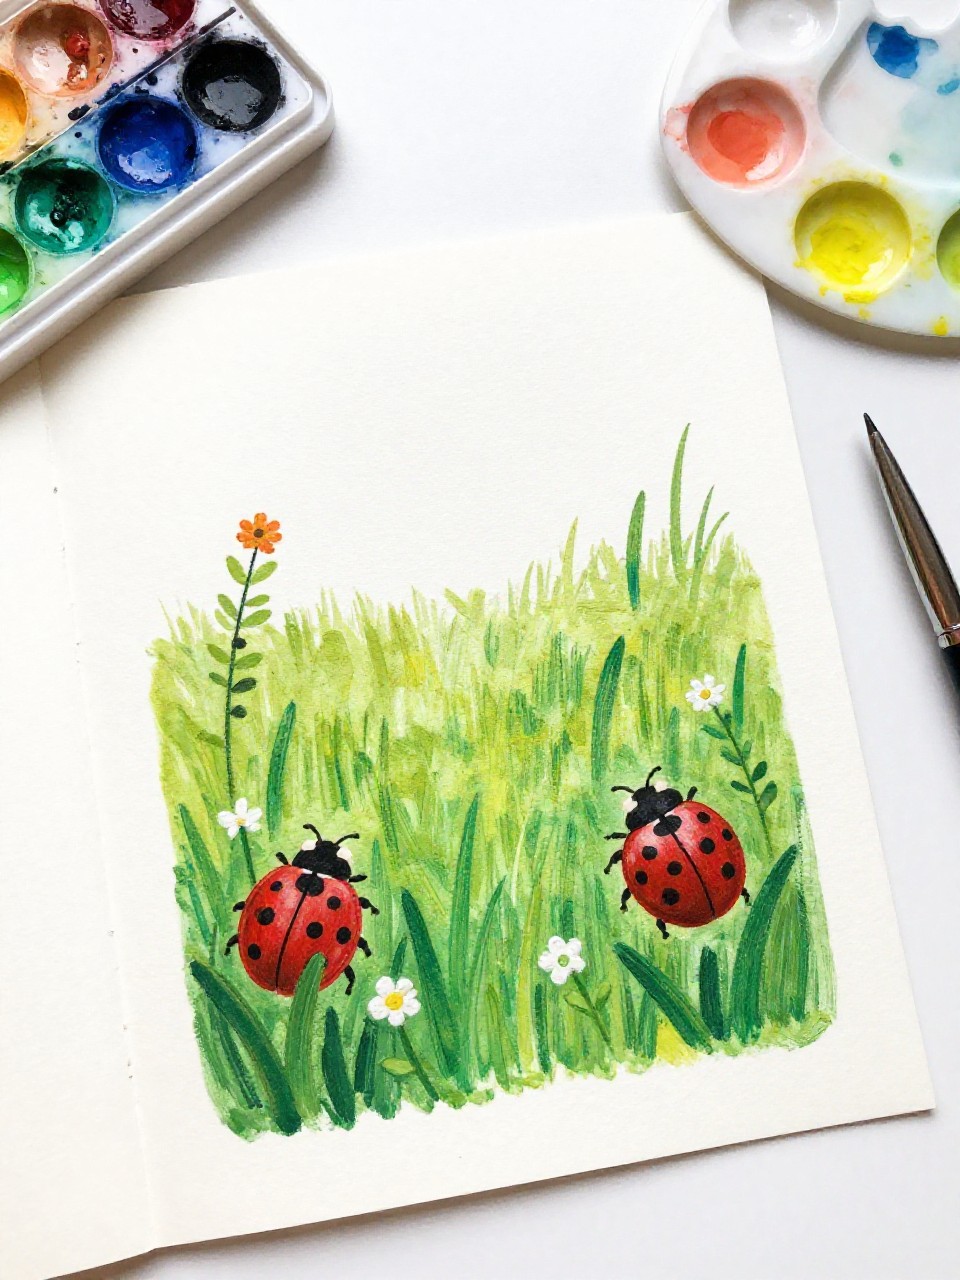
Simple rectangle sponges stamp perfect grassy meadows for bold red bugs. The layered stamping turns into a mini landscape in minutes.
Materials Needed:
- Green and blue paint
- Small sponge pieces
- Red paper circles
- Black marker
How to make it:
- 1. Sponge-stamp blue sky and green grass onto paper.
- 2. Glue red circles onto the meadow.
- 3. Add a black head, center line, and dots with marker.
- 4. Draw a few tiny flowers or blades of grass to finish.
13. Egg Carton Snug-Bug Ladybugs
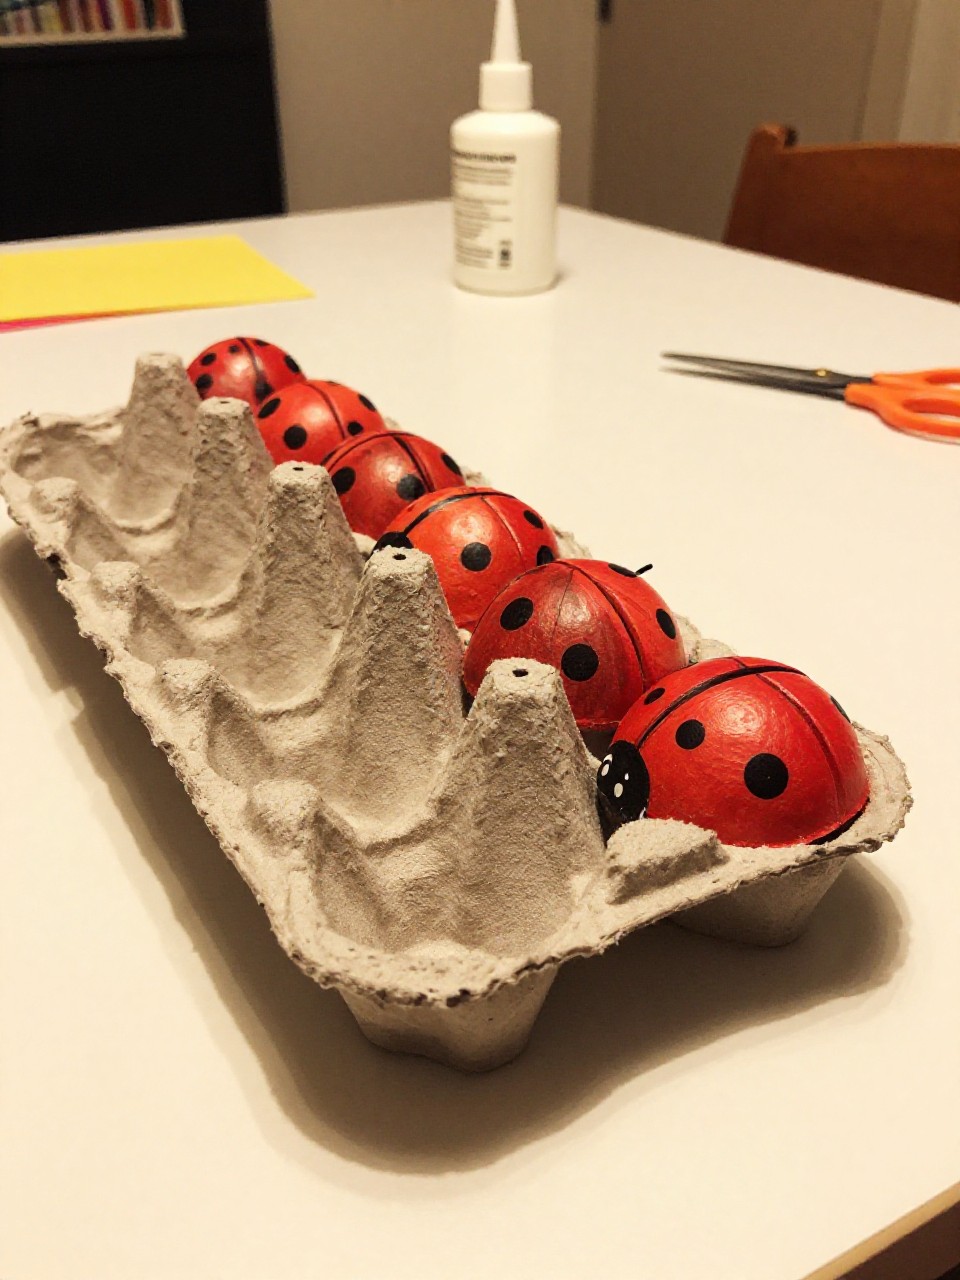
Egg carton cups make round little bugs that feel sturdy in small hands. Their chunky shape is adorable lined up like a parade.
Materials Needed:
- Cardboard egg carton cups
- Red and black paint
- Pipe cleaners
- Googly eyes
How to make it:
- 1. Cut cups apart and paint them red.
- 2. Add a blackhead area and dots.
- 3. Poke two small holes and thread a pipe cleaner for antennae.
- 4. Glue on eyes and let dry.
14. Tissue Paper Stained-Glass Ladybugs
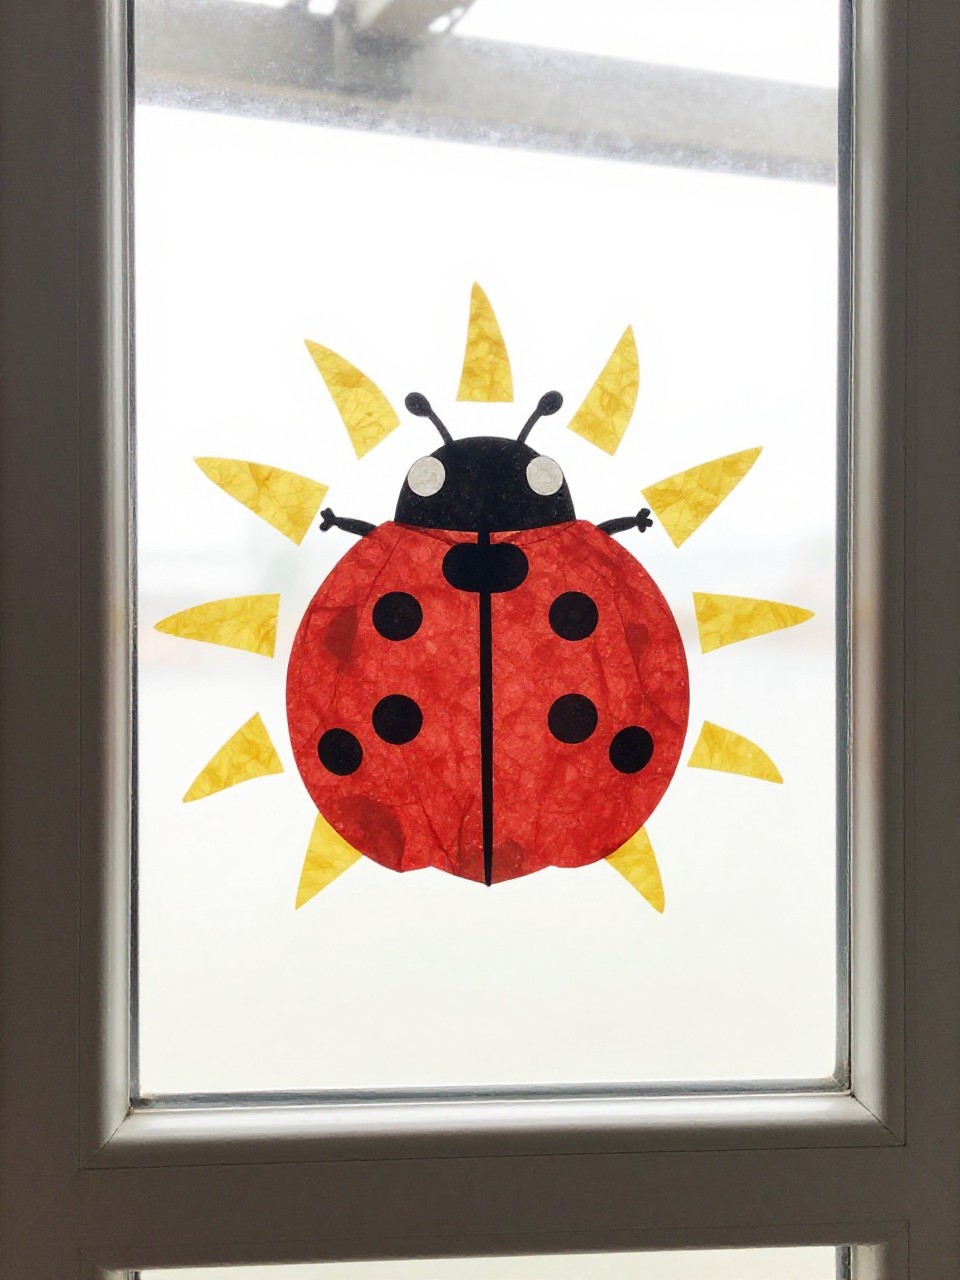
A clear window becomes a glowing scene of red wings and green leaves. The overlapping tissue makes soft, pretty colors when the sun shines.
Materials Needed:
- Clear contact paper
- Red, black, and green tissue paper
- Black marker
- Scissors
How to make it:
- 1. Stick tissue paper pieces onto a sticky contact paper square.
- 2. Arrange a red oval body with a black head and green leaves.
- 3. Add a second contact sheet on top to seal.
- 4. Draw the center line and trim into a neat shape for the window.
15. Paper Strip Curly Ladybugs
Thin strips curl into playful, bouncy dots and antennae. The curls add movement and make the bugs look lively on a page.
Materials Needed:
- Red and black paper strips
- Pencil (for curling)
- Glue stick
- Googly eyes
How to make it:
- 1. Roll black strips around a pencil to make curls.
- 2. Glue a red oval body to paper and add a small black head.
- 3. Glue on curly dots and curly antennae.
- 4. Add eyes and a center line.
16. Foam Cup Ladybug Planter
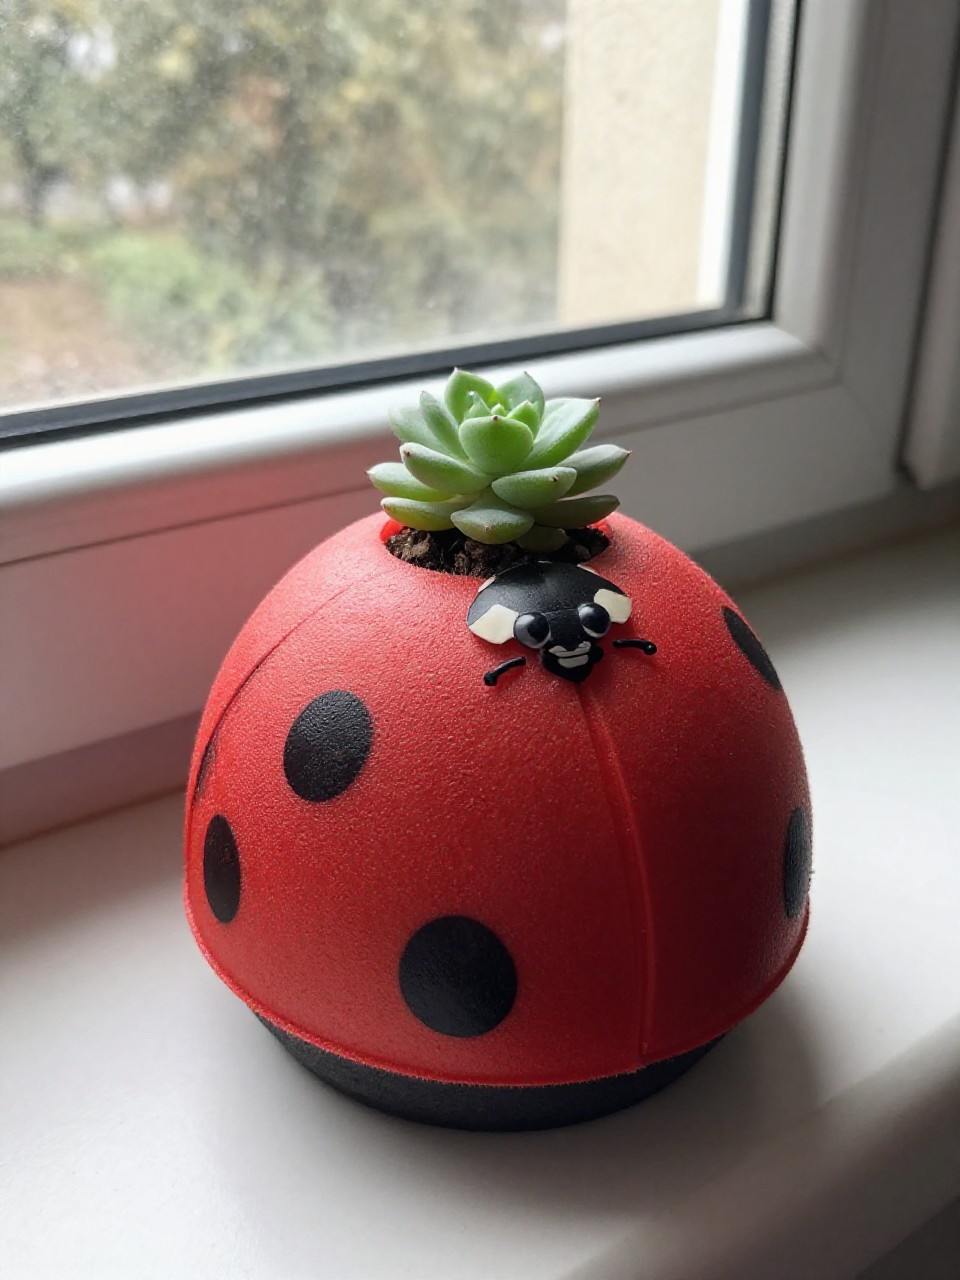
Turn a foam cup into a tiny planter with a cheerful bug face. It doubles as a gift when you pop in a small succulent or seedling.
Materials Needed:
- White foam or paper cup
- Red and black paint or markers
- Googly eyes
- Potting soil and small plant (optional)
How to make it:
- 1. Paint the cup red and add a black head area near the rim.
- 2. Draw a center line and black dots around the cup.
- 3. Glue on eyes and let dry.
- 4. Fill with soil and add a small plant if desired.