Table of Contents Show
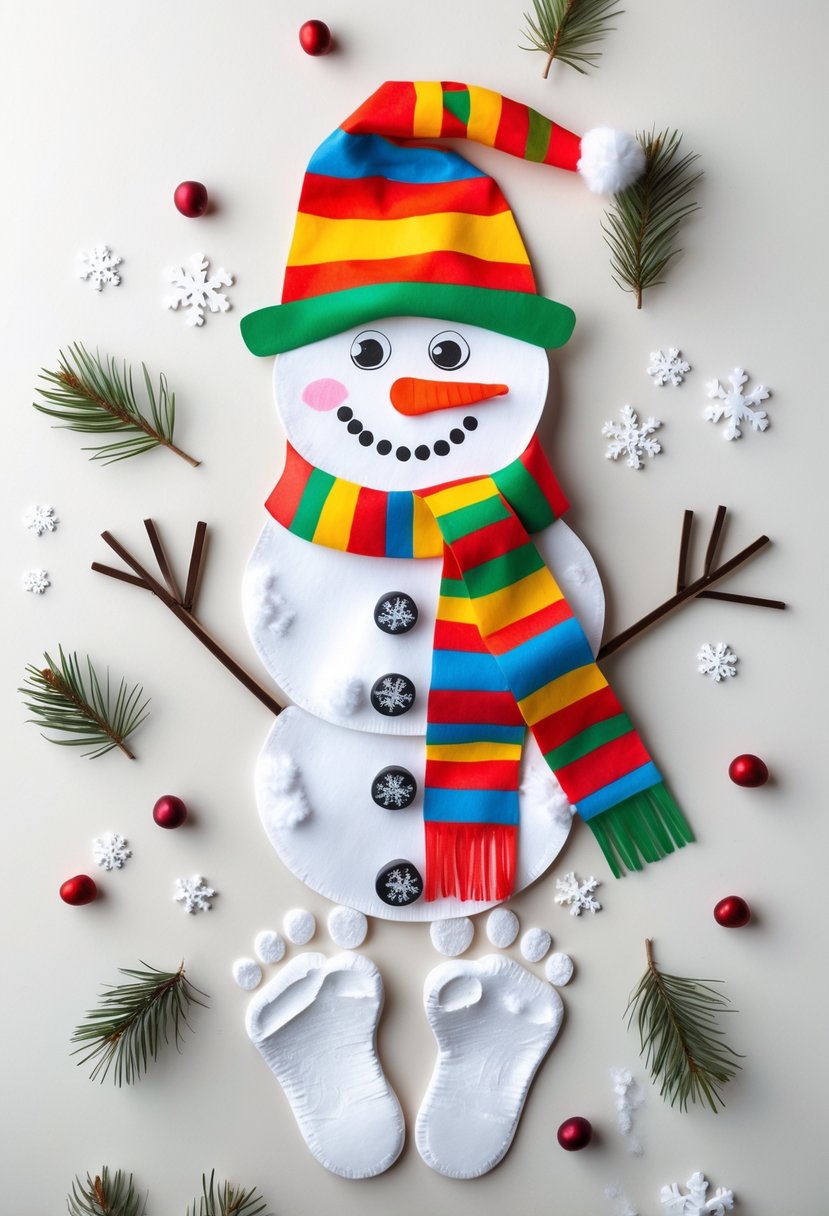
Turn tiny toes into a keepsake snowman! This cheerful craft uses painted footprints as the “base” and layers on a bright paper hat and scarf so the finished piece feels polished enough to frame or hang on the fridge.

It’s perfect for toddlers through grade-schoolers (with grown-up help for tracing and cutting) and makes a sweet gift for grandparents.
You’ll capture a moment in time and give kids lots of chances to practice painting, gluing, and color matching along the way.
How to Make a Footprint Snowman with a Painted Hat and Scarf
Turn your little one’s footprint into a charming snowman with a painted hat and scarf, a fun and festive keepsake that captures the magic of winter!
For People Who Love to Make Things ✂️
Materials
- White, blue, or pastel cardstock (12×18″ works great for space)
- Washable, non-toxic white paint (plus black, orange, pink)
- Foam brush and small detail brushes
- 2 paper plates (optional for smooth rounds) or compass for circles
- Colored construction paper for hat, brim, and scarf (rainbow or classic winter colors)
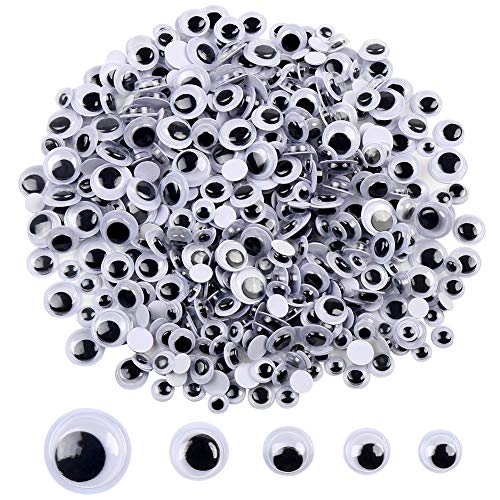
- Googly eyes (or black paper dots)
- Black buttons or sticker dots (for “coal” buttons)
- Brown paper or craft sticks (for arms)
- Cotton balls or fiberfill (snow puffs, optional)
- Glue stick and liquid craft glue
- Pencil, child-safe scissors, ruler
- Baby wipes/damp cloth and a towel (for quick cleanup)
Shop the materials


The steps

Step 1: Prep the Background and Footprints
Cover the table and set your cardstock vertically. Have a damp cloth ready. Brush a generous, even coat of white paint onto your child’s foot (one at a time).
Press heels slightly below the center of the page, toes pointing downward, so the heels form the round “heads” later.
Lift straight up to avoid smears, then repeat beside it if you want two feet for extra “snow.” Let prints dry fully (10–15 minutes).
Tip: Uneven prints are charming! If a toe didn’t show, dot it in with a fingertip.
Step 2: Build the Snowman Body
Use a paper plate as a guide to trace two or three circles above each footprint to create a stacked snowman (largest at the bottom).
Paint inside the circles with white paint, blending the footprint into the stack so it reads as one snowman. Feather the edges with a dabbing motion for a fluffy snow look. Let dry.
Why this order? Painting footprints first avoids cracking or peeling if you try to print over thick paint later.
Step 3: Cut and Assemble the Hat
Choose colorful paper for a tall, jaunty hat. Cut a wide rectangle (hat) and a long skinny rectangle (brim). Round the top corners or leave them square—both work.
Glue the hat to the snowman’s head; overlap the brim across the bottom edge so it looks layered.
Add a tiny pom-pom or a circle of white paper at the tip if you want a stocking-cap style.
Design cue: Repeat one or two colors you’ll use in the scarf so the whole piece feels coordinated.
Step 4: Make a Bold, Fringed Scarf
Cut a long paper strip; notch “fringe” into both ends with small parallel snips. Wrap the scarf around the snowman’s neckline, gluing one tail in front and one behind for a wrapped look. Add a short, diagonal strip at the “knot” to sell the illusion.
Dimension trick: Lightly curl the fringe with a pencil to lift the paper and add movement.
Step 5: Add the Face, Buttons, and Arms
Glue on googly eyes (or black paper dots). Paint an orange carrot nose with a small brush, pointing slightly upward. Dot a smile with the tip of a brush or the back of a pencil using black paint.
Add rosy cheek circles with diluted pink. Glue buttons or paint coal dots down the center. For arms, glue two thin brown paper strips or craft sticks angled from the middle section; snip tiny “twig” fingers.
Kid cue: Let kids count coal dots and buttons—built-in math practice!
Step 6: Snowy Details & Clean Finish
Glue small wisps of cotton around the base or along the body for fluffy snow. Flick a toothbrush loaded with watered-down white paint gently for snowfall (cover the snowman’s face with scrap paper to keep features crisp).
Write your child’s name and the year in the corner. Let everything dry flat for 20–30 minutes.
Display: Mount on a contrasting sheet of cardstock or slip into a frame. These store flat and become wonderful year-over-year growth mementos.