


Table of Contents Show
Preschoolers love making things with their hands—but when crafts get too complicated, everyone ends up frustrated. These turkey projects look impressive on the fridge, yet they’re simple enough for little hands to finish with pride.
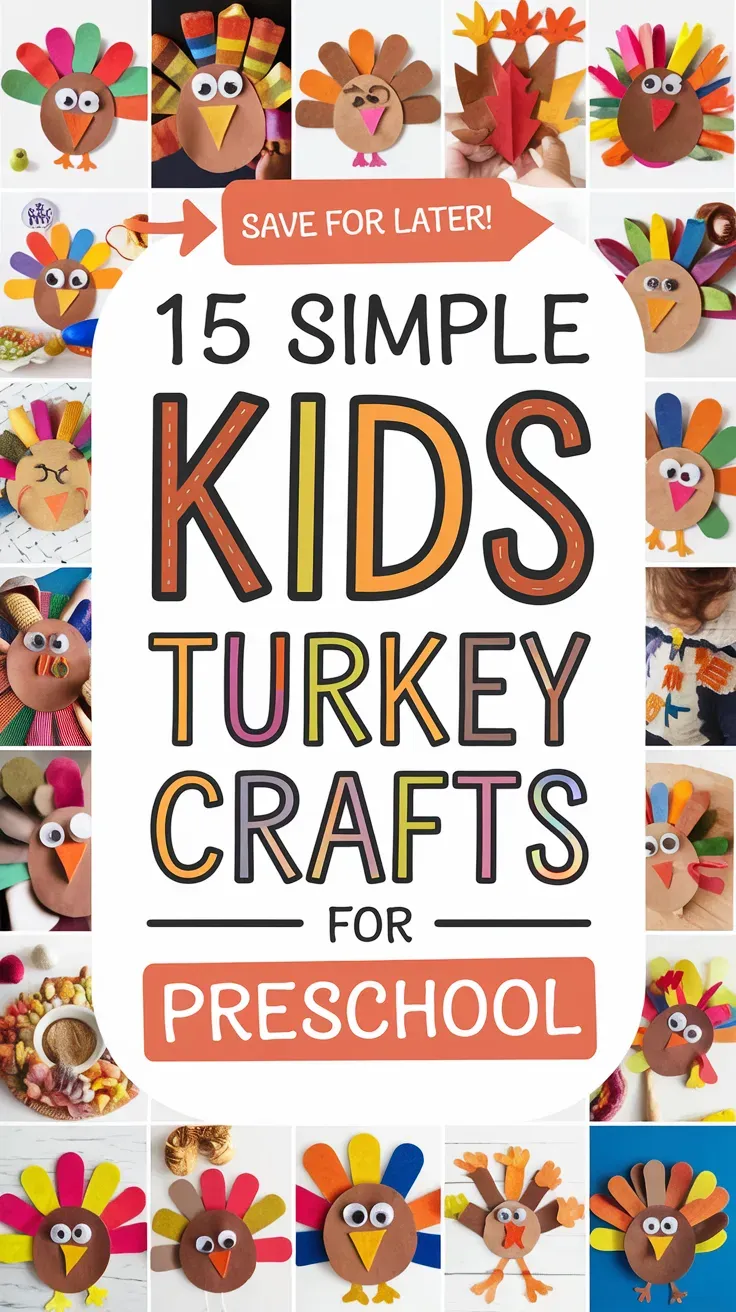
Most use basic supplies you already have at home or in the classroom, and clean-up is easy. Try one or try them all—you’ll have a sweet flock of turkeys and a calm, happy crafting time.
1. Painted Leaf Fan Turkey
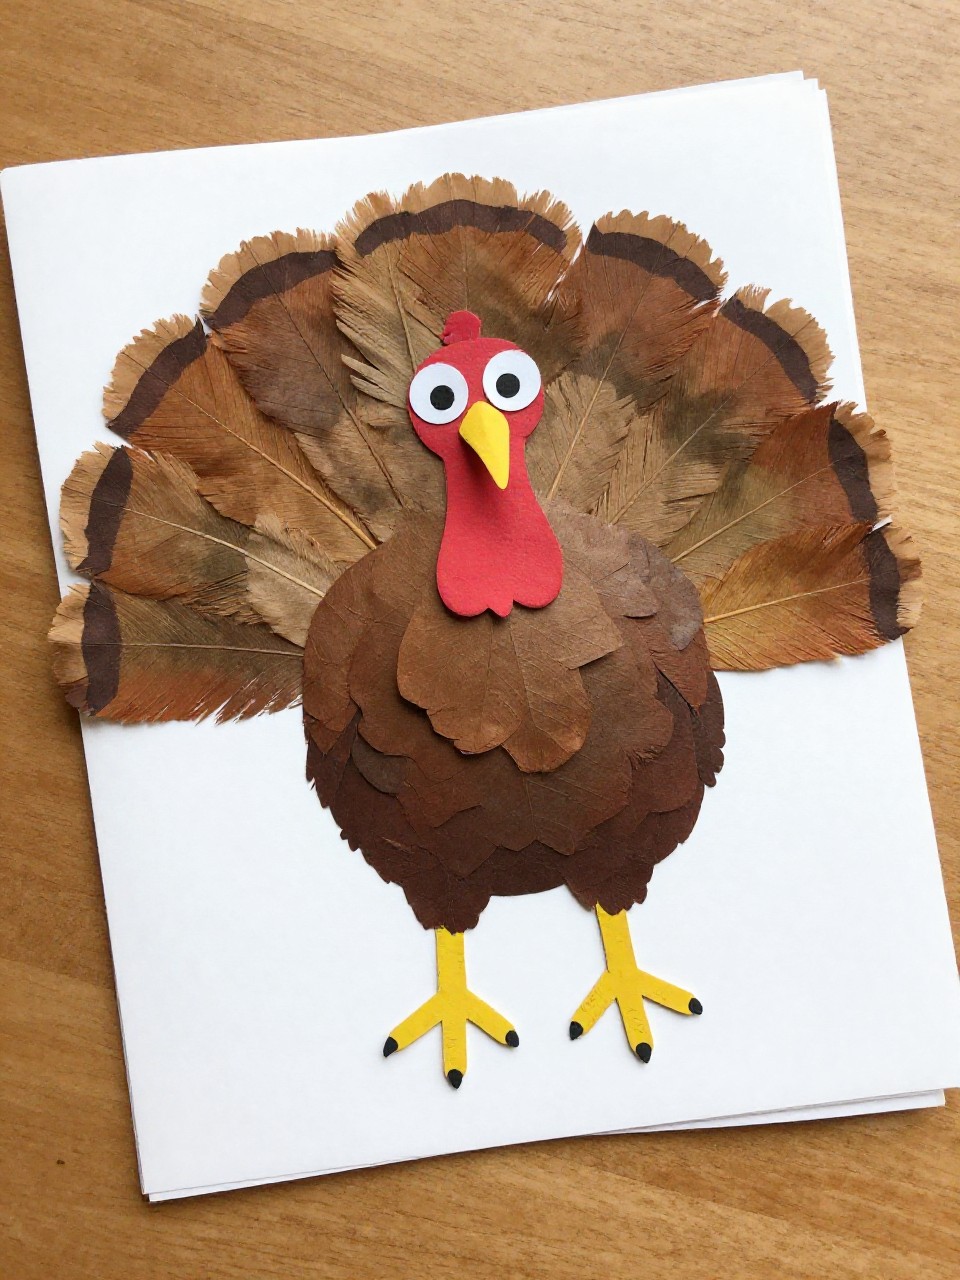
A cheerful turkey with real leaves for feathers. Kids love the swishy paint on leaves and the way the colors blend. The finished bird looks like fall itself.
Materials Needed:
- Dried leaves (big and small)
- Cardstock or paper plate center
- Washable paint and glue
How to make it:
For People Who Love to Make Things ✂️
- 1. Collect and flatten leaves in a book for a day if possible.
- 2. Let kids paint leaves in bright fall colors; dry.
- 3. Cut a round turkey body from cardstock; add eyes and beak.
- 4. Glue painted leaves in a fan behind the body.
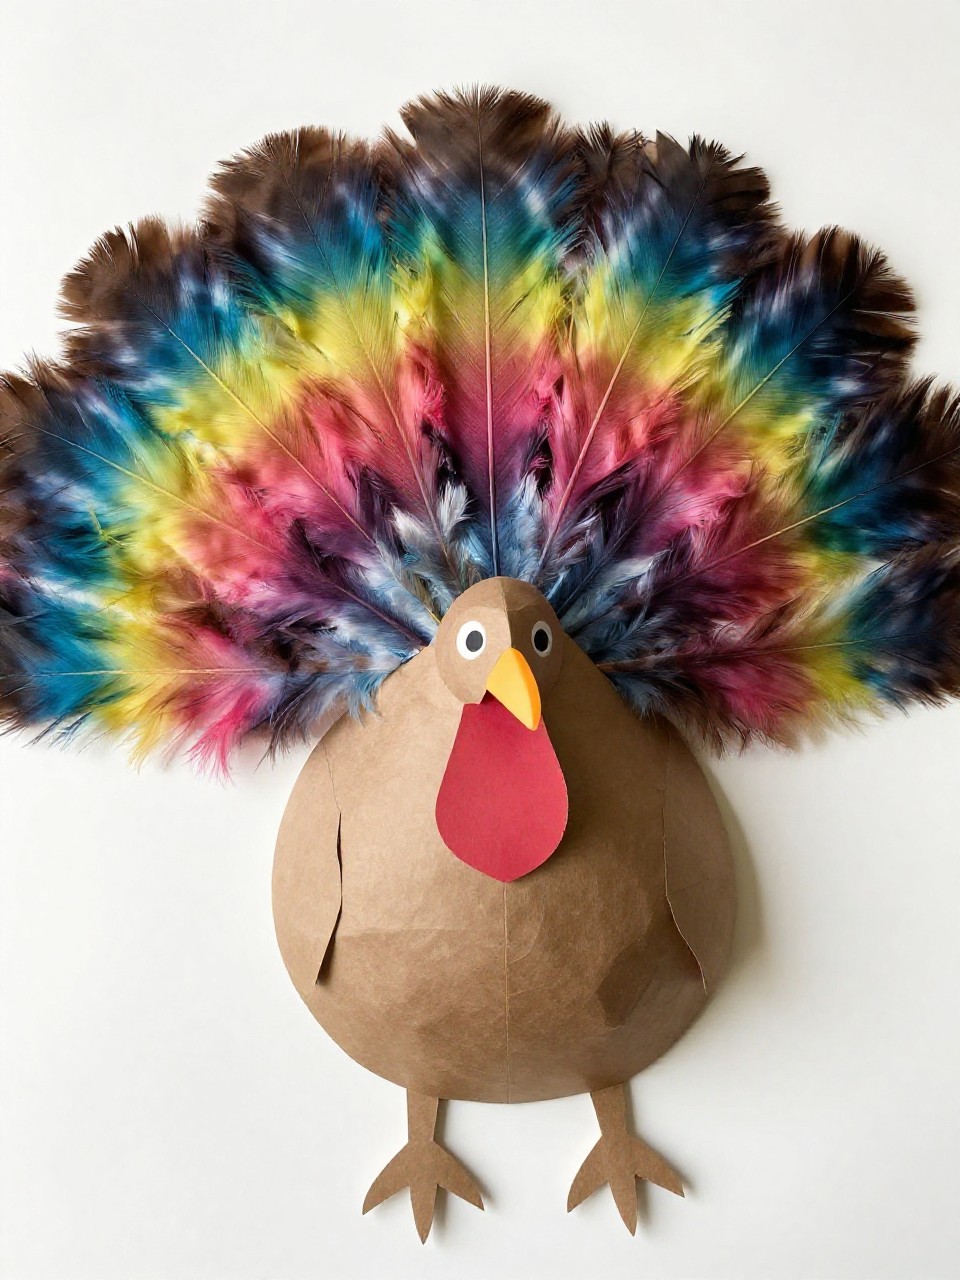
2. Paper Bag Pop-Up Turkey Puppet
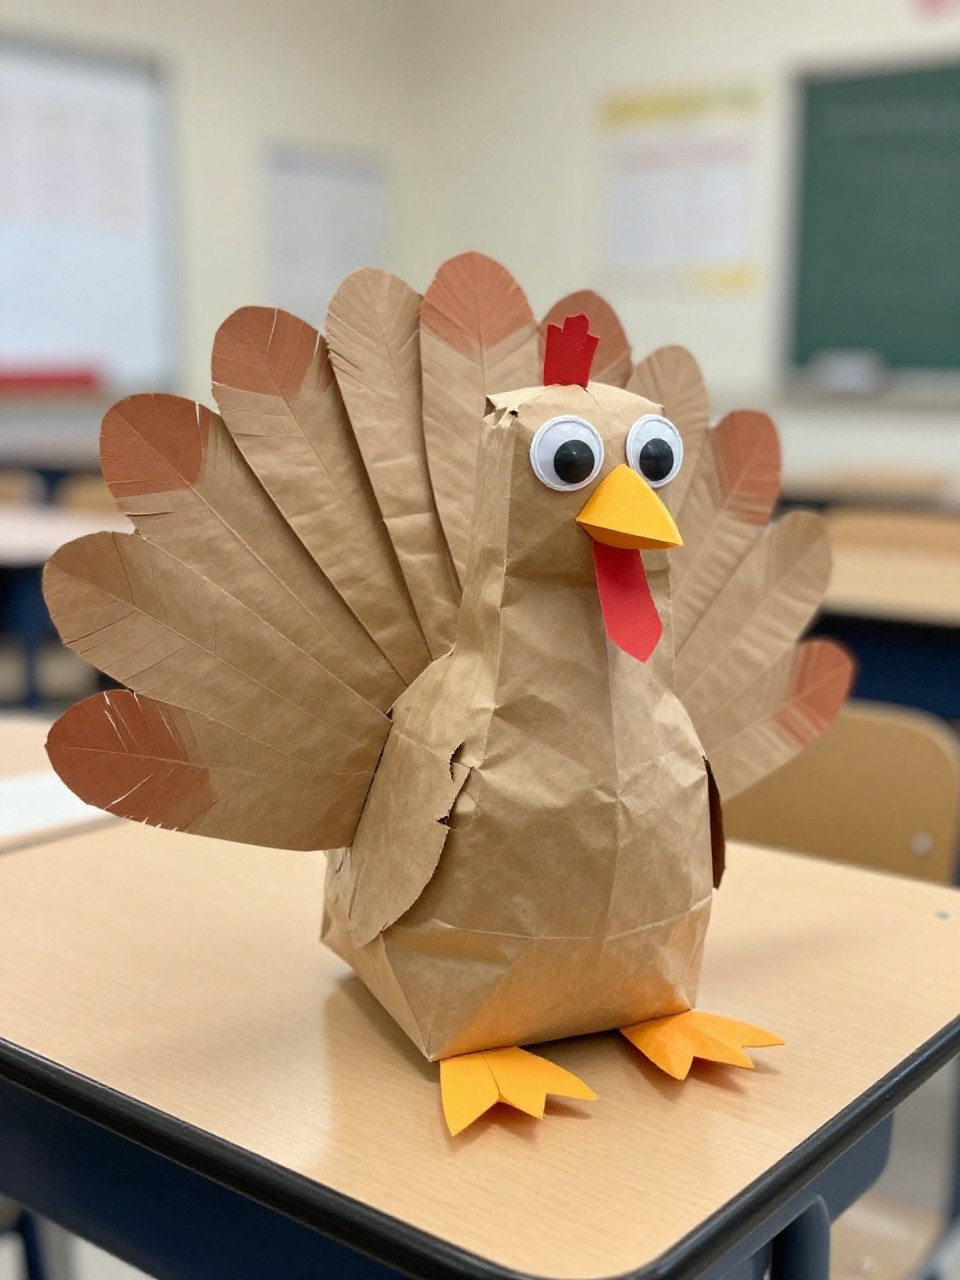
This puppet pops to life with a lift of the flap. The layered feather fan looks fancy but is just stacked paper strips. Perfect for silly turkey voices.
Materials Needed:
- Paper lunch bag
- Colored paper
- Glue stick
How to make it:
- 1. Turn the bag so the flap is the turkey’s face.
- 2. Cut paper strips; snip one end into points for feathers.
- 3. Glue strips in rows on the bag’s back to make a fan.
- 4. Add eyes, beak, and a red wattle on the flap.
3. Cupcake Liner Ruffle Turkey
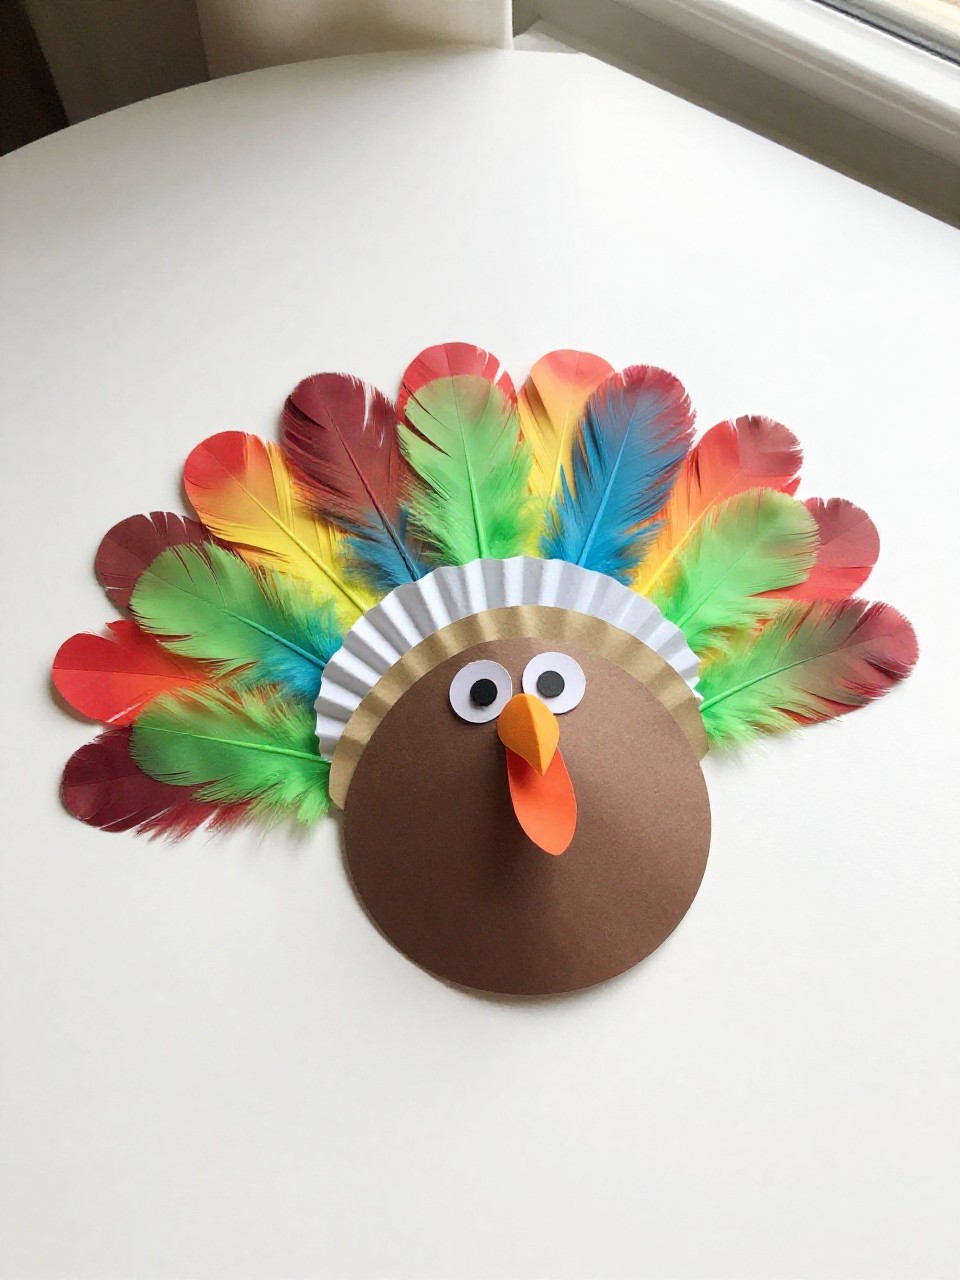
Ruffled cupcake liners make feathery layers that look fancy. Little fingers love flattening and stacking the circles. The result is fluffy and adorable.
Materials Needed:
- Cupcake liners (assorted colors)
- Cardstock circle for body
- Glue stick
How to make it:
- 1. Flatten 5–7 cupcake liners.
- 2. Fold each in half, then into quarters for feather wedges.
- 3. Glue wedges in a fan on cardstock.
- 4. Glue a smaller circle on top for the body; add eyes and beak.
4. Fork-Print Feather Turkey
A plastic fork becomes a paintbrush that makes perfect feathery textures. Kids dab and pull to create instant plumage. It dries to a fun, textured look.
Materials Needed:
- Washable paint
- Plastic fork
- Cardstock
How to make it:
- 1. Draw or glue a simple oval body on cardstock.
- 2. Dip the fork in paint and press strokes around the body to form feathers.
- 3. Layer different colors for depth.
- 4. Add eyes, beak, and legs with marker.
5. Clothespin Fan Turkey Place Card
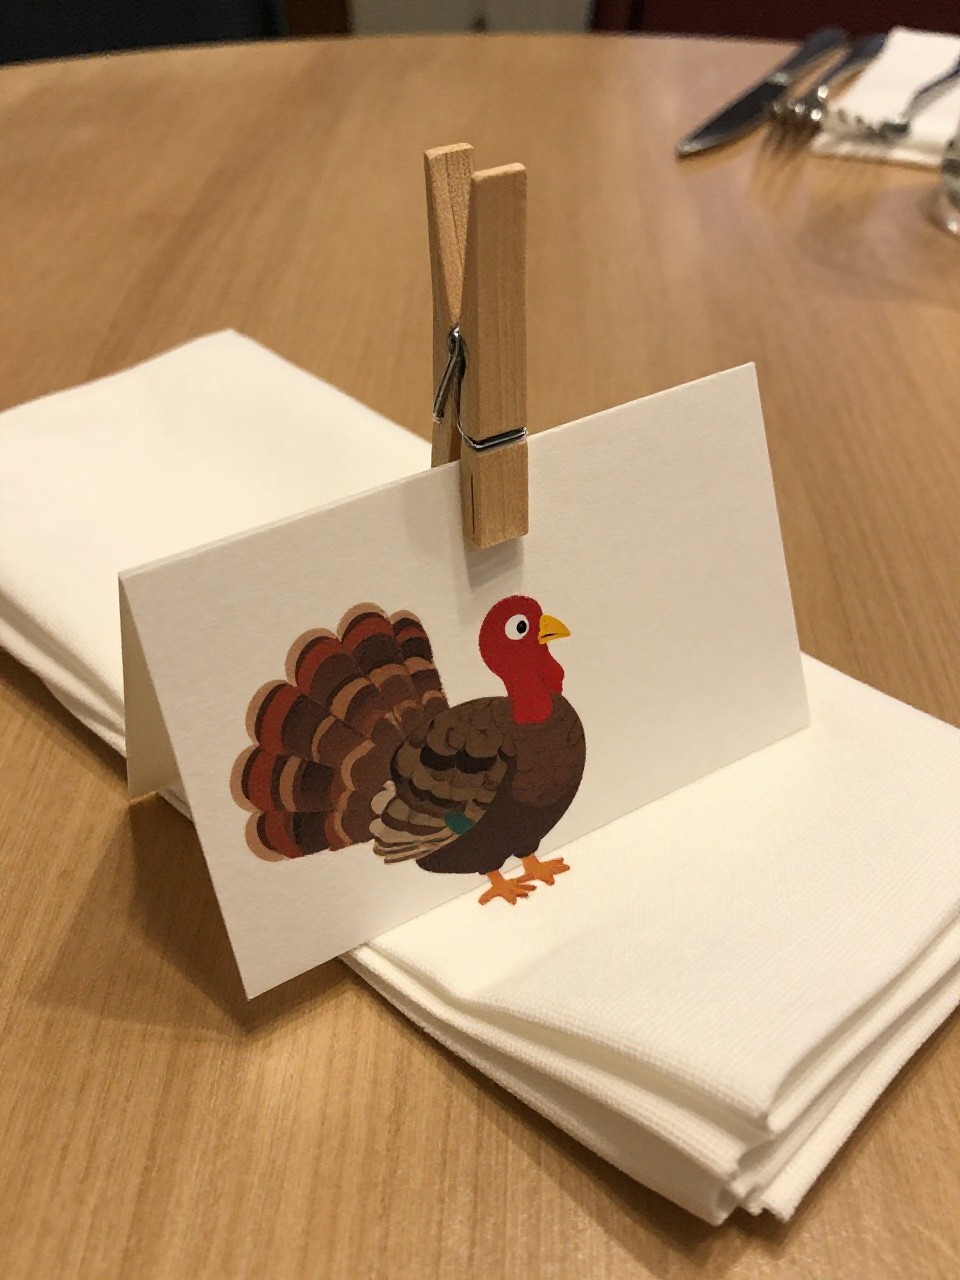
A tiny turkey that clips to napkins or stands on a plate. The clothespin “legs” make it look surprisingly polished. Great for holiday tables.
Materials Needed:
- Wooden clothespin
- Paint and colored paper
- Glue
How to make it:
- 1. Paint the clothespin brown; dry.
- 2. Cut a small paper oval for body and a fan of feather shapes.
- 3. Glue feathers behind the oval; add eyes and beak.
- 4. Clip the body into the clothespin and write a name on the fan.
6. Bubble Wrap Print Turkey Feathers
Pressing bubble wrap into paint makes instant dotted feathers. Kids love the pop-texture without the popping. The pattern looks like fancy plumage.
Materials Needed:
- Bubble wrap scrap
- Washable paint
- Paper and glue
How to make it:
- 1. Paint bubble wrap lightly with a roller or brush.
- 2. Press paper onto the painty bubbles; lift to reveal dots; dry.
- 3. Cut the printed paper into feather shapes.
- 4. Glue feathers behind a simple cutout turkey body.
7. Nature Shapes Turkey Collage
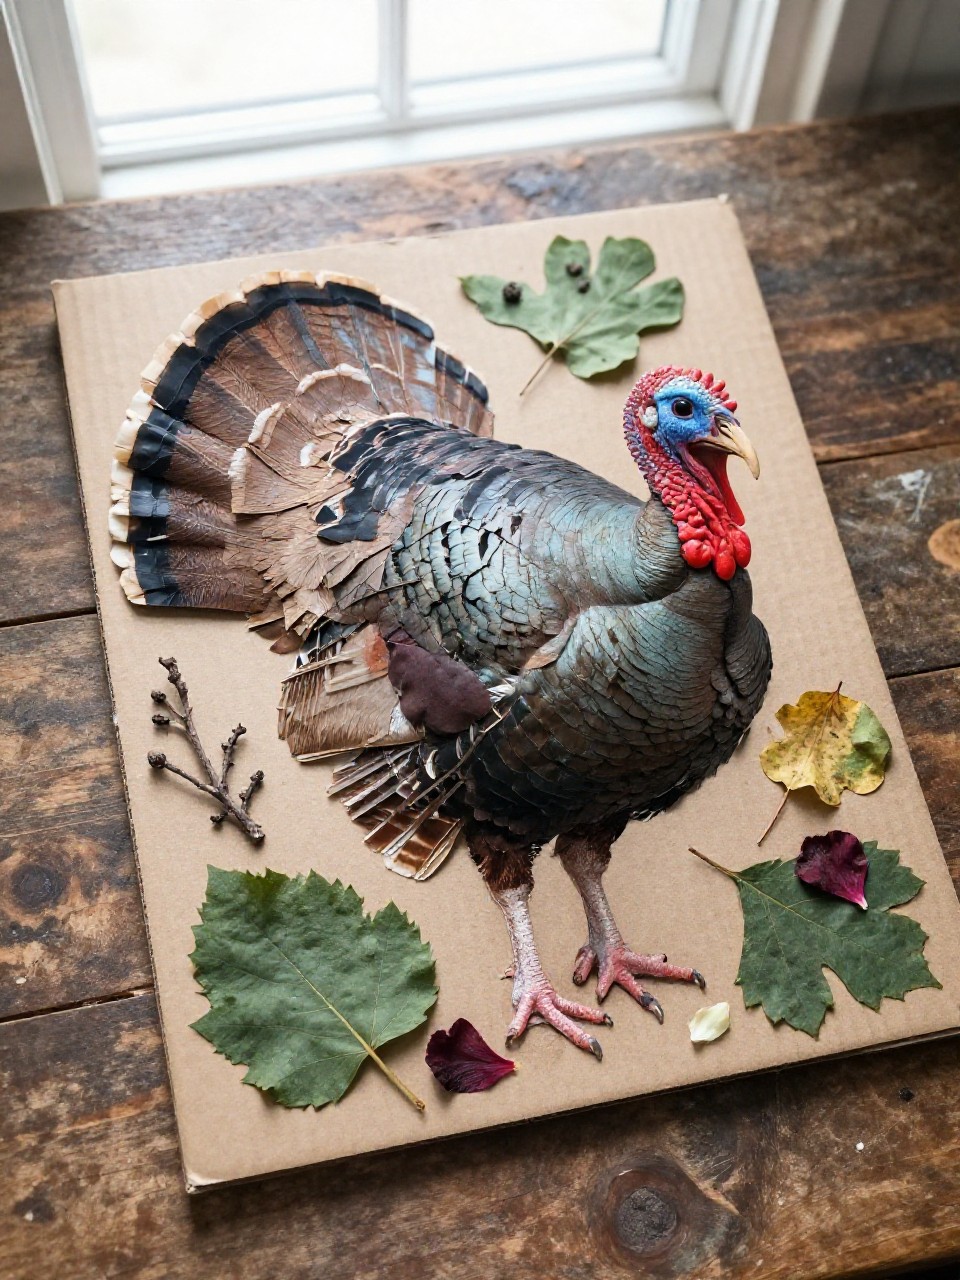
A modern, earthy turkey made from found bits. Sticks, petals, and seeds turn into feathers with instant charm. Every child’s turkey is unique.
Materials Needed:
- Leaves/twigs/flower petals
- Cardboard base
- White glue
How to make it:
- 1. Draw a simple turkey outline on cardboard.
- 2. Arrange nature items as feathers and body texture.
- 3. Glue pieces down, pressing gently.
- 4. Add a paper beak and eye to finish.
8. Coffee Filter Rainbow Turkey
Markers and water make magic. The coffee filter blossoms into soft, blended feathers that look airbrushed. Kids feel like little artists.
Materials Needed:
- Coffee filters
- Washable markers
- Spray bottle and paper for body
How to make it:
- 1. Color the coffee filter with markers in patches.
- 2. Lightly mist with water; watch colors spread; dry.
- 3. Fold the filter in half to make a fan.
- 4. Glue a paper oval body on top; add face details.
9. Shape-Sticker Mosaic Turkey
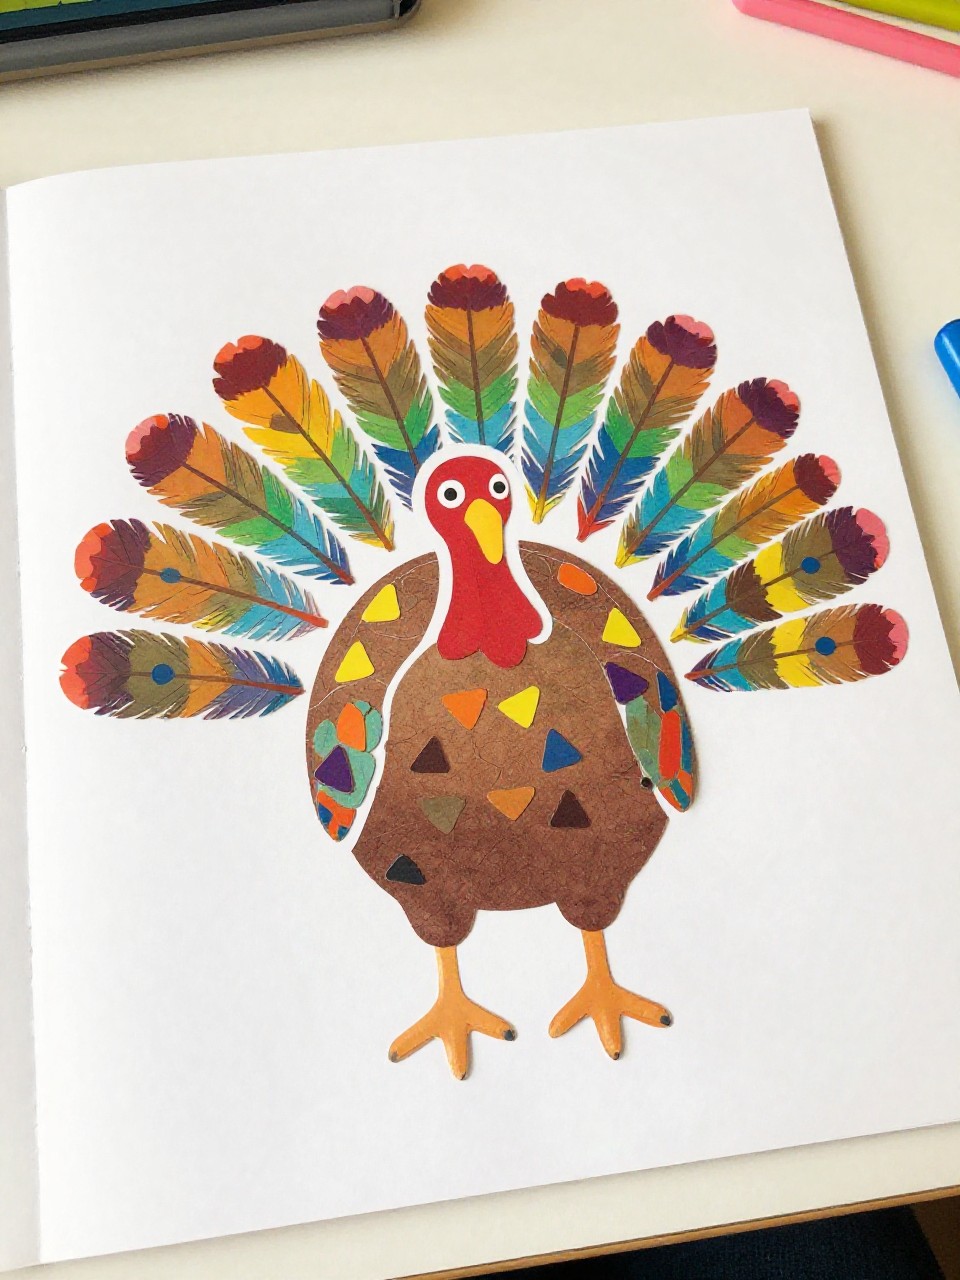
Peeling and sticking builds fine motor skills and a cool mosaic look. The geometric feathers feel modern but are super simple.
Materials Needed:
- Foam or paper shape stickers
- Cardstock outline of turkey
- Marker
How to make it:
- 1. Draw or print a large turkey outline on cardstock.
- 2. Let kids fill the feather area with overlapping stickers.
- 3. Add face and leg details with stickers or marker.
- 4. Outline edges with marker to make it pop.
10. Soft Pom-Pom Tail Turkey
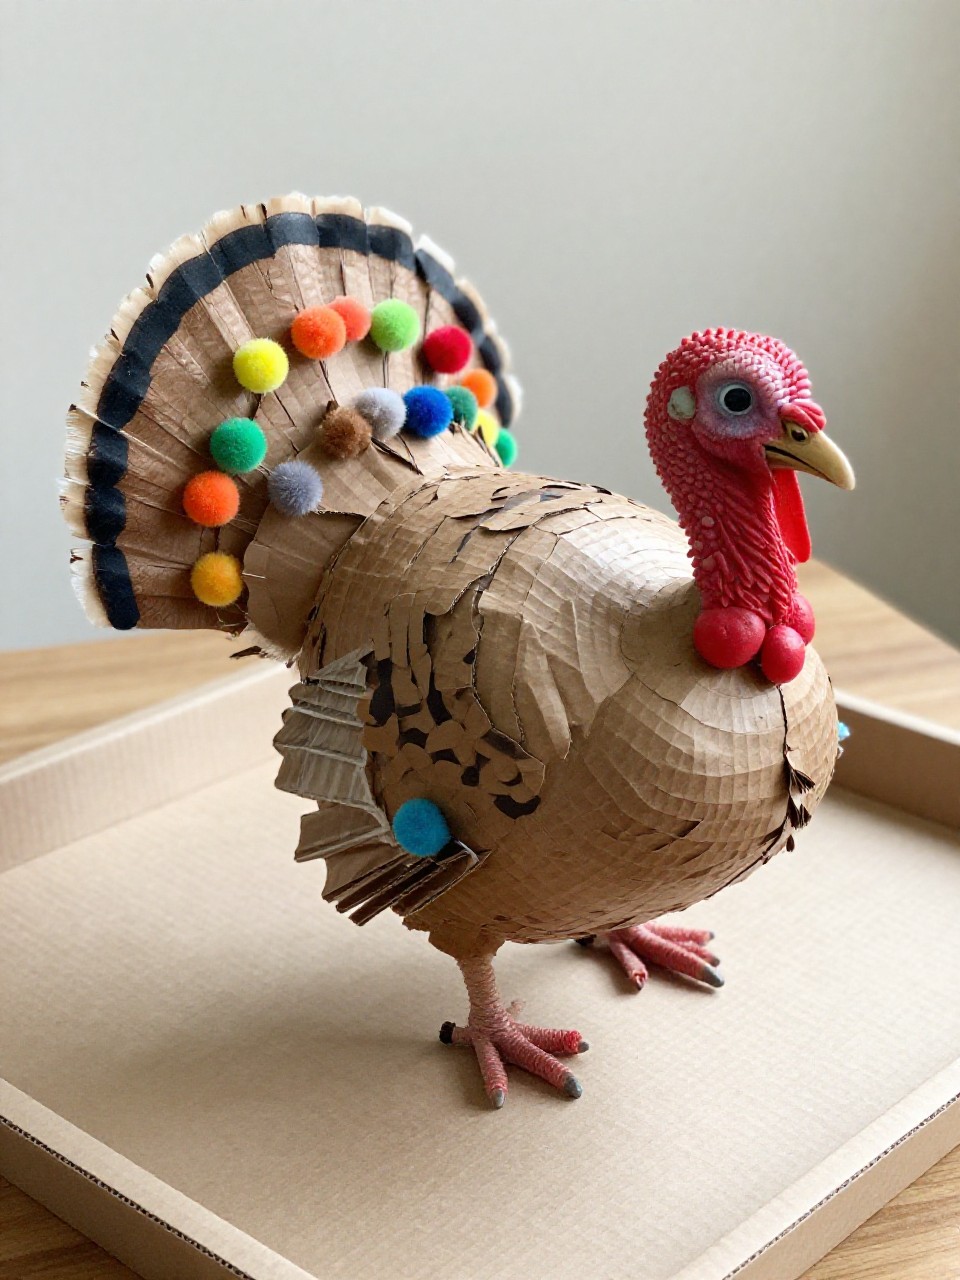
A fluff-tailed turkey that begs to be petted. The round pom-poms give instant wow without tricky steps.
Materials Needed:
- Assorted pom-poms
- Cardboard or foam body cutout
- Glue
How to make it:
- 1. Cut a simple turkey body from cardboard or foam.
- 2. Draw a half-circle behind it for the tail area.
- 3. Glue pom-poms tightly together to fill the tail.
- 4. Add eyes, beak, and feet to the body.
11. Spiral Paper Plate Turkey
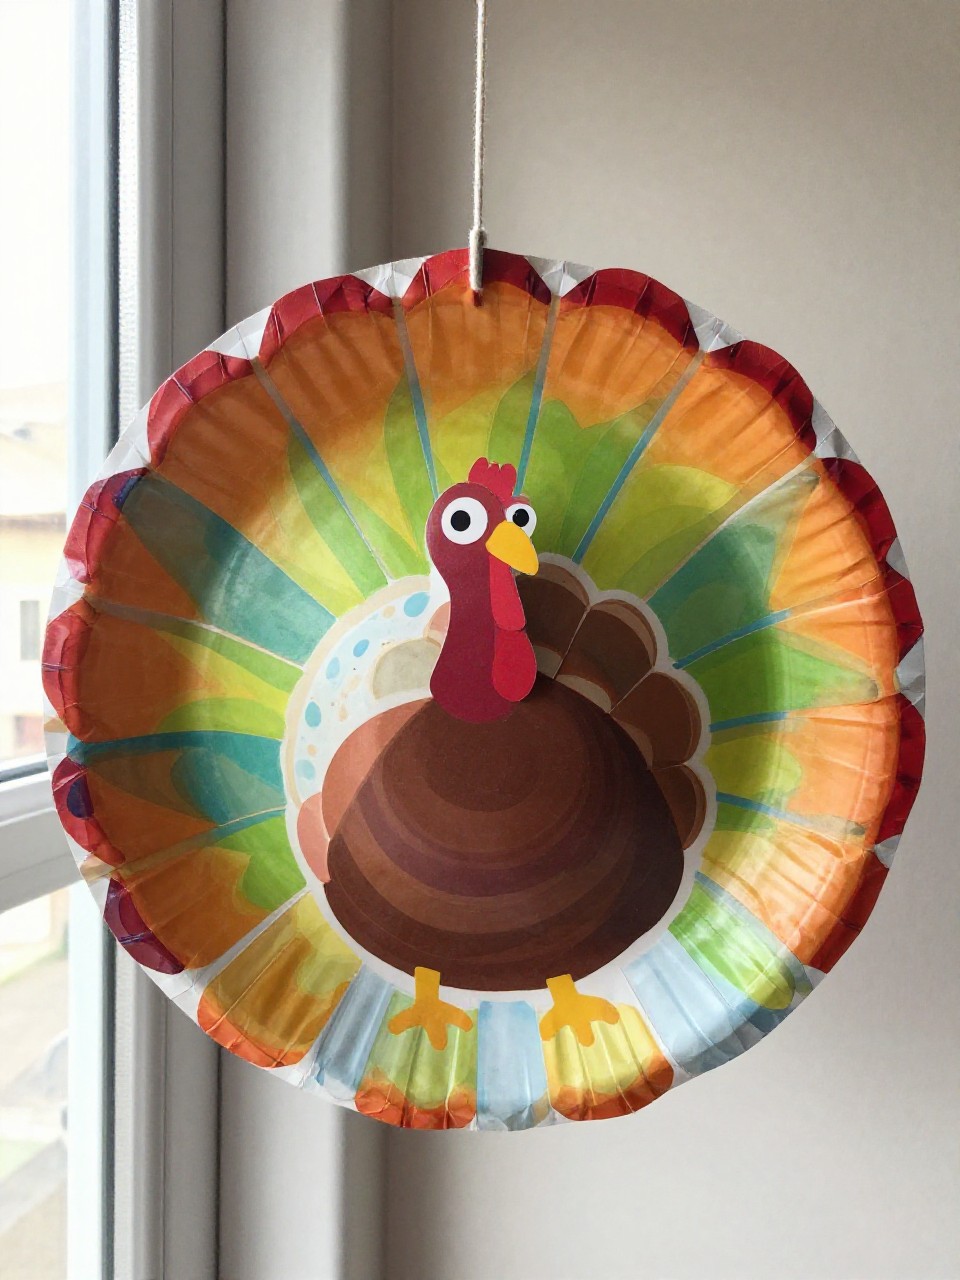
A single cut turns a plate into a curly feather spiral. When it hangs, it spins and shows off the colors—simple and satisfying.
Materials Needed:
- Paper plate
- Paint or markers
- String
How to make it:
- 1. Paint or color the plate in rings; dry.
- 2. Cut the plate into a spiral from the edge to the center.
- 3. Add a small paper turkey body in the center.
- 4. Punch a hole at the top and tie a string to hang.
12. Handprint Window Cling Turkey
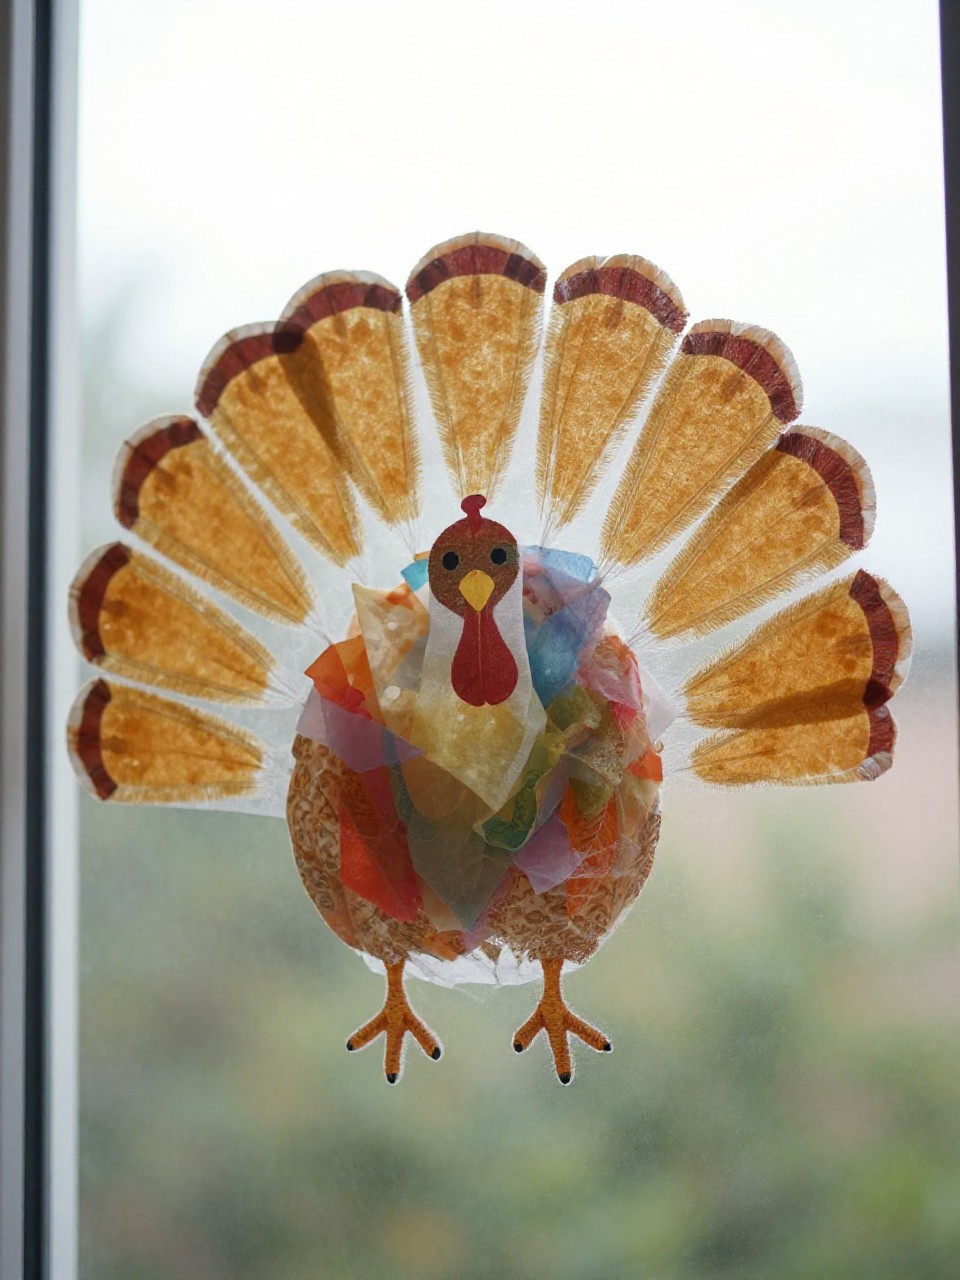
A faux “stained glass” that sticks to windows. The light shines through the colors and makes the turkey glow.
Materials Needed:
- Clear contact paper
- Tissue paper squares
- Construction paper
How to make it:
- 1. Trace a child’s hand on construction paper; cut for feathers.
- 2. Stick contact paper sticky-side up on the table.
- 3. Place handprint and turkey body shapes, then add tissue paper inside.
- 4. Seal with a second contact sheet and trim; stick to window.
13. No-Sew Felt Patchwork Turkey
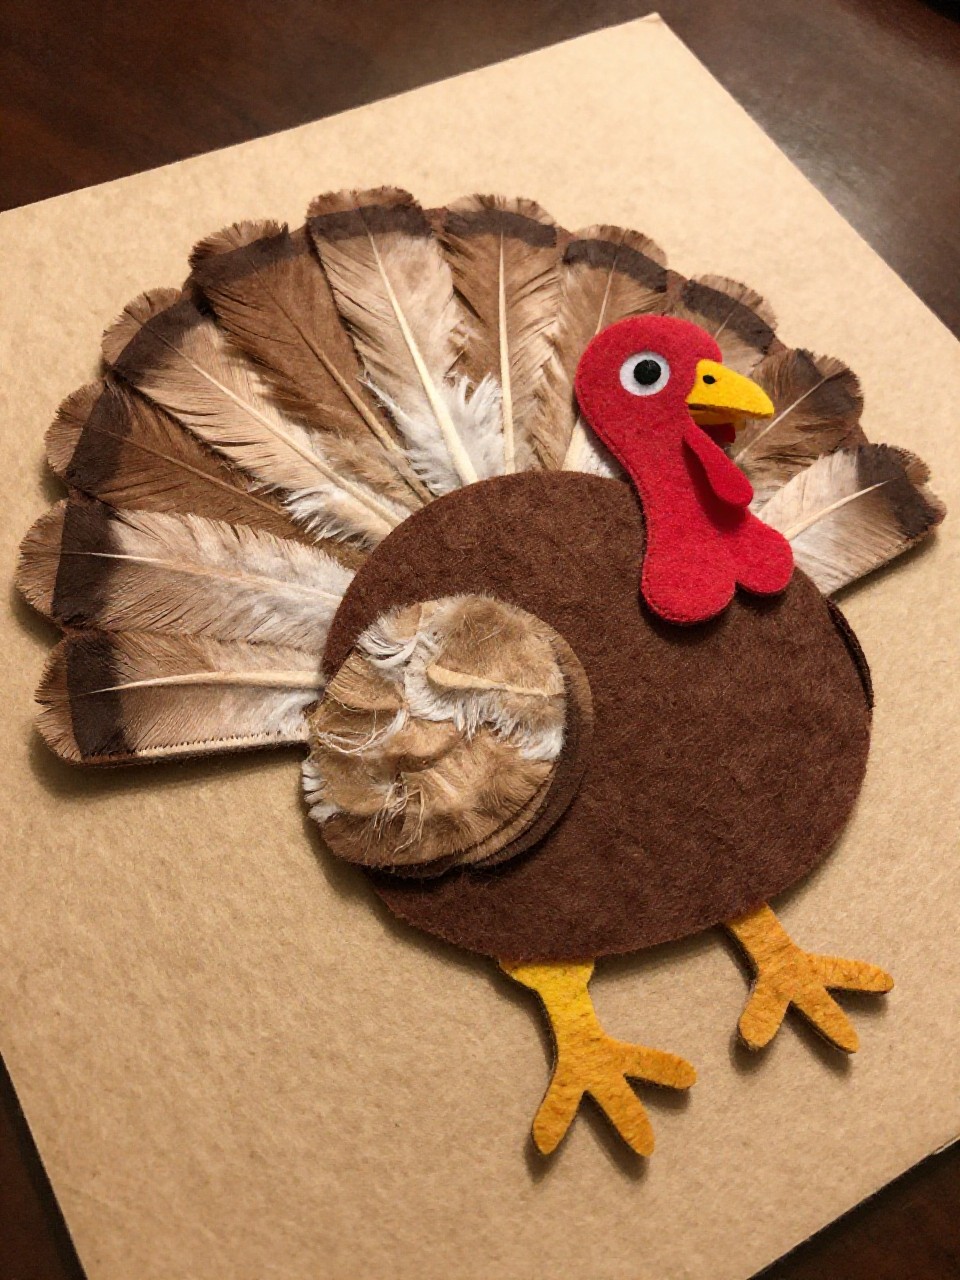
Soft felt pieces layer into cozy feathers. The patchwork look feels boutique but is glue-only and preschool easy.
Materials Needed:
- Felt scraps
- Tacky glue
- Cardboard backing
How to make it:
- 1. Cut a body shape from cardboard.
- 2. Snip felt into simple ovals and triangles for feathers.
- 3. Glue felt pieces in overlapping rows behind the body.
- 4. Add felt eyes, beak, and wattle.
14. Sticker-Resist Watercolor Turkey
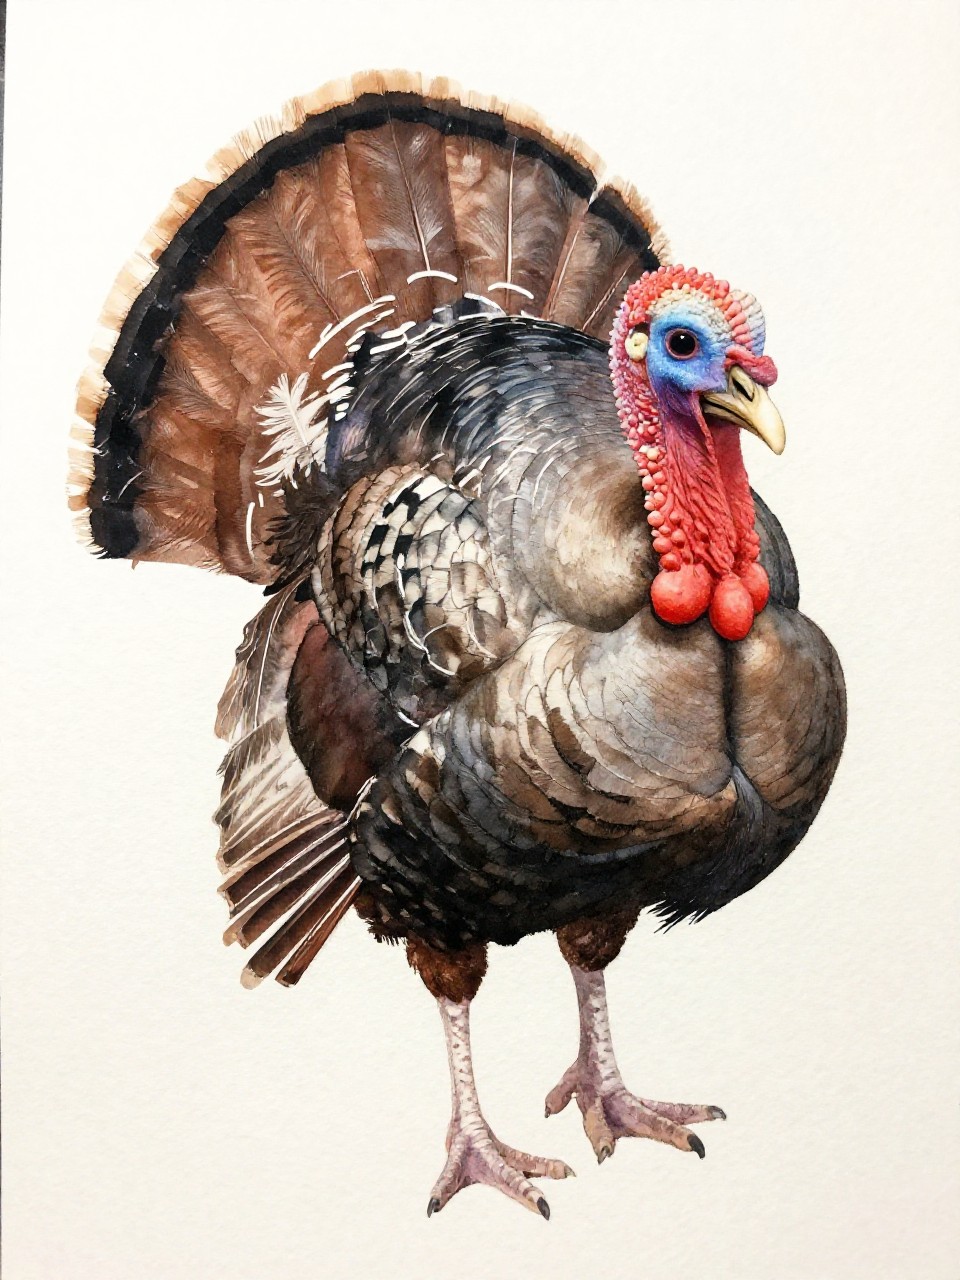
Peel to reveal crisp white feather lines under dreamy paint. Kids love the surprise when the stickers come off.
Materials Needed:
- Watercolor paper
- Washi tape or shape stickers
- Watercolors
How to make it:
- 1. Place washi tape or stickers in feather patterns on the paper.
- 2. Paint over the whole area with watercolors; let dry.
- 3. Gently peel off the tape/stickers to reveal white lines.
- 4. Add a simple turkey body cutout on top.
15. Cardboard Tube Peekaboo Turkey
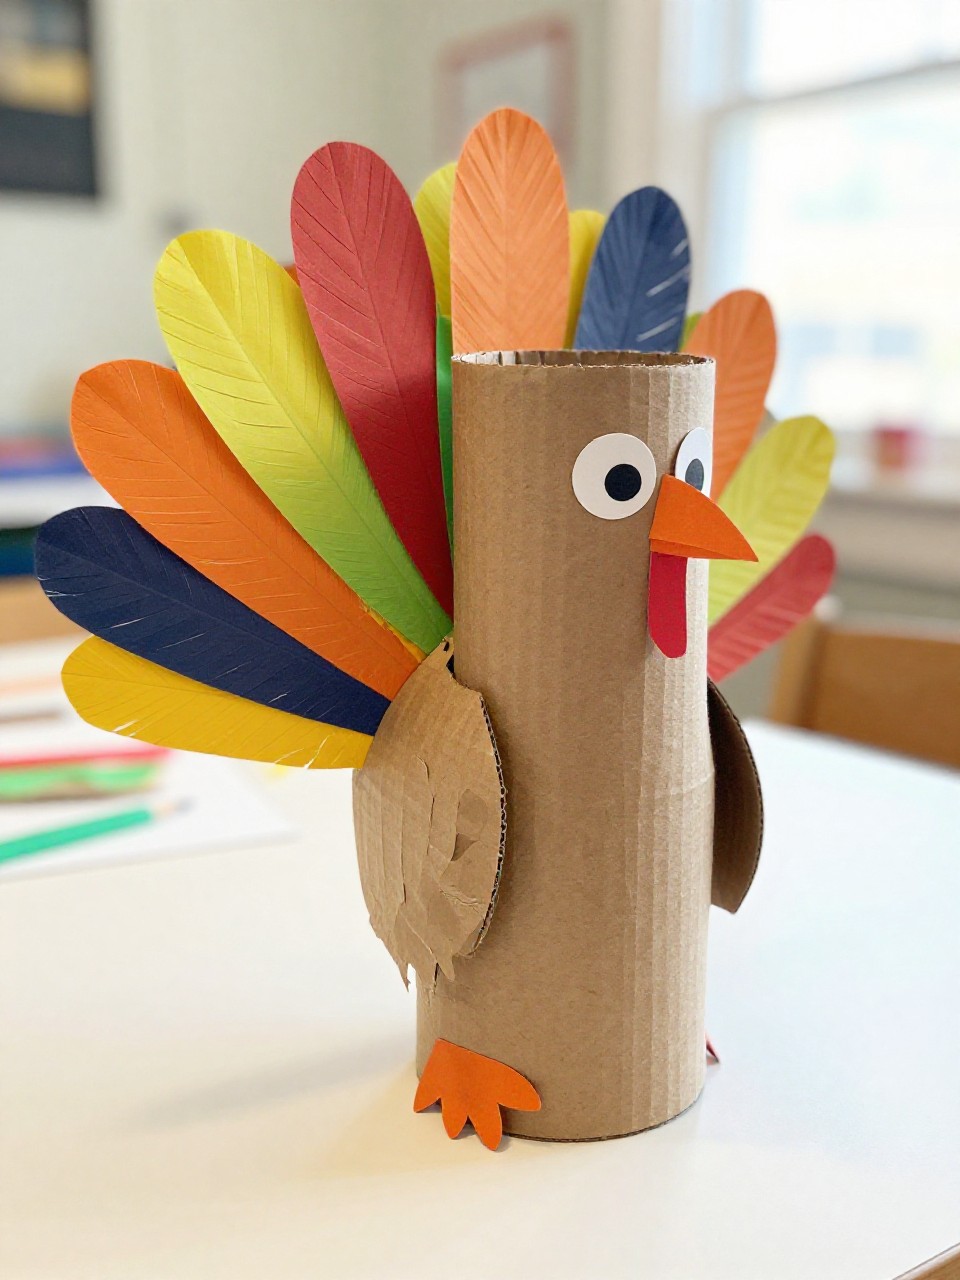
A recycled tube turns into a plump turkey that stands up on its own. The peekaboo feathers pop from a slit like a surprise.
Materials Needed:
- Toilet paper tube
- Colored paper
- Glue and scissors
How to make it:
- 1. Wrap the tube with brown paper; glue.
- 2. Cut a vertical slit in the back top half of the tube.
- 3. Slide a fan of paper feathers into the slit and glue in place.
- 4. Add eyes, beak, feet, and a tiny red wattle to the front.