
Table of Contents Show
Preschoolers love animals they can recognize, and frogs are perfect—bright colors, big eyes, and lots of silly personality. If you’re short on time or energy, you still want crafts that look “wow” without melting down your whole afternoon.

These 17 frog projects are creative, unique, and secretly simple, so little hands can help and feel proud of the results.
Grab recyclables, basic art supplies, and a dash of imagination—these frogs are ready to hop right onto your fridge.
1. Peekaboo Lily Pad Frog Cup
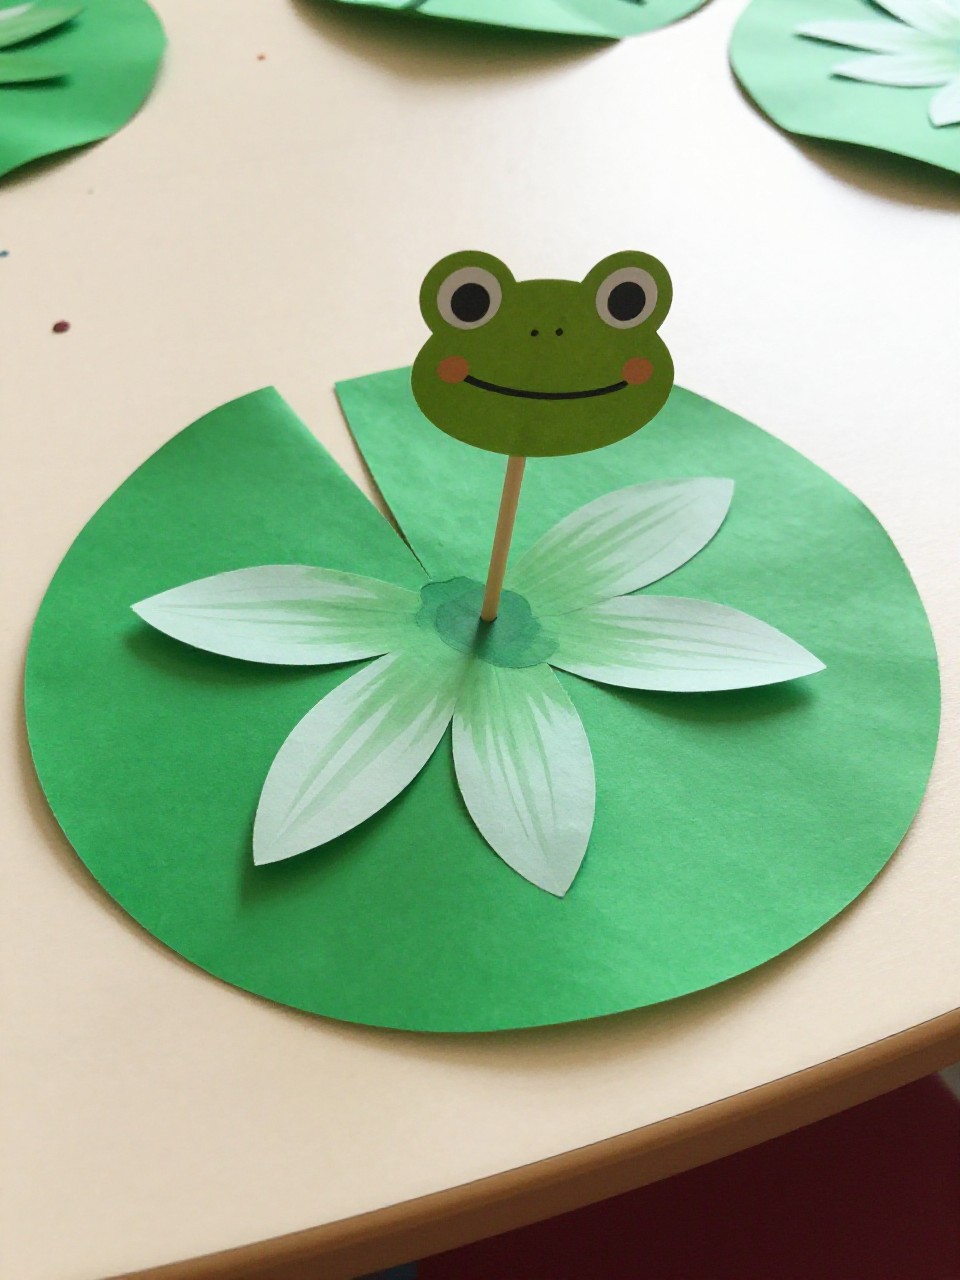
A friendly frog pops out of a paper cup lily pad like a surprising puppet. Kids love lifting the tab to make it peek and hide, and the bold shapes look super polished.
Materials Needed:
- Paper cup
- Green construction paper
- Jumbo craft stick
- Googly eyes
How to make it:
- 1. Cut a circle of green paper to fit the cup rim; snip a small slit so it looks like a lily pad.
- 2. Draw and cut a simple frog head and two front legs from green paper; glue on googly eyes.
- 3. Tape the frog head to the top of the craft stick; tape legs to the back of the head.
- 4. Poke a small hole in the bottom of the cup, slide the stick through, and glue the lily pad on top.
2. Bubble Wrap Painted Frog Skin Collage

Use bubble wrap to stamp bumpy “frog skin” textures that look impressively realistic. The dotted patterns make every frog unique with almost zero effort.
Materials Needed:
- Bubble wrap
- Green paint
- White cardstock
- Black marker
How to make it:
- 1. Paint a thin layer of green paint onto a piece of bubble wrap, bubbles facing up.
- 2. Press the cardstock on top like a stamp; lift to reveal the dotted texture.
- 3. Cut out a big frog shape from the printed paper (head, body, simple legs).
- 4. Add eyes, mouth, and nostrils with the marker; glue on a separate white belly if you like.
3. Leafy Crown Frog Mask

This mask turns little makers into forest frogs with a leafy crown and bright eyes. It’s dramatic to wear but easy to build from a single paper plate.
Materials Needed:
- Paper plate
- Green paint or marker
- Craft leaves or real leaves
- Elastic string
How to make it:
- 1. Cut eye holes in the paper plate; trim the plate into a frog face shape with cheek bumps.
- 2. Paint or color the plate green; let dry.
- 3. Glue leaves along the top edge to make a leafy crown.
- 4. Punch holes at the sides and tie the elastic string to fit around the head.
4. Shape-Snapping Magnetic Frogs
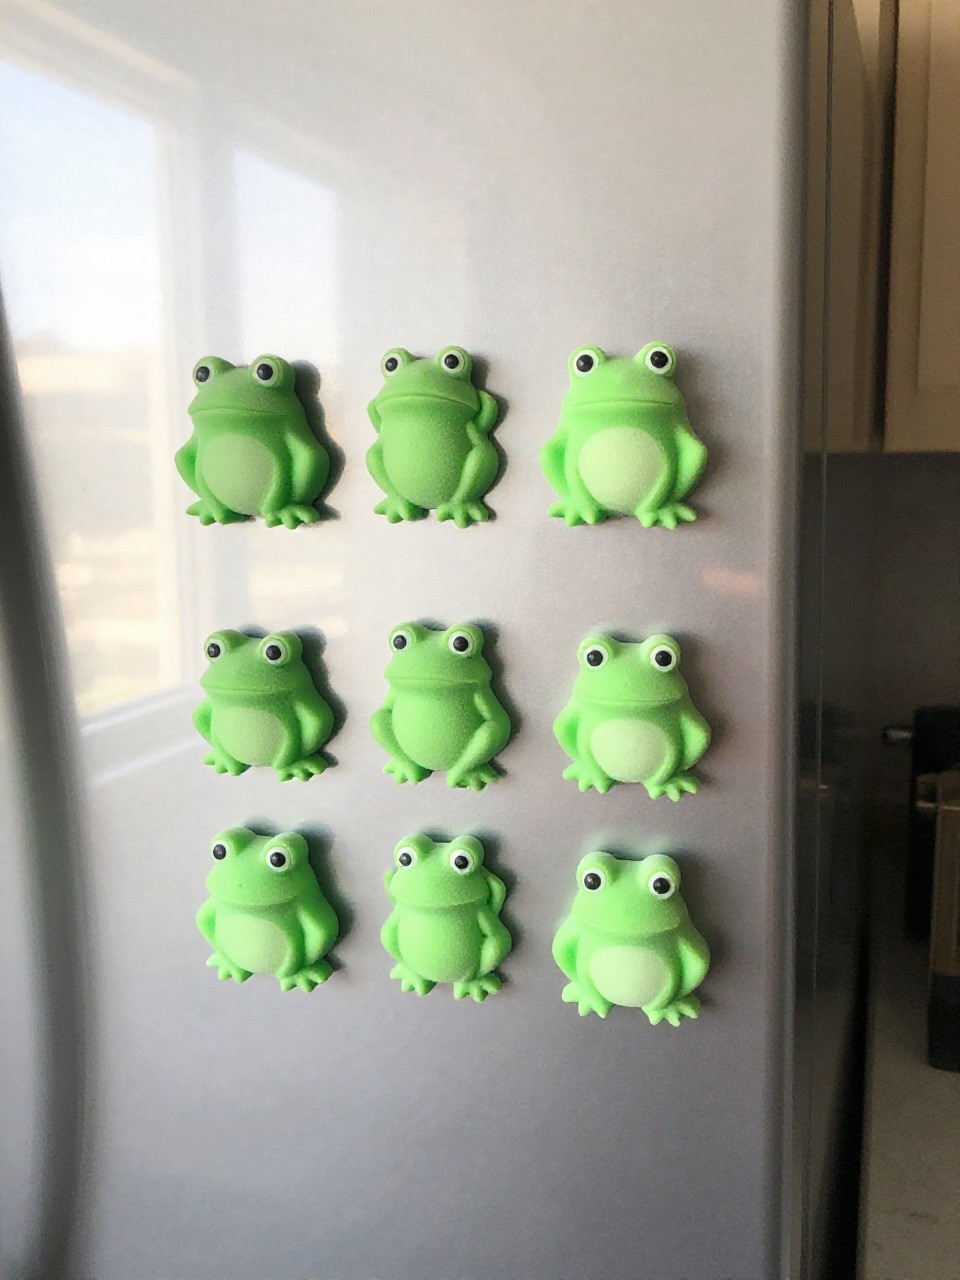
These chubby magnetic frogs “snap” onto a fridge or cookie sheet, making them fun to arrange in ponds or families. The simple shapes look clean and modern.
Materials Needed:
- Craft foam sheets (green, white, red)
- Self-adhesive magnets
- Scissors
- Black marker
How to make it:
- 1. Cut a large green oval body, two circle eyes, and four simple legs from foam.
- 2. Cut smaller white circles for eye whites and a red oval for the tongue.
- 3. Glue or stick pieces together; add pupils and a smile with marker.
- 4. Press magnets onto the back so the frog sticks to metal.
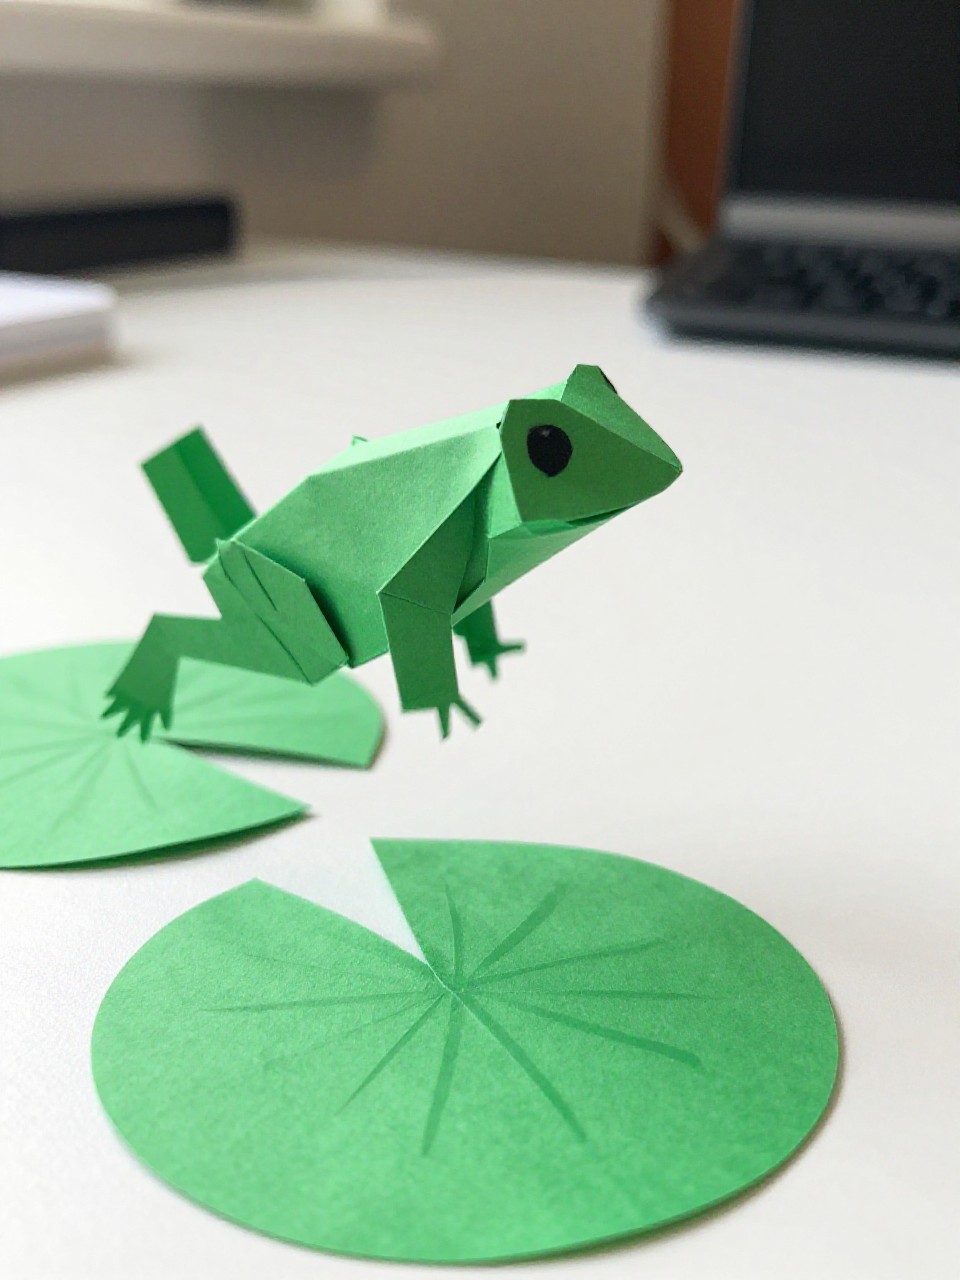
5. Paper Spiral “Jumping” Frog Mobile
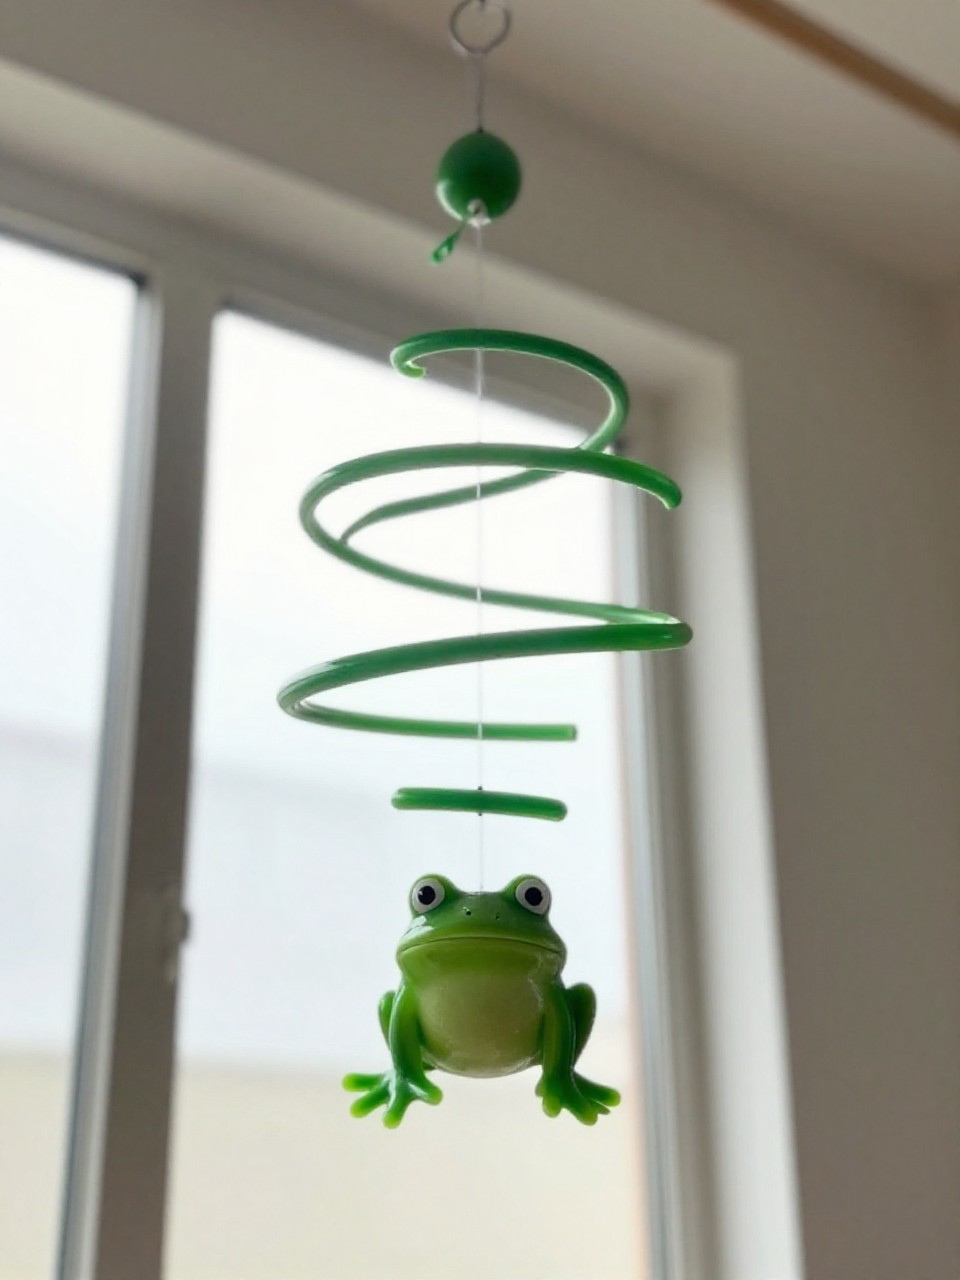
A spiral body makes this frog look like it’s mid-jump, bouncing gently in the air. It’s light, springy, and mesmerizing to watch.
Materials Needed:
- Green construction paper
- String
- Glue stick
- Googly eyes
How to make it:
- 1. Draw a big spiral on green paper and cut it out.
- 2. Cut a simple frog head and feet; glue googly eyes to the head.
- 3. Glue the head to the center of the spiral and feet near the outer end.
- 4. Tape a string to the top spiral point and hang.
6. Clothespin Catch-the-Fly Frog
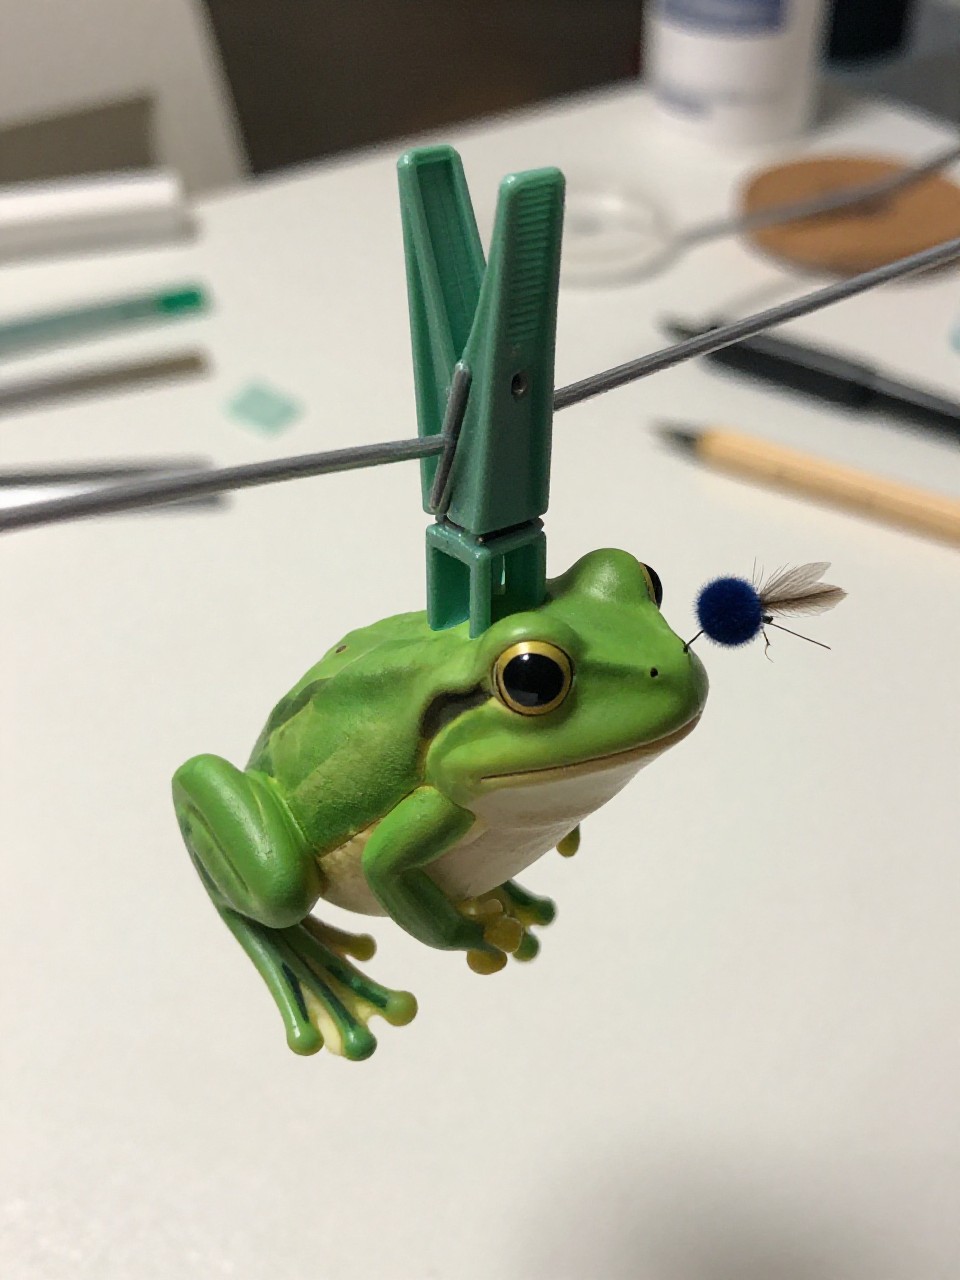
Squeeze the clothespin and the frog’s mouth snaps shut on a tiny “fly.” It looks clever but is super simple for preschoolers to assemble.
Materials Needed:
- Wooden clothespin
- Green felt or paper
- Tiny pom-pom and black marker
- Glue
How to make it:
- 1. Cut two frog head shapes and a long tongue from green felt or paper.
- 2. Glue one head to each side of the clothespin’s top jaw.
- 3. Glue the tongue to the lower jaw so it sticks out.
- 4. Draw fly eyes on a small pom-pom and glue it to the tongue tip.
7. Cupcake Liner Pop-Eyed Frogs

Turn plain cupcake liners into charming frogs with big pop-out eyes. The layered circles give them a 3D look that feels fancy.
Materials Needed:
- Green cupcake liners
- White paper
- Black marker
- Glue stick
How to make it:
- 1. Flatten a green liner for the body; fold another in half for the mouth line and glue on.
- 2. Cut two white circles for eyes and color black pupils.
- 3. Glue the eyes to the top of the body so they pop up slightly.
- 4. Add a red paper tongue curl if desired.
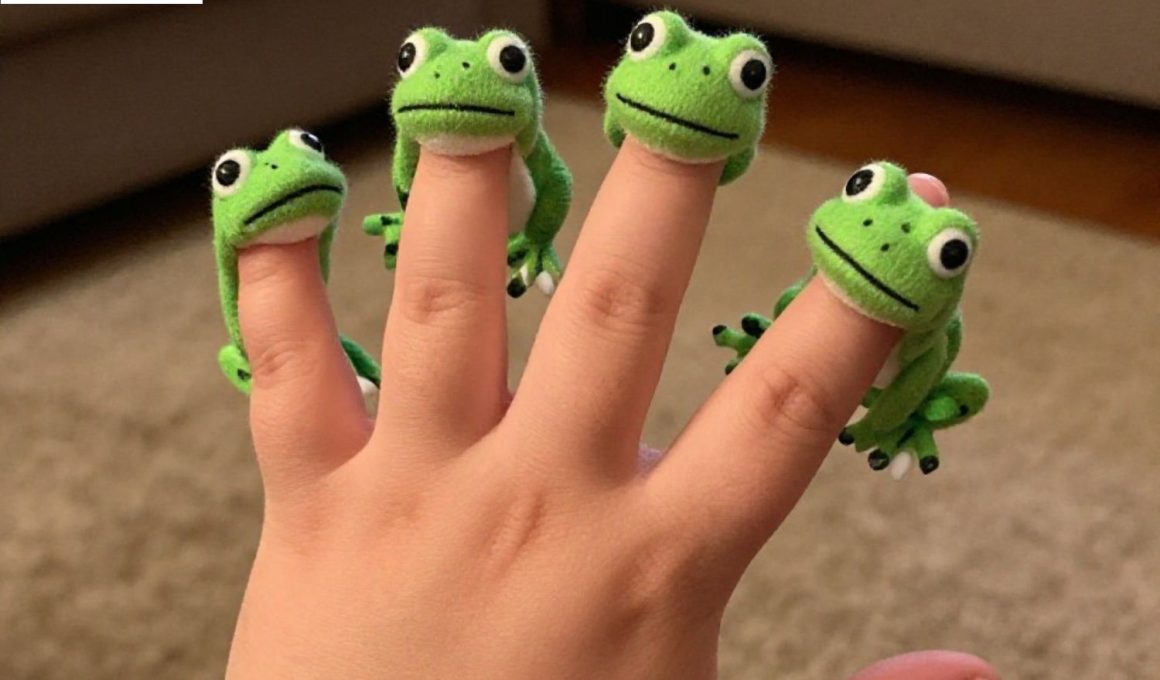
8. Sock Top Finger Puppet Frogs
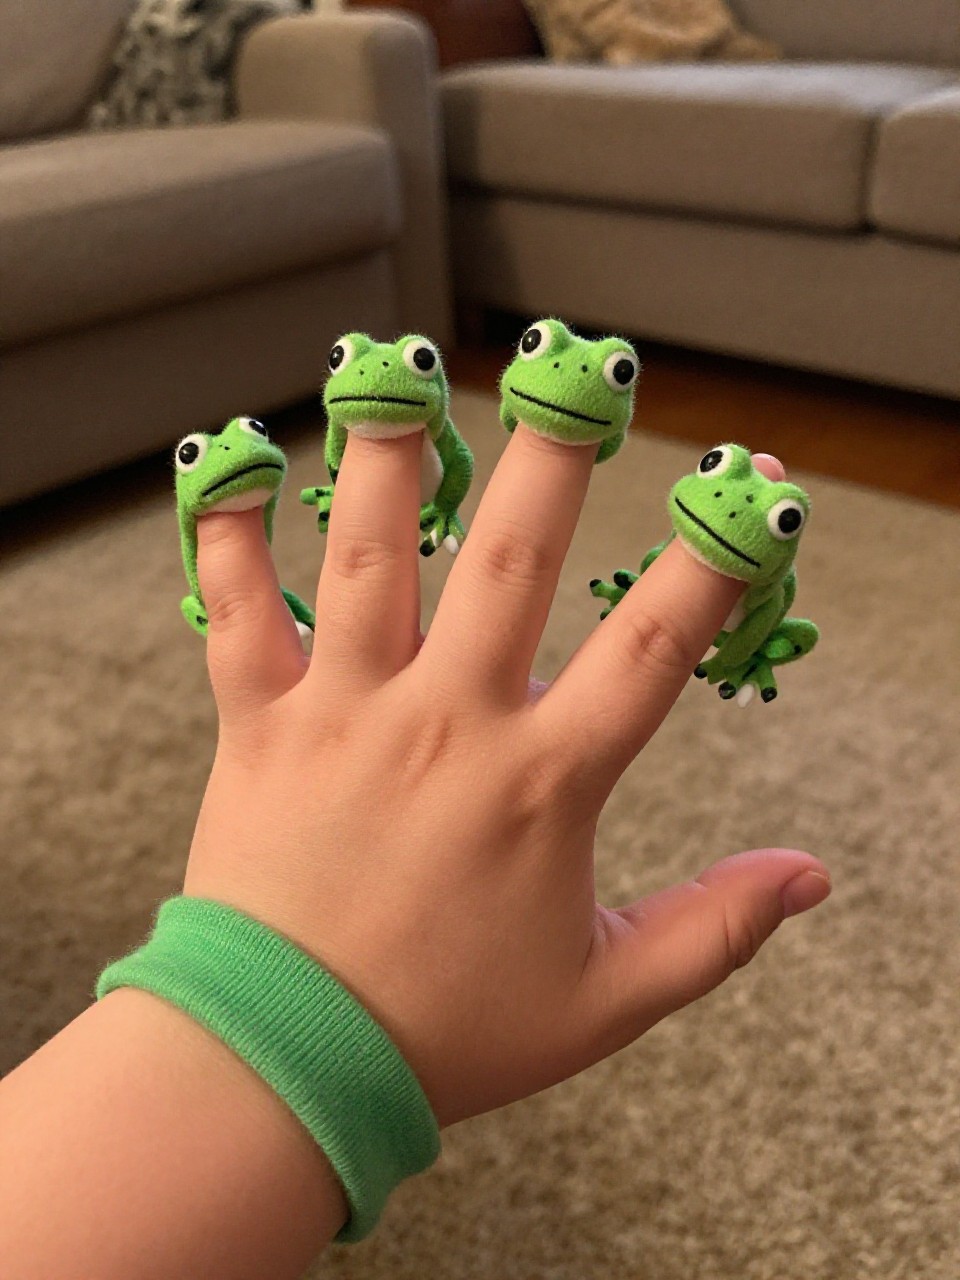
Use the cuff of an old sock to make snug finger puppets with goofy faces. They stretch to fit little fingers and make instant storytelling.
Materials Needed:
- Old green sock (or any color)
- Felt scraps (white, black, red)
- Fabric glue
How to make it:
- 1. Cut the sock cuff into 2–3 short tubes.
- 2. Cut felt circles for eyes and small black pupils; a red strip for a tongue.
- 3. Glue eyes on top front, pupils in place, and add the tongue under the “mouth” edge.
- 4. Let dry, then slide onto fingers for play.
9. Painted Rock Pond Frogs

Smooth rocks become dapper frogs with bright bellies and tiny spots. They’re chunky, tactile, and perfect for pretend pond play.
Materials Needed:
- Smooth rocks
- Acrylic paint (green, white, black)
- Small paintbrush
- Sealant (optional)
How to make it:
- 1. Paint rocks green; let dry.
- 2. Add a white oval belly and black spots or smiles.
- 3. Dot big white eyes with black pupils on the top curve.
- 4. Seal when dry if you want a shiny finish.
10. Paper Straw Frog Flute

Blow gently to hear a soft whistle while the frog smiles back. It looks like a tiny instrument and delights kids without being too loud.
Materials Needed:
- Paper straw
- Green paper
- Tape
- Stickers or marker
How to make it:
- 1. Cut a small rectangle of green paper and wrap it around one end of the straw; tape to secure as the “face.”
- 2. Cut two small paper eyes and tape them on top; draw a smile.
- 3. Snip a V-shaped notch at the opposite straw end to make the whistle.
- 4. Decorate with dots or hearts and test the gentle toot.
11. Paper Bag Frog Theater Buddy
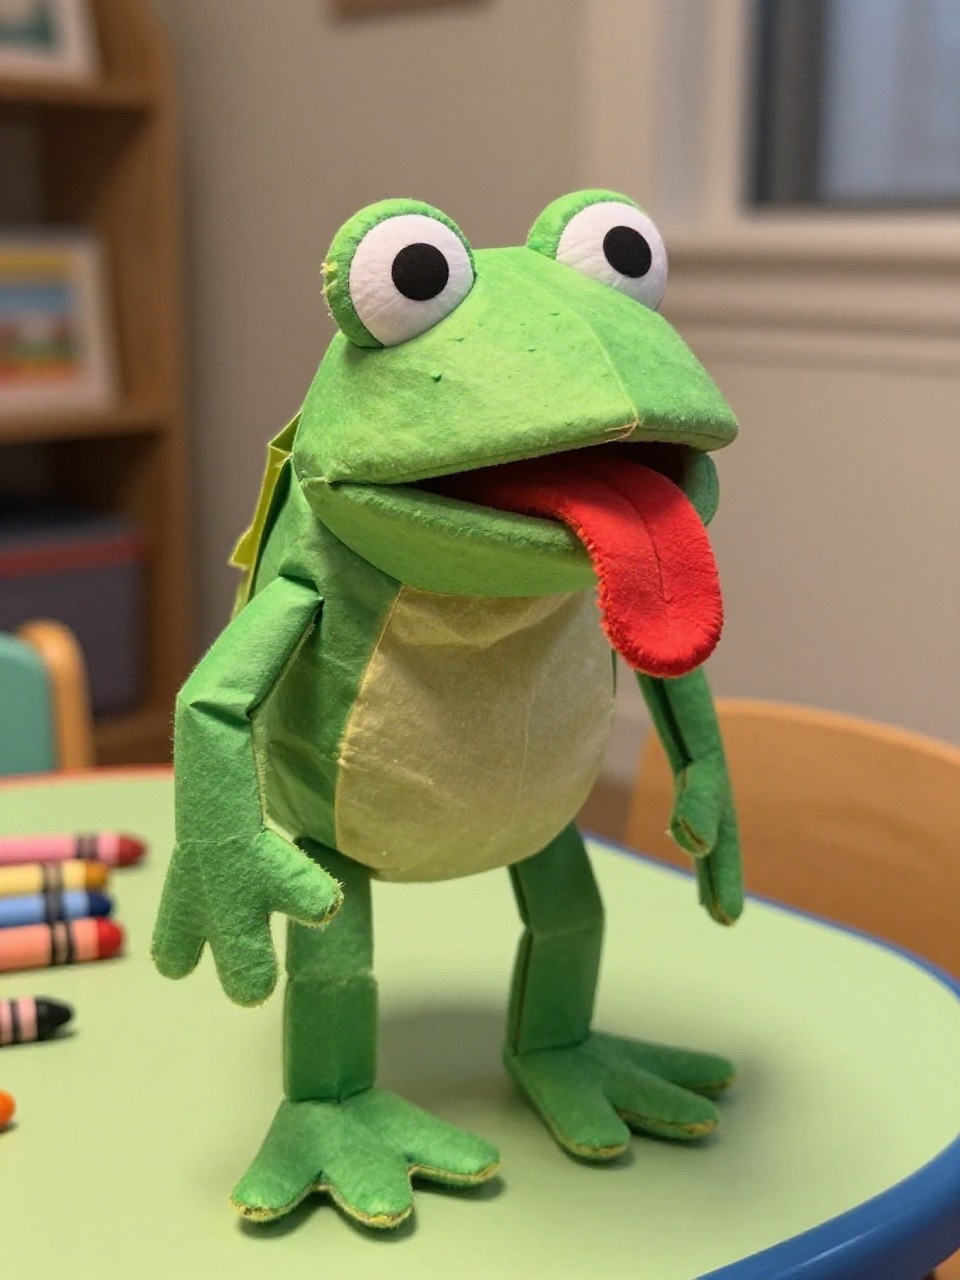
This classic puppet gets an upgrade with layered eyes and a curl-up tongue. It’s bold, expressive, and ready for a living room show.
Materials Needed:
- Small paper lunch bag
- Green paper
- Red paper
- Googly eyes
How to make it:
- 1. Cover the bag with green paper, leaving the flap free for the mouth.
- 2. Cut and glue a red tongue that curls out from under the flap.
- 3. Add big layered eyes and simple leg shapes to the sides.
- 4. Draw nostrils and spots.
12. Egg Carton Tadpole-to-Frog Set
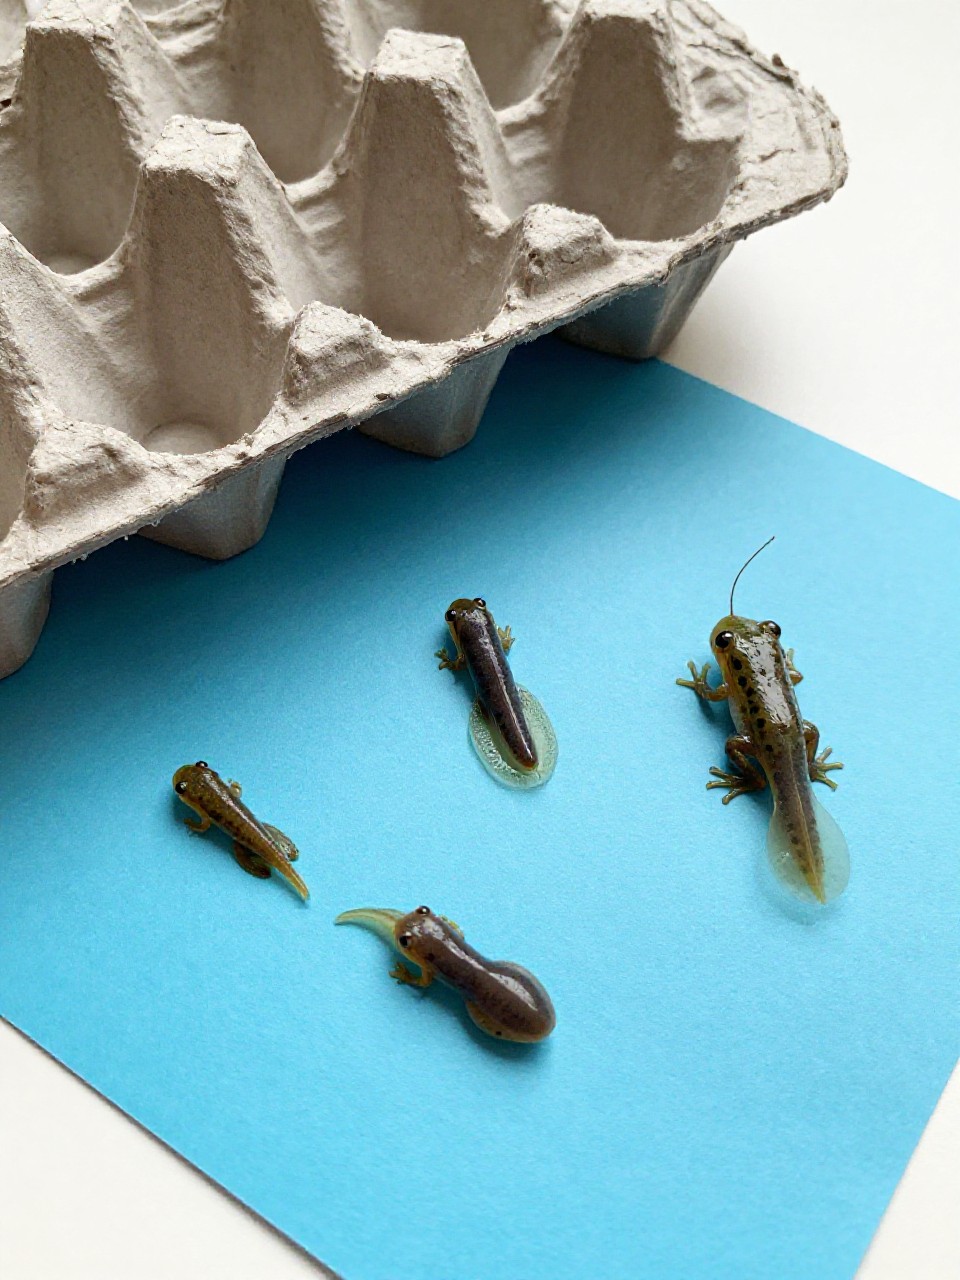
Make a tiny life-cycle set: tadpole, froglet, and frog, all from an egg carton. It’s educational and irresistibly cute.
Materials Needed:
- Cardboard egg carton
- Black and green paint
- Black pipe cleaner
- Glue
How to make it:
- 1. Cut three egg cups; paint one black (tadpole), one black with green spots (froglet), and one green (frog).
- 2. For the tadpole, poke in a pipe-cleaner tail.
- 3. For the froglet, add a shorter tail and two little paper legs.
- 4. For the frog, glue on four legs and dot on eyes.
13. Fold-and-Flick Jumping Frogs
These paper frogs actually jump when you press their backs. The neat folds create a springy surprise that kids want to try again and again.
Materials Needed:
- Green index card or cardstock
- Marker
- Stickers (optional)
How to make it:
- 1. Fold the card into a simple frog using a basic jumping frog pattern (head, body, springy back).
- 2. Draw eyes and a smile; add stickers if you like.
- 3. Press down the back firmly and release to make it hop.
- 4. Make a lily pad target and try to land the frog on it.
14. Foam Crown Prince Frog Ring
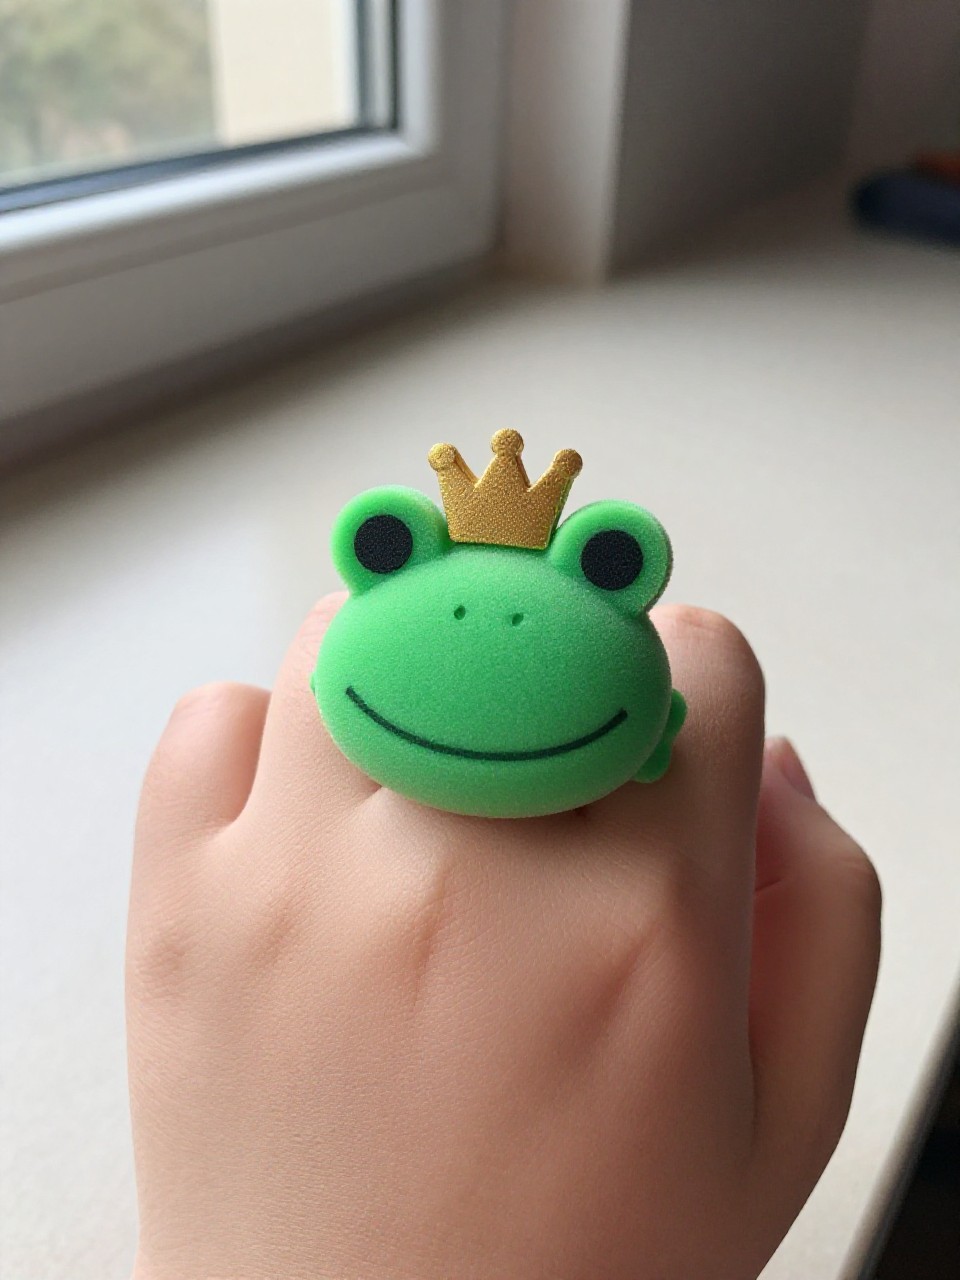
A tiny frog with a gold crown sits atop a simple ring band—instant dress-up fun. It looks like toy-store jewelry but takes minutes.
Materials Needed:
- Green craft foam
- Gold foam or glitter paper
- Glue
- Self-adhesive Velcro dot
How to make it:
- 1. Cut a strip of foam for the ring band; attach ends with a Velcro dot for adjustability.
- 2. Cut a small frog head with big cheeks and two eye bumps.
- 3. Cut a tiny gold crown and glue it on top.
- 4. Glue the frog head to the ring band’s top center.
15. Watercolor Resist Rainy Frog
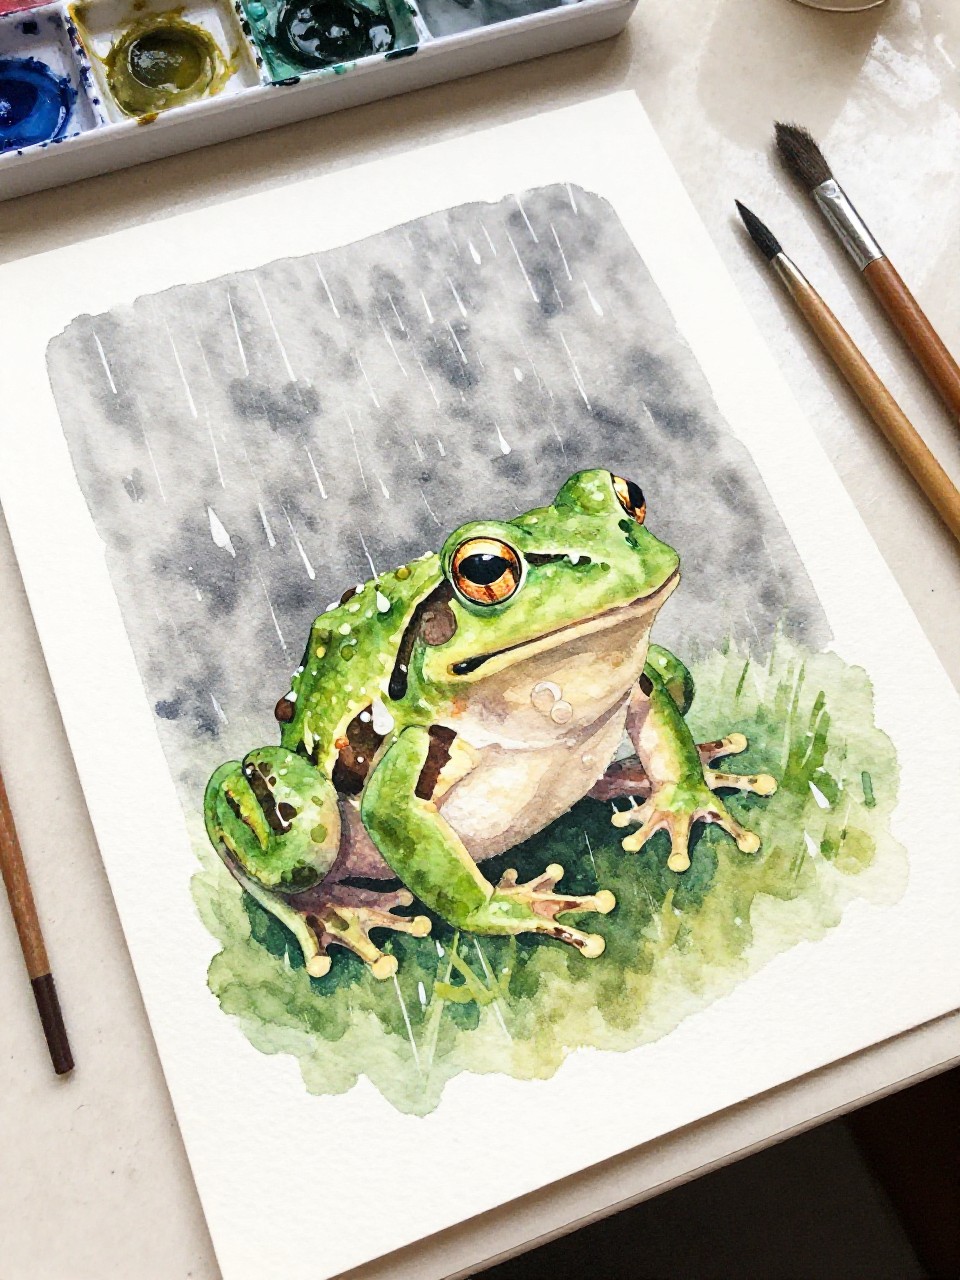
Crayons make magical raindrops that the watercolor can’t cover, revealing a smiling frog in the shower. The results look like real art.
Materials Needed:
- White watercolor paper
- White crayon
- Watercolor paints and brush
- Black marker
How to make it:
- 1. Draw a simple frog and lots of raindrops with a white crayon.
- 2. Brush blue and green watercolors over the page; watch the white raindrops appear.
- 3. Let dry, then outline the frog and add details with the black marker.
- 4. Mount on colored paper for a gallery finish.
16. Paper Chain Frog Family
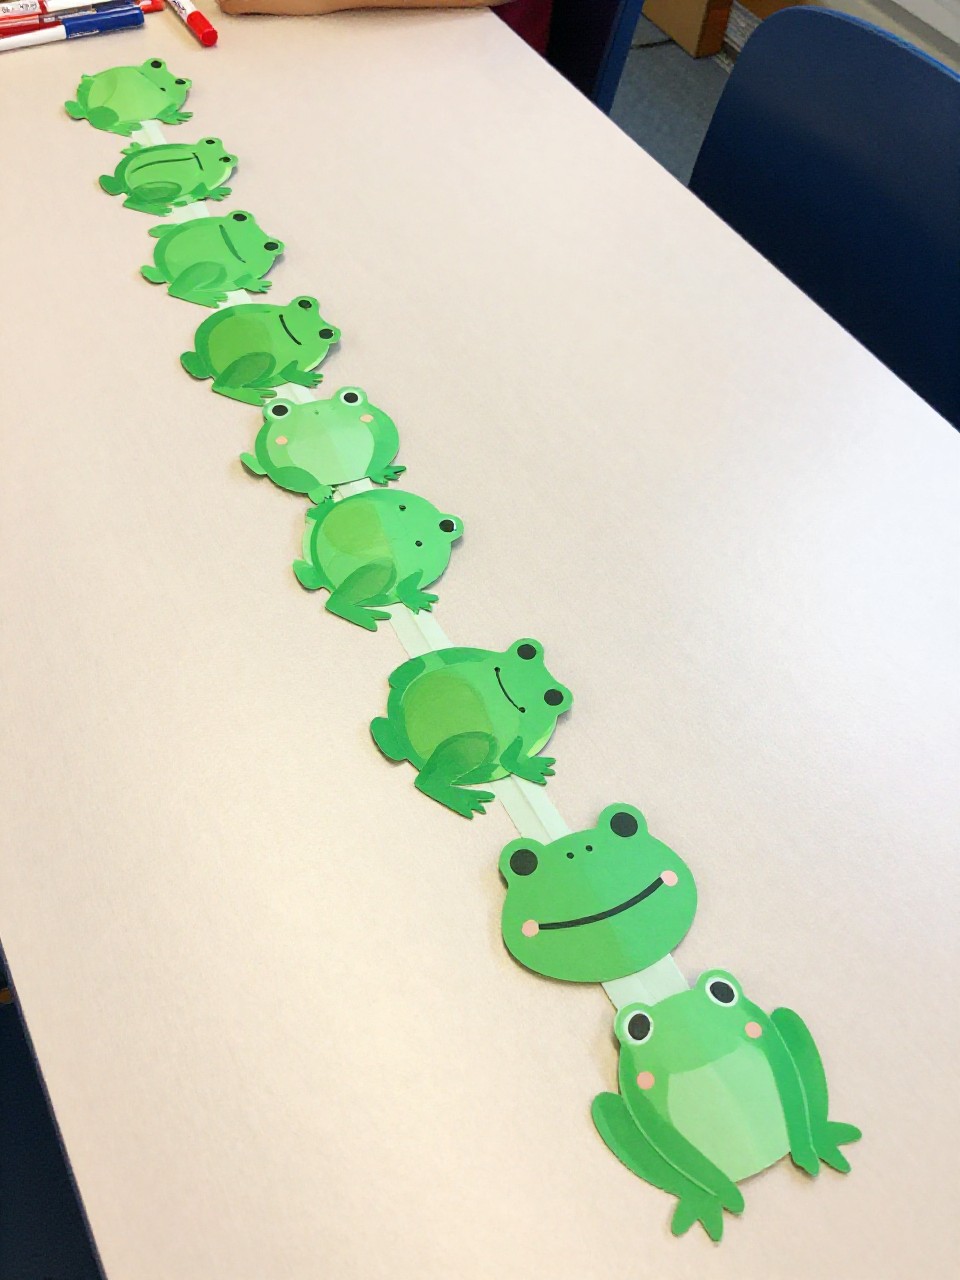
Build a cheerful chain of linked frogs holding hands. The repeating shapes feel satisfying and make great classroom décor.
Materials Needed:
- Green paper
- Pencil
- Scissors
- Stickers or markers
How to make it:
- 1. Fold a strip of green paper accordion-style.
- 2. Draw half a frog along the fold, with hands touching the paper edges.
- 3. Cut it out carefully; unfold to reveal a connected frog chain.
- 4. Decorate faces and add spots or hearts.
17. Recycled Bottle Cap Frog Pond Game
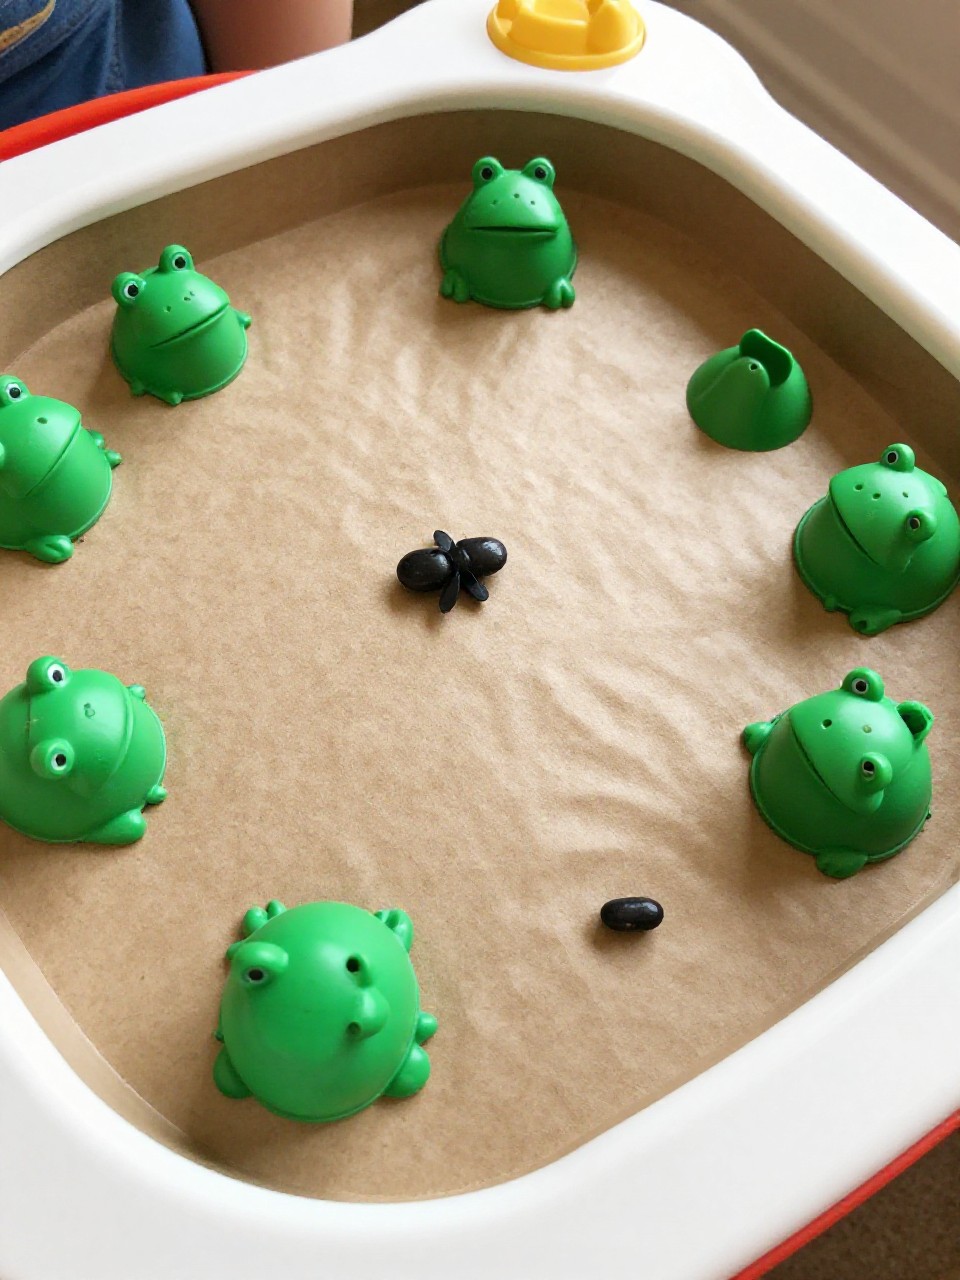
Toss tiny “flies” into open frog mouths made from bottle caps. It’s a mini ring-toss style game that’s easy to store and play.
Materials Needed:
- Large plastic bottle caps
- Green paint or markers
- Black beans (flies) or paper dots
- Cardboard base
How to make it:
- 1. Paint or color the caps green; draw open mouths and eyes on the rim or inside.
- 2. Glue the caps mouth-up onto a blue-painted cardboard “pond.”
- 3. Add numbers near each cap for points.
- 4. Toss beans or dots and try to land them in the frog mouths.