


Table of Contents Show
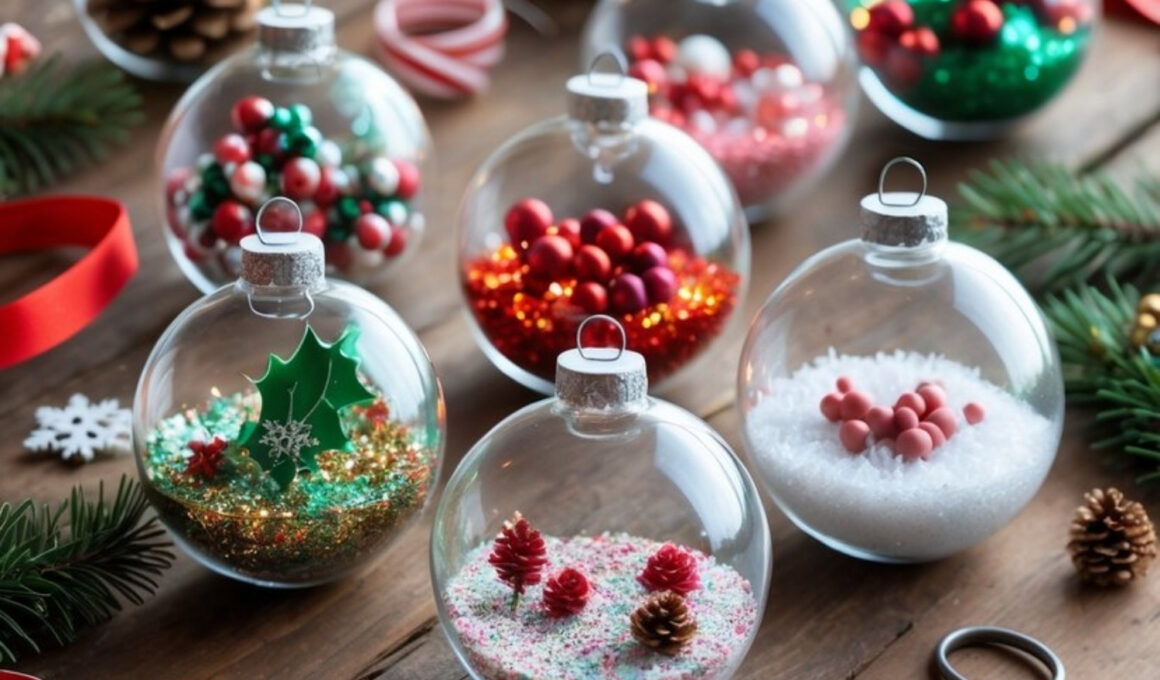
Fillable clear ball ornaments are one of the easiest and most satisfying Christmas crafts to make. They look elegant, store-bought, and customizable for any décor theme—yet take just minutes to put together.
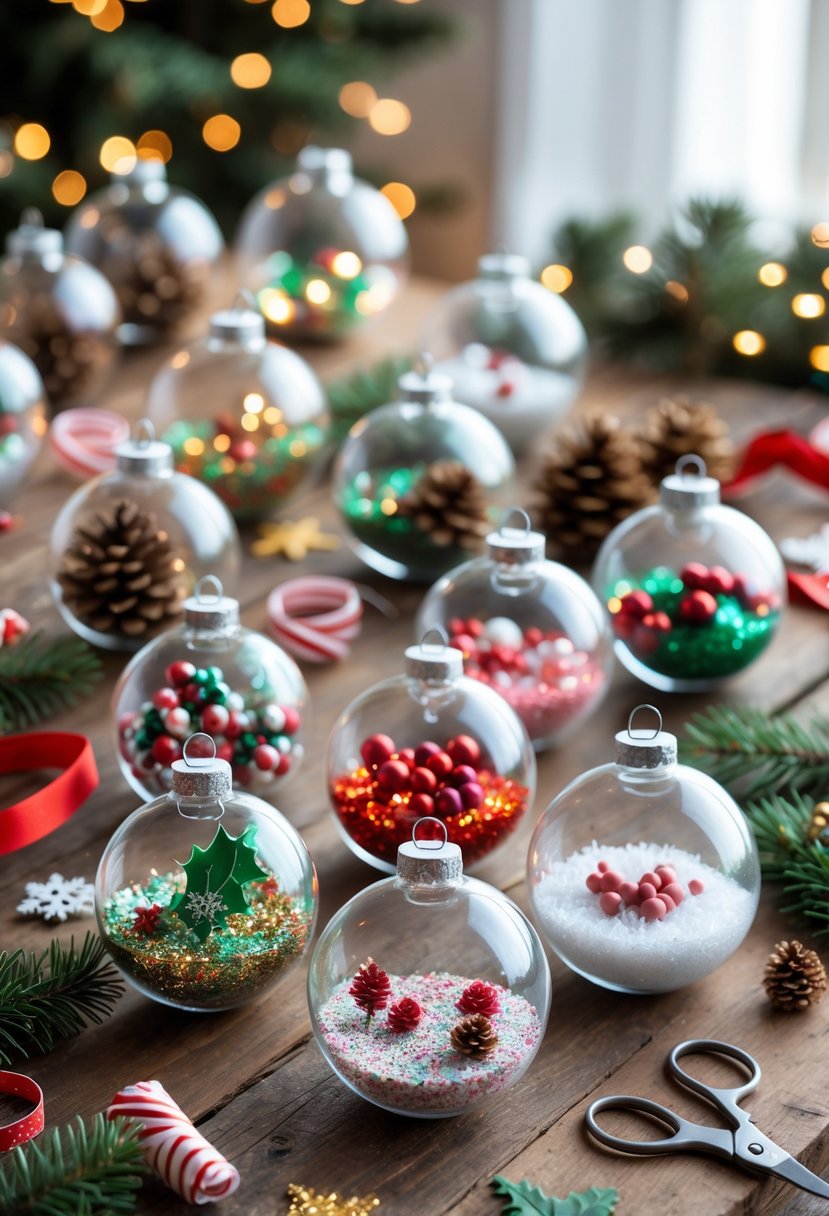
Each ornament becomes its own tiny world: sparkling glitter, mini pinecones, faux snow, or colorful beads. They catch light beautifully on the tree and can also be used as unique gifts, name tags, or table accents.
Whether you’re going for rustic woodland or glam metallic, these ornaments can match any Christmas style.
How to Make Fillable Clear Ball Ornaments
This craft is beginner-friendly, mess-free, and a great activity for family nights or group projects.
For People Who Love to Make Things ✂️
Materials
- Clear plastic or glass fillable ornaments (available at craft stores)
- Funnel or small spoon
- Fake snow, glitter, or confetti
- Mini pinecones, beads, jingle bells, or pom-poms
- Small artificial greenery or berries
- Ribbon or twine for hanging
- Hot glue gun or craft glue (optional for sealing tops)
- Optional extras: sequins, stickers, washi tape, or name tags
Shop the materials


The steps

Step 1: Choose Your Ornament Theme
Decide on the style you want before you start filling. Think of a few options like “snowy forest” (with fake snow and pinecones), “peppermint candy” (red and white beads), or “holiday sparkle” (metallic glitter and sequins).
This helps you gather matching materials and keeps the look cohesive across your tree.
Step 2: Prepare the Ornament Base
Carefully remove the metal cap from each clear ornament. If using glass, handle with care and work on a soft surface to avoid breakage. Make sure the inside is clean and free of dust or fingerprints, as this can dull the sparkle once filled.
Step 3: Fill with Your Chosen Materials
Use a funnel, spoon, or rolled paper cone to guide materials into the ornament opening. Add small amounts at a time so you have control over placement. For fake snow, a little goes a long way—too much will block the light.
If layering materials, start with heavier items like beads or glitter at the bottom and finish with lighter accents like mini pinecones or greenery.
Step 4: Add Decorative Details
For a more intricate look, tuck in small sprigs of faux pine, tiny ornaments, or curled ribbons inside. You can even add a drop or two of essential oil on a cotton ball for a lightly scented ornament.
If making a themed set, stick to a color palette (like gold and green or red and silver) for a polished finish.
Step 5: Secure the Top Properly
Once filled, gently replace the metal cap. If the ornament will be handled often or given as a gift, add a dab of hot glue to the rim before pressing the cap back on to keep it secure.
Step 6: Attach the Hanging Ribbon
Cut a piece of ribbon or twine, thread it through the loop, and tie a knot or bow. Use thin satin ribbon for an elegant look or natural jute for rustic charm. This is also the time to add small name tags if using them as place settings or gift toppers.
Step 7: Display and Enjoy
Hang your finished ornaments on the tree where they can catch the light, group them in a glass bowl as a centerpiece, or line them along a garland. Each one will shimmer differently depending on what’s inside, making your holiday décor feel warm, personal, and full of sparkle.


Although these ornaments at look beautiful, I’m skeptical on how they stay together? Won’t the items inside the globe shift when transported or god forbid it dropped? Is there a way you’re securing everything inside?
Great question! The items inside the clear ornaments do shift a little if you move them around, but that’s totally normal and part of the charm.
For anything lightweight like fake snow, glitter, or beads, they settle back into place on their own. If you want certain pieces to stay put – like mini pinecones, tiny trees, or holly cutouts – you can secure them with a tiny dab of hot glue before filling the ornament.
That keeps the main pieces in place even if the ornament gets bumped or dropped. The rest of the filler can stay loose for that pretty layered look.
Jasmine xx.