


Table of Contents Show
Fall’s here, and honestly, it’s the best excuse to add a little warmth and seasonal charm to your space. A handmade wreath? It’s surprisingly easy and way more personal than anything you’ll buy at the store.
I’ll show you how to make a DIY fall wreath that looks amazing, lasts through the season, and doesn’t break the bank. You don’t need to be a crafting expert—just gather a few supplies, set aside some time, and have a rough plan in mind.
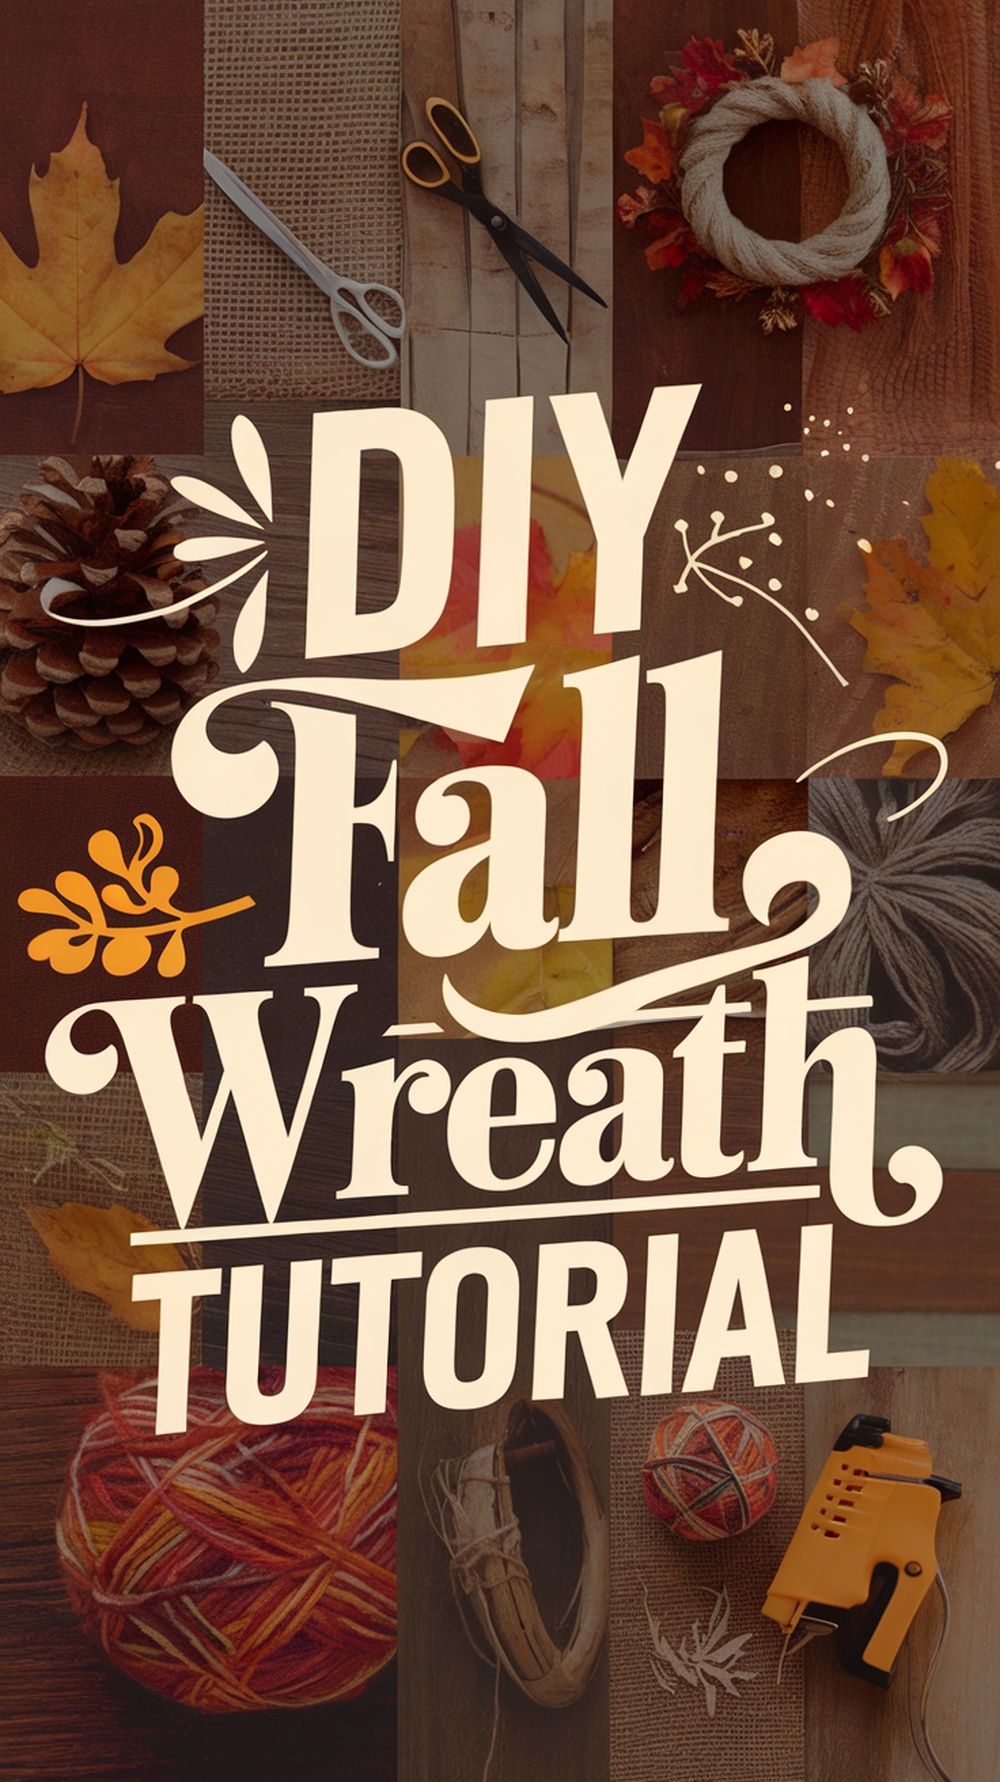
I’ll list out the tools and supplies you’ll actually need, so you can get everything in one go. The step-by-step instructions are straightforward—nothing fancy or confusing. By the time you’re done, you’ll have a wreath that fits your vibe, whether you’re into rustic, modern, or something classic.
As we go, I’ll throw in some design ideas you can tweak for any spot—front doors, mantels, wherever. You can mix in natural stuff like pinecones and leaves, or stick with fabric, ribbon, and faux accents if you want it to last. It’s a quick project, honestly, and pretty satisfying to finish.
Essential Materials and Tools
I’ve found that starting with a sturdy base, picking quality decorations, and having the right tools makes a huge difference. Every choice matters—how it holds up outside, how easy it is to put together, and how it ends up looking.

Choosing the Right Wreath Base
I usually grab a grapevine wreath. It’s sturdy, looks natural, and honestly, it just makes things easier. The twisted vines hold stems in place, so you don’t end up using a ton of glue.
If I’m after something lighter, I’ll go for a wire frame and wrap it with deco mesh or ribbon. That’s perfect for bold, colorful looks. Foam wreaths are solid too, especially if I want to pin in delicate stuff.
I always measure my door or wall first. Most front doors look best with a 14 to 18-inch base. Go bigger if you want more drama, but just know you’ll need more materials.
For outdoor wreaths, I make sure the base can handle a little rain and wind without falling apart.
Selecting Faux and Natural Elements
I like to mix faux flowers and natural accents for more texture. Faux sunflowers, maple leaves, and berries hold their color, and I pick silk or good plastic so they don’t look fake or fade right away.
Pinecones, dried wheat, and gourds add a cozy, earthy touch. I always double-check they’re dry and clean—no one wants moldy decorations.
Sticking to 3–4 main colors keeps things looking put-together. For fall, I lean into burnt orange, deep red, gold, and brown. If I’m feeling extra, I’ll throw in some ribbon bows or little ornaments, but I keep heavier stuff close to the base so it doesn’t droop.

Recommended Tools for Assembly
A hot glue gun is a must for me. It’s quick, it sticks, and it works on pretty much everything—grapevine, foam, fabric. I use glue sticks that say they’re good for indoor and outdoor stuff.
Wire cutters are non-negotiable for trimming stems. Floral wire helps hold the heavier bits without a glue mess.
Sharp scissors for ribbons, and sometimes pliers if I need to twist or flatten wire ends. Oh, and I always put my glue gun on a heat-safe mat—burn marks are not a good look. I keep extra glue sticks nearby so I don’t have to stop mid-project.
Step-By-Step DIY Fall Wreath Tutorial
I focus on a sturdy base, a balanced layout, and making sure everything is attached securely. I pick materials that can handle the outdoors, but I try to keep the design simple and not too fussy.

Preparing Your Wreath Base
I start by picking my base. Grapevine wreaths are usually my first choice—strong and easy to work with. If I want something softer, I might use a wire frame and floral mesh.
I give the base a quick clean, get rid of any old glue or stems if I’m reusing one, and add a loop of floral wire or ribbon to the back so it’s easy to hang later.
Here’s a quick cheat sheet on bases:
| Base Type | Look & Feel | Best For |
|---|---|---|
| Grapevine | Rustic, natural | Traditional fall wreaths |
| Wire Frame | Structured, neat | Mesh or ribbon designs |
| Foam Ring | Smooth, uniform | Felt or fabric wreaths |
Arranging Fall Foliage and Flowers
I lay everything out before I glue anything down. That way, I can see how the colors and textures play together.
For a classic look, I use artificial maple leaves, eucalyptus, and sunflowers. Big flowers go on first, spaced out around the base.
I tuck smaller leaves and berries in the gaps. I try not to make it perfectly even—nature’s not perfect, and the wreath looks better that way.
With real dried stems, I’m extra careful—they snap easily. I also try not to put fragile pieces where they’ll get knocked around by the door.
Attaching Decorative Accents
Once the greenery’s set, I add accents like pinecones, mini pumpkins, or ribbon bows. I usually pick just a couple types so it doesn’t get cluttered.
I use floral wire to lock down heavier stuff, wrapping it snug around the base. Lighter accents? Hot glue does the trick.
I like to cluster accents instead of spacing them out evenly. It draws the eye and gives the wreath more personality. If I’m adding a bow, I usually stick it at the bottom or a little off to the side—keeps things fresh.
Securing and Finishing Touches
I double-check that everything’s stuck on tight. I give the stems and accents a little tug—if anything wobbles, I add more wire or glue.
Any stray wire ends or glue strings get snipped. Clean edges always make the wreath look more polished.
Last thing, I step back and look at the whole wreath. If something looks off, I move a leaf or flower until it feels right. Then it’s ready to hang.

Creative Fall Wreath Design Ideas
I try to pick materials that really show off the season’s colors and textures. Pumpkins, berries, leaves, flowers—they all bring warmth. Sometimes I even mess around with things like coffee filters for a totally different texture.
Pumpkin and Gourd Embellishments
Small faux pumpkins and gourds are my go-to—they keep their shape and color year after year. Mini ones fit nicely on grapevine or wire bases without making the whole thing too heavy.
I attach them with floral wire or glue, either spaced out or bunched up for a fuller vibe. If I’m in the mood for something subtle, I’ll go with neutral pumpkins, but the classic orange and green are always fun.
Mixing in greenery or dried wheat softens the look and helps the pumpkins blend in instead of sticking out awkwardly.
Tip: Lightweight foam pumpkins are perfect if your door gets a lot of use.
Berry and Leaf Accents
I like layering artificial berries with preserved or faux leaves for extra texture. Reds, oranges, and deep purples really pop against gold or brown leaves.
I put the leaves down first so they overlap a bit, then tuck in berry stems, mostly pointing the same direction so it looks natural.
If I want a rustic feel, I’ll go with dusty, muted berries and toss in some twigs or pinecones. That way the wreath still looks good even as the season changes.
Material options:
- Faux berry stems (cranberry, holly, or bittersweet)
- Silk maple or oak leaves
- Preserved eucalyptus for a little extra texture.
Sunflower and Seasonal Flower Arrangements
Sunflowers are such a cheerful focal point for fall wreaths. I’ll usually put one or two big ones off-center to keep things interesting, then fill in with smaller flowers—think mums or marigolds.
I stick with silk flowers most of the time since they last, but dried flowers are lovely if you’re gentle. I weave stems into the base and use a little glue if things need extra hold.
To keep the look balanced, I try to echo flower colors with nearby accents—yellow berries, tan wheat, that sort of thing. It ties everything together without making the wreath look chaotic.