


Table of Contents Show
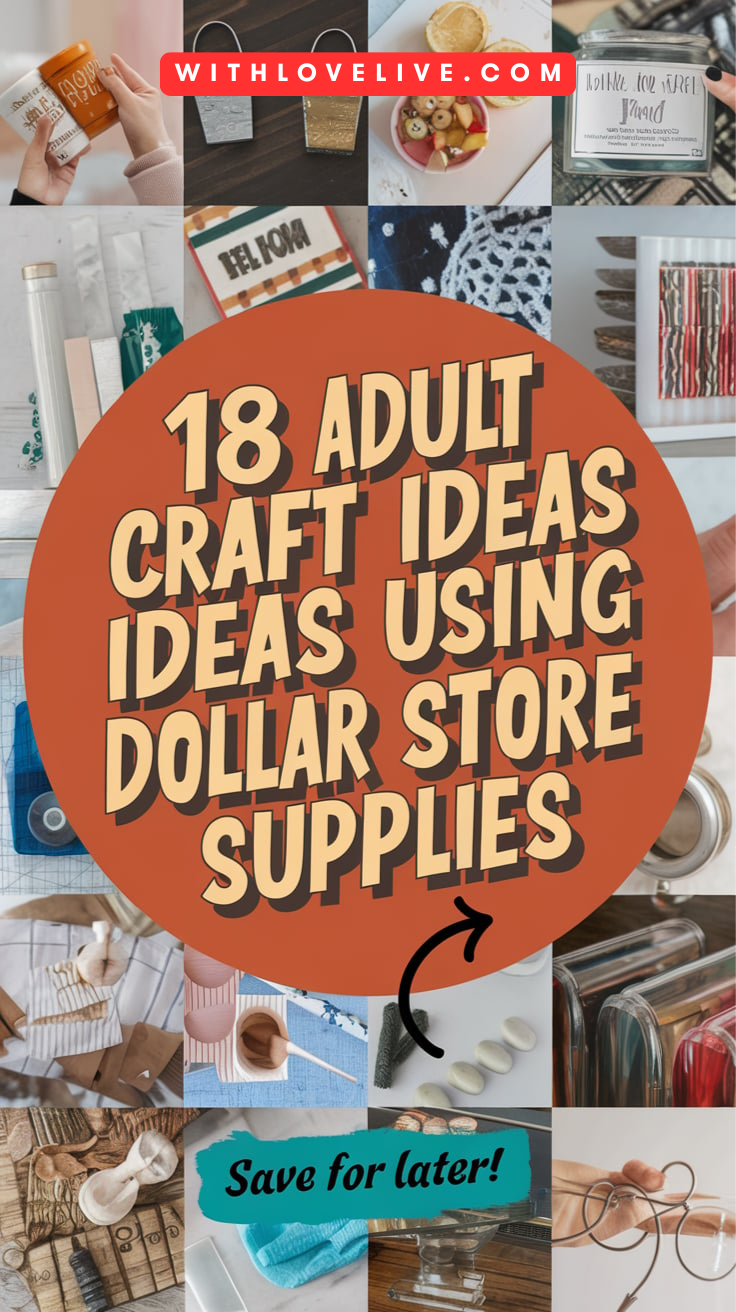
Creating beautiful crafts doesn’t have to drain your bank account. Dollar stores are basically a goldmine for supplies that you can turn into stunning home decor, useful organizers, and thoughtful gifts—all with a bit of imagination and elbow grease.
Honestly, dollar store crafting lets you experiment without feeling guilty about the cost, which is great for anyone who likes to dabble or try new things on a whim.
From garden-inspired projects using mason jars and terra cotta pots to decorative pieces like wind chimes and wall hangings, these ideas prove you don’t need a big budget for big style.
Whether you’re into simple painted containers or want to get your hands messy with macrame and string art, there’s something here for just about every mood or skill level.
1. DIY Mason Jar Herb Garden

Shop This Idea
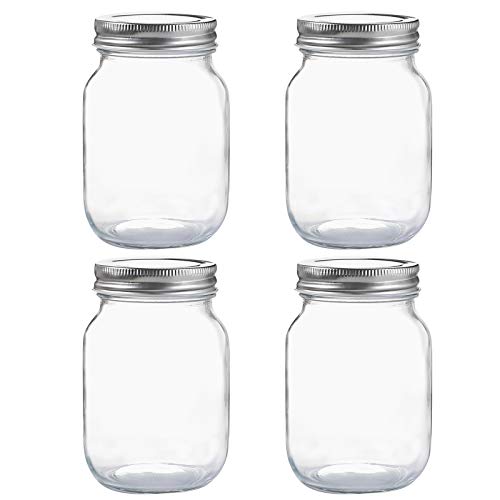
![SEWANTA Wide Mouth Mason Jars 32 oz [4 Pack] With](https://m.media-amazon.com/images/I/4107pM2hYKL._SL500_.jpg)


I’ve made a bunch of herb gardens using mason jars from Dollar Tree. They’re only a buck each and, honestly, they work surprisingly well for growing herbs indoors.
I toss about two inches of small rocks in the bottom for drainage—roots hate being soggy, right?
Then I add potting soil and tuck in herbs like basil, parsley, or thyme. The jars fit perfectly on my windowsill where they soak up the sun.
2. Dollar Store Photo Frame Gallery Wall

Shop This Idea


Gallery walls with dollar store frames? Totally my jam. They’re cheap, and you can mix and match sizes for a colorful display that actually shows off your personal style.
I measure the wall to find the center and hang my first frame right there as a starting point.
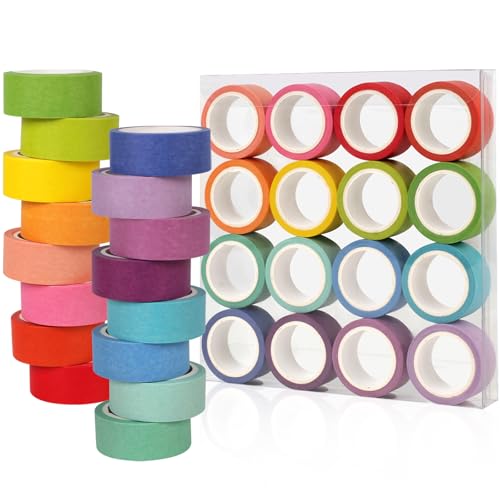
Then I’ll paint, add washi tape, or stick on random embellishments—buttons, glitter, whatever’s around. That’s what makes it yours.
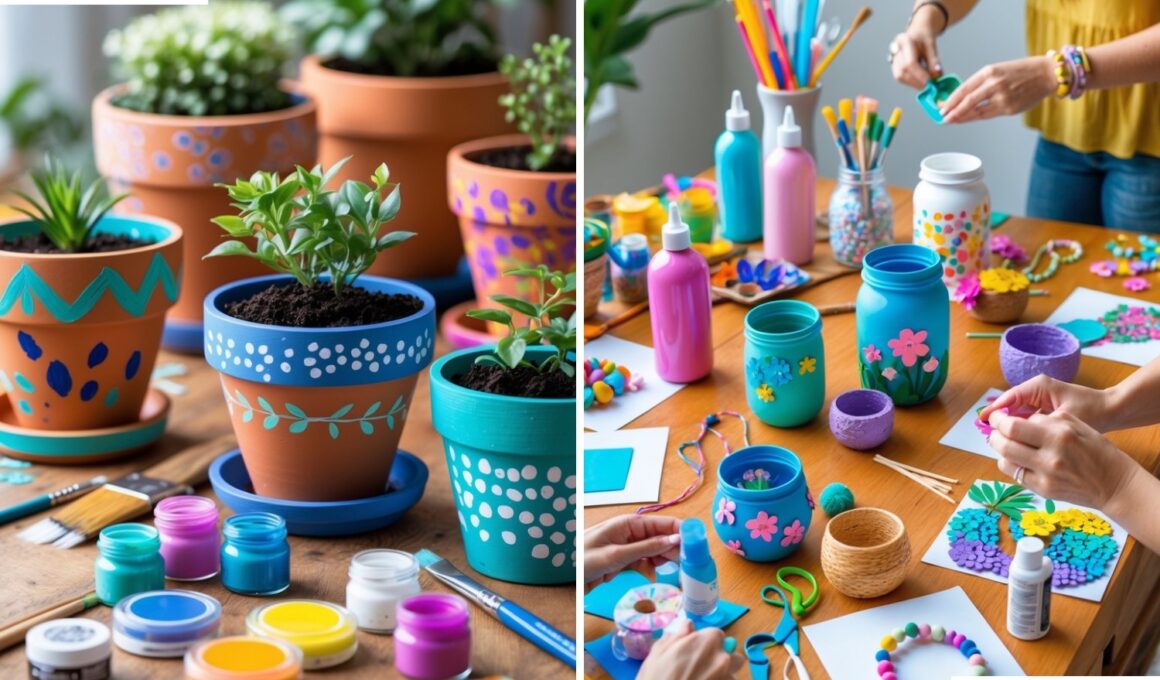
3. Painted Terra Cotta Pot Planters

Shop This Idea


Painted terra cotta planters are one of my favorite quick crafts. Dollar stores usually have the plain pots for about a dollar.
I wash the pot first (because, dust), then let it dry before painting.
Acrylic paint works best for me. I stick to easy patterns like stripes or polka dots—no pressure to be fancy.
4. Decorative Rope Wrapped Vases

Shop This Idea


These rope-wrapped vases look way pricier than they are. I grab glass vases at Dollar Tree and some natural rope from the craft section—maybe $2 total? Not bad.
I put hot glue on the bottom of the vase, then start wrapping the rope tightly, gluing as I go. I try to keep the rope snug so you can’t see the glass peeking through.
5. Beaded Wind Chimes

Shop This Idea


Beaded wind chimes made from dollar store finds are so fun and the sound is actually kind of soothing. Plus, they add a little sparkle to any outdoor space.
I grab glass beads, clear stretch cord, and cotton balls—all under five bucks, easy.
I string the beads onto different lengths of cord and tie each strand to a sturdy stick or a little basket from the dollar store.
6. Fabric Scrap Wreath

Shop This Idea


Fabric scrap wreaths are a go-to when I want to use up leftover bits. You really only need a wire wreath form from the dollar store and whatever fabric scraps you have lying around.
I cut the fabric into strips—about an inch wide, maybe seven inches long. Then I tie them onto the wire frame with simple knots, packing them in until the whole thing is covered with colorful fabric.
7. Chalkboard Mason Jar Organizer

Shop This Idea

These mason jar organizers are lifesavers for my craft supplies. Plus, they look cute on my desk.
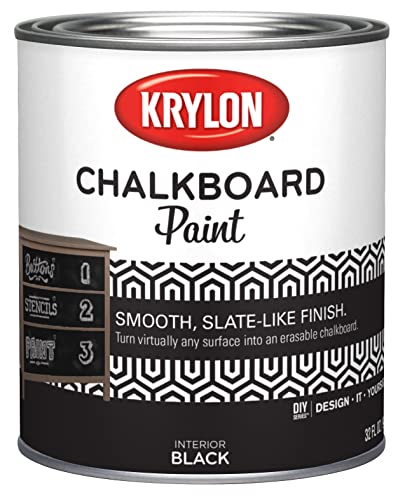
I pick up mason jars from the dollar store and paint the lids with chalkboard paint. After the paint dries, I label each lid with chalk.
I toss in buttons, beads, or any small items I need to corral. Takes maybe half an hour and costs less than five bucks.
8. Floral Foam Succulent Arrangement

Shop This Idea


Succulent arrangements are a favorite, especially with Dollar Tree’s floral foam. It keeps everything where I want it.
I stick the foam block inside a cute container, then poke in artificial succulents, spacing them out as I go.
To finish, I scatter moss on top to hide the foam. The result actually looks pretty real—and it’s just a few bucks.
9. Upcycled Tin Can Lanterns

Shop This Idea


Upcycled tin can lanterns are surprisingly charming. I clean out empty cans, peel off the labels, and freeze them full of water overnight (so they don’t dent).
I use a hammer and nail to punch holes in whatever pattern I’m feeling. After the ice melts, sometimes I’ll paint the can, sometimes not. Then I drop in a battery tea light for a cozy glow.
10. Personalized Wooden Coasters

Shop This Idea


Custom coasters are a fun little project, and they’re great as gifts. I grab wooden coasters from the dollar store, then use scrapbook paper, photos, or even decorative napkins.
I cut my chosen material to fit, glue it down, and press it firmly. For a bit of protection, I stick clear shelf liner on top. Done!
11. Scented Candle Jars

Shop This Idea
Making custom scented candles is way cheaper than buying them. I pick up plain candles and glass jars at the dollar store, plus some wicks from the craft section.
I melt the candles in a pan of water, pour the wax into my jars, and stick in the new wicks. That’s pretty much it.
12. Macrame Wall Hanging

Shop This Idea


Macrame wall hangings look impressive, but really don’t cost much. I grab a small wooden frame and some macrame cord at the dollar store, then tie a bunch of simple knots to make a pattern. Honestly, it comes together in under an hour.
13. DIY String Art

Shop This Idea


String art is one of those crafts that looks harder than it is. All you need is string, some small nails, and wood—yep, all from the dollar store.
I hammer nails into the wood in whatever pattern I want, then wind colored string around the nails until the design pops.
14. Glitter Ombre Mason Jars

Shop This Idea

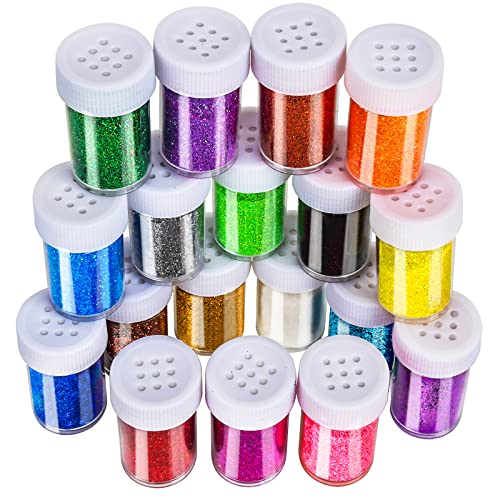
These sparkly jars are such a fun, cheap upgrade. I brush Elmer’s glue onto the top of the jar, then tilt the jar and sprinkle glitter so it fades down toward the middle. The ombre effect is kind of addicting to make, honestly.
15. Bottle Cap Magnets

Shop This Idea
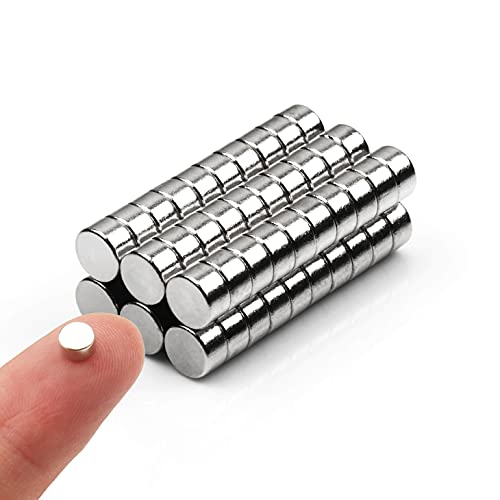

Bottle cap magnets are such a fun way to turn trash into something quirky for the fridge. I just grabbed some bottle caps, tiny magnets, and a jar of Mod Podge from the dollar store—super easy.
First, I usually wash the bottle caps because, well, who wants sticky soda on their fridge? Then I glue a small round magnet to the back of each one. After that, I just let them dry for a while before popping them into the fridge. Simple, right?
16. Hand-Painted Canvas Tote Bags

Shop This Idea


Hand-painted tote bags are honestly one of my favorite cheap crafts. They’re so easy to make your own, and the supplies barely cost anything at the dollar store.
You just need a plain canvas tote, some acrylic paints, and maybe a couple of cheap brushes. That’s it. I usually give the bag a quick wipe-down before painting, just to be safe. Then I paint whatever design I’m feeling that day—sometimes it’s flowers, sometimes it’s just random shapes. Once the paint dries, it’s good to go. Not bad for a few bucks.
17. Vintage Style Hanging Signs

Shop This Idea


Making vintage signs out of dollar store foam board is honestly kind of addicting. The supplies are cheap, but the finished signs look way fancier than you’d expect.
I start with a foam board and sand the edges a little to rough them up—nothing too precise. Then I paint the board, usually in brown or cream, and wait for it to dry. For the lettering, I use stencils or vinyl letters (dollar store again), and stick to simple words like “Welcome” or “Home Sweet Home.”
Once the paint’s dry, I go back in with some sandpaper to distress the edges so it looks a bit more old-school. I drill tiny holes at the top, thread some rope or twine through, and it’s ready to hang. Not too shabby for a budget craft, right?
18. DIY Bath Bombs
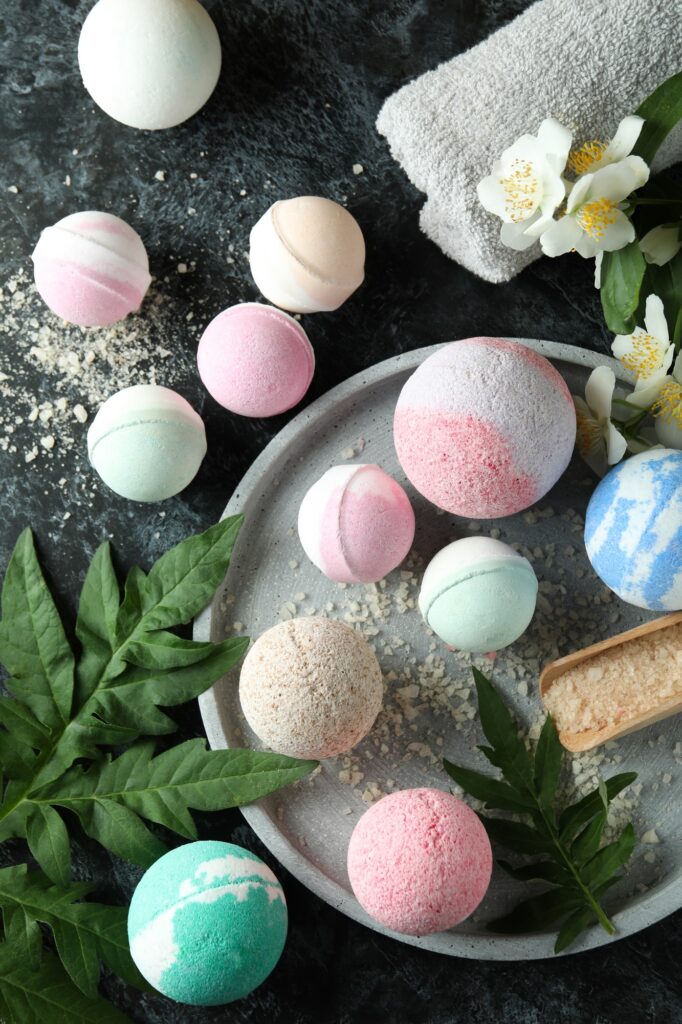
Shop This Idea


I love making bath bombs at home with dollar store supplies. They’re way cheaper than the ones at the store.
I grab some baking soda, citric acid, and cornstarch, toss them in a bowl, and mix it all up. A few drops of essential oils and a little food coloring go in next—sometimes I get a bit carried away with the colors, honestly.
After that, I press the mixture into molds and leave them out to dry overnight. By the next day, I’ll have a batch of bath bombs ready to drop in the tub.


The title said dollar store crafts. Yet everything on here was linked to AMAZON!