

Table of Contents Show
Keeping toddlers busy over Labor Day weekend is much easier when the activities are simple, colorful, and quick to finish. These crafts use large shapes, washable supplies, and easy movements such as stamping, sticking, and painting.
They also introduce little ones to community helpers, work vehicles, and patriotic colors.
Adults should prepare any cut pieces and stay close during every activity.
1. Sponge-Painted Construction Hard Hat
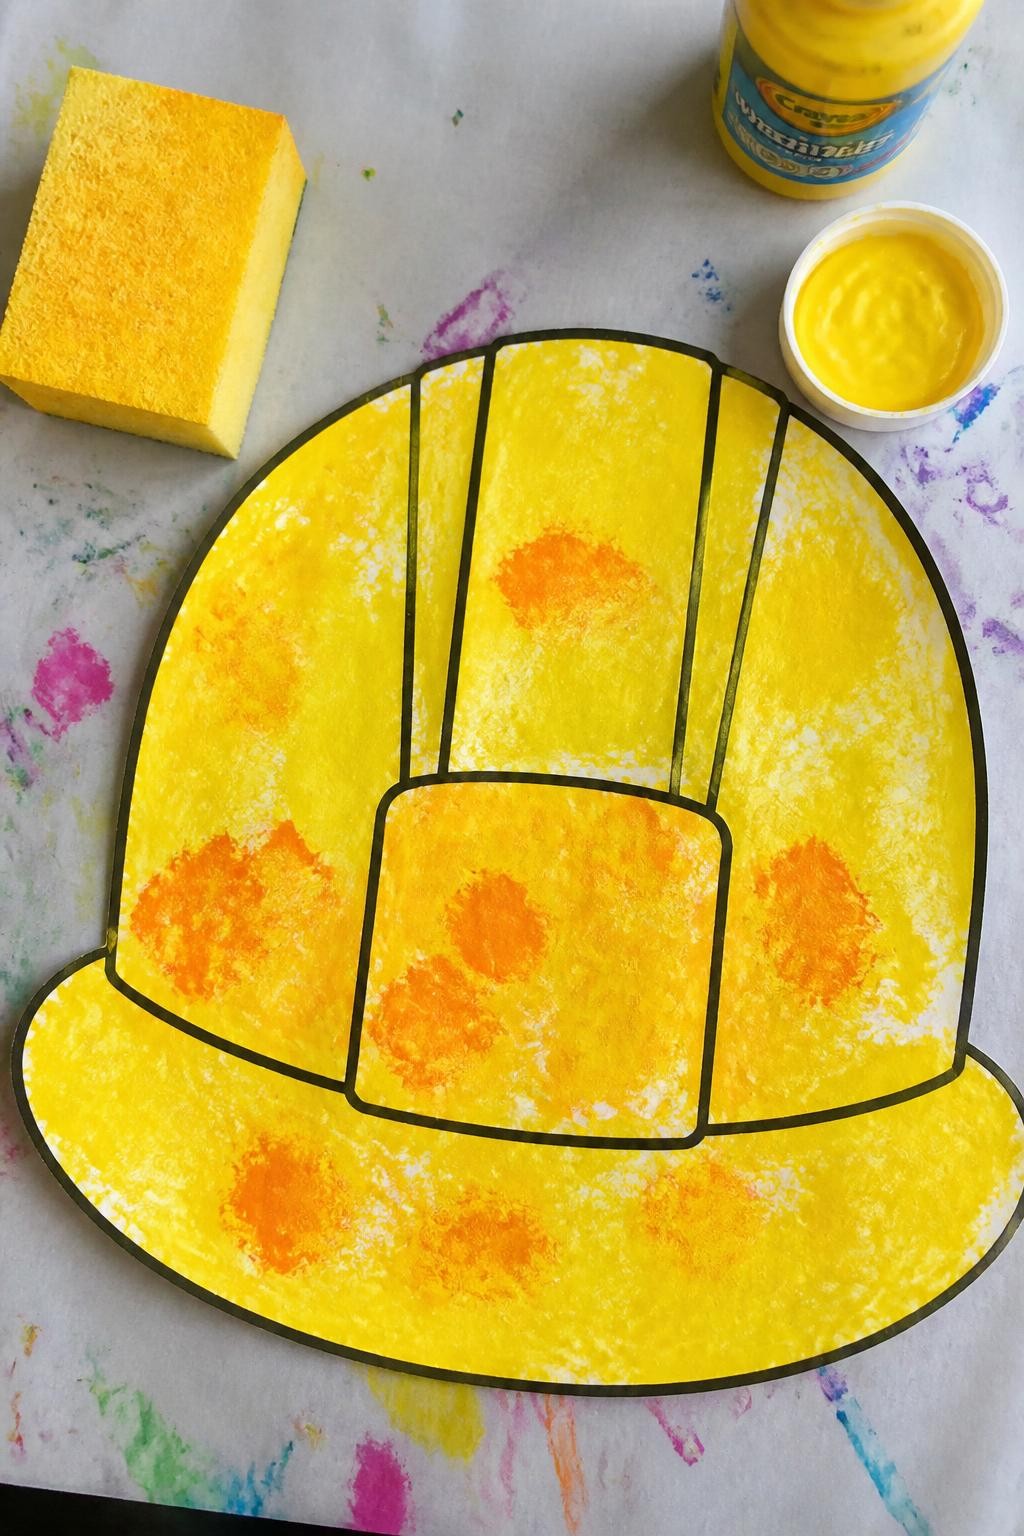
This bright yellow hard hat picture is covered with chunky sponge-painted marks and simple paper details. Toddlers will enjoy pressing the sponge onto the paper and watching the yellow color fill the large helmet shape. Adults can prepare the shape first so little hands can focus on painting and decorating.
Materials Needed
For People Who Love to Make Things ✂️
- Large hard hat shape cut from cardstock
- Washable yellow paint
- Large sponge
- Black washable marker
- Construction-themed stickers, optional
How to make it
- Step 1: An adult should cut a large hard hat shape from thick white cardstock.
- Step 2: Pour washable yellow paint onto a shallow plate and help the toddler dip in the sponge.
- Step 3: Let the toddler press paint across the entire hat, leaving visible sponge marks.
- Step 4: Allow it to dry, then add simple black lines, a name, or large worker stickers.
2. Dot Sticker Labor Day Flag
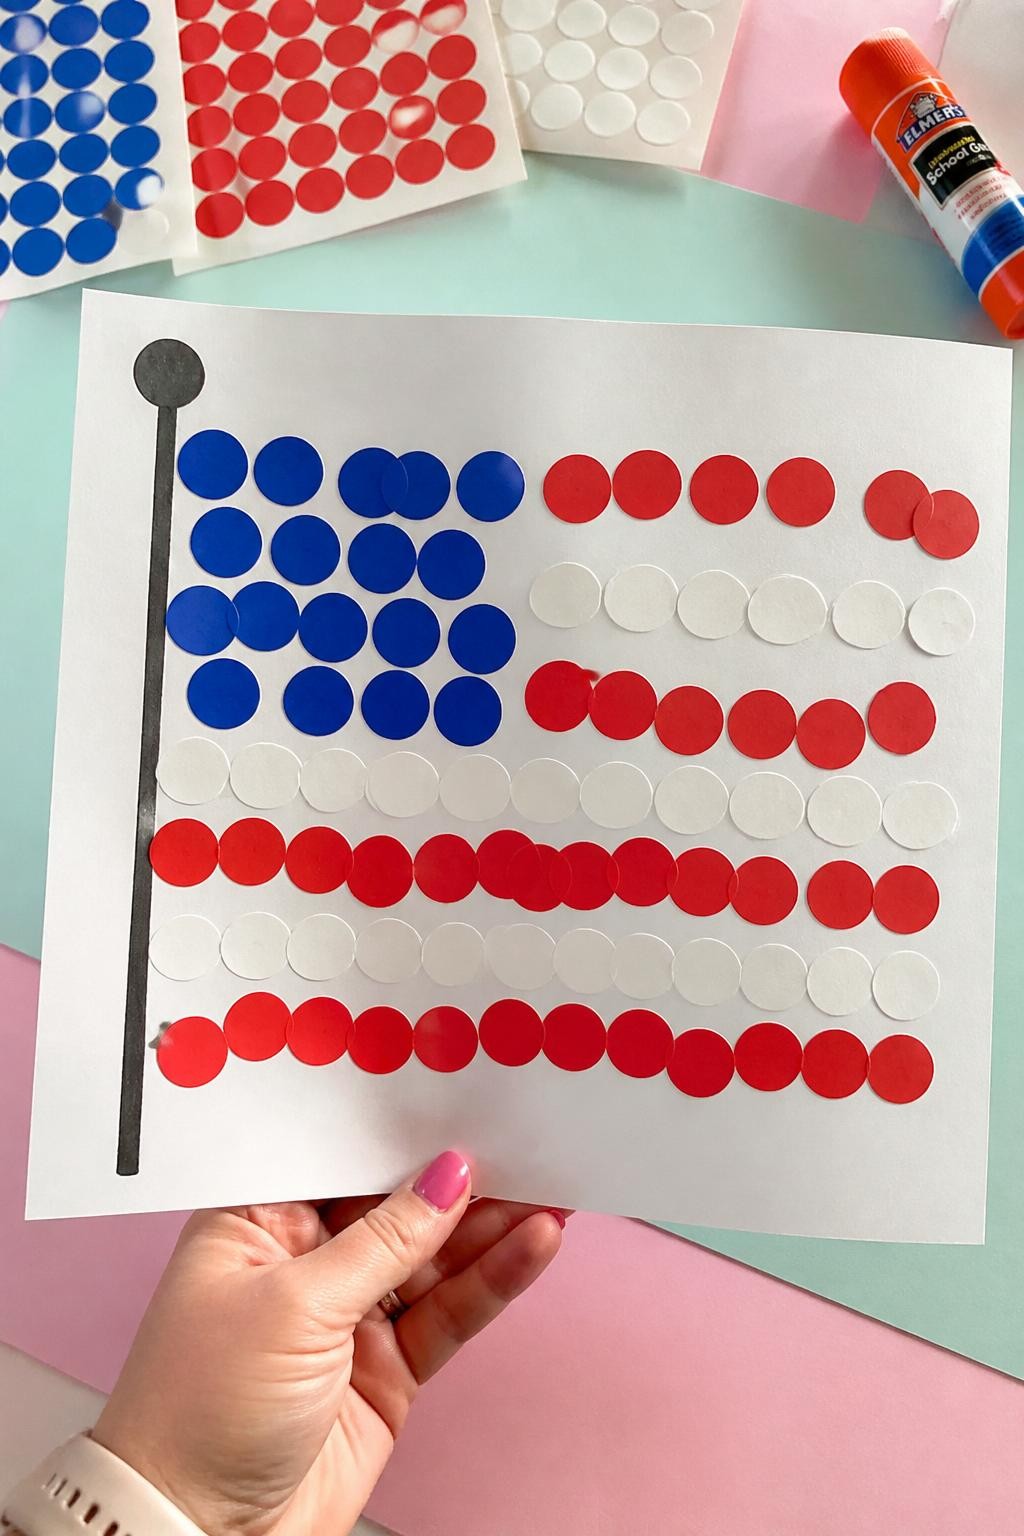
This simple paper flag uses large red and blue dot stickers instead of painted stripes and tiny details. Toddlers will enjoy peeling and pressing the stickers onto the paper while practicing hand control. The finished flag looks cheerful enough to display on a refrigerator, classroom board, or picnic table.
Materials Needed
- White cardstock
- Large red and blue dot stickers
- Blue paper rectangle
- Glue stick
- Jumbo craft stick
How to make it
- Step 1: An adult should glue a blue paper rectangle onto the upper corner of the white cardstock.
- Step 2: Give the toddler large red dot stickers to place in loose rows across the flag.
- Step 3: Add blue or white stickers inside the corner section for a playful star effect.
- Step 4: Glue the flag to a jumbo craft stick and let it dry before displaying it.
3. Footprint Work Boot Keepsake
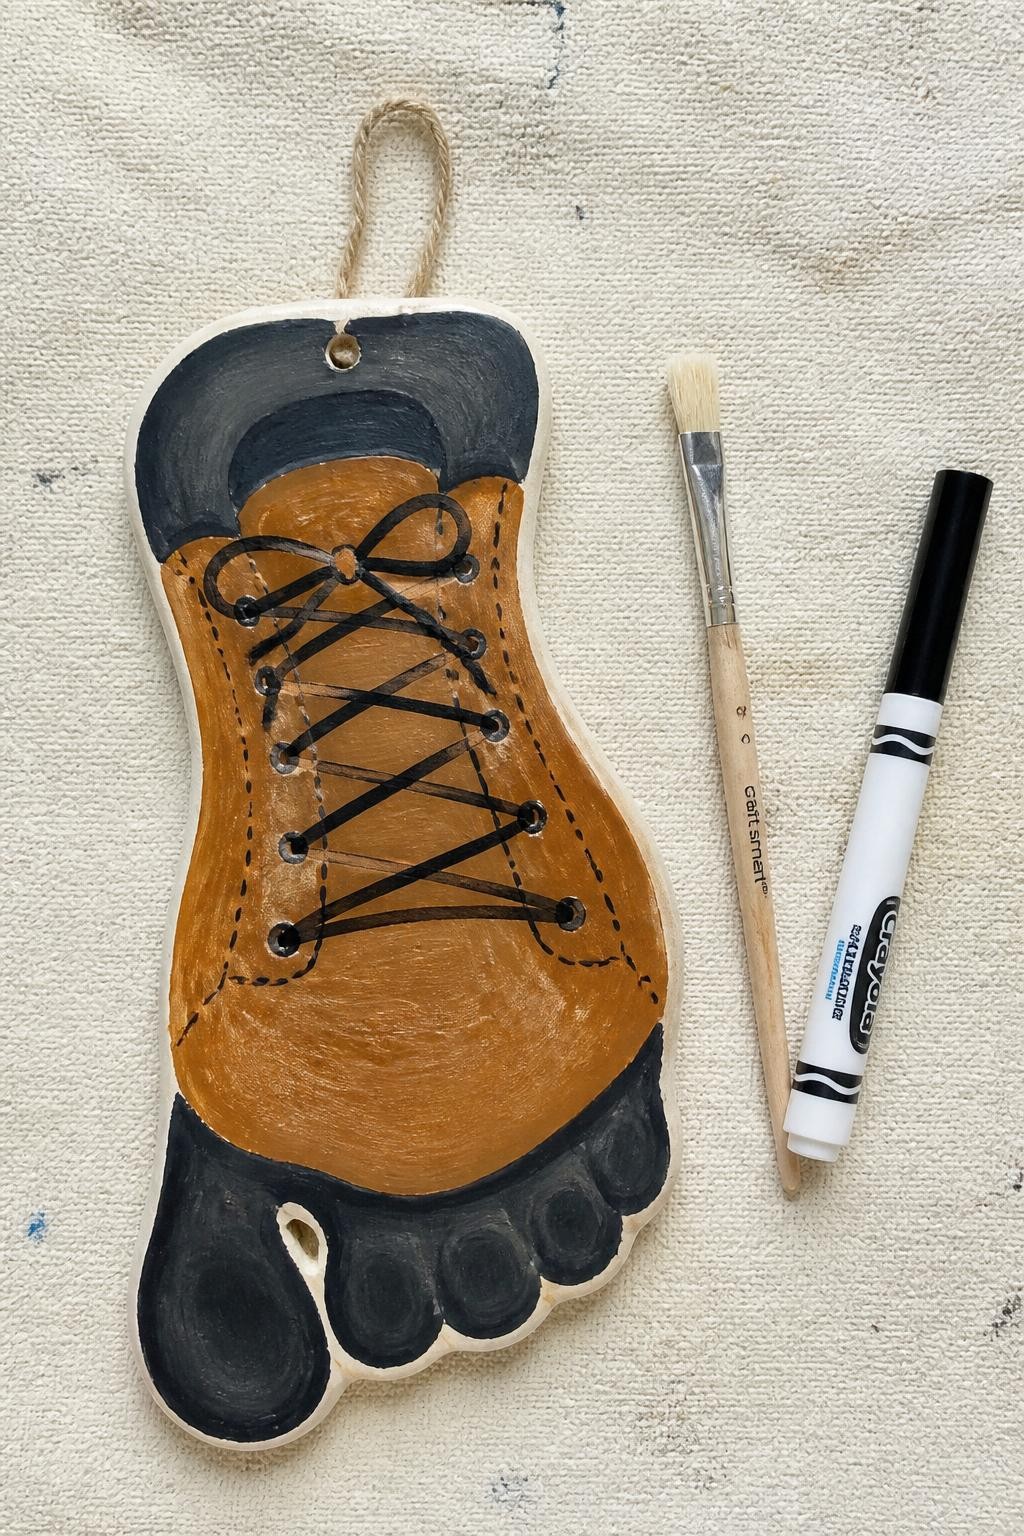
This sweet keepsake turns a painted toddler footprint into a sturdy-looking work boot. Children will enjoy the tickly painting process, while parents can add the boot sole, laces, and a short Labor Day message. It creates a personal holiday craft that families may want to save after the weekend.
Materials Needed
- White cardstock
- Washable brown or black paint
- Soft paintbrush
- Washable marker
- Baby wipes for cleanup
How to make it
- Step 1: Place the cardstock on the floor and prepare wipes before beginning.
- Step 2: Brush a thin layer of washable paint onto the toddler’s foot.
- Step 3: Press the foot firmly onto the paper, then lift it straight up and clean the foot.
- Step 4: Once dry, draw a boot sole and laces and add the words “Little Worker.”
4. Cardboard Tube Community Helpers
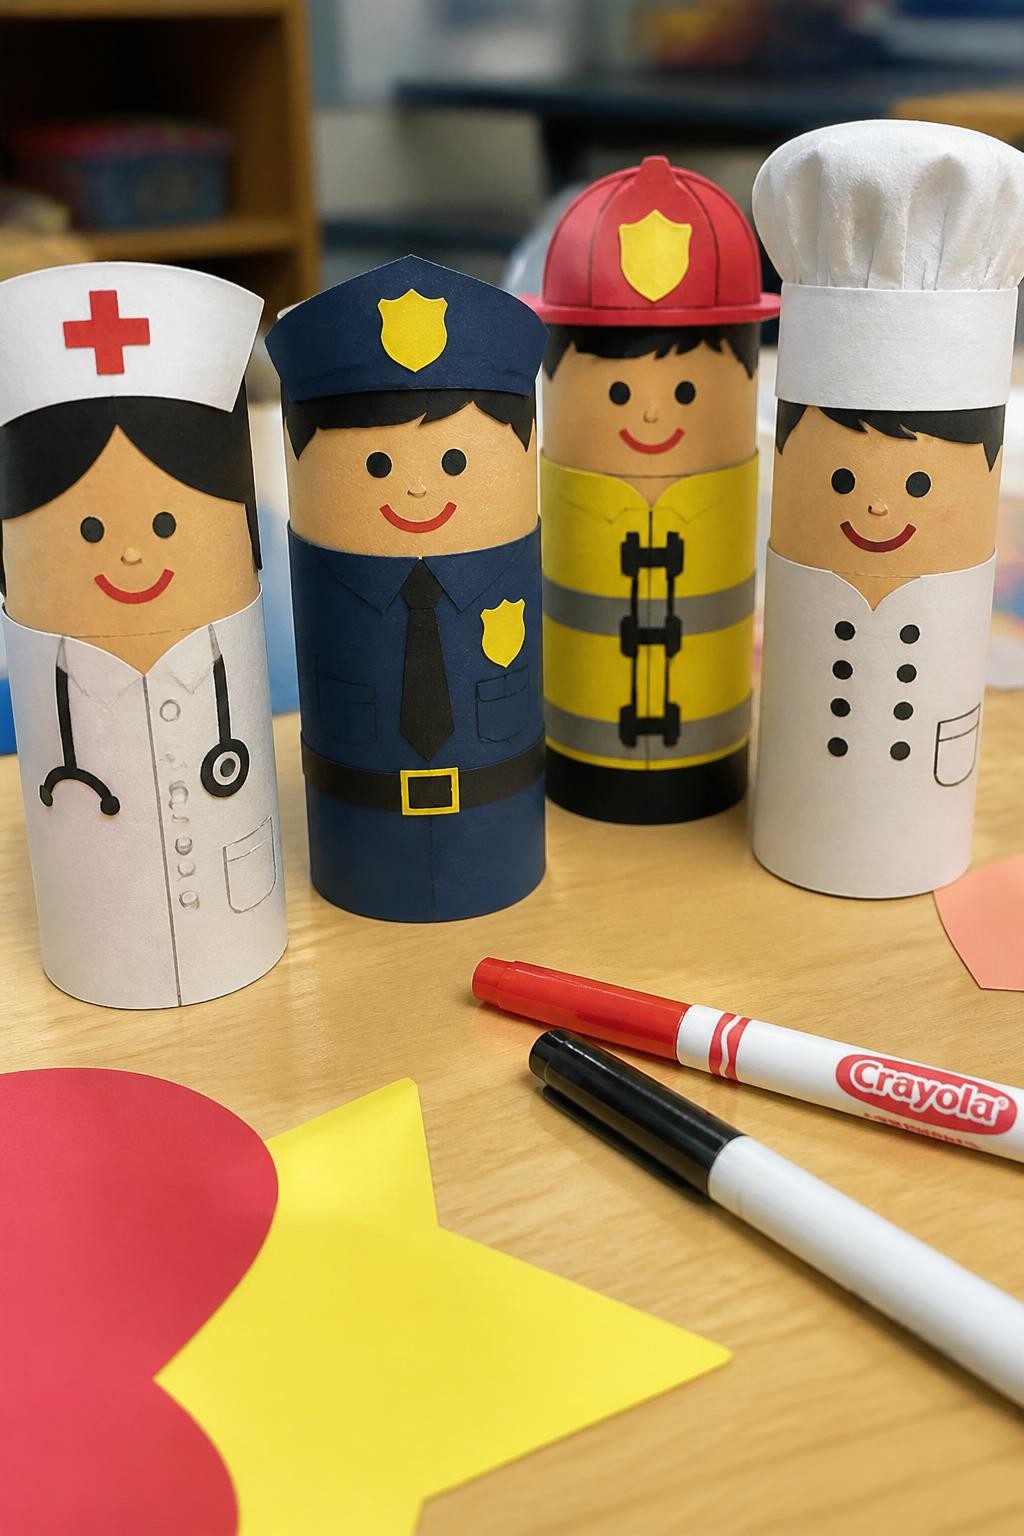
These friendly cardboard tube figures look like simple teachers, builders, nurses, chefs, or postal workers. Toddlers can add large paper clothes, hats, and facial features with help from an adult. The finished figures are sturdy enough for gentle pretend play after the glue has dried.
Materials Needed
- Cardboard tubes
- Pre-cut colored paper shapes
- Large googly-eye stickers or drawn eyes
- Glue stick
- Washable markers
How to make it
- Step 1: An adult should prepare large uniform, hat, hair, and tool shapes from colored paper.
- Step 2: Help the toddler glue the clothing shapes around each cardboard tube.
- Step 3: Add large eye stickers or draw simple faces with washable markers.
- Step 4: Let the figures dry before using them for a short community-helper story.
5. Tissue Paper Flag Suncatcher
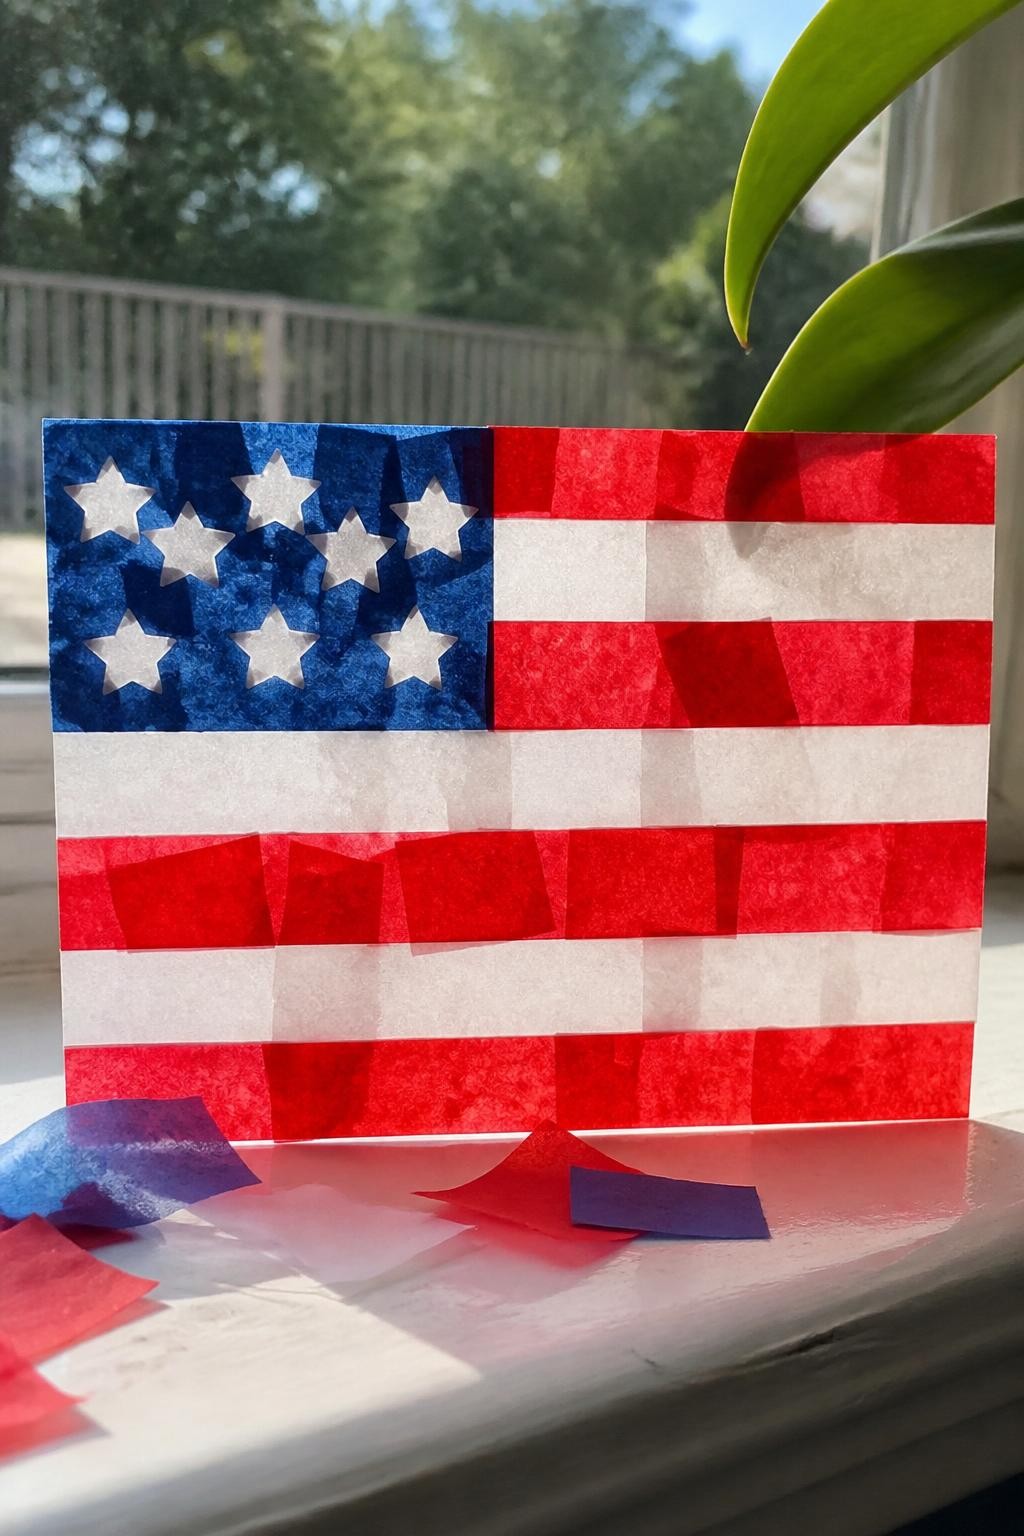
This bright window craft has red, white, and blue tissue paper pieces pressed onto clear sticky paper. Toddlers will enjoy placing the soft pieces wherever they like without needing to create perfect stripes. When displayed on a sunny window, the overlapping colors glow beautifully.
Materials Needed
- Clear contact paper
- Large tissue paper squares
- Blue paper frame
- Painter’s tape
- Ribbon for hanging
How to make it
- Step 1: An adult should tape a sheet of contact paper to the table with the sticky side facing upward.
- Step 2: Give the toddler large red, white, and blue tissue paper squares to press onto it.
- Step 3: Cover the finished design with a second sheet of contact paper and smooth it gently.
- Step 4: Add a blue paper frame and ribbon, then hang it on a bright window.
6. Work Truck Paint Track Art
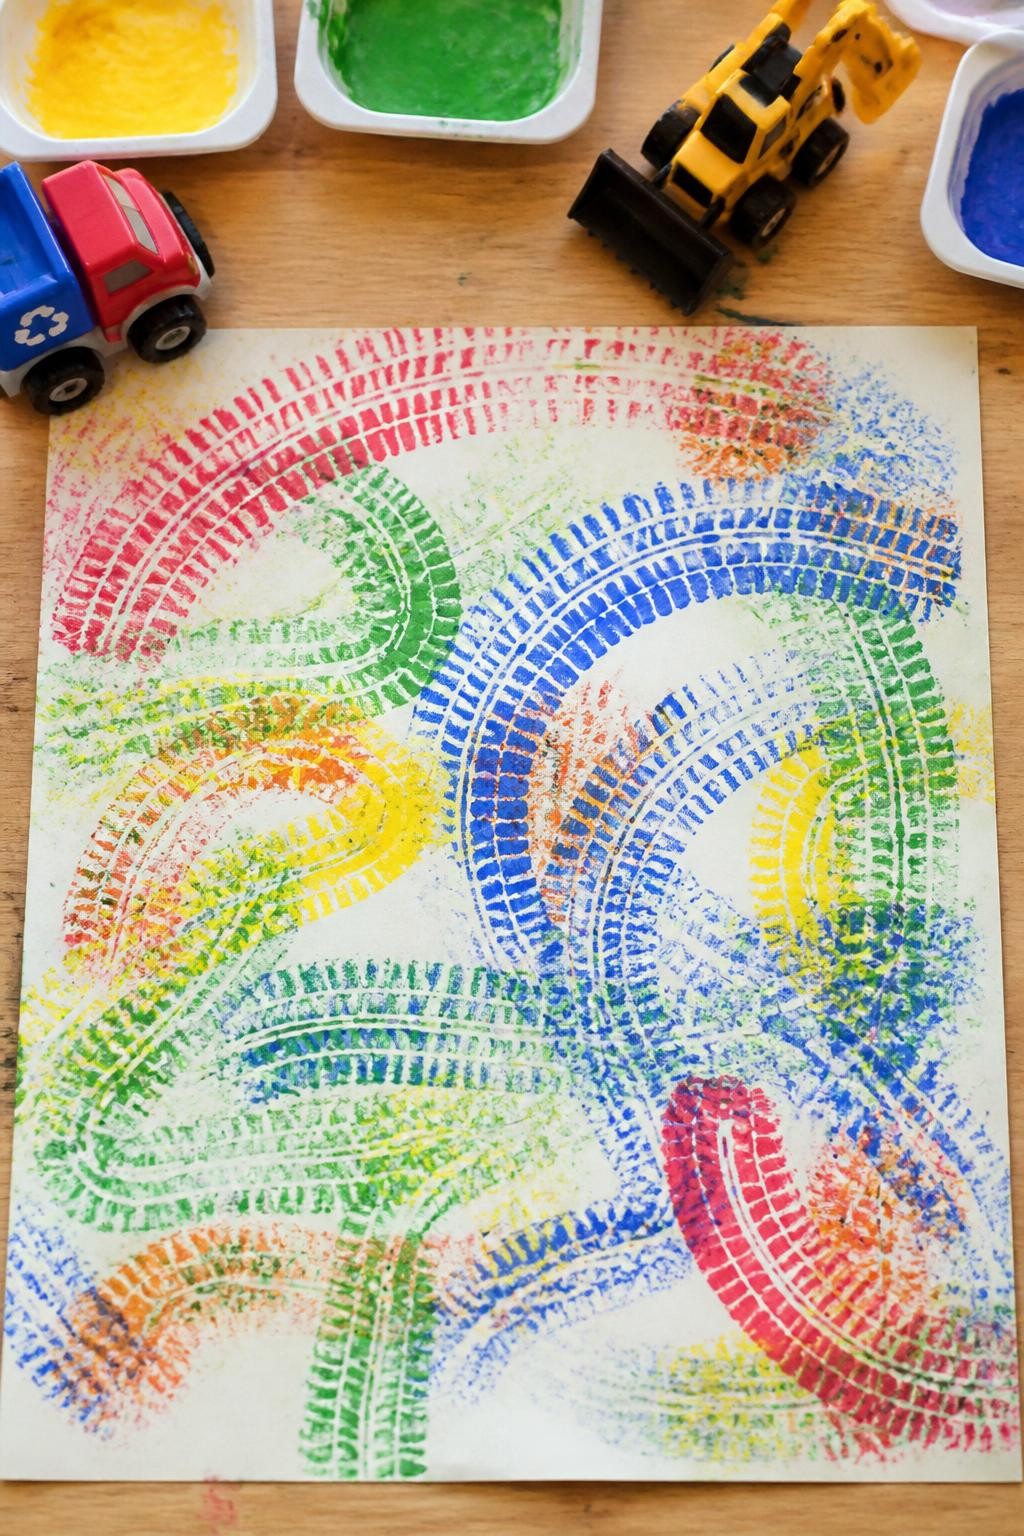
This playful painting shows colorful tire tracks rolling across a large sheet of paper. Toddlers will enjoy pushing chunky toy work trucks through washable paint and watching the wheels create lines and patterns. The activity is messy, simple, and perfect for celebrating the vehicles used by hardworking community crews.
Materials Needed
- Large sheet of paper
- Chunky toy construction trucks
- Washable red, blue, and yellow paint
- Shallow paint trays
- Wipe-clean table covering
How to make it
- Step 1: Cover the table and tape a large sheet of paper securely in place.
- Step 2: Pour small amounts of washable paint into shallow trays.
- Step 3: Help the toddler roll the truck wheels through the paint and across the paper.
- Step 4: Leave the track painting flat to dry before adding the child’s name and date.
7. Cotton Ball Chef Hat
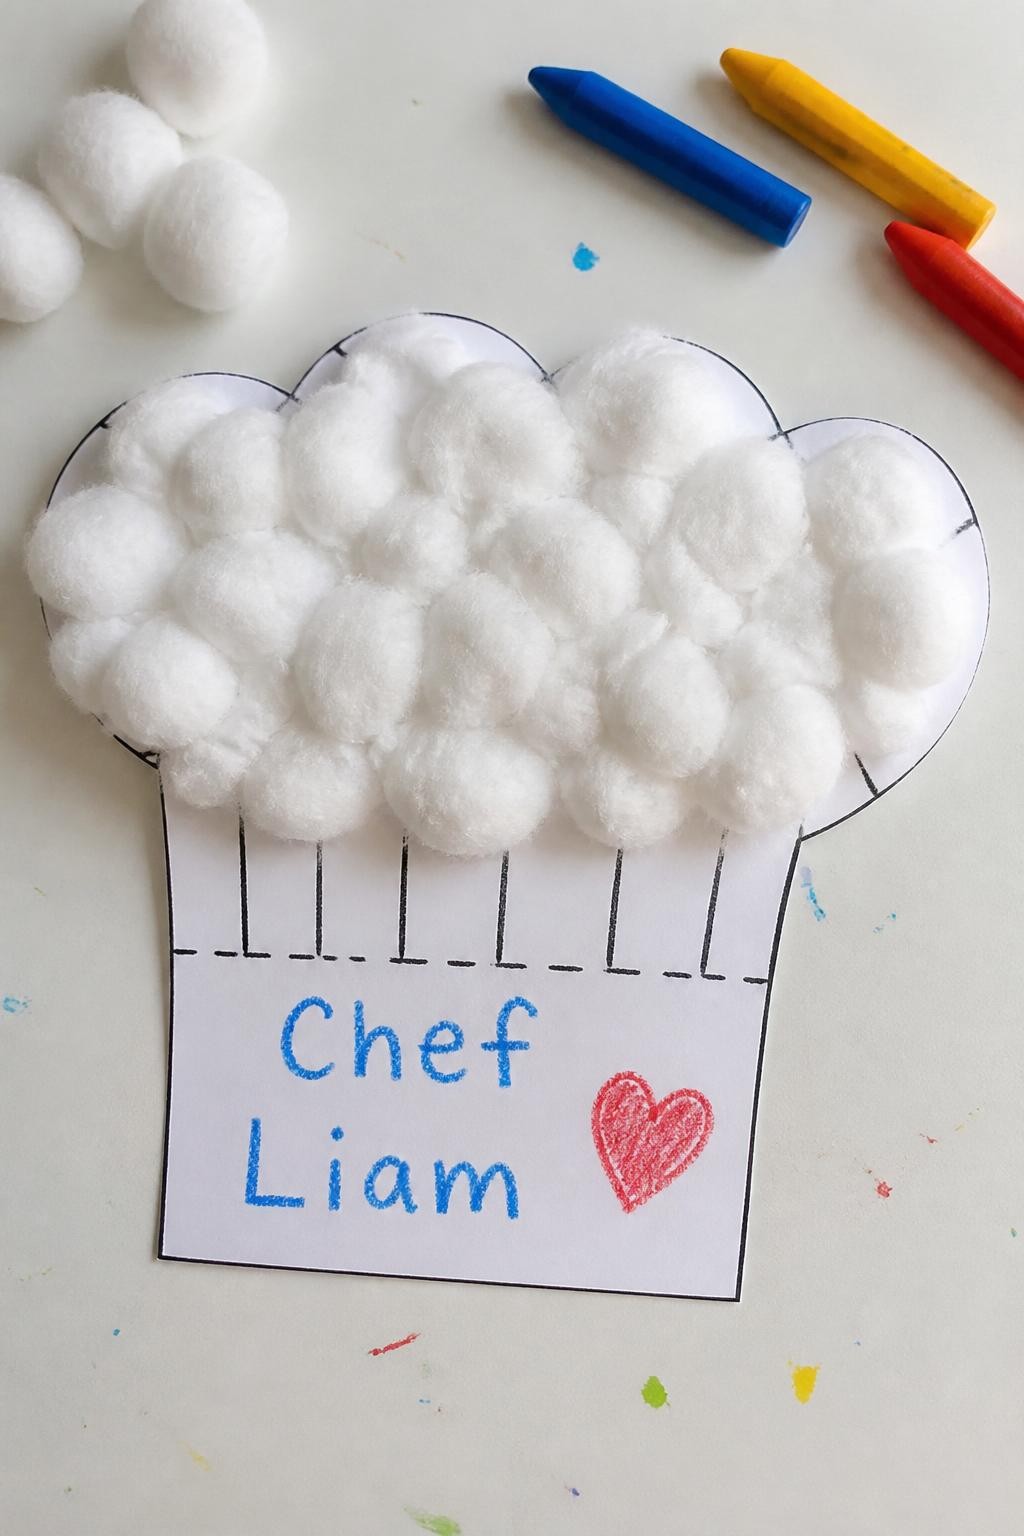
This fluffy chef hat craft has a large paper base covered with soft white cotton balls. Toddlers will enjoy pressing the cotton onto sticky glue and feeling its light texture. It is a fun Labor Day project for talking about cooks, bakers, restaurant workers, and other people who prepare food.
Materials Needed
- Large chef hat shape cut from cardstock
- Cotton balls
- Child-safe glue
- Large paper strip
- Washable crayons
How to make it
- Step 1: An adult should cut a large chef hat shape and a wide band from cardstock.
- Step 2: Spread small dots of glue across the rounded top section.
- Step 3: Help the toddler press cotton balls onto the glue until the hat looks full and fluffy.
- Step 4: Add the child’s name to the band and let the craft dry flat.
8. Shape-Built Fire Truck Collage
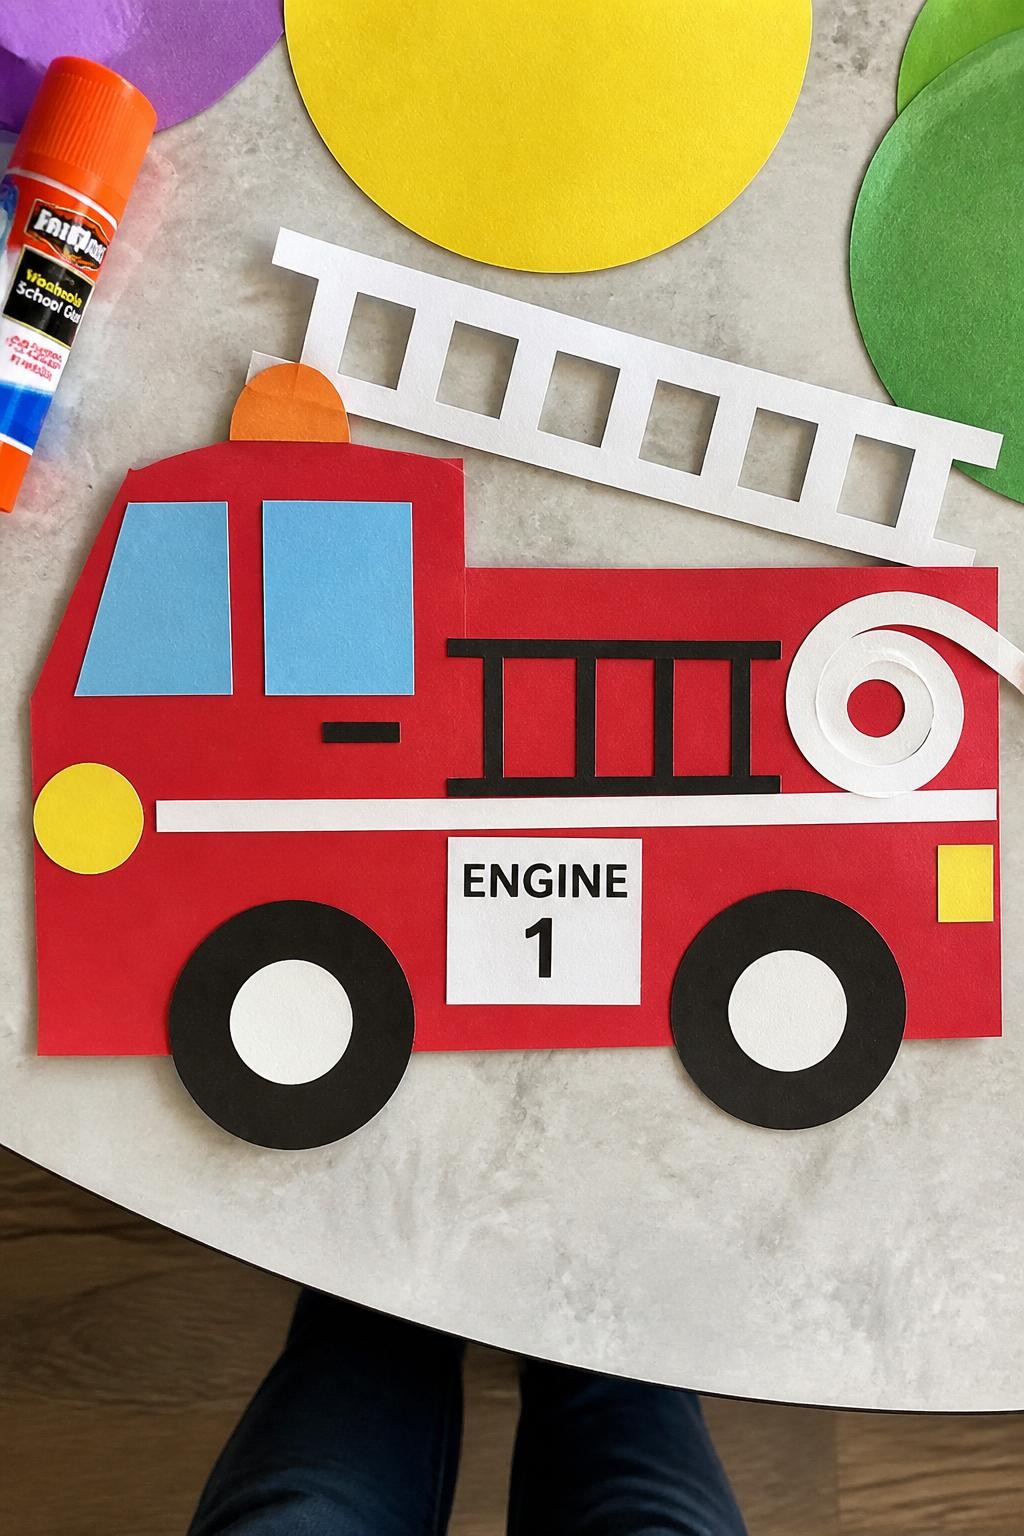
This bold fire truck picture is assembled from large red rectangles, black circles, and a long paper ladder. Toddlers will enjoy matching and gluing the easy shapes into place. The finished collage introduces firefighters as hardworking community helpers while strengthening basic shape recognition.
Materials Needed
- Large pre-cut paper shapes
- White cardstock
- Glue stick
- Washable crayons
- Firefighter stickers, optional
How to make it
- Step 1: An adult should prepare large rectangles, circles, squares, and ladder strips.
- Step 2: Place the shapes on the cardstock and show the toddler where the truck body and wheels can go.
- Step 3: Help the toddler glue the pieces down and add windows, lights, and a ladder.
- Step 4: Let the collage dry, then add clouds, a road, or simple crayon marks around it.
9. Helping Hands Thank-You Poster
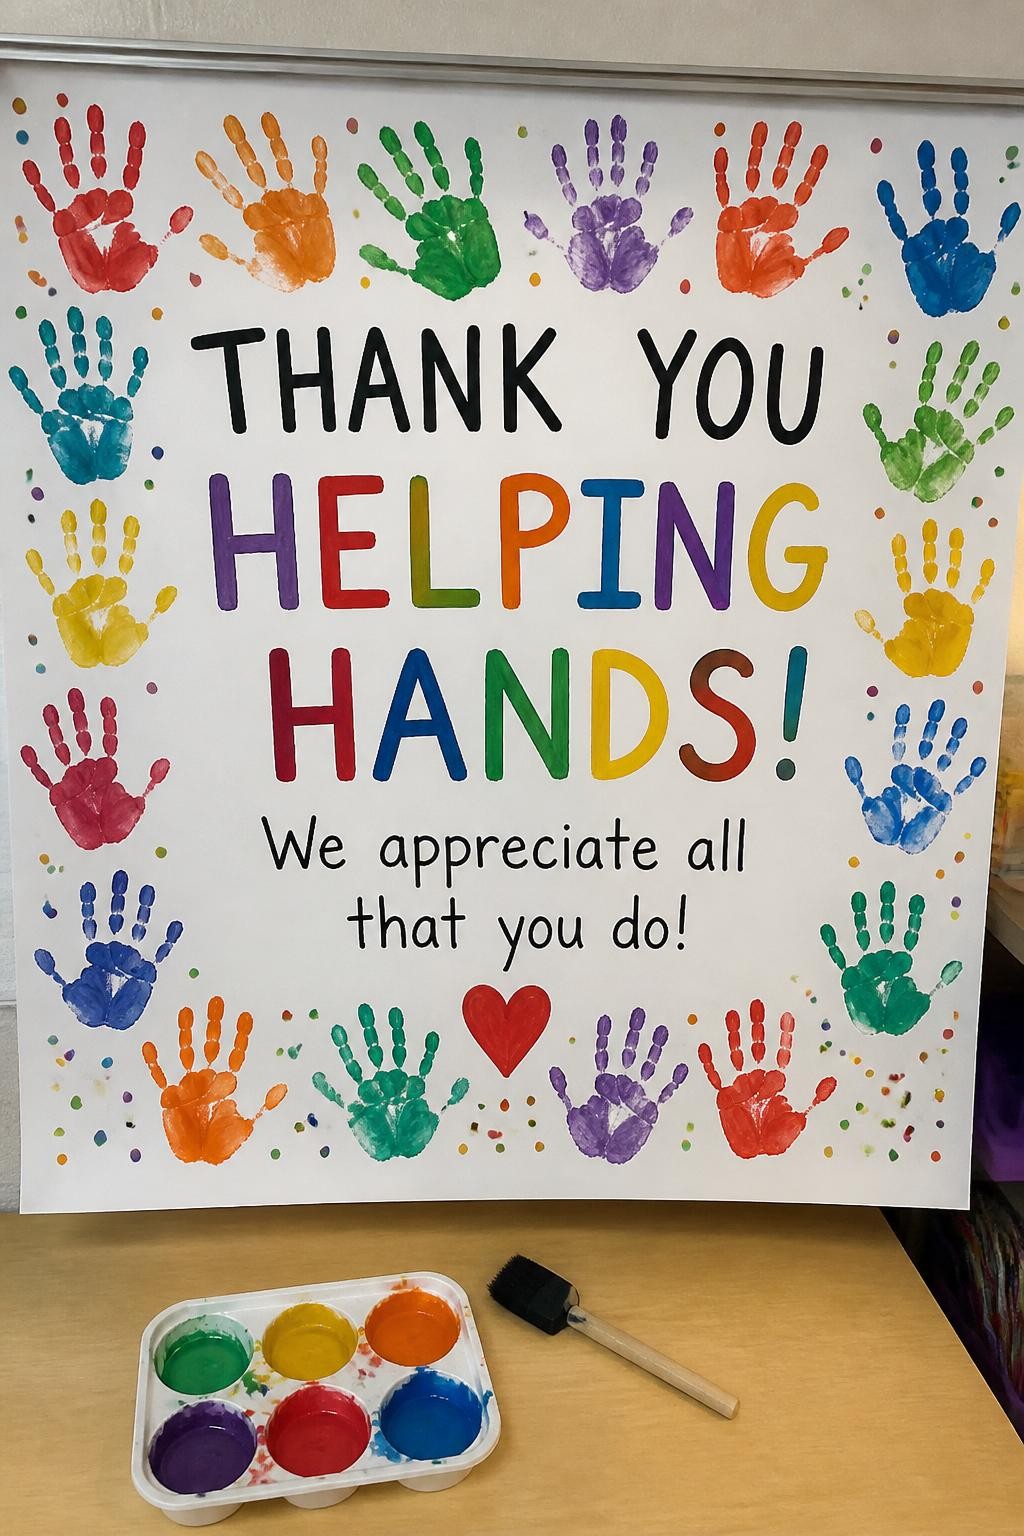
This colorful poster is covered with painted handprints and a large message thanking community workers. Toddlers will enjoy choosing paint colors and pressing their hands onto the paper. The completed poster can be displayed at home, in a classroom, or near a community appreciation table.
Materials Needed
- Large poster board
- Washable paint
- Soft paintbrush
- Large letter stickers
- Baby wipes
How to make it
- Step 1: Place the poster board on a protected table and add the words “Thank You, Helpers” with large stickers.
- Step 2: Paint one of the toddler’s hands with a thin layer of washable paint.
- Step 3: Press the hand onto the poster and repeat with different colors after cleaning it.
- Step 4: Let the poster dry completely before hanging it where others can see it.
10. Paper Picnic Lunchbox Collage
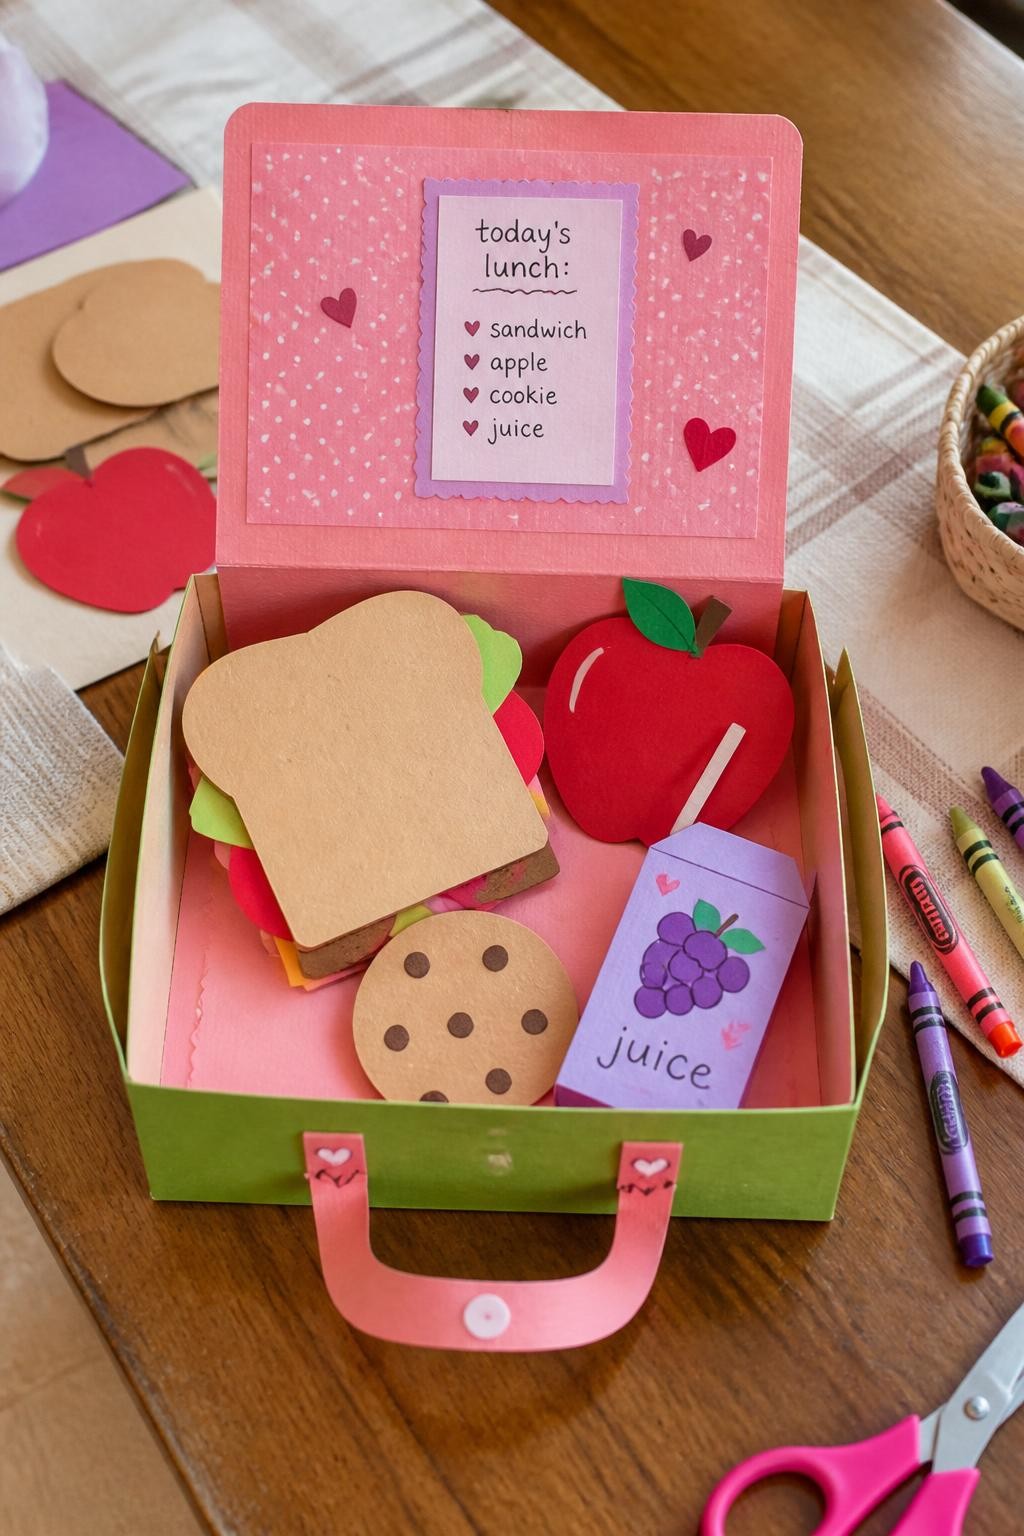
This playful paper lunchbox opens to reveal large pictures of fruit, sandwiches, juice, and other picnic foods. Toddlers will enjoy choosing food shapes and gluing them inside. The craft works well before a Labor Day family picnic and encourages simple conversations about packing and sharing meals.
Materials Needed
- Folded cardstock
- Large pre-cut paper food shapes
- Glue stick
- Food stickers
- Washable crayons
How to make it
- Step 1: Fold a large sheet of cardstock to create a simple lunchbox shape.
- Step 2: An adult should prepare large paper fruit, sandwich, bottle, and snack shapes.
- Step 3: Let the toddler choose and glue the pretend foods inside the lunchbox.
- Step 4: Decorate the outside with crayons, stickers, and the child’s name.
11. Red, White, and Blue Sensory Bottle
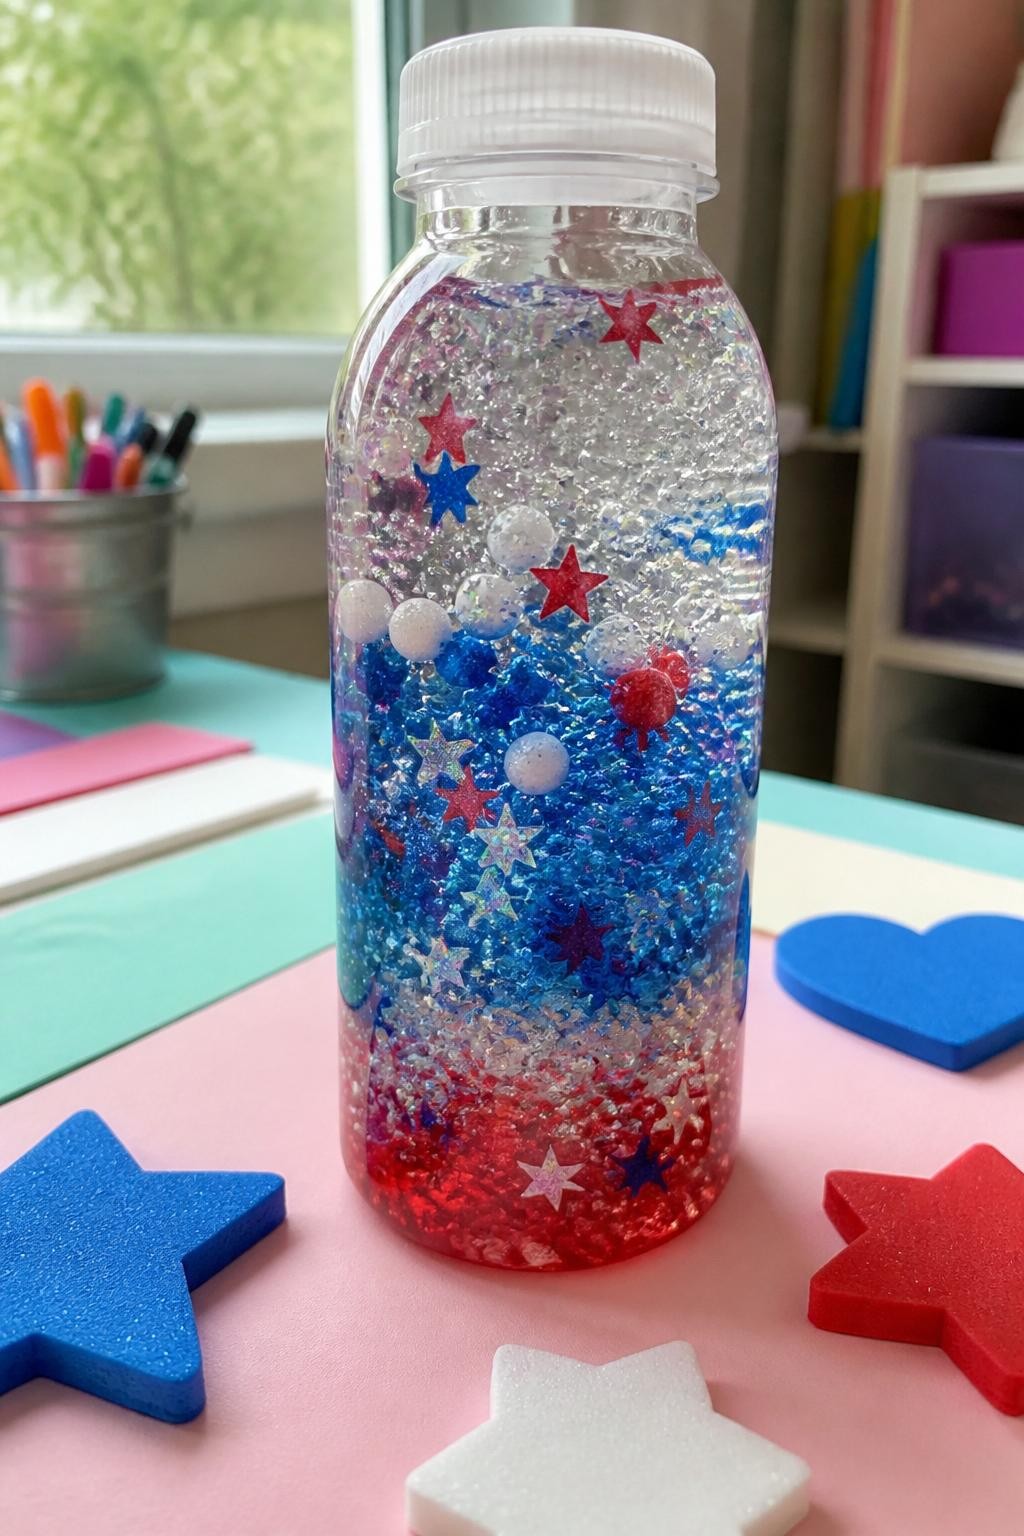
This sealed sensory bottle contains large red, white, and blue foam pieces that slowly move through clear liquid. Toddlers will enjoy turning, rolling, and gently shaking the bottle while watching the colors float. An adult must assemble and firmly seal the container before the child uses it.
Materials Needed
- Clear plastic bottle with lid
- Water
- Clear washable glue
- Large red, white, and blue foam shapes
- Strong tape or hot glue for adult use
How to make it
- Step 1: An adult should place the large foam pieces inside a clean plastic bottle.
- Step 2: Fill most of the bottle with water and add a small amount of clear washable glue.
- Step 3: Close the lid tightly and seal it securely with strong tape or adult-applied hot glue.
- Step 4: Turn the bottle slowly to mix the contents before giving it to the toddler for supervised play.
12. Work Tool Shadow Matching Board
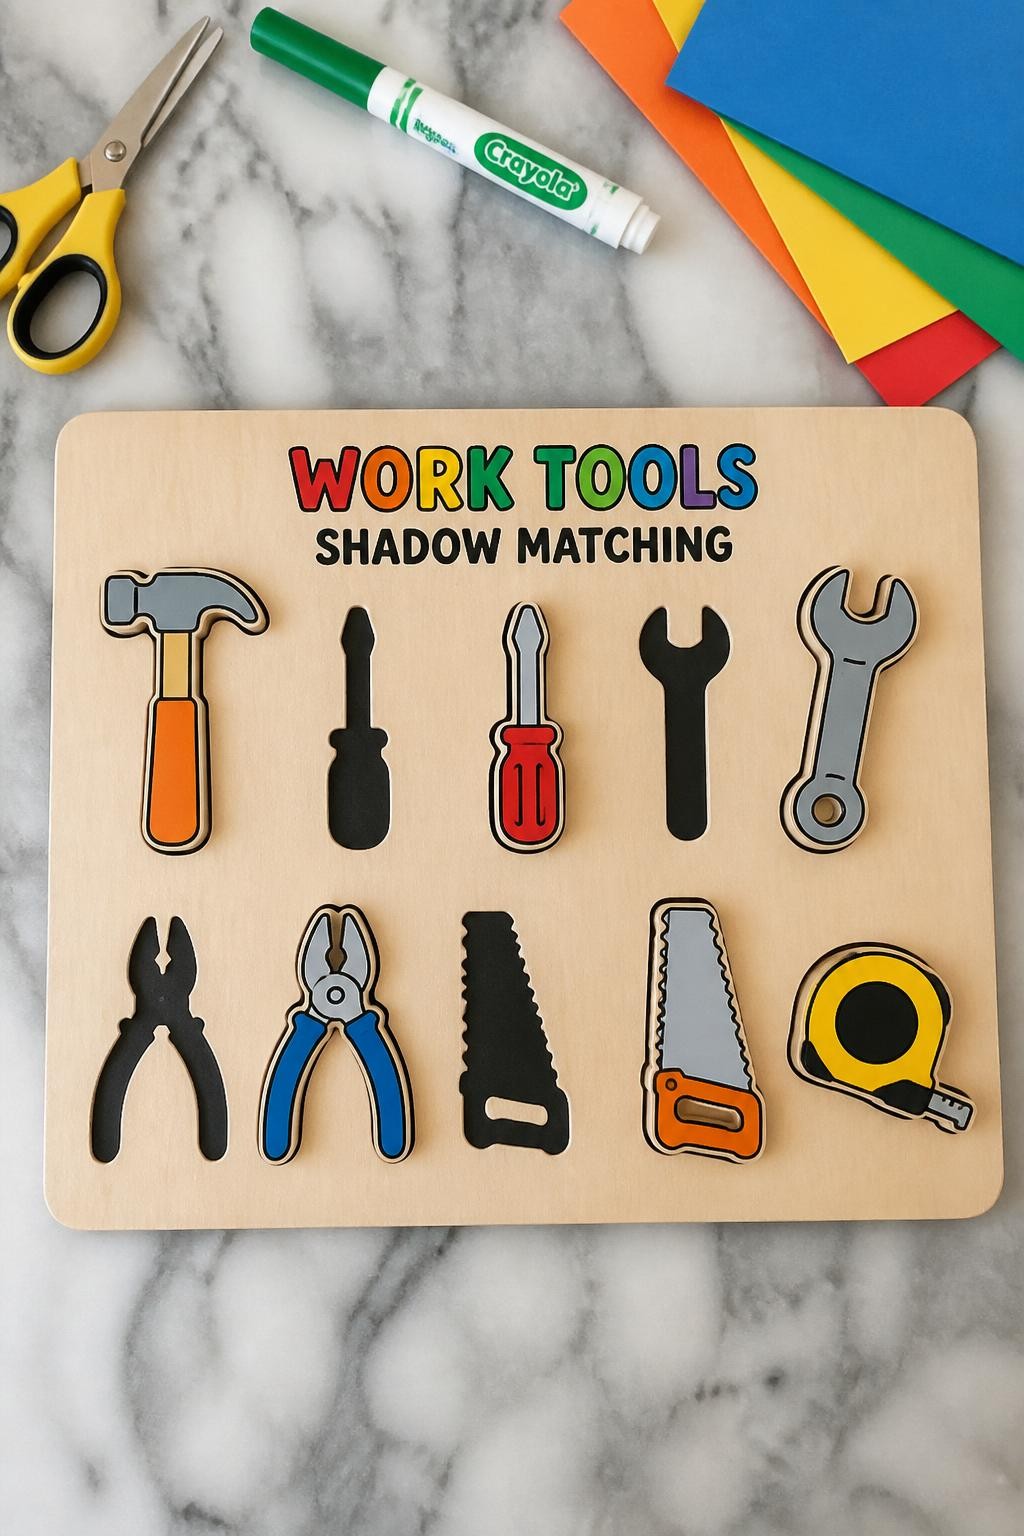
This simple matching board shows large paper outlines of a hammer, paintbrush, wrench, broom, and other familiar work tools. Toddlers will enjoy placing the matching paper pieces over the shadows. It works as both a Labor Day craft and an easy learning game about the tools people use at work.
Materials Needed
- Large poster board
- Pre-cut paper tool shapes
- Washable marker
- Reusable adhesive dots
- Clear contact paper, optional
How to make it
- Step 1: An adult should prepare several large and simple tool shapes from colored paper.
- Step 2: Trace each shape onto the poster board using a thick washable marker.
- Step 3: Attach reusable adhesive dots to the board and the matching paper tools.
- Step 4: Let the toddler place each tool over its matching outline and repeat the game.
13. Labor Day Ribbon Parade Wand
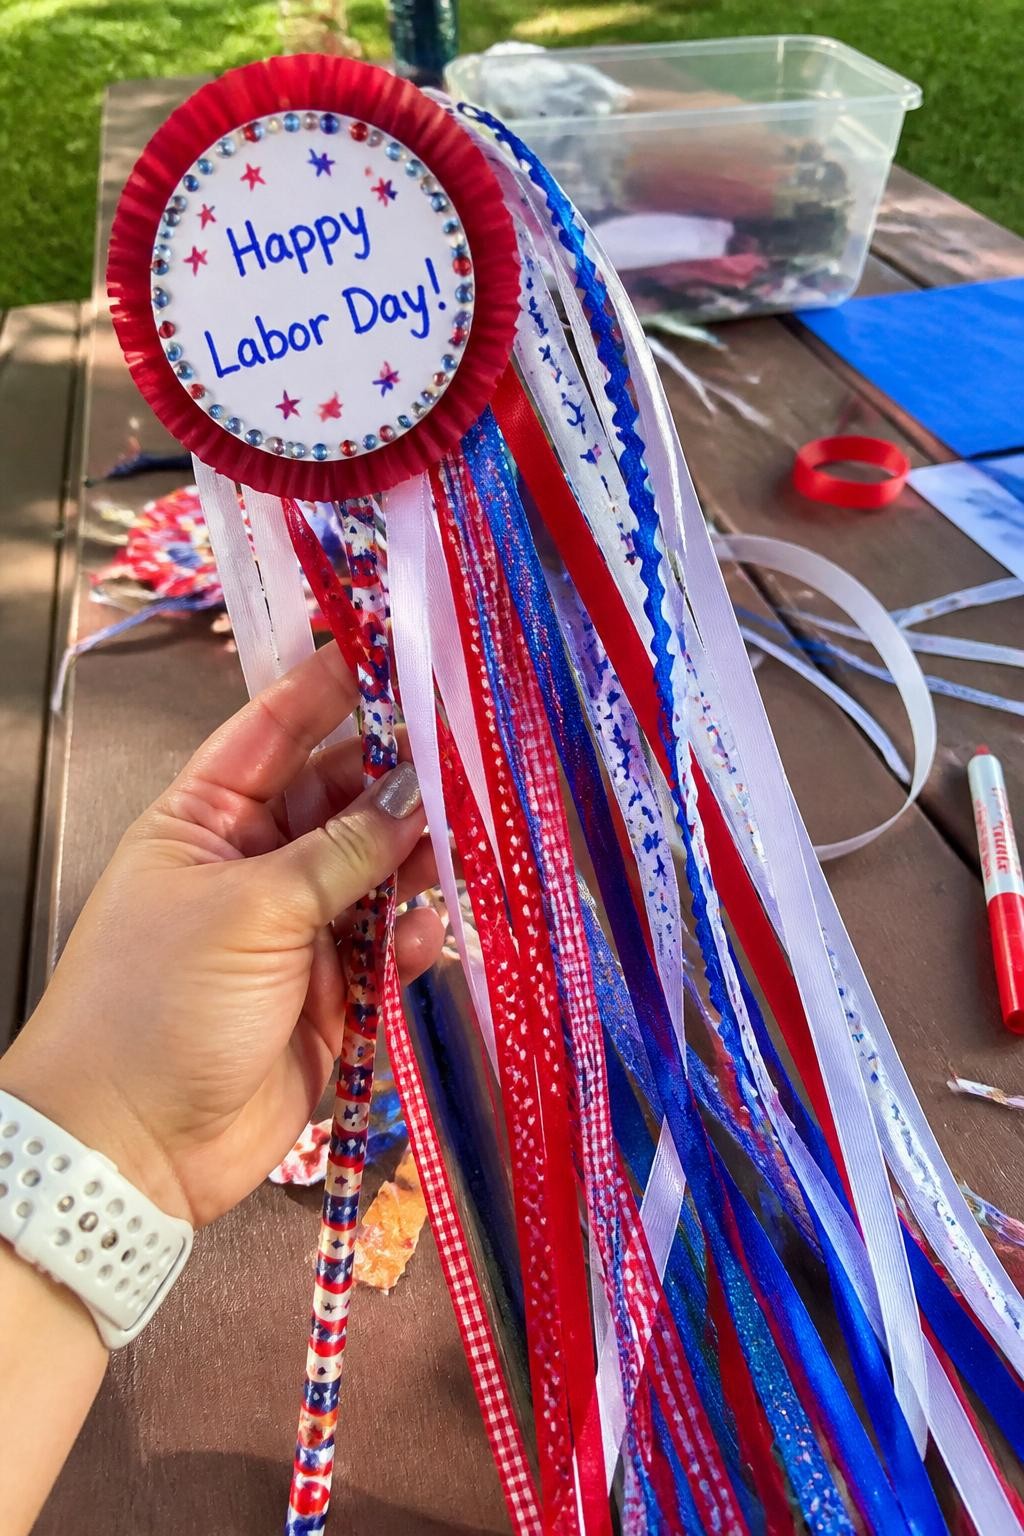
This cheerful parade wand has thick red, white, and blue ribbons attached to a sturdy cardboard handle. Toddlers will enjoy waving it during music, pretend marching, or an outdoor Labor Day celebration. The ribbons create plenty of movement without making the project difficult to assemble.
Materials Needed
- Wide cardboard tube or jumbo craft stick
- Thick red, white, and blue ribbons
- Strong tape
- Large star sticker
- Washable marker
How to make it
- Step 1: An adult should cut several short lengths of wide ribbon.
- Step 2: Tape the ribbon ends securely around one end of the cardboard handle.
- Step 3: Cover the taped area with a large paper star or sticker.
- Step 4: Write the child’s name on the handle and use the wand during supervised parade play.