


Table of Contents Show
Keeping kids busy at home or in class can be hard, especially on rainy days or when screens are off-limits. Simple crafts help kids focus, calm down, and feel proud of what they make. This list gives you fun and easy DIY bag projects you can sew, glue, or tie together with basic supplies.
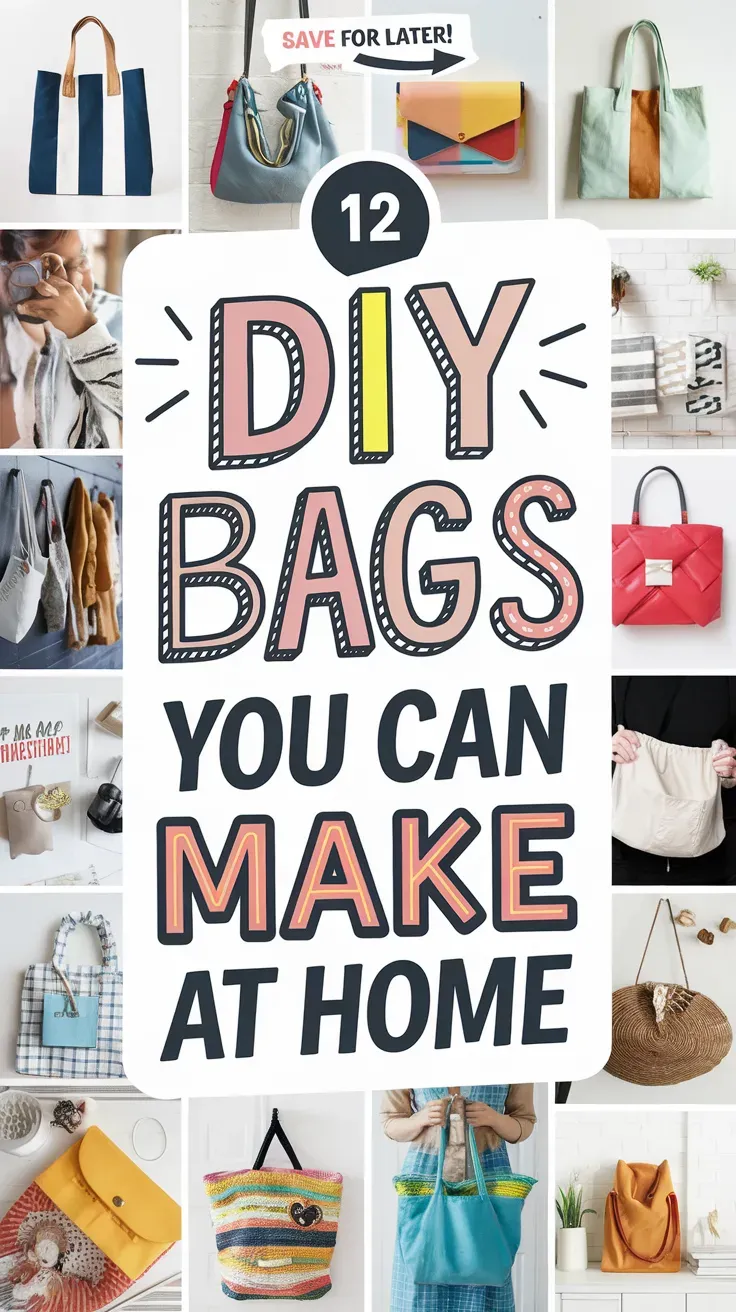
Each one is beginner-friendly and useful, so let’s jump into 12 DIY bags you can make at home.
1. No-Sew T-Shirt Tote
This soft tote looks like a simple shopping bag made from an old T-shirt, with cute fringe knots at the bottom. Kids love turning a favorite tee into something new, and the knotting part is relaxing and easy for beginners.
Materials Needed:
- Old T-shirt (adult size works best)
- Scissors (fabric scissors if possible)
- Ruler or tape measure
- Chalk or washable marker
- Safety pins (optional to hold layers)
How to make it:
For People Who Love to Make Things ✂️
- Lay the T-shirt flat; cut off the sleeves and a wider scoop at the neck to form handles.
- Cut 3-4 inch slits along the bottom hem through both layers to create fringe.
- Tie matching front and back fringe pieces in tight double knots across the bottom.
- Tug the knots snug, shake out the bag, and it’s ready to carry light items.
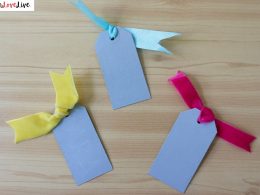
2. Paper Lunch Bag Gift Tote
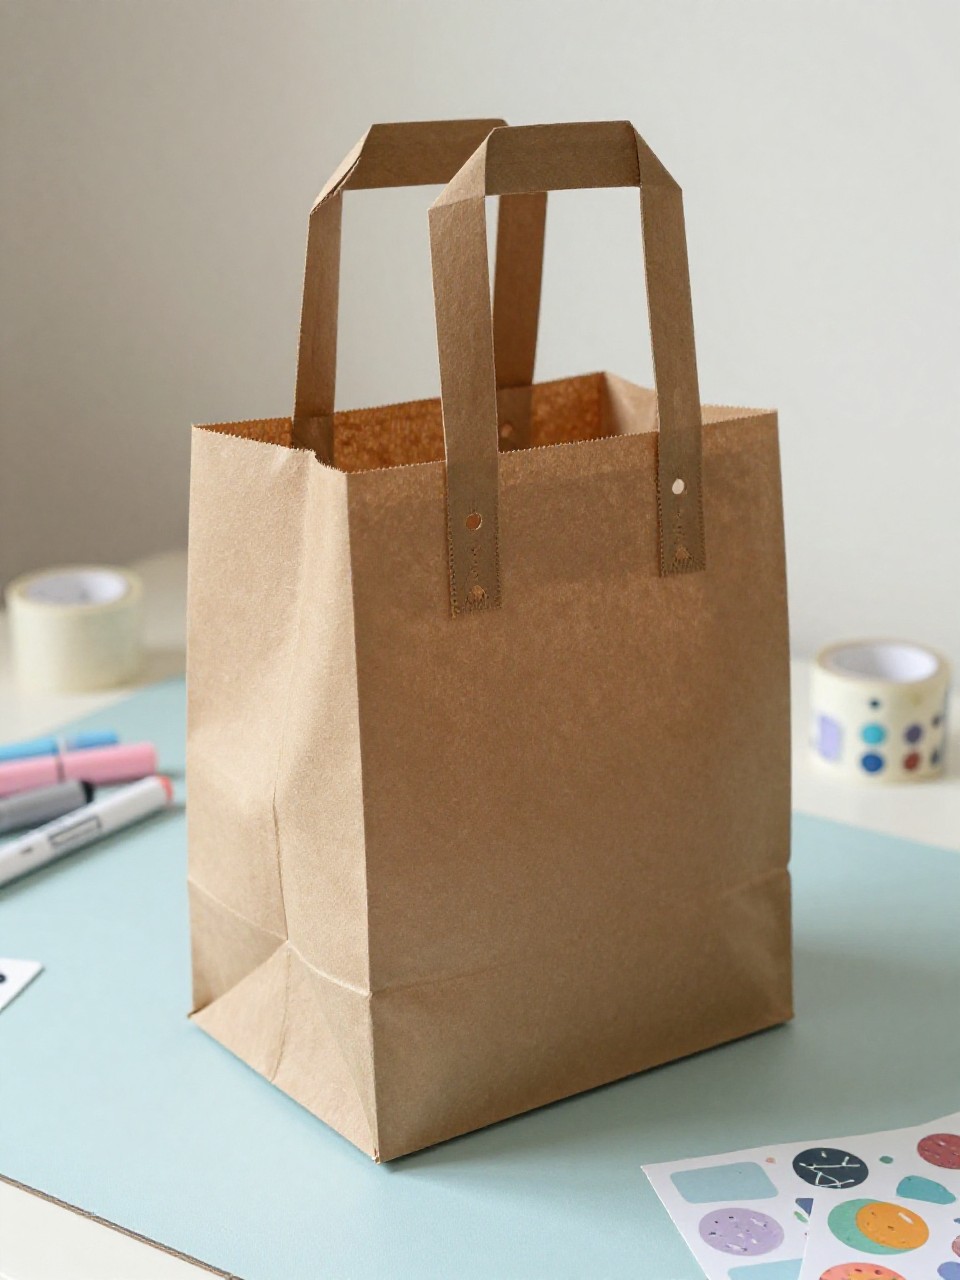
This sweet mini tote looks like a decorated paper lunch bag with folded handles and a sturdy taped bottom. Kids enjoy stamping, doodling, and adding stickers to make each bag perfect for small gifts or party favors.
Materials Needed:
- Brown or white paper lunch bag
- Washi tape or clear tape
- Hole punch
- Ribbon or yarn
- Stickers, markers, stamps
How to make it:
- Gently open the bag and fold the top edge down twice to thicken it.
- Punch two holes on each side of the fold for handles.
- Thread ribbon or yarn through the holes and knot inside; decorate the bag with stickers and drawings.
- Reinforce bottom corners with tape, fill, and fold the top if needed.
3. Felt Patch Pocket Pouch
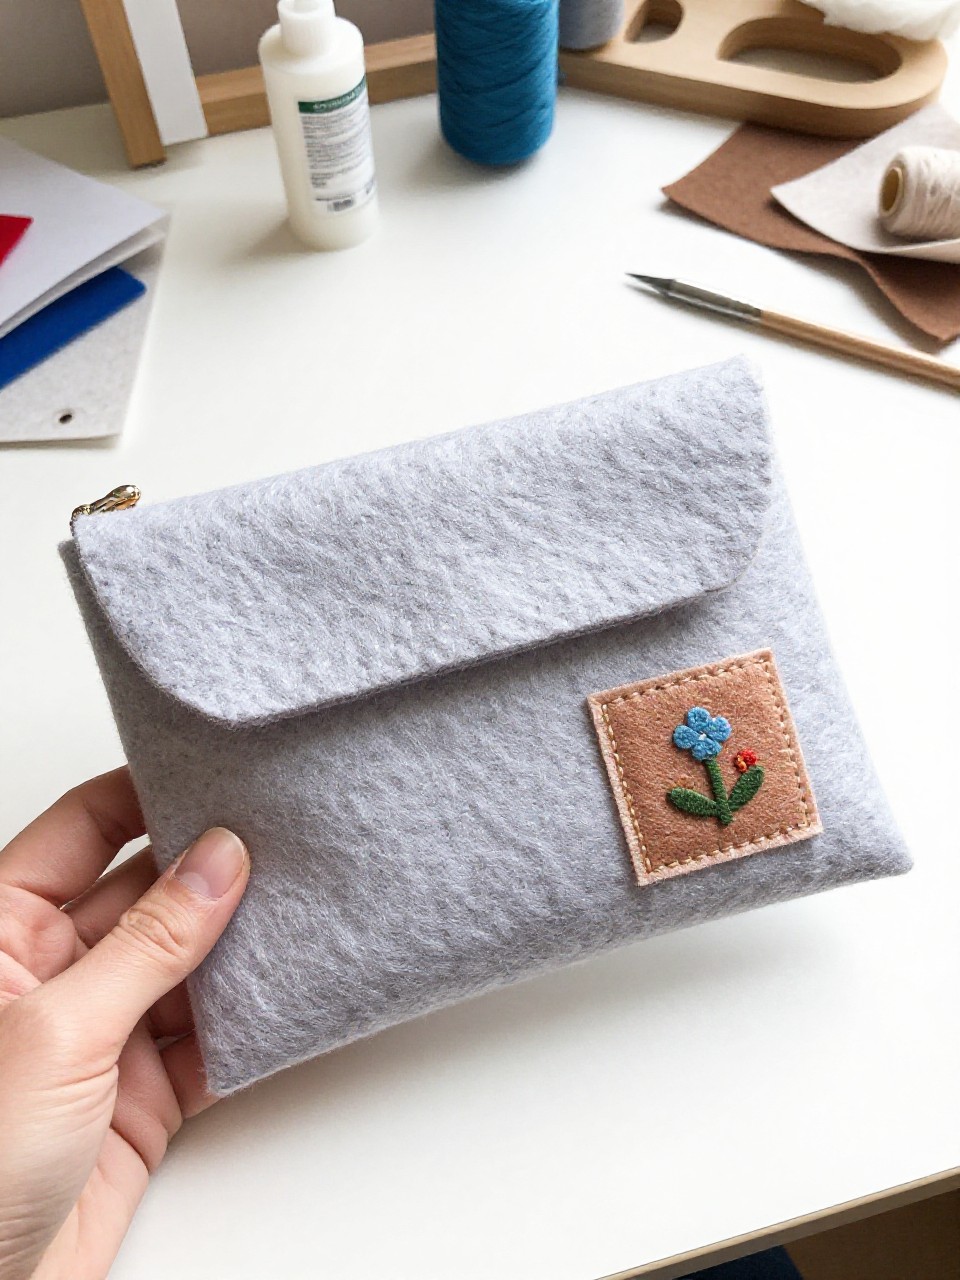
This small felt pouch looks like a soft envelope with a button or Velcro flap and a bright patch on the front. Kids like picking colors and sewing a few simple stitches, or using fabric glue for a quick win.
Materials Needed:
- Craft felt sheets (two colors)
- Fabric glue or needle and thread
- Velcro dot or button
- Scissors
- Ruler and chalk
How to make it:
- Cut one rectangle for the body and a smaller rectangle or shape for the front patch.
- Fold the big rectangle into a pouch shape, leaving a flap; glue or stitch the sides.
- Add the patch to the front and attach a Velcro dot or sew a button and loop for closure.
- Let glue dry, then store pens, cards, or small treasures.
4. Cereal Box Crossbody Bag
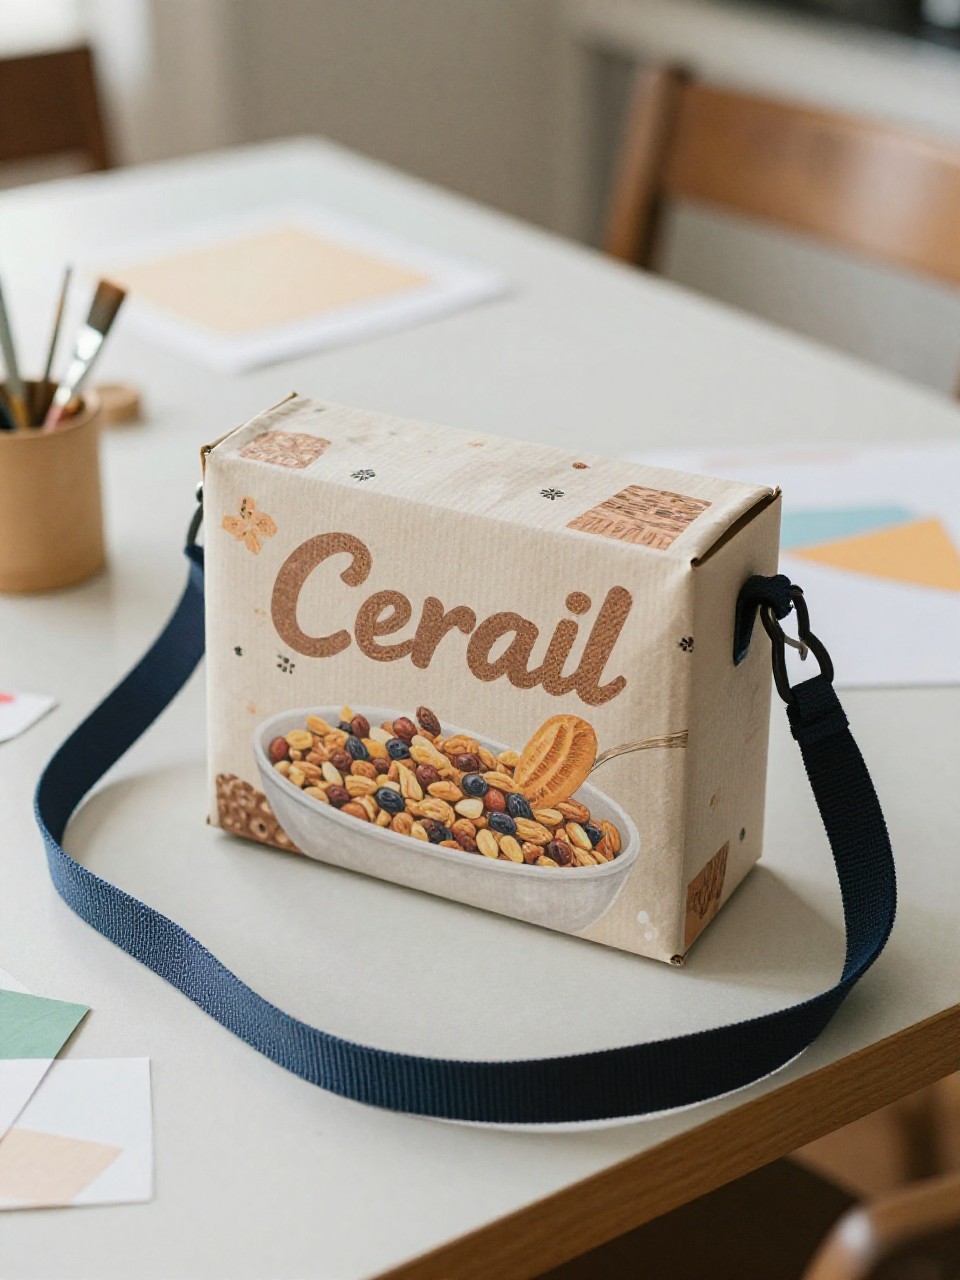
This bag looks like a mini crossbody with a cereal box body wrapped in paper or fabric and a yarn strap. Kids love turning recycling into something stylish and strong.
Materials Needed:
- Empty cereal box (small to medium)
- Wrapping paper or fabric scraps
- Mod Podge or white glue
- Hole punch or awl
- Yarn, cord, or ribbon
How to make it:
- Cut the box to desired height and remove top flaps; keep one long flap to use as a lid if you like.
- Cover the box with paper or fabric using Mod Podge; smooth edges.
- Punch two holes on opposite sides and tie on a yarn or ribbon strap.
- Let it dry, then fill and wear across the shoulder.
5. Pillowcase Drawstring Backpack
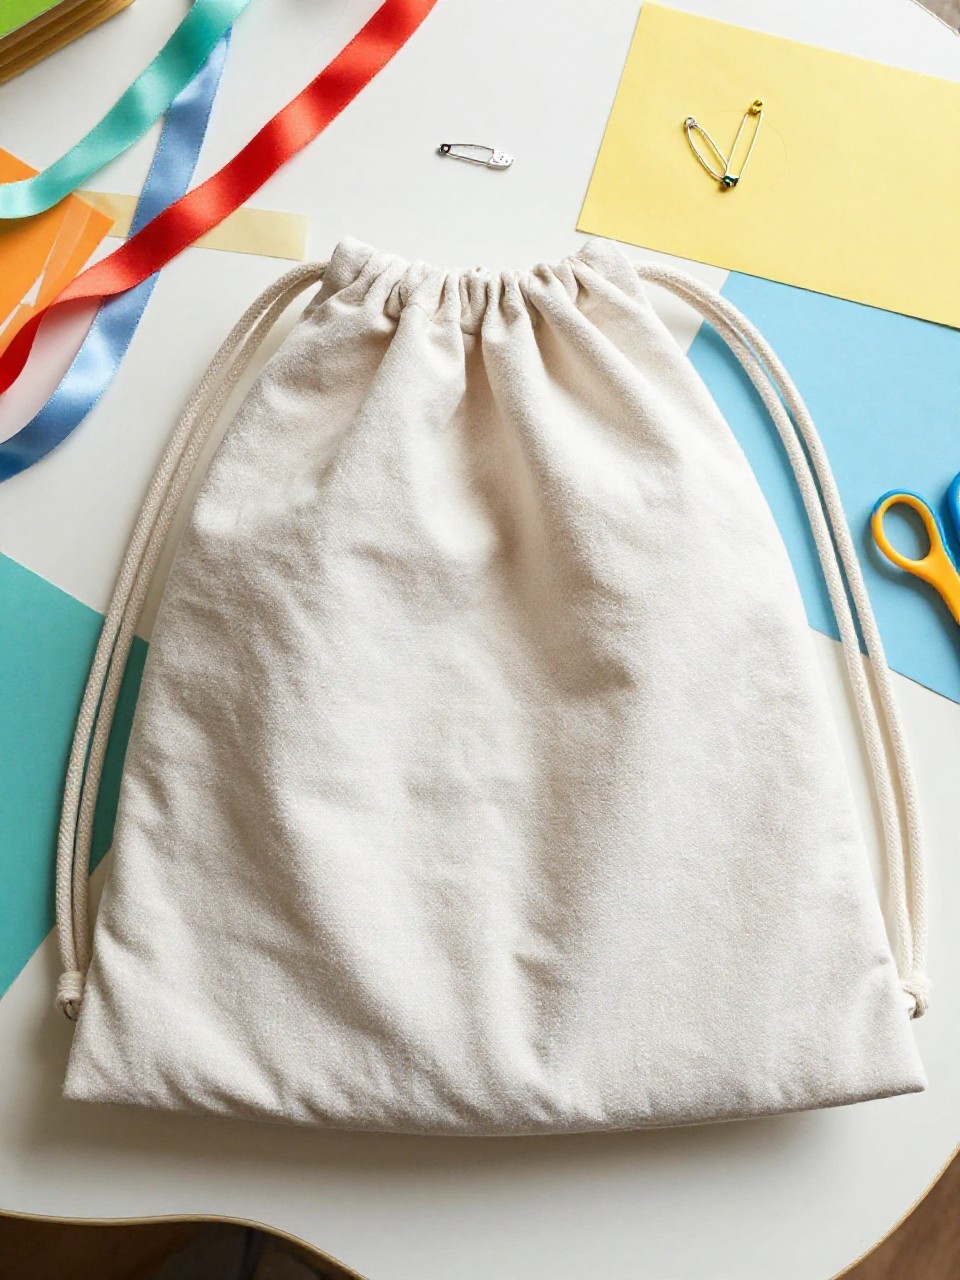
This looks like a lightweight backpack with two drawstrings and simple bottom corners. Kids enjoy pulling the strings to open and close it, and it’s a great first sewing or safety-pin threading project.
Materials Needed:
- Pillowcase (standard size)
- Safety pin
- Two long cords or thick ribbons
- Scissors
- Sewing machine or fabric glue (optional for reinforcing)
How to make it:
- Cut small slits on both sides of the top hem casing of the pillowcase.
- Attach a safety pin to one cord and thread it all the way around; repeat from the other side with the second cord.
- Knot cord ends and thread each side down to bottom corners; tie and reinforce with a few stitches or glue tabs.
- Pull to cinch, try on, and adjust cord lengths.
6. Denim Pocket Mini Bag
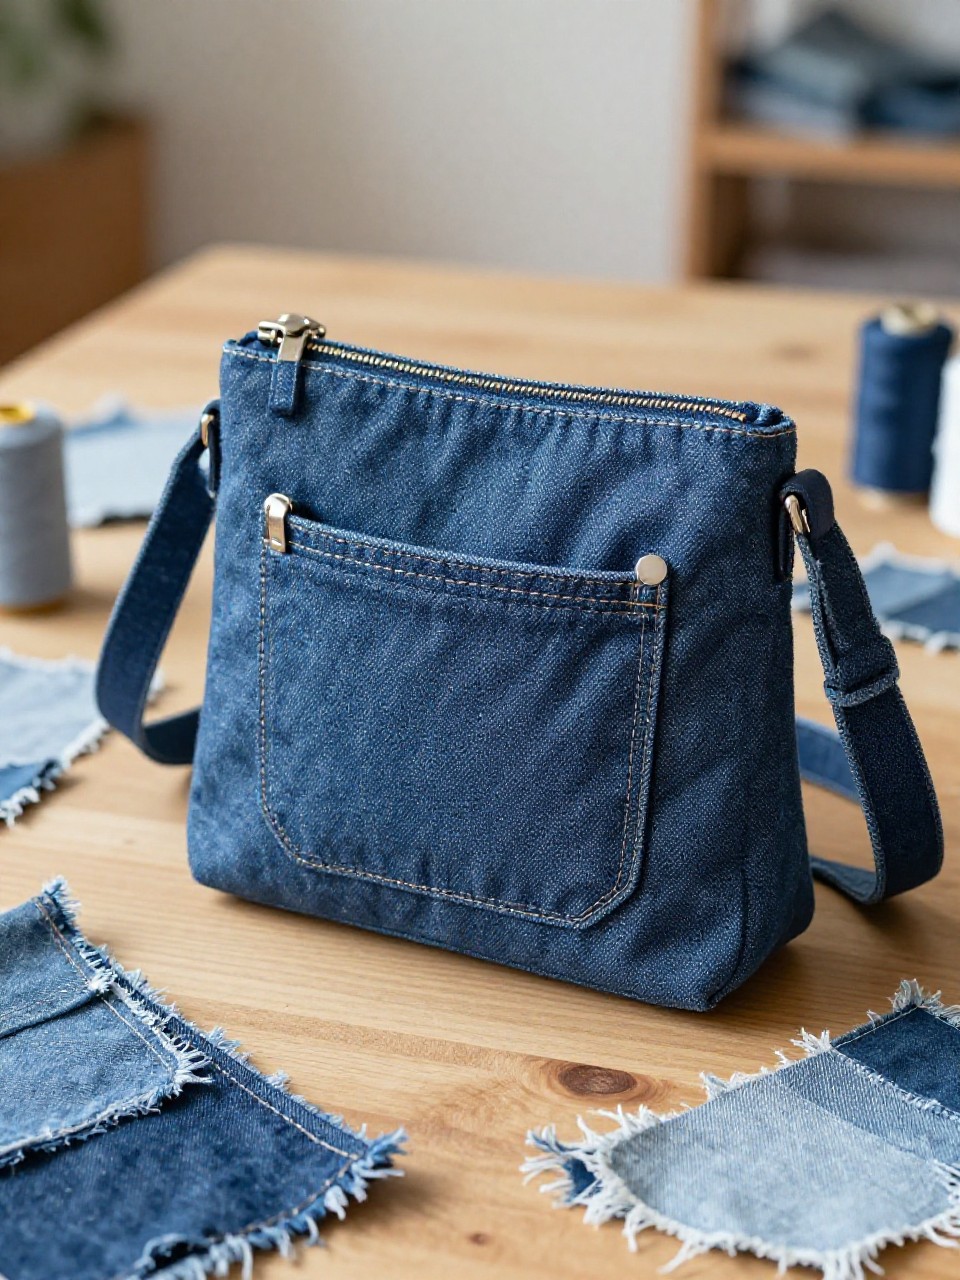
This cute mini bag looks like a jean pocket with a strap—sturdy, small, and trendy. Kids love reusing old jeans and showing off the pocket stitching as natural decoration.
Materials Needed:
- Old jeans pocket cut from jeans
- Fabric scissors
- Needle and thread or fabric glue
- Ribbon or braided yarn for strap
- Buttons or patches (optional)
How to make it:
- Cut out a full jeans pocket with some fabric around it; trim to a neat rectangle with the pocket still usable.
- Fold and glue or stitch the bottom and side edges to form a pouch if needed.
- Attach a ribbon or yarn strap to the top corners; add patches or buttons.
- Let dry and carry small items like coins or lip balm.
7. Fabric Scrap Zipper Pouch

This pouch looks like a colorful patchwork rectangle with a zipper on top. Kids enjoy choosing fabric scraps and learning a simple straight stitch or using fabric glue tape for a no-sew option.
Materials Needed:
- Fabric scraps
- Zipper (7–9 inches)
- Sewing machine or needle and thread
- Fabric glue tape (optional)
- Pins or clips
How to make it:
- Arrange scraps into two same-size rectangles; stitch or glue pieces to create two panels.
- Pin the zipper between the panels, right sides together; sew or glue along the zipper edges.
- Sew or glue around the sides and bottom; turn right side out.
- Press seams flat and fill with pencils or cards.
8. Paper Weaving Tote
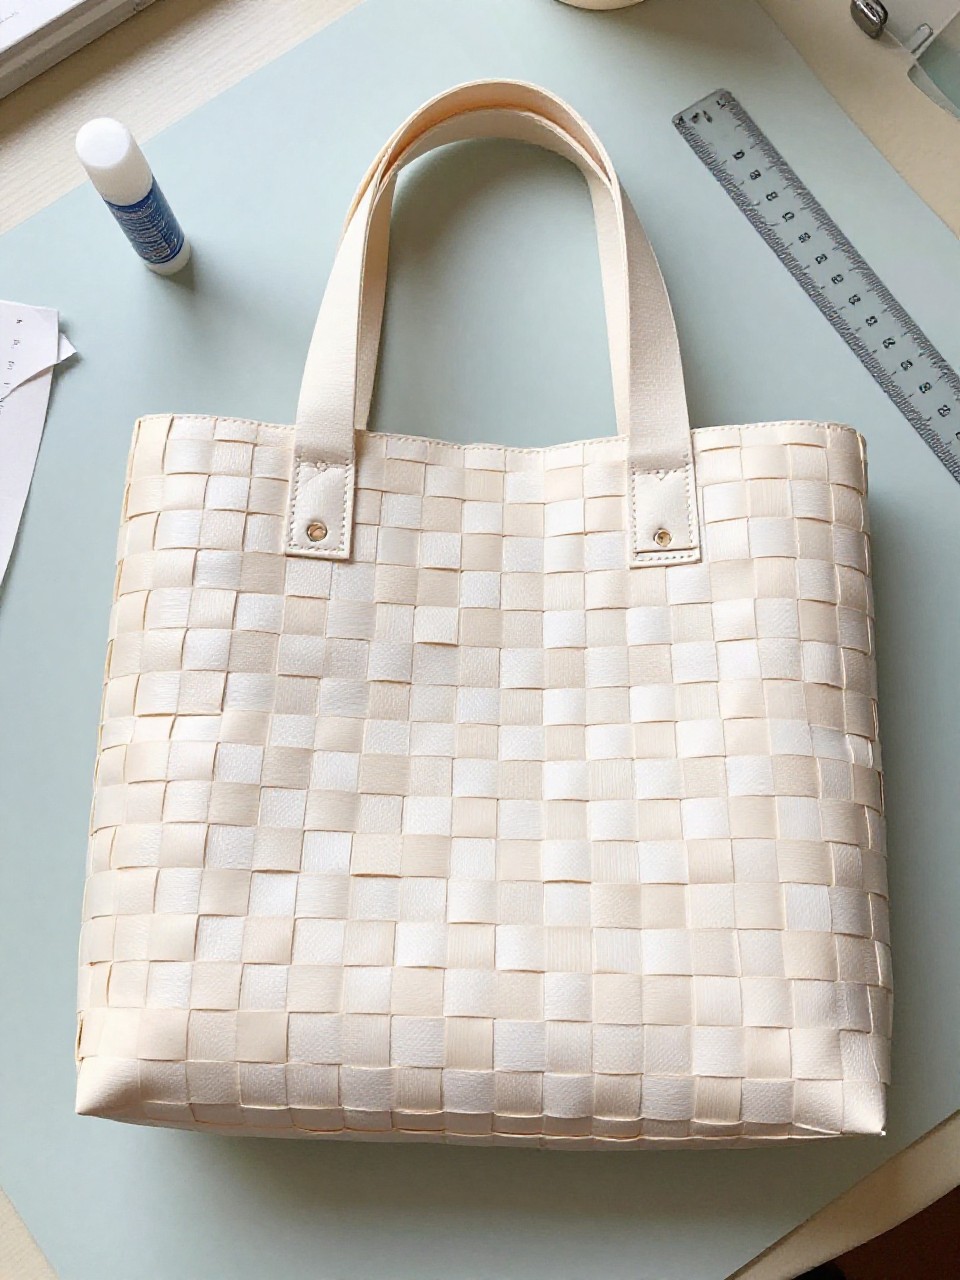
This tote looks like a bright woven checkerboard made from sturdy cardstock, with paper handles. Kids love the weaving pattern and how fast the bag comes together.
Materials Needed:
- Two colors of heavyweight cardstock
- Glue stick
- Ruler and pencil
- Scissors or paper trimmer
- Stapler or tape for handles
How to make it:
- Cut slits in one cardstock sheet, leaving a 1-inch border; cut strips from the second color.
- Weave strips over-under through the slits; glue ends to secure.
- Fold a second sheet into a matching panel; glue panels together on sides and bottom.
- Add paper handles with staples or tape, then decorate with markers.
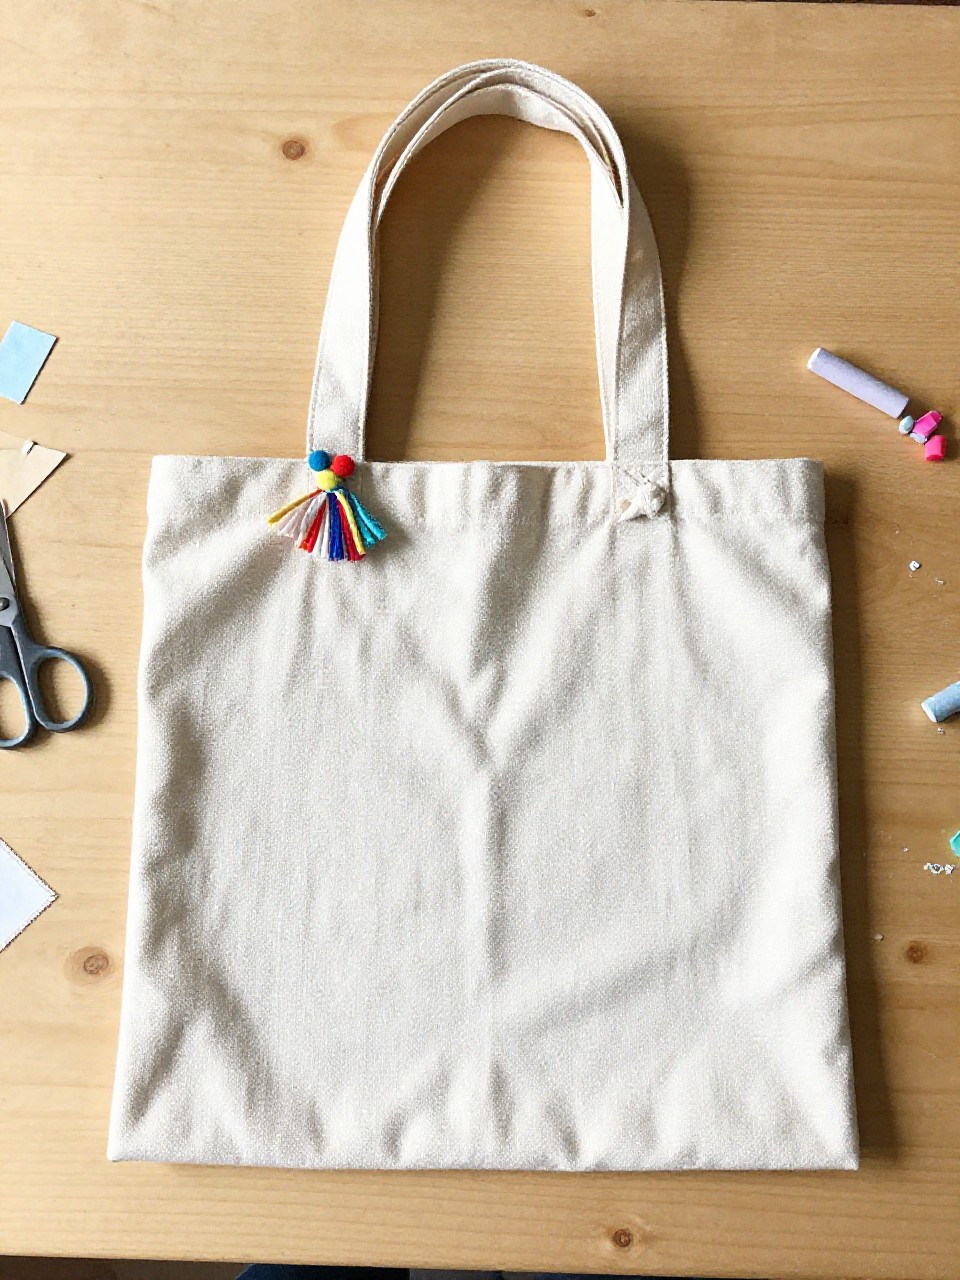
9. Painted Canvas Tote Upgrade
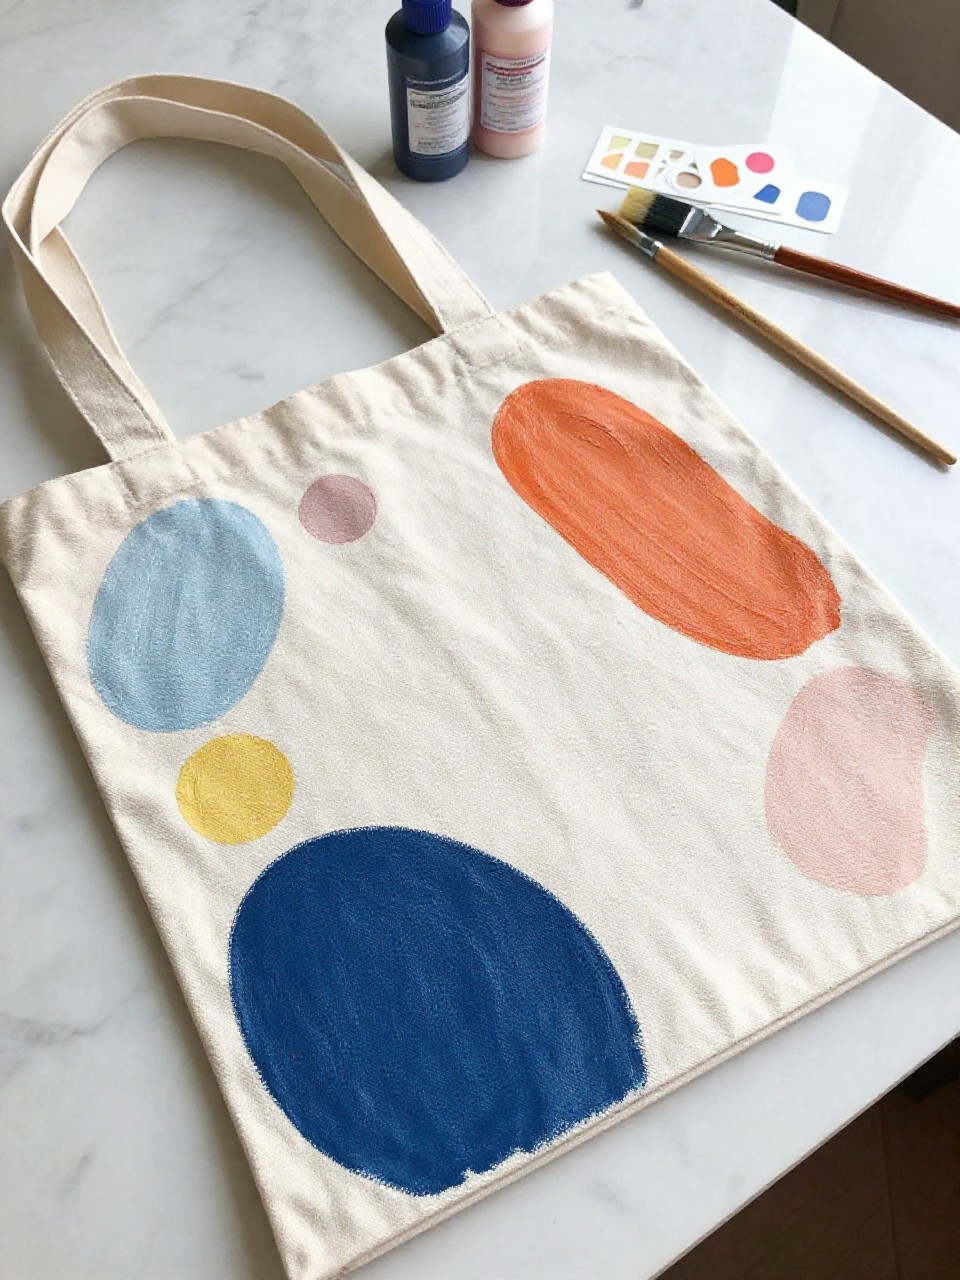
This looks like a plain canvas tote turned into art with painted shapes, stamps, and a name label. Kids enjoy seeing a blank bag become personal and colorful.
Materials Needed:
- Plain canvas tote bag
- Fabric paint or acrylic paint with fabric medium
- Painter’s tape and foam brushes
- Stencils or potato stamps
- Cardboard insert
How to make it:
- Slide cardboard inside the tote to prevent bleed-through.
- Use tape to mark shapes or place stencils; dab on paint with foam brushes or stamps.
- Add a name or simple pattern; remove tape for crisp lines.
- Let dry fully and heat-set if needed per paint instructions.
10. Drawstring Snack Sack
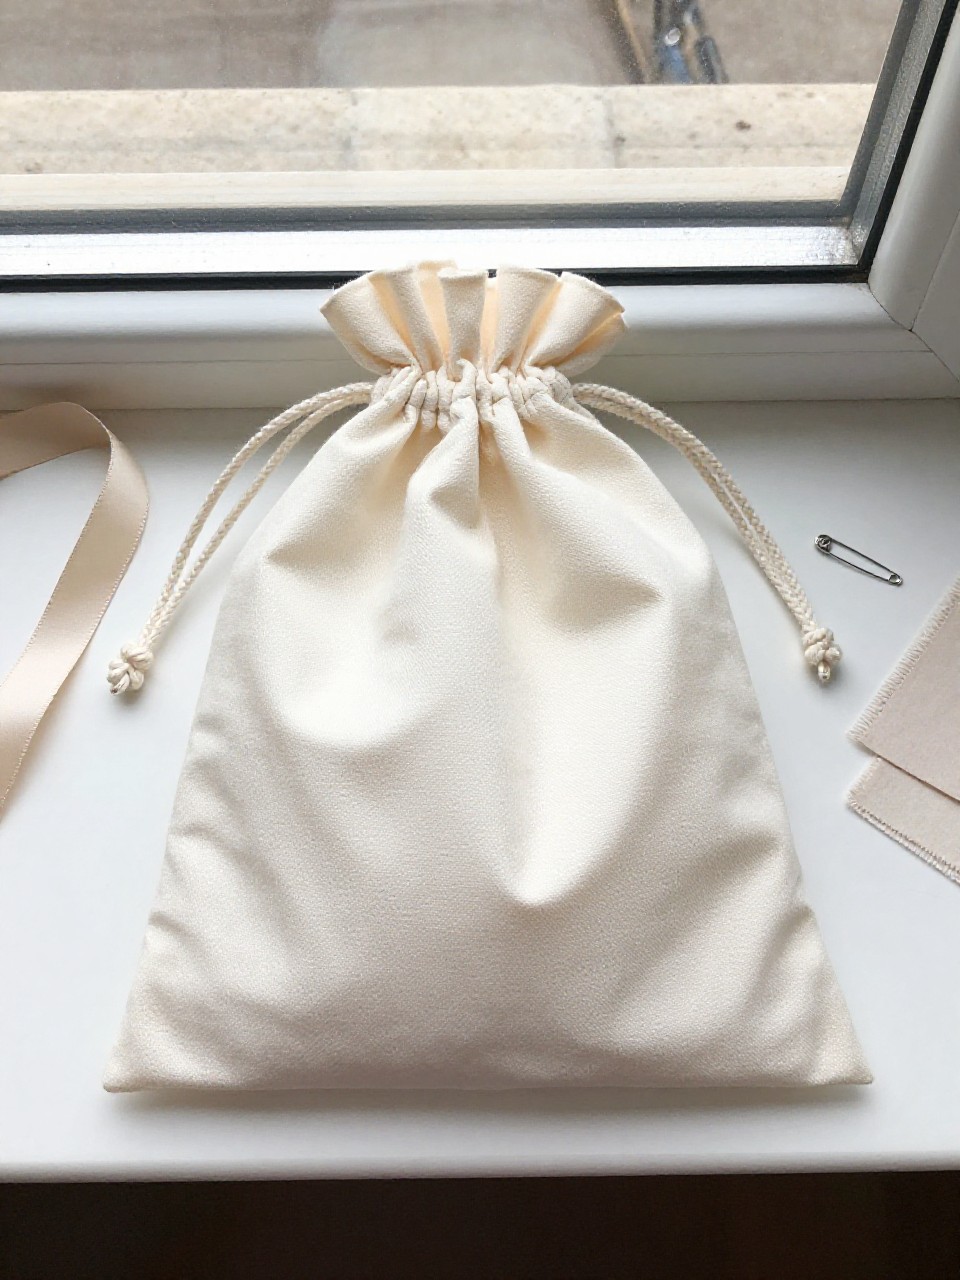
This small cloth bag looks like a tidy drawstring pouch sized for snacks or small toys. Kids like the quick pull-cord closure and picking fun fabric prints.
Materials Needed:
- Cotton fabric rectangle
- Ribbon or cord
- Safety pin
- Sewing machine or fabric glue
- Iron (optional)
How to make it:
- Fold fabric in half, right sides together; sew or glue sides, leaving a 1-inch top channel.
- Fold the top edge down to make the channel; sew or glue around, leaving a small opening.
- Thread ribbon through the channel with a safety pin and knot the ends.
- Turn right side out, press, and fill.
11. Duct Tape Messenger Bag
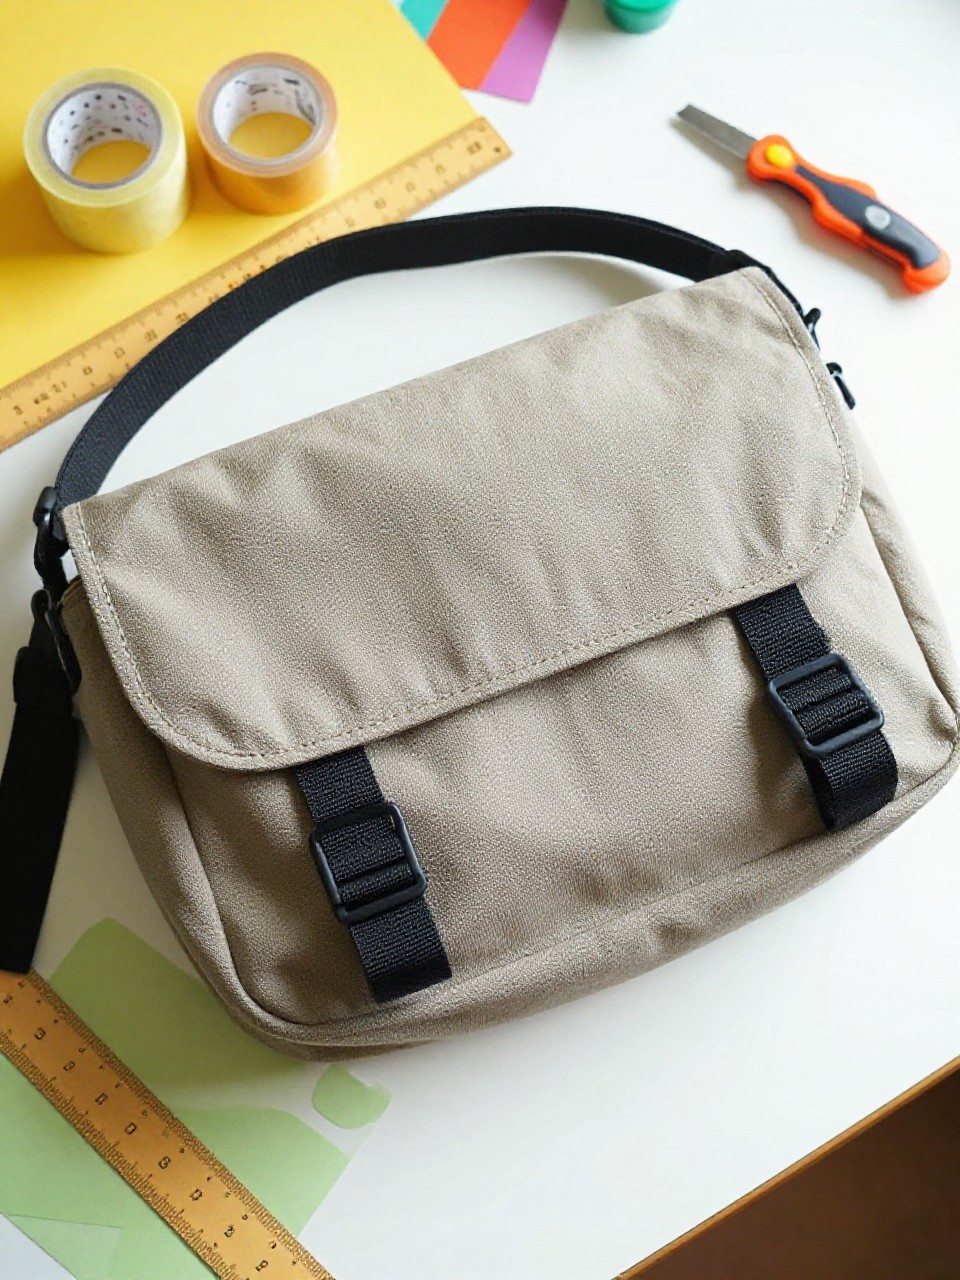
This bag looks like a sturdy, shiny messenger with a flap and long strap made entirely from duct tape and plastic sheeting. Kids enjoy choosing bold tape patterns and feeling how strong the bag becomes.
Materials Needed:
- Patterned duct tape
- Clear plastic sheet or heavy freezer bags
- Scissors or craft knife
- Ruler
- Velcro dots (optional)
How to make it:
- Create two duct-tape fabric panels by overlapping strips on plastic sheeting; trim to size.
- Tape panels together on sides and bottom; add an extra panel as a front flap.
- Fold and tape a long strap; attach securely to the sides.
- Add Velcro dots under the flap, then press seams tight.
12. Sock Coin Purse with Clip
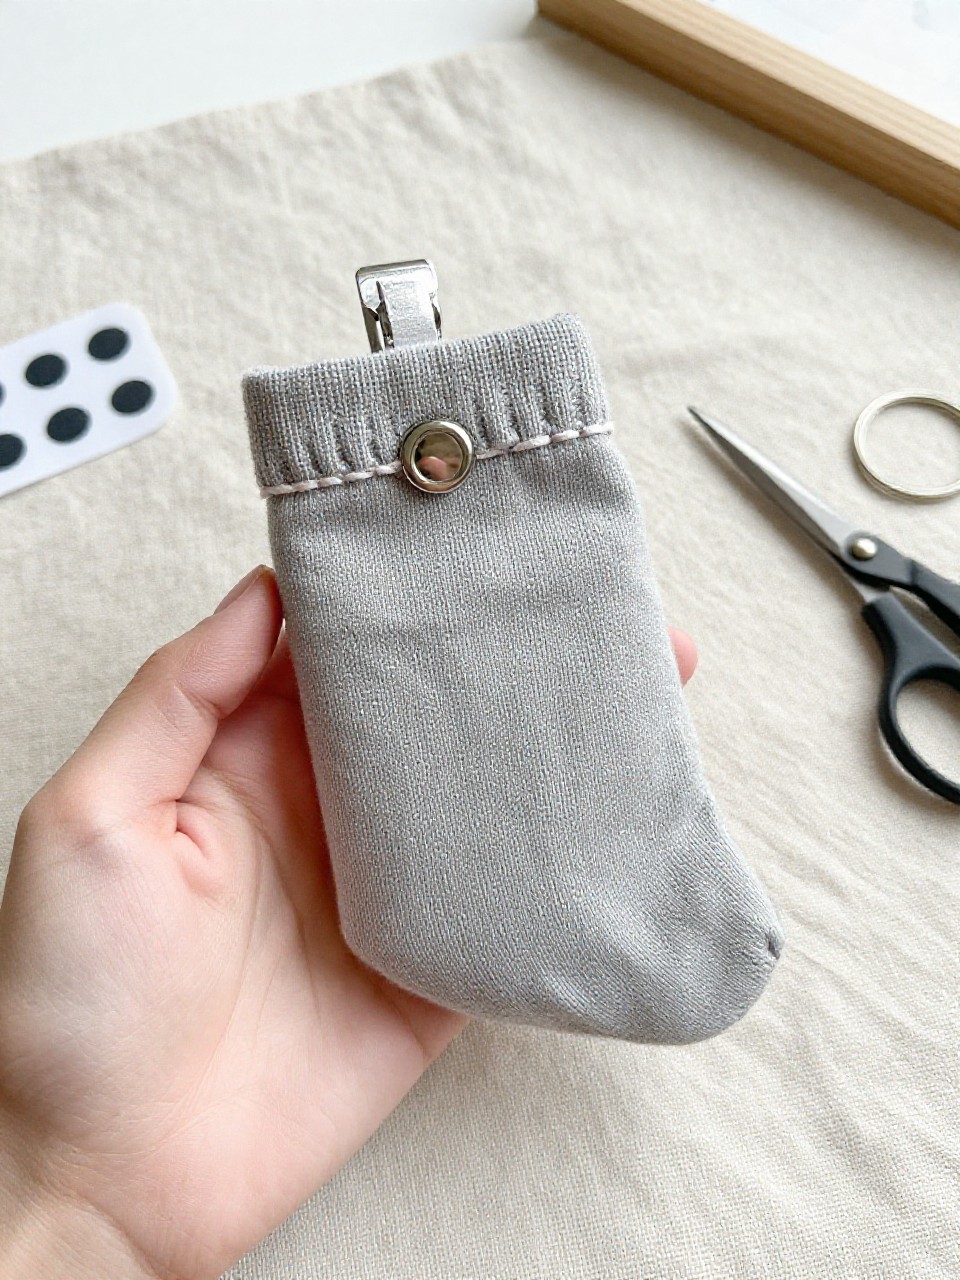
This tiny bag looks like a cozy coin purse made from a cute patterned sock with a keyring clip. Kids love how fast it comes together and how squishy it feels.
Materials Needed:
- Clean ankle sock
- Needle and thread or fabric glue
- Keyring or carabiner clip
- Small piece of elastic or Velcro
- Scissors
How to make it:
- Cut the sock just above the heel to make a tube; turn inside out.
- Stitch or glue the cut end closed; turn right side out.
- Add a small elastic loop or Velcro at the cuff for closure; sew keyring to the side seam.
- Let glue dry, then clip it to a backpack or belt loop.