


Table of Contents Show
Keeping kids busy on a rainy afternoon or finding a quick classroom project can be tough. Tote bags are a simple, useful canvas that turn craft time into something you can actually use.
This list gives you fun, beginner-friendly ways to decorate plain totes with paint, fabric scraps, and easy tools. You’ll get clear steps, simple materials, and ideas kids love, all in one place.
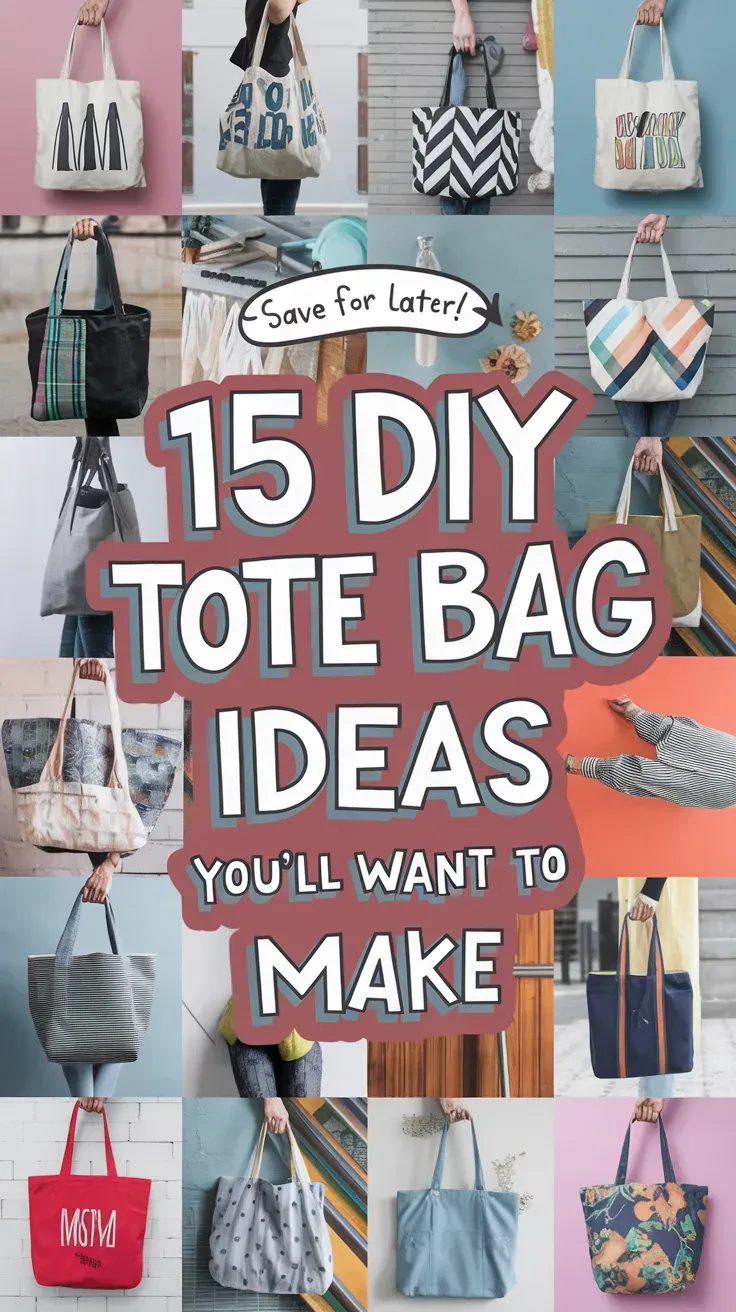
Let’s jump into 15 DIY tote bag ideas you’ll want to make.
1. Rainbow Stamp Tote
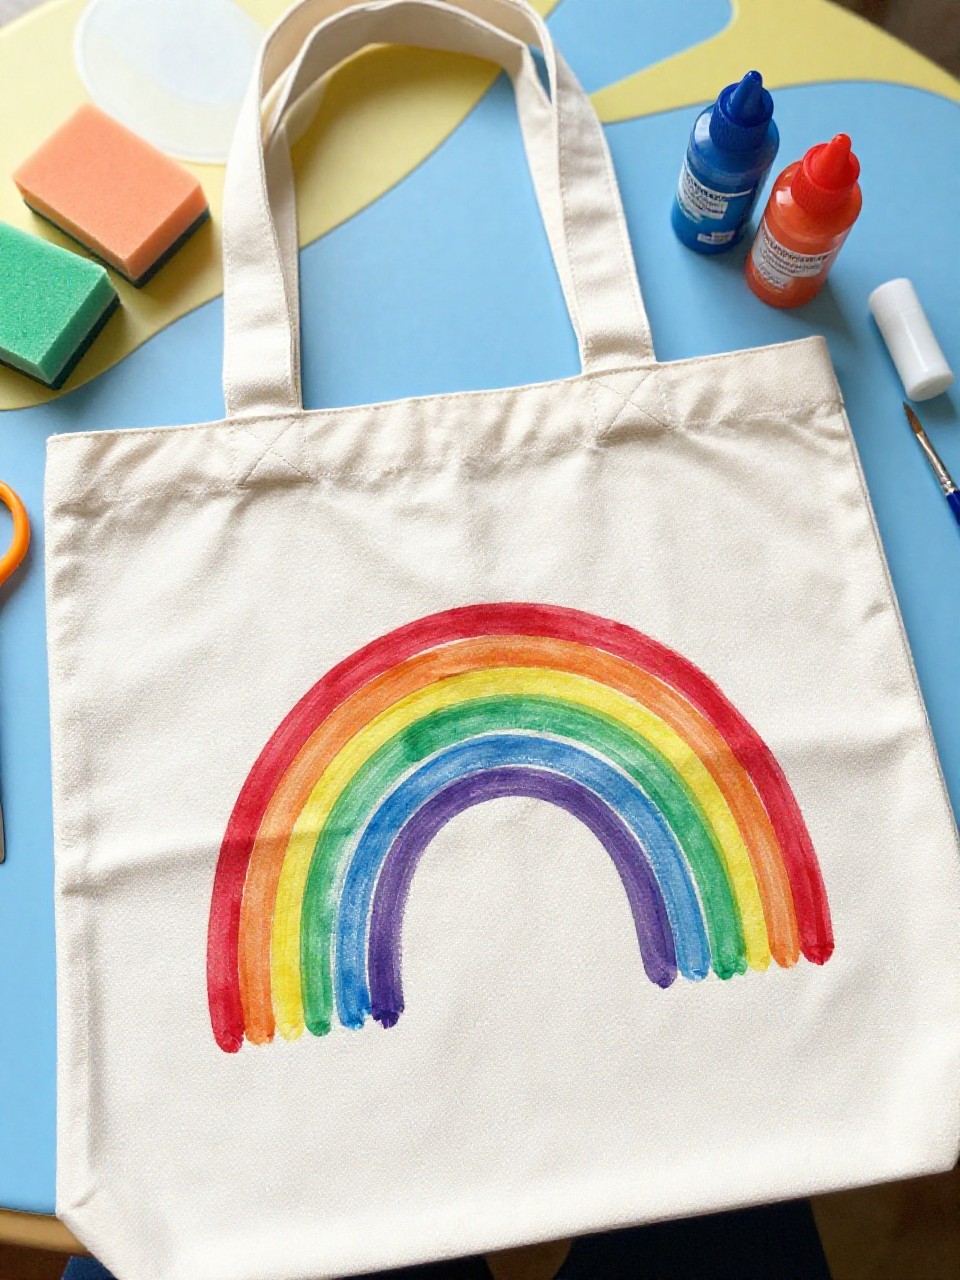
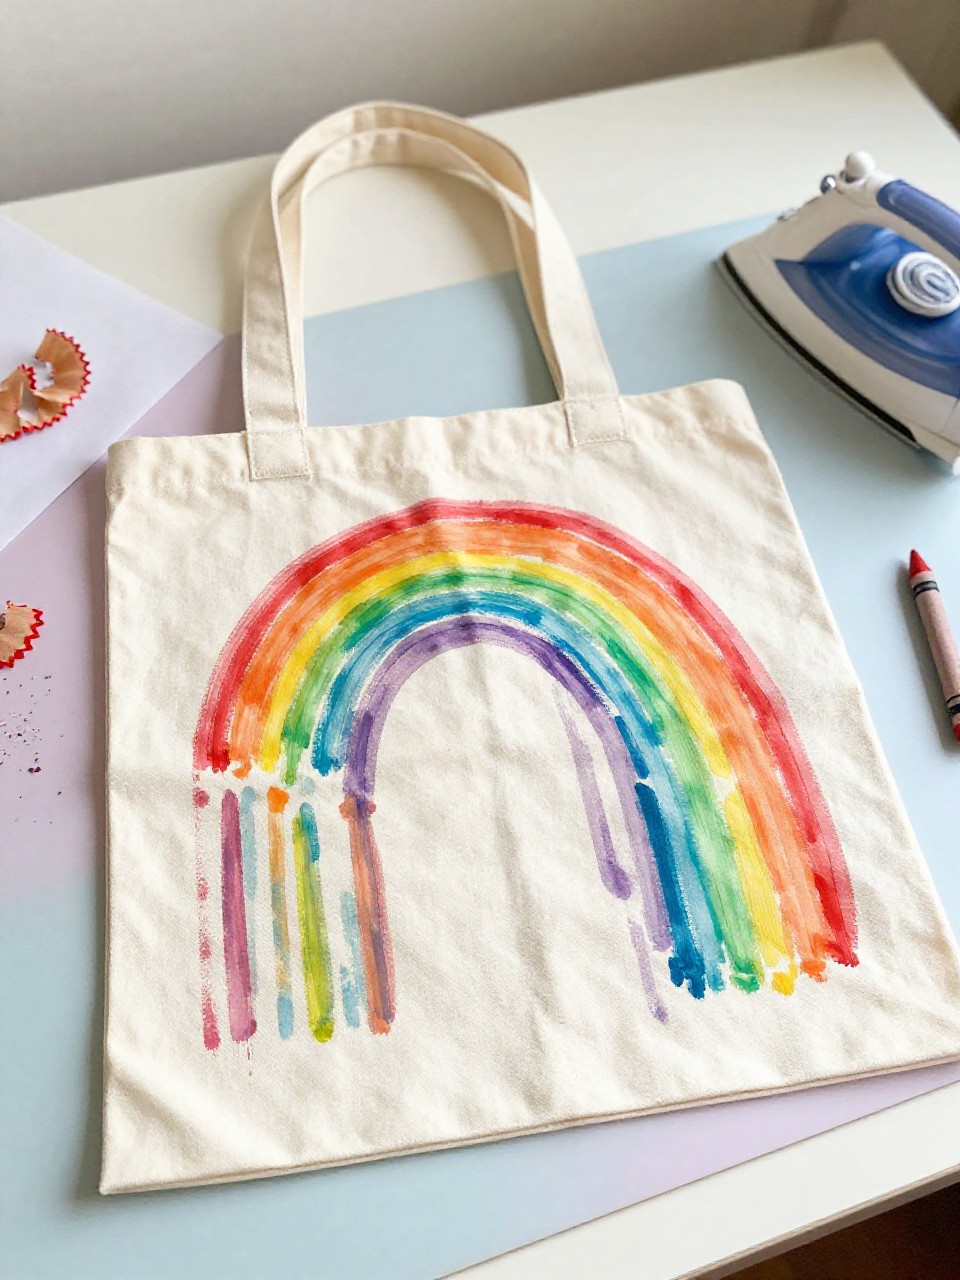
This tote features bold rainbow arcs stamped across the front using cut sponges, creating soft, cheerful bands of color. Kids love the quick stamping motion and seeing the colors blend as they layer; it’s simple and very satisfying for beginners.
Materials Needed:
For People Who Love to Make Things ✂️
- Plain cotton tote bag (light color)
- Fabric paint in rainbow colors
- Kitchen sponge (cut into arc shapes)
- Paper plate palette
- Painter’s tape (optional for guides)
How to make it:
- Slide cardboard inside the tote to prevent bleed-through.
- Dip sponge arcs in fabric paint and stamp rainbow bands across the bag.
- Add small clouds or stars with a brush or fingertip dots.
- Let dry fully, then heat-set per paint instructions before using.
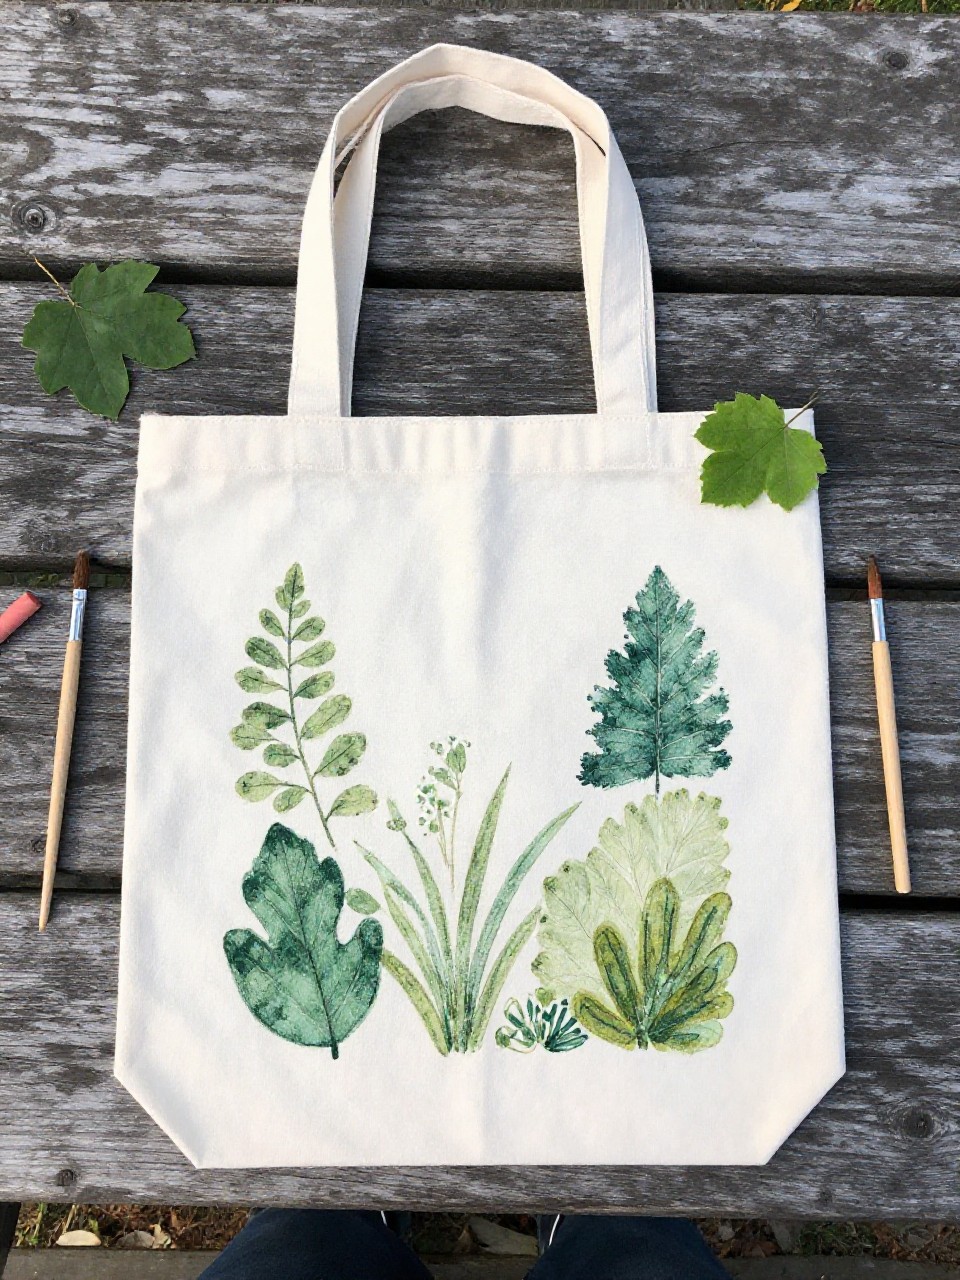
2. Garden Stencil Tote
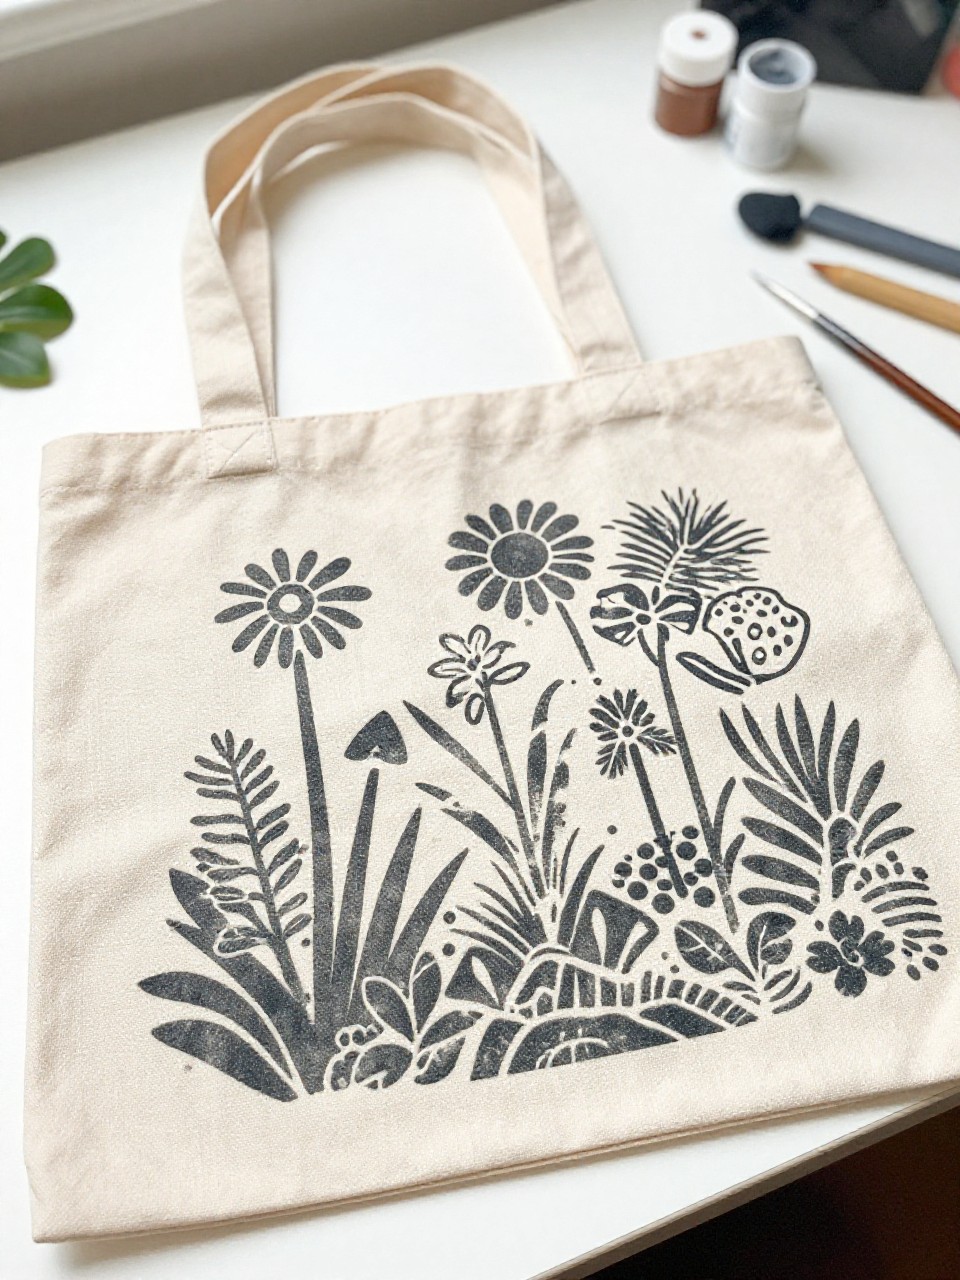
This tote shows a fresh garden scene with stenciled leaves and simple flowers in soft greens and pinks. Kids enjoy holding the stencil and dabbing paint to reveal crisp shapes—easy, neat, and great for beginners.
Materials Needed:
- Plain cotton tote bag
- Leaf and flower stencils
- Fabric paint (green, pink, yellow)
- Foam pouncers or sponge
- Masking tape (to hold stencils)
How to make it:
- Place cardboard inside tote and tape stencils where you want the design.
- Pounce paint over the stencil openings using light dabs.
- Lift stencils and add centers, dots, or tiny bugs with a brush.
- Dry completely and heat-set according to paint directions.
3. Potato Print Polka Dot Tote
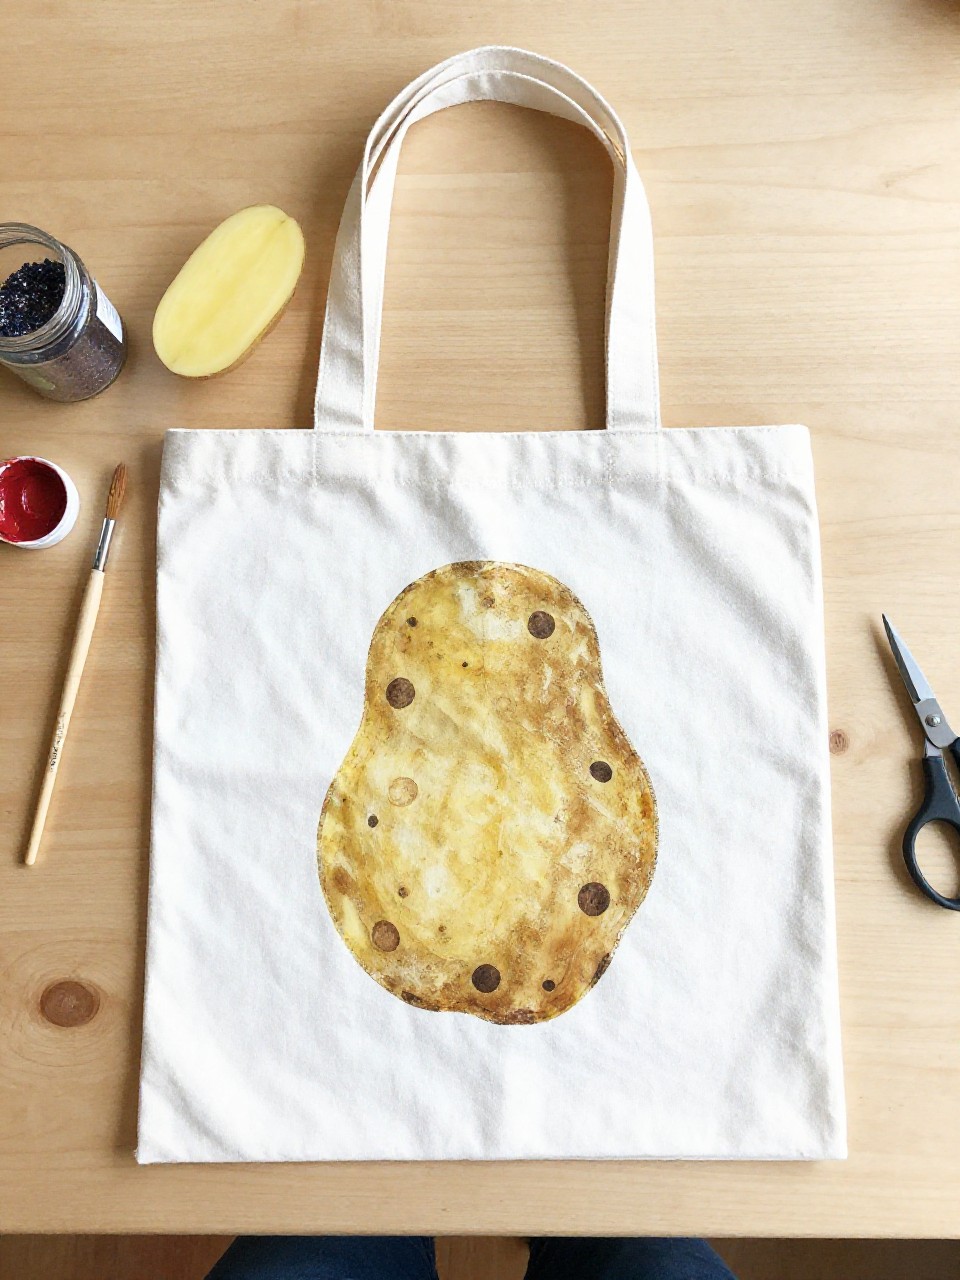
This tote is covered in playful polka dots made from potato stamps, creating a simple, modern pattern. Kids love pressing the potato into paint and discovering how each dot looks a little different.
Materials Needed:
- Plain cotton tote bag
- One potato, halved flat
- Fabric paint (2–3 colors)
- Paper towels
- Cardboard insert
How to make it:
- Insert cardboard and pat potato halves dry.
- Dip the flat side in paint, blot once, and stamp dots across the tote.
- Layer colors and overlap a few dots for variety.
- Let dry, then heat-set per paint instructions.
4. Handprint Heart Tote
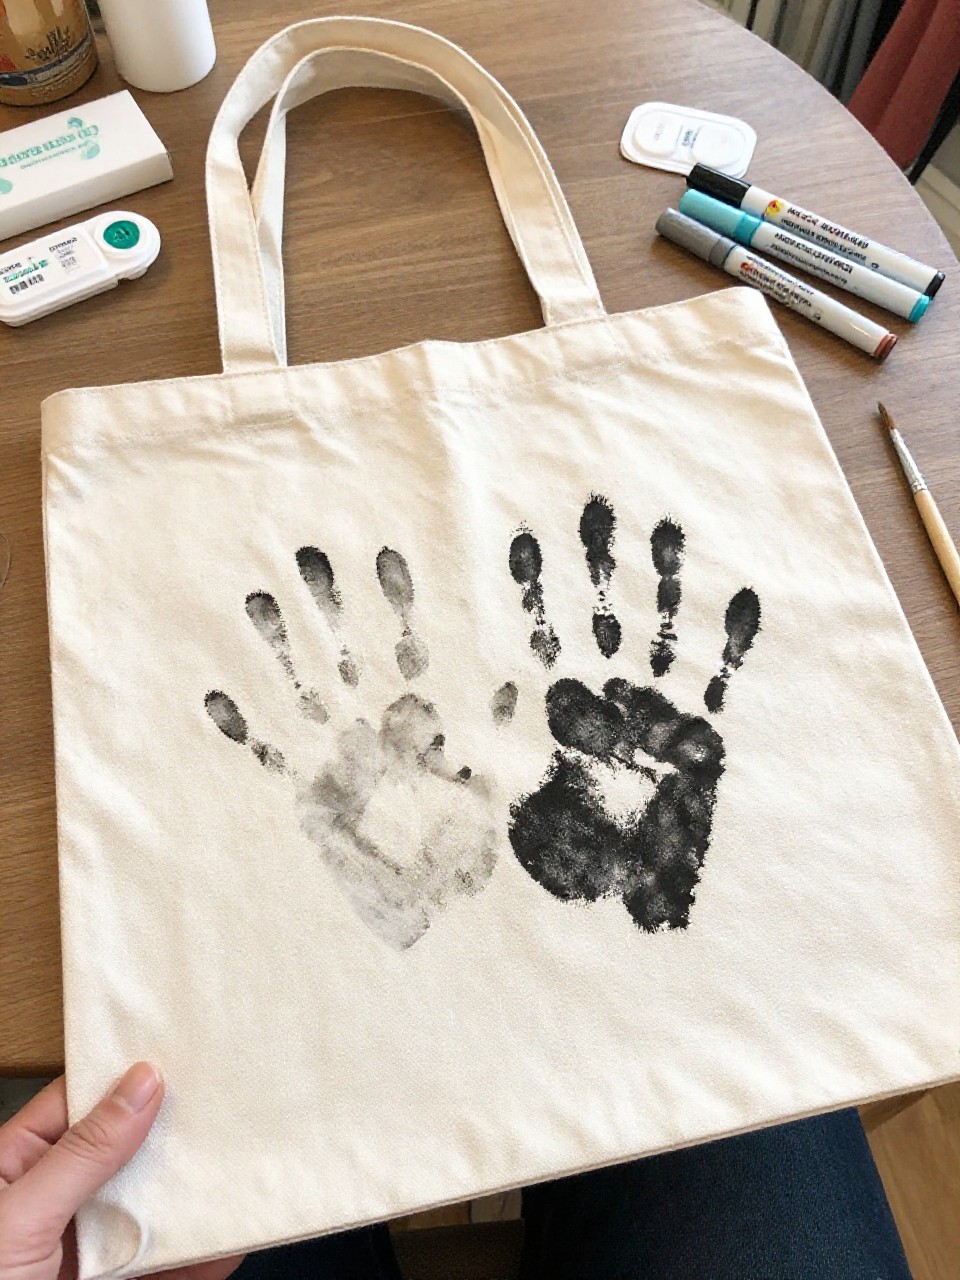
This tote shows two bright handprints overlapping to form a heart shape in the middle. Kids love seeing their own hands become art, and it makes a sweet gift for parents or teachers.
Materials Needed:
- Plain cotton tote bag
- Fabric paint (red or pink)
- Chalk or pencil (light guide)
- Wet wipes
- Cardboard insert
How to make it:
- Insert cardboard and lightly sketch a heart outline.
- Paint child’s hand and press along one half, then repeat mirrored on the other side.
- Add a name and date with a paint marker.
- Dry and heat-set as directed.
5. Sponge Ombre Stripe Tote
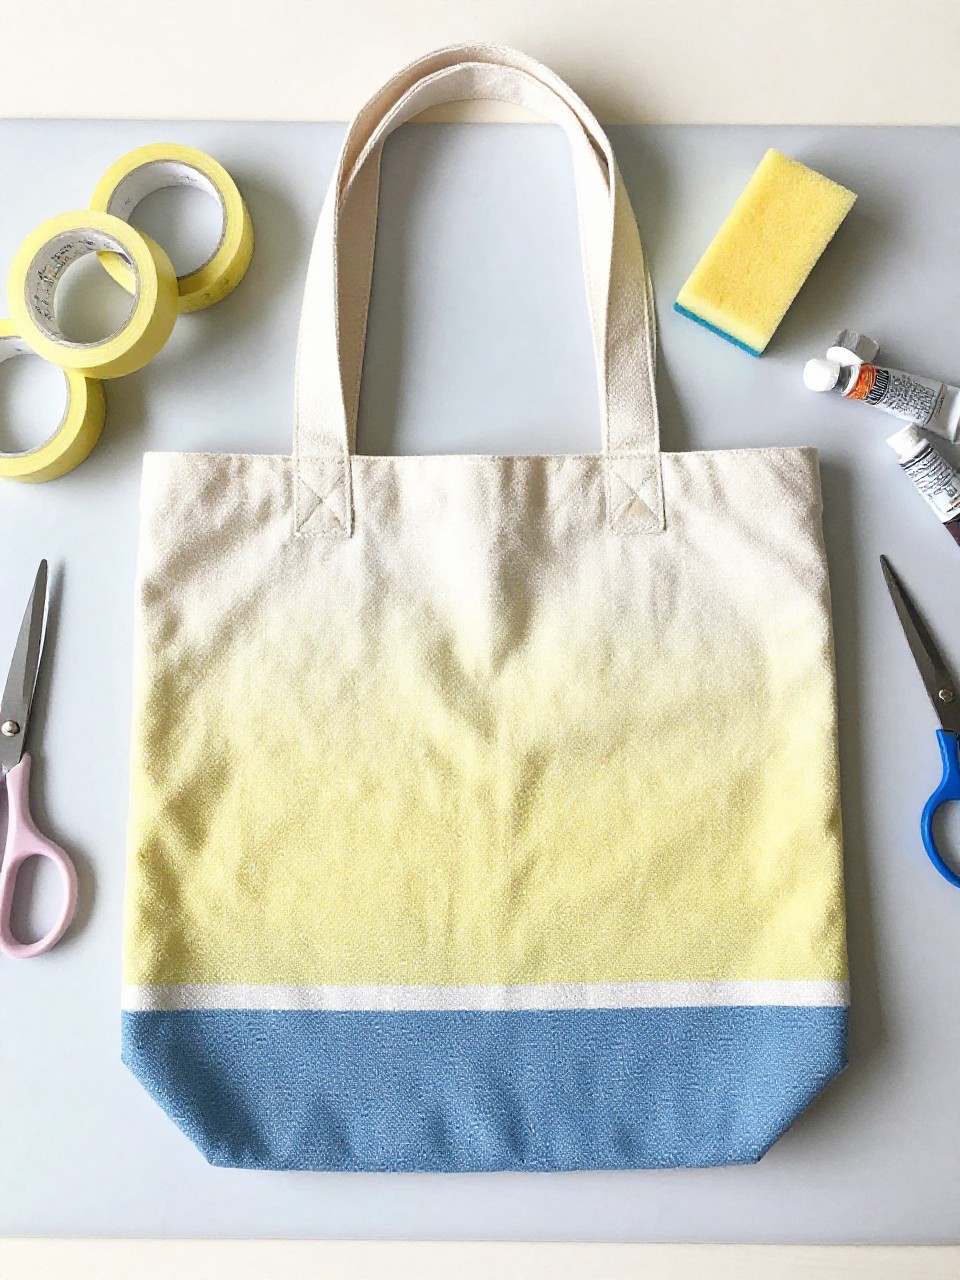
This tote features soft ombre stripes that fade from dark to light across the fabric. Kids enjoy dragging the sponge to see the colors blend smoothly—easy, calm, and pretty.
Materials Needed:
- Plain cotton tote bag
- Fabric paint (one color plus white)
- Rectangular sponge
- Painter’s tape
- Cardboard insert
How to make it:
- Tape horizontal lines to mark stripes; insert cardboard.
- Mix paint with varying amounts of white for gradients and sponge on each stripe.
- Peel tape and touch up edges as needed.
- Dry thoroughly and heat-set.
6. Felt Fruit Patch Tote
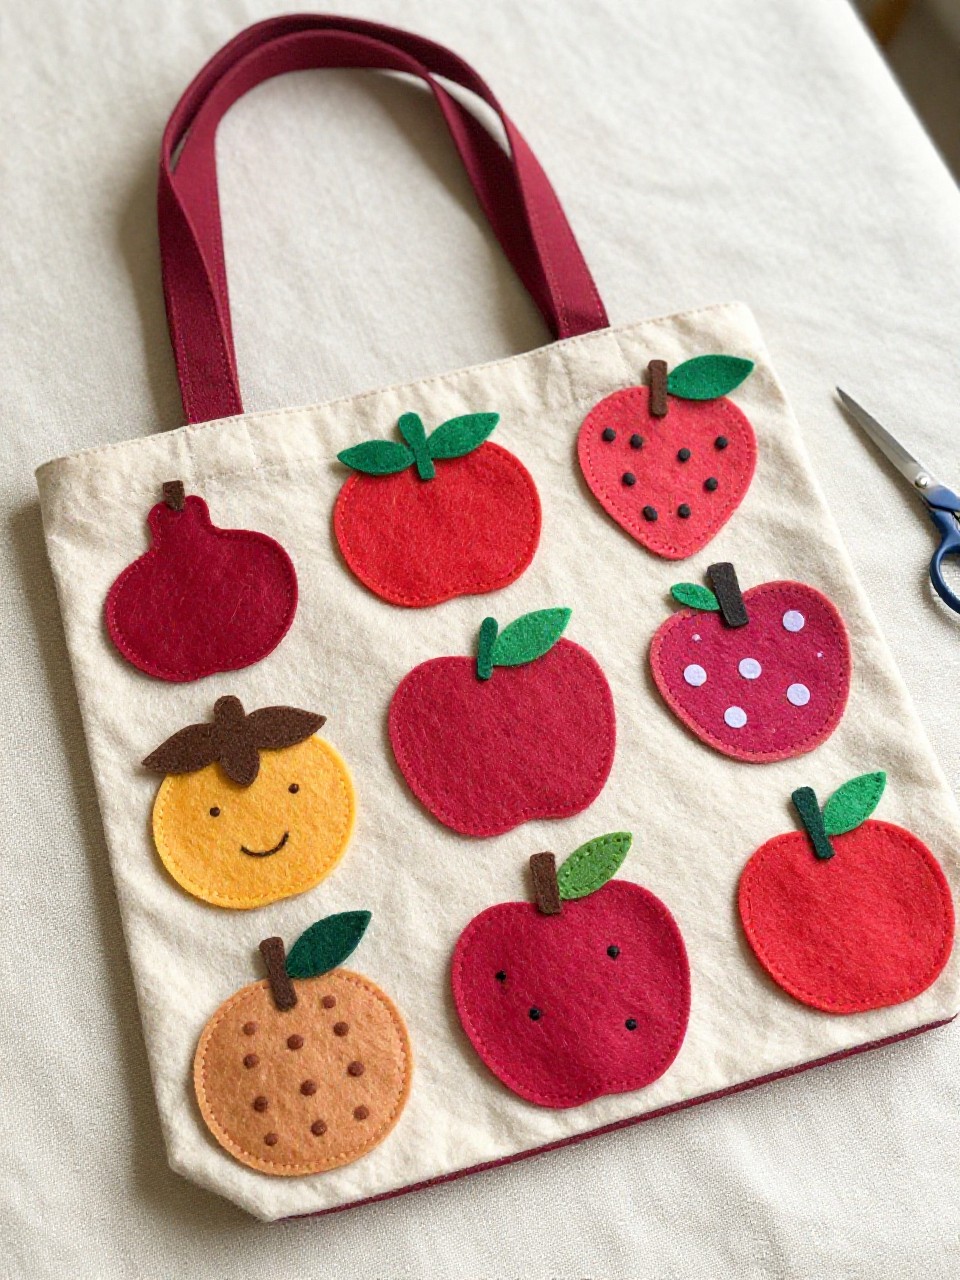
This tote has cute felt fruit patches—like strawberries, lemons, and cherries—stitched or glued onto the front. Kids love choosing bright colors and simple shapes, and the felt gives a soft, friendly look.
Materials Needed:
- Plain cotton tote bag
- Assorted felt sheets (red, yellow, green)
- Fabric glue or needle and thread
- Paper for templates
- Fabric marker (optional)
How to make it:
- Cut paper templates, then trace and cut felt fruit shapes and leaves.
- Arrange fruit on tote and glue or stitch in place.
- Add seeds and highlights with fabric marker or tiny felt bits.
- Let glue dry fully before using.
7. Nature Rubbing Tote
This tote shows delicate leaf veins and textures made by crayon rubbings sealed with clear fabric medium. Kids love gathering leaves outdoors and watching hidden patterns appear.
Materials Needed:
- Plain cotton tote bag
- Fresh or dried leaves (flat)
- Fabric crayons or wax crayons
- Fabric medium (clear) or heat-set instructions for fabric crayons
- Cardboard insert
How to make it:
- Place leaves vein-side up under the tote with cardboard inside.
- Rub crayons sideways over the fabric to reveal leaf shapes.
- Seal with fabric medium if using regular crayons, or heat-set fabric crayons.
- Let dry before carrying.
8. Masking Tape Monogram Tote
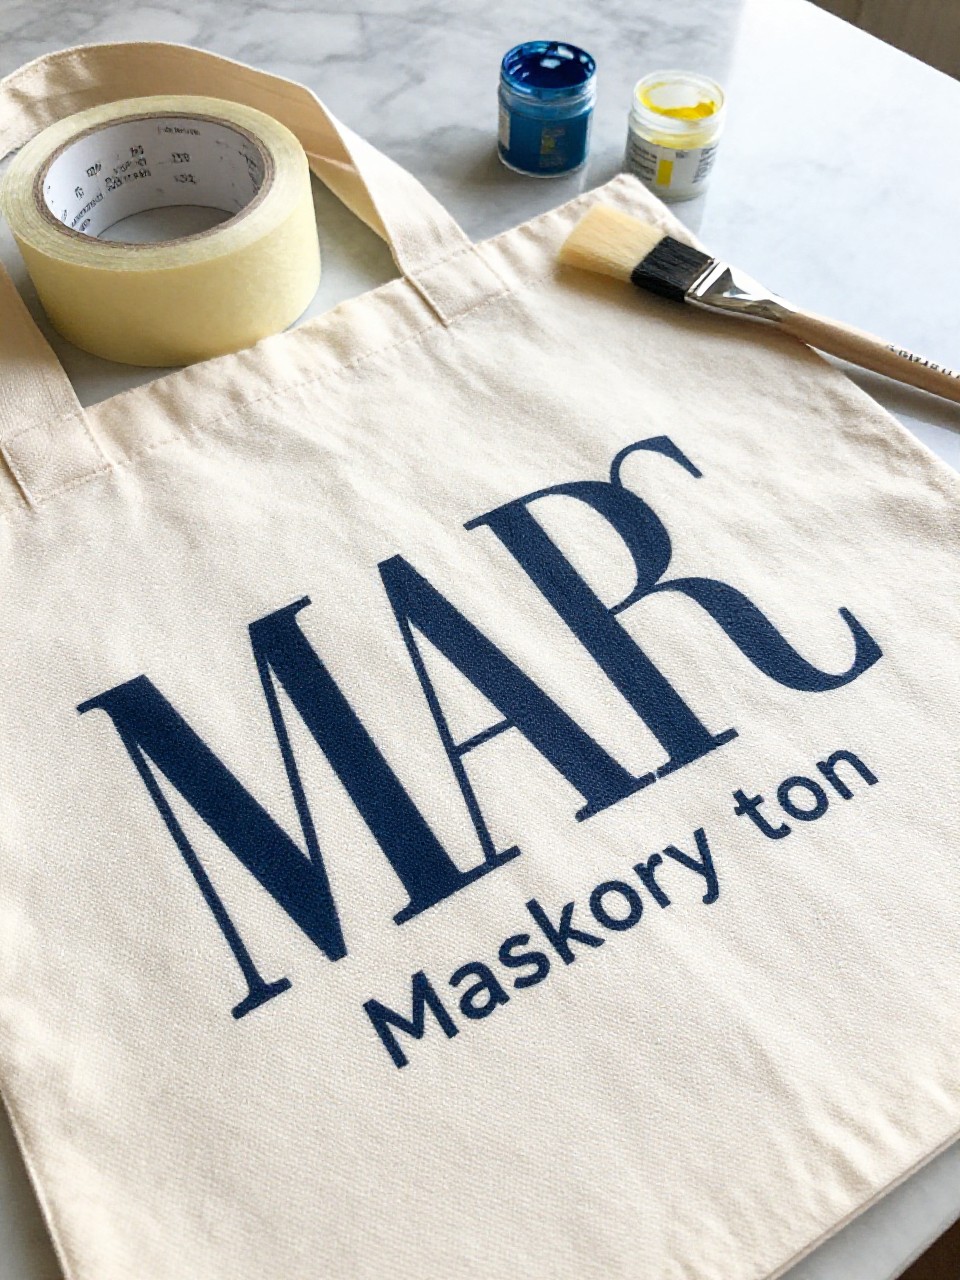
This tote features a bold initial made by masking tape resist, filled with colorful paint splashes. Kids enjoy peeling the tape to reveal a crisp letter—big impact with low effort.
Materials Needed:
- Plain cotton tote bag
- Painter’s tape or washi tape
- Fabric paint (assorted colors)
- Foam brush or sponge
- Cardboard insert
How to make it:
- Tape a large block letter on the tote; press edges well.
- Dab or brush paint around and inside the taped shape.
- Add dots or splatters, then carefully peel tape.
- Dry and heat-set per paint directions.
9. Tie-Dye Spiral Tote
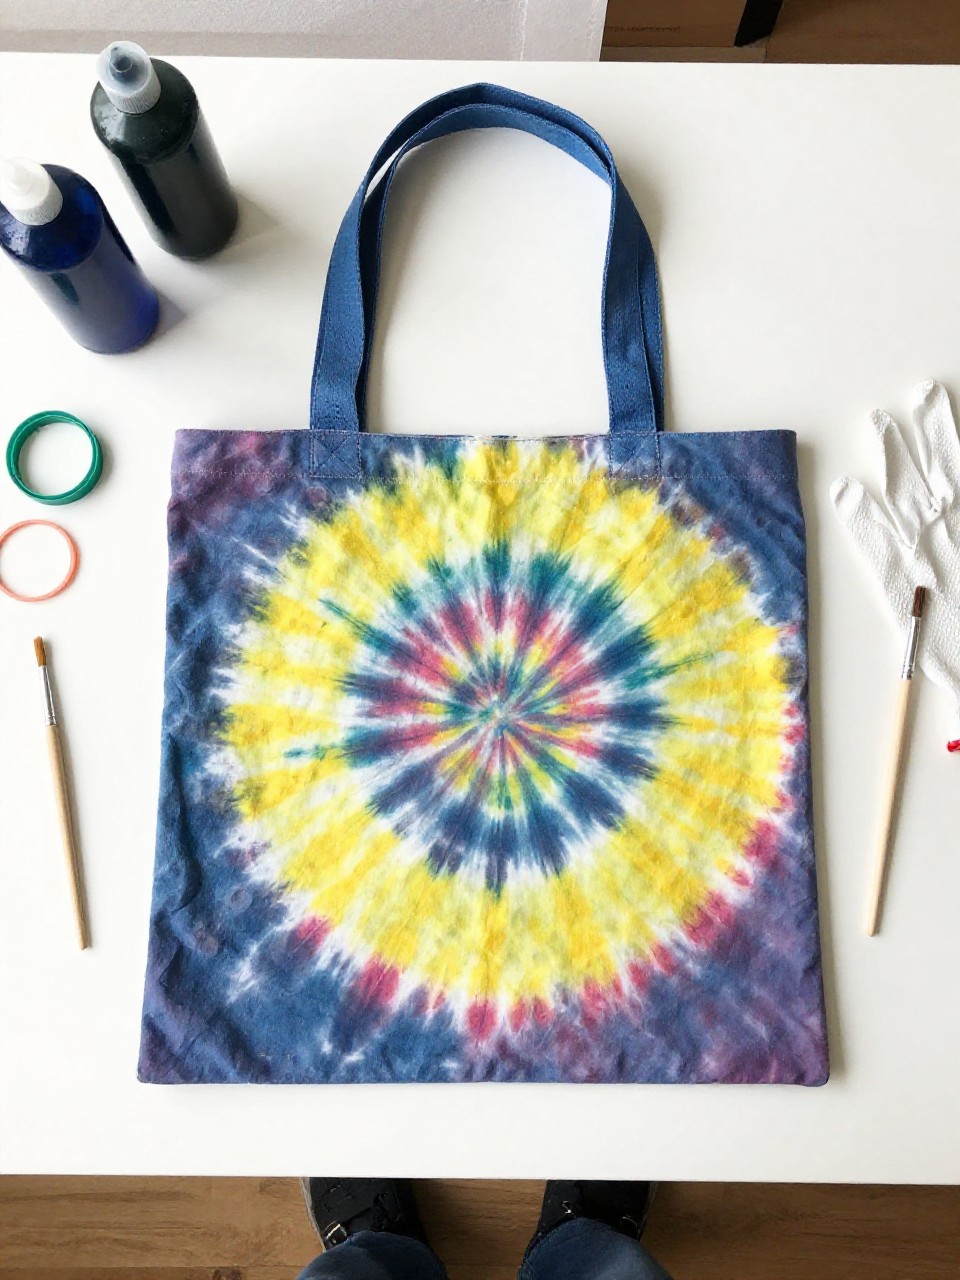
This tote shows a classic spiral burst of color made with simple tie-dye. Kids love the surprise reveal when the rubber bands come off, and every bag looks unique.
Materials Needed:
- Plain cotton tote bag
- Tie-dye kit (colors of choice)
- Rubber bands
- Plastic table cover and gloves
- Zip bag for setting dye
How to make it:
- Dampen tote, pinch center, and twist into a spiral; secure with rubber bands.
- Apply dye to each section, flipping to saturate both sides.
- Seal in a zip bag to set, then rinse, wash, and dry per kit instructions.
- Iron if needed.
10. Stamped Animal Silhouette Tote
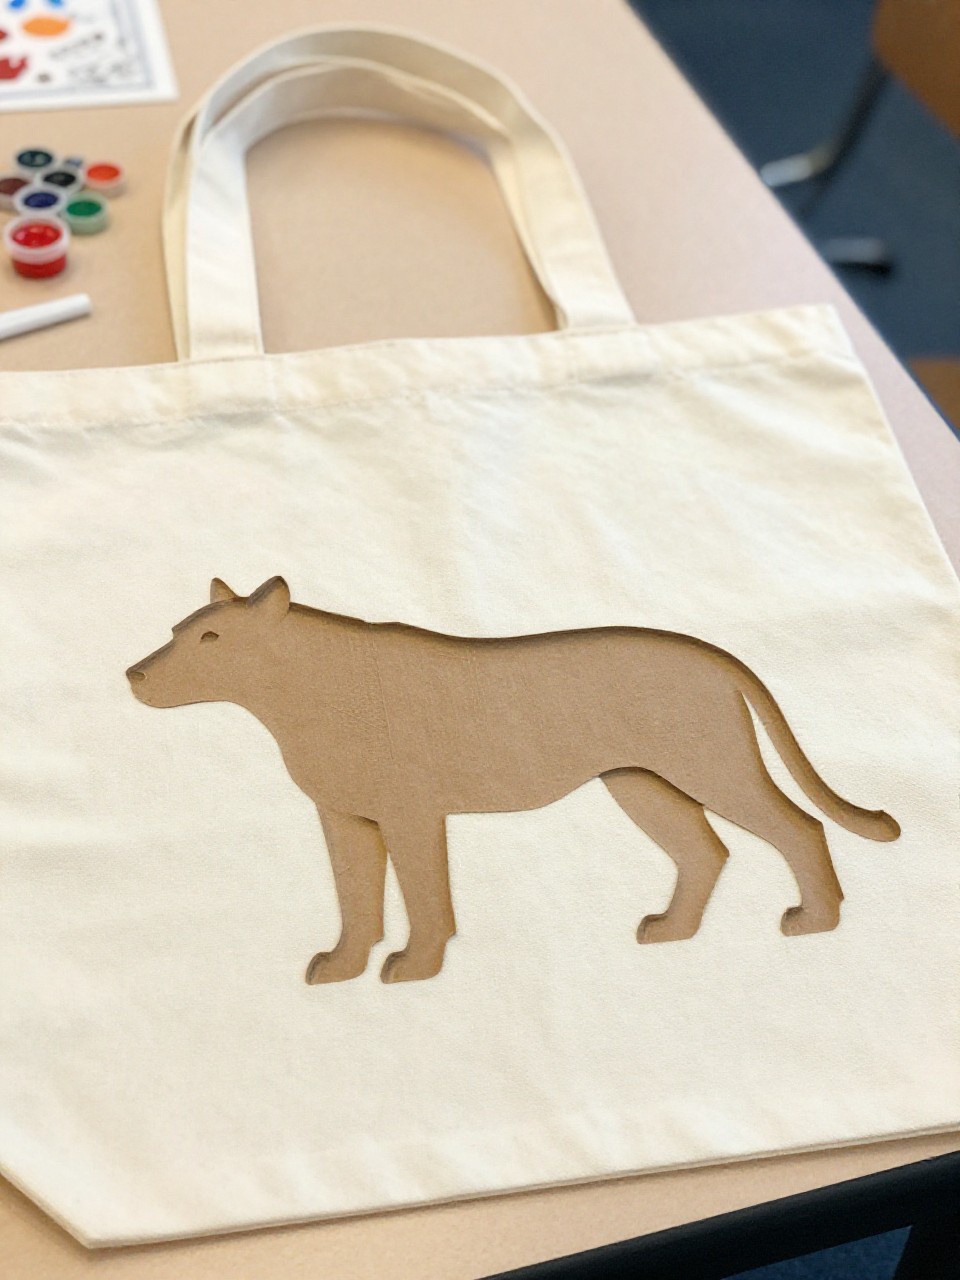
This tote has a solid animal silhouette—like a cat, whale, or bird—filled with small stamped shapes. Kids enjoy choosing their favorite animal and building it from tiny marks.
Materials Needed:
- Plain cotton tote bag
- Printable animal silhouette (cut-out)
- Fabric paint and small stamps (stars, dots)
- Foam pouncer or brush
- Cardboard insert
How to make it:
- Cut out the silhouette to make a large stencil; tape it onto the tote.
- Stamp small shapes inside the opening with fabric paint.
- Remove stencil and add an eye or tiny detail with a marker.
- Dry and heat-set.
11. Fabric Scrap Patchwork Tote
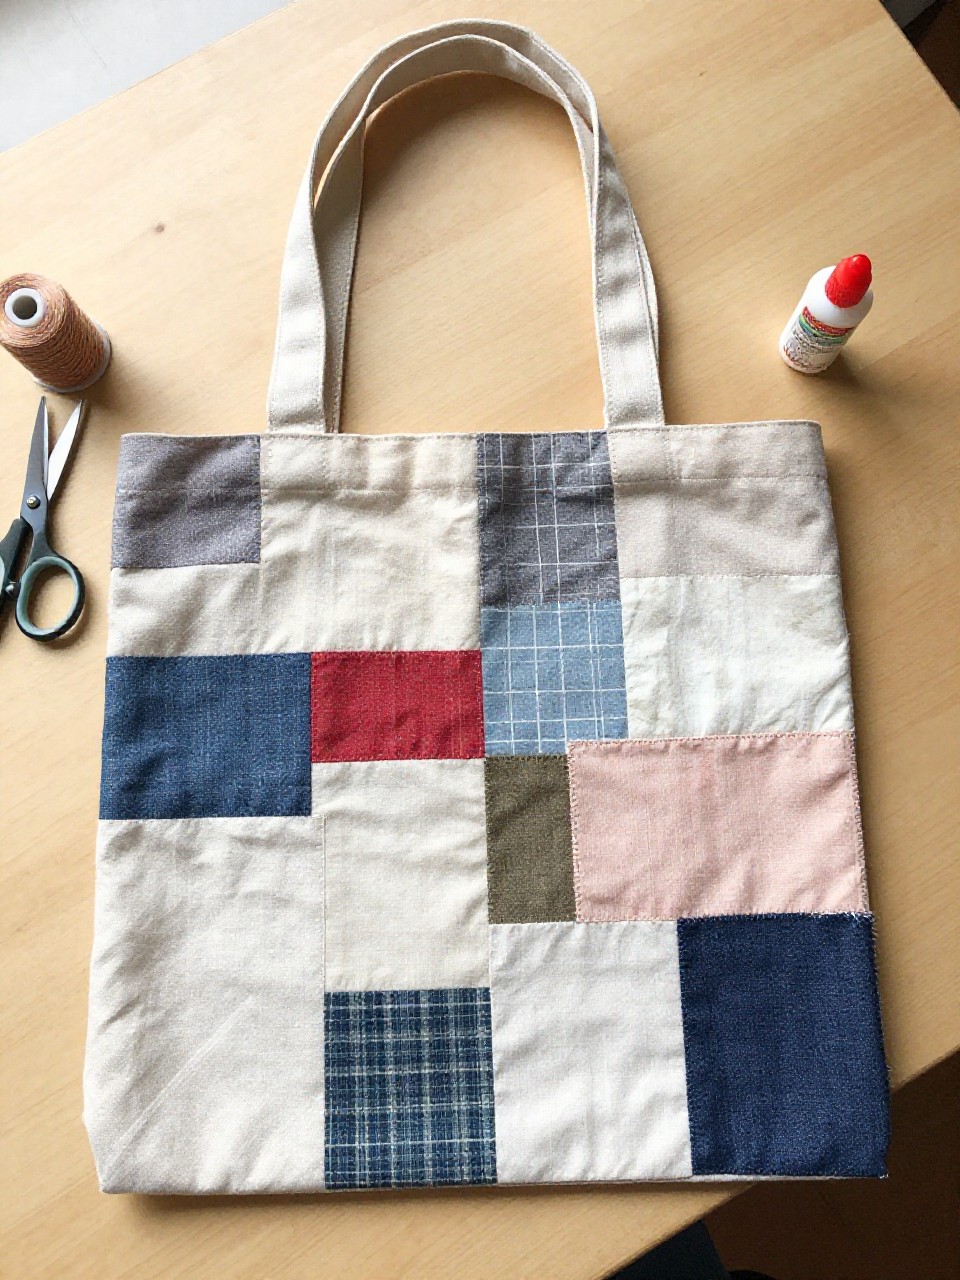
This tote features a cozy patchwork panel made from colorful fabric scraps. Kids love arranging the pieces like a puzzle and seeing the mix of patterns come together.
Materials Needed:
- Plain cotton tote bag
- Fabric scraps (cotton)
- Fabric glue or fusible web and iron
- Scissors and ruler
- Needle and thread (optional topstitch)
How to make it:
- Cut scraps into simple squares or rectangles.
- Arrange a panel on the tote and glue or fuse pieces in place.
- Add a simple hand stitch or topstitch around edges if desired.
- Let set and press lightly.
12. Puffy Paint Doodle Tote
This tote is covered with raised doodles—swirls, stars, and friendly words—made with puffy fabric paint. Kids enjoy squeezing the bottles and feeling the textured lines after it dries.
Materials Needed:
- Plain cotton tote bag
- Puffy fabric paint (assorted colors)
- Chalk for light sketching
- Cardboard insert
- Paper towels
How to make it:
- Lightly sketch a few guiding lines on the tote; insert cardboard.
- Trace and fill designs with puffy paint, squeezing slowly.
- Add dots and borders for fun texture.
- Let cure as directed before use.
13. Sun Print Cyanotype-Style Tote
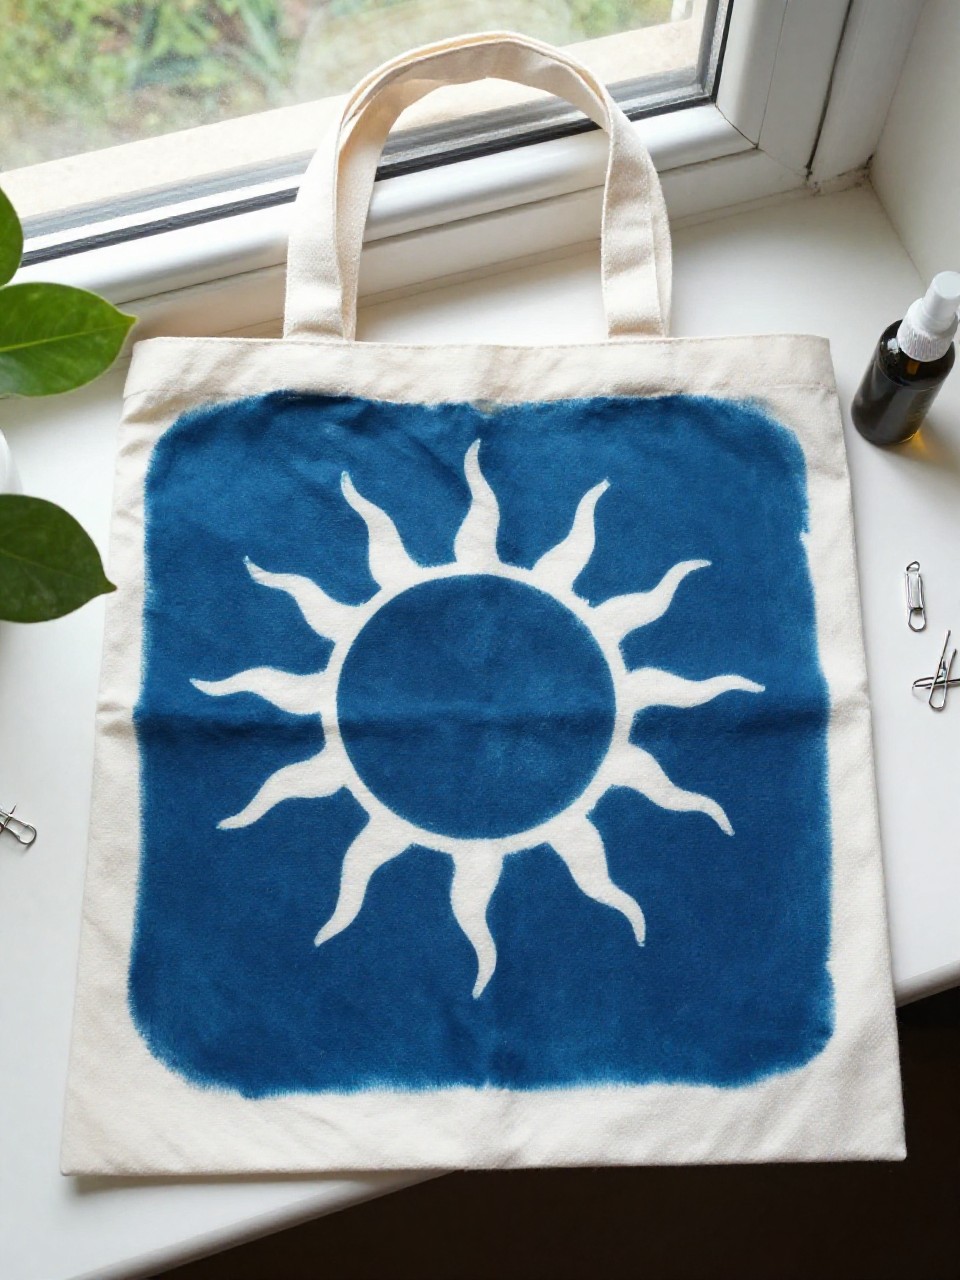
This tote shows delicate blue-and-white sun prints of leaves and shapes using sun-reactive fabric dye or paper transfer. Kids love arranging objects and watching the sun create the image like magic.
Materials Needed:
- Plain cotton tote bag
- Sun-reactive fabric dye or cyanotype kit (fabric-safe)
- Flat objects (leaves, keys, lace)
- Plastic sheet and clips
- Water for rinsing
How to make it:
- Treat the tote per kit instructions and place objects on the fabric.
- Expose in sunlight until color develops.
- Remove objects and rinse to reveal white silhouettes.
- Dry and press flat.
14. Crayon Melt Rainbow Drip Tote
This tote features colorful drip lines that look like melting rainbows made with fabric-safe crayons or melt sticks. Kids enjoy the dramatic drips and quick results.
Materials Needed:
- Plain cotton tote bag
- Fabric melt crayons or melt sticks
- Craft knife for shaving (adult use)
- Parchment paper and iron
- Cardboard insert
How to make it:
- Insert cardboard; shave small crayon bits along the top edge.
- Cover with parchment and gently iron to melt, tilting bag so color drips.
- Add more shavings for layers if desired.
- Let cool and set per product instructions.
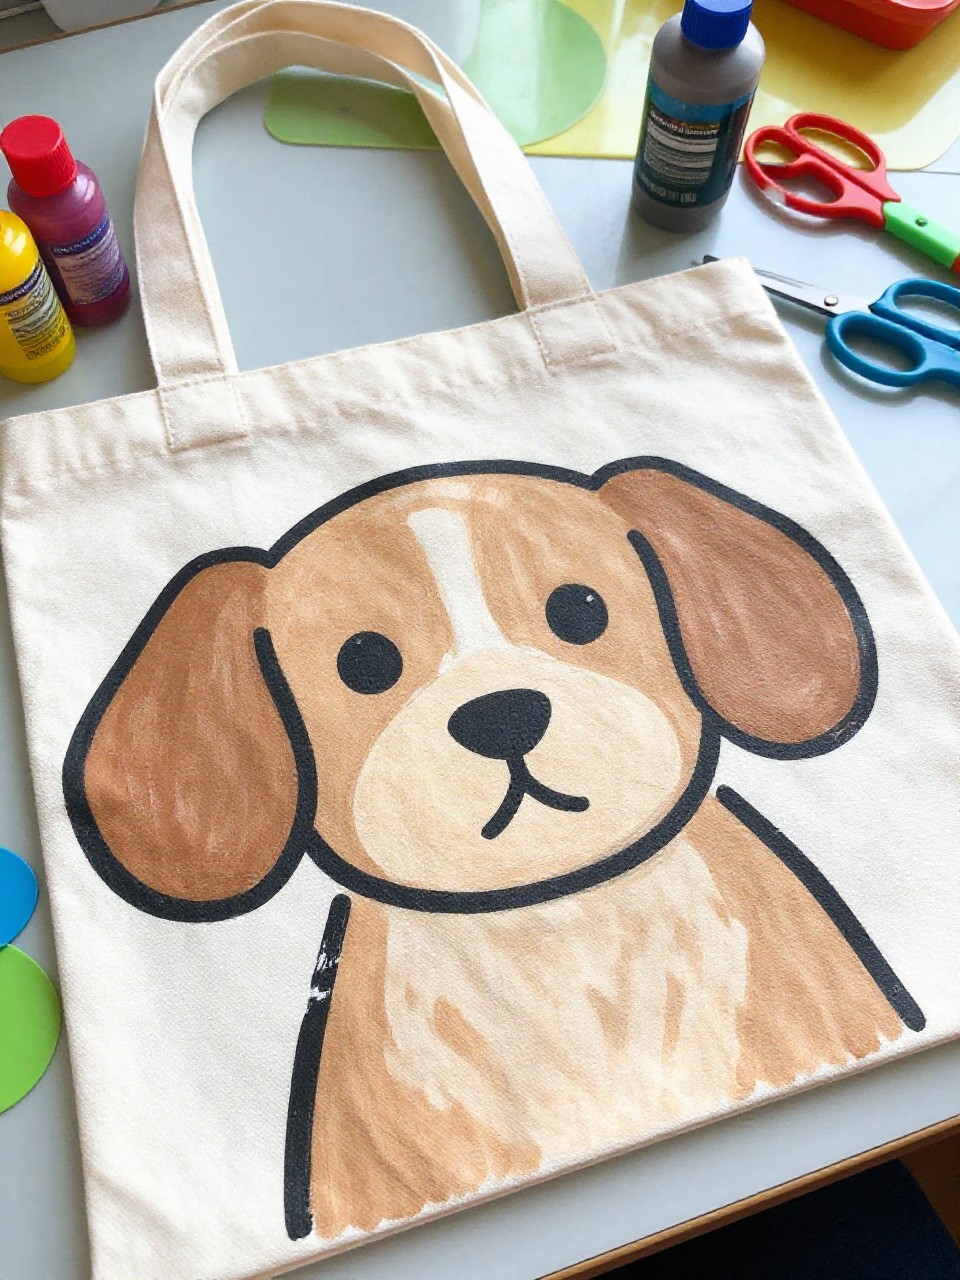
15. Simple Line Art Face Tote
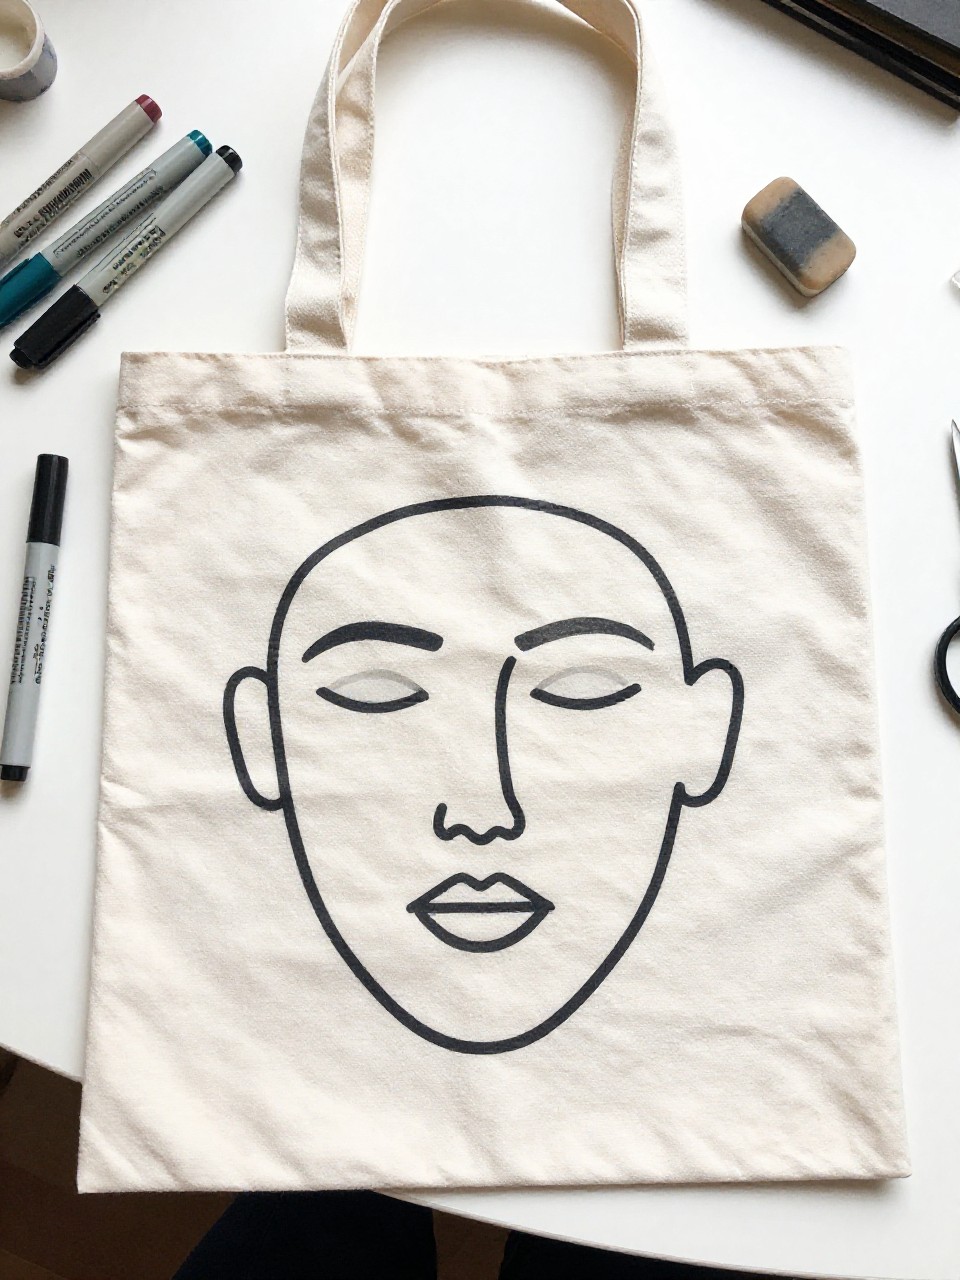
This tote shows a modern single-line face drawn with a black fabric marker and a pop of color in the cheek or background. Kids enjoy the calm, sketchy style and how easy it is to personalize.
Materials Needed:
- Plain cotton tote bag
- Black fabric marker
- Fabric paint or marker (accent color)
- Chalk for sketching
- Cardboard insert
How to make it:
- Lightly sketch a continuous face line with chalk.
- Trace smoothly with the black fabric marker in one steady line.
- Add a colored circle for a cheek or a simple shape behind the face.
- Let dry and heat-set if needed.