


Table of Contents Show
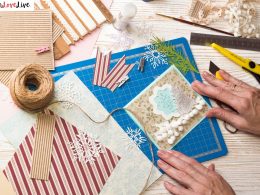
Here’s a handy list for days when you need a quick, low-mess craft to keep hands busy or to organize school notes and memories. These paper pockets are simple, fun, and great for journals and planners. Each idea uses easy materials and adds a cute, useful spot to tuck stickers, receipts, photos, or task cards.
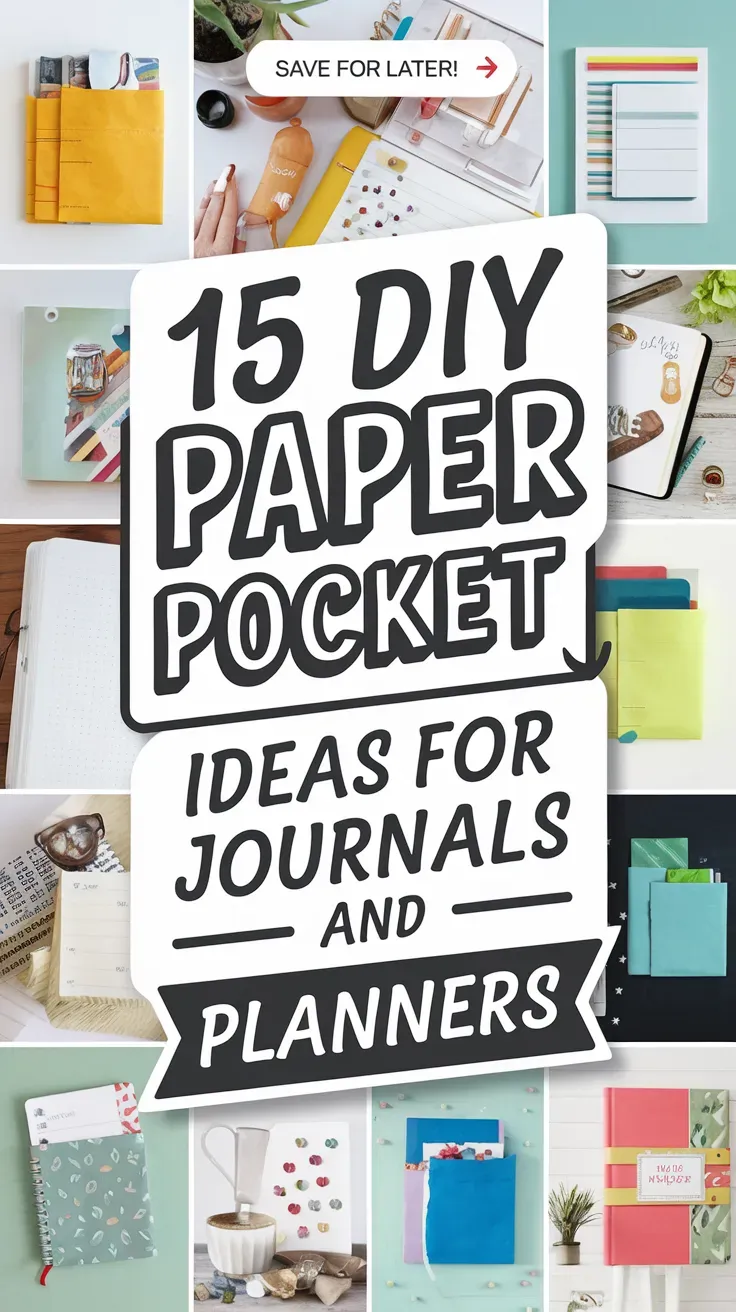
Let’s jump in and fill your pages with colorful pockets you’ll actually use.
1. Classic Corner Triangle Pocket
A simple triangle folds over the bottom corner of a journal page and holds notes or stickers snugly. Kids love seeing the clean shape click into place, and beginners enjoy the quick win.
Materials Needed:
- Colored paper or scrapbook paper
- Glue stick or double-sided tape
- Scissors
- Ruler (optional)
- Stickers (optional)
How to make it:
For People Who Love to Make Things ✂️
- Cut a square of paper about 4 inches by 4 inches.
- Fold it diagonally into a triangle and glue only the two short sides to the page corner.
- Add stickers or doodles on the visible triangle.
- Press flat for a minute so it sticks well, then slide in small notes.
2. Half-Page Library Pocket

This pocket looks like the ones in old library books, with a straight top opening for task cards or receipts. It feels neat and tidy, and kids enjoy labeling it.
Materials Needed:
- Cardstock
- Glue stick
- Scissors
- Marker for label
- Washi tape (optional)
How to make it:
- Cut a rectangle a bit wider than your journal page and about half the page height.
- Fold in 1/4-inch flaps on the sides and bottom; glue those flaps to the page.
- Add a label with a marker or frame it with washi tape.
- Smooth the edges and slide in notes.
3. Envelope Flip-In Pocket
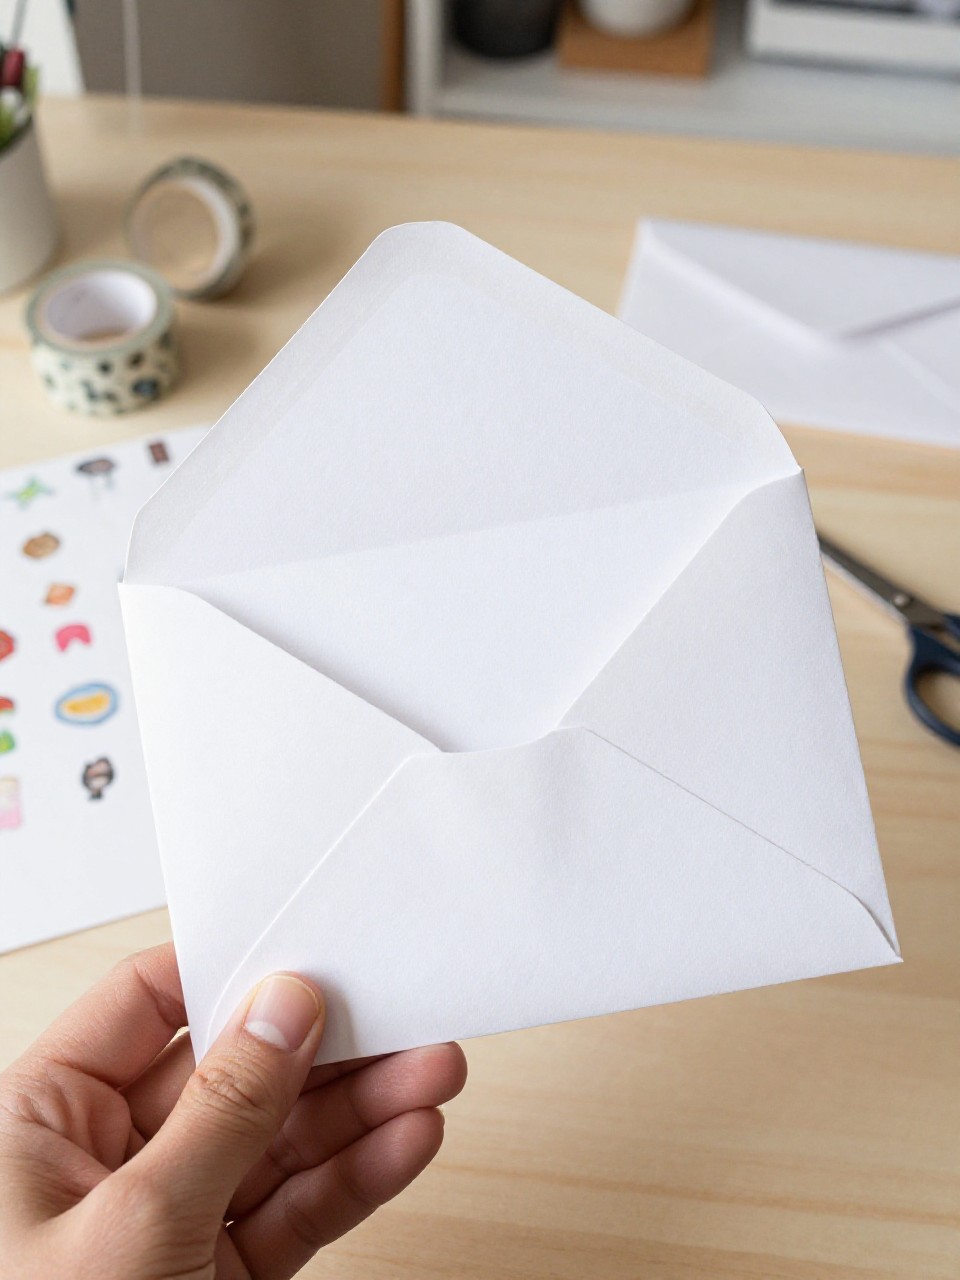
A small envelope becomes a secret flip page with space inside for treasures. It’s satisfying to open and close, like a mini mailbox in your planner.
Materials Needed:
- Small paper envelope
- Washi tape or paper hinge
- Stickers
- Pen or stamp (optional)
- Glue stick (optional)
How to make it:
- Seal the envelope, then trim a thin strip off one short end to create an opening.
- Tape one long edge to the journal page as a hinge so it flips in and out.
- Decorate the front with stickers or a stamp.
- Tuck in notes and flip it closed.
4. Accordion Expansion Pocket
This pocket has folded sides so it can expand for thicker items like photos or seed packets. Kids like the pop-out feel and the little engineering trick.
Materials Needed:
- Cardstock for pocket front and back
- Thin paper for accordion sides
- Glue stick or double-sided tape
- Ruler
- Stickers (optional)
How to make it:
- Cut a pocket front and back the same width; front should be shorter in height.
- Fold two thin paper strips into small accordions and tape them as side gussets.
- Attach the front to the back using the gussets and glue the bottom edge.
- Decorate the front and glue the whole pocket into your journal.
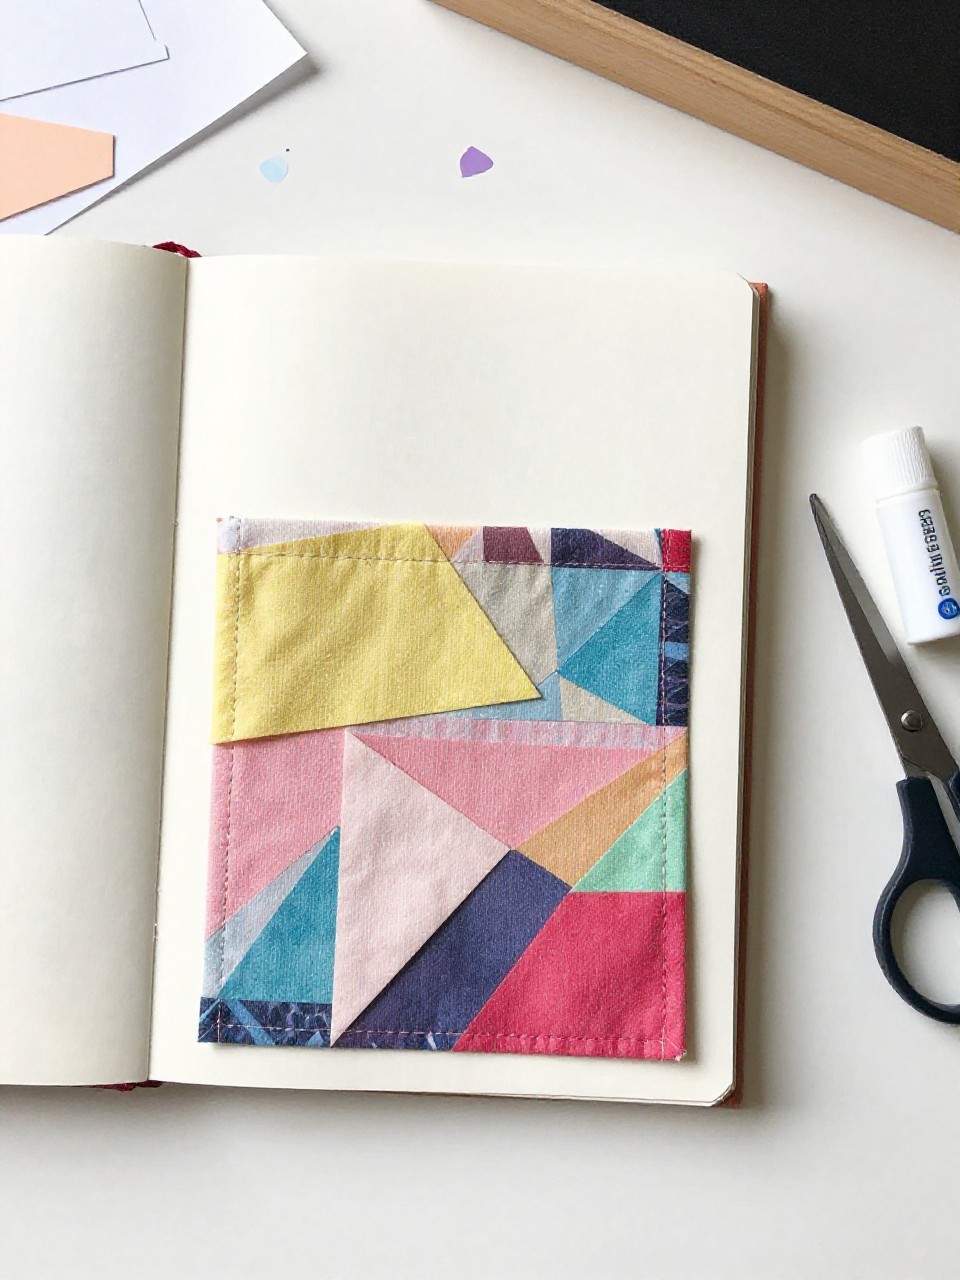
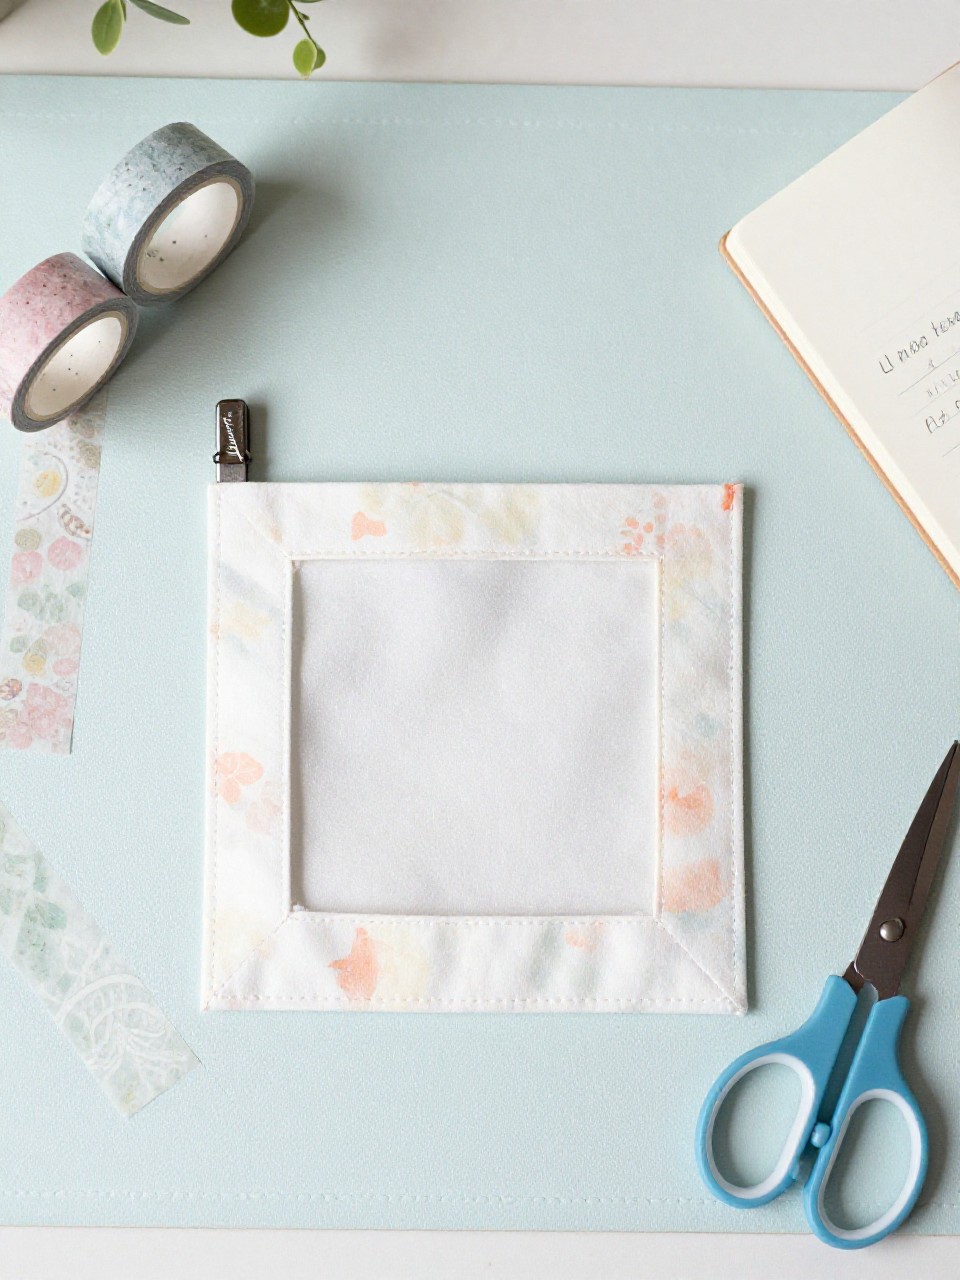
5. See-Through Window Pocket
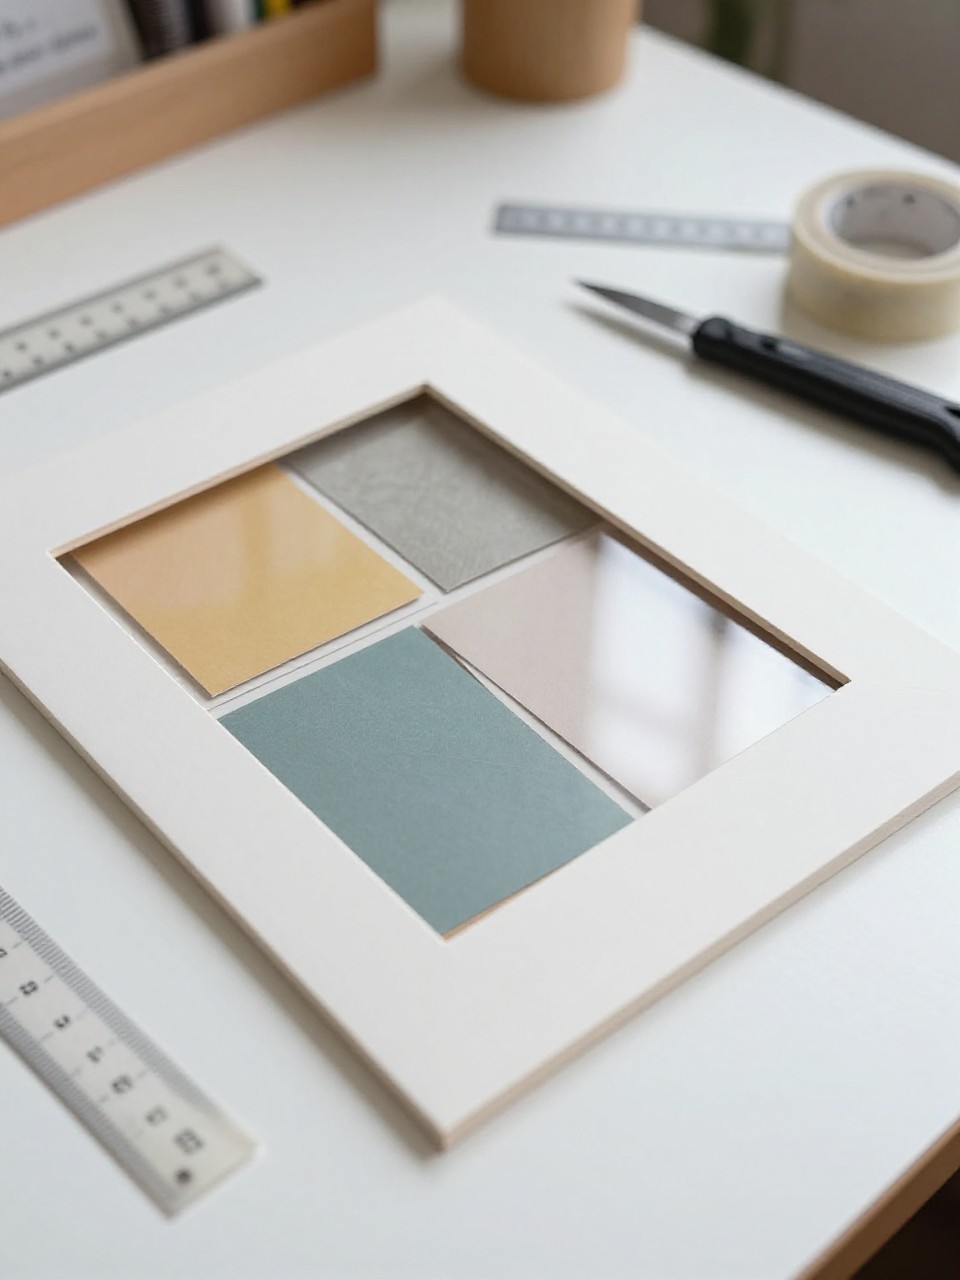
A rectangle pocket with a clear window lets you peek at what’s inside. It feels modern and neat, and kids love sliding in tiny art or stickers to display.
Materials Needed:
- Cardstock
- Clear plastic from packaging or acetate
- Craft knife or scissors
- Glue or double-sided tape
- Washi tape (optional)
How to make it:
- Cut a pocket rectangle; cut a smaller window out of the center.
- Tape or glue clear plastic behind the window.
- Glue the pocket’s sides and bottom to your page.
- Frame the window with washi tape and fill it up.
6. Tabbed Ticket Pocket
A slim pocket sized for tickets, bookmarks, or planner stickers with a cute tab at the top. It’s fun to make matching tabs and label them for different uses.
Materials Needed:
- Patterned paper
- Glue stick
- Scissors or tab punch
- Marker
- Hole reinforcers (optional)
How to make it:
- Cut a tall, narrow pocket and glue sides and bottom to the page.
- Cut a small tab and glue it to the top edge of the pocket.
- Label the tab with a marker; add hole reinforcers for style dots.
- Slide in tickets or bookmarks.
7. Diagonal Duo Pockets

Two angled pockets stack on a page, crossing like a “V,” perfect for sorting small notes. The layered look is exciting and gives instant organization.
Materials Needed:
- Two sheets of colored paper
- Scissors
- Glue stick
- Ruler
- Stickers (optional)
How to make it:
- Cut two rectangles; slice each at a diagonal to create angled tops.
- Glue the first pocket’s sides and bottom; layer the second on top at the opposite angle.
- Add stickers or labels to each pocket.
- Press flat and fill each with different items.
8. Belly Band Slide-In Pocket
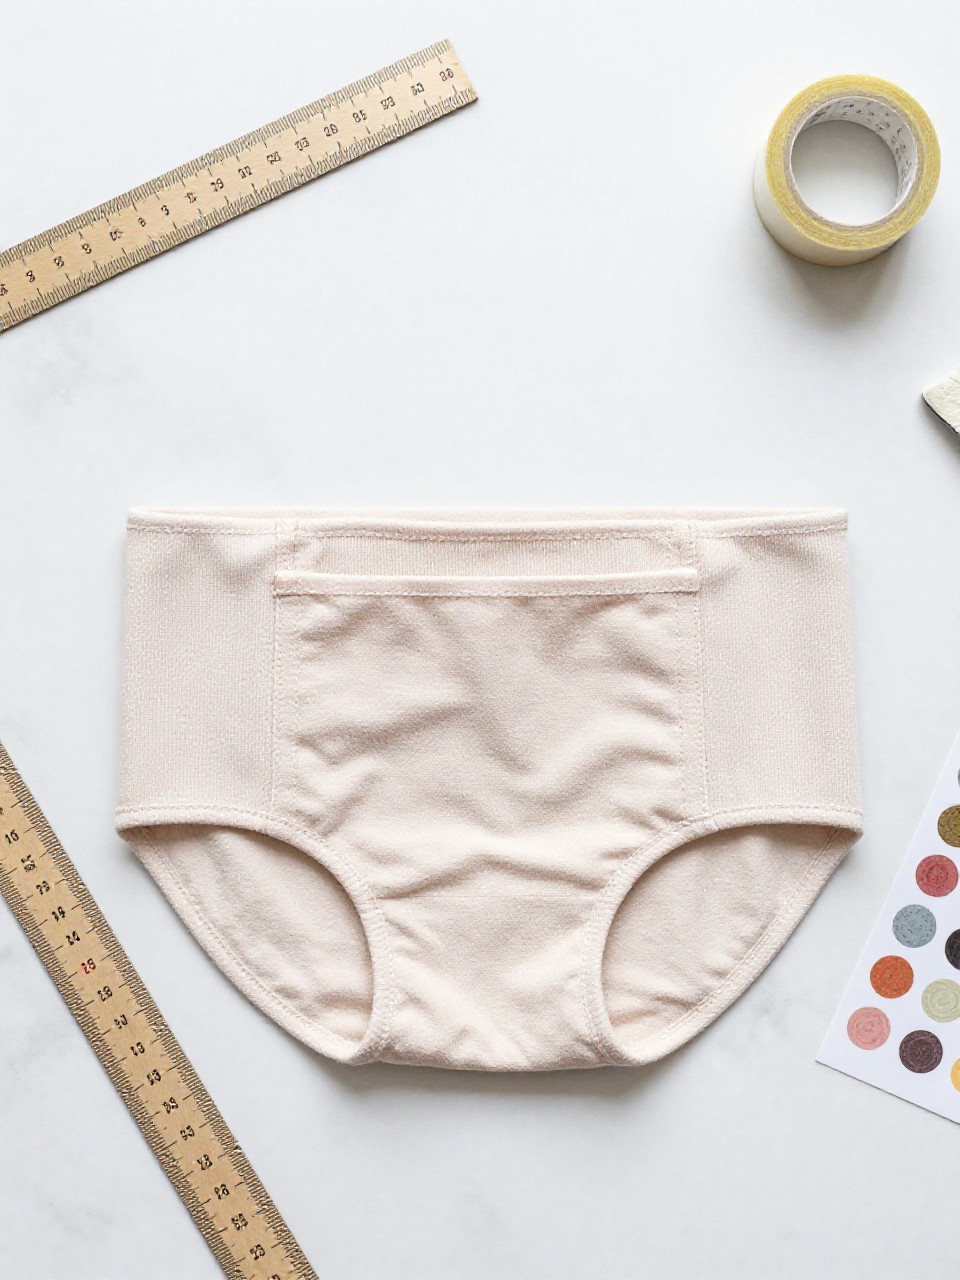
A wide paper band wraps around a page or dashboard, creating a back pocket and a front slide zone. Kids enjoy slipping notes under the band and into the pocket like a secret slot.
Materials Needed:
- Cardstock for band and pocket back
- Glue or tape
- Scissors
- Ruler
- Stickers (optional)
How to make it:
- Cut a band to fit across the page; glue only the ends to create a belly band.
- Add a flat pocket behind it by gluing a rectangle with side/bottom seams.
- Decorate the band with stickers or a label.
- Slide in notes under the band or into the pocket.
9. Corner Wrap Heart Pocket
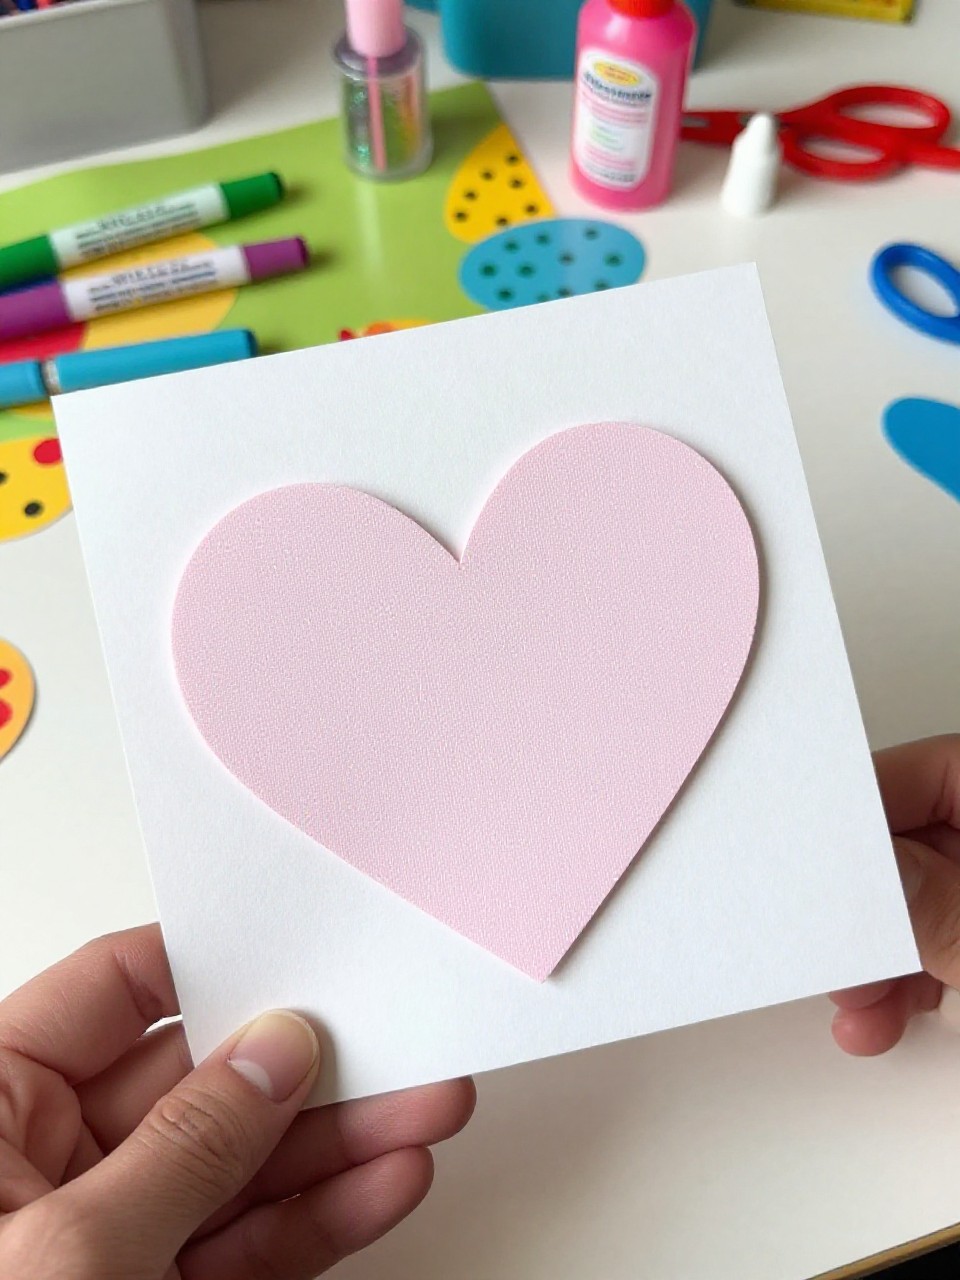
A heart shape folds over a page corner and forms a sweet pocket for tiny keepsakes. It feels playful, and kids love tracing and cutting the bold shape.
Materials Needed:
- Red or pink paper
- Pencil and scissors
- Glue stick
- Stickers or glitter glue (optional)
- Marker (optional)
How to make it:
- Fold paper and cut a symmetrical heart.
- Fold the bottom point up slightly and the side curves in to make flaps.
- Glue the flaps onto the page corner so the heart opens at the top.
- Add doodles or glitter glue and fill with small notes.
10. Washi Window Side Pocket
A side-loading pocket with a small cut-out window framed by bold washi tape. It’s quick, bright, and feels trendy for planner pages.
Materials Needed:
- Cardstock
- Washi tape
- Scissors or craft knife
- Glue stick
- Stickers (optional)
How to make it:
- Cut a rectangle pocket; snip a small shape from the top corner for a peek window.
- Outline the pocket edges and window with washi tape.
- Glue the sides and bottom to the page.
- Tuck in stickers or receipts from the side.
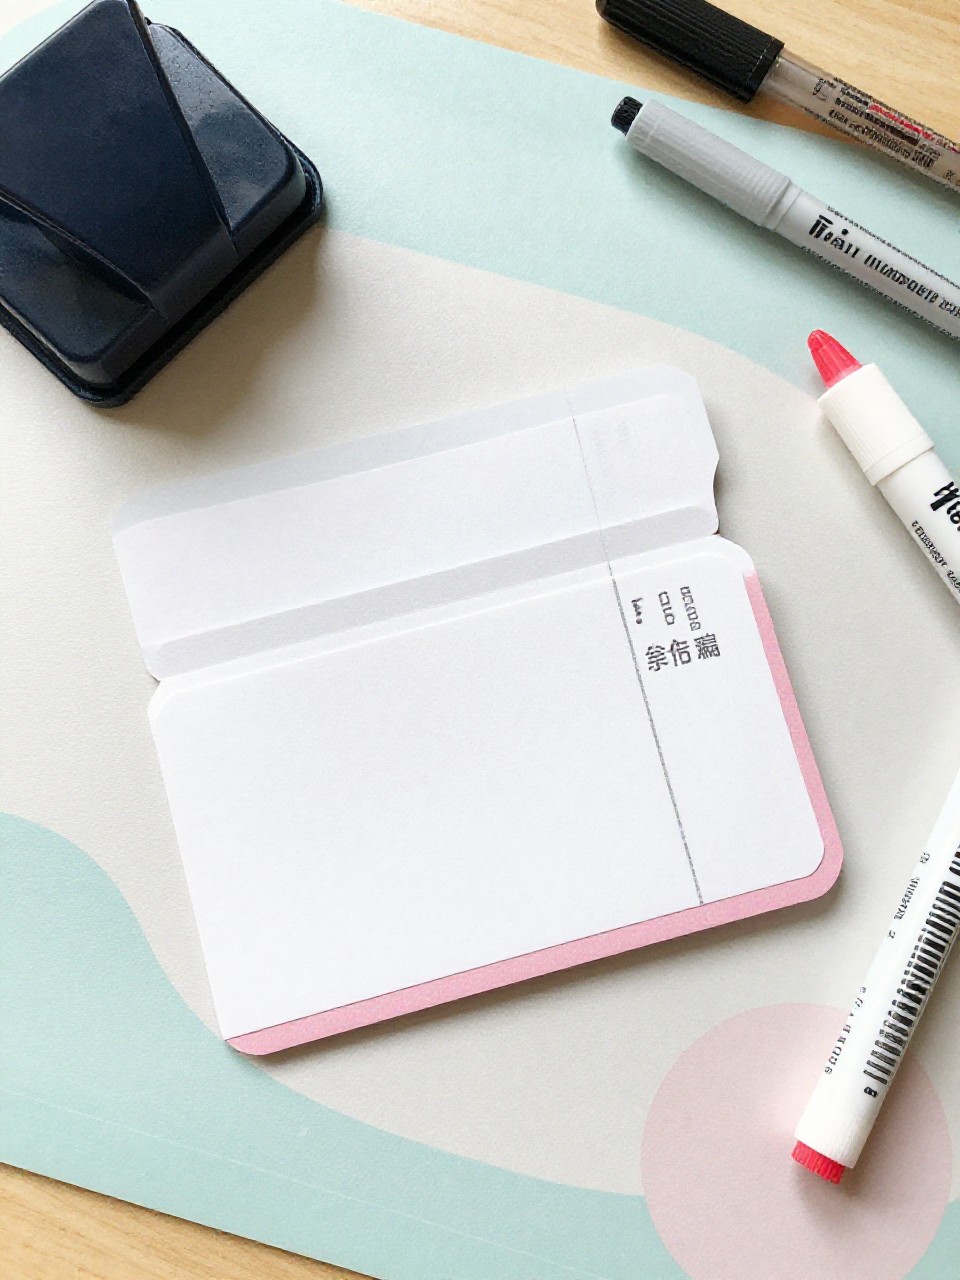
11. Fold-Down Flap Pocket

This pocket has a top flap that folds down like a notebook cover and closes with a sticker. It feels special to open, and kids enjoy choosing the closure.
Materials Needed:
- Cardstock
- Glue stick
- Scissors
- Sticker or small dot of hook-and-loop (optional)
- Marker (optional)
How to make it:
- Cut a tall rectangle and fold a short flap at the top.
- Glue sides and bottom to the page, leaving the flap free.
- Add a sticker or small hook-and-loop dot to keep it closed.
- Label the flap and fill with notes.
12. Tag-Topped Mini Pocket
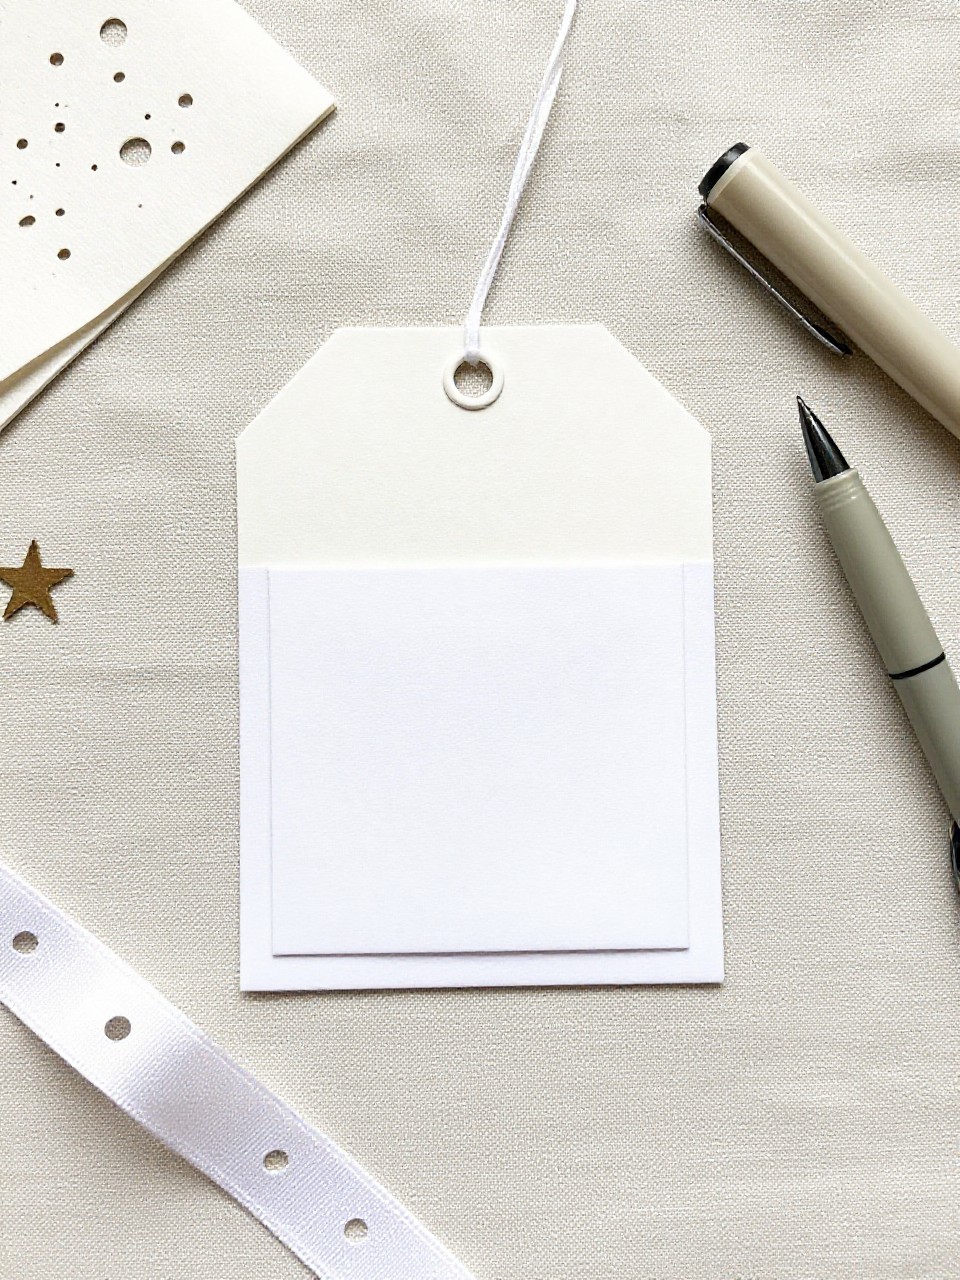
A small pocket sized for one or two tags, with the tags peeking out by a ribbon. Kids like choosing colors and seeing the ribbon pull tab.
Materials Needed:
- Patterned cardstock
- Hole punch and ribbon or yarn
- Glue stick
- Scissors
- Pen for tag notes
How to make it:
- Cut a small pocket and glue sides and bottom to the page.
- Cut matching tags, punch a hole, and tie ribbon through.
- Decorate the pocket front with a label.
- Slide tags in and out to use as reminders.
13. Folded Map Pocket

A pocket made from an old map or atlas page adds travel vibes to journals. It’s exciting to spot place names on the pocket and store trip mementos.
Materials Needed:
- Old map or atlas page
- Glue stick
- Scissors
- Washi tape (optional)
- Marker (optional)
How to make it:
- Cut a large rectangle from the map and fold up the bottom third.
- Glue the side seams to form a roomy pocket.
- Reinforce edges with washi tape if desired.
- Label with a marker and tuck in tickets or photos.
14. Triple Stack Sticky-Note Pockets
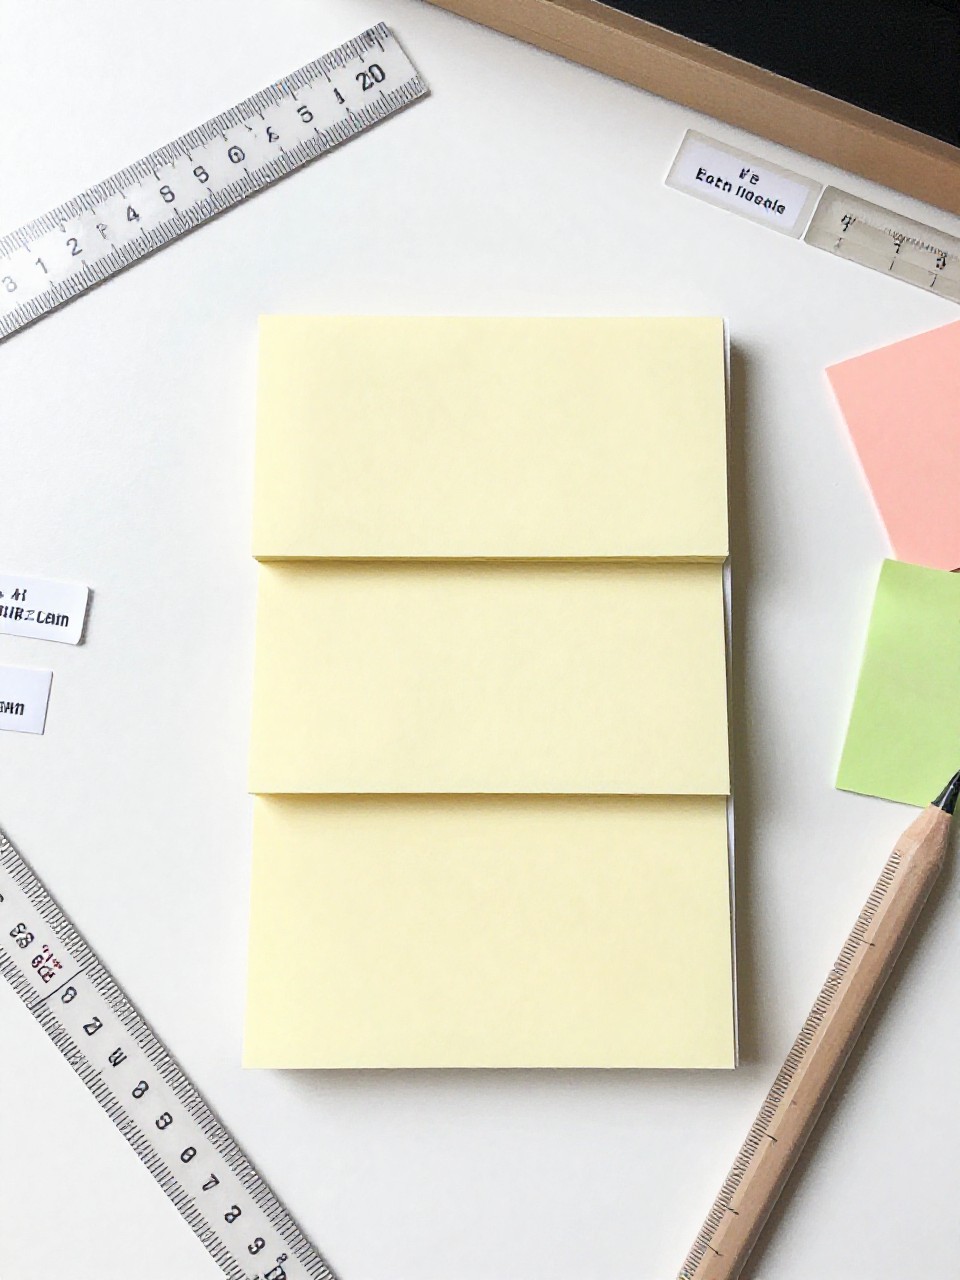
Three small pockets in a column, each sized to hold a tiny sticky-note pad or small cards. The stack looks tidy and useful, and kids enjoy color-coding.
Materials Needed:
- Cardstock in three colors
- Glue stick
- Scissors
- Ruler
- Labels or stickers (optional)
How to make it:
- Cut three matching pocket shapes slightly larger than your sticky-note pads.
- Glue each pocket’s sides and bottom, stacking them with a small gap.
- Add labels or stickers to each pocket.
- Slide in pads or cards by category.
15. Circle Cutout Tuck Spot

A simple half-circle cut from a glued strip makes a quick tuck spot along a page. It’s fast, minimal, and very satisfying for beginners.
Materials Needed:
- Cardstock strip
- Circle punch or scissors
- Glue stick
- Marker (optional)
- Washi tape (optional)
How to make it:
- Glue a cardstock strip along the bottom of a page on three sides.
- Punch or cut a half-circle notch at the top center of the strip.
- Add a label or washi tape border for style.
- Slip in notes or photos through the notch.