
Table of Contents Show
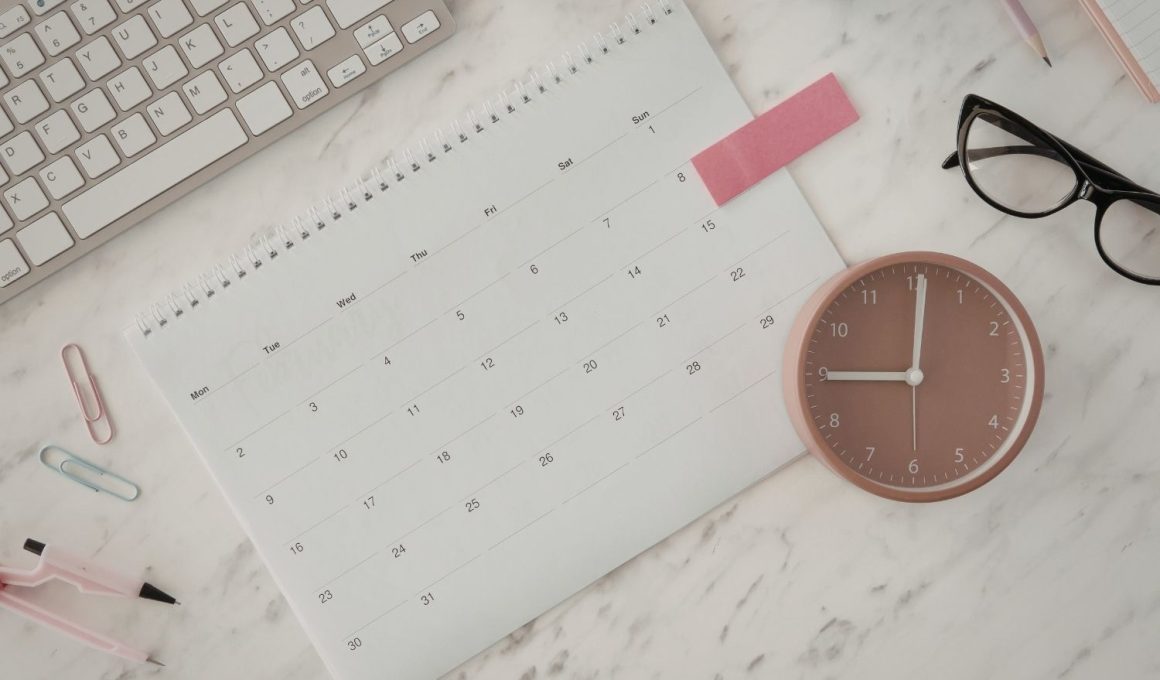
Keeping kids busy, planning a classroom week, or just trying to make your own planner feel fun can be a challenge. When plain pages start to feel boring, simple DIY accessories can spark new energy and help everyone stay organized.
In this list, you’ll find easy, colorful projects that turn planning into a creative break. Grab some paper and tape, and let’s jump into 12 simple crafts that make planners more fun and personal.
1. Washi Tape Page Tabs
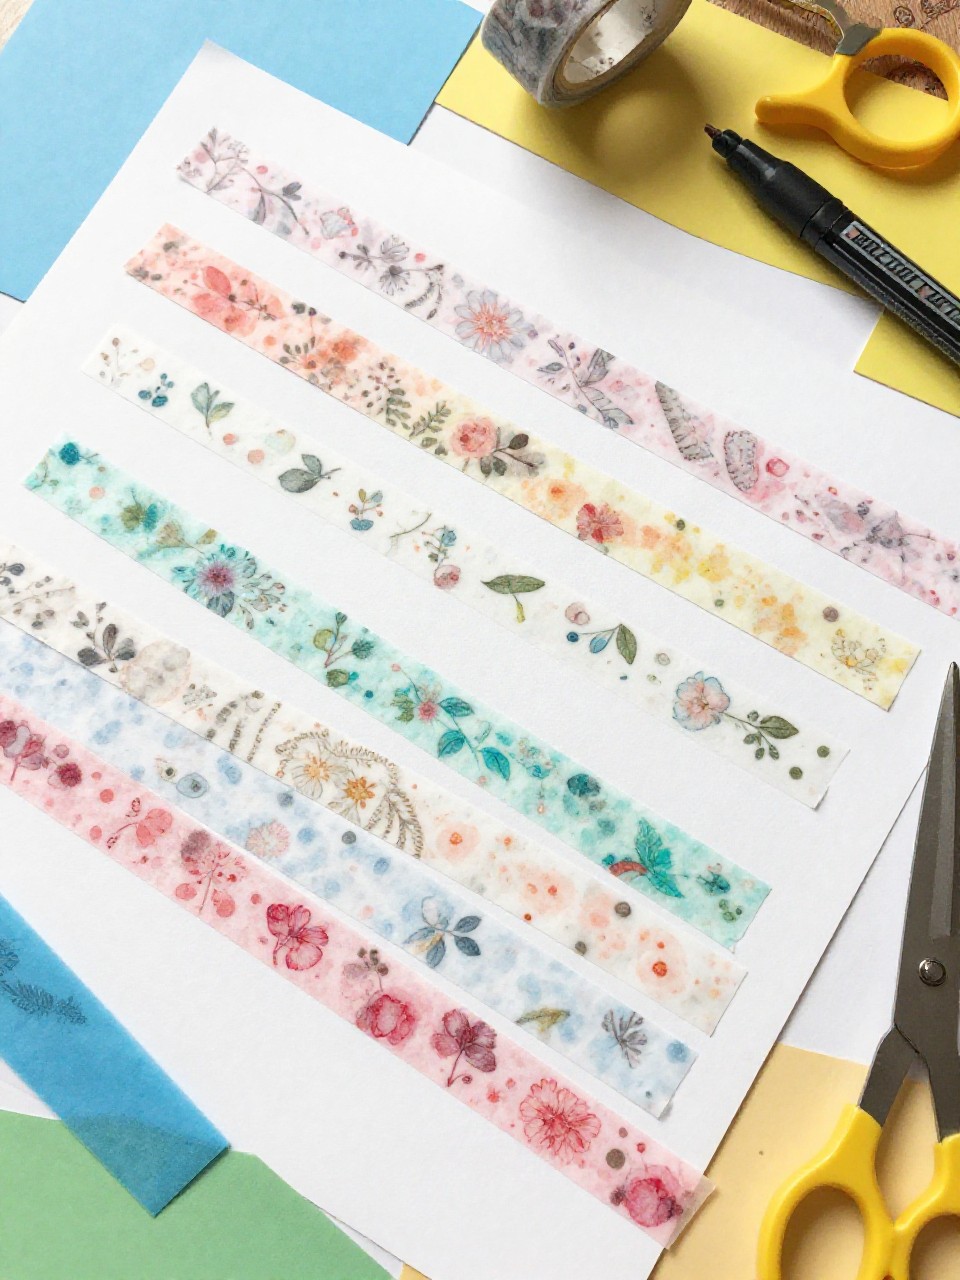
These bright tabs stick out from the edge of your planner like little flags, making it easy to flip to your place. Kids love choosing patterns and layering colors, and the project takes only minutes.
Materials Needed:
- Washi tape rolls in different colors/patterns
- Scissors
- Ruler (optional)
- Fine-tip marker (optional)
How to make it:
For People Who Love to Make Things ✂️
- Tear or cut 2–3-inch pieces of washi tape.
- Fold each piece over the edge of a page so the sticky sides meet, creating a tab.
- Trim edges straight; label tabs with a fine-tip marker if you like.
- Press firmly and smooth the tape; repeat for different sections.
2. Paperclip Ribbon Bookmarks
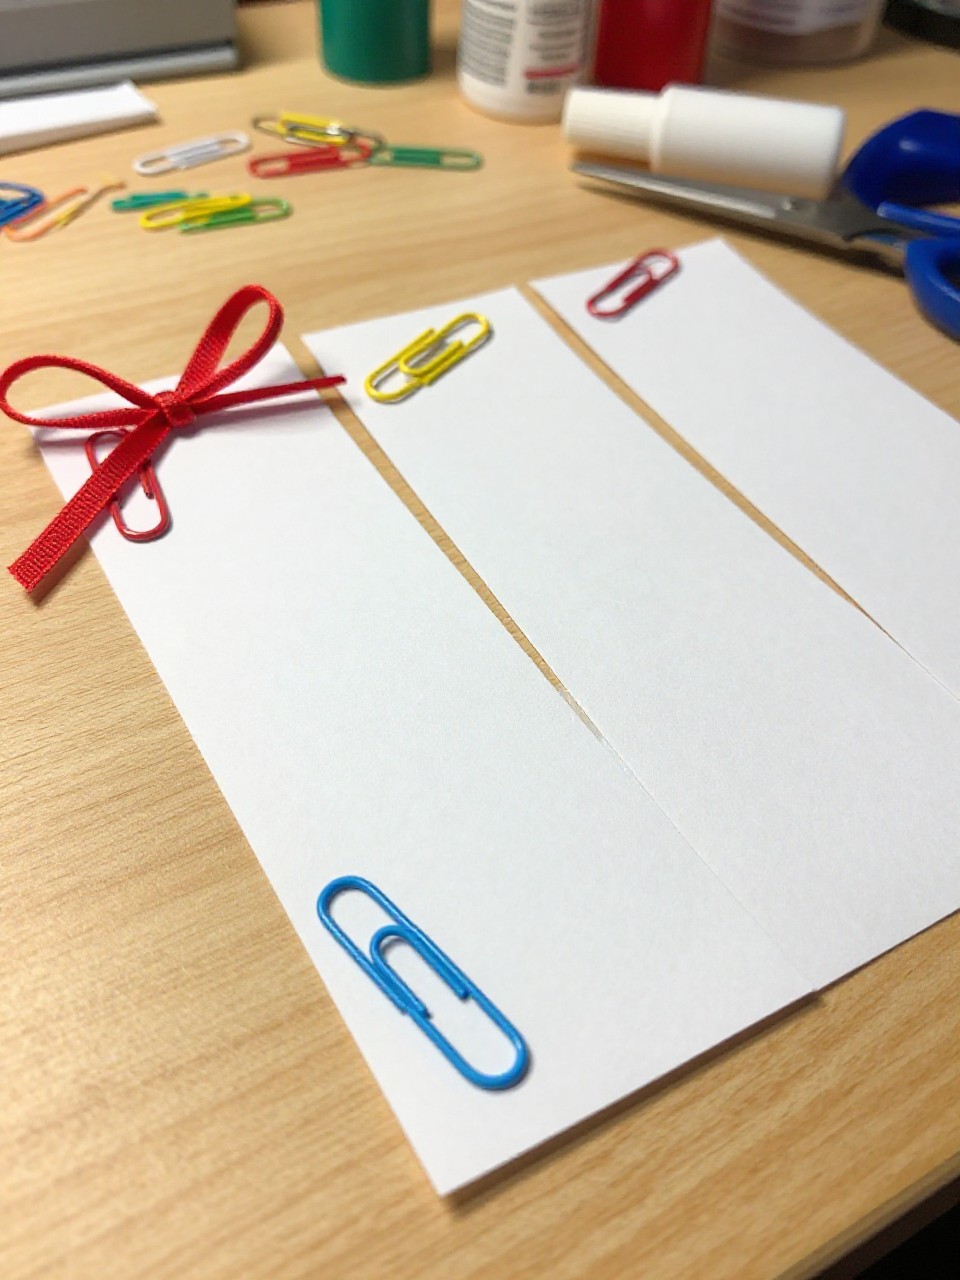
These cute bookmarks use jumbo paperclips with a simple ribbon tail that peeks out from the top of your planner. They feel fancy but are very easy to make and fun to coordinate with seasons or school colors.
Materials Needed:
- Jumbo paperclips
- Ribbon scraps (3–5 inches long)
- Scissors
- Fray check or clear nail polish (optional)
How to make it:
- Cut ribbon lengths and fold each in half.
- Thread the folded loop through the top of a paperclip, then pull the ends through the loop to knot.
- Trim ribbon ends at an angle; dab tips with fray check if needed.
- Slide the paperclip onto a page to mark your spot.
3. Sticky-Note Dashboard
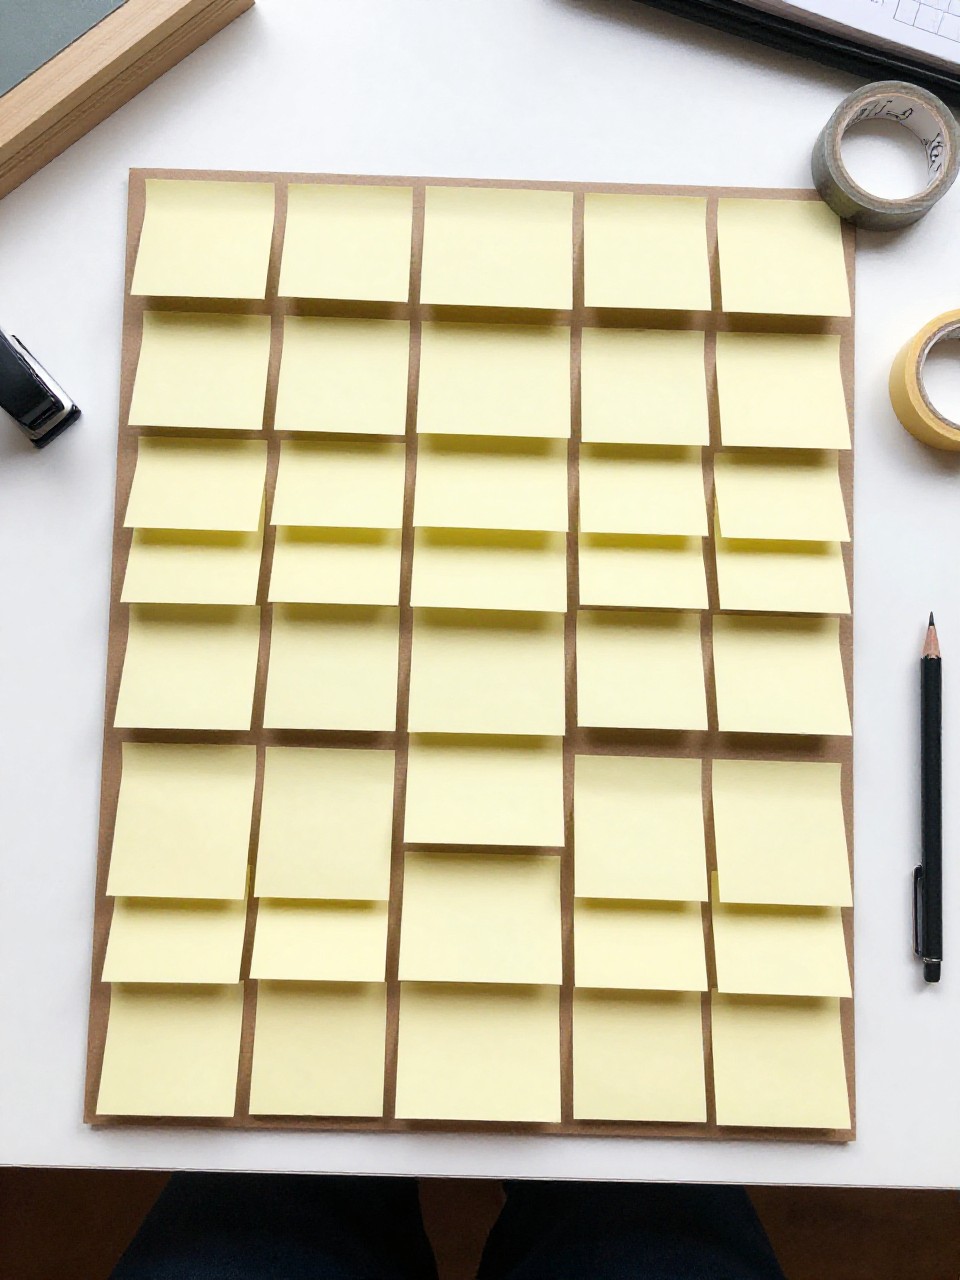
This is a laminated or card stock board that holds stacks of sticky notes inside your planner so reminders are always handy. It’s satisfying to build a little “command center” that makes planning feel neat and ready to go.
Materials Needed:
- Sturdy card stock or thin cardboard
- Sticky note pads (various sizes)
- Hole punch (or adhesive tabs)
- Washi tape (optional)
- Clear contact paper or laminating sheets (optional)
How to make it:
- Cut card stock slightly smaller than your planner page; punch holes to fit, or add adhesive tabs.
- Arrange sticky note pads on the board; stick them down with their own adhesive or washi tape.
- Cover with clear contact paper if you want extra durability, trimming around holes.
- Snap into your planner and restock notes as needed.
4. Corner Pocket Page Saver
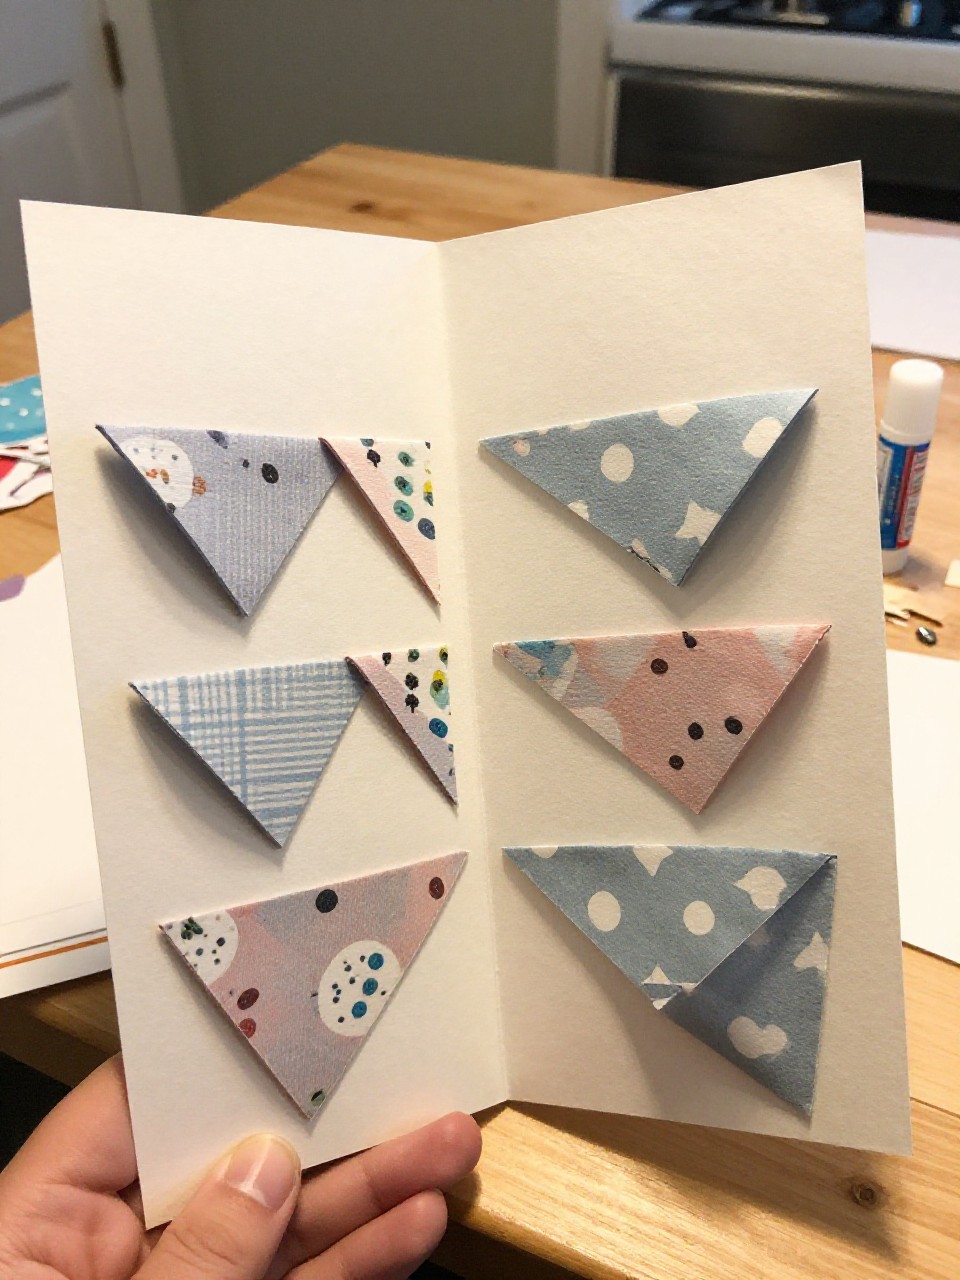
This little triangle pocket slides onto a planner page corner and holds receipts, stickers, or tiny notes. It’s fun because you can decorate the pocket with patterns, doodles, or labels.
Materials Needed:
- Decorative paper or scrapbook paper
- Glue stick or double-sided tape
- Scissors
- Ruler and pencil
- Stickers or markers (optional)
How to make it:
- Cut a 4×4-inch square; fold in half diagonally to make a triangle.
- Fold the two side points inward slightly and glue them down to form a pocket.
- Decorate with stickers or a label.
- Slip the open side over a page corner to store small papers.
5. Washi Tape Pen Loop
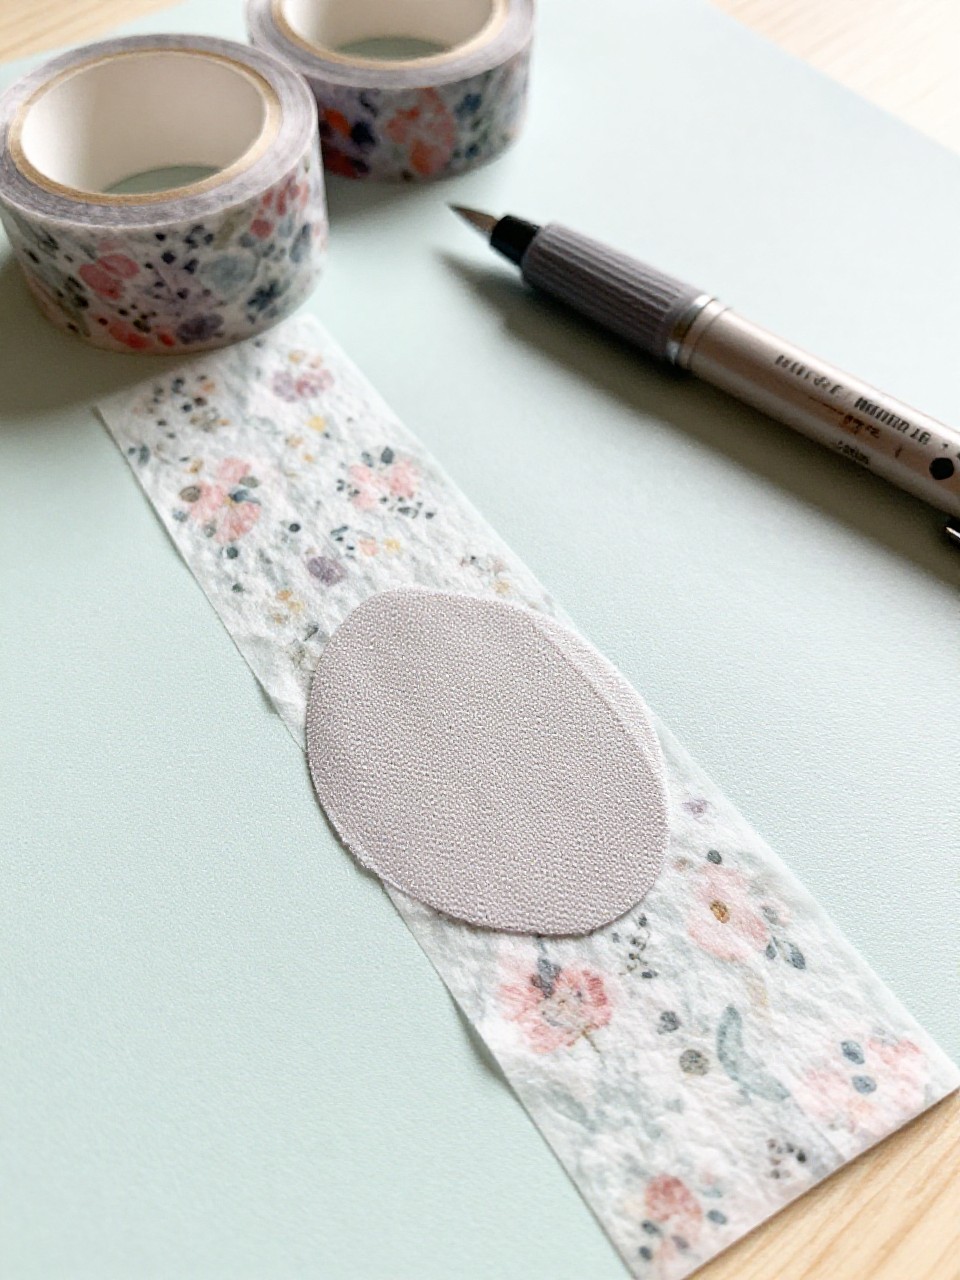
This simple loop sticks to the inside back cover and holds your favorite pen so it never gets lost. It’s quick to make and satisfying because it solves an everyday problem with pretty tape.
Materials Needed:
- Wide washi tape or fabric washi tape
- Elastic hair tie or thin elastic ribbon
- Scissors
- Card stock scrap (optional for backing)
How to make it:
- Cut a small strip of card stock and wrap it with washi tape for strength (optional).
- Form the elastic into a small loop that fits your pen; tape the ends flat onto the card stock.
- Add more washi over the ends to secure, creating a neat patch.
- Stick the patch inside your planner cover; slide in your pen.
6. DIY Sticker Dots and Icons
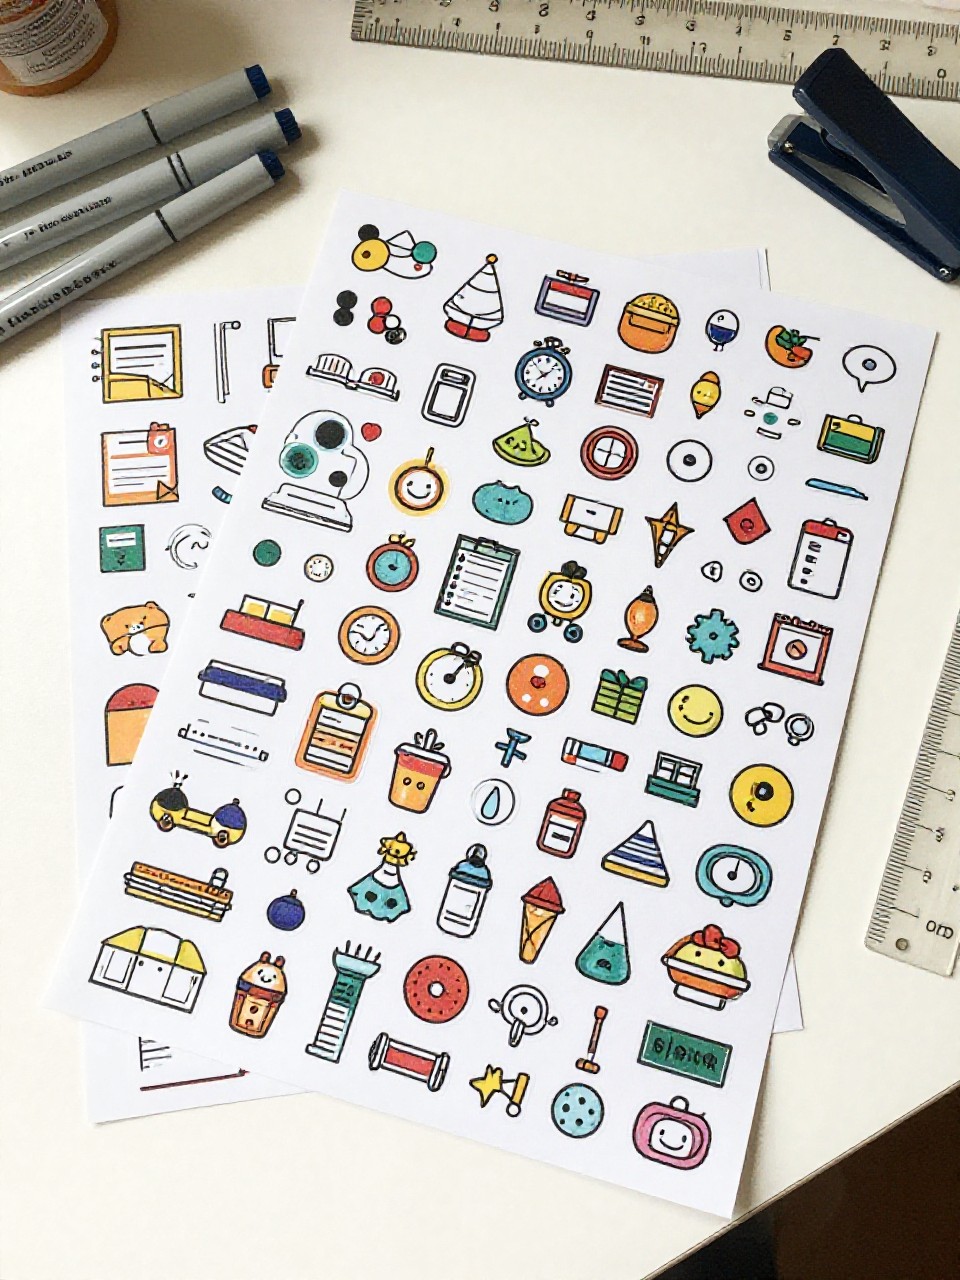
These are hand-drawn sticker sheets with colorful dots, stars, and tiny icons for chores, homework, or sports. Kids enjoy drawing their own symbols and peeling them off like store-bought stickers.
Materials Needed:
- Full-sheet sticker paper or label paper
- Markers or colored pencils
- Hole punch (for dots) (optional)
- Ruler and fine-tip pen
How to make it:
- Cut your sticker paper into smaller sheets for easy drawing.
- Use the ruler to sketch light rows; draw icons like hearts, books, and balls.
- Punch out colored areas for dot stickers if using a hole punch.
- Peel and stick icons into your planner as you need them.
7. Magnetic Bookmark Tabs
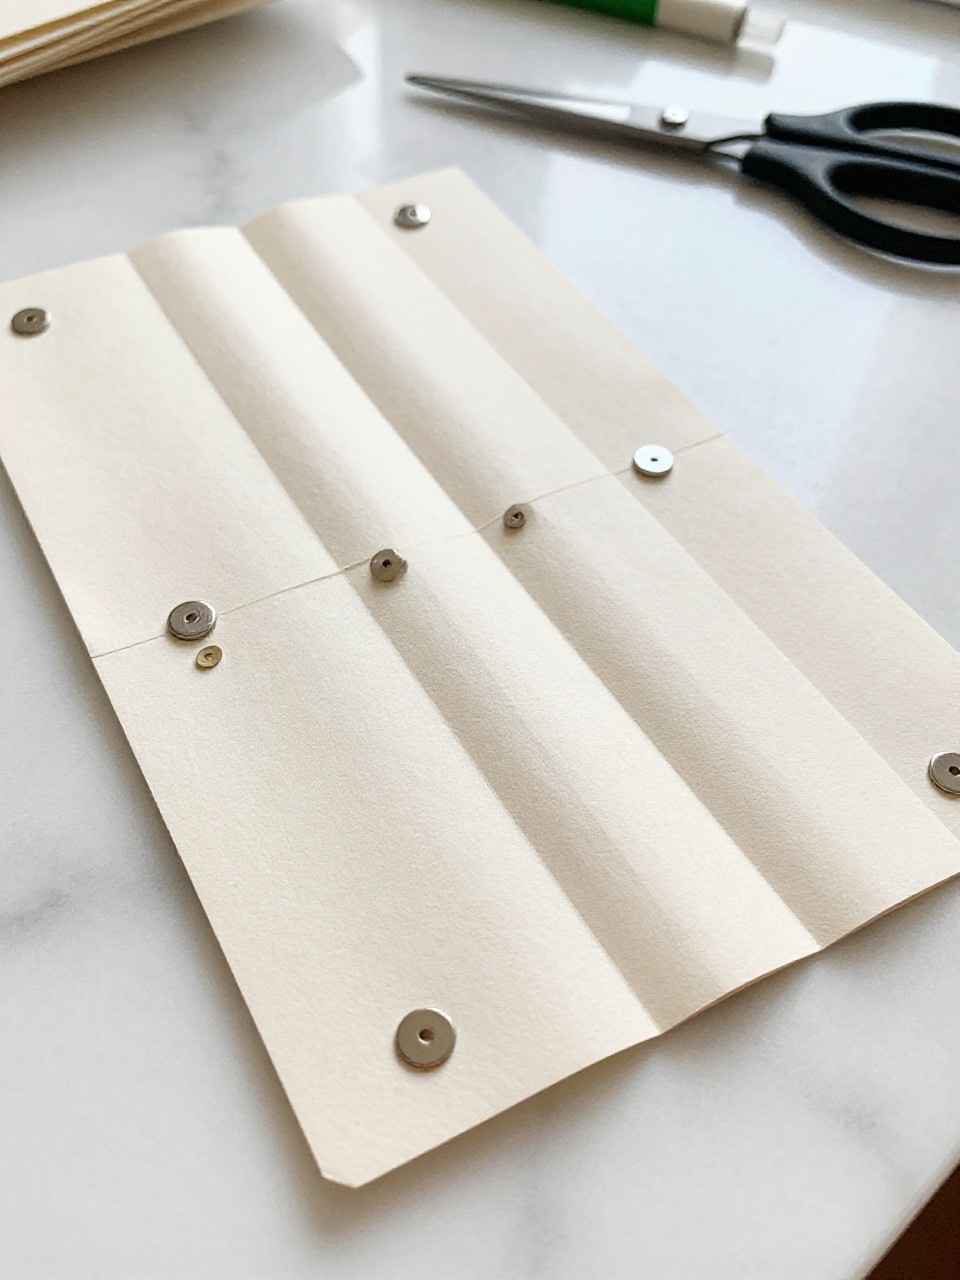
These slim magnetic tabs fold over the top of a page and snap shut, holding your spot without slipping. Making them feels cool because the magnets click together and the covers can be decorated any way you like.
Materials Needed:
- Decorative paper or thin cardstock
- Small adhesive magnets (2 per tab)
- Scissors or paper trimmer
- Glue stick
- Stickers or washi tape (optional)
How to make it:
- Cut a 1.5×4-inch strip of cardstock; fold in half.
- Stick one magnet inside each end so they align and close together.
- Decorate the outside with washi or stickers.
- Clip it over a page edge and let the magnets hold it in place.
8. Habit Tracker Tip-In
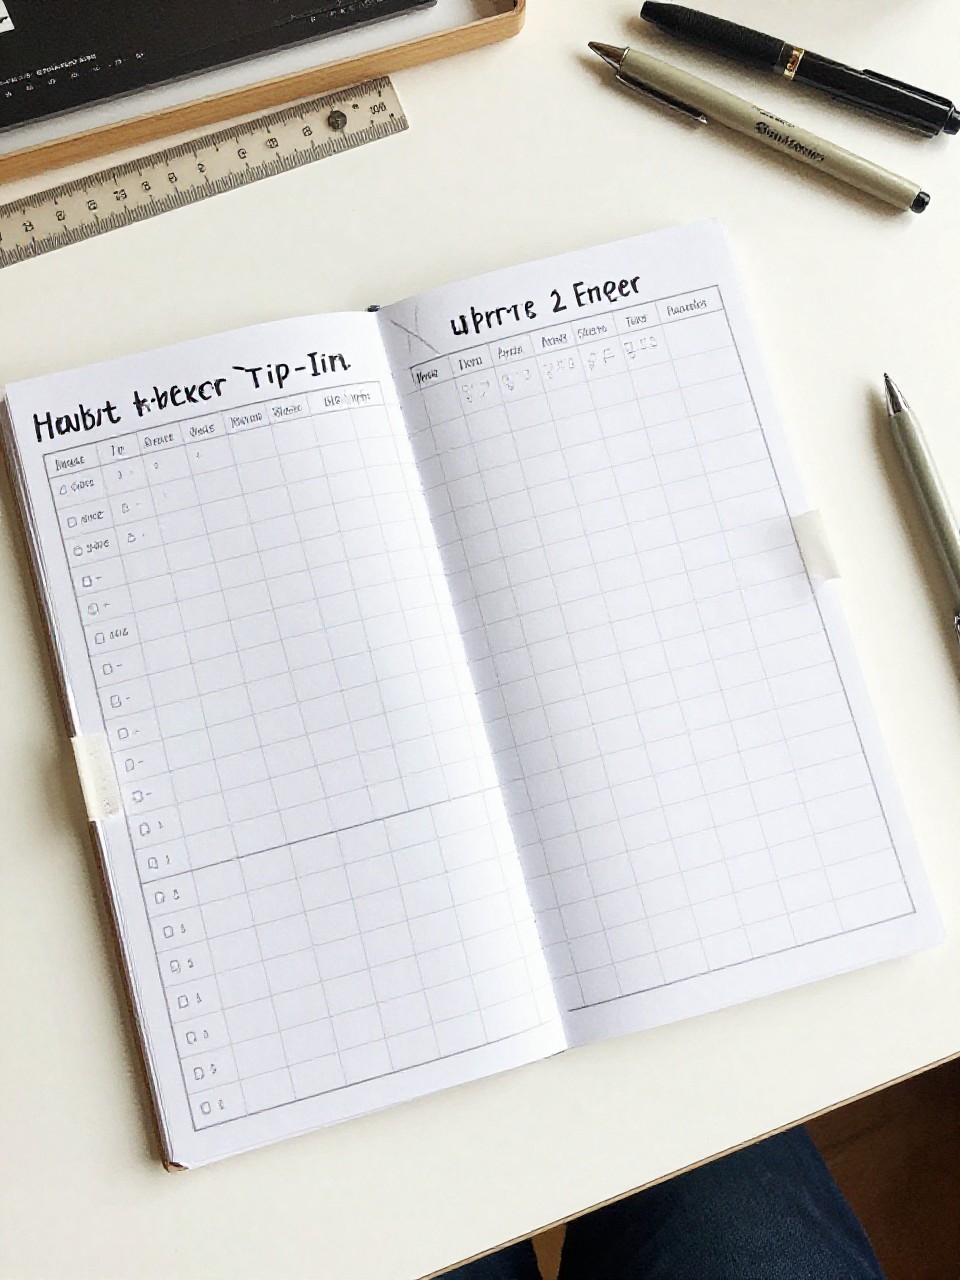
This is a small fold-out chart you tape into your planner to track reading, chores, or water intake. It’s satisfying to open and check off boxes each day, and you can design the layout to fit your goals.
Materials Needed:
- Graph paper or dotted paper
- Washi tape or clear tape
- Ruler
- Fine-tip pens or markers
How to make it:
- Cut a small rectangle of graph paper the size of half a planner page.
- Draw a calendar grid or rows for habits with the ruler.
- Tape one long edge into your planner so it flips open like a door.
- Color-code and start marking your progress.
9. Printable Cover Dashboard
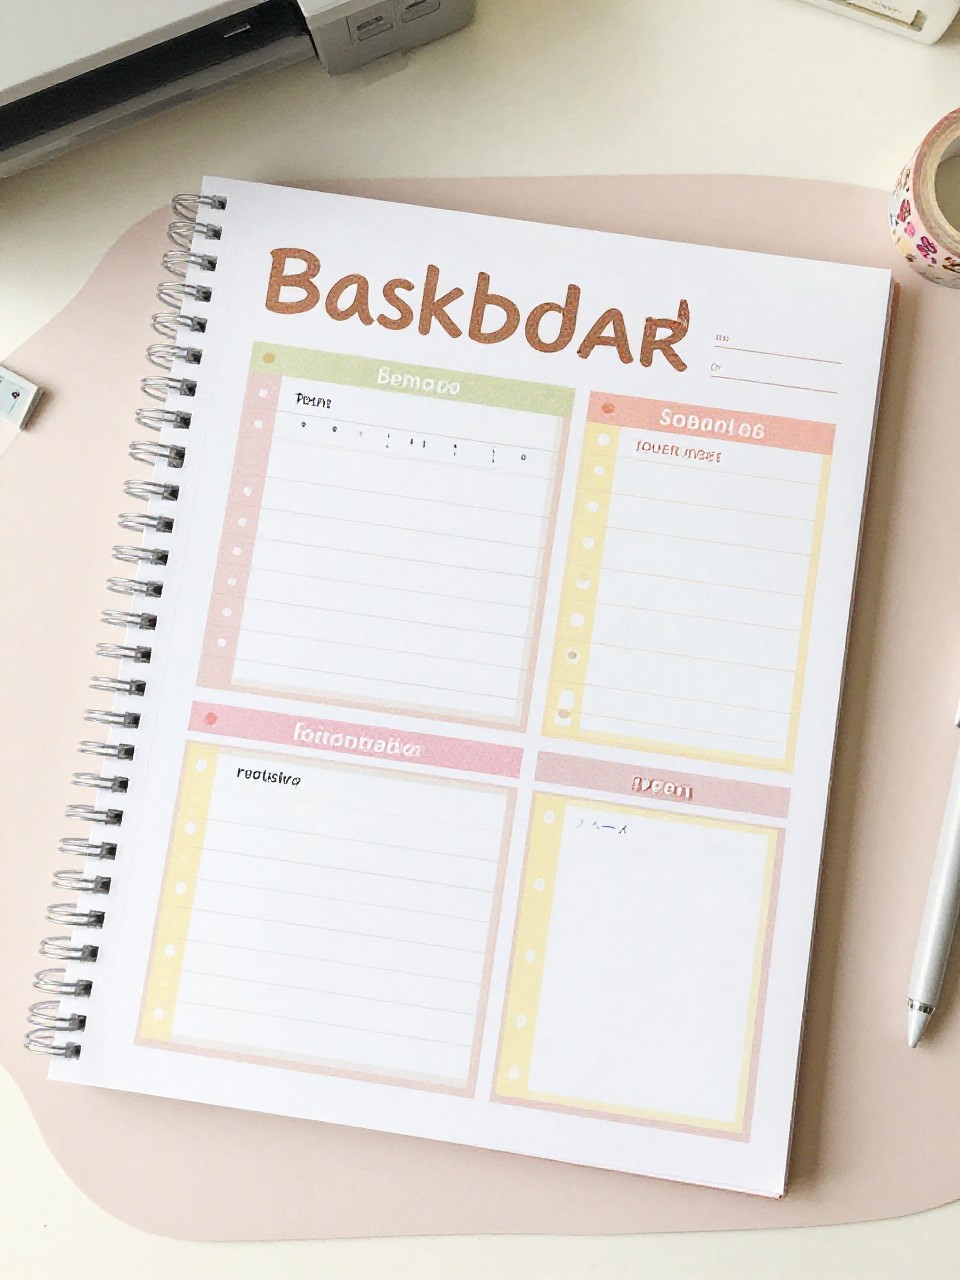
A decorated cover sheet slips into the front of your planner to set the theme for the month or season. Kids enjoy choosing colors and titles, and it makes the planner feel fresh without buying a new one.
Materials Needed:
- Heavy cardstock
- Printer (or markers for hand-drawn designs)
- Clear sleeve or laminating sheet (optional)
- Stickers or washi (optional)
How to make it:
- Design a simple cover on your computer or draw it by hand.
- Print on heavy cardstock and trim to fit your planner.
- Slide into a clear sleeve or laminate for durability.
- Insert at the front of your planner and swap each month.
10. Paper Envelope Sticker Keeper

This flat envelope sticks to a planner page or cover and holds spare stickers, stamps, or tiny notes. Making it feels neat because it’s like adding a secret pocket to your planner.
Materials Needed:
- Decorative paper
- Glue stick or double-sided tape
- Velcro dot or small sticker for closure (optional)
- Scissors
- Ruler
How to make it:
- Cut a rectangle; fold sides and bottom inward to make a flat pocket.
- Glue the flaps so the envelope lies flat with an open top or small flap.
- Add a Velcro dot or sticker to close if you included a flap.
- Stick the envelope onto a planner page with double-sided tape.
11. Color-Coded Paperclip Dividers
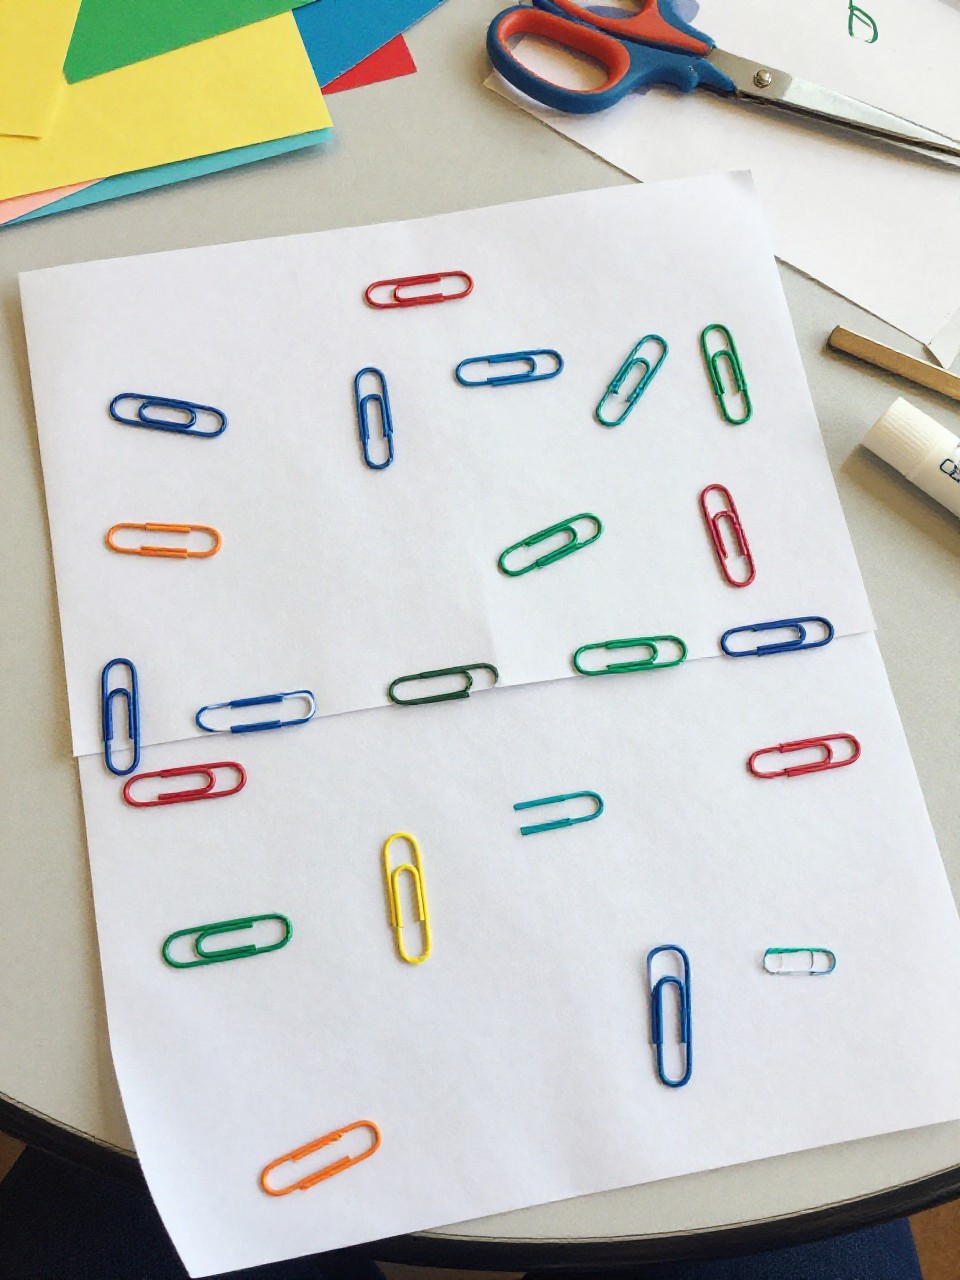
These are simple labeled paperclips with tiny color flags that mark monthly or subject sections. Kids enjoy sorting colors, and it makes flipping through pages fast and tidy.
Materials Needed:
- Medium paperclips
- Colored paper or washi tape
- Glue stick
- Fine-tip pen
- Scissors
How to make it:
- Cut small rectangles of colored paper.
- Fold each around the top of a paperclip and glue the sides together to make a flag.
- Label flags with months or subjects using a fine-tip pen.
- Clip onto key pages to create quick sections.
12. Mini Dashboard with Dry-Erase Box
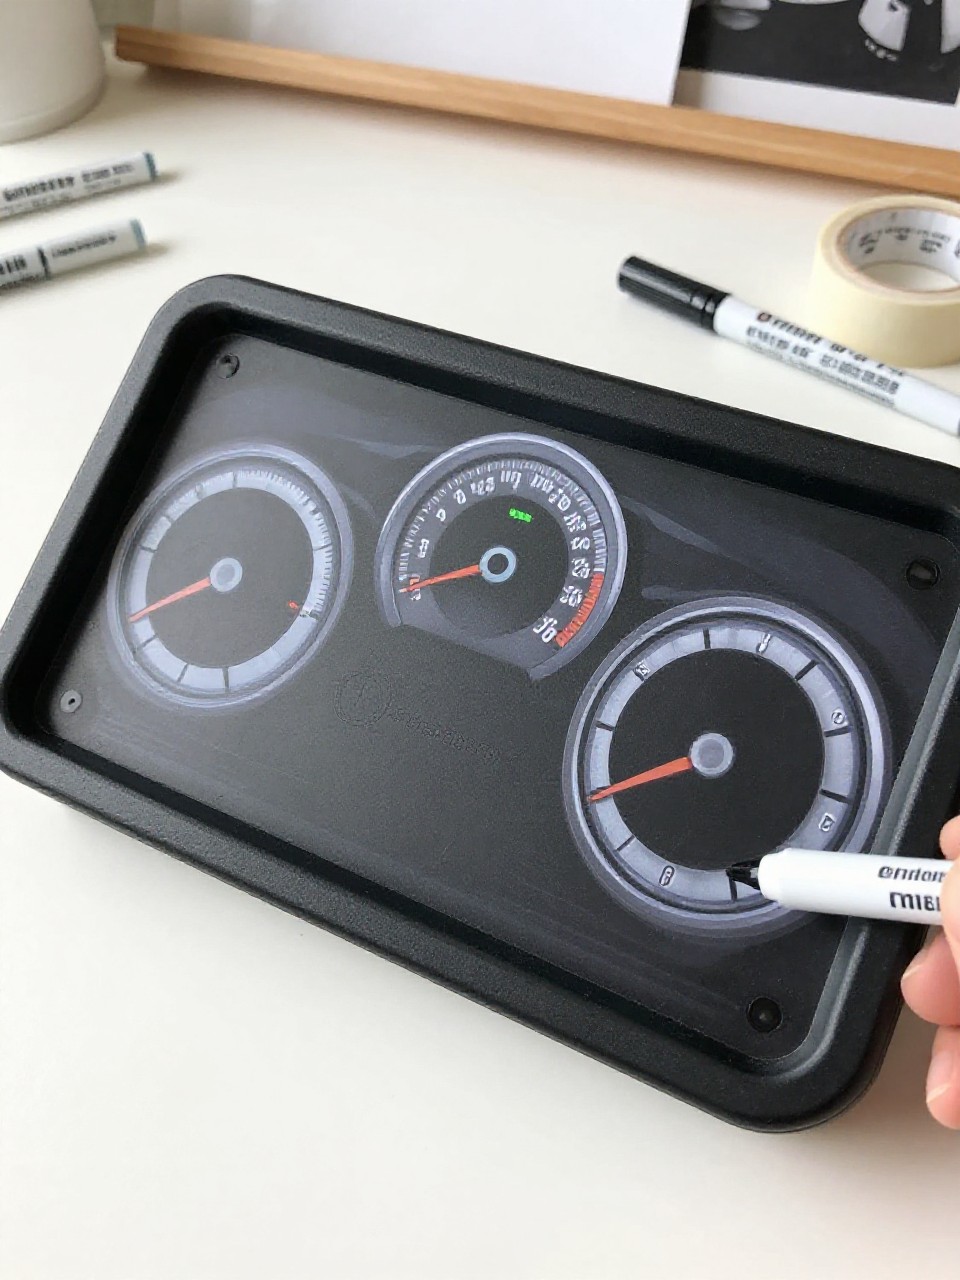
This small laminated card sticks in with washi and has a dry-erase box for daily priorities or reminders. It’s fun to wipe clean and reuse, and it keeps the to-do list simple.
Materials Needed:
- White card stock
- Clear laminating sheet or self-seal pouch
- Washi tape
- Fine-tip dry-erase marker
- Ruler (optional)
How to make it:
- Cut a card the size of a planner page or smaller.
- Draw a neat box and simple headers with the ruler.
- Laminate the card and trim edges.
- Tape it into your planner and write daily notes with a dry-erase marker.