

Table of Contents Show
Keeping kids busy or finding a calm, creative break can be hard, especially on rainy days or in busy classrooms. A simple journal can become a little art studio on paper, and it doesn’t need fancy supplies. In this list, you’ll find fun, easy pages to fill any notebook with color, memories, and feelings.

These ideas are quick to set up, satisfying to make, and great for beginners.
Let’s open that journal and start creating.
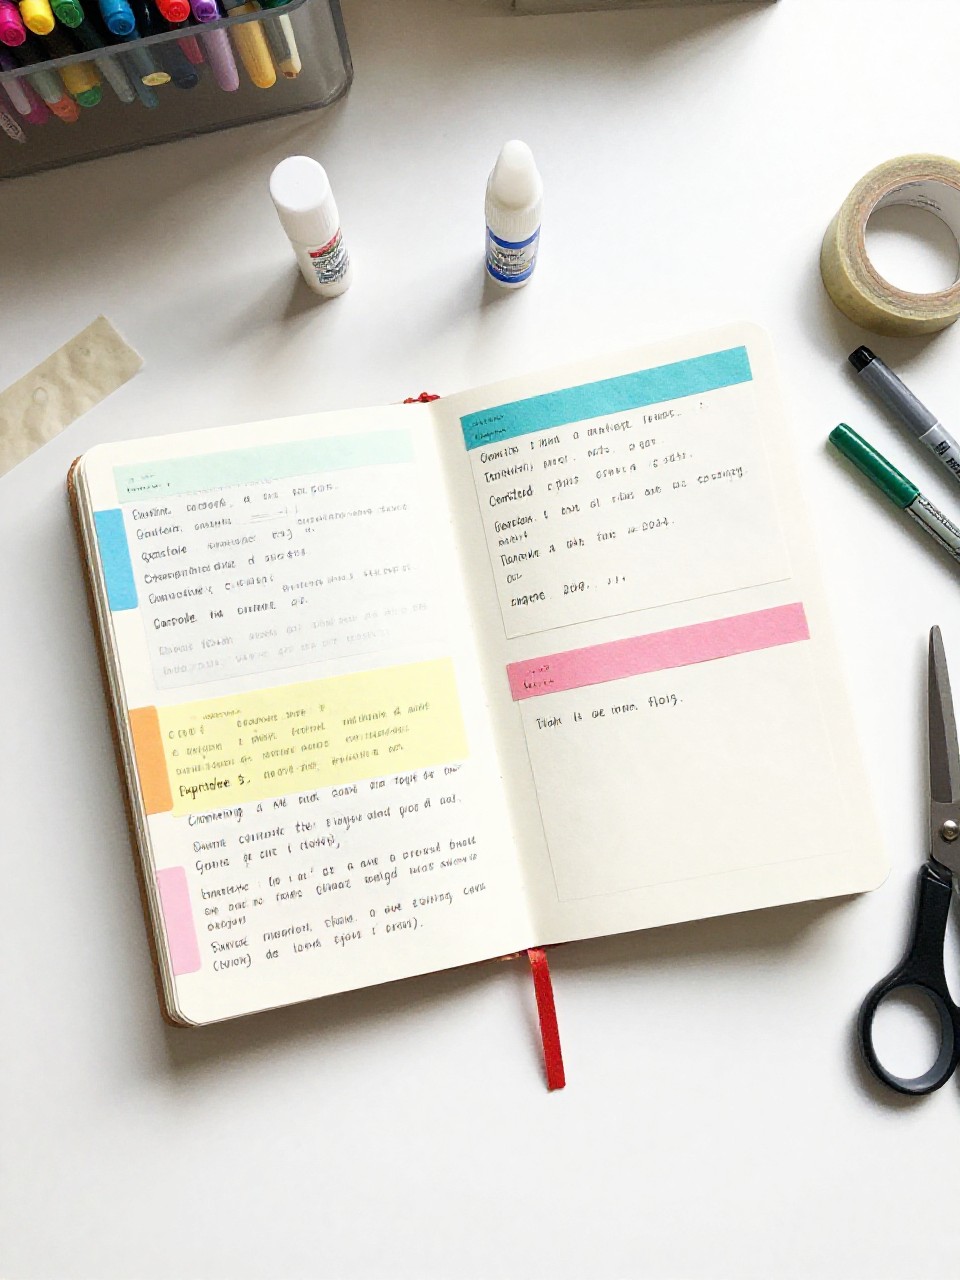
1. Washi Tape Color Blocks Page
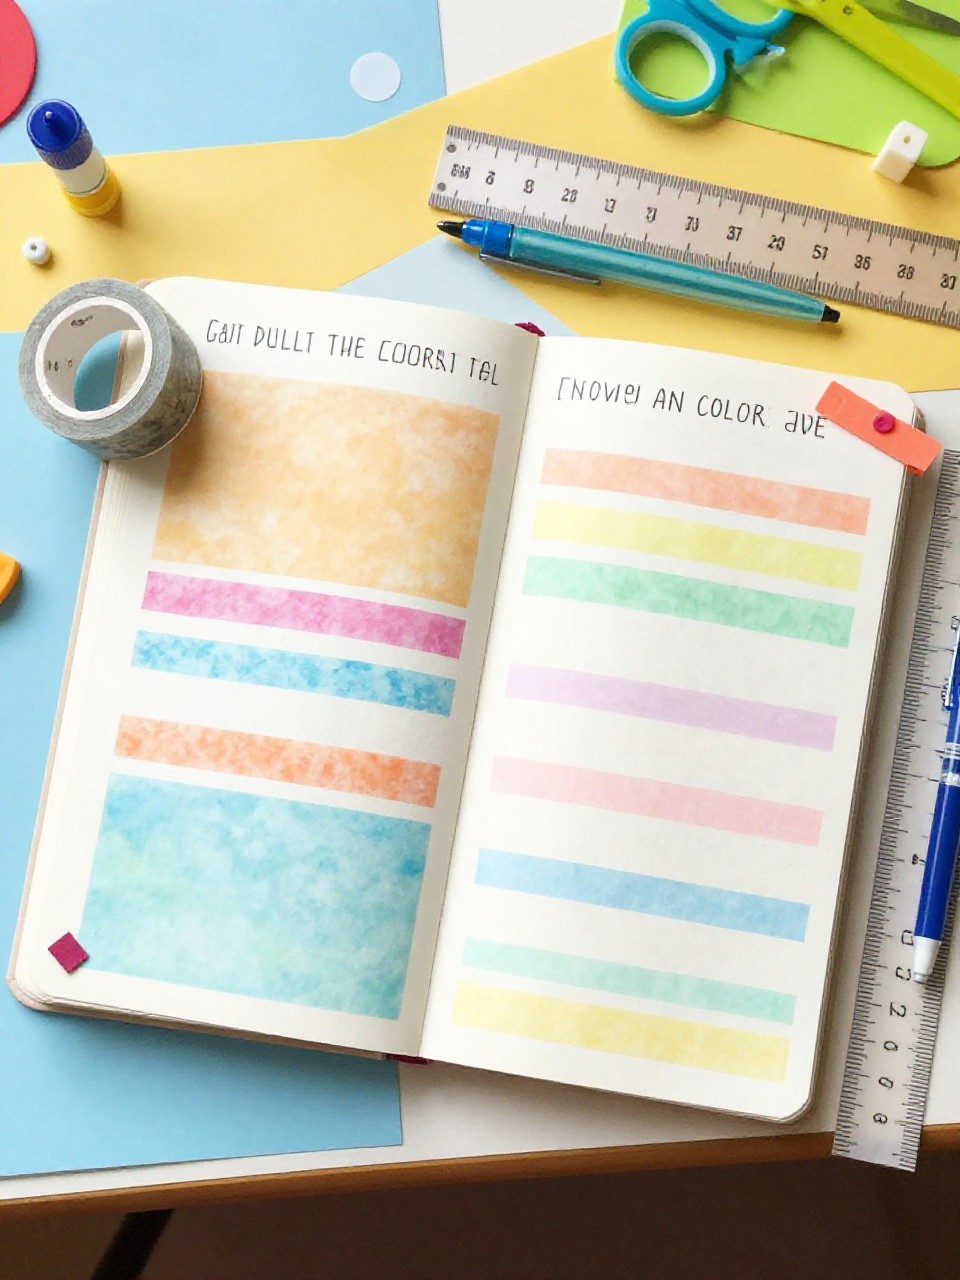
This page looks like a tidy grid of bright rectangles made from washi tape, with small notes or doodles inside each block. It’s fun because peeling and placing tape feels satisfying, and kids can choose colors and patterns to match their mood.
Materials Needed:
For People Who Love to Make Things ✂️
- Journal or notebook
- Washi tape in 3–5 colors/patterns
- Fine-tip pen or marker
- Ruler (optional)
- Stickers (optional)
How to make it:
- Open a journal spread and lightly mark a simple grid with a pencil or ruler.
- Lay washi tape to form rectangles and squares within the grid.
- Add tiny doodles, dates, or one-word notes inside each block.
- Smooth tape edges, add a sticker or two, and close the journal to press everything flat.
2. Nature Rubbing Adventure Page
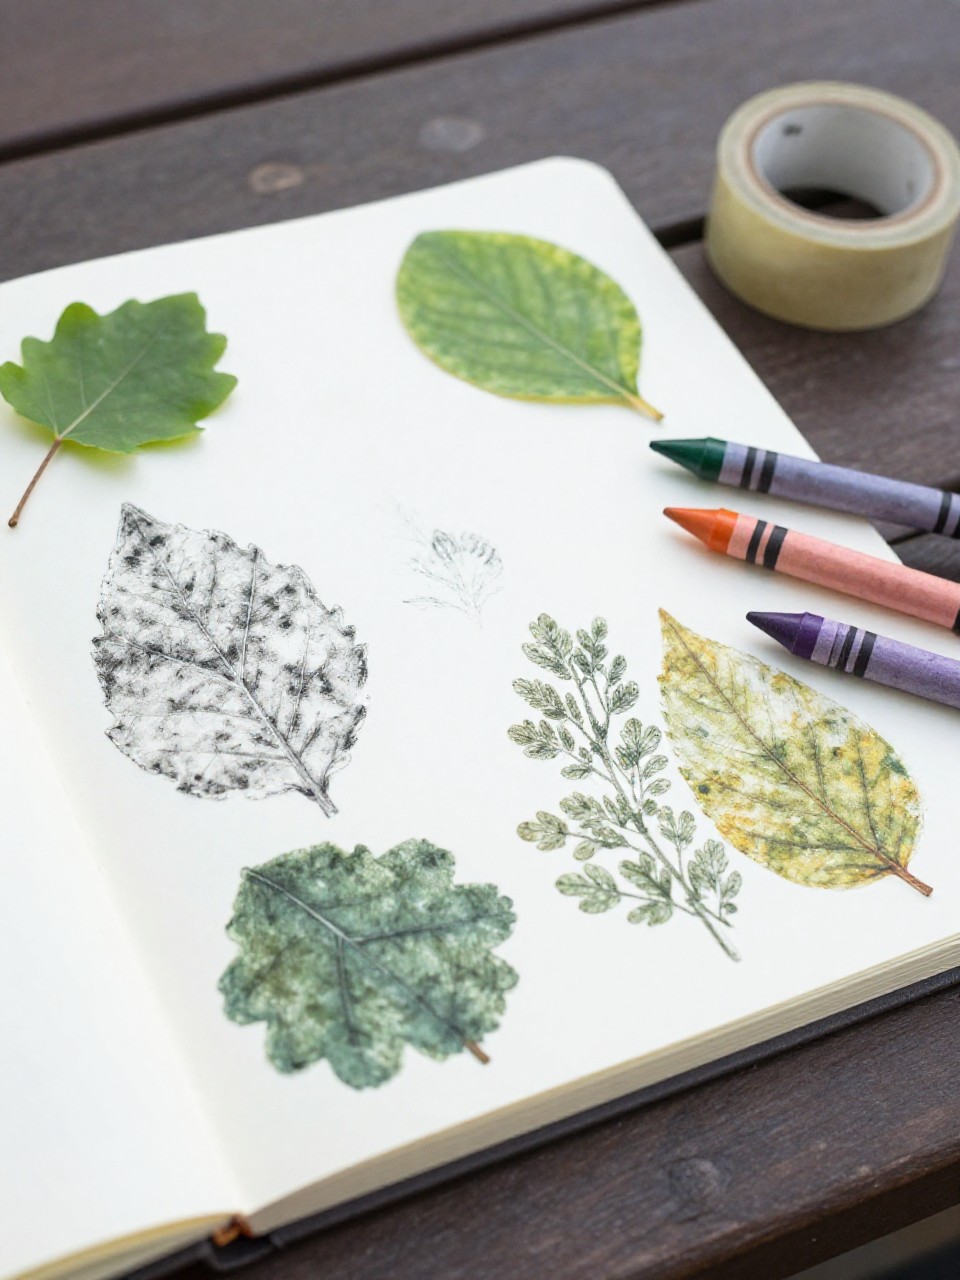
This page shows leaf and bark textures rubbed in crayon, labeled with the place and date found. Kids love the reveal when the texture appears, and it turns a walk into a collecting mission.
Materials Needed:
- Journal
- Leaves or flat nature finds
- Crayons with paper removed
- Tape (washi or clear)
- Pen for labels
How to make it:
- Place a leaf under the journal page on a firm surface.
- Rub the side of a crayon over the page to reveal the texture.
- Write the plant name (or a fun nickname) and date, then tape a small leaf piece on the margin.
- Add a simple border or arrow notes and let any tape set flat.
3. Sticker Story Comic Page
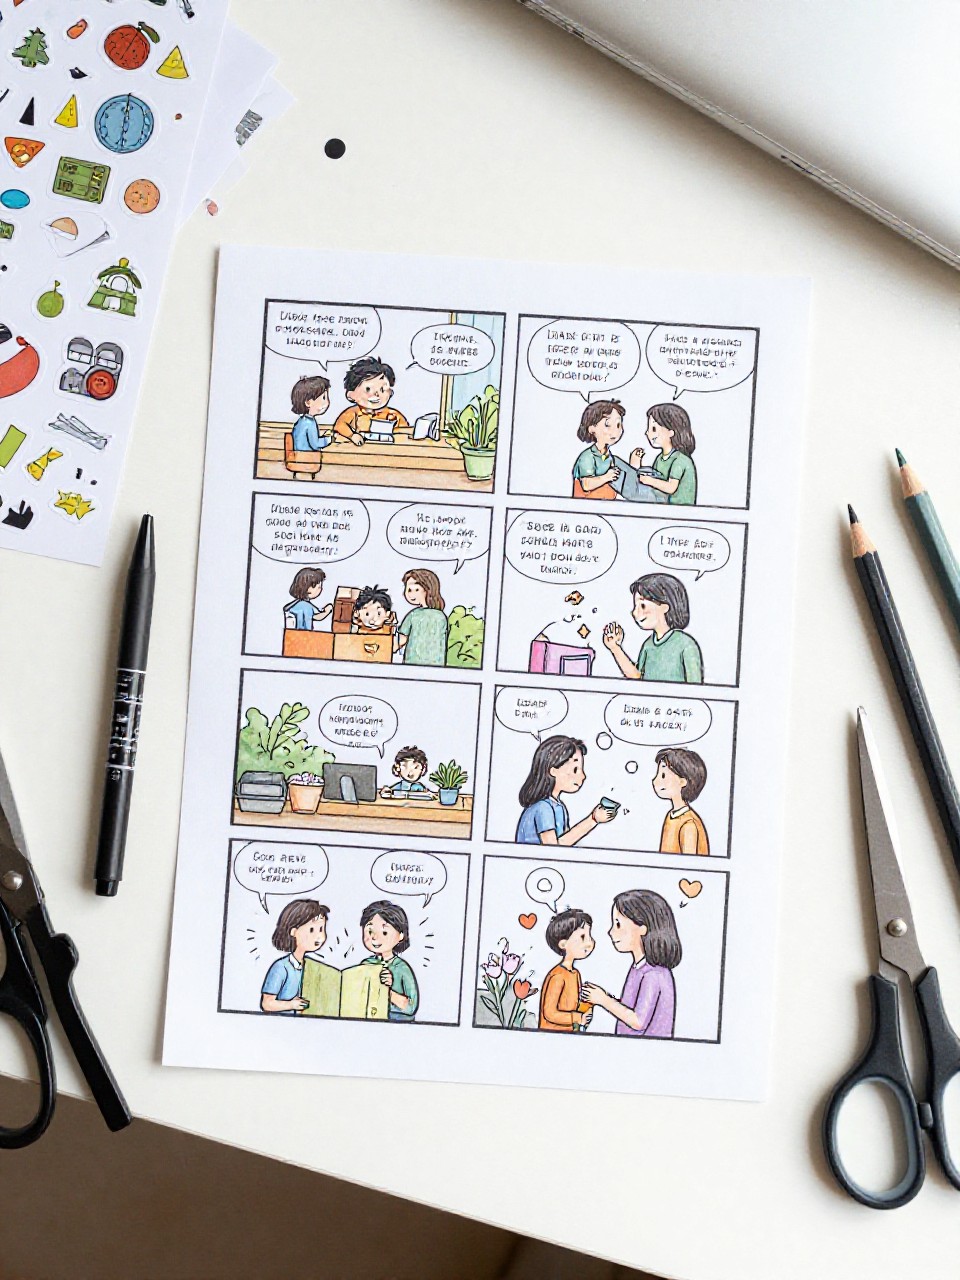
This spread looks like a comic with simple panels and speech bubbles, using stickers as characters. Kids enjoy telling quick stories without drawing people from scratch, and it builds confidence.
Materials Needed:
- Journal
- Assorted stickers (animals, emoji, people)
- Black pen or marker
- Ruler (optional)
- Colored pencils (optional)
How to make it:
- Draw 6–8 simple panels across two pages.
- Place stickers in panels to act as characters or props.
- Add speech bubbles, sound effects, and short captions.
- Color small details, then outline panels for a bold finish.
4. Mood Thermometer Paint Swatch Page
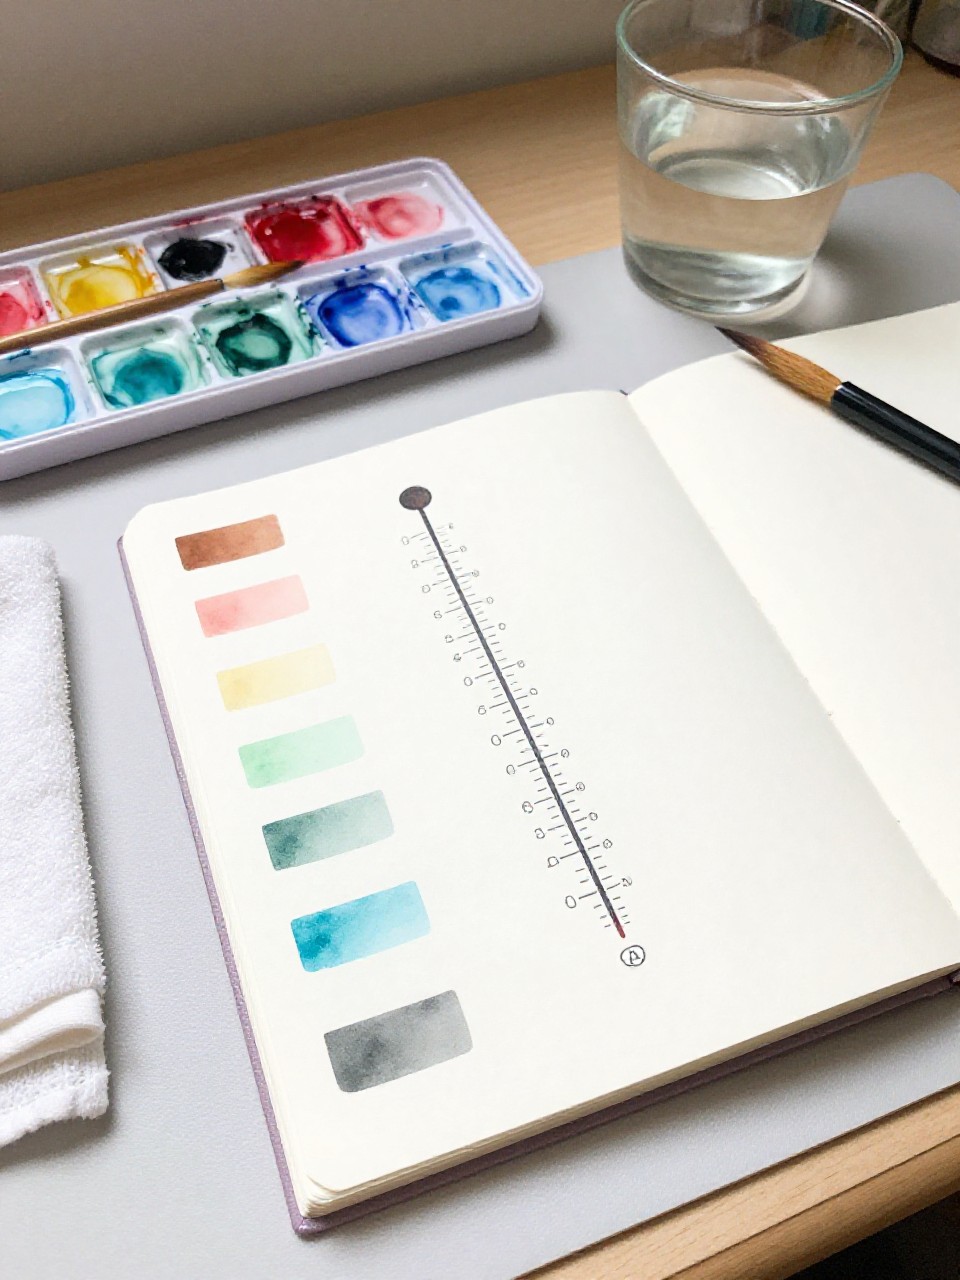
This page shows a vertical “thermometer” of painted color swatches from cool to warm, with moods or moments written beside each stripe. Kids enjoy mixing colors and matching feelings to shades.
Materials Needed:
- Journal
- Watercolors or markers
- Small paintbrush and water cup (if using paint)
- Pen for labels
- Paper towel
How to make it:
- Draw a long rectangle on the page and split it into 7–10 sections.
- Fill each section with a different color from cool to warm.
- Write a mood or memory next to each color.
- Let paint dry, then add a date and a simple border.
5. Pocket of Secrets Envelope Page
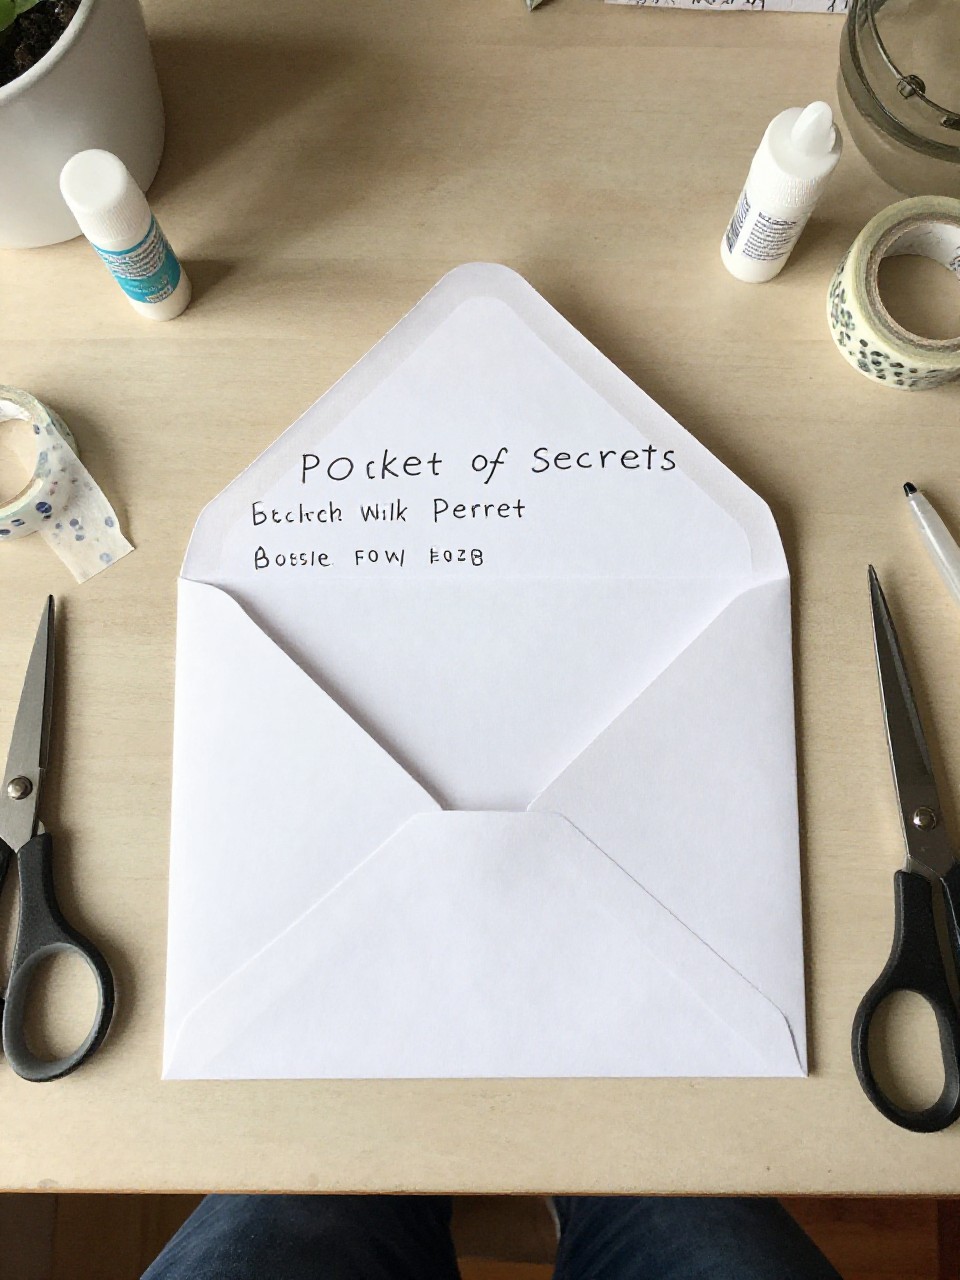
This page features a mini paper envelope glued in, holding tiny notes, tickets, or wishes. Kids love tucking treasures inside and decorating the flap like a mailbox.
Materials Needed:
- Journal
- Small envelope or folded paper to make one
- Glue stick
- Washi tape and stickers
- Pen
How to make it:
- Glue a small envelope onto the page with the opening facing up.
- Reinforce edges with washi tape and add a title above it.
- Decorate the envelope with stickers and a little doodle stamp.
- Write tiny notes or wishes, tuck them inside, and press the page flat.
6. Collage Magazine Mosaic Page
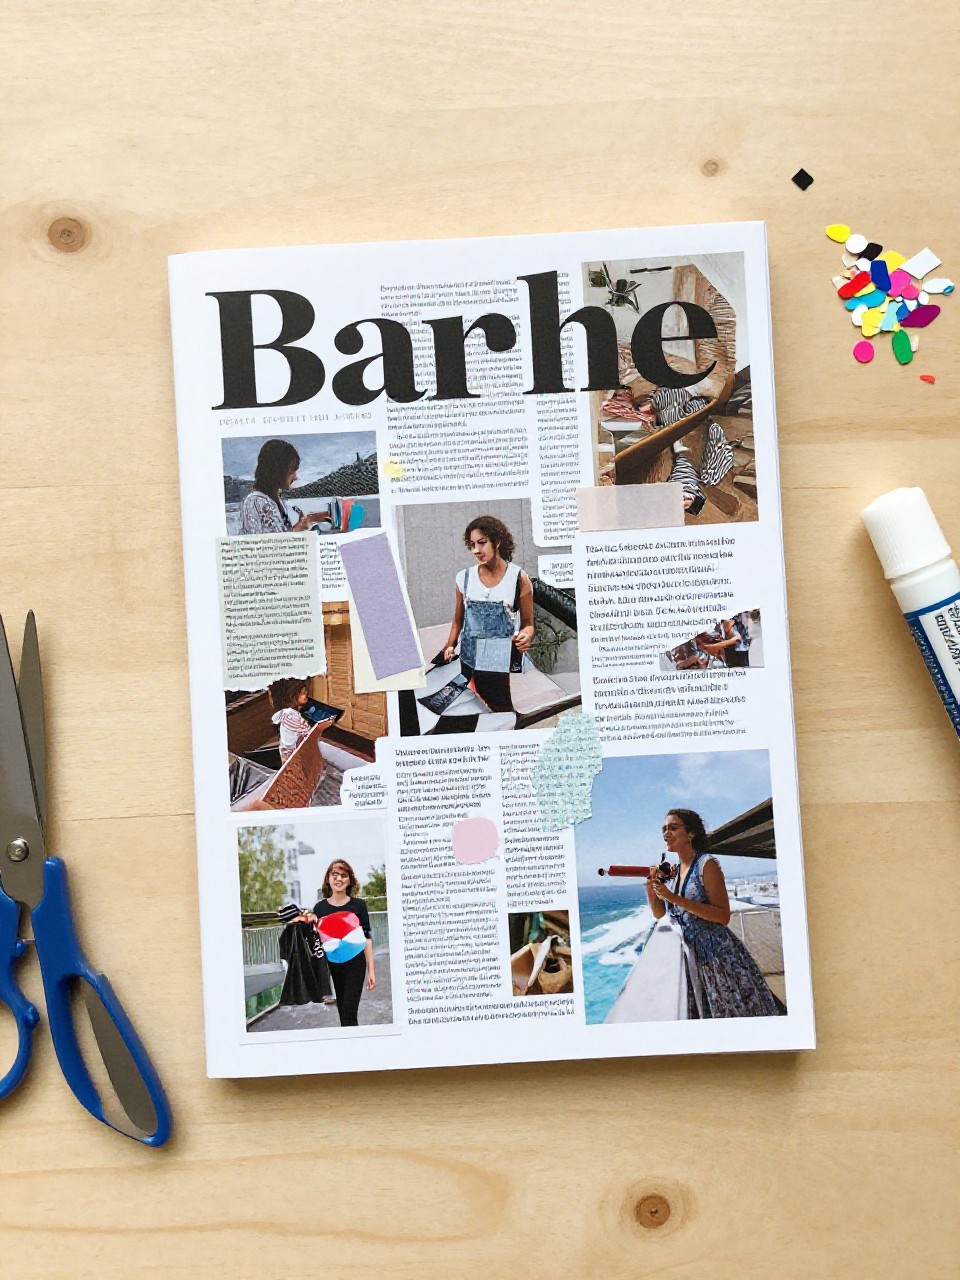
This page looks like a colorful mosaic picture made from tiny paper squares cut from magazines. Kids enjoy hunting for colors and patterns, then building a picture like a puzzle.
Materials Needed:
- Journal
- Old magazines or scrap paper
- Glue stick
- Scissors
- Pencil (optional for outline)
How to make it:
- Lightly sketch a simple shape (heart, star, pizza slice).
- Cut small squares or triangles from magazines in matching colors.
- Glue pieces to fill the shape, leaving a thin outline if you like.
- Smooth with a clean page, then add a title and date.
7. Handprint Memory Spread
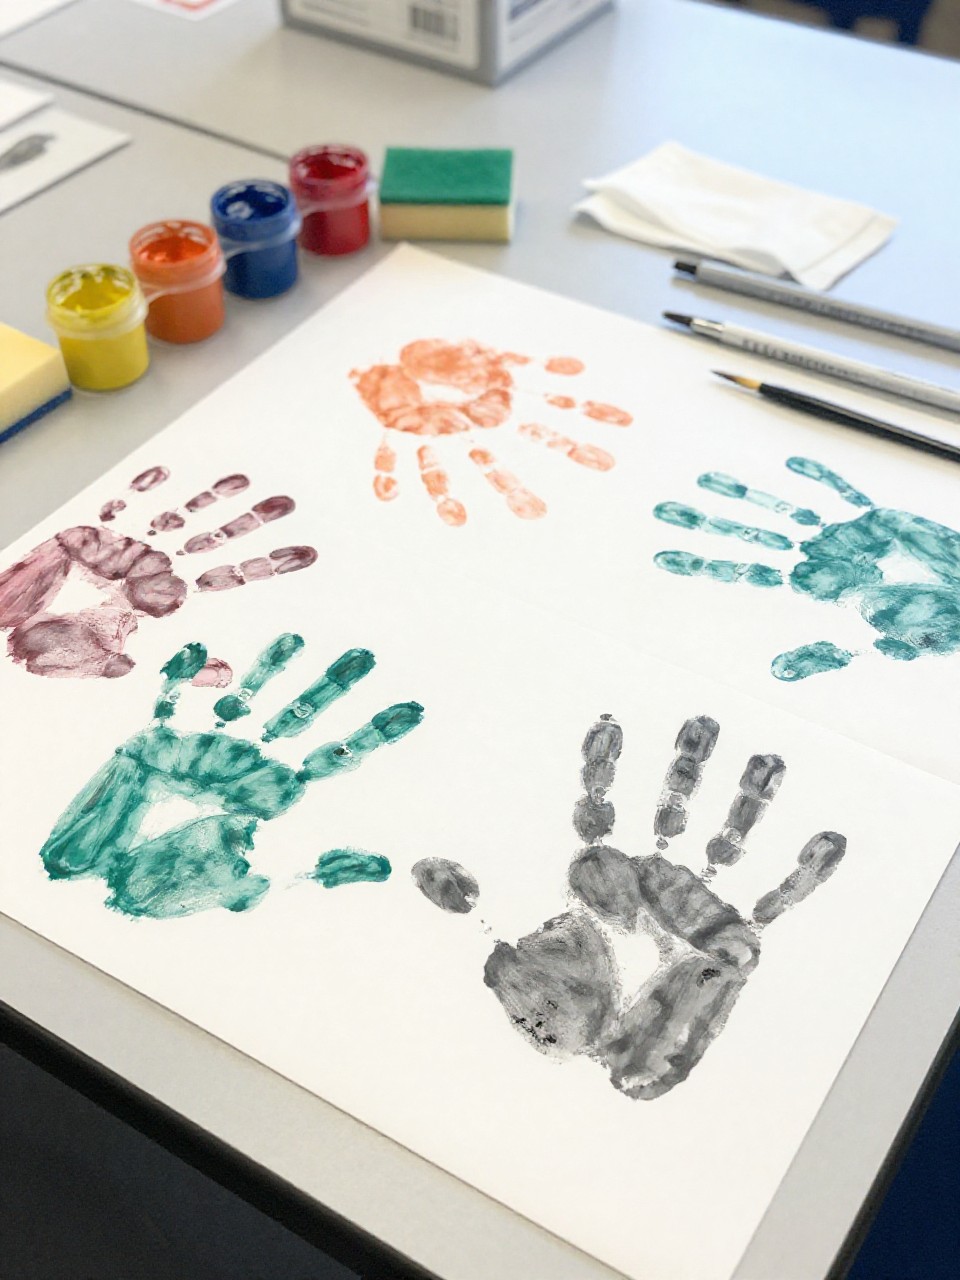
This spread shows painted handprints across two pages with names, ages, and little facts around them. Kids enjoy the messy paint moment and seeing how their hands grow over time.
Materials Needed:
- Journal
- Washable craft paint
- Brush or sponge
- Wet wipes or damp cloth
- Pen or marker
How to make it:
- Brush paint onto a hand and press firmly onto the page.
- Repeat with different colors or family members.
- Write names, date, and fun facts around each print.
- Let dry fully before closing the journal.
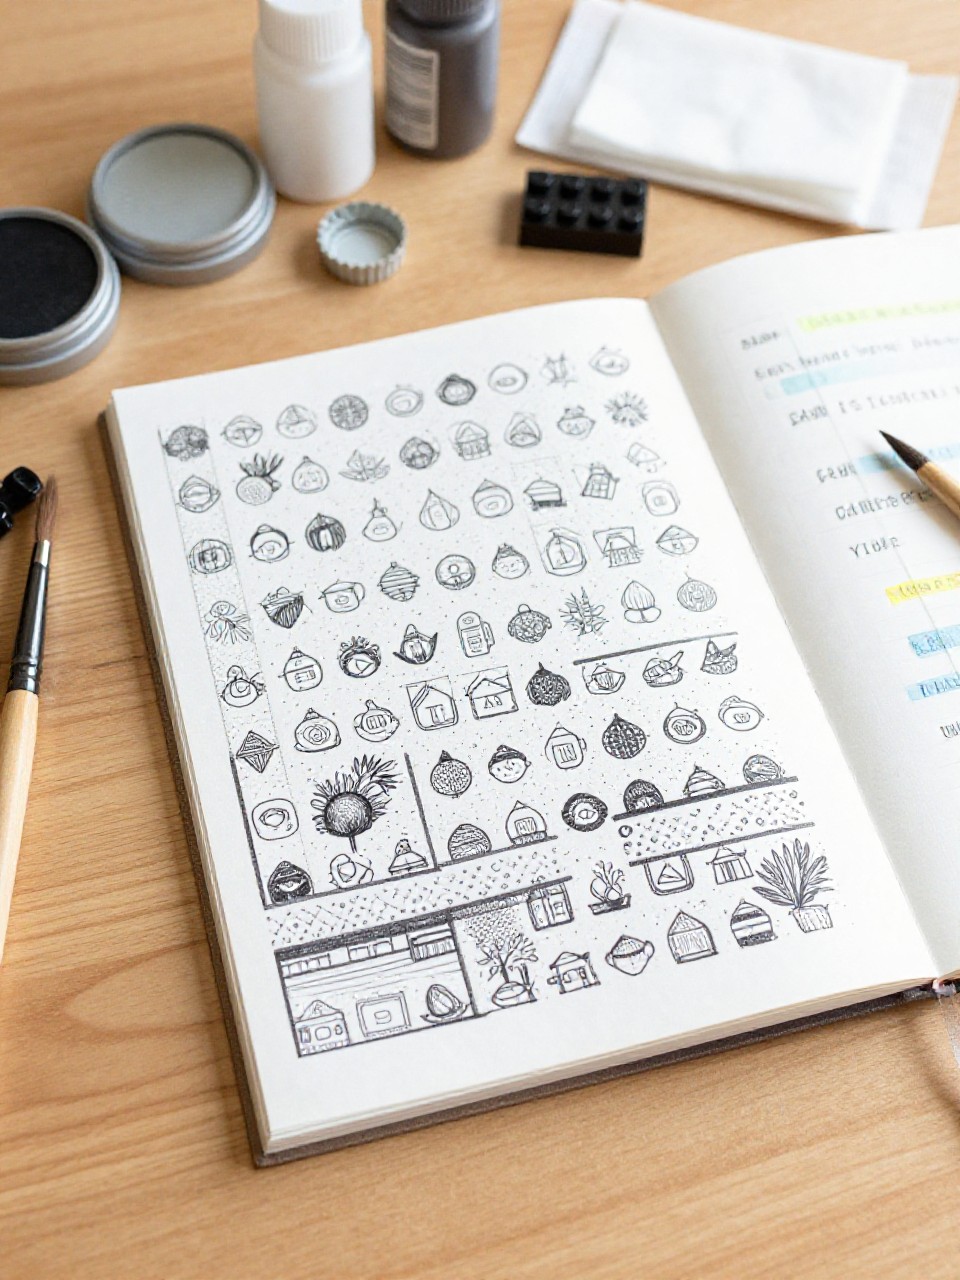
8. Daily Doodle Challenge Grid
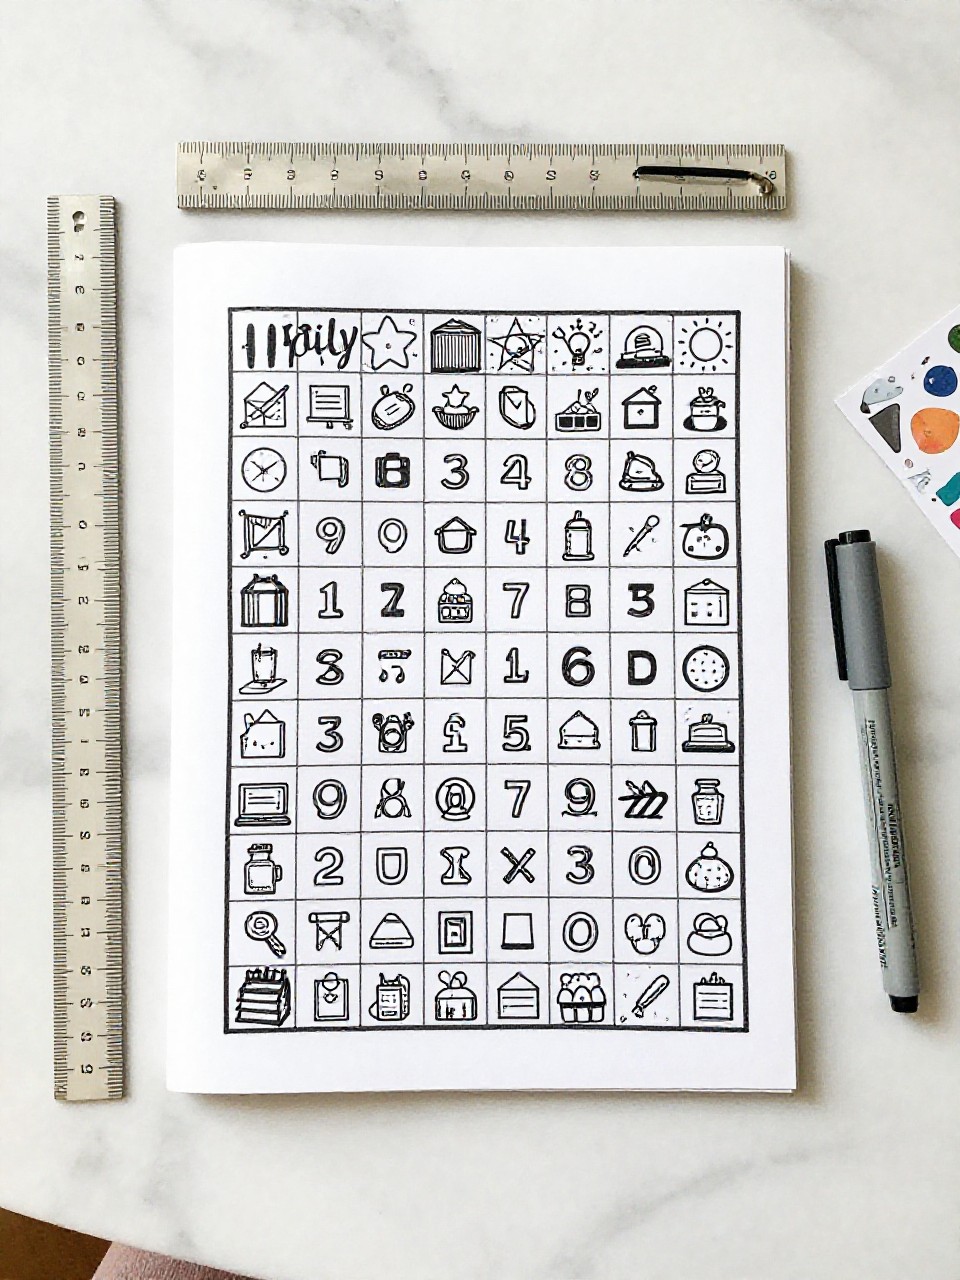
This page is a neat 5×5 grid with one tiny doodle per square, making a mini art calendar. Kids like filling a small box each day because it’s quick, rewarding, and builds a habit.
Materials Needed:
- Journal
- Ruler
- Pen or fineliner
- Colored markers (optional)
- Stickers (optional)
How to make it:
- Draw a 5×5 grid of equal squares.
- Write a simple prompt list in the margin (star, cat, snack, cloud).
- Add one doodle per square each day and color lightly.
- Add a title and a small sticker when the grid is complete.
9. Tape-Resist Name Art Page
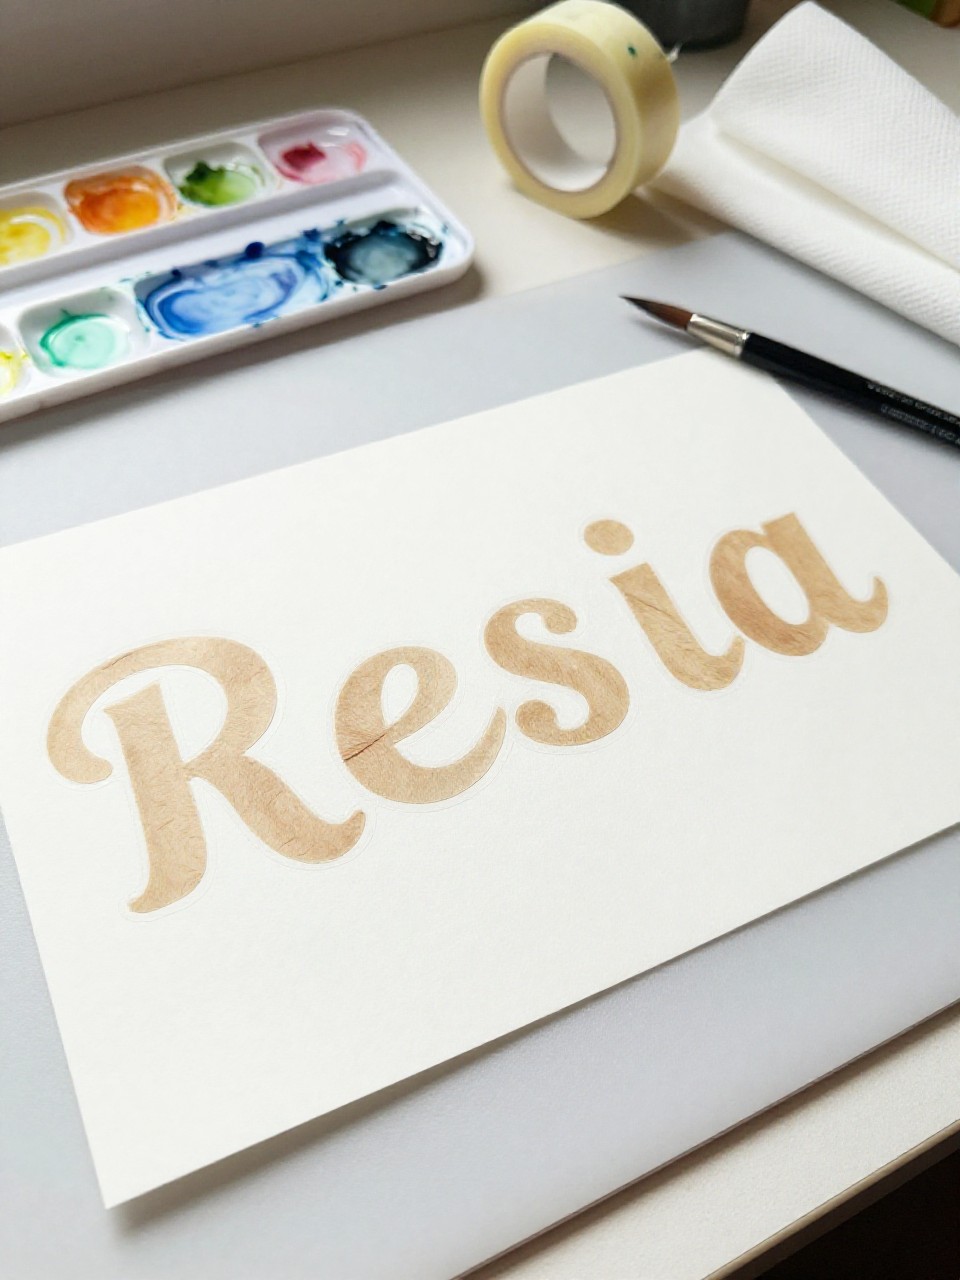
This page shows a bold name or word revealed in white where tape blocked the paint, with a colorful background wash. Kids love peeling the tape to see crisp letters appear.
Materials Needed:
- Journal
- Washi tape or painter’s tape (low tack)
- Watercolors or markers
- Brush and water cup (if painting)
- Paper towel
How to make it:
- Spell a name or word on the page using strips of tape.
- Paint or color over and around the tape, mixing bright shades.
- Let the page dry, then gently peel the tape to reveal letters.
- Add a little shadow line or sparkle dots as a finish.
10. Gratitude Flip-Tabs Page
This page features small paper tabs glued along the edge that flip up to reveal short gratitude notes. Kids enjoy the interactive flaps and the positive focus.
Materials Needed:
- Journal
- Colored paper scraps
- Glue stick or double-sided tape
- Pen or marker
- Washi tape (optional for edges)
How to make it:
- Cut 6–8 small rectangles from colored paper.
- Glue only the top edge of each rectangle in a column to make flip-tabs.
- Write a gratitude under each tab and decorate the tab fronts.
- Reinforce edges with washi tape and add a simple border.
11. Found Patterns Stamp Page
This page is covered in repeat patterns made by stamping with everyday objects like bottle caps and erasers. Kids love discovering shapes in common items and making their own pattern mix.
Materials Needed:
- Journal
- Washable stamp pads or paint
- Found objects (bottle caps, pencil erasers, Lego bricks)
- Scrap paper for testing
- Wipes or damp cloth
How to make it:
- Test each object on scrap to see the shape.
- Stamp patterns in rows or clusters across the page.
- Layer two colors for depth and add tiny pen details between shapes.
- Let dry and add a pattern name or date.
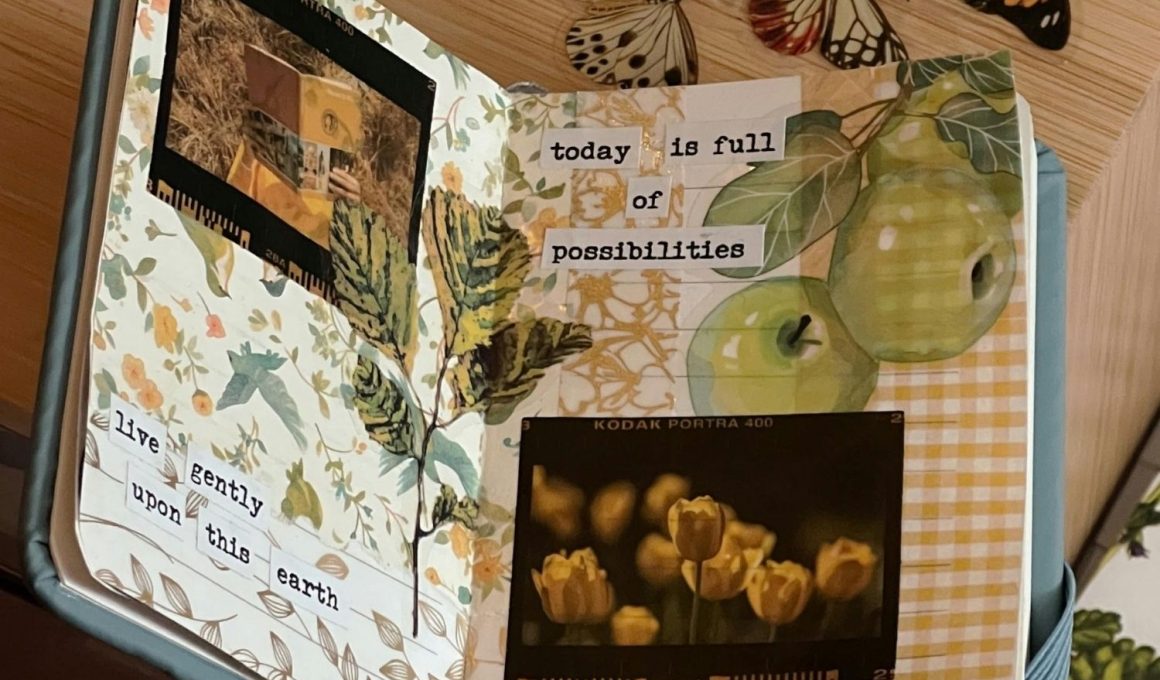
12. Mini Vision Board Spread

This spread looks like a small dream board with cut-out words, tiny pictures, and a simple goal list. Kids enjoy choosing images that inspire them and seeing their plans on paper.
Materials Needed:
- Journal
- Old magazines or printouts
- Scissors
- Glue stick
- Markers or gel pens
How to make it:
- Pick a theme (summer fun, reading goals, kindness).
- Cut out words and small images that match your theme.
- Arrange and glue them on the spread, leaving room for a short list.
- Write 3–5 simple goals, add a border, and press the page flat.