


Table of Contents Show
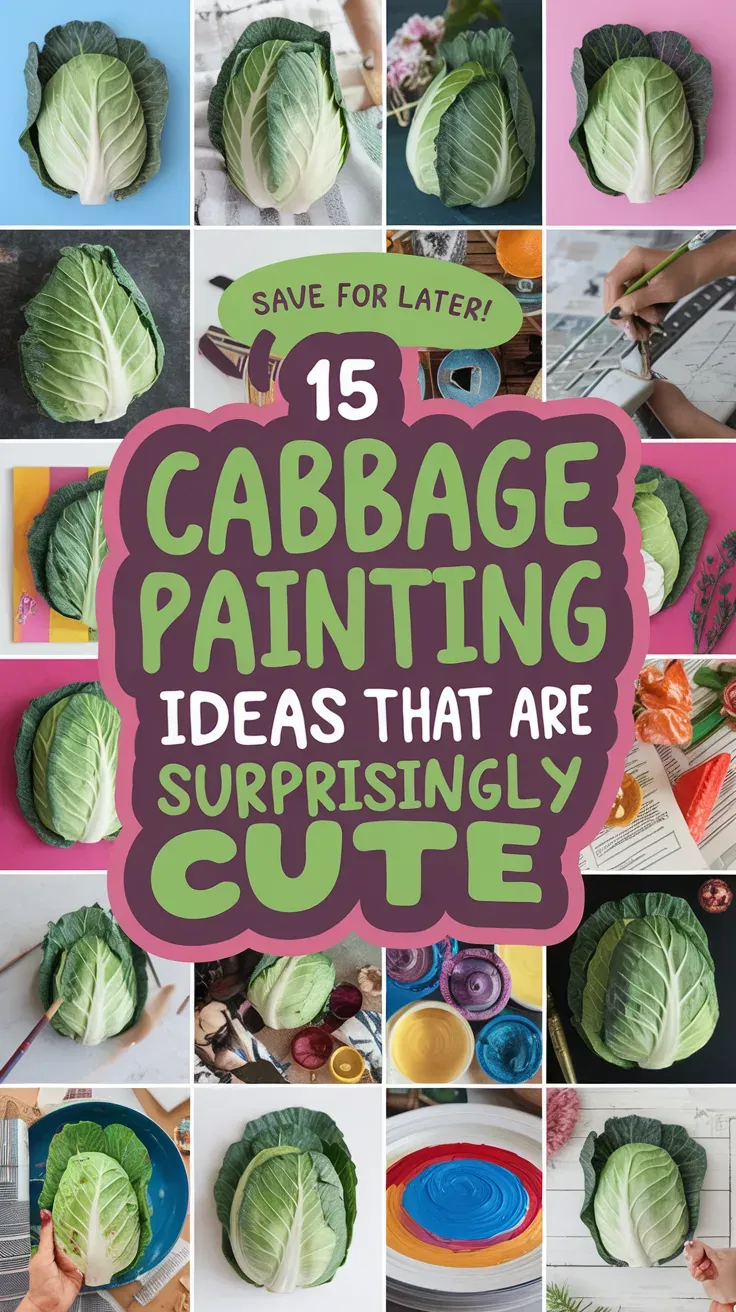
Want a relaxing painting project but tired of the same old canvas ideas? Painting on real cabbages is surprisingly cute, and it’s a fun way to make quick decor for photos, parties, or a cozy craft night at home.
These ideas are beginner-friendly and don’t need perfect drawing skills to look good.
Here are 15 cabbage painting ideas to help you make something cheerful with simple supplies.
1. Pastel Polka-Dot Cabbage Centerpiece

A green cabbage turns into a sweet table centerpiece with soft pastel polka dots scattered all over the round shape. This one feels calming because you can go dot-by-dot with no pressure to “get it right,” and it’s great for beginners who want an easy win.
Materials Needed:
For People Who Love to Make Things ✂️
- Whole green cabbage (firm, dry outer leaves)
- Acrylic paint (pastel colors)
- Paintbrushes in multiple sizes
- Palette or paint tray
- Optional clear acrylic spray sealer
Steps to Make:
- Wash and fully dry the cabbage, then peel off any loose, wet outer leaves.
- Lightly sketch a few dot areas with a pencil if you want a guide.
- Use a medium brush to paint big dots first, following the curve of the cabbage.
- Add smaller dots in between, mixing colors and letting brush strokes show.
- Let dry, then lightly mist with sealer for short-term display.
2. Smiling Kawaii Cabbage Face

A cabbage becomes an adorable “kawaii” character with rosy cheeks, a tiny smile, and simple closed eyes painted on the front. It’s satisfying because the shapes are basic, and you can adjust the expression until it feels cute. This is perfect for a quick desk buddy or party prop.
Materials Needed:
- Whole green cabbage (smooth outer leaves)
- Acrylic paint (black, white, pink)
- Paintbrushes in multiple sizes
- Palette or paint tray
- Optional clear acrylic spray sealer
Steps to Make:
- Dry the cabbage well so paint sticks to the leaf surface.
- Paint two curved lines for closed eyes, keeping them level on the front.
- Add a small smile and tiny blush circles on the cheeks.
- Dot in white highlights and thicken lines where you want more contrast.
- Let dry completely, then seal lightly if displaying indoors.
3. Blue-and-White Chinoiserie Cabbage

This cabbage looks like a tiny porcelain-inspired decoration, covered in blue floral vines and small leaves that flow around the curves. It’s relaxing because you can paint slow, simple strokes and repeat the same leaf shapes. Great for beginners who enjoy patterns more than drawing.
Materials Needed:
- Whole green cabbage
- Acrylic paint (white, cobalt/cerulean blue)
- Paintbrushes in multiple sizes
- Palette or paint tray
- Optional clear acrylic spray sealer
Steps to Make:
- Wipe the cabbage with a dry paper towel to remove moisture and dirt.
- Brush on a thin white base in the areas you want the blue design to pop.
- Paint loose vine lines that wrap around, following the cabbage’s round form.
- Add clusters of small leaves and simple flowers with varied brush pressure.
- Dry fully and mist with sealer for a short-lived “ceramic” look.
4. Gold Leaf-Style Accent Cabbage

A simple cabbage turns fancy with hand-painted gold accents along a few outer leaves, like a gilded botanical sculpture. This project is calming because you don’t need to cover the whole cabbage—just highlight edges and veins. It’s great for holiday tables or glam photo styling.
Materials Needed:
- Whole green cabbage
- Acrylic paint (metallic gold, optional white)
- Paintbrushes in multiple sizes
- Palette or paint tray
- Optional clear acrylic spray sealer
Steps to Make:
- Dry the cabbage and rotate it to choose your “best side” for display.
- Paint thin gold lines along leaf edges where the layers curl outward.
- Add a few gold strokes on leaf veins, letting the brush skip and texture show.
- Optional: dab a little white under gold areas to make metallic paint brighter.
- Let dry, then seal lightly to reduce smudging.
5. Strawberry Cabbage Disguise

This cabbage is painted bright red with tiny yellow seeds, turning it into a playful “giant strawberry” that still shows leafy texture underneath. It’s fun because it looks silly in the best way, and beginners can do it with dots and simple shading. Cute for kitchen decor photos.
Materials Needed:
- Whole green cabbage
- Acrylic paint (red, yellow, green)
- Paintbrushes in multiple sizes
- Palette or paint tray
- Optional clear acrylic spray sealer
Steps to Make:
- Pat the cabbage dry and tuck loose leaves back into place.
- Paint a red base coat over the visible outer leaves, leaving some texture bumps.
- While the red dries, paint the top leaves a brighter green for the “stem” look.
- Dot on yellow seeds, following the cabbage curve so dots shrink near edges.
- Dry and seal lightly for handling during photos.
6. Ladybug Garden Cabbage

A cabbage becomes a bold ladybug with a red shell, black spots, and a simple black head area near the top. It’s satisfying because the design is high-contrast and forgiving, and the round cabbage shape already matches a ladybug body. Great for spring decor or kids’ craft time.
Materials Needed:
- Whole green cabbage
- Acrylic paint (red, black, white)
- Paintbrushes in multiple sizes
- Palette or paint tray
- Optional clear acrylic spray sealer
Steps to Make:
- Dry the cabbage and decide which side will face forward.
- Paint a red “shell” area across the front, keeping edges slightly uneven for charm.
- Add a black head shape near the top and a thin center line down the shell.
- Paint black spots that curve with the cabbage, then add tiny white highlights.
- Let dry and seal if you plan to move it around.
7. Rainbow Stripe Cabbage Pop

This cabbage is covered in bright rainbow stripes that wrap around like a cheerful beach ball, with visible brush marks and color blending. It’s a relaxing project because you only need steady, simple bands of color. Beginners can keep stripes loose and still get a bold, happy result.
Materials Needed:
- Whole green cabbage
- Acrylic paint (rainbow colors)
- Paintbrushes in multiple sizes
- Palette or paint tray
- Optional clear acrylic spray sealer
Steps to Make:
- Dry the cabbage and place it on a bowl so it doesn’t roll while you paint.
- Mark light guide lines for stripes using a thin brush and watered-down paint.
- Paint each stripe band, following the curve and slightly overlapping colors.
- Add quick blended edges where two colors meet for a soft, handmade look.
- Dry, rotate, touch up gaps, and seal lightly.
8. Tiny Wildflower Meadow Cabbage

A cabbage turns into a little “meadow” with small daisies, dots, and simple leaf sprigs scattered across the outer leaves. This feels soothing because you can paint one tiny flower at a time, like journaling but with paint. It’s great for beginners who like gentle, cute details.
Materials Needed:
- Whole green cabbage
- Acrylic paint (white, yellow, pink, green)
- Paintbrushes in multiple sizes
- Palette or paint tray
- Optional clear acrylic spray sealer
Steps to Make:
- Dry the cabbage and choose a color plan (two flower colors is enough).
- Paint small white petals in quick strokes, letting the leaf texture break lines.
- Add yellow centers, then sprinkle tiny dot “buds” in pink or blue.
- Paint a few thin green stems and leaves that curve around the cabbage shape.
- Let dry and seal lightly if displaying for a day or two.
9. Galaxy Night-Sky Cabbage

This cabbage looks like a mini planet, painted deep navy with purple swirls, white stars, and a few brighter “nebula” spots. It’s satisfying because blending is forgiving, and the cabbage texture makes the galaxy look even more interesting. Beginners can splatter stars and call it done.
Materials Needed:
- Whole green cabbage
- Acrylic paint (navy, purple, black, white)
- Paintbrushes in multiple sizes
- Palette or paint tray
- Optional clear acrylic spray sealer
Steps to Make:
- Dry the cabbage and paint a dark base coat on the main viewing side.
- While still slightly wet, blend in purple patches using a dabbing motion.
- Add a few darker areas for depth, following the round shape like a sphere.
- Flick watered-down white paint for stars, then dot a few brighter ones by hand.
- Dry fully and seal lightly to protect the splatter.
10. Cottagecore Gingham Cabbage

This cabbage has a soft gingham pattern, like a picnic blanket wrapped around a vegetable, with slightly uneven squares that feel handmade. It’s relaxing because the pattern is just lines and blocks, and tiny wobbles actually make it cuter. Perfect for farmhouse-style photos and cozy decor.
Materials Needed:
- Whole green cabbage
- Acrylic paint (white plus one color like sage, blush, or blue)
- Paintbrushes in multiple sizes
- Palette or paint tray
- Optional clear acrylic spray sealer
Steps to Make:
- Dry the cabbage and choose one main color for your gingham.
- Paint evenly spaced vertical stripes that curve around the cabbage surface.
- After drying a bit, paint horizontal stripes crossing the first set.
- Fill some overlap squares with a slightly darker mix to create the gingham look.
- Let dry and seal lightly for short-term styling.
11. Bumblebee Stripe Cabbage

A cabbage becomes a chunky bumblebee with yellow-and-black stripes and tiny white wings painted near the top. This is great for beginners because stripes are simple, and you can fix spacing by adding another band. It’s a cute spring craft that looks adorable on a sunny windowsill.
Materials Needed:
- Whole green cabbage
- Acrylic paint (yellow, black, white)
- Paintbrushes in multiple sizes
- Palette or paint tray
- Optional clear acrylic spray sealer
Steps to Make:
- Dry the cabbage and place it on a towel ring to keep it steady.
- Paint a few wide yellow bands first, leaving green showing in between for planning.
- Fill the gaps with black bands, curving them around like a real bee body.
- Add small white wings with short, feathery strokes and a few outline lines.
- Dry and seal lightly before setting it out.
12. Soft Ombre Sunset Cabbage

This cabbage has a smooth ombre fade from peach to pink to lavender, like a gentle sunset wrapped around leafy layers. It’s a calming project because blending paint slowly is the whole point, and you don’t need any detailed drawing. Beginners can work in sections and touch up as they go.
Materials Needed:
- Whole green cabbage
- Acrylic paint (peach, pink, lavender, white)
- Paintbrushes in multiple sizes
- Palette or paint tray
- Optional clear acrylic spray sealer
Steps to Make:
- Dry the cabbage and lightly dampen your brush (not the cabbage) for smoother blending.
- Paint peach on the bottom area, following the curve around the base.
- Add pink above it and blend where the colors meet with back-and-forth strokes.
- Paint lavender near the top and soften transitions with small overlapping brush strokes.
- Let dry, add a second thin layer if needed, then seal lightly.
13. Cute Patchwork Quilt Cabbage

This cabbage looks like a tiny quilt, painted with patchwork blocks, simple stitches, and mismatched patterns that wrap around the round shape. It’s satisfying because every “patch” can be different, so there’s no boredom. Beginners can keep shapes loose and still get a charming result.
Materials Needed:
- Whole green cabbage
- Acrylic paint (3–5 colors plus white)
- Paintbrushes in multiple sizes
- Palette or paint tray
- Optional clear acrylic spray sealer
Steps to Make:
- Dry the cabbage and plan big “patch” areas using light paint lines.
- Paint block shapes in different colors, letting the leaf edges guide some borders.
- Add simple patterns inside blocks (dots, stripes, tiny flowers, zigzags).
- Paint little white stitch marks along a few seams for the quilt effect.
- Dry, touch up borders, and seal lightly for handling.
14. Painted Mandala Burst Cabbage

This cabbage features a simple mandala “burst” painted on the flattest front area, with layered petals radiating outward and curving slightly with the leaf shape. It’s relaxing because it’s slow and repetitive, and small imperfections make it feel hand-done. Great for a quiet evening craft.
Materials Needed:
- Whole green cabbage
- Acrylic paint (2–3 colors plus white)
- Paintbrushes in multiple sizes
- Palette or paint tray
- Optional clear acrylic spray sealer
Steps to Make:
- Dry the cabbage and find the smoothest front area for the mandala center.
- Dot a center point, then paint a ring of small petal shapes around it.
- Add a second and third ring with slightly bigger petals, keeping spacing loose.
- Outline a few petals or add tiny dot details to make the layers stand out.
- Let dry and seal lightly to prevent smears.
15. Hand-Painted Cabbage “Love Notes” Typography

This cabbage has short, sweet words like “hello,” “breathe,” or “love” painted in loose hand lettering across the outer leaves, with tiny hearts or stars tucked around the letters. It’s a simple, cheerful project that feels personal, and beginners can do it with basic block letters.
Materials Needed:
- Whole green cabbage
- Acrylic paint (white plus one accent color)
- Paintbrushes in multiple sizes
- Palette or paint tray
- Optional clear acrylic spray sealer
Steps to Make:
- Dry the cabbage and pick one word that fits across the leaf curve.
- Paint the letters lightly in a first pass, following the rounded surface.
- Thicken the strokes once the first layer sets, fixing spacing as you go.
- Add tiny doodles (hearts, stars, dots) to fill empty spaces and balance the design.
- Let dry, then seal lightly and display on a shelf or table.


