

Table of Contents Show
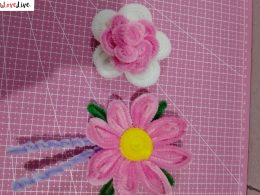
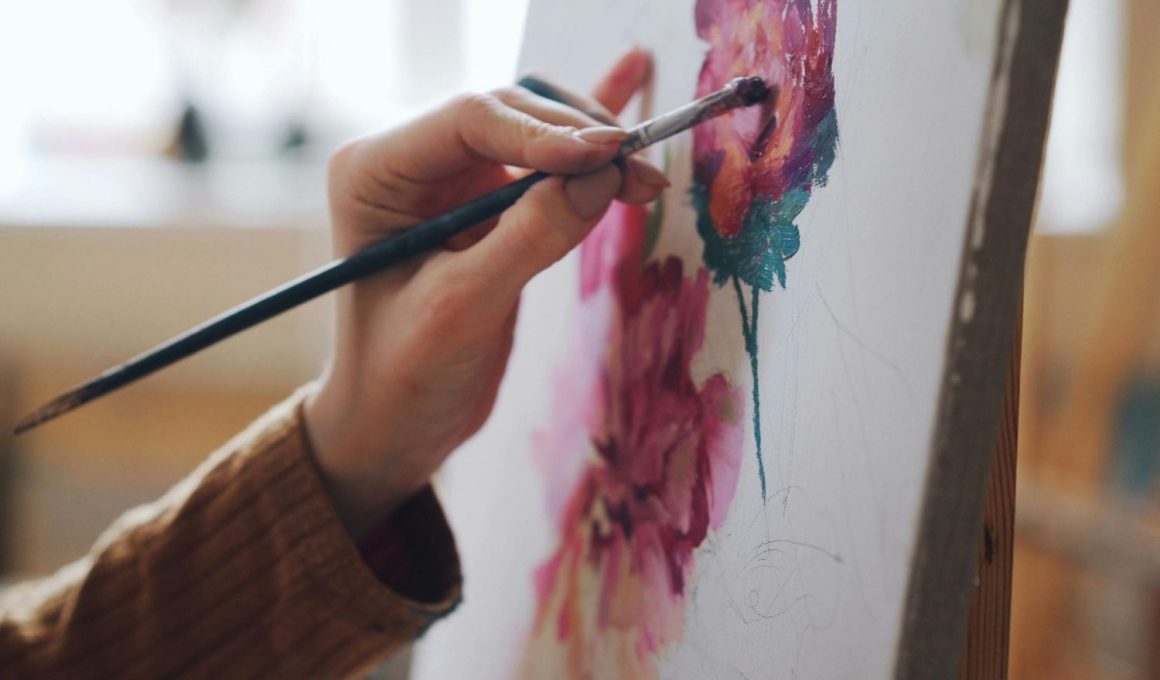
Painting flowers can feel relaxing, but it’s easy to get stuck making the same old rose or daisy every time. If you want something a little bolder, funky floral patterns are a fun way to play with color, shapes, and simple repeats.
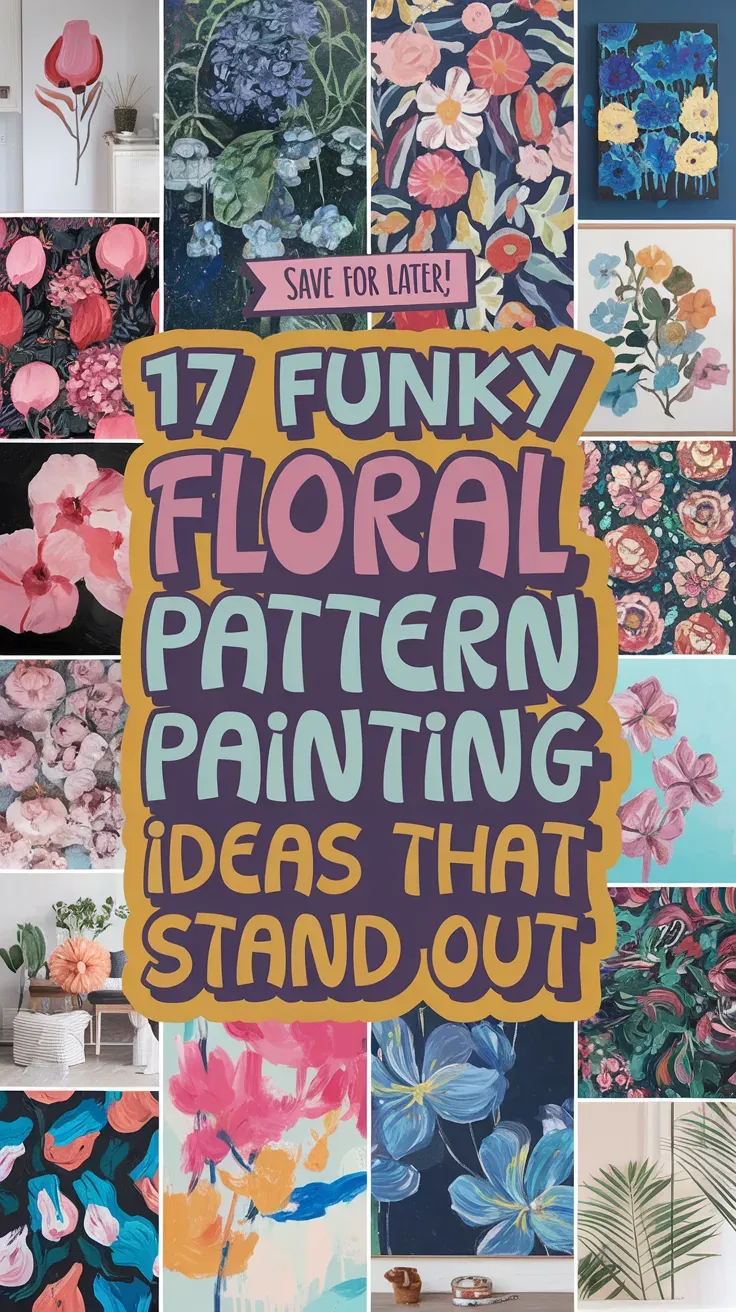
This list is packed with beginner-friendly ideas that still look artsy and unique when you’re done.
Let’s jump into 17 floral pattern paintings that really stand out.
1. Groovy Daisy Burst Canvas

This painting looks like a bunch of big daisies with wavy petals and bright centers, popping off the canvas in a fun, retro way. It’s satisfying because the shapes are simple, and you can relax and repeat petals without worrying about perfect realism. Great for cheerful wall decor.
Materials Needed:
For People Who Love to Make Things ✂️
- Stretched canvas
- Acrylic paint
- Paintbrushes in multiple sizes
- Palette or paint tray
- Optional acrylic varnish
Steps to Make:
- Paint a solid background color and let it dry fully.
- Lightly sketch 3–5 big daisy circles where you want the blooms to sit.
- Paint chunky, wavy petals around each circle, letting petals overlap a little.
- Add dotted or striped centers and small accent leaves in bold colors.
- Let dry, varnish if you want, and hang it where the colors can shine.
2. Checkerboard Florals Canvas Painting

The finished canvas has a classic checkerboard background with simple flower shapes sitting inside some of the squares. It’s great for beginners because the grid helps guide your layout, and you can keep flowers as easy as five rounded petals. It also looks modern in a bedroom or office.
Materials Needed:
- Stretched canvas
- Acrylic paint
- Paintbrushes in multiple sizes
- Palette or paint tray
- Masking tape (optional)
Steps to Make:
- Tape off a grid, or lightly draw a checkerboard with pencil.
- Paint alternating squares, then let the first layer dry before fixing edges.
- Add simple flowers inside select squares using one or two colors.
- Outline a few petals or add tiny dots to make the pattern feel lively.
- Peel tape if used, touch up lines, and let the canvas dry flat.
3. Neon Wildflower Scatter Canvas
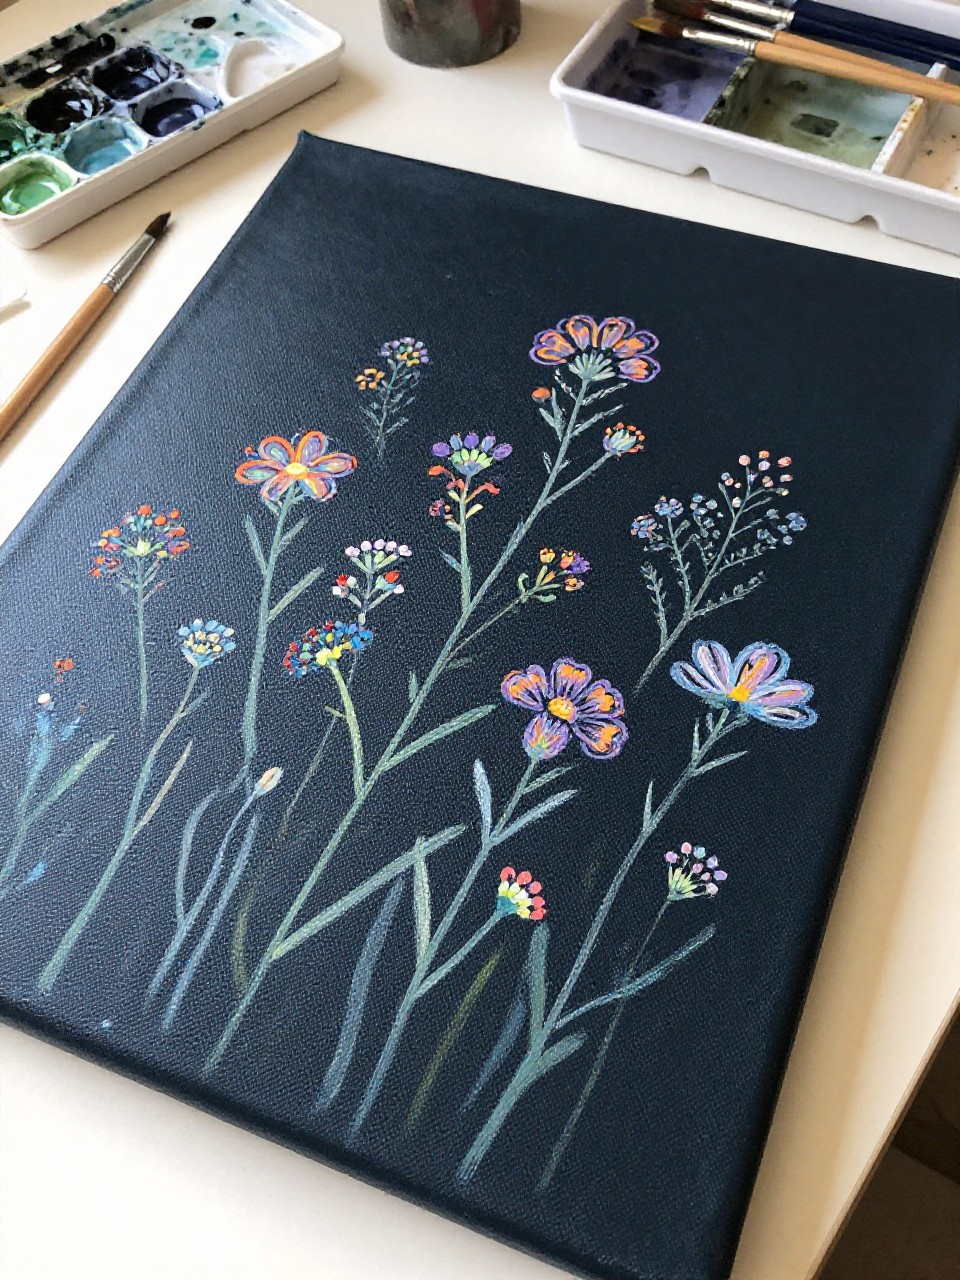
This canvas shows a scattered field of tiny wildflowers in neon pinks, oranges, and greens on a dark background. It’s a relaxing project because you can paint one flower at a time, like little doodles, and the pattern still looks beautiful even if each bloom is different. Perfect for quick decor.
Materials Needed:
- Stretched canvas
- Acrylic paint
- Paintbrushes in multiple sizes
- Palette or paint tray
- Optional acrylic varnish
Steps to Make:
- Paint the background (navy, black, or deep purple) and let it dry.
- Use a small brush to dab tiny flower heads across the canvas randomly.
- Add thin stems and little leaf marks, varying the direction for movement.
- Layer brighter neon highlights on top once the first flowers dry.
- Let everything dry, then seal lightly if you want extra protection.
4. Swirly Tulip Rows Canvas Art
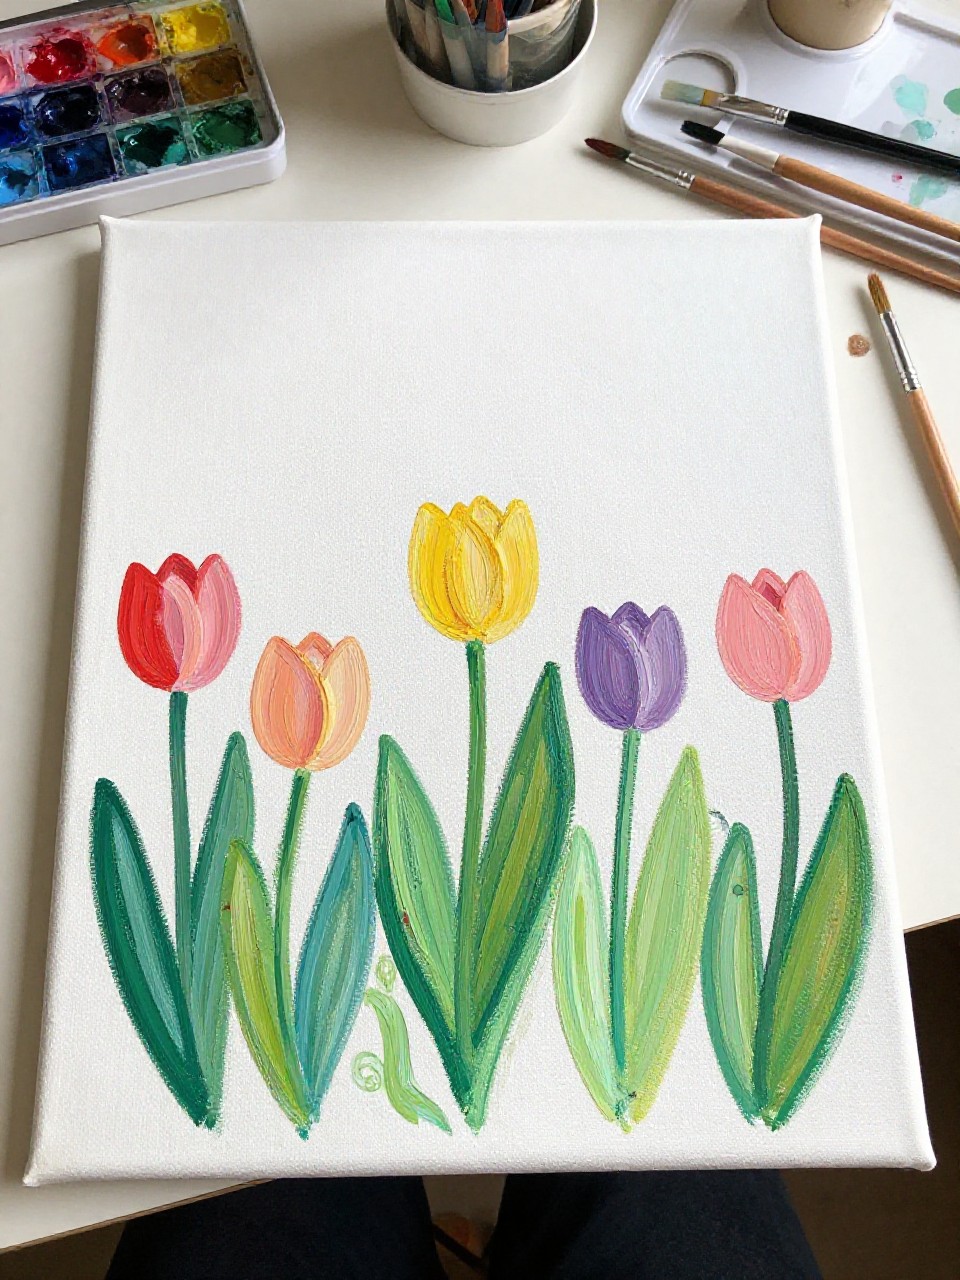
The finished piece has rows of tulips with swirly leaves and slightly bending stems, like they’re dancing. It’s satisfying because you get a clean pattern fast, and the repeated tulip shape helps beginners build confidence. It looks great in a hallway or above a desk.
Materials Needed:
- Stretched canvas
- Acrylic paint
- Paintbrushes in multiple sizes
- Palette or paint tray
- Pencil (optional)
Steps to Make:
- Paint a soft background wash and let it dry completely.
- Lightly mark horizontal guide lines for your tulip rows.
- Paint simple tulip cups, then add stems that curve left and right.
- Add swirly leaves and a few dots or stripes on the tulip heads.
- Let dry and add a final thin outline on a few shapes for contrast.
5. Abstract Petal Confetti Canvas

This canvas looks like petal shapes tossed across the surface, with overlapping layers and fun color mixes. It’s great when you want a no-pressure painting session because “messy” is part of the charm, and you can stop whenever it feels full. It’s also a nice way to use leftover paint colors.
Materials Needed:
- Stretched canvas
- Acrylic paint
- Paintbrushes in multiple sizes
- Palette or paint tray
- Optional acrylic varnish
Steps to Make:
- Choose 4–6 colors and put small puddles on your palette.
- Paint loose petal shapes across the canvas, changing direction each time.
- Layer new petals on top once the first layer is mostly dry to avoid mud.
- Add tiny dot clusters or short lines to hint at flower centers.
- Let dry fully, then varnish for a slightly glossy, finished look.
6. Funky Floral Outline on Gradient Canvas

The finished canvas has a smooth-ish gradient background with bold, simple flower outlines on top, like a poster you’d see in a cute shop. It’s beginner-friendly because the outlines can be wobbly and still look intentional, and the gradient hides little brush marks. Great for calm, modern decor.
Materials Needed:
- Stretched canvas
- Acrylic paint
- Paintbrushes in multiple sizes
- Palette or paint tray
- Paint marker or liner brush (optional)
Steps to Make:
- Paint a two- or three-color gradient background and blend while wet.
- Let the background dry so your outlines stay crisp on top.
- Sketch big simple flowers (daisies, poppies, or tulips) with light pencil.
- Paint thick outlines with a liner brush, and add a few center dots.
- Dry completely and touch up any broken lines for a clean finish.
7. Retro Floral Tile Pattern Canvas
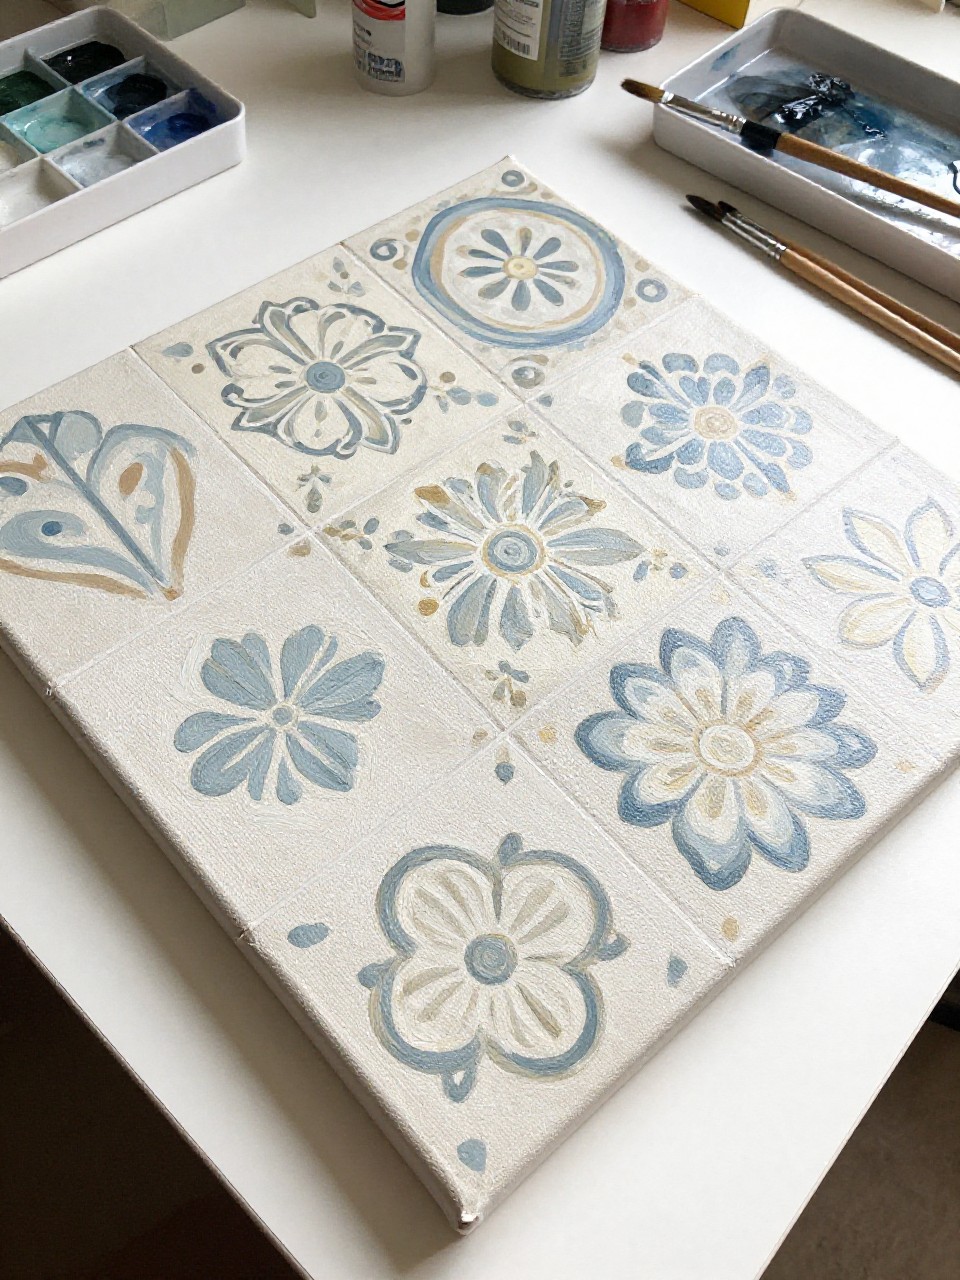
This painting looks like a repeating “tile” pattern of flowers and leaves, like a vintage kitchen wallpaper but brighter. It’s satisfying because you work in small sections, so it never feels overwhelming. Beginners can keep shapes simple and still get a polished pattern.
Materials Needed:
- Stretched canvas
- Acrylic paint
- Paintbrushes in multiple sizes
- Palette or paint tray
- Ruler (optional)
Steps to Make:
- Lightly draw a grid of squares or rectangles across the canvas.
- Paint each “tile” background color, alternating shades for variety.
- Add one simple flower motif per tile, rotating the flower direction.
- Fill empty spaces with tiny leaf sprigs or dot clusters to balance it out.
- Let dry, then sharpen a few edges with careful paint touch-ups.
8. Big Bloom Corner Frame Canvas

The finished piece has oversized flowers growing in from one or two corners, leaving calm open space in the middle. It’s relaxing because you only paint a few blooms, but they still feel dramatic and funky with bold colors. This is a great choice if you like simple designs that look expensive.
Materials Needed:
- Stretched canvas
- Acrylic paint
- Paintbrushes in multiple sizes
- Palette or paint tray
- Optional acrylic varnish
Steps to Make:
- Paint a light neutral background and let it dry.
- Plan your corner placement with a few curved guideline lines.
- Paint large petal shapes that overlap, starting from the corner outward.
- Add thick, textured centers and a few leaves with visible brush strokes.
- Let dry, varnish if desired, and display it as a calm statement piece.
9. Wavy Stem Floral Line Dance Canvas

This canvas shows long, wavy stems with simple flower heads, all leaning and curving like they’re dancing together. It’s perfect for beginners because the shapes are basically lines, circles, and petals, and the movement makes it look artsy even if lines wobble. Great for a relaxing evening paint.
Materials Needed:
- Stretched canvas
- Acrylic paint
- Paintbrushes in multiple sizes
- Palette or paint tray
- Pencil (optional)
Steps to Make:
- Paint a single-color background and let it dry fully.
- Use a thin brush to paint several long wavy stems from bottom to top.
- Add simple flower heads at the ends, changing sizes for a playful look.
- Paint tiny leaves along the stems and add dot accents for texture.
- Let dry and add a few brighter highlights to make stems pop.
10. Pop-Art Floral Halftone Canvas

The finished canvas looks like pop-art flowers with dot shading (like comic-book halftone) and strong outlines. It’s fun because you can be bold with color and keep the flowers simple, and the dotted areas hide small mistakes. It’s a cool project for teens and adults alike.
Materials Needed:
- Stretched canvas
- Acrylic paint
- Paintbrushes in multiple sizes
- Palette or paint tray
- Round sponge dauber or cotton swabs (optional)
Steps to Make:
- Paint a bright background and let it dry.
- Block in big flower shapes with flat color, keeping edges bold.
- Add thick outlines around petals and leaves using a darker shade.
- Create halftone dots in shadow areas using a dauber or cotton swab.
- Dry fully, then add a few white highlight strokes for pop.
11. Funky Floral Stripes Canvas Painting

This canvas has wide painted stripes with simple flowers popping out between the bands, like a playful patterned fabric. It’s satisfying because stripes give you structure, while the flowers let you be loose and creative. Beginners love it because it’s hard to “mess up” a pattern like this.
Materials Needed:
- Stretched canvas
- Acrylic paint
- Paintbrushes in multiple sizes
- Palette or paint tray
- Masking tape (optional)
Steps to Make:
- Tape stripes or freehand them with a flat brush across the canvas.
- Paint each stripe a different color and let dry before adding flowers.
- Paint simple flowers overlapping stripe edges so they feel woven in.
- Add dot centers and quick leaf marks to fill empty areas.
- Remove tape if used, touch up edges, and let the painting dry flat.
12. Midnight Florals on Black Canvas

The finished artwork has bold flowers in bright colors against a black background, with thick paint that looks rich and slightly textured. It’s calming because you can paint slowly, layer by layer, and the dark background makes every color look stronger. It’s perfect if you want dramatic wall art.
Materials Needed:
- Stretched canvas
- Acrylic paint
- Paintbrushes in multiple sizes
- Palette or paint tray
- Optional acrylic varnish
Steps to Make:
- Paint the entire canvas black (two coats if needed) and let it dry.
- Sketch a few large flower shapes lightly so you don’t overfill the space.
- Paint petals in bright colors, layering lighter shades on top for depth.
- Add centers, leaves, and tiny dot clusters to make the flowers glow.
- Let dry fully and varnish to deepen the colors.
13. Smiley Face Flower Pattern Canvas

This canvas is covered with simple flowers that have tiny smiley faces in the centers, making the whole piece feel light and fun. It’s great for beginners because each flower is just petals plus a circle, and the faces don’t need to be perfect. It’s cute for kids’ rooms or playful studios.
Materials Needed:
- Stretched canvas
- Acrylic paint
- Paintbrushes in multiple sizes
- Palette or paint tray
- Fine liner brush (optional)
Steps to Make:
- Paint a solid background color and dry it completely.
- Dot circle centers around the canvas, spacing them evenly.
- Paint rounded petals around each center, switching colors as you go.
- Add tiny smiley faces with a fine brush and a few extra dots nearby.
- Let dry and add small highlights on petals for a happy, finished look.
14. Mismatched Petal Mandala Canvas

The finished piece looks like a loose mandala made from petal shapes, but every ring uses a different flower style and color. It’s soothing to make because you paint in slow circles, and small imperfections blend into the hand-painted look. Great for anyone who likes calm, focused painting time.
Materials Needed:
- Stretched canvas
- Acrylic paint
- Paintbrushes in multiple sizes
- Palette or paint tray
- Compass or round object (optional)
Steps to Make:
- Lightly mark a center point and draw a few guide circles.
- Paint the inner ring as small petals, repeating the shape around the circle.
- Add larger petal rings outward, changing colors and petal styles each ring.
- Fill gaps with dots, tiny leaves, or short dash marks for texture.
- Let dry and add a few bright highlights to make the center feel alive.
15. Color-Block Florals Canvas Panels

This painting has chunky color-block sections, with simple flower shapes painted on top like stickers—but clearly hand-painted with brush texture. It’s satisfying because you can paint one section at a time, and the blocks keep the whole thing looking clean. It works well as modern decor in bright spaces.
Materials Needed:
- Stretched canvas
- Acrylic paint
- Paintbrushes in multiple sizes
- Palette or paint tray
- Masking tape (optional)
Steps to Make:
- Tape off 3–6 geometric blocks, or draw them lightly by hand.
- Paint each block a different color and let the blocks dry before detailing.
- Add simple flower shapes that cross over block edges for a funky look.
- Paint small accents like dots, mini petals, or thin outlines in a contrast color.
- Remove tape if used, touch up edges, and let the canvas cure overnight.
16. Scribble Outline Florals Canvas

The finished canvas shows flowers drawn with scribbly, looping outlines, filled with soft color washes that still show brush marks. It’s relaxing because you don’t have to stay inside lines, and the loose style makes it look expressive right away. Great for beginners who feel nervous about detail work.
Materials Needed:
- Stretched canvas
- Acrylic paint
- Paintbrushes in multiple sizes
- Palette or paint tray
- Fine liner brush (optional)
Steps to Make:
- Paint a light background wash and let it dry.
- Use a thin brush to “scribble” flower outlines with continuous looping lines.
- Fill petals with slightly watery acrylic so the brush texture shows through.
- Add centers with messy dots and a few quick leaf scribbles for balance.
- Dry completely and add a couple darker scribble lines to boost contrast.
17. Rainbow Petal Repeat Pattern Canvas

This canvas is covered in repeating flower shapes, with petals painted like a rainbow spectrum that shifts across the surface. It’s a great beginner project because you only need one simple flower shape, and the fun comes from choosing colors and repeating them. The finished piece looks bright, bold, and happy on any wall.
Materials Needed:
- Stretched canvas
- Acrylic paint
- Paintbrushes in multiple sizes
- Palette or paint tray
- Optional acrylic varnish
Steps to Make:
- Paint a clean background color and let it dry fully.
- Lightly map a repeating layout (rows or a staggered pattern) with pencil dots.
- Paint the same flower shape again and again, changing petal colors each time.
- Add small centers and tiny accent dots between flowers to tie the pattern together.
- Let dry, varnish if desired, and display it where it catches daylight.