


Table of Contents Show
Keeping kids busy can be hard, especially on rainy days or after school. If you’re looking for simple, fun activities that also sneak in a little learning, this list will help. These letter J crafts are cute, easy to set up, and great for home or classroom.
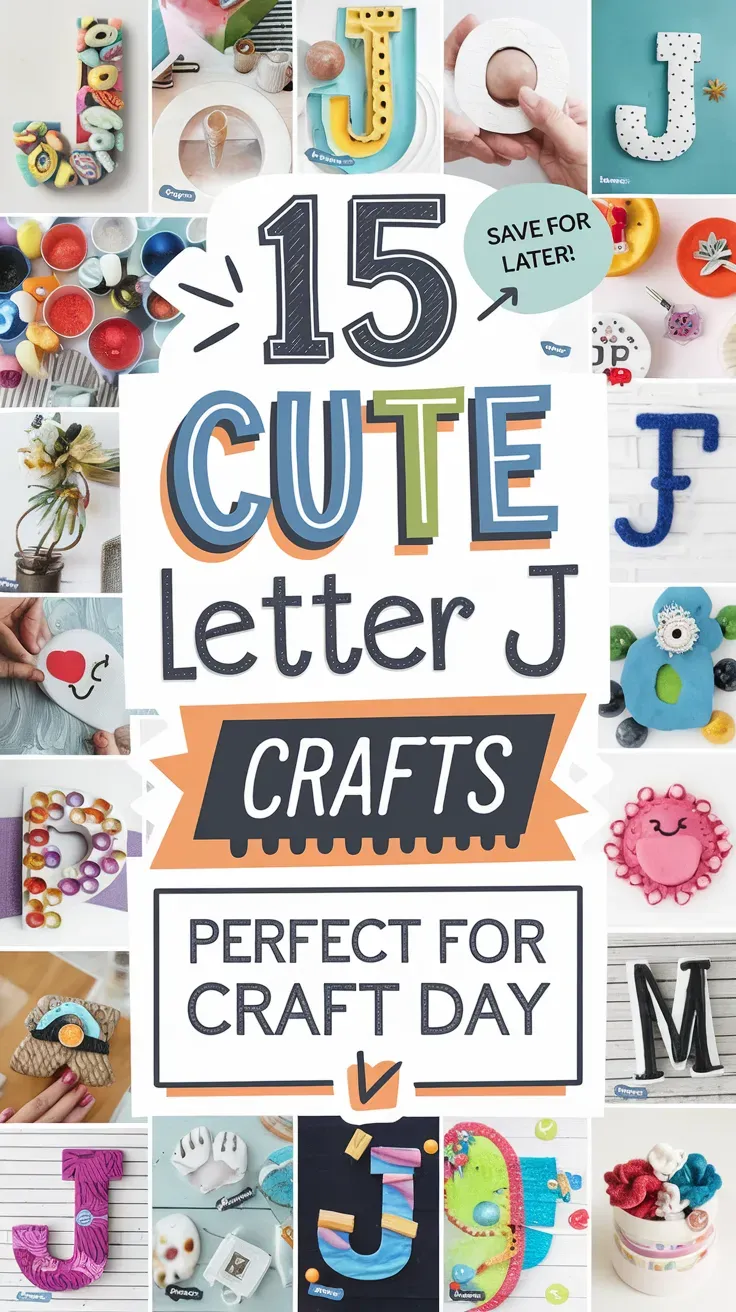
You’ll find ideas that turn the letter J into jellyfish, jaguars, and more, so let’s jump into the joy of crafting!
1. Jumbo J Jellyfish
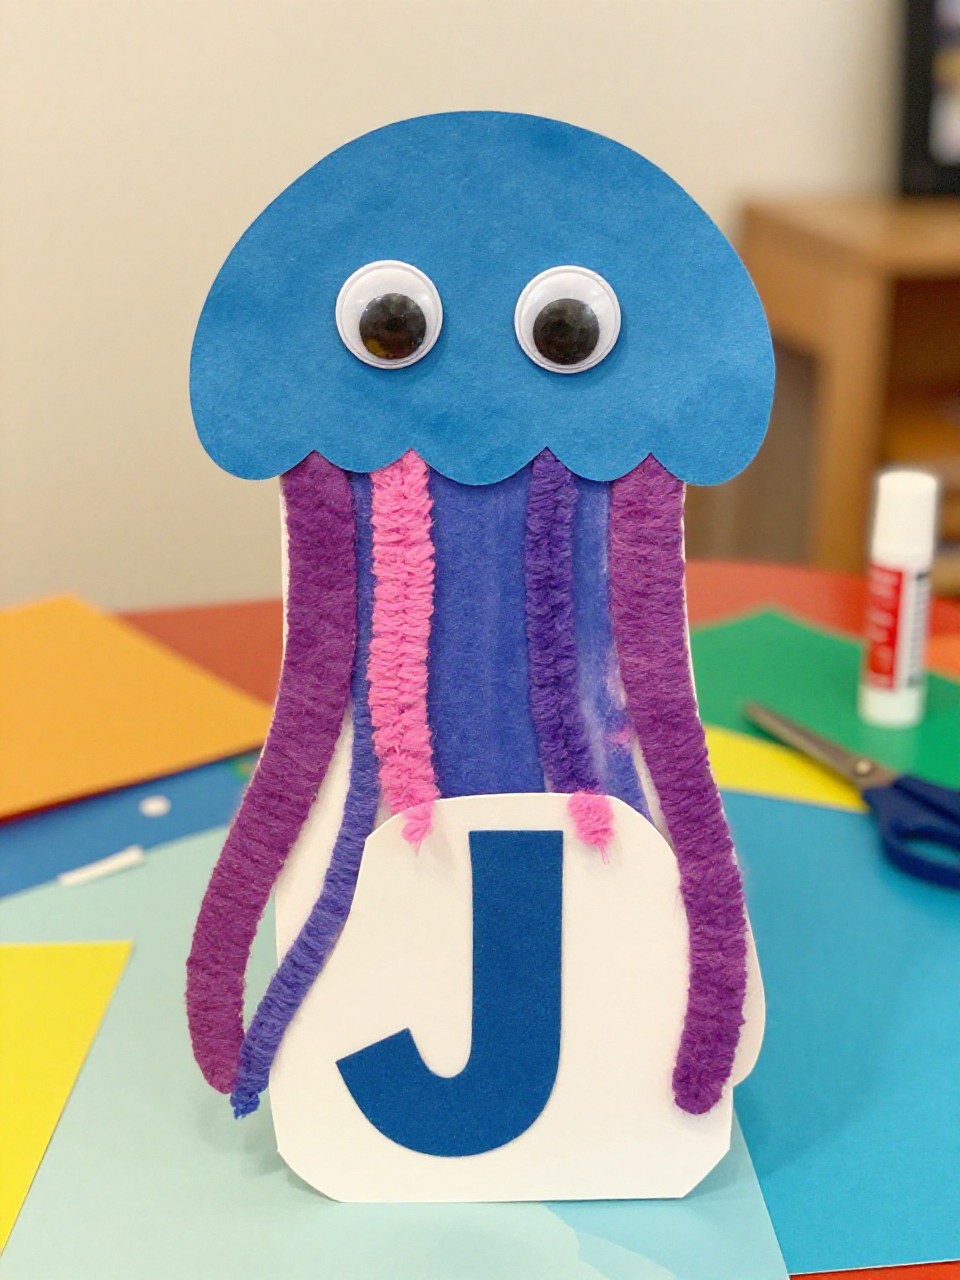
This craft turns a big cut-out letter J into a cheerful jellyfish with wiggly yarn tentacles. Kids love the movement and the friendly face, and it’s an easy way to remember the sound of J.
Materials Needed:
- Colored cardstock (for a large letter J)
- Yarn or ribbon (tentacles)
- Googly eyes
- Glue stick
- Hole punch
How to make it:
- 1. Cut a large J from cardstock and punch 5–7 holes along the bottom curve.
- 2. Thread yarn pieces through each hole and tie to make tentacles.
- 3. Add googly eyes and draw a smile on the top curve of the J.
- 4. Let glue dry, then hang the jellyfish J on a wall or door.
2. J Is for Jaguar Mask
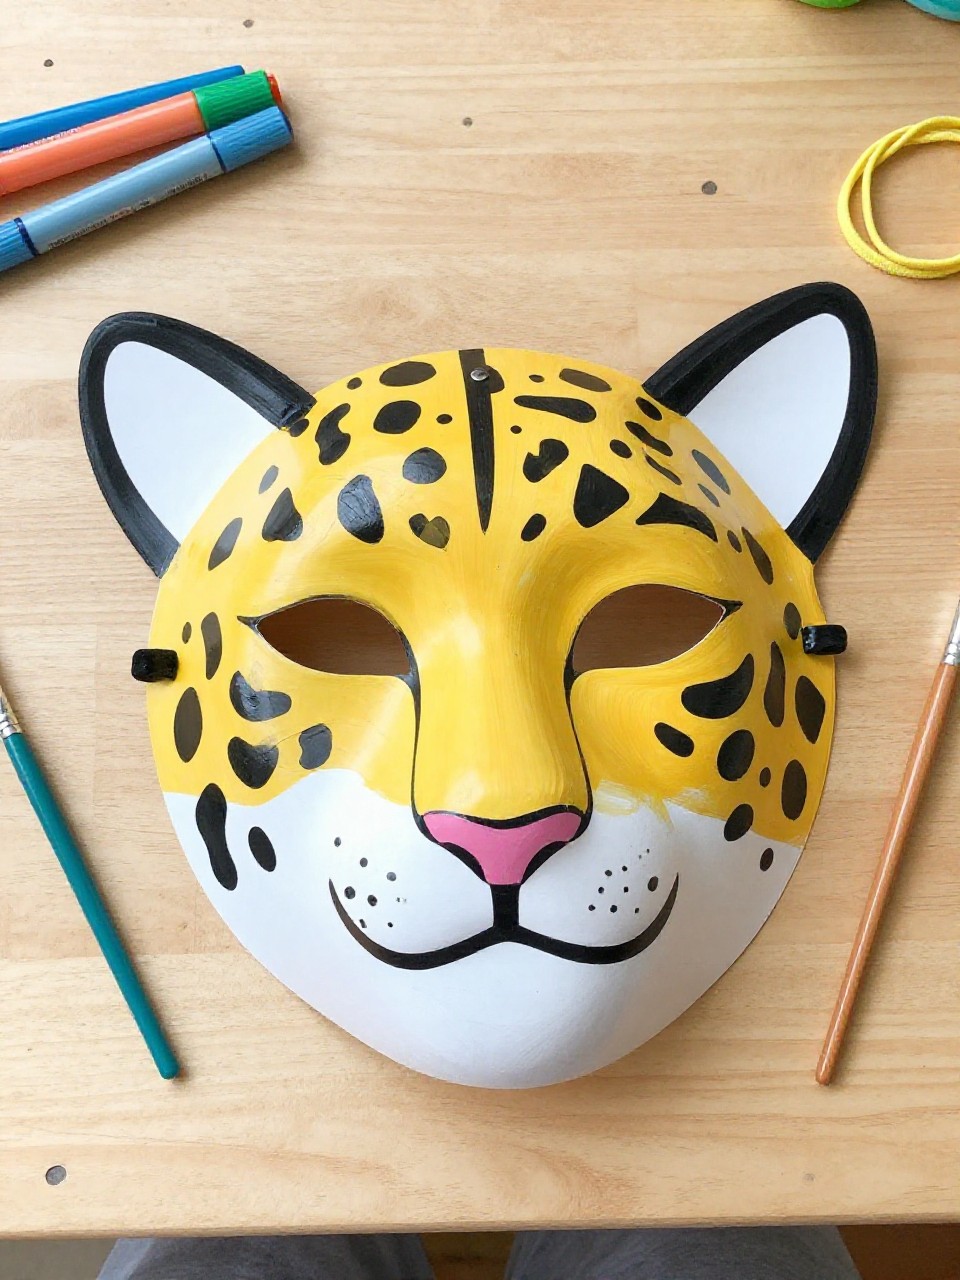
A bold jaguar mask shaped around the letter J, with spots and little ears, turns kids into jungle explorers. It’s playful, fast to make, and perfect for pretend play.
For People Who Love to Make Things ✂️
Materials Needed:
- Paper plate (mask base)
- Yellow and brown paint or markers
- Black marker (spots and details)
- Cardstock (letter J snout and ears)
- Elastic string or craft stick (to wear or hold)
How to make it:
- 1. Cut eye holes in the plate; paint it yellow and let dry.
- 2. Cut a J from brown cardstock and glue it along one side as the jaguar’s snout.
- 3. Add ears, draw black spots, whiskers, and a nose.
- 4. Attach elastic or a craft stick and try on your jaguar J mask.
3. Juice Box J Robot
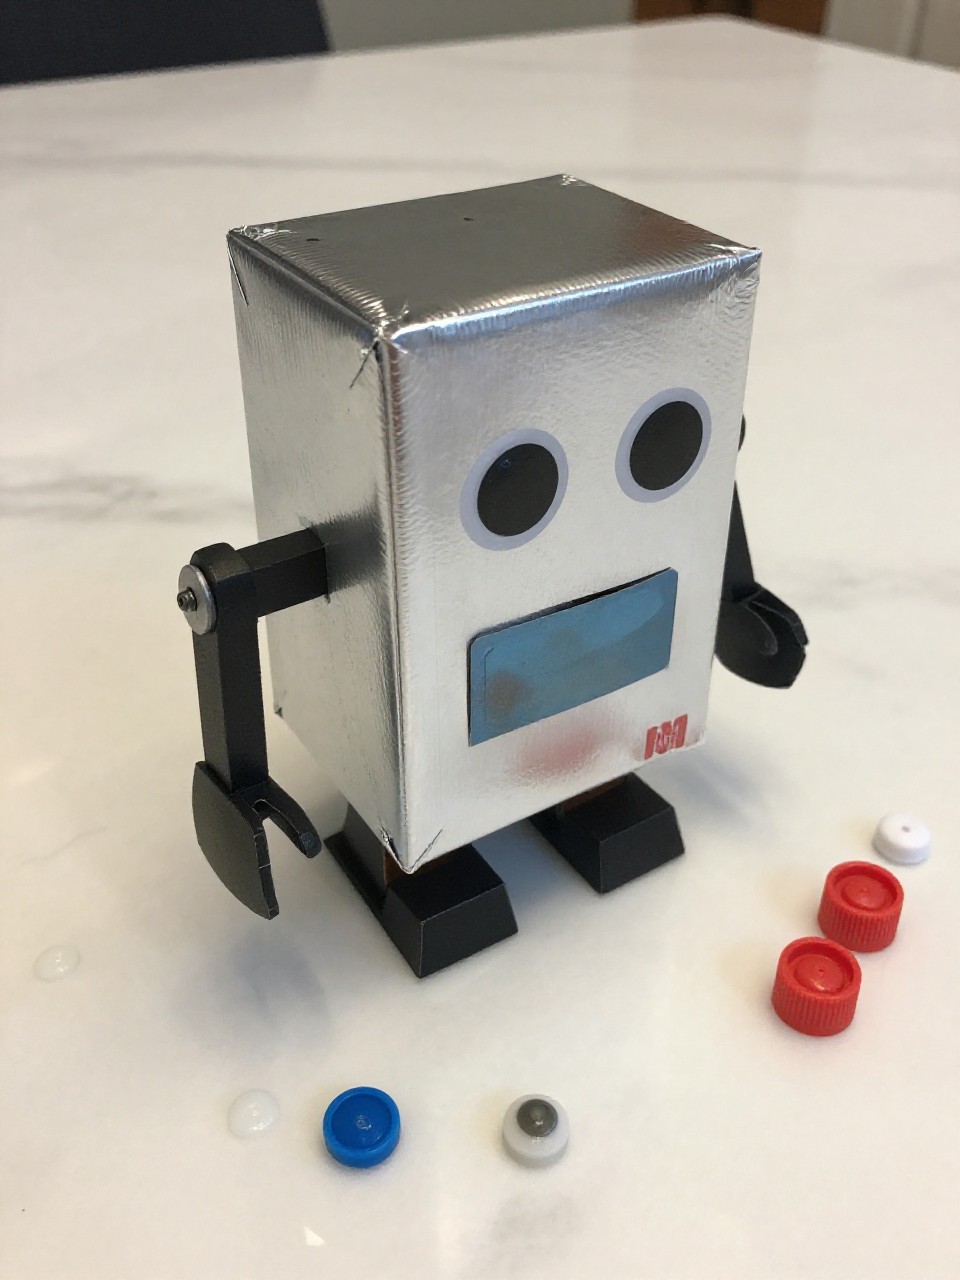
This little robot uses a recycled juice box as the body and a big letter J for arms. Kids enjoy turning trash into something cute, and the sturdy base makes it stand up.
Materials Needed:
- Empty, clean juice box
- Aluminum foil (to wrap box)
- Cardstock letter J (two pieces for arms)
- Bottle caps (feet or buttons)
- Glue dots or tacky glue
How to make it:
- 1. Wrap the juice box with foil to make a shiny robot body.
- 2. Glue two Js on the sides as bendy robot arms.
- 3. Add bottle caps for feet and buttons; draw a face on the front.
- 4. Let glue set, then display your Juice Box J Robot on a shelf.
4. J-Shaped Jungle Vine Collage
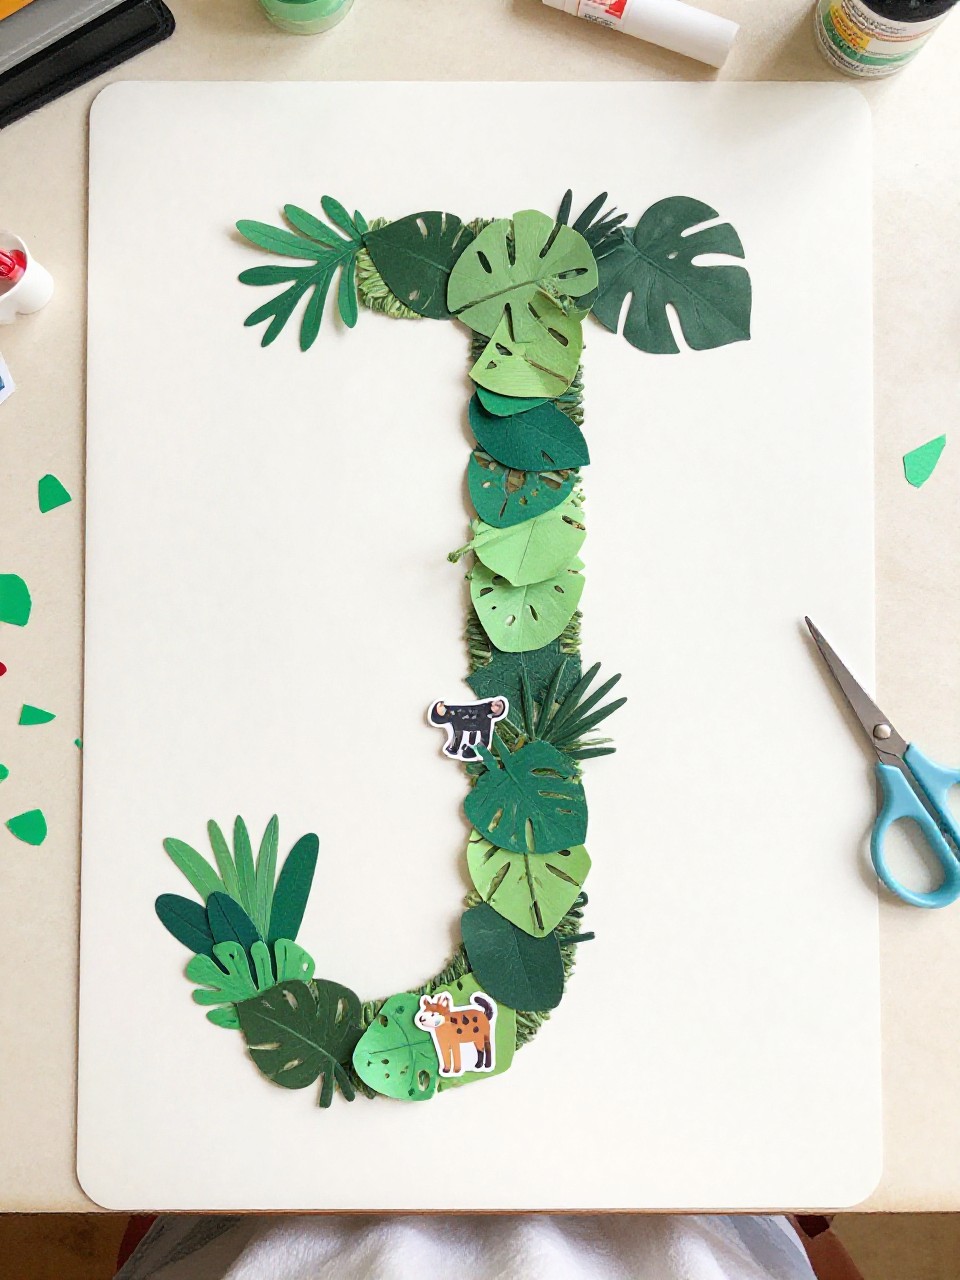
A giant J traced with glue becomes a lush vine covered in paper leaves and little jungle animals. It’s relaxing to place leaves and stickers, and the result looks full and green.
Materials Needed:
- Large sheet of cardstock
- Green yarn or twine (vine)
- Green construction paper (leaves)
- Jungle animal stickers or drawings
- Glue stick and scissors
How to make it:
- 1. Draw a big J on the cardstock and trace it with glue.
- 2. Press yarn along the glue line to form a vine-shaped J.
- 3. Cut and glue paper leaves along the yarn; add animal stickers.
- 4. Let dry flat, then hang as a jungle J poster.
5. Jumping J Frog Puppet
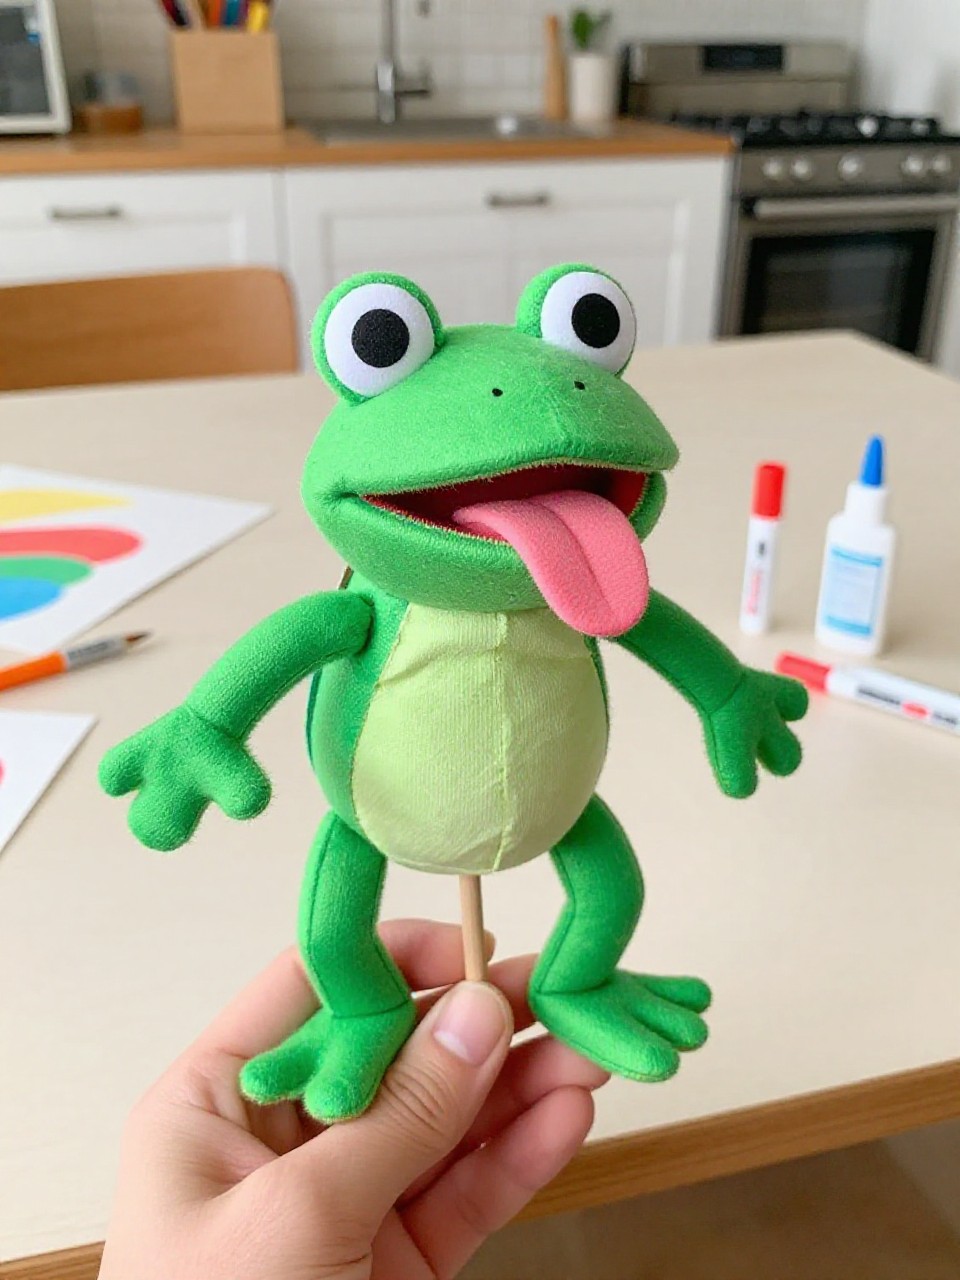
This simple paper-bag frog has a letter J tongue that looks like it’s ready to jump for flies. Kids love making it talk and “jump,” and folding the J tongue makes it extra silly.
Materials Needed:
- Small paper bag
- Green construction paper
- Red cardstock letter J (tongue)
- Googly eyes
- Glue stick and black marker
How to make it:
- 1. Cover the paper bag with green paper for the frog body.
- 2. Glue googly eyes on top and add simple leg shapes to the sides.
- 3. Fold a red J accordion-style and glue inside as a springy tongue.
- 4. Draw a smile, let dry, then use as a hand puppet.
6. Jeweled J Monogram
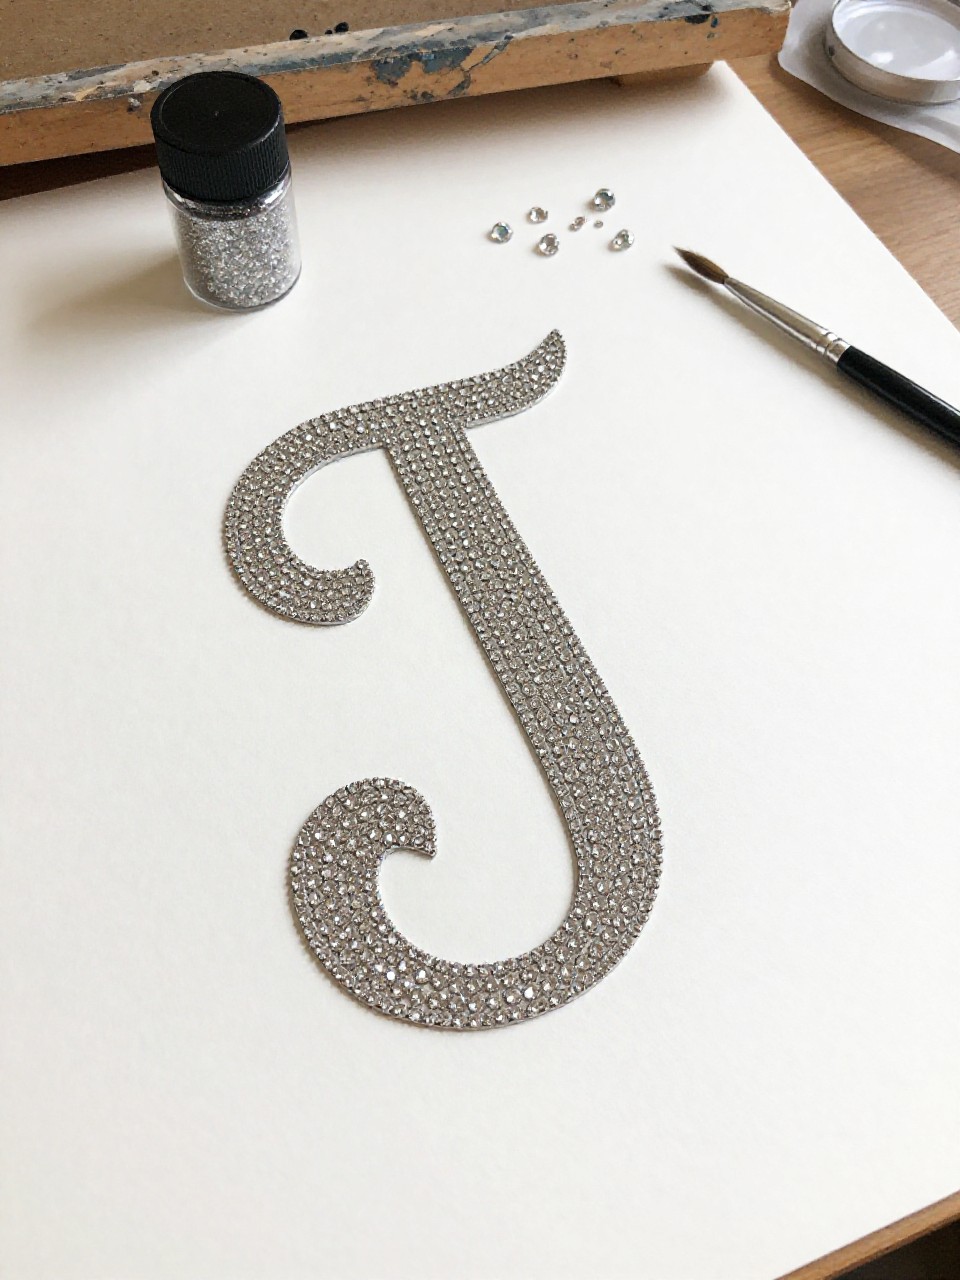
A glittery monogram where kids cover a cardboard J with craft jewels and sequins. It feels special and personalized, and it makes a cute door or desk sign.
Materials Needed:
- Cardboard letter J (store-bought or cut from a box)
- Acrylic paint (optional base coat)
- Craft jewels or sequins
- White glue or tacky glue
- Ribbon (for hanging)
How to make it:
- 1. Paint the cardboard J and let it dry if you want a colored base.
- 2. Add dots of glue and press jewels and sequins all over the surface.
- 3. Fill gaps with smaller gems or glitter.
- 4. Tie ribbon to hang and let everything dry fully.
7. Jelly Bean J Mosaic

A bold letter J filled with colorful jelly beans creates a bright mosaic look. Kids enjoy sorting colors and placing pieces carefully, and it’s a sweet-looking display (not for eating).
Materials Needed:
- Thick cardstock or foam board
- Pencil and black marker
- Jelly beans (assorted colors)
- White glue
- Tray or placemat
How to make it:
- 1. Draw a large J on the board and trace it with a thick marker.
- 2. Outline the J with a thin glue line, then fill the inside with glue.
- 3. Place jelly beans tightly inside the J, color by color.
- 4. Let dry overnight on a tray, then stand it up to admire.
8. Paper Plate J Jet
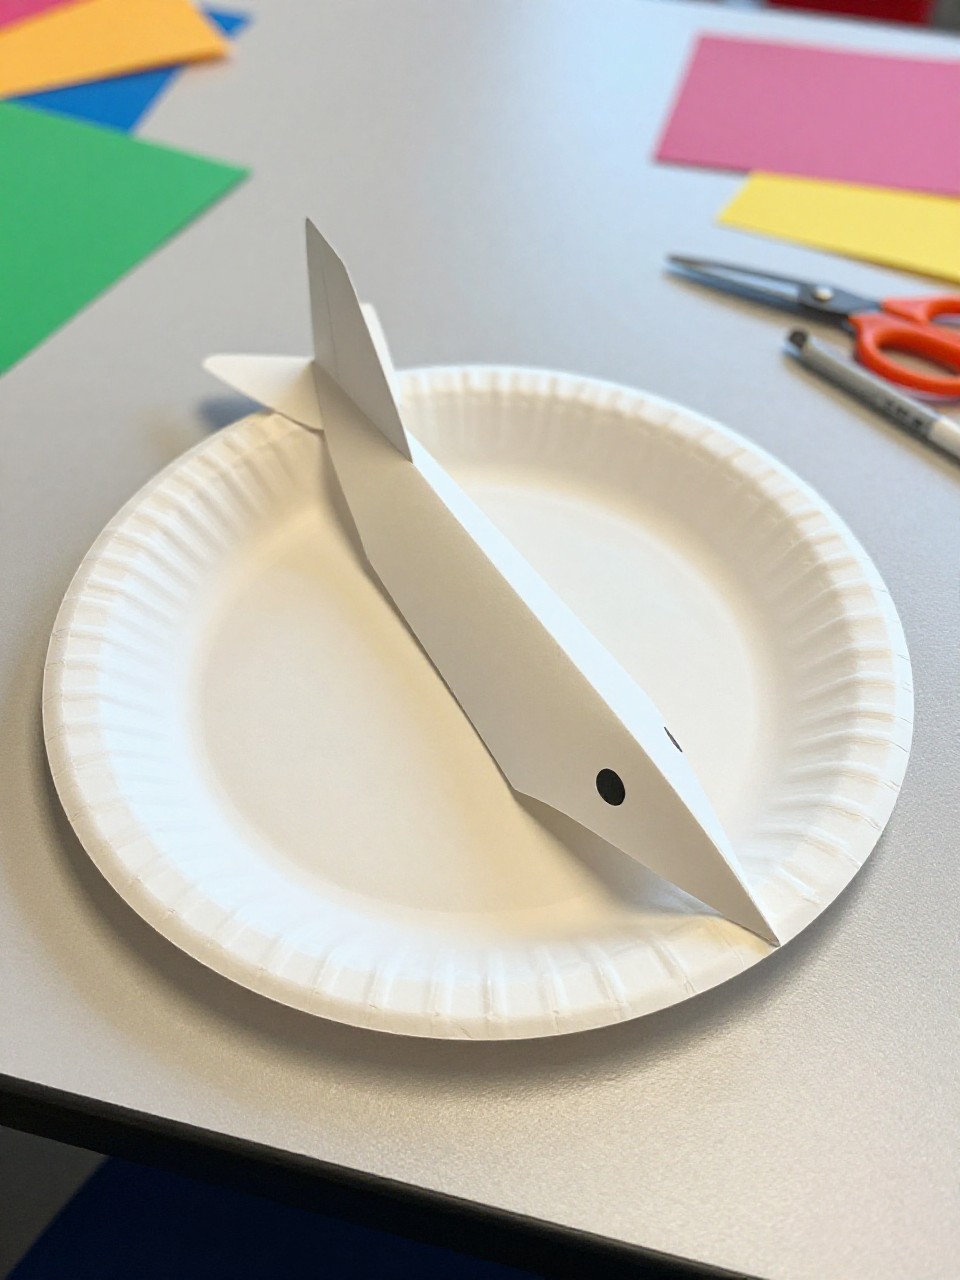
This mini jet plane uses a paper plate body and a bold J tail fin. It’s fast to assemble and great for zoom-around play when it’s done.
Materials Needed:
- Paper plate
- Cardstock letter J (for the tail)
- Construction paper (wings and windows)
- Markers or paint
- Tape and glue
How to make it:
- 1. Fold the paper plate in half to make the jet body.
- 2. Cut and glue two wing shapes on the sides and small window circles.
- 3. Attach the cardstock J at the back as the tail fin.
- 4. Decorate with stripes, let dry, then “fly” your J jet.
9. J Is for Jam Jar Printmaking
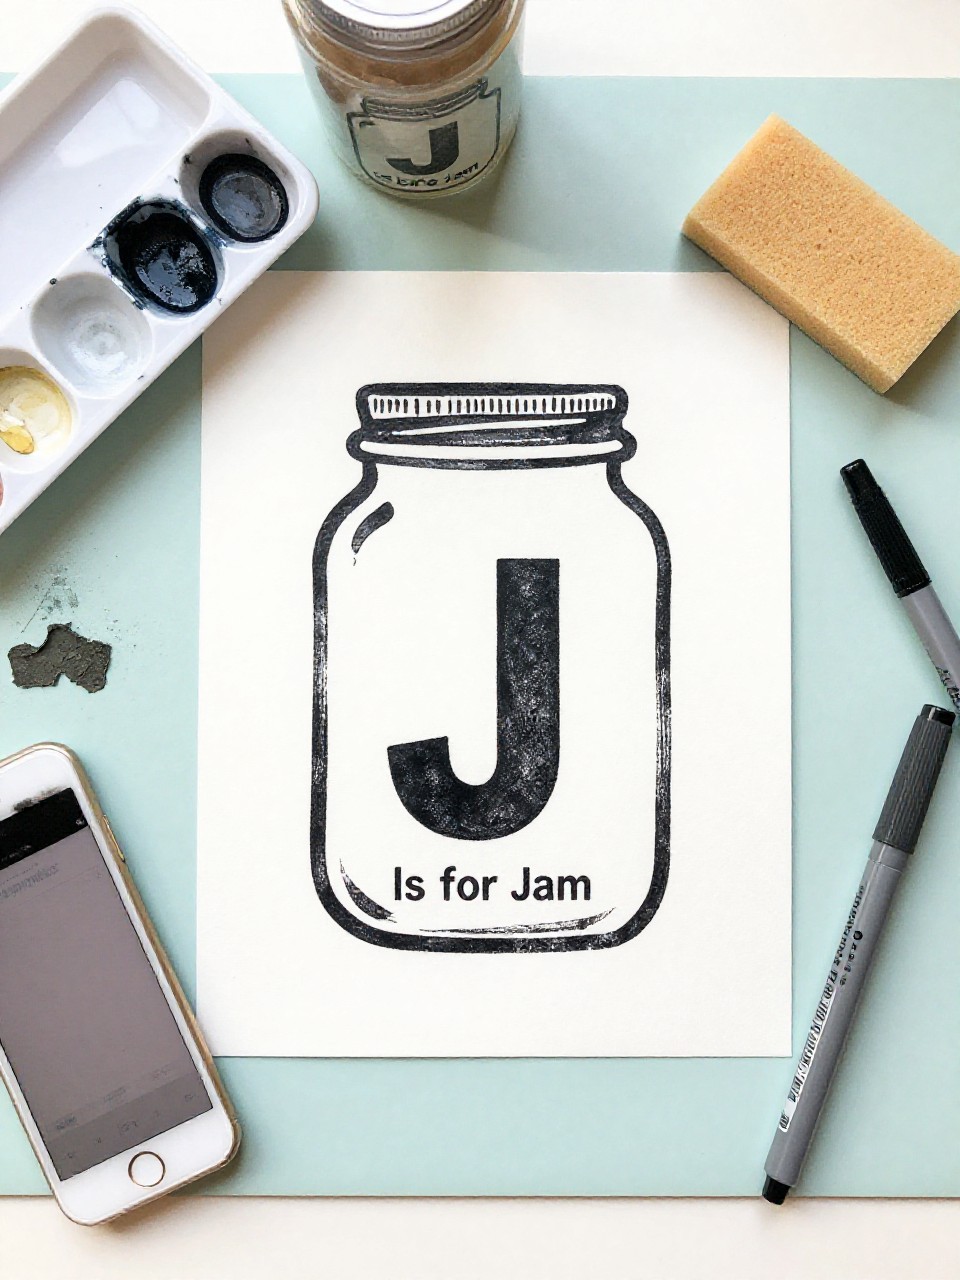
Kids stamp painted jar shapes over a big letter J to make a fruity jam collage. The simple stamping motion is satisfying, and every print looks a little different.
Materials Needed:
- Large paper with a bold J drawn on it
- Small plastic cup or jar lid (for stamping)
- Washable paint (reds, purples)
- Sponge or paint tray
- Markers (labels and berry doodles)
How to make it:
- 1. Draw or print a large J on your paper.
- 2. Dip the rim of a cup/lid in paint and stamp jar shapes around the J.
- 3. Add berry doodles and “jam” labels with markers.
- 4. Let dry flat and hang your jam-themed J art.
10. Jigsaw Letter J Puzzle
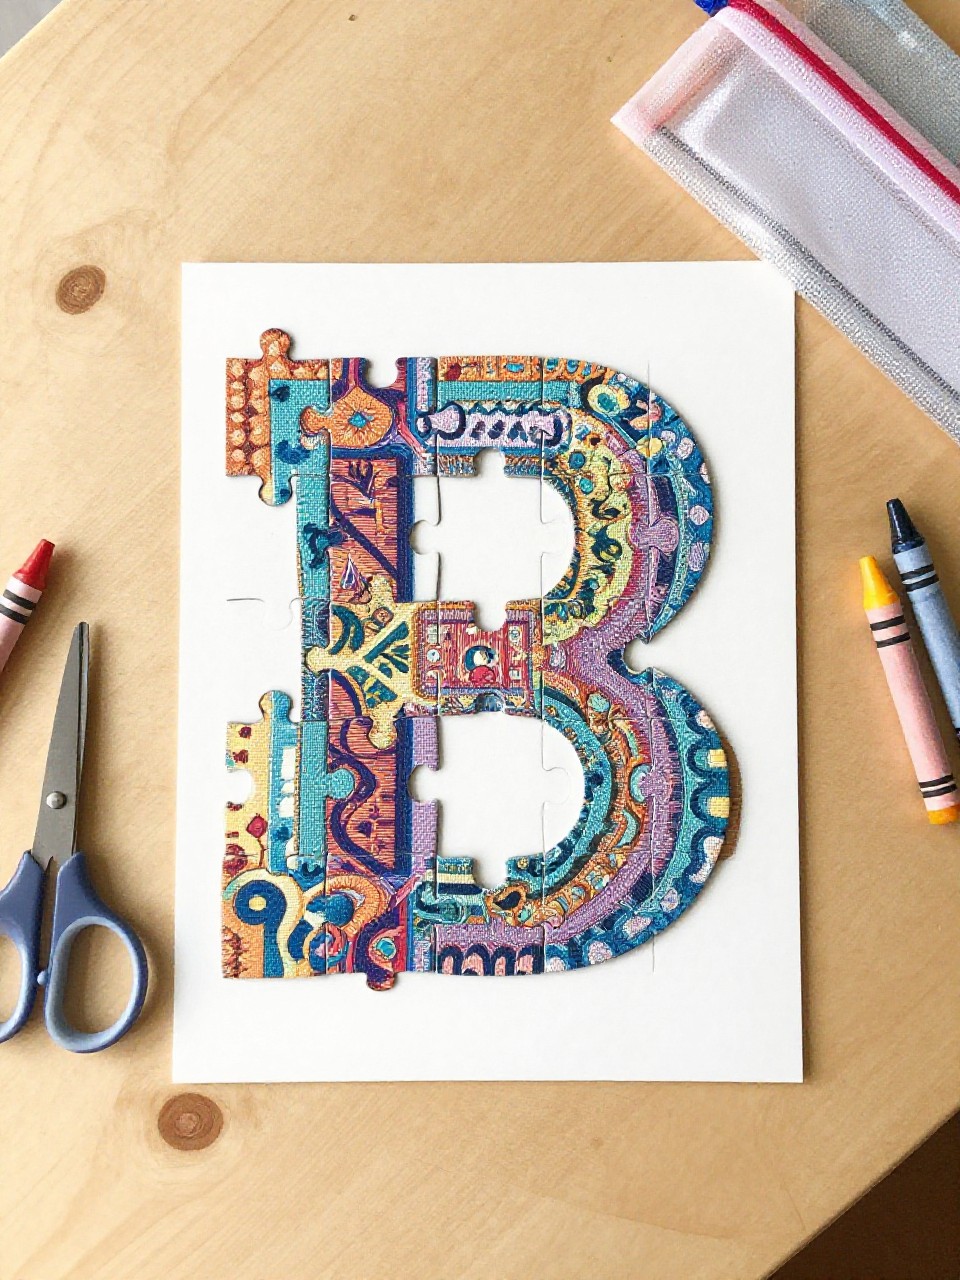
Create your own chunky puzzle by decorating a big J and cutting it into pieces. Kids like building it again and again, and it’s a great quiet-time activity.
Materials Needed:
- Cardboard or foam sheet
- Marker and crayons
- Clear tape or Mod Podge (to seal)
- Scissors
- Zip bag (storage)
How to make it:
- 1. Draw a large J on cardboard and decorate it with patterns or pictures of J-things.
- 2. Seal the surface with tape or Mod Podge and let it dry.
- 3. Cut the J into 5–8 simple puzzle pieces.
- 4. Store in a bag and try rebuilding your J puzzle.
11. Jellyfish Handprint J Art
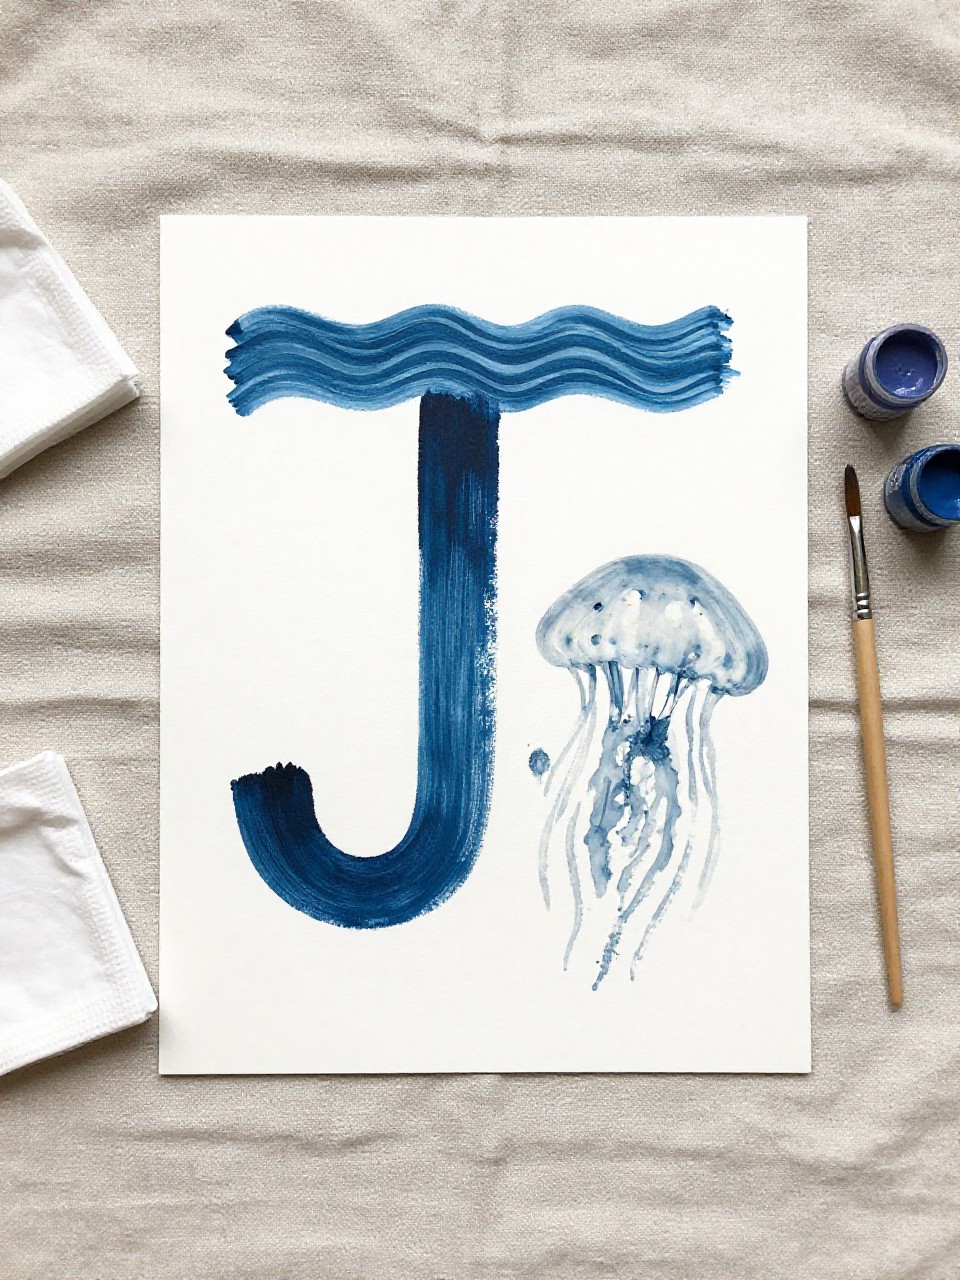
A printed hand becomes the jellyfish body sitting on a giant J ocean line. The mix of handprint paint and simple lines makes this personal and cute.
Materials Needed:
- White cardstock
- Washable paint (body and ocean colors)
- Black marker
- Googly eyes (optional)
- Baby wipes or a damp towel
How to make it:
- 1. Paint a large J wave across the page.
- 2. Paint your palm, stamp a handprint above the J, and let dry.
- 3. Draw tentacles hanging down to touch the J; add eyes and a smile.
- 4. Dry completely and display in a frame or on the fridge.
12. Jump Rope J Lacing Card
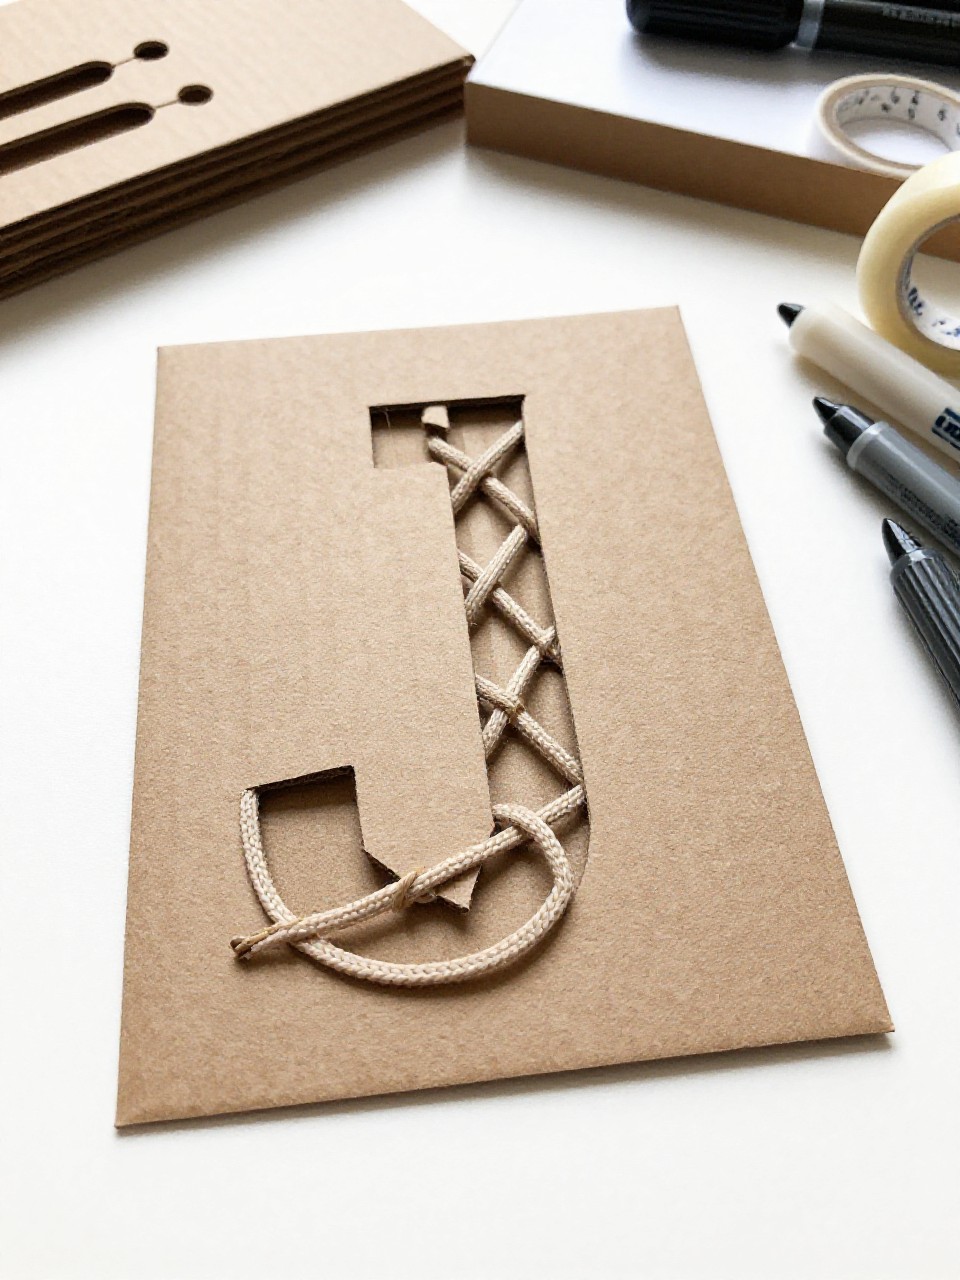
This sturdy J-shaped lacing card looks like a mini jump rope path with bright shoelace threading. Kids enjoy the calming in-and-out lacing and build fine motor skills.
Materials Needed:
- Cardboard letter J
- Hole punch
- Markers (to decorate)
- Colorful shoelace or yarn with taped tip
- Clear tape (to reinforce holes)
How to make it:
- 1. Cut a thick cardboard J and decorate it with stripes or dots.
- 2. Punch holes around the edge and reinforce the back with small tape squares.
- 3. Thread the shoelace through the holes like stitching.
- 4. Tie off the end and store for quiet play.
13. Jolly J Snowman
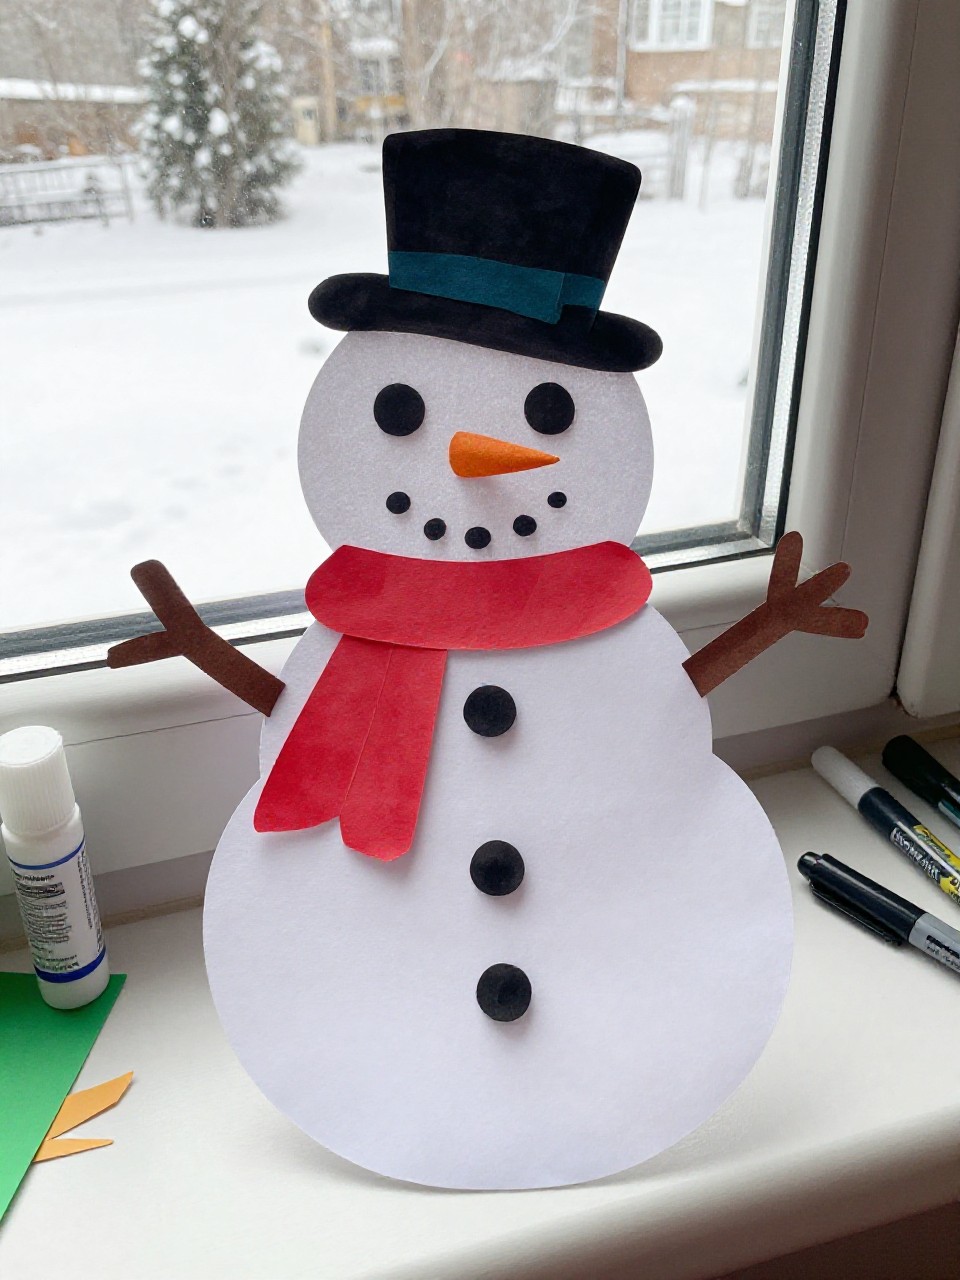
Build a winter snowman whose body and cane are formed by a letter J. Kids love adding scarves and buttons, and it’s great for seasonal boards.
Materials Needed:
- Blue cardstock (background)
- White paper circles
- Red cardstock letter J (as a cane or scarf hook)
- Buttons or paper dots
- Glue stick and markers
How to make it:
- 1. Glue two or three white circles on the blue paper for the snowman body.
- 2. Add the red J along one side as the snowman’s cane or scarf curl.
- 3. Glue on buttons, draw a face, arms, and a hat.
- 4. Let dry and tape up as a winter J scene.
14. J Is for Juice Carton Print
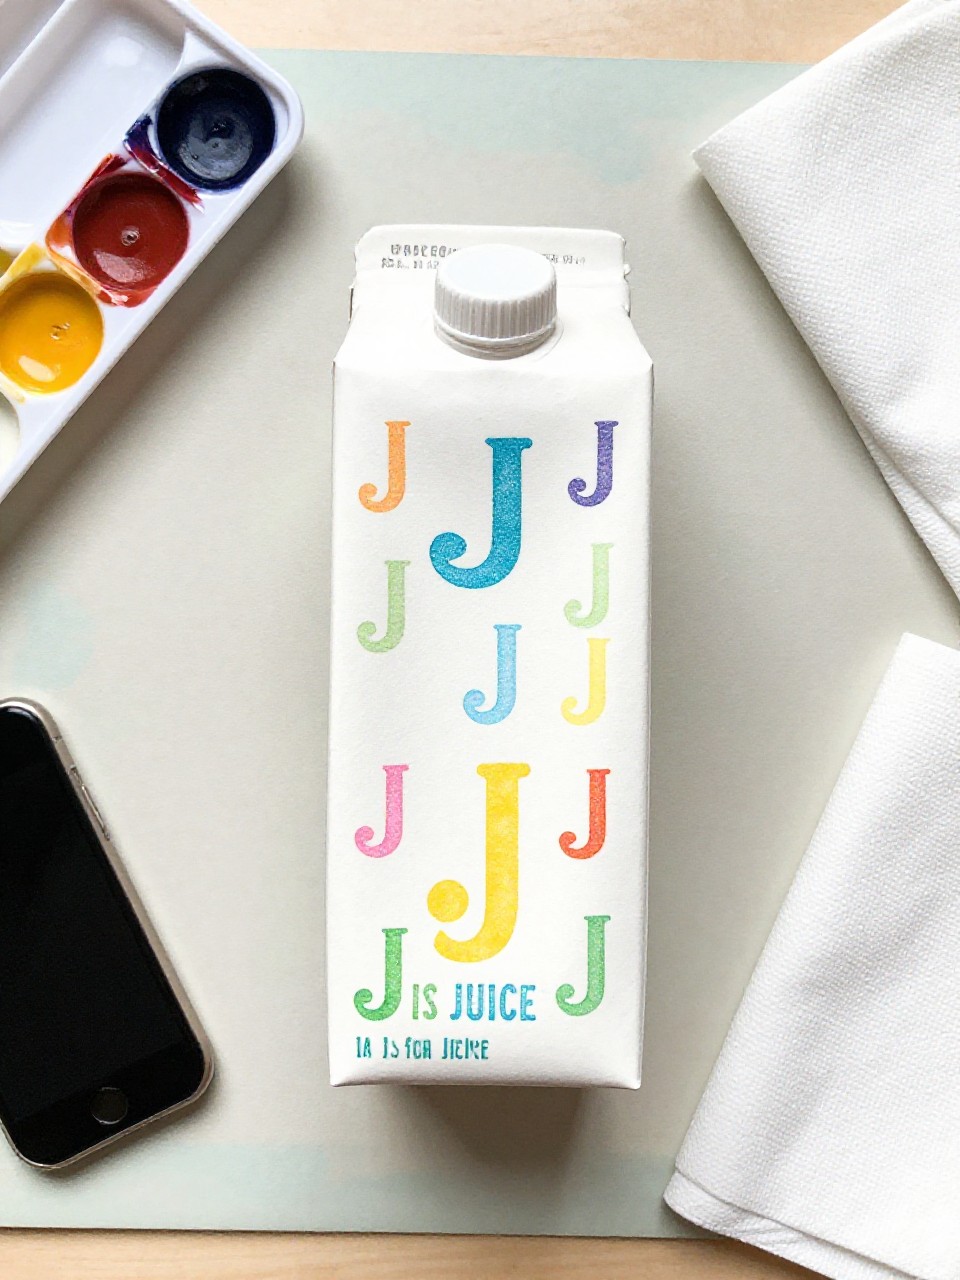
Use the edge of a clean juice carton as a stamp to print chunky Js across a page. Repeating the pattern feels rhythmic, and the bold letters look modern.
Materials Needed:
- Empty, clean juice carton (cut to have a flat edge)
- Washable paint
- Tray or paper plate (for paint)
- White paper
- Paper towels
How to make it:
- 1. Pour paint on a tray and dip the carton edge.
- 2. Press and pivot the edge to stamp the straight line and curve of a J.
- 3. Repeat with different colors to make a pattern.
- 4. Blot any drips and let the print dry.
15. Jack-in-the-Box J Pop-Up Card
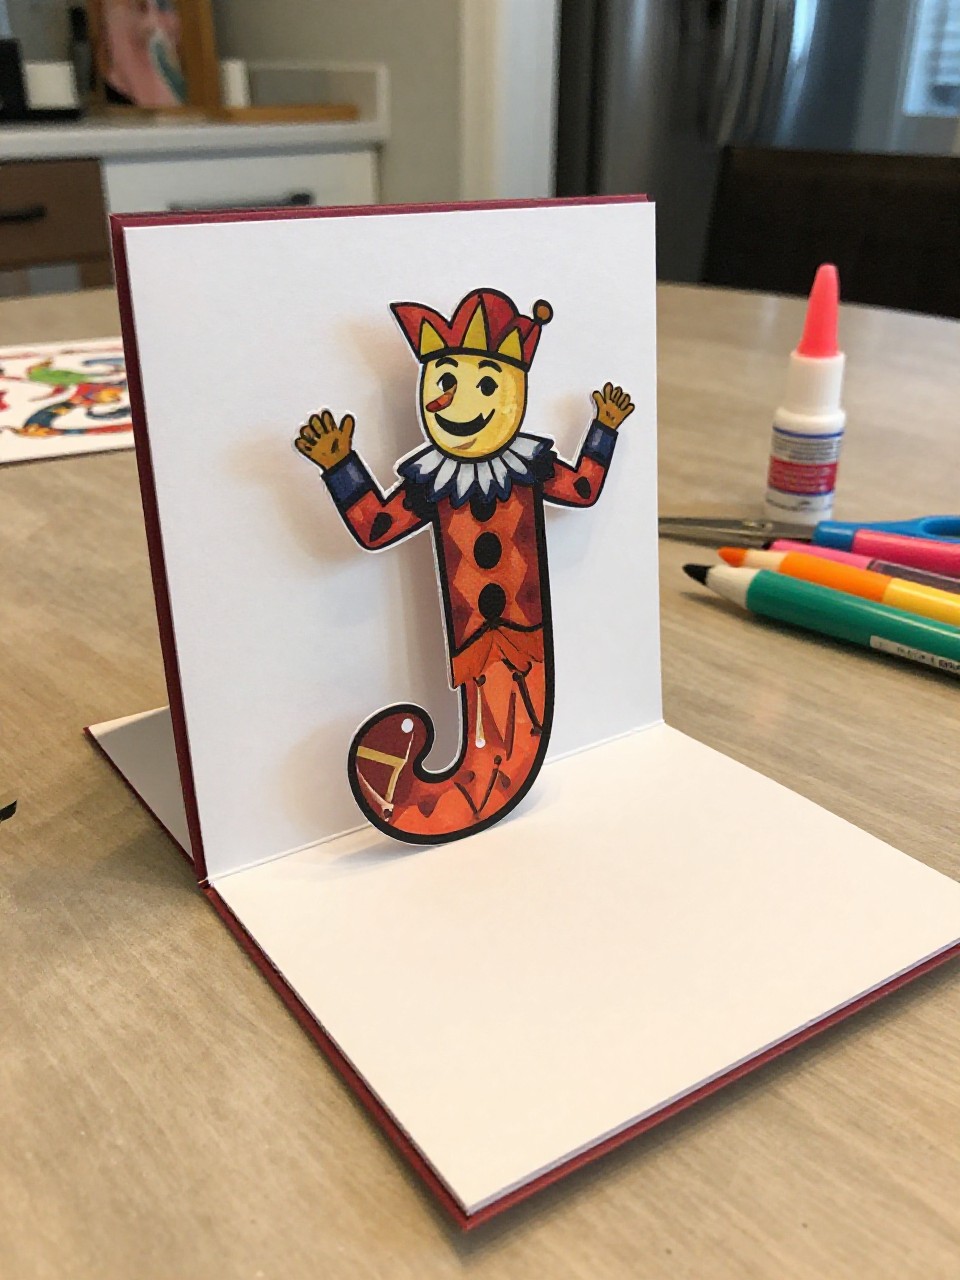
Open the card and a tiny “Jack” pops up from a bold J frame inside. Kids love the surprise, and the simple paper spring makes it feel like magic.
Materials Needed:
- Construction paper (card base)
- Cardstock letter J (large)
- Small character cutout or sticker (“Jack”)
- Paper strip (for the pop-up spring)
- Glue stick and markers
How to make it:
- 1. Fold a sheet of paper in half to make a card.
- 2. Glue a big J inside the card as the stage.
- 3. Fold a paper strip into an accordion and glue one end to the J and the other to the Jack cutout.
- 4. Close, press, then open to enjoy the pop-up surprise and decorate the cover.