


Table of Contents Show
Keeping kids busy can be tough, especially when you want something simple, fun, and a little bit educational. These Letter O crafts give you easy projects that focus on the shape and sound of the letter, perfect for home, class, or a rainy day.
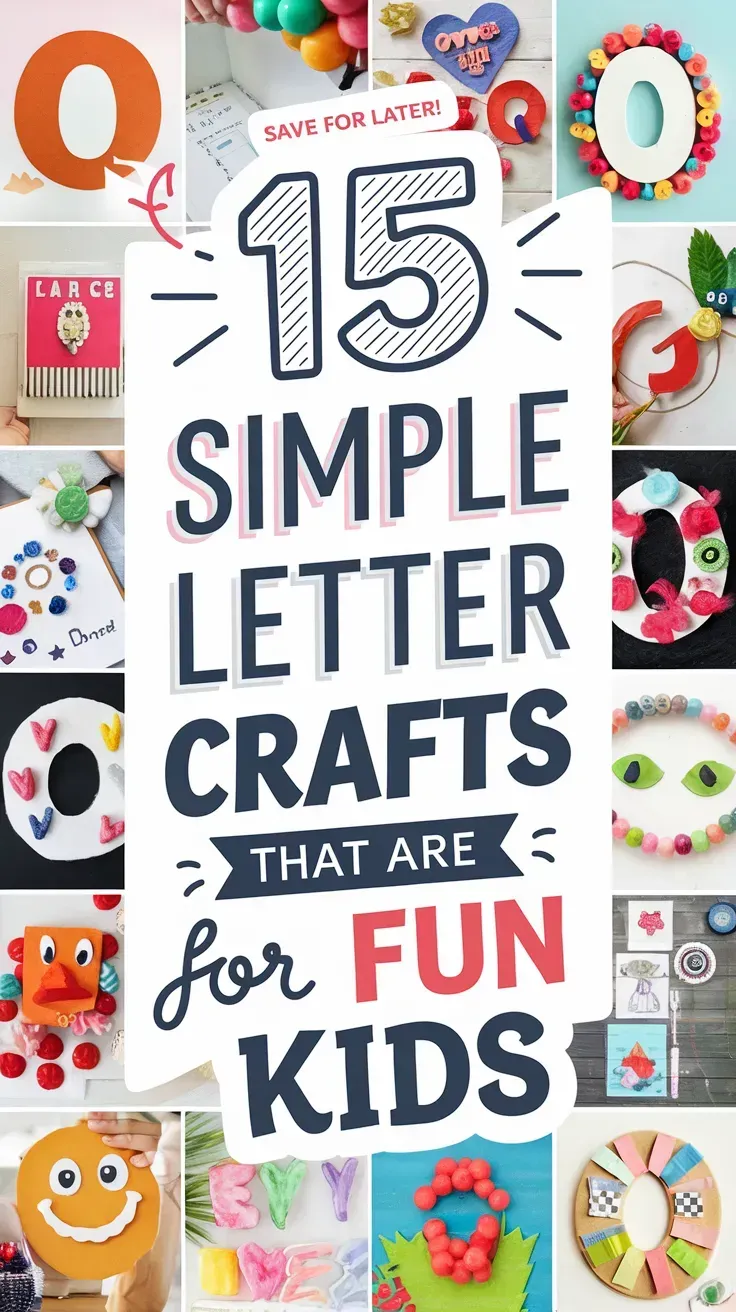
You’ll find colorful, low-mess ideas that build fine motor skills and letter recognition.
Let’s jump into playful projects that turn the Letter O into owls, octopuses, oranges, and more.
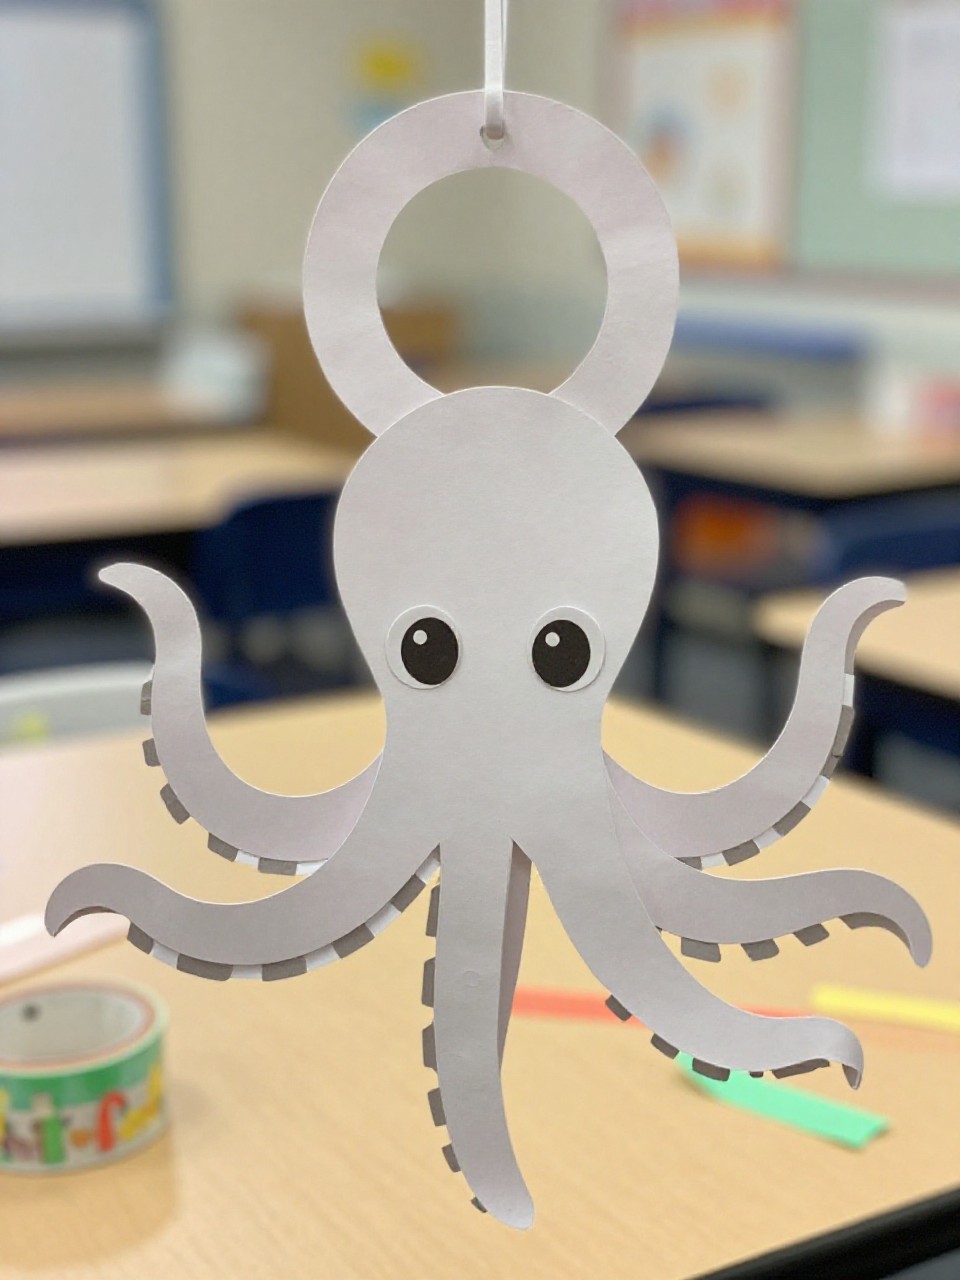
1. Paper Plate O Octopus
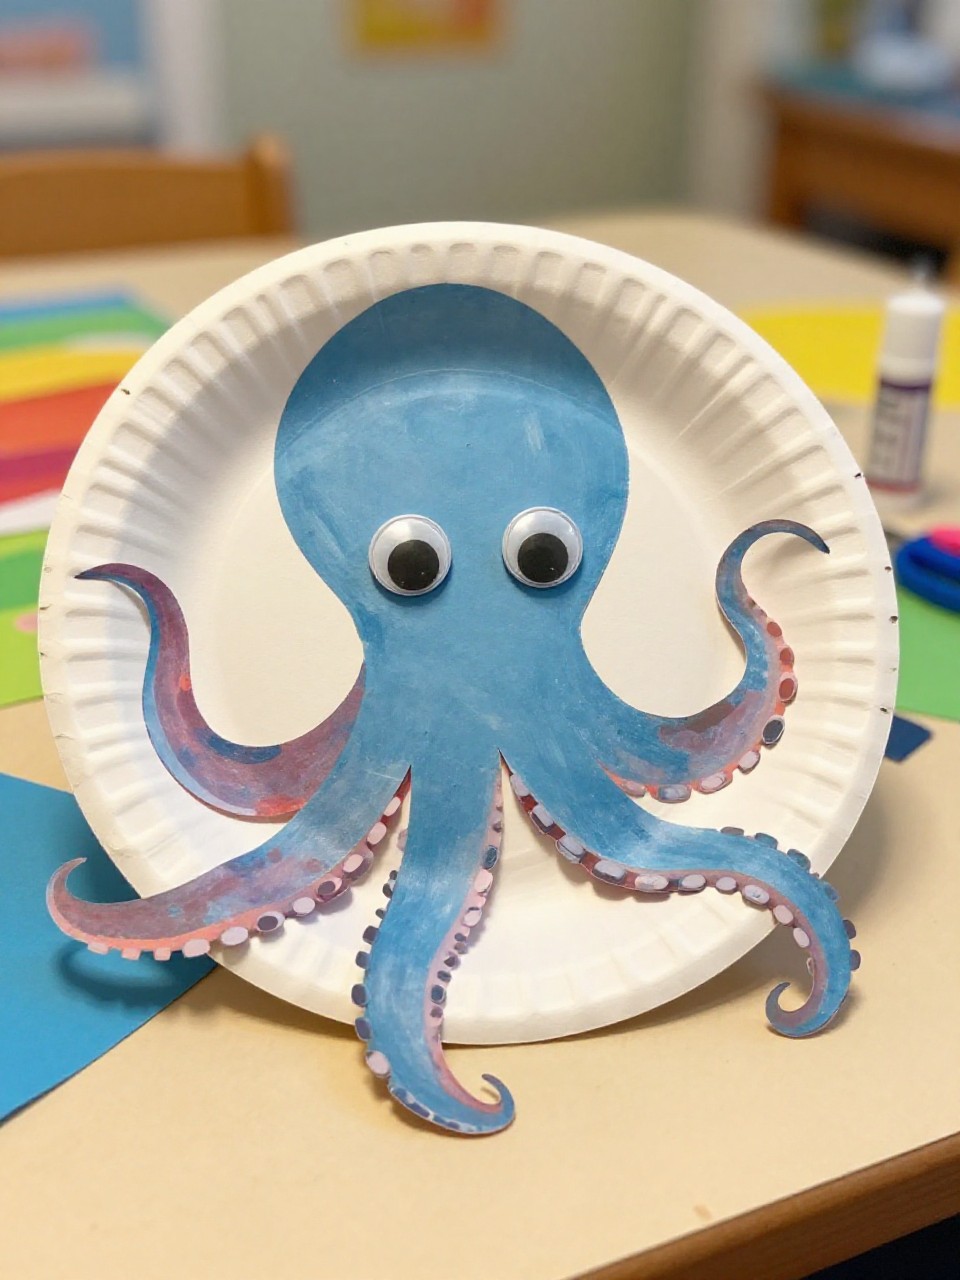
This craft turns a paper plate cut into a bold letter O with eight curling paper strip arms, big googly eyes, and dotty suckers. Kids love the wiggly tentacles and bright colors, and it’s an easy intro to scissors and glue for beginners.
Materials Needed:
For People Who Love to Make Things ✂️
- Paper plate (sturdy, plain)
- Paint or markers (ocean colors)
- Colored paper strips for arms
- Googly eyes
- Glue stick
How to make it:
- 1. Cut a large circle from the center of the plate to form an O and paint it.
- 2. Glue eight paper strips around the bottom half as tentacles.
- 3. Add googly eyes and draw suckers with marker or dot stickers.
- 4. Let it dry, then hang it up or use it for pretend ocean play.
2. Orange Slice Letter O
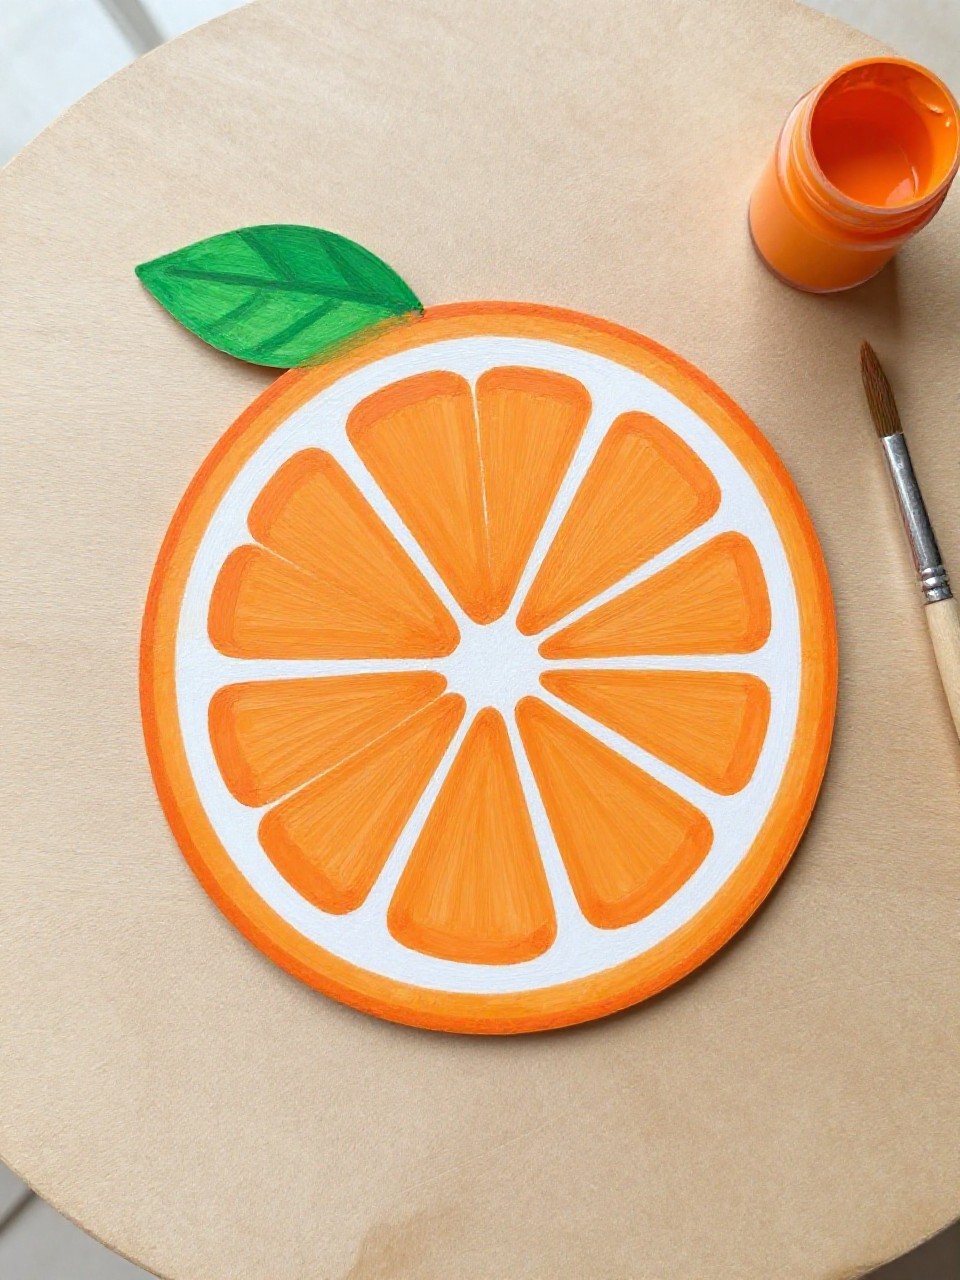
A bright letter O becomes a juicy orange slice with paint, white segment lines, and a green paper leaf. Kids enjoy dabbing on “pulp” dots and seeing the O transform into fruit, making letter learning fresh and fun.
Materials Needed:
- Cardstock circle with center cut out (to form O)
- Orange paint
- White gel pen or white paint pen
- Green paper for leaf
- Glue
How to make it:
- 1. Cut a donut-shaped O from cardstock and paint it orange.
- 2. Draw thin white lines like citrus segments around the ring.
- 3. Cut and glue a small green leaf to the top of the O.
- 4. Let dry and display on a kitchen bulletin board.
3. Owl Around the O
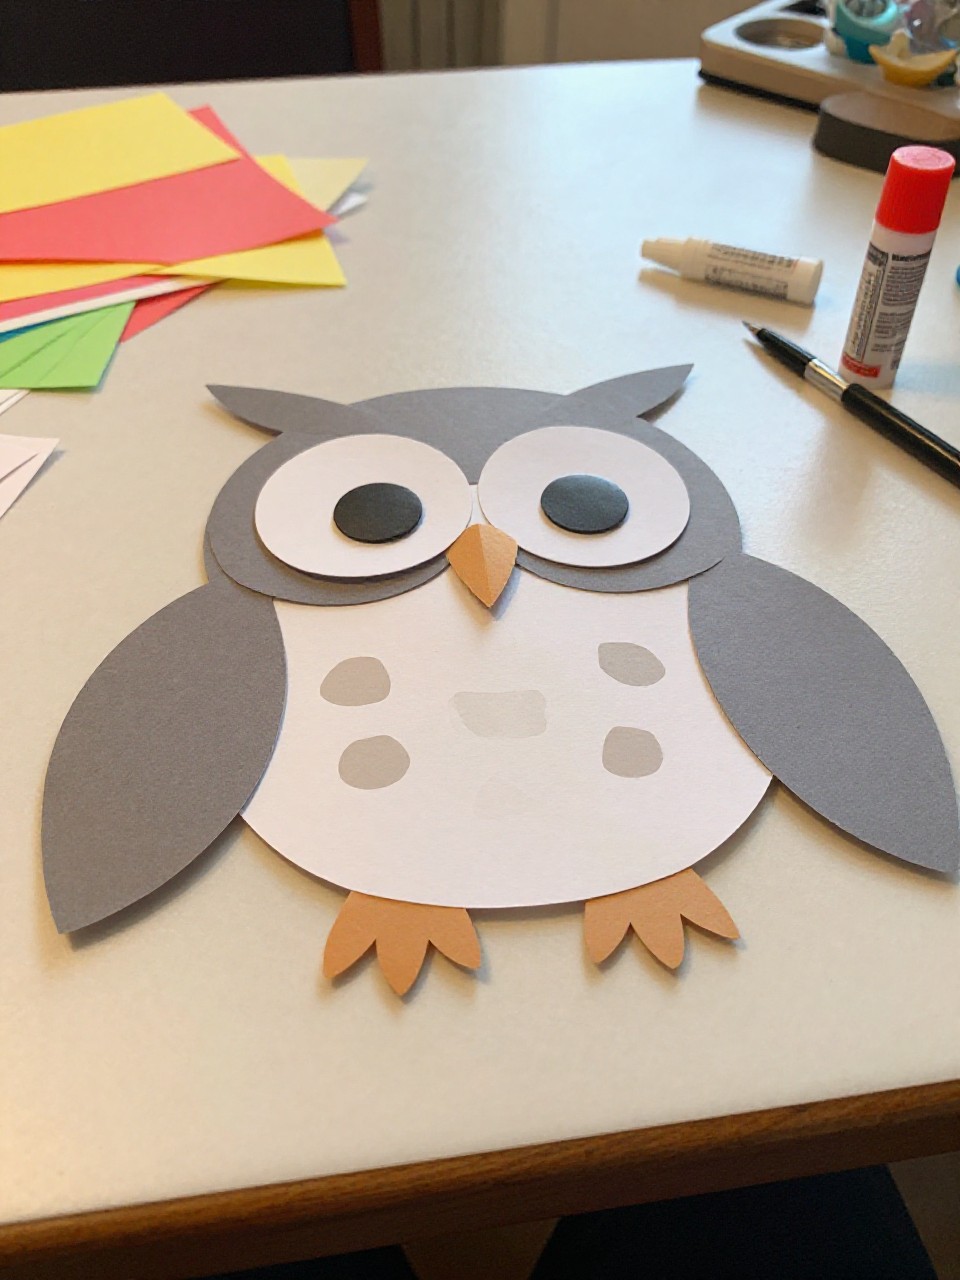
A big O forms the owl’s body, with paper wings, a triangle beak, and sleepy eyelids perched on top. Kids like choosing feather colors and making expressive eyes, and the simple shapes make this beginner-friendly.
Materials Needed:
- Thick paper O (cut from cardstock)
- Colored paper for wings, beak, and eyelids
- Googly eyes or paper eyes
- Markers
- Glue
How to make it:
- 1. Cut a large O from cardstock for the owl’s body.
- 2. Cut two wing shapes and a small triangle beak; glue them to the O.
- 3. Add eyes and eyelids; draw feather details with markers.
- 4. Let dry and hang it “perched” on a window with tape.
4. Ocean O Sun Catcher

This stained-glass style O uses tissue paper blues and greens sealed in clear contact paper to glow on a window. Kids love sticking pieces down and watching light shine through their ocean colors.
Materials Needed:
- Black construction paper O frame
- Blue and green tissue paper squares
- Clear contact paper
- Scissors
- String (optional for hanging)
How to make it:
- 1. Cut a thick O frame from black paper and place it on sticky contact paper.
- 2. Fill the inside with tissue paper squares, overlapping colors.
- 3. Seal with another sheet of contact paper and trim edges.
- 4. Tape to a sunny window or hang with string.
5. Fuzzy O Oreo Cookie
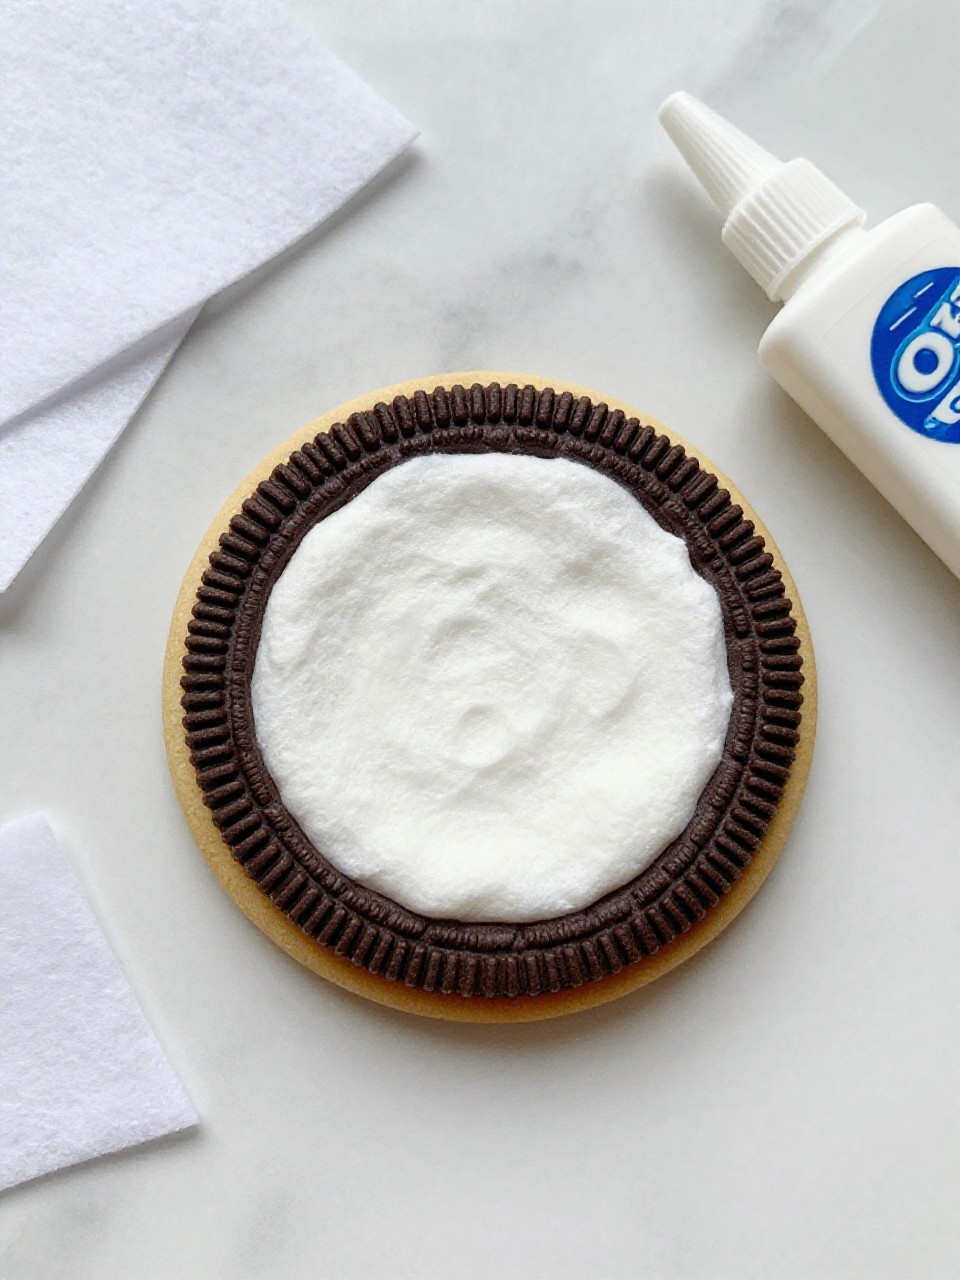
A textured brown O becomes a giant Oreo with white “cream” in the middle using cotton pads or felt. Kids giggle at making an oversized cookie and enjoy the soft, tactile materials.
Materials Needed:
- Brown cardstock O (two copies)
- White felt or cotton pads
- Glue
- White paint pen (cookie details)
- Stapler or tape (optional for sturdiness)
How to make it:
- 1. Cut two brown O shapes; decorate “cookie” dots with a white pen.
- 2. Glue white felt or cotton pads between the two Os as the cream.
- 3. Press to secure; add extra glue where needed.
- 4. Let dry and display on a pretend bakery shelf.
6. O Is for Otter Peekaboo
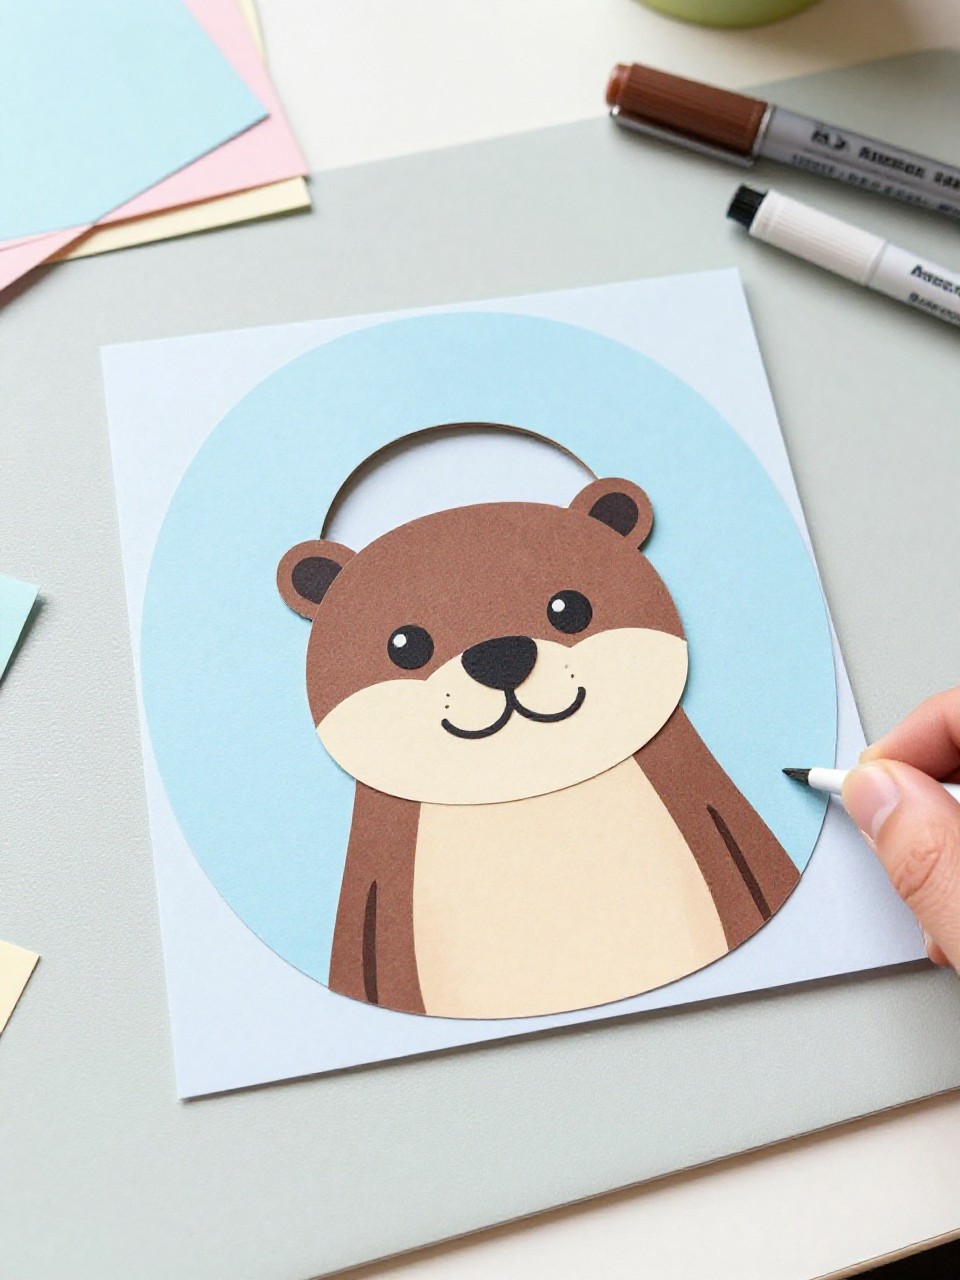
A large O becomes a river raft with a cute paper otter peeking through the center, holding a little heart or shell. Kids enjoy the playful peekaboo effect and choosing small accessories.
Materials Needed:
- Blue-painted cardstock O
- Brown paper for otter head and paws
- Small paper heart or shell cutout
- Markers
- Glue
How to make it:
- 1. Paint or color a thick O in water tones; let dry.
- 2. Cut an otter head and two paws; glue the head behind the O opening.
- 3. Glue paws to the front holding a heart or shell; add whiskers and smile.
- 4. Display on a wall river scene with other Os.
7. Button O Monogram
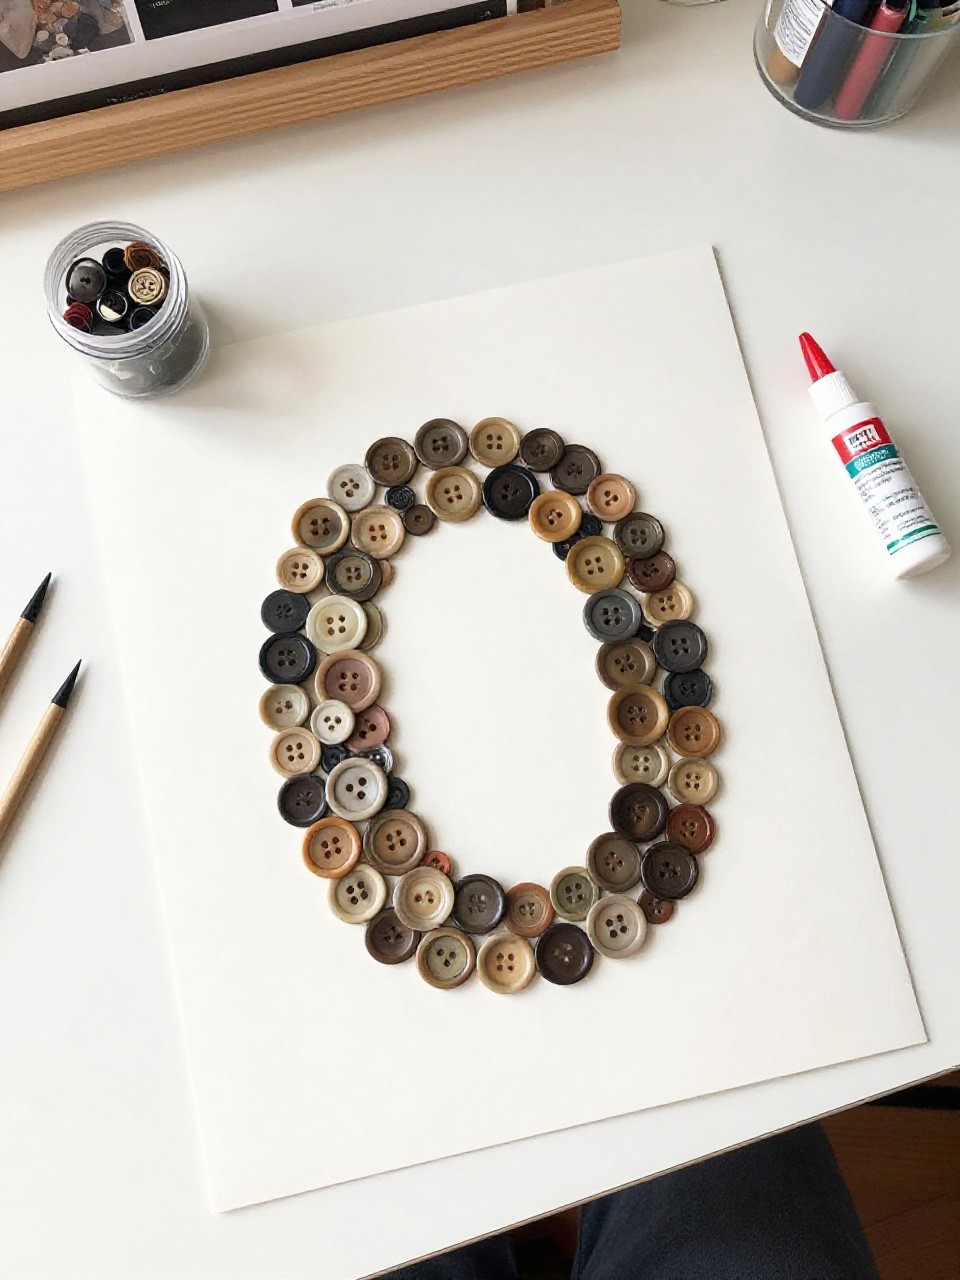
This project turns the letter O into a colorful monogram filled with mixed buttons for a chunky, shiny look. Kids love sorting sizes and colors and hearing the gentle clink as they glue them down.
Materials Needed:
- Sturdy cardboard O
- Assorted buttons
- White glue
- Ribbon for hanging
- Paint (optional background color)
How to make it:
- 1. Paint the cardboard O if desired and let it dry.
- 2. Spread glue on small sections and press buttons closely together.
- 3. Fill the entire O, layering tiny buttons in gaps.
- 4. Tie a ribbon on top and hang as room decor.
8. O-Shaped Paper Chain Octopus
Make an octopus by linking mini O paper chains for tentacles and a larger O head ring with eyes on top. Kids enjoy the repetitive linking motion and watching the creature grow longer.
Materials Needed:
- Colored paper strips (two sizes)
- Glue stick or tape loops
- Googly eyes
- Marker
- Hole punch and string (optional for hanging)
How to make it:
- 1. Form a large O ring for the head and add eyes and a smile.
- 2. Create eight paper chains from smaller strips for tentacles.
- 3. Attach chains around the bottom of the head O.
- 4. Hang from the ceiling or doorway so it dangles.
9. O Watermelon Wreath
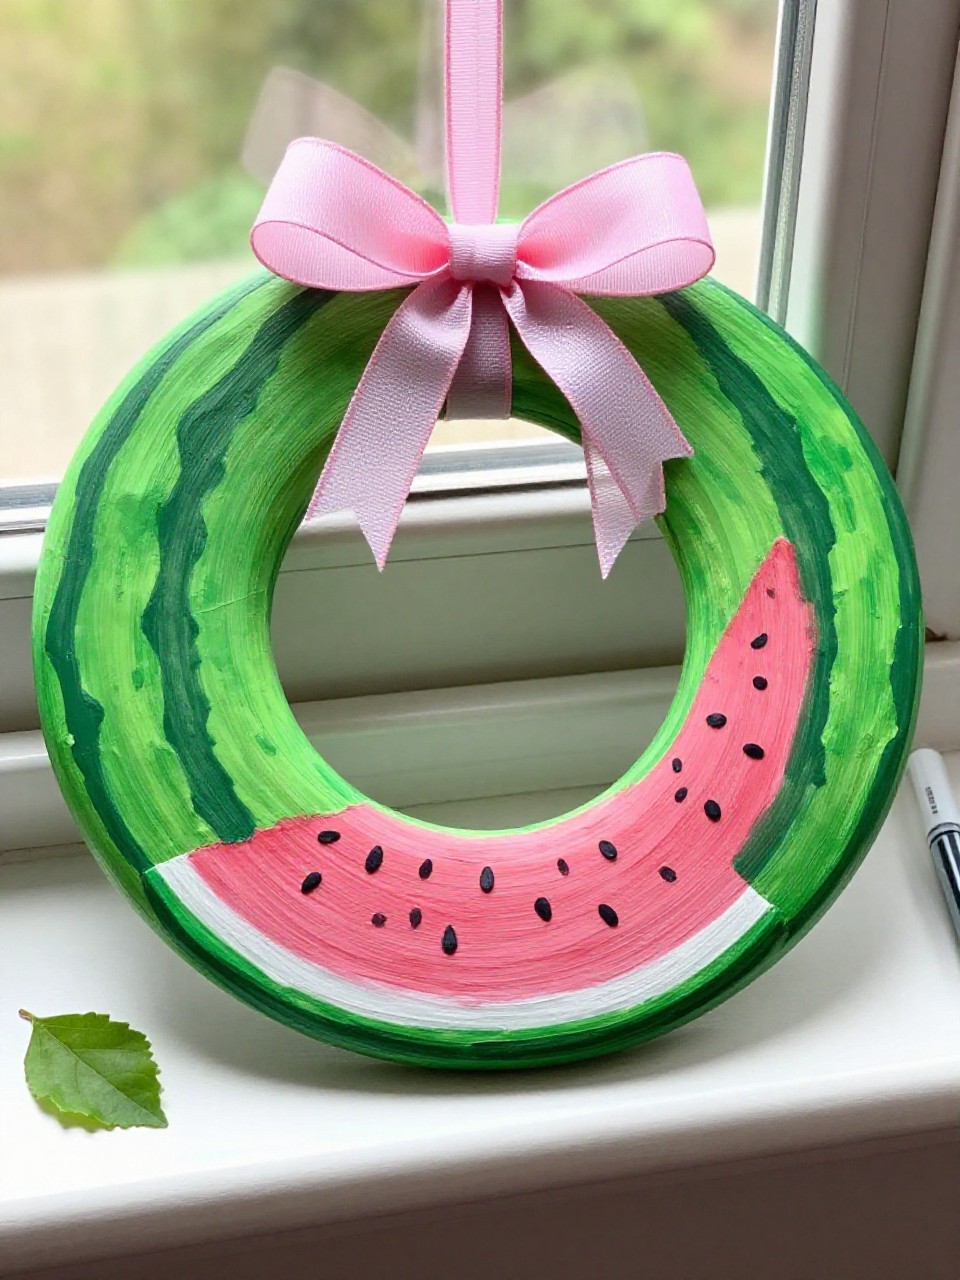
A green O becomes a watermelon slice wreath with pink inner ring, black seed dots, and a tiny bow. Kids like dotting seeds and picking ribbon colors, and the result is cheerful summer decor.
Materials Needed:
- Thick paper O
- Green and pink paint or paper
- Black marker or seed stickers
- Ribbon
- Glue or tape
How to make it:
- 1. Paint the outer edge green and the inner ring pink; let dry.
- 2. Add small black seeds around the pink ring.
- 3. Tie a ribbon bow and glue it to the top.
- 4. Hang on a door or bulletin board.
10. O-Shaped Bubble Wrap Stamping
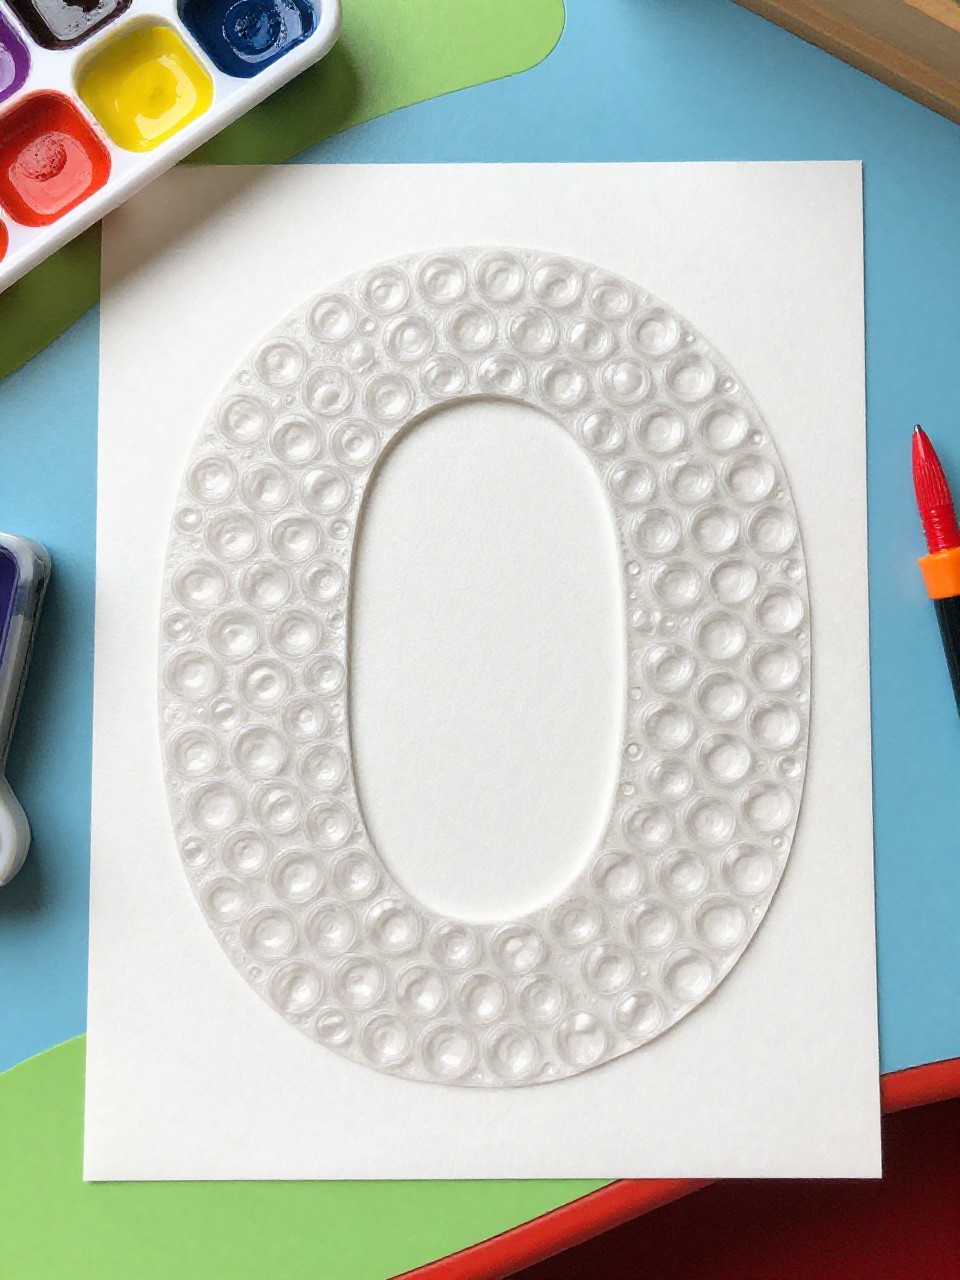
Kids press an O-shaped stamp wrapped in bubble wrap into paint to make bubbly O prints across a page. The popping texture and repeating pattern make it exciting and low-pressure for all ages.
Materials Needed:
- Cardboard O ring (makeshift stamp)
- Bubble wrap
- Washable paint and tray
- Large paper
- Tape
How to make it:
- 1. Wrap bubble wrap around a cardboard O and tape it tight.
- 2. Press the stamp into shallow paint.
- 3. Stamp bubbly O shapes all over the paper in different colors.
- 4. Let dry and hang the patterned poster.
11. Yarn-Wrapped Cozy O
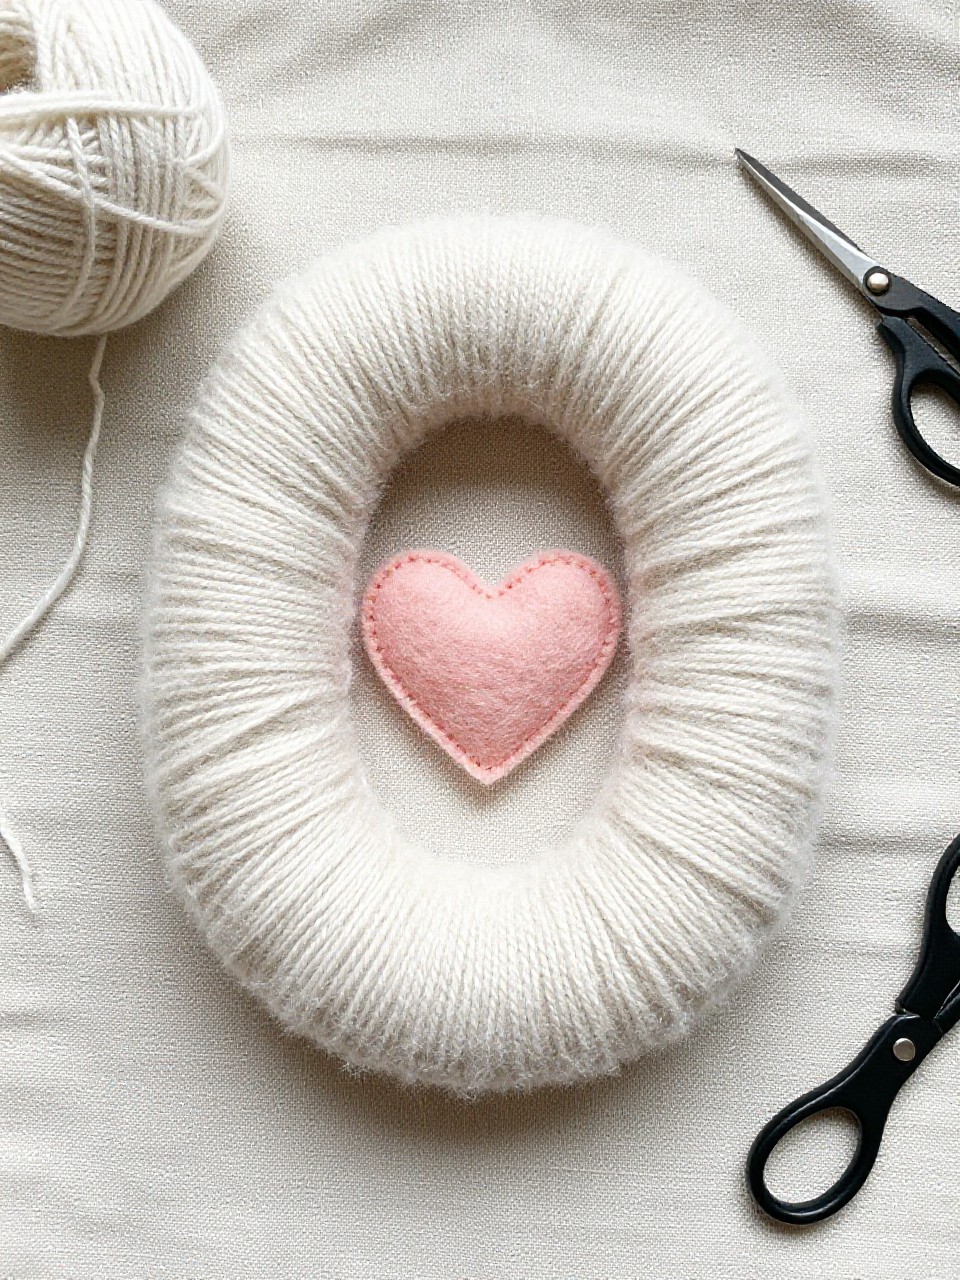
A cardboard O wrapped in soft yarn becomes a cozy letter decoration with a little felt heart. Kids enjoy the calm, repetitive wrapping and the warm texture.
Materials Needed:
- Cardboard O
- Chunky yarn
- Felt scrap (heart or star)
- White glue
- Ribbon (optional)
How to make it:
- 1. Knot yarn to the O and begin wrapping tightly around the cardboard.
- 2. Keep wrapping until the O is fully covered, tucking ends with glue.
- 3. Glue a small felt heart to one side.
- 4. Add ribbon to hang or stand it on a shelf.
12. O Donut with Sprinkles
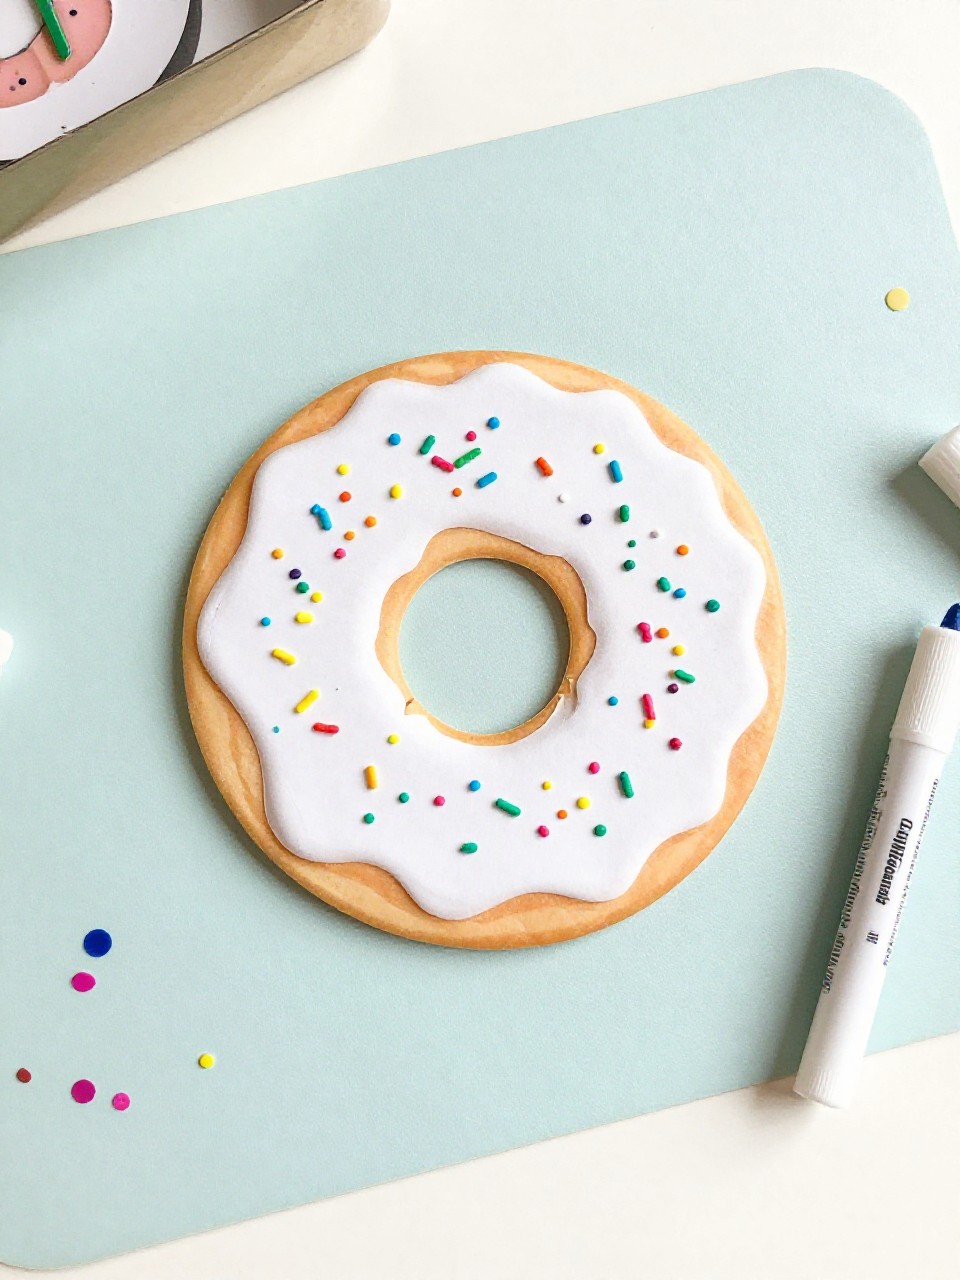
Turn an O into a pastel-frosted donut with paper icing and colorful sprinkle bits. Kids love choosing frosting colors and sprinkling “candy” confetti over the top.
Materials Needed:
- Kraft cardstock O
- Colored paper for icing
- Confetti or tiny paper sprinkles
- Glue stick
- Marker (for glaze lines)
How to make it:
- 1. Cut a wavy icing ring to fit the O and glue it on.
- 2. Add sprinkles using confetti or small paper rectangles.
- 3. Draw a few glaze lines or shine marks.
- 4. Display in a pretend bakery gallery with other letter treats.
13. O-Shaped Rainbow Weaving
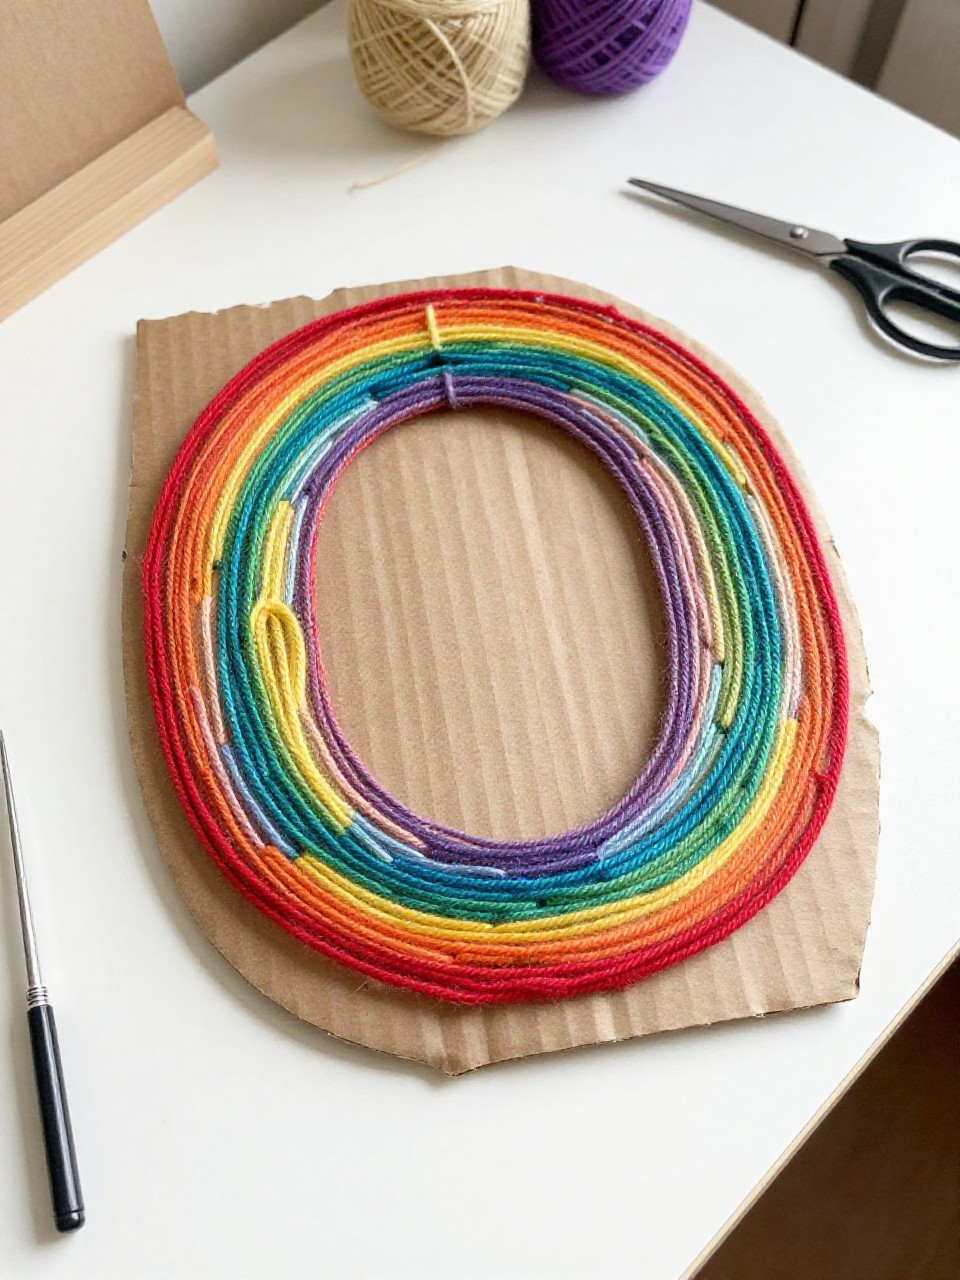
A slotted O frame becomes a mini loom where kids weave yarn or ribbon around and across the ring to make a rainbow halo. They enjoy the pattern and the satisfying pull of each strand.
Materials Needed:
- Cardboard O with small notches around edge
- Assorted yarn or ribbon
- Tape (to anchor ends)
- Scissors
- Beads (optional)
How to make it:
- 1. Cut notches around the O’s edge and tape one yarn end to the back.
- 2. Weave yarn in and out of the notches, switching colors for a rainbow.
- 3. Add beads on strands if desired; tuck and tape loose ends.
- 4. Hang near a window to show the colors.
14. O Olive Face Puppets
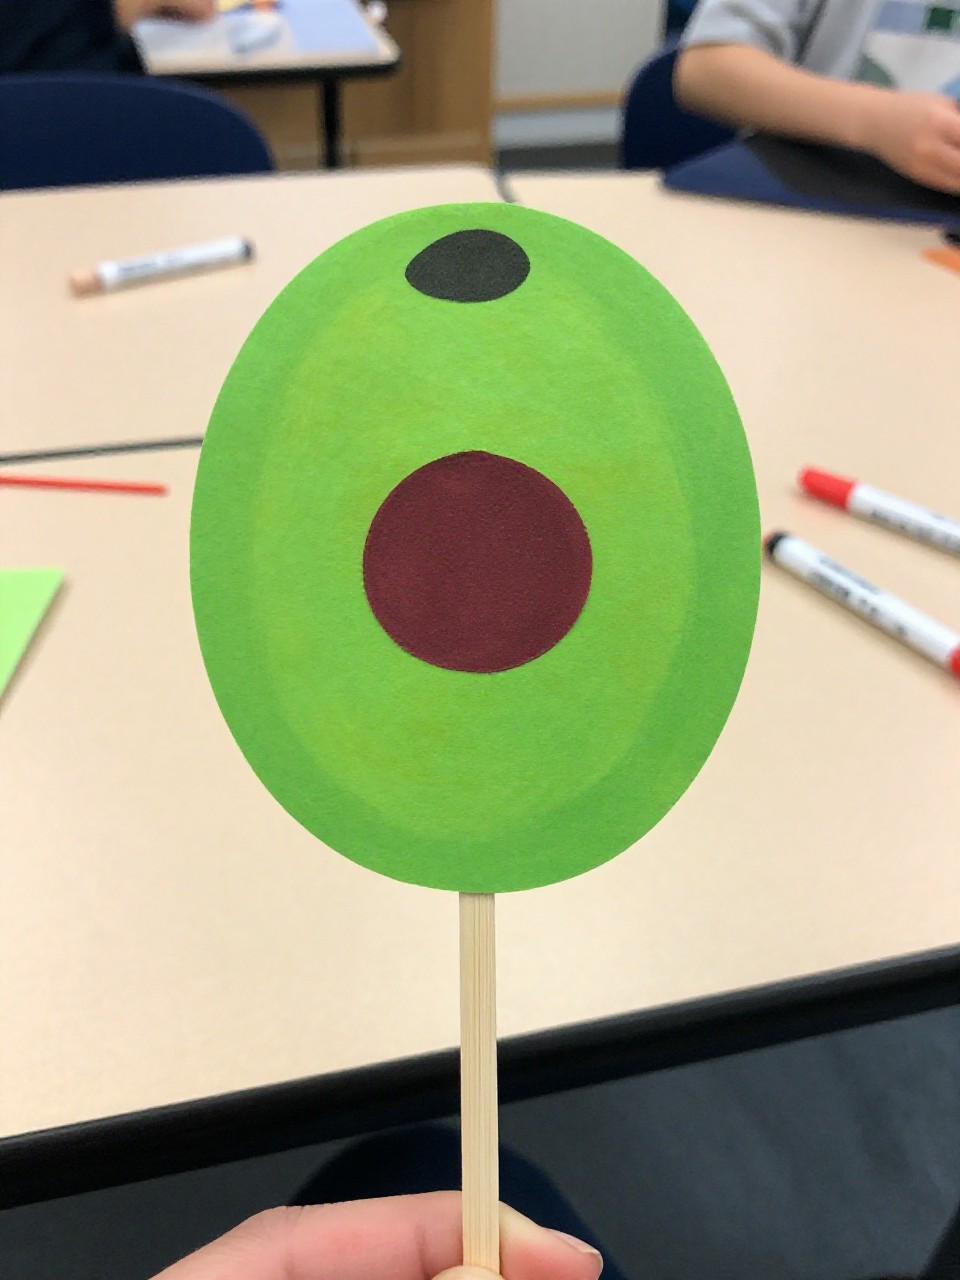
A green O becomes a silly olive with a red “pimento” paper circle and a craft stick handle for puppet play. Kids laugh at making different expressions and putting on snack-time shows.
Materials Needed:
- Green cardstock O
- Red paper circle (pimento)
- Craft stick
- Markers for faces
- Glue or tape
How to make it:
- 1. Cut a green O and glue a small red circle on the inner edge.
- 2. Draw fun faces—happy, sleepy, surprised—around the O.
- 3. Tape or glue a craft stick to the bottom as a handle.
- 4. Put on a quick puppet skit with a bowl “stage.”
15. Foam O Flower Ring
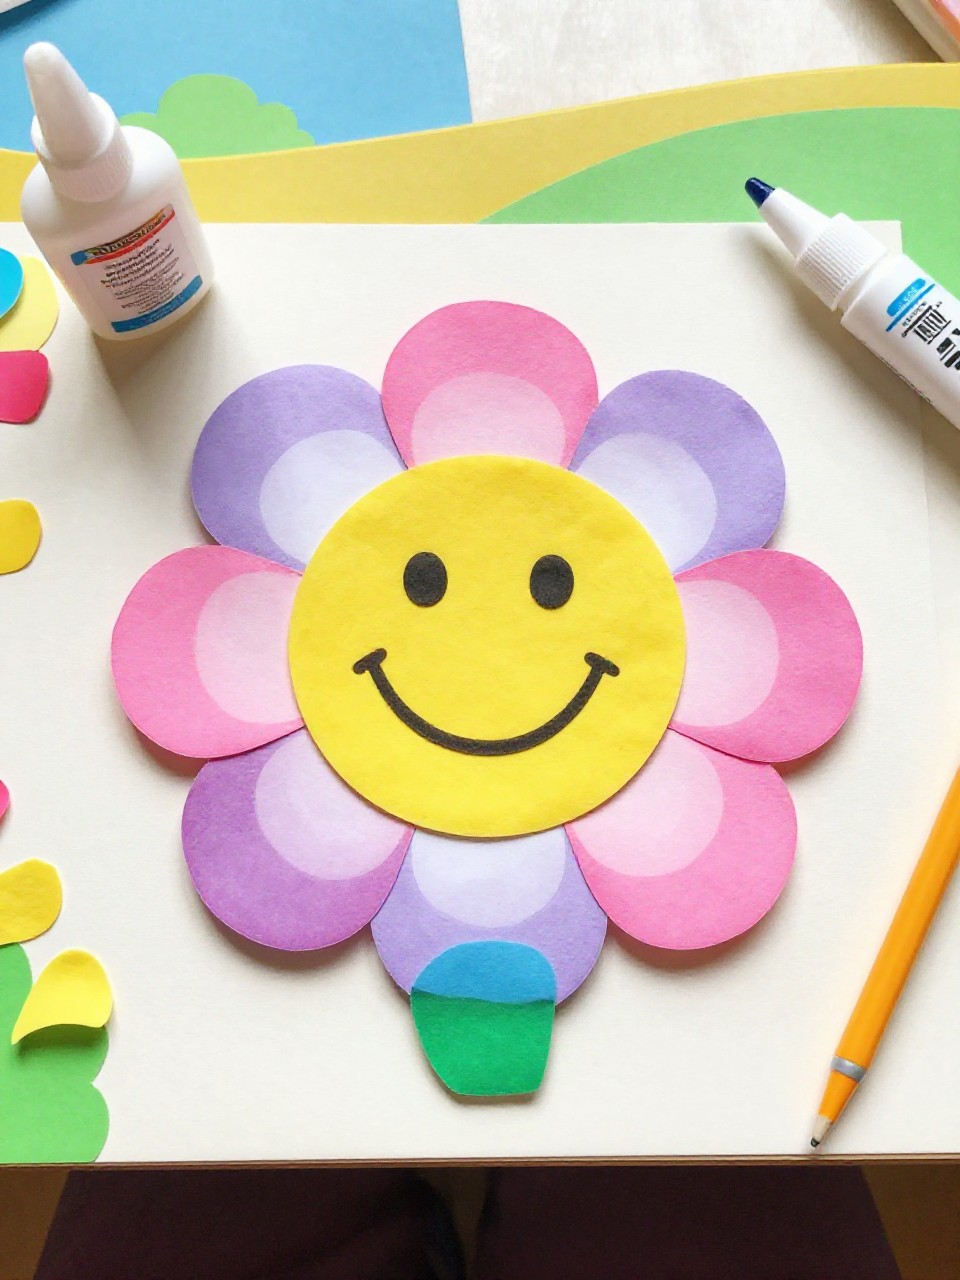
A bright foam O turns into a mini flower ring with simple paper petals and a smiling center, like a wearable crown for walls. Kids enjoy choosing petal colors and building a happy, circular bloom.
Materials Needed:
- Foam sheet O or thick paper O
- Colored paper for petals
- Circle sticker or paper circle for face
- Markers
- Glue
How to make it:
- 1. Cut or use a pre-cut foam O as the base.
- 2. Cut many oval petals and glue them all around the outer edge.
- 3. Add a center face sticker and draw a cheerful smile.
- 4. Hang on a door or use as a photo prop.