


Table of Contents Show
Keeping kids busy can be hard, especially on rainy days or when you need a quick activity for class. If you’re teaching the alphabet or just want simple hands-on fun, these Letter I crafts make it easy.
Each project celebrates the letter I through shapes, animals, foods, and ideas that start with I. You’ll find quick, colorful projects that build fine motor skills and letter recognition.
Let’s jump into fun, simple inspiration you can start today.
1. Paper Plate Letter I Ice Cream
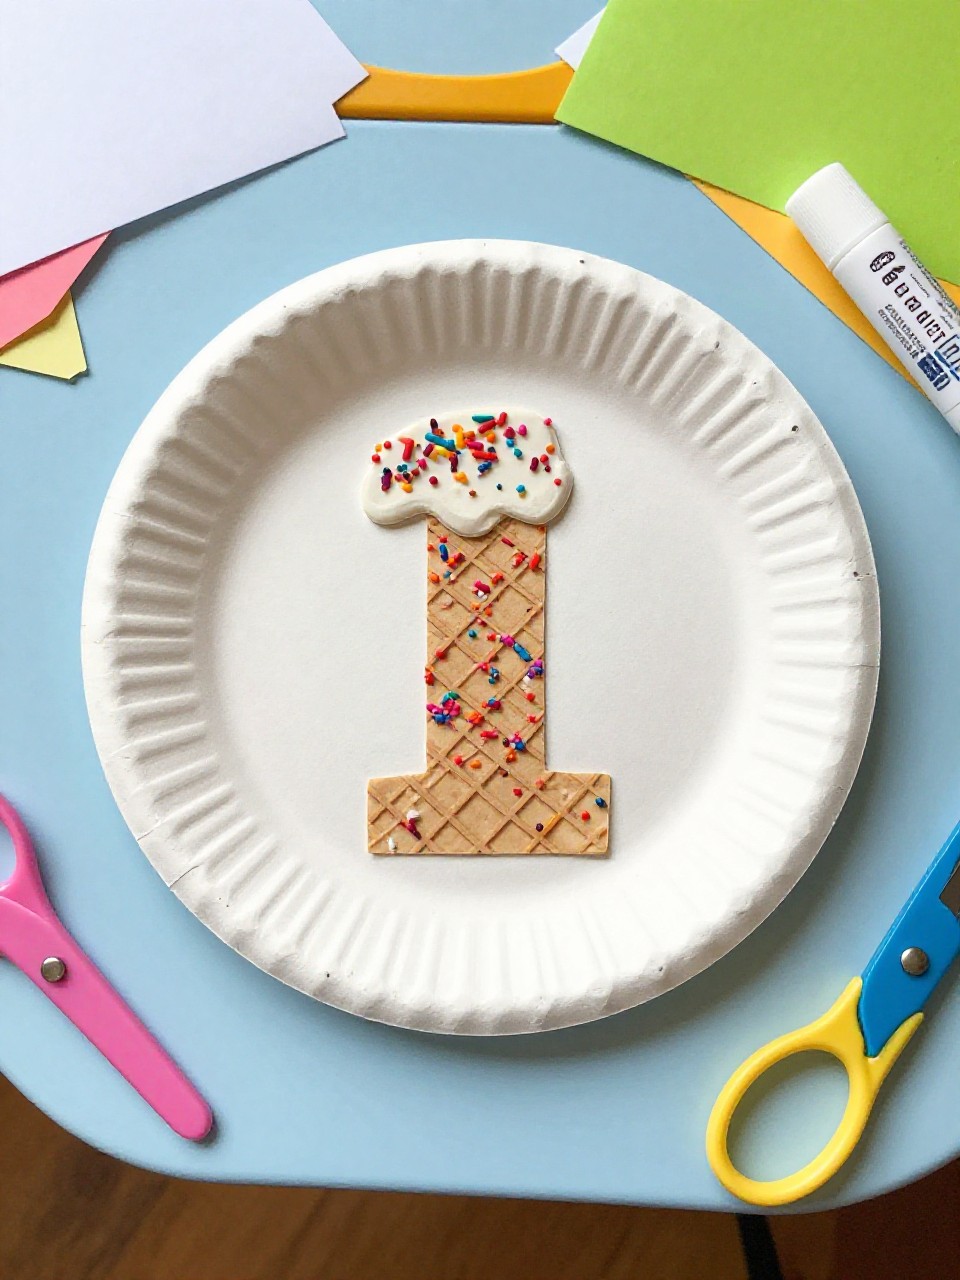
This craft looks like a tall letter I turned into a smiling ice cream pop, complete with sprinkles and a “stick.” Kids love choosing flavors and adding lots of colorful dots as “sprinkles.” It’s simple and cheerful for beginners.
Materials Needed:
For People Who Love to Make Things ✂️
- Paper plate (cut into long rectangle for I)
- Craft paint or crayons
- Brown paper (for stick)
- Glue stick
- Stickers or confetti sprinkles
How to make it:
- 1. Cut a paper plate into a long rectangle and small top/bottom bars to form the letter I.
- 2. Glue the bars to the top and bottom of the rectangle.
- 3. Paint or color like ice cream; add sprinkles, a smile, and cheeks.
- 4. Glue a brown paper “stick” under the I and let dry before displaying.
2. I is for Iguana Handprint Art
This project makes a bright iguana wrapped around a big letter I using a painted handprint as the iguana’s body. Kids enjoy seeing their handprint turn into a real animal and adding tiny spikes and eyes.
Materials Needed:
- White cardstock
- Washable paint (green, lime)
- Black marker
- Googly eye
- Glue stick
How to make it:
- 1. Paint a big block letter I on cardstock and let it dry.
- 2. Paint a hand and stamp a handprint along the side of the I to form the iguana’s body.
- 3. Add spikes, toes, tail, and mouth with marker; glue on a googly eye.
- 4. Write “I is for Iguana” and let the paint fully dry before hanging.
3. Ice Cube Painting Letter I
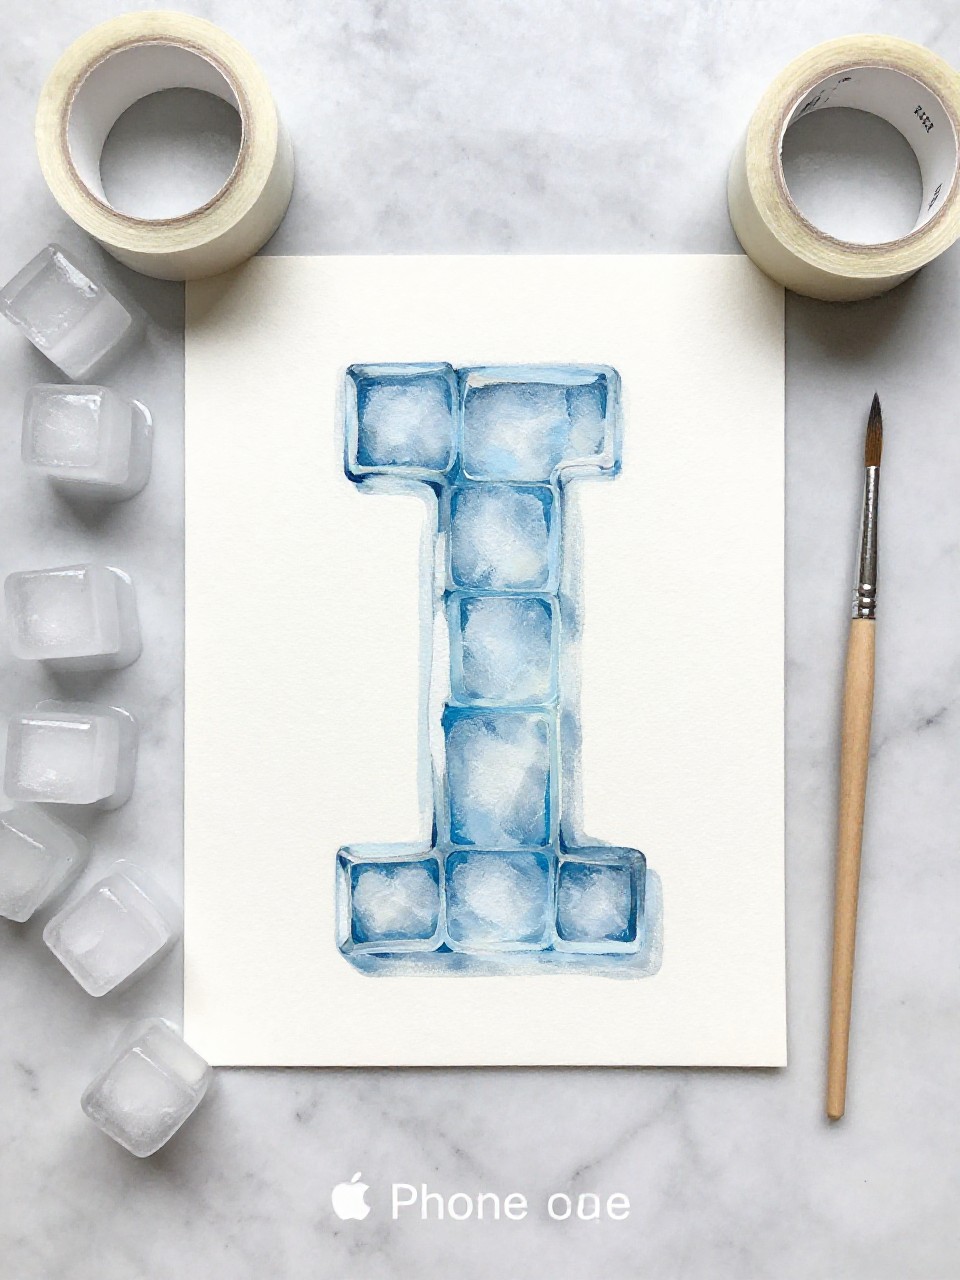
This looks like a large letter I filled with swirly, melting ice-color patterns made by frozen paint cubes. Kids love watching the colors melt and slide while learning about “I is for Ice.”
Materials Needed:
- Ice cube tray
- Washable liquid paint or food coloring
- Craft sticks (mini)
- White cardstock
- Painter’s tape
How to make it:
- 1. Tape a big letter I outline on cardstock using painter’s tape.
- 2. Freeze colored water or paint in ice trays with mini sticks as handles.
- 3. Rub the colored ice cubes over the paper to fill the I area with color.
- 4. Peel tape to reveal a crisp I and let the paper dry flat.
4. Insect Garden Letter I Collage
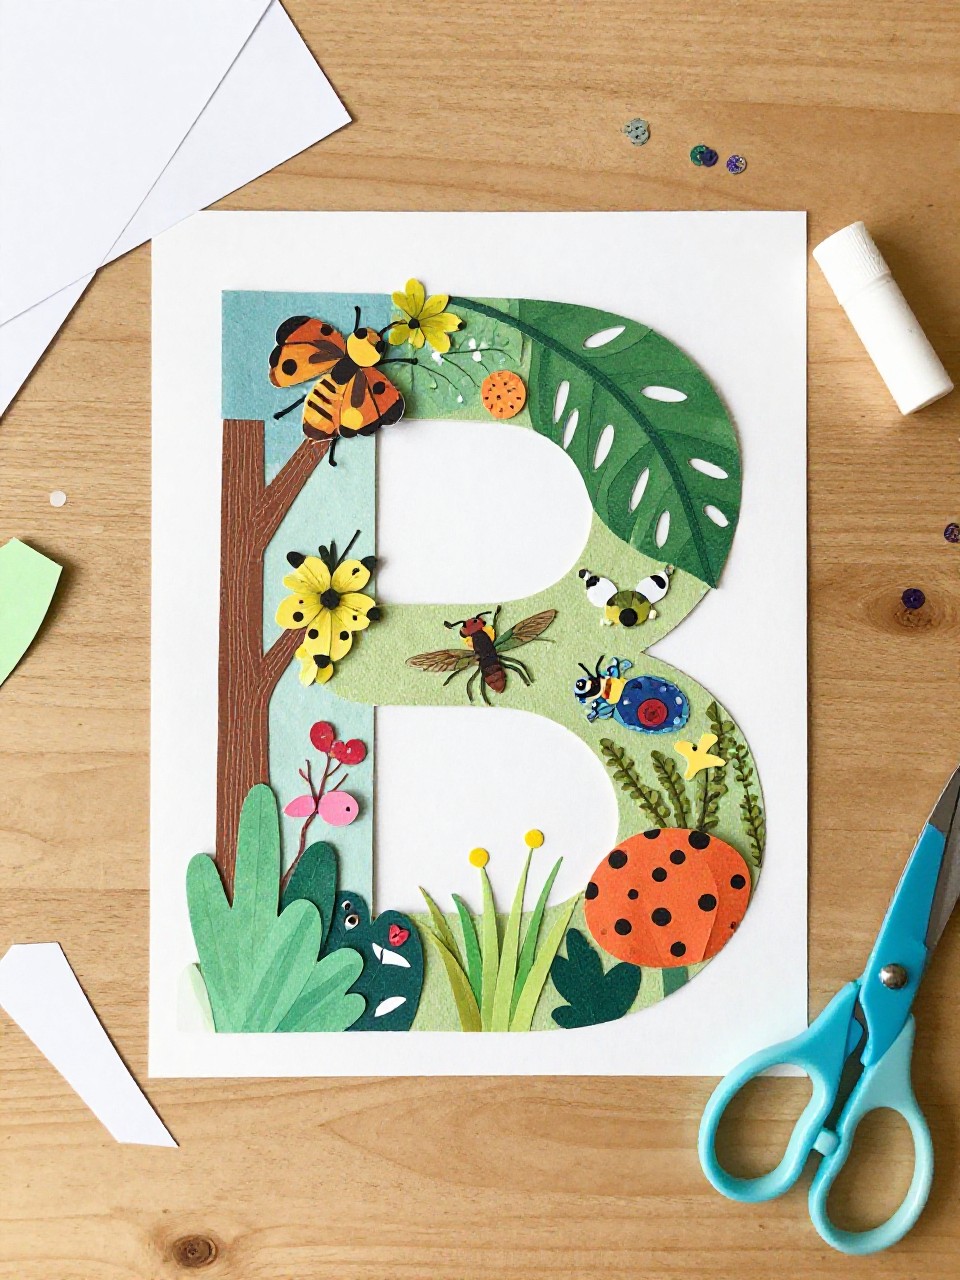
This craft shows a bold letter I standing like a garden post with tiny paper insects crawling and flying around it. Kids enjoy choosing colors and arranging bugs, which builds creativity and letter recognition.
Materials Needed:
- Colored paper scraps
- White cardstock
- Markers
- Glue stick
- Optional: small sequins for wings
How to make it:
- 1. Cut a large letter I from bright paper and glue it to the center of cardstock.
- 2. Cut simple bug shapes (ovals, circles, wings) from scraps.
- 3. Glue insects around the I and draw legs, antennae, and flight trails.
- 4. Add sequins for sparkly wings and label “I is for Insect.”
5. Icy Igloo Cotton Ball Craft
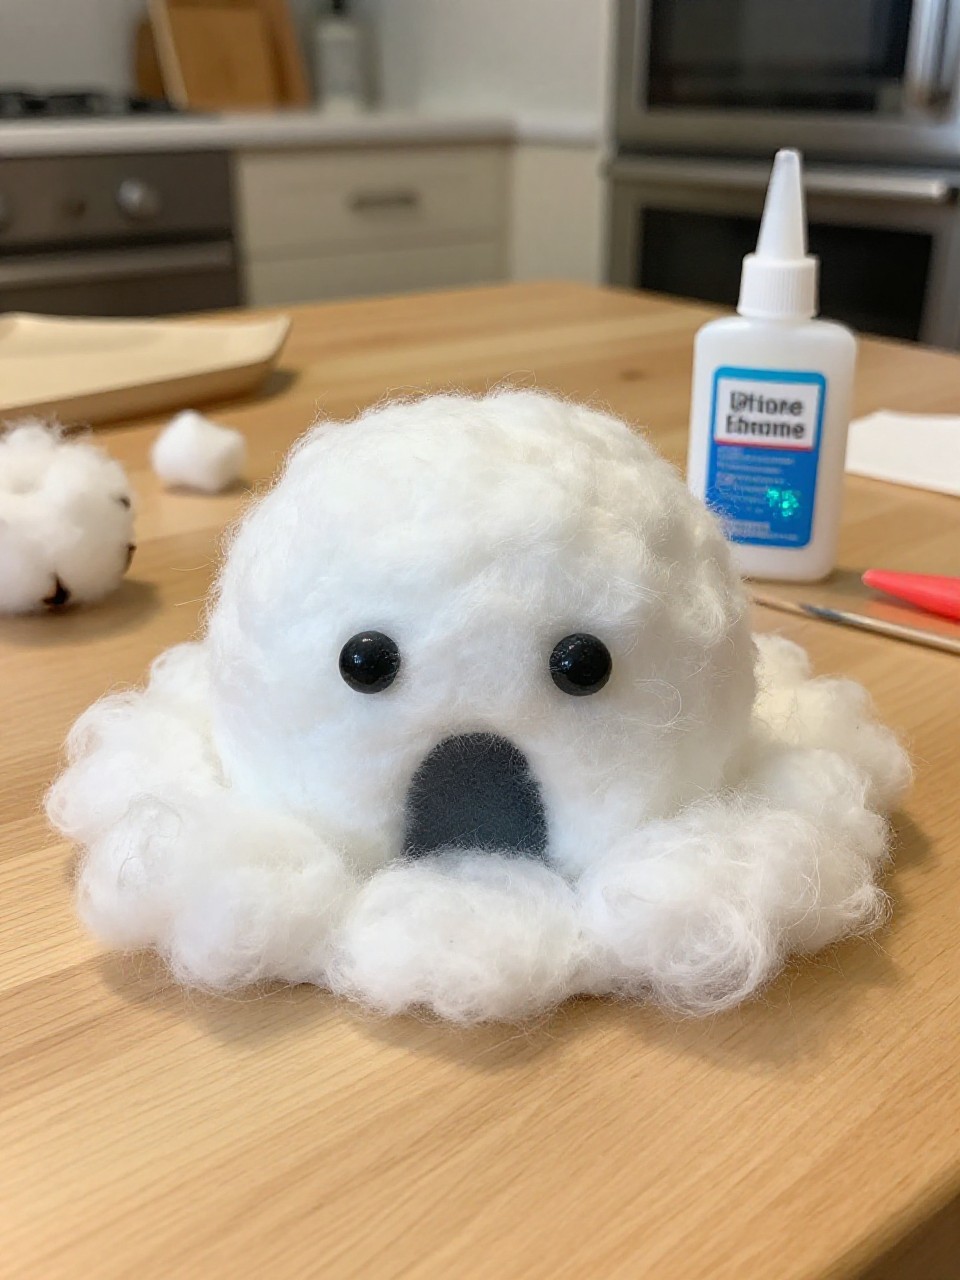
This piece features a snowy igloo shaped like a chunky letter I, built from fluffy cotton “ice blocks.” Kids love the soft texture and the simple, stack-and-glue steps.
Materials Needed:
- Blue cardstock
- Cotton balls or cotton pads
- School glue
- Black marker
- Silver glitter glue (optional)
How to make it:
- 1. Draw a bold I on blue cardstock to use as a guide.
- 2. Pull cotton balls slightly apart and glue them inside the I shape.
- 3. Add a small cotton arch for the igloo door; outline bricks with a marker.
- 4. Add light glitter glue “frost,” then let it dry before displaying upright.
6. Popsicle Stick Letter I Inchworm
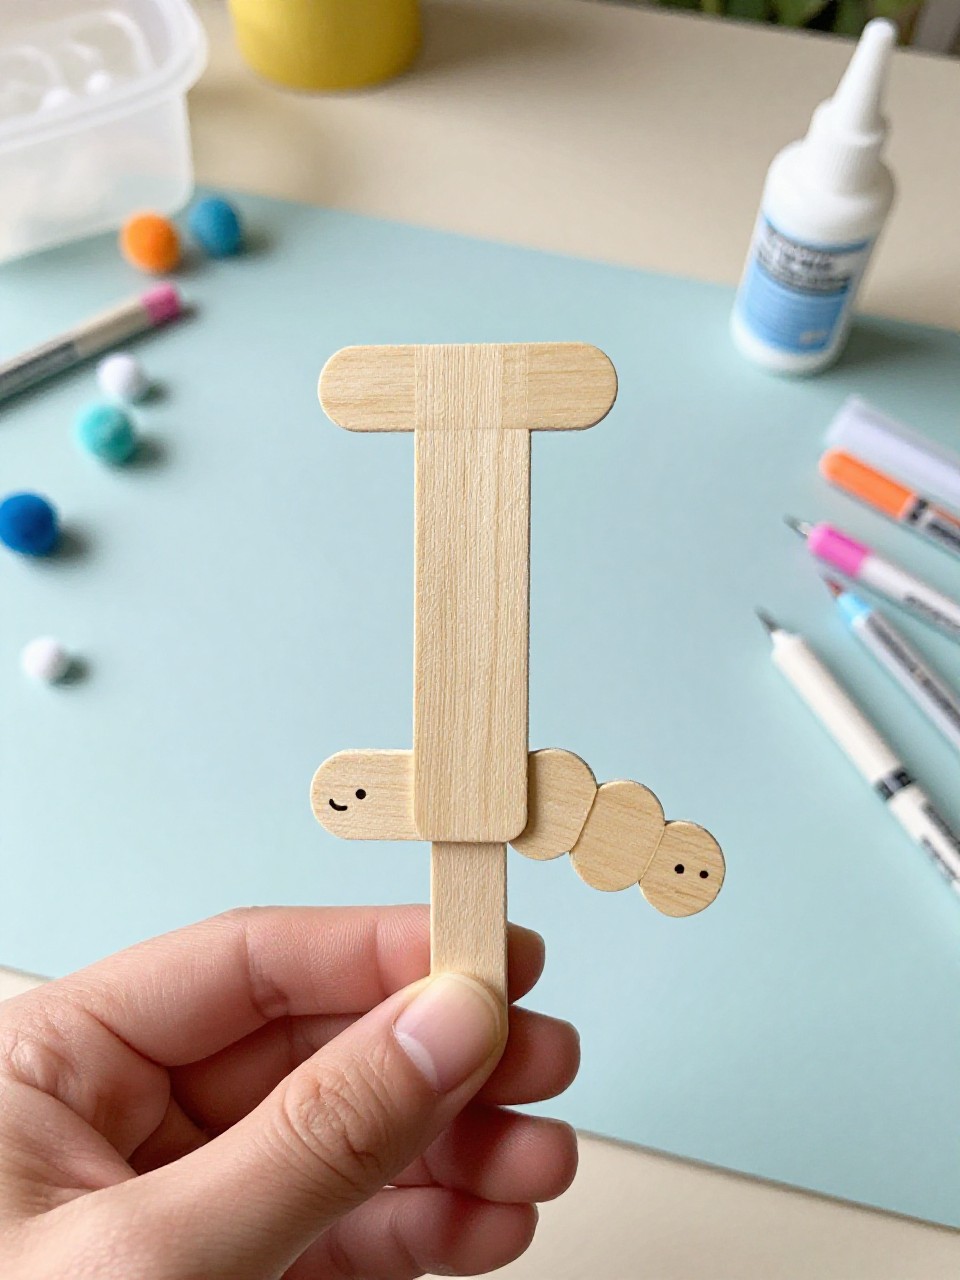
This craft makes a standing letter I with a cute inchworm crawling up made from pom-poms. Kids enjoy arranging colors in a “wavy” shape and giving their inchworm a face.
Materials Needed:
- 3 jumbo craft sticks
- Paint or markers
- Mini pom-poms
- Googly eyes
- Glue
How to make it:
- 1. Paint sticks and glue them into a capital I shape (one vertical, two short horizontals).
- 2. Glue mini pom-poms in a curved line along the side as the inchworm.
- 3. Add googly eyes and draw a smiling mouth with marker.
- 4. Let glue dry, then stand or hang the I on a wall.
7. I is for Island Paper Scene
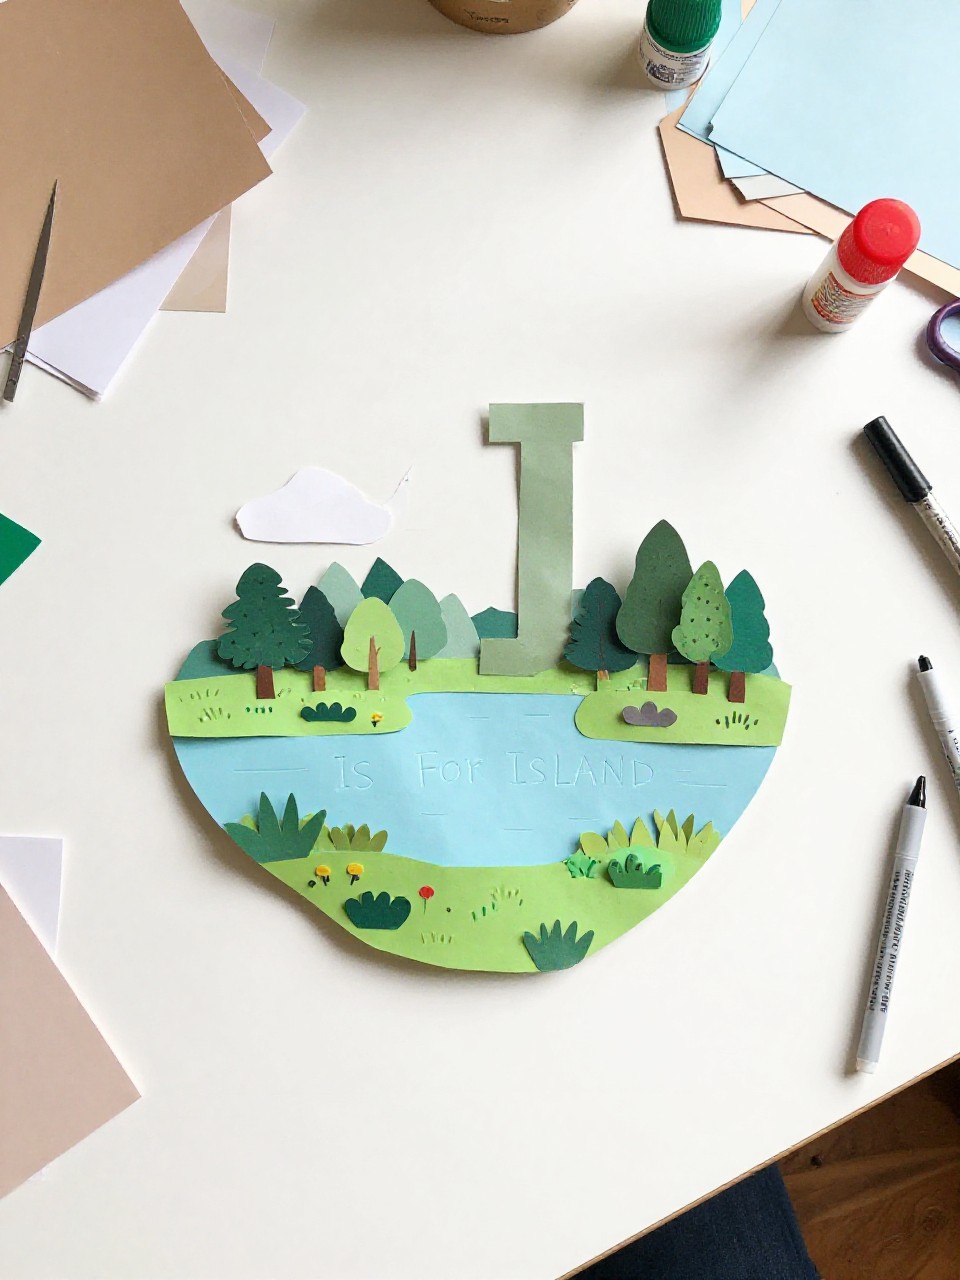
This scene shows a sunny island shaped like the letter I with a palm tree, waves, and a tiny boat nearby. Kids love building a mini world and moving the boat around when it’s dry.
Materials Needed:
- Blue paper (background)
- Brown/yellow paper (island)
- Green paper (palm leaves)
- Markers
- Glue stick
How to make it:
- 1. Cut an I-shaped island from brown/yellow paper and glue it to the blue background.
- 2. Add a simple palm trunk and leaf shapes at the top of the I.
- 3. Draw waves, sun, and a little boat with markers.
- 4. Label the picture and let the glue set before hanging.
8. Icicle Suncatcher Letter I

This project creates a see-through I filled with shiny “icicles” using tissue paper and clear contact paper. Kids enjoy the glow in a sunny window and picking cool winter colors.
Materials Needed:
- Clear contact paper
- Blue and white tissue paper
- Glitter (optional)
- Black paper frame
- String or tape for hanging
How to make it:
- 1. Cut two contact paper rectangles; cut a black paper I frame to fit between them.
- 2. Stick the frame onto one contact sheet (sticky side up).
- 3. Press torn tissue pieces inside the I; sprinkle a little glitter if desired.
- 4. Seal with the second sheet, trim edges, and hang in a bright window.
9. Inflated Ink Blot Letter I
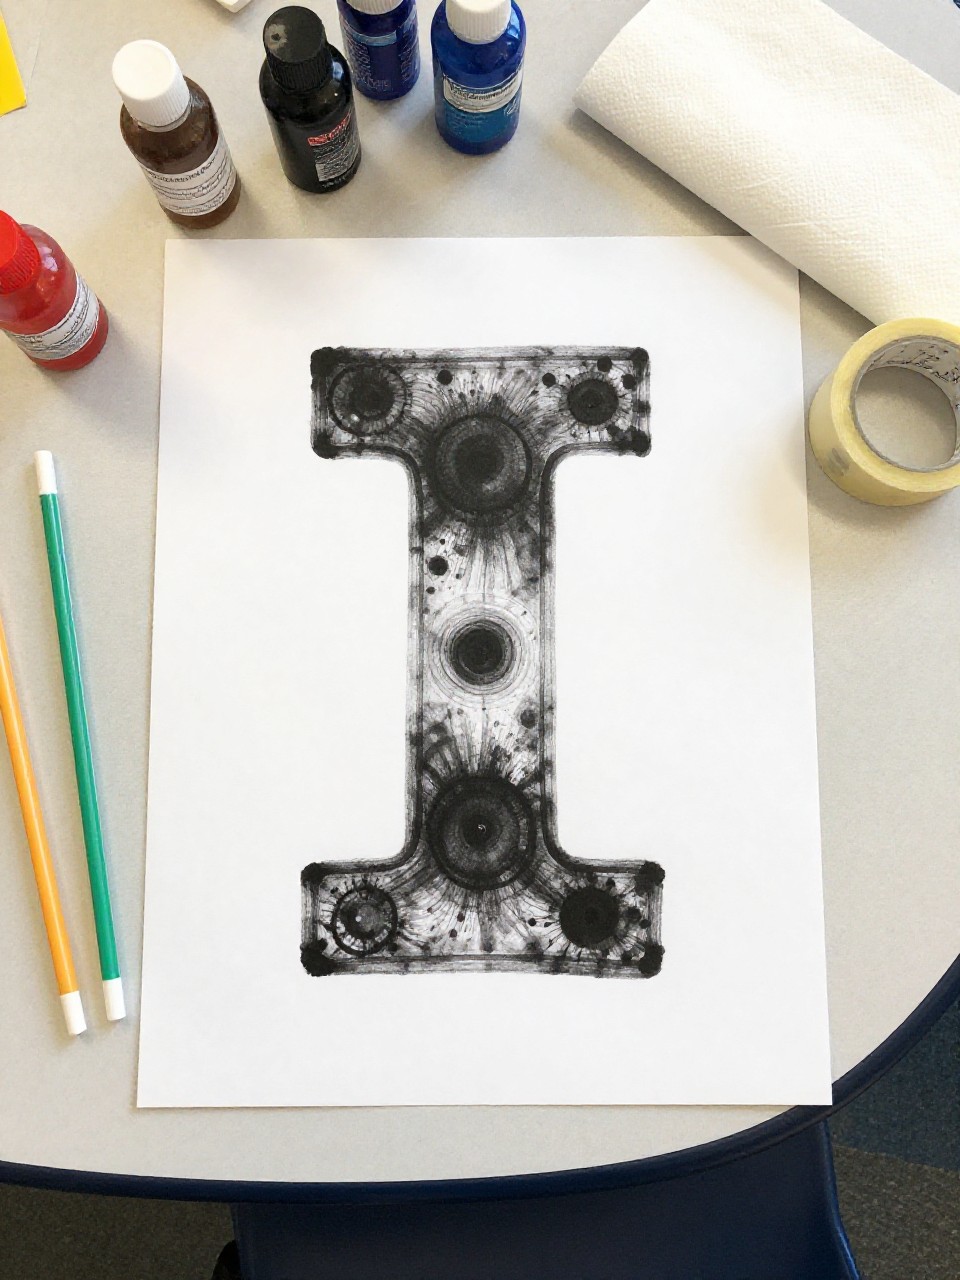
This craft shows a bold I surrounded by fun ink-blot shapes made by blowing paint with a straw. Kids love the surprise patterns and the playful “I is for Ink” idea.
Materials Needed:
- White cardstock
- Washable liquid watercolor or thinned paint
- Drinking straw
- Painter’s tape
- Black marker
How to make it:
- 1. Tape a large I outline on the paper.
- 2. Drop small pools of paint around the I and blow through straws to spread them.
- 3. Remove tape to reveal the clean I; outline if you like with a marker.
- 4. Let it dry flat before displaying.
10. I is for Ice Cream Cone Garland

This craft makes a string of mini letter I cones where each letter is the “scoop” stacked on a cone. Kids enjoy making a set in different colors to hang across a room.
Materials Needed:
- Colored cardstock
- Twine or ribbon
- Hole punch
- Markers
- Glue stick
How to make it:
- 1. Cut several letter I shapes in bright “scoop” colors and triangle cones from brown paper.
- 2. Draw waffle lines on cones with markers and glue an I “scoop” on top.
- 3. Punch holes and thread onto twine, spacing evenly.
- 4. Hang the garland and adjust the spacing.
11. I Spy Letter I Sensory Bag
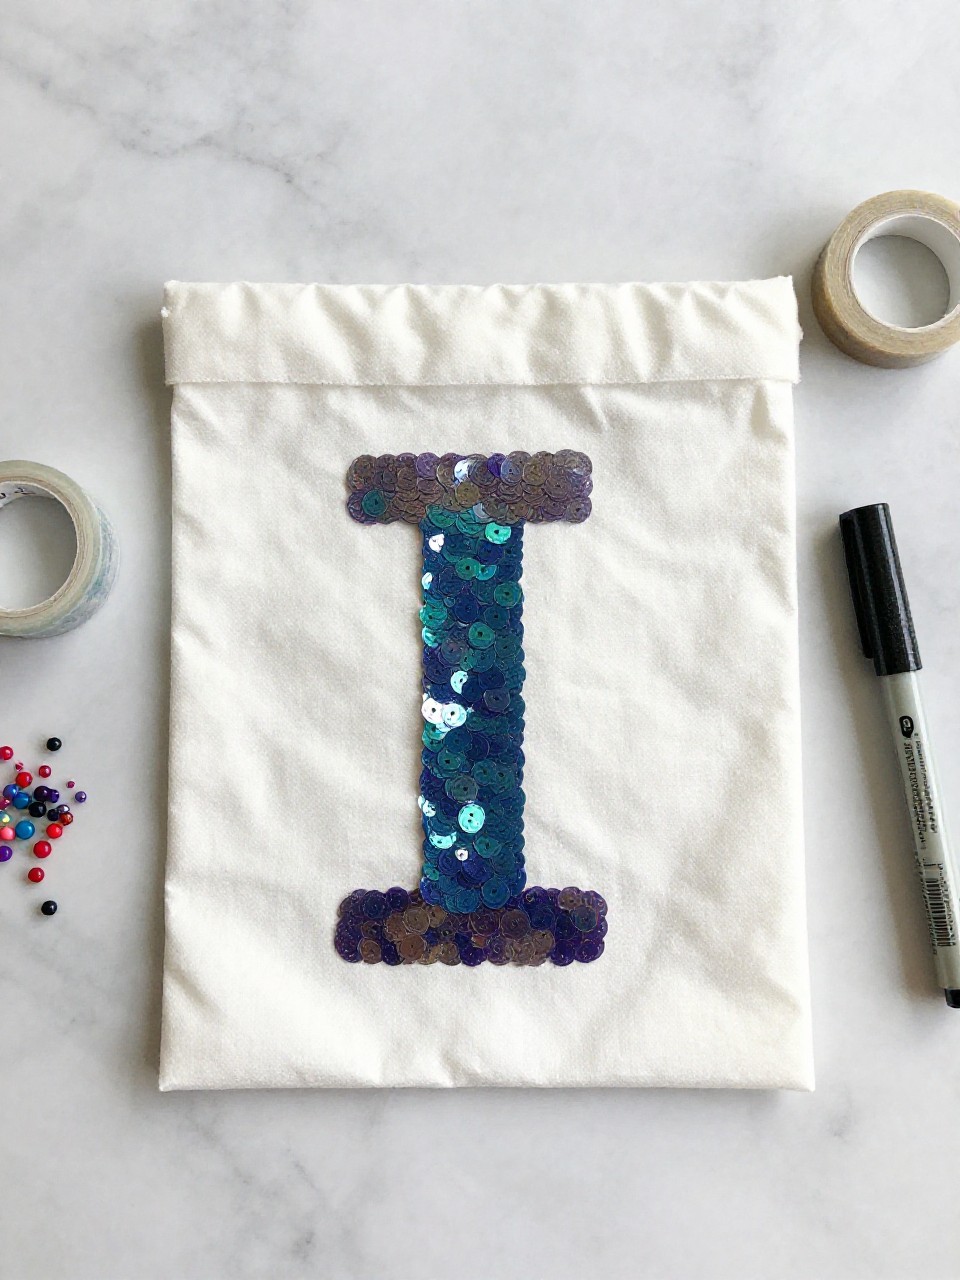
This is a clear gel bag with tiny letter I items and confetti inside that kids can squish and search through. It’s calming, mess-free, and great for fine motor play.
Materials Needed:
- Resealable plastic bag (quart)
- Clear hair gel
- Small letter I beads or paper I confetti
- Sequins
- Tape for sealing edges
How to make it:
- 1. Fill the bag with clear gel until it’s half full.
- 2. Add small I beads, paper I shapes, and sequins.
- 3. Press out air, seal, and tape edges for safety.
- 4. Place on a table for “I spy” squishing and searching.
12. Itty-Bitty I Inchies Quilt
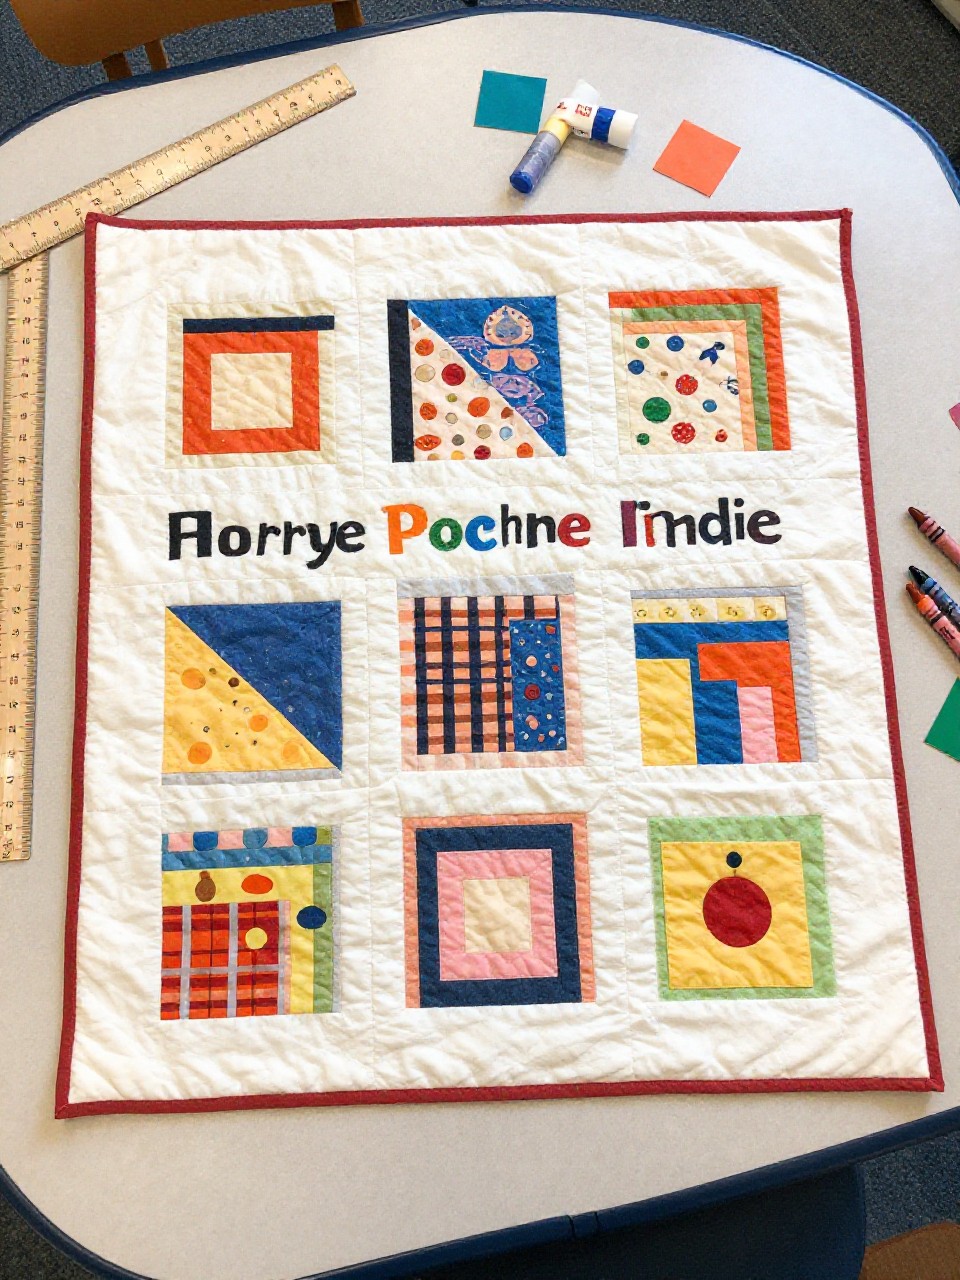
This looks like a patchwork poster of 1-inch squares, each decorated with mini images of I-things (ice, iguana, igloo) around a big center I. Kids enjoy drawing tiny pictures and building a “quilt” together.
Materials Needed:
- Large cardstock or poster board
- Colored paper for 1-inch squares
- Markers or crayons
- Glue stick
- Ruler
How to make it:
- 1. Draw and cut many 1-inch squares; draw a large I in the poster center.
- 2. Kids decorate each square with small I-themed doodles.
- 3. Glue squares in a grid around the big I.
- 4. Let it dry flat and hang like a class quilt.
13. Ice Pop Sponge Stamps Letter I
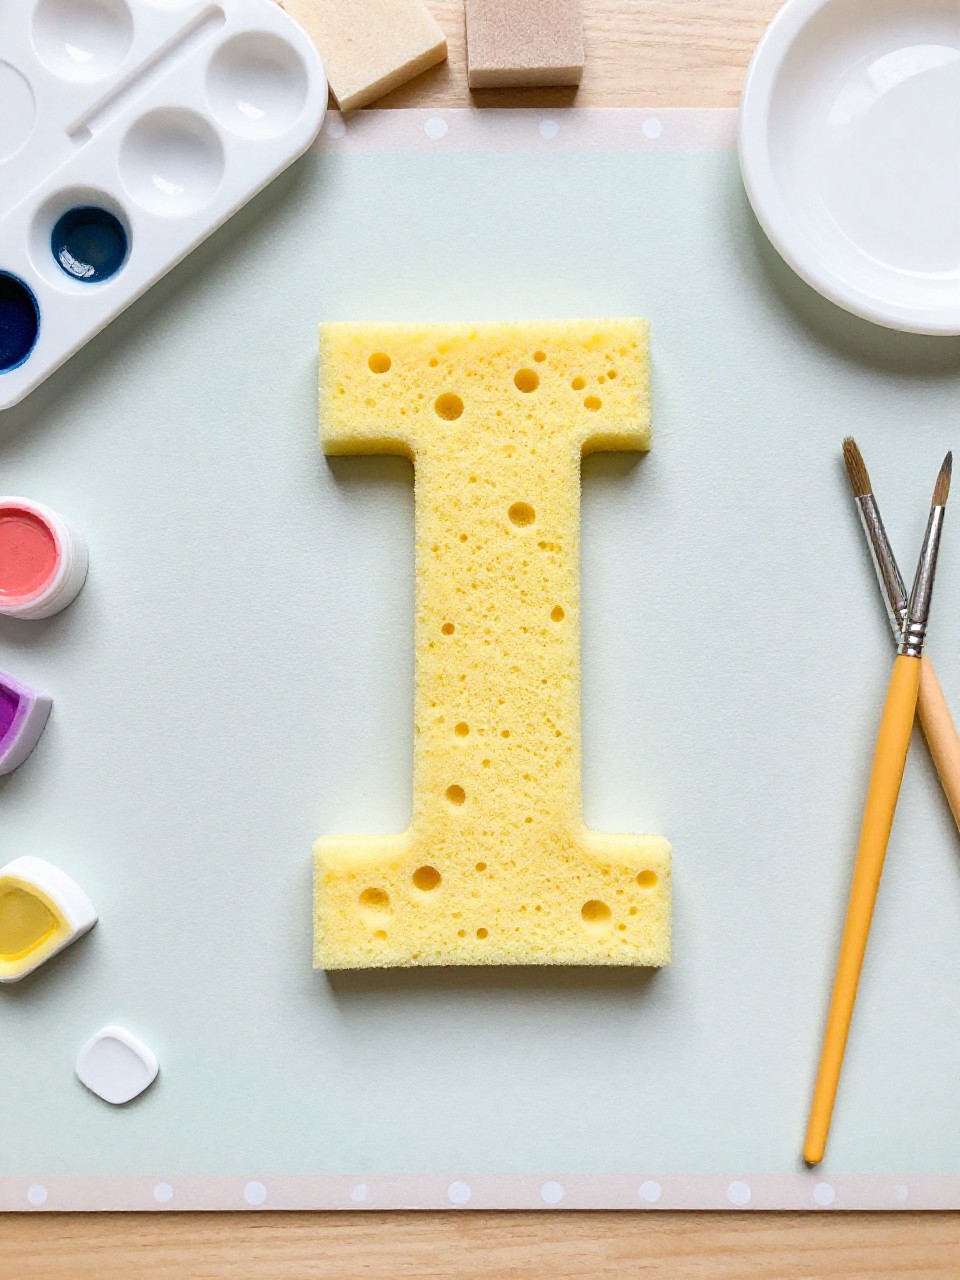
This craft shows rows of stamped ice pops shaped like the letter I using sponge stamps and bright paint. Kids love the quick stamping and seeing a pattern form.
Materials Needed:
- Clean sponge
- Scissors
- Washable paint
- Paper plates (for palettes)
- White cardstock
How to make it:
- 1. Cut the sponge into a simple I shape and a small rectangle for a stick.
- 2. Dip the I stamp in paint and press patterns across the paper.
- 3. Add the small stick stamp under each I pop in brown.
- 4. Let the prints dry, then add faces or sprinkles with marker.
14. I is for Instrument Shaker
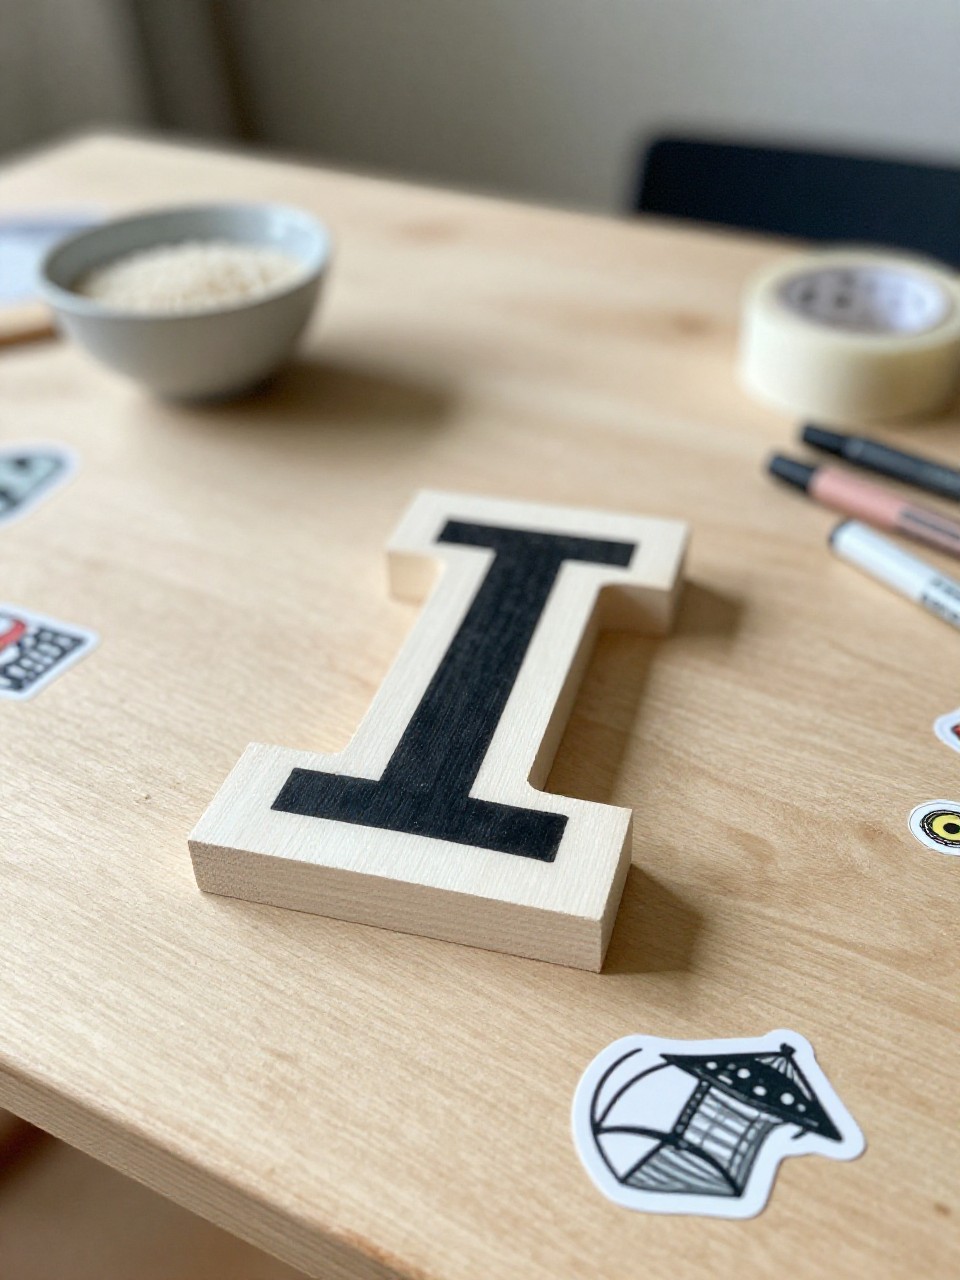
This looks like a tall letter I transformed into a simple musical shaker using a paper tube and rice. Kids love decorating it and then shaking to a beat.
Materials Needed:
- Paper towel tube
- Cardstock for top and bottom bars
- Dry rice or beans
- Tape and glue
- Markers and stickers
How to make it:
- 1. Fill the tube with a small handful of rice; seal both ends with taped cardstock circles.
- 2. Glue long strips and short bars onto the tube to form a capital I silhouette.
- 3. Decorate with markers and stickers, adding “I is for Instrument.”
- 4. Shake gently and enjoy the rhythm.
15. Ice Skates on the Letter I Rink
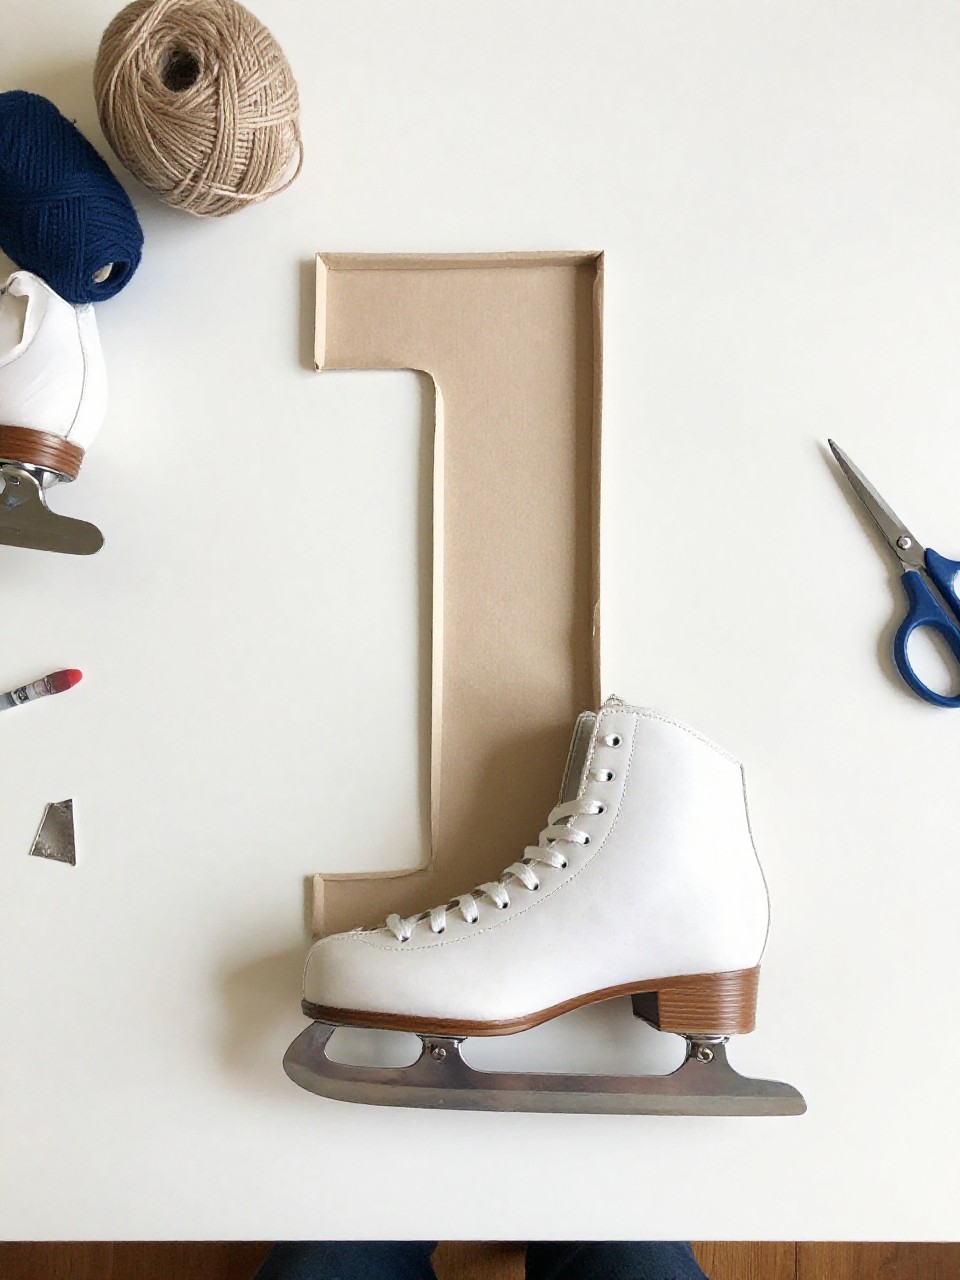
This scene shows a shiny letter I “ice rink” with tiny paper skates that can glide across. Kids enjoy pretending to skate the little shoes and drawing loops on the ice.
Materials Needed:
- Silver or white cardstock
- Blue paper (background)
- Yarn or string (for skate laces)
- Markers
- Glue stick and tape
How to make it:
- 1. Cut a big I from silver/white cardstock and glue it to the blue background.
- 2. Cut two small skate shapes and tape yarn loops as laces.
- 3. Draw simple blades and details with marker; leave skates loose to move.
- 4. Add swirls and stars on the rink, then display or play.