

Table of Contents Show
Spring shows up with muddy shoes and a fistful of flower petals—and kids suddenly want to make everything bright again. The challenge? Finding crafts that look wow without you needing an art degree (or a spotless table).
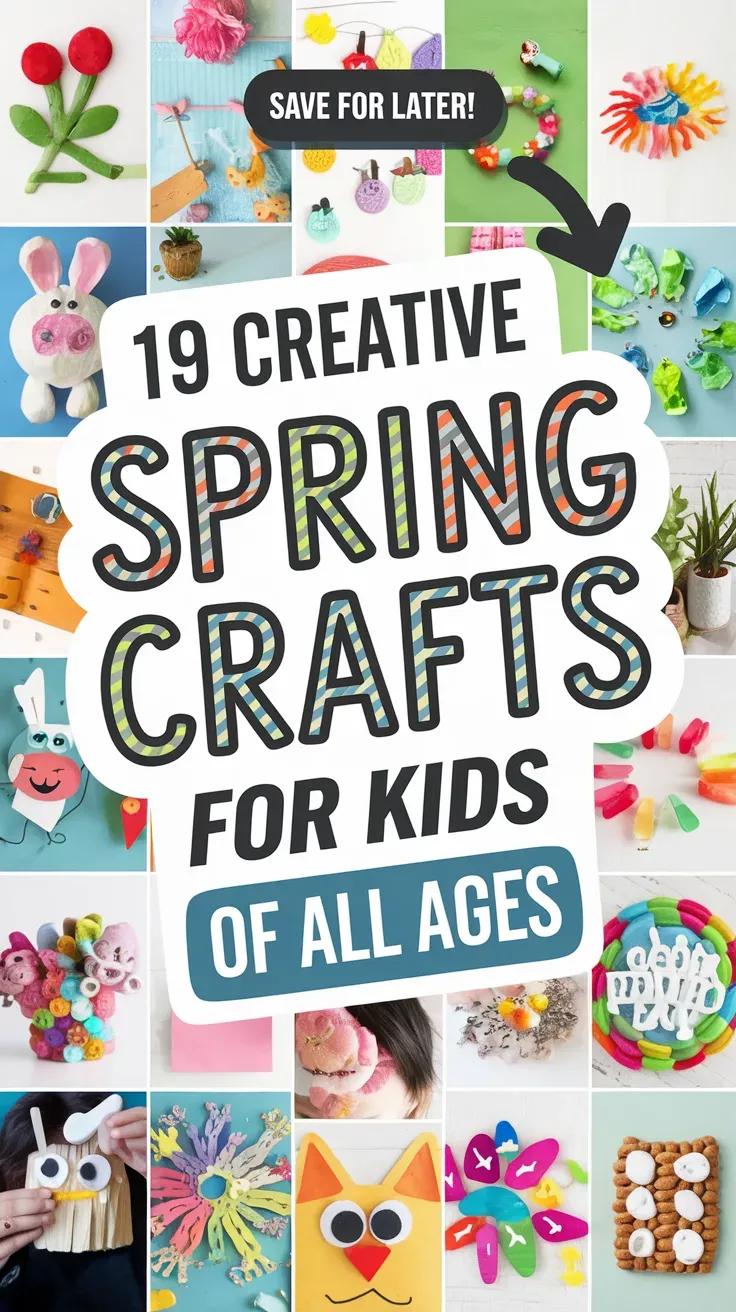
These projects are fresh, quick wins that work for mixed ages and short attention spans. Most use scraps you already have, and each one finishes in under an hour so you can get back outside before the sunshine fades.
1. Raindrop Window Gel Clings

Squishy, translucent gel clings in raindrop and cloud shapes make windows look like a spring shower. They peel off cleanly and re-stick, and kids love designing tiny umbrellas and hearts in bright colors.
Materials Needed:
- Clear school glue
- Food coloring
- Baking sheet + plastic wrap
How to make it:
For People Who Love to Make Things ✂️
- 1. Line a baking sheet with plastic wrap.
- 2. Mix glue with 1–2 drops of food coloring in small cups.
- 3. Pour colored glue into raindrop, cloud, and heart shapes on the lined sheet.
- 4. Let dry 24–36 hours, peel, and stick to windows.
2. Pressed-Petal Sun Catchers

Delicate, see-through circles of petals and leaves glow like stained glass. The finished pieces spin gently in the breeze and make any window feel like a tiny gallery.
Materials Needed:
- Clear contact paper
- Flat flower petals/leaves (pressed in a book overnight)
- Scissors or circle template
How to make it:
- 1. Cut two matching circles of contact paper.
- 2. Peel backing from one circle and arrange petals/leaves on the sticky side.
- 3. Seal with the second circle, sticky sides together.
- 4. Trim edges and punch a hole to hang with string.
3. Watercolor Coffee-Filter Butterflies

Soft, dreamy wings bloom with color in minutes. Clip them to plants, pencil cups, or curtains for a flutter of spring indoors.
Materials Needed:
- White coffee filters
- Washable markers
- Pipe cleaners
How to make it:
- 1. Flatten coffee filters and color with markers in patches and stripes.
- 2. Spritz lightly with water to blend the colors; let dry.
- 3. Accordion-fold each filter and pinch the middle.
- 4. Twist a pipe cleaner around the center to make the body and antennae.
4. Seed Paper Confetti Hearts
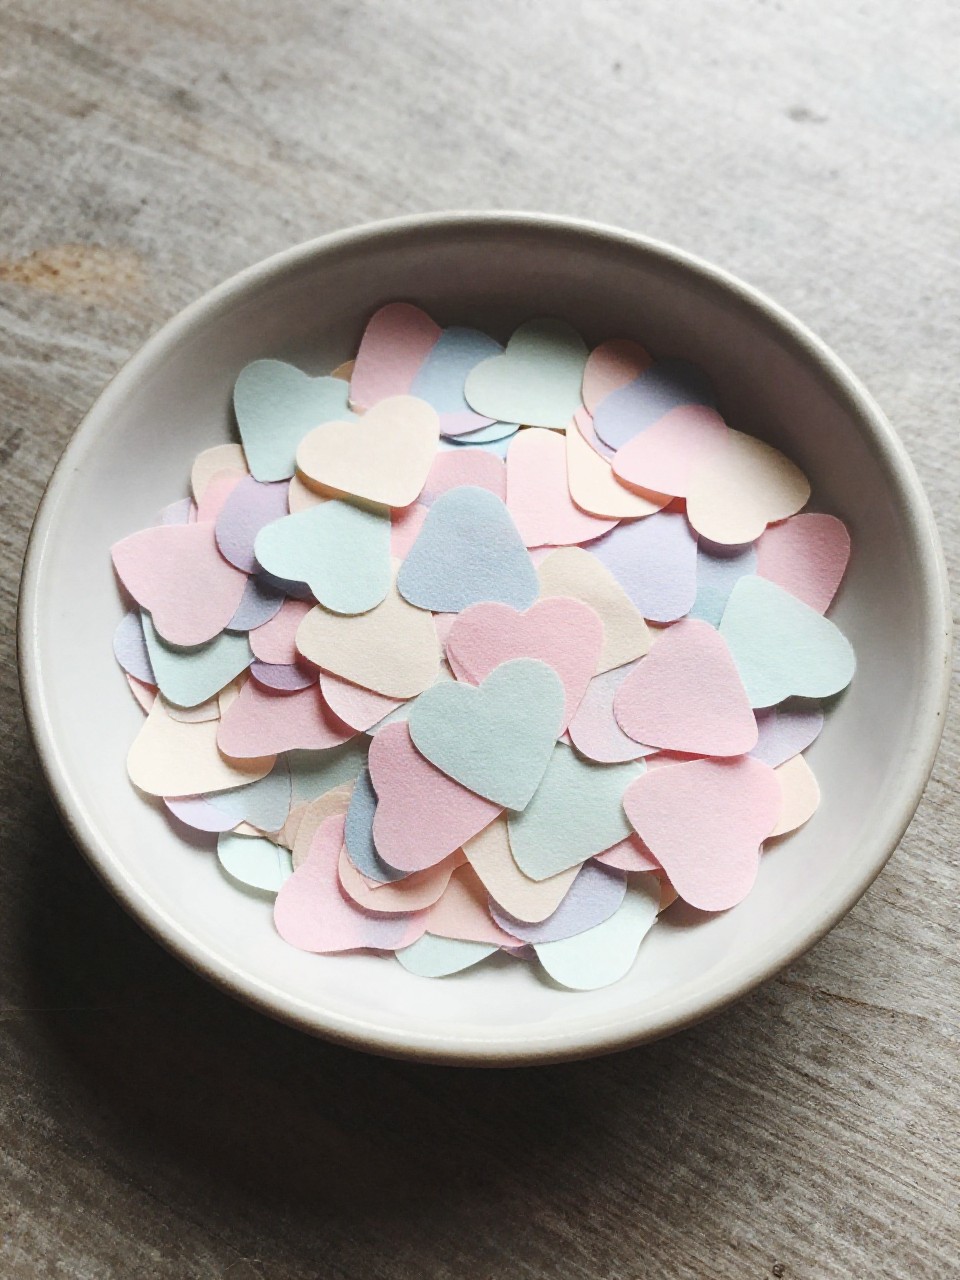
Plantable paper hearts that sprout wildflowers feel like tiny promises. They look sweet in a jar, as gift toppers, or tossed in the garden.
Materials Needed:
- Scrap paper (light colors)
- Wildflower seeds
- Blender
How to make it:
- 1. Tear paper into bits, soak in warm water 20 minutes, then blend into a pulp.
- 2. Stir in a spoonful of seeds.
- 3. Press pulp into a thin sheet on a towel; blot well.
- 4. When almost dry, cut heart shapes and finish drying overnight.
5. Painted Rock Garden Friends

Smooth stones become tiny bees, ladybugs, and snails that tuck into potted plants. They’re satisfyingly simple and charming on a doorstep.
Materials Needed:
- Smooth rocks
- Acrylic paint + small brush
- Clear sealer (optional)
How to make it:
- 1. Wash and dry rocks.
- 2. Paint base colors (yellow for bees, red for ladybugs) and let dry.
- 3. Add stripes, dots, wings, and eyes with a fine brush.
- 4. Seal if desired for outdoor use.
6. Bubble Wrap Blossom Prints
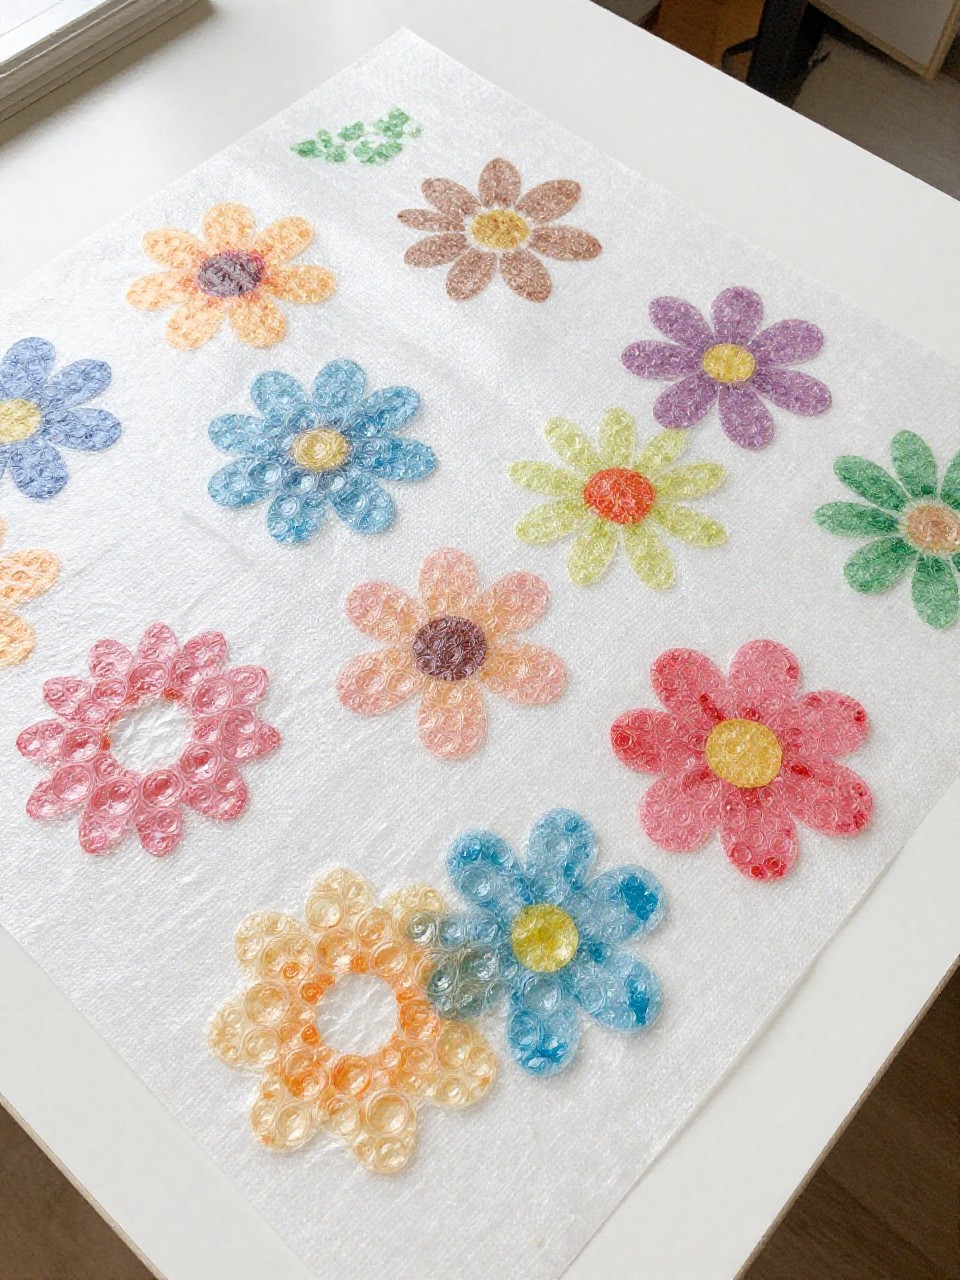
Crisp, modern flower prints from bubble wrap look like designer art. Popping a few bubbles is part of the fun.
Materials Needed:
- Bubble wrap
- Washable paint
- Cardstock
How to make it:
- 1. Cut bubble wrap into circle and leaf shapes.
- 2. Paint the bumpy side with bright colors.
- 3. Press painted bubble wrap onto cardstock to print.
- 4. Layer prints for flowers, add stems with a brush or marker.
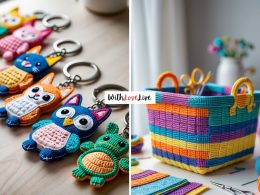
7. Nature Weaving Loom

A simple cardboard loom turns twigs, grasses, and ribbon scraps into earthy wall art. The mix of textures feels calm and beautifully wild.
Materials Needed:
- Cardboard rectangle
- Yarn or string
- Collected nature bits (twigs, leaves, grasses)
How to make it:
- 1. Cut notches across the top and bottom of the cardboard.
- 2. Wrap yarn vertically through notches to create warp strings.
- 3. Weave twigs, leaves, and ribbon over-under across the loom.
- 4. Tie off back strings and add a stick hanger.
8. Citrus Peel Stamped Garlands

Snappy citrus stamps make playful, modern patterns on paper flags. The garland smells fresh while you work and looks like sunshine.
Materials Needed:
- Orange or lemon peels (cut into shapes)
- Washable paint
- Paper and string
How to make it:
- 1. Cut clean peel pieces into simple shapes (half circles, leaves).
- 2. Brush paint onto the peels as stamps.
- 3. Press onto small paper rectangles to make patterned flags.
- 4. Punch holes and string up as a garland.
9. Melted Crayon Flower Frames

Crayon shavings melt into glassy petals that frame a photo like a mini meadow. The colors blend in magical swirls.
Materials Needed:
- Crayon shavings
- Wax paper
- Frame with mat (or cardstock window)
How to make it:
- 1. Sprinkle crayon shavings between two sheets of wax paper.
- 2. Adult: Lightly iron on low heat with a towel on top to melt.
- 3. Cut the melted sheet into petal shapes or a floral ring.
- 4. Tape behind a frame mat and add a small photo in the center.
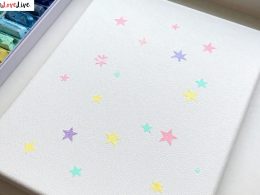
10. Dotted Q-Tip Meadow Painting
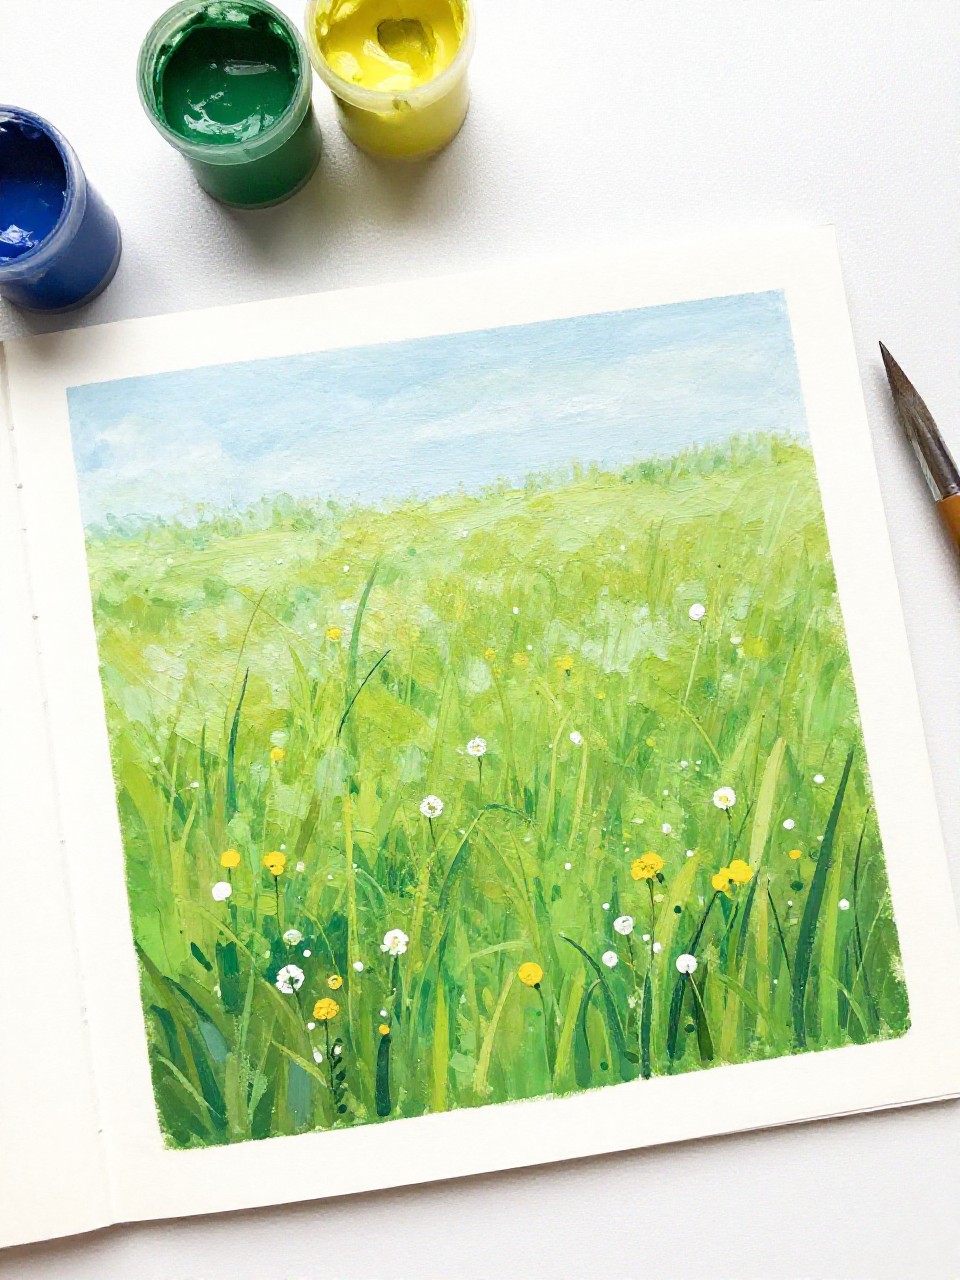
Hundreds of tiny paint dots build a dreamy spring field fast. Even beginners get a pointillist look that feels fancy.
Materials Needed:
- Q-tips
- Acrylic or tempera paint
- Thick paper or canvas board
How to make it:
- 1. Dip Q-tips in paint and dot along the bottom in shades of green.
- 2. Add dotted flowers above in pinks, yellows, and whites.
- 3. Blend sky with pale blue dots at the top.
- 4. Let dry and sign your masterpiece.
11. Spring Shadow Silhouette Jars

Soft silhouettes glow against tissue-paper skies in upcycled jars. At night, they become tiny lanterns full of birds and blooms.
Materials Needed:
- Clean glass jar
- Tissue paper + Mod Podge/glue
- Black paper shapes (birds, flowers)
How to make it:
- 1. Brush glue on the jar and layer tissue paper for a sunset or sky.
- 2. Cut simple black shapes and glue them to the outside.
- 3. Seal with a thin coat of glue.
- 4. Drop in a battery tea light to glow.
12. Yarn-Wrapped Rainbow Wreath

Chunky yarn makes a soft rainbow ring that looks boutique but is easy enough for little hands. It brightens a door in minutes.
Materials Needed:
- Cardboard wreath ring
- Assorted yarn colors
- Tape or hot glue (adult assist)
How to make it:
- 1. Cut a ring from cardboard.
- 2. Tape a yarn end to the back and wrap snugly in color sections.
- 3. Tuck or glue ends on the back as you switch colors.
- 4. Add a loop to hang and a paper cloud if you like.
13. Rainstick From Recycled Tube
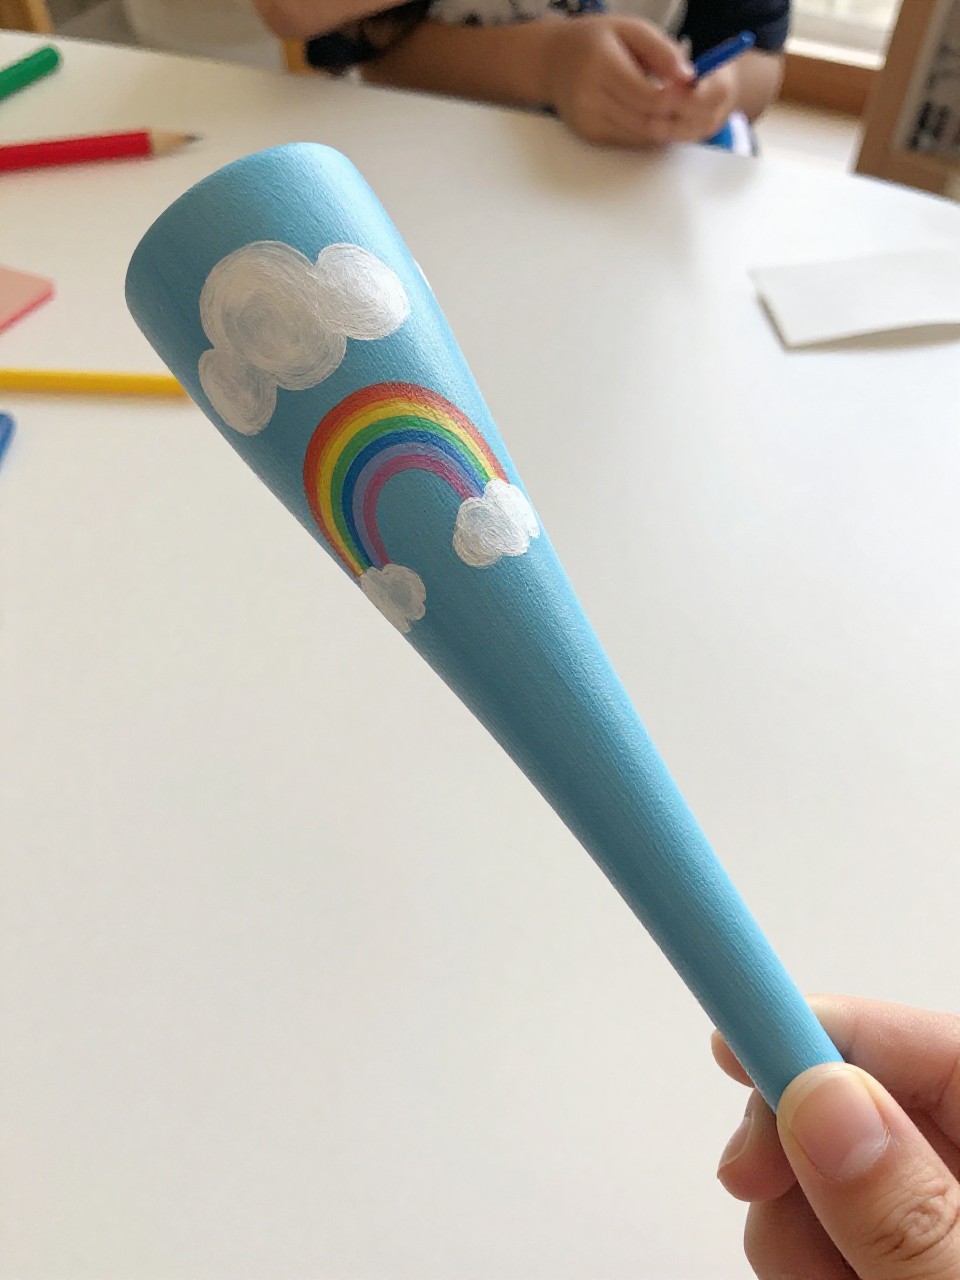
A soothing spring-sound maker decorated like a storm-to-sun rainbow. The gentle patter feels like real rain in your hands.
Materials Needed:
- Cardboard mailing tube or paper towel tube
- Aluminum foil
- Dry rice or beans
How to make it:
- 1. Spiral-crumple a long foil snake and slide it into the tube.
- 2. Tape or cap one end, pour in a small handful of rice/beans.
- 3. Seal the other end.
- 4. Paint or wrap with paper and add cloud and sun stickers.
14. Egg Carton Wildflower Crown
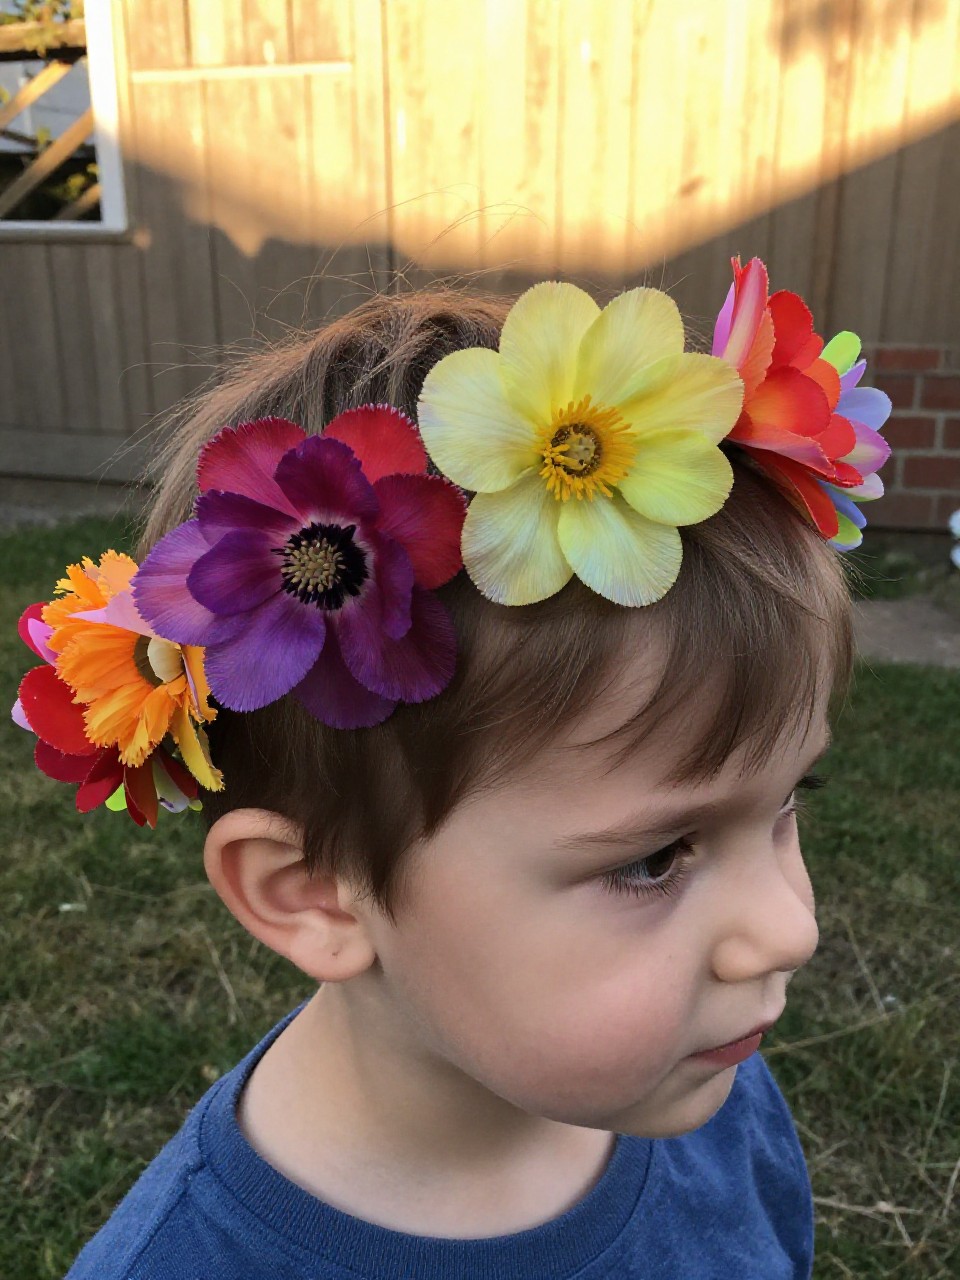
Textured egg cups transform into bold, sculptural blooms for a wearable garden crown. It looks fancy but it’s mostly paint and glue.
Materials Needed:
- Cardboard egg carton
- Acrylic paint
- Ribbon or elastic
How to make it:
- 1. Cut egg cups into petal shapes and paint in flower colors; dry.
- 2. Glue flowers onto a ribbon or elastic strip, overlapping slightly.
- 3. Add painted leaves cut from carton scraps.
- 4. Tie to fit and wear to the backyard parade.
15. Secret Garden Story Stones
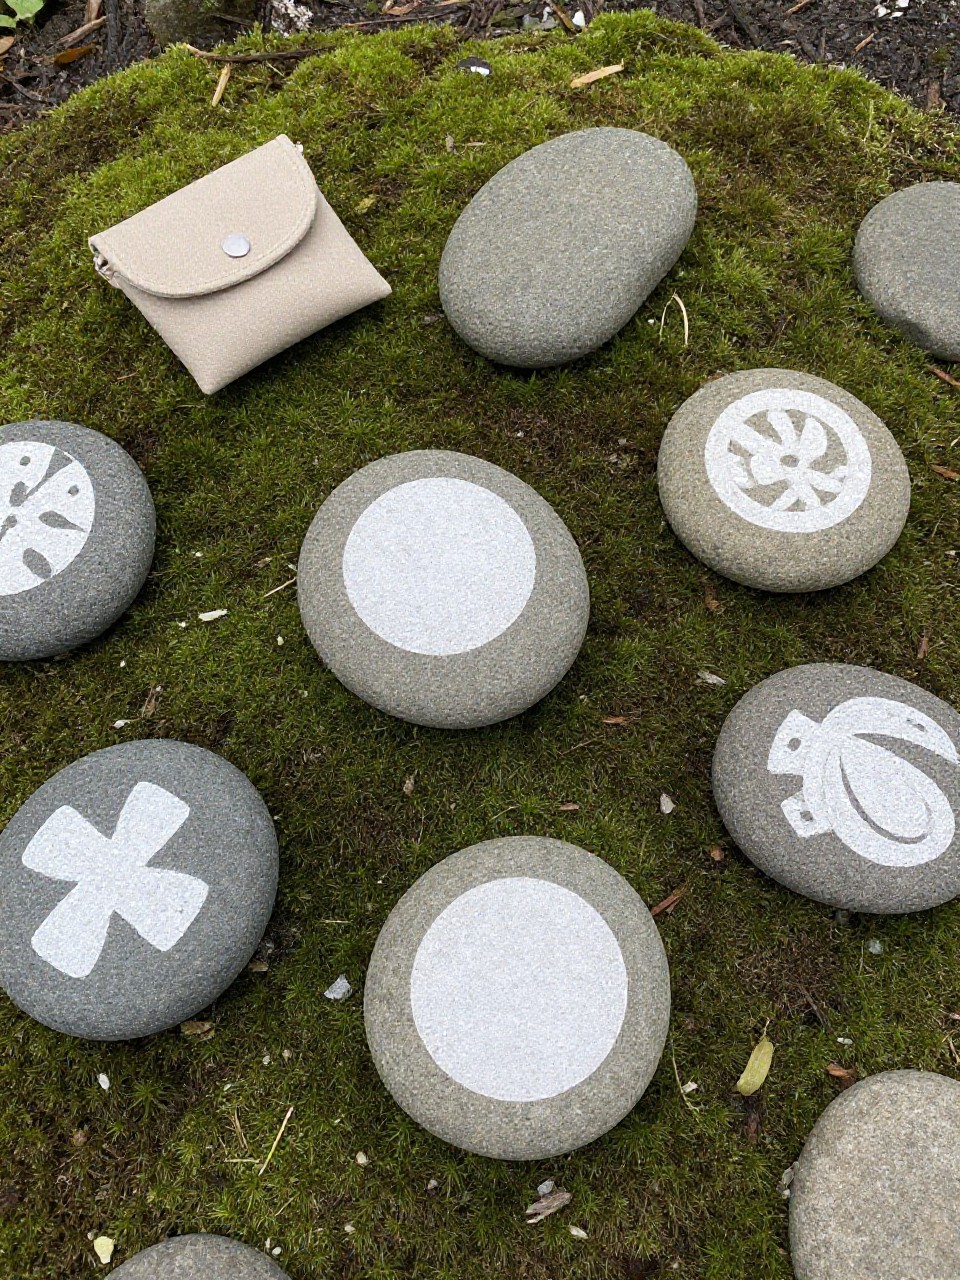
Hand-painted stones with simple icons spark endless spring tales. Butterflies meet mushrooms, snails, and tiny cottages in pocket-sized scenes.
Materials Needed:
- Smooth stones
- Paint pens or acrylic paint
- Small pouch or tin
How to make it:
- 1. Wash and dry stones.
- 2. Draw simple symbols: sun, cloud, flower, bee, nest, cottage.
- 3. Outline and add tiny details with a fine pen.
- 4. Seal if desired and store in a pouch for storytelling.
16. Botanical Cyanotype Look-Alikes

Get the dreamy cyanotype vibe without chemicals using paint and silhouettes. The crisp white leaf shapes pop against deep sky blues.
Materials Needed:
- Blue acrylic paint (varied shades)
- Leaves/ferns for tracing
- Thick paper
How to make it:
- 1. Paint the paper in blended blues; let dry.
- 2. Place leaves on top and lightly trace outlines.
- 3. Fill the space around leaves with a second coat of blue, leaving shapes white.
- 4. Splatter a few white dots for “sun specks.”
17. Paper Strip Tulip Pop-Ups
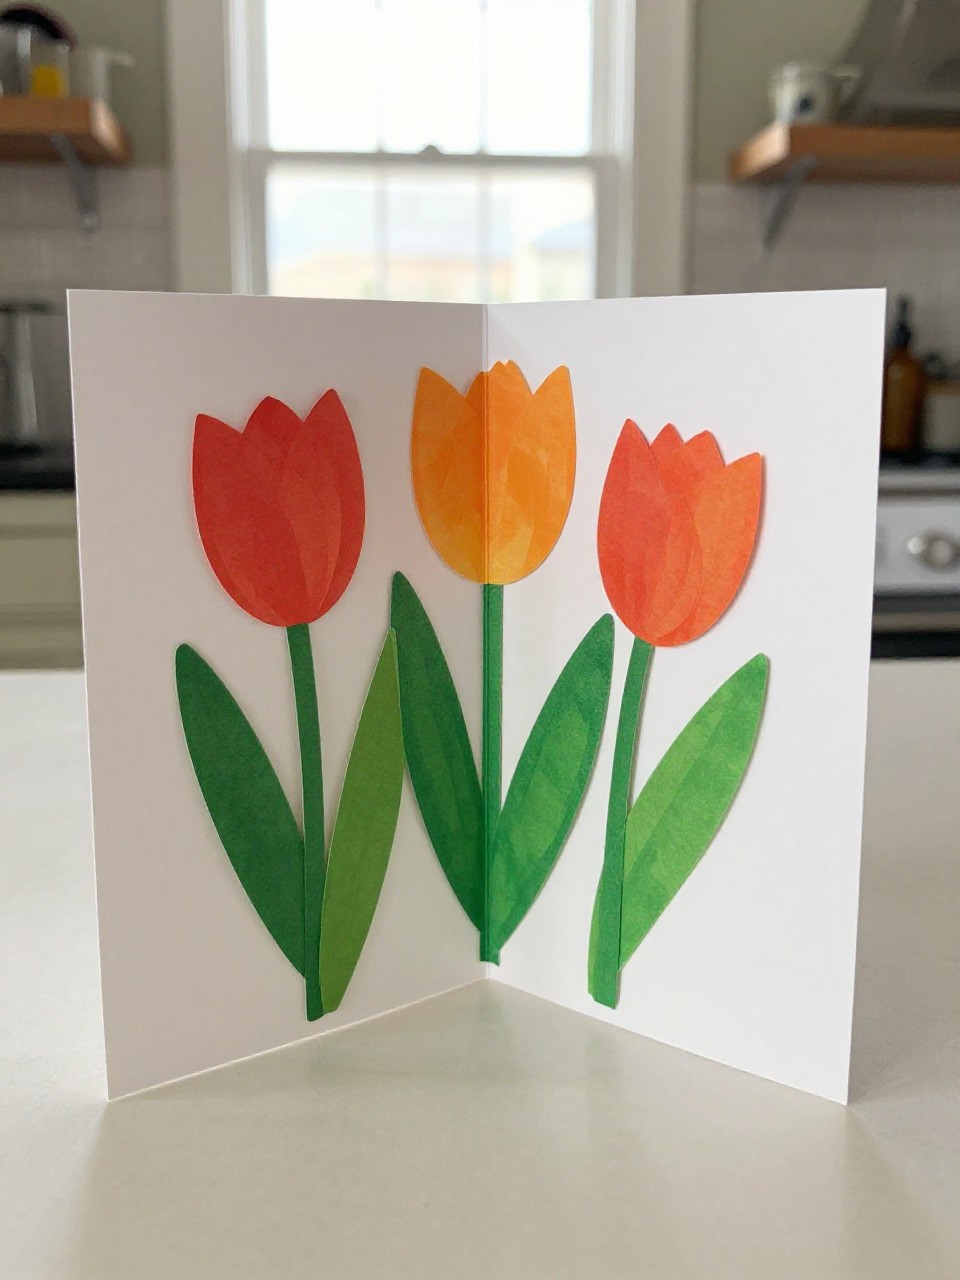
A few folded strips become bold, 3D tulips that spring off the page. They look engineered, but kids can build them fast.
Materials Needed:
- Colored paper
- Glue stick
- Scissors
How to make it:
- 1. Cut three equal paper strips for petals and one thinner strip for stem.
- 2. Glue the ends of each petal strip to form three arches.
- 3. Glue arches together at the base and add the stem and leaves.
- 4. Mount on a contrasting background card.
18. Feather-Soft Dandelion Prints

A fork and a dot of paint make fluff-perfect dandelion heads. The gentle, airy look feels like a wish caught on paper.
Materials Needed:
- Fork
- White paint + colored background paper
- Fine-tip marker
How to make it:
- 1. Dip fork tips in white paint.
- 2. Press around a small circle, rotating to create fluffy seeds.
- 3. Draw a thin stem and a few flying seeds with marker.
- 4. Add a light color wash or splatter if desired.
19. Mini Moss Terrarium Worlds

Teeny glass jars become calm green worlds with mossy hills and pebble paths. Kids love arranging tiny scenes and naming their “forests.”
Materials Needed:
- Small clear jar
- Pebbles + a pinch of potting soil
- Sheet moss (store-bought or foraged carefully)
How to make it:
- 1. Add a layer of pebbles to the jar for drainage.
- 2. Sprinkle a thin layer of soil.
- 3. Press in a piece of damp moss; tuck in a pebble “path.”
- 4. Mist lightly and cap; set in bright, indirect light.