

Table of Contents Show
Here are 16 creative, farm-themed crafts that look impressive but are simple enough for little hands. If you’ve ever searched for cute farm projects and ended up with a mess of tiny pieces, tricky steps, or crafts that don’t “wow,” this list is for you.
These projects use easy materials you probably already have and deliver big results—chunky textures, bold shapes, and interactive bits that feel magical to preschoolers.
Pick one for a rainy afternoon or plan a full farm week. Either way, these crafts are easy to set up, quick to clean, and adorable on display.
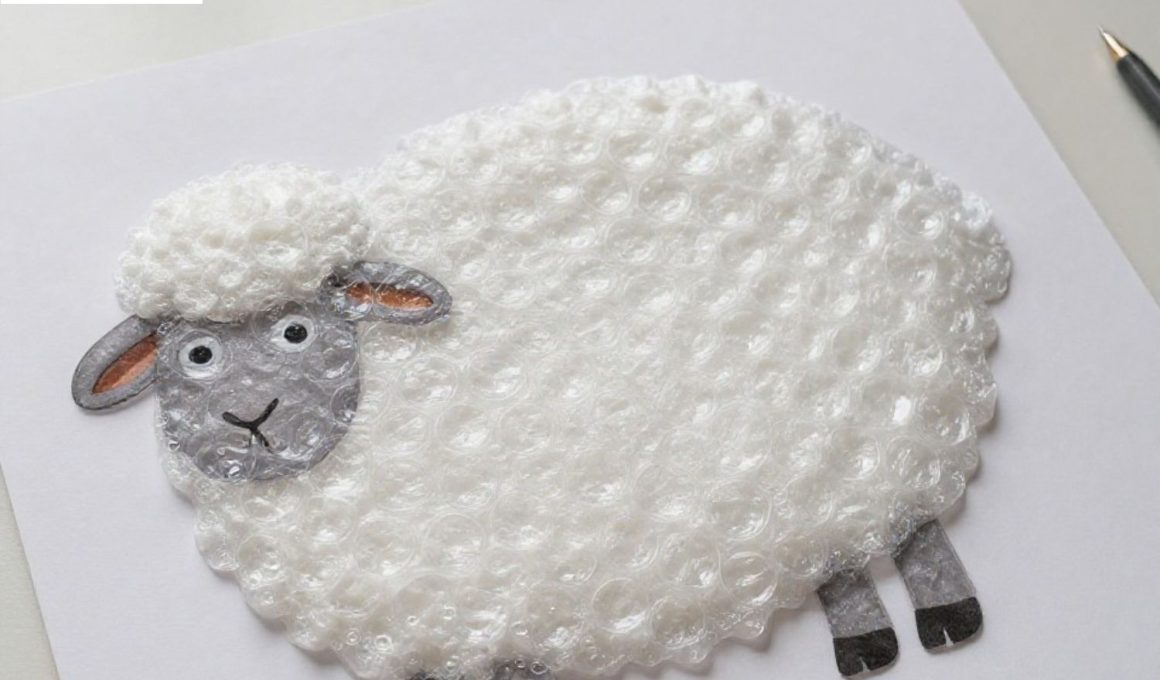
1. Fuzzy Sheep Bubble Wrap Print
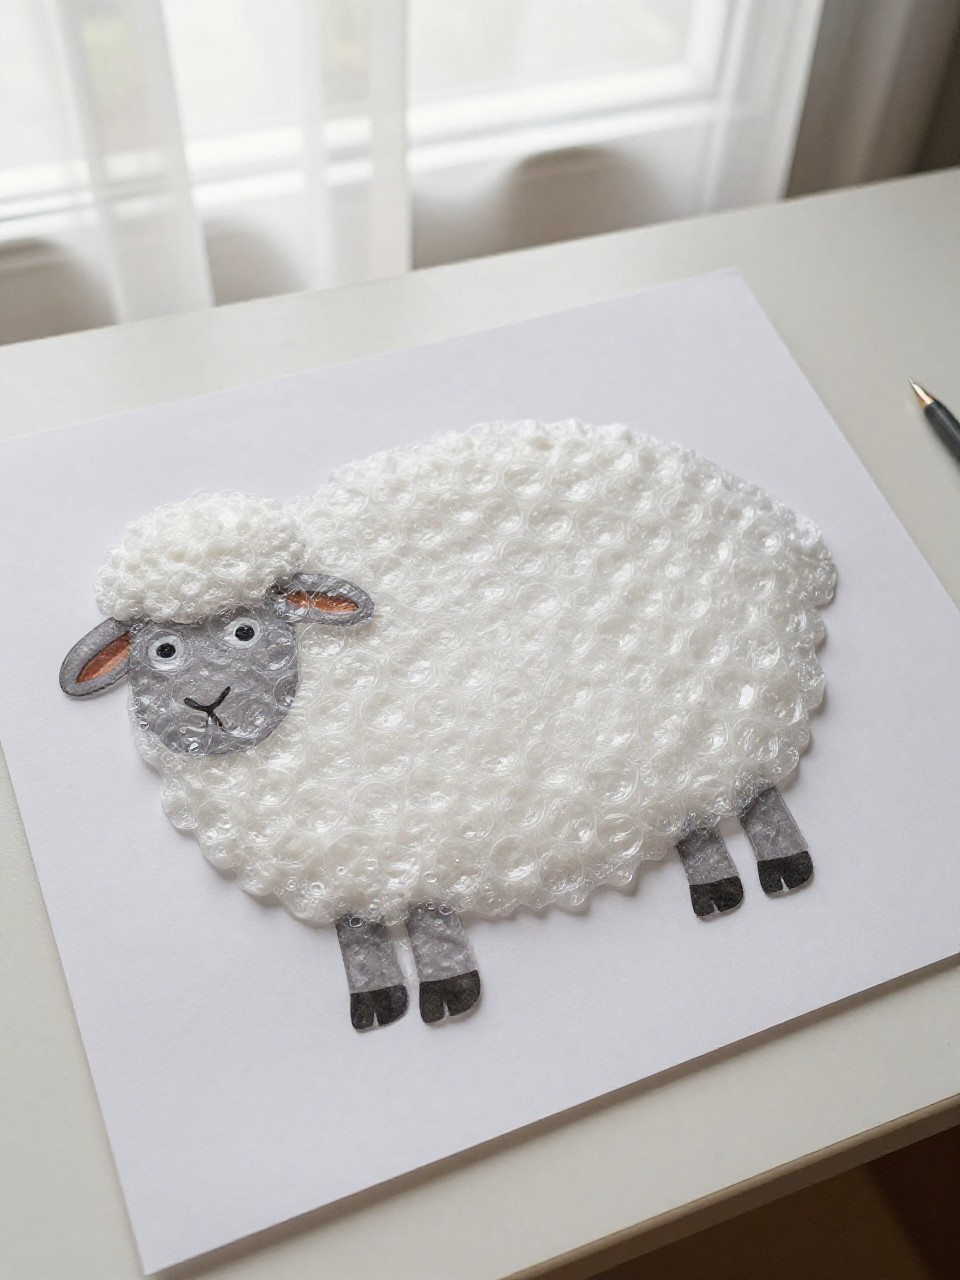
This sheep looks fluffy and artsy thanks to bubble wrap prints that make perfect “wool.” Kids love pressing and popping, and the results look gallery-worthy on the fridge.
Materials Needed:
For People Who Love to Make Things ✂️
- White paint and black paint
- Bubble wrap and paper
- Glue stick
How to make it:
- 1. Paint a small piece of bubble wrap with white paint.
- 2. Press it onto paper to make a bumpy sheep body shape.
- 3. Paint or draw a simple black head and legs next to the wooly body.
- 4. Add a dot for an eye and glue a tiny paper ear.
2. Barn Door Shape Collage
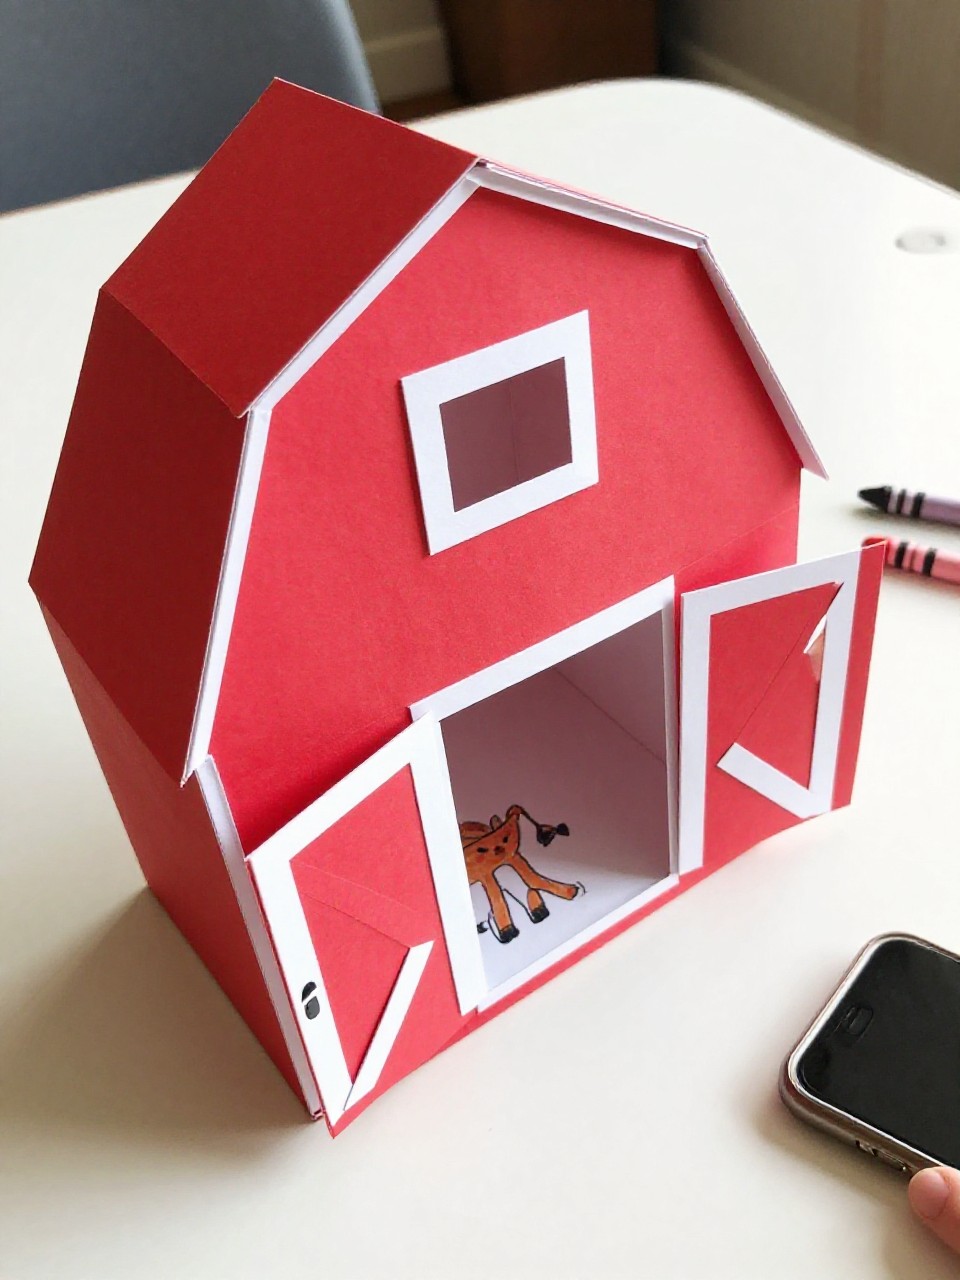
This bold red barn pops off the page with big shapes and a working paper door. Kids practice shapes and fine-motor skills while revealing animals inside.
Materials Needed:
- Red, white, and brown paper
- Scissors and glue
- Crayon or marker
How to make it:
- 1. Cut a large red rectangle (barn) and a brown triangle (roof).
- 2. Glue them onto a background paper.
- 3. Cut two small red rectangles for doors; add white “X” trims with thin strips.
- 4. Glue doors on one edge like flaps; draw or glue a small animal picture inside.
3. Pasta Penne Pig Snout Necklace
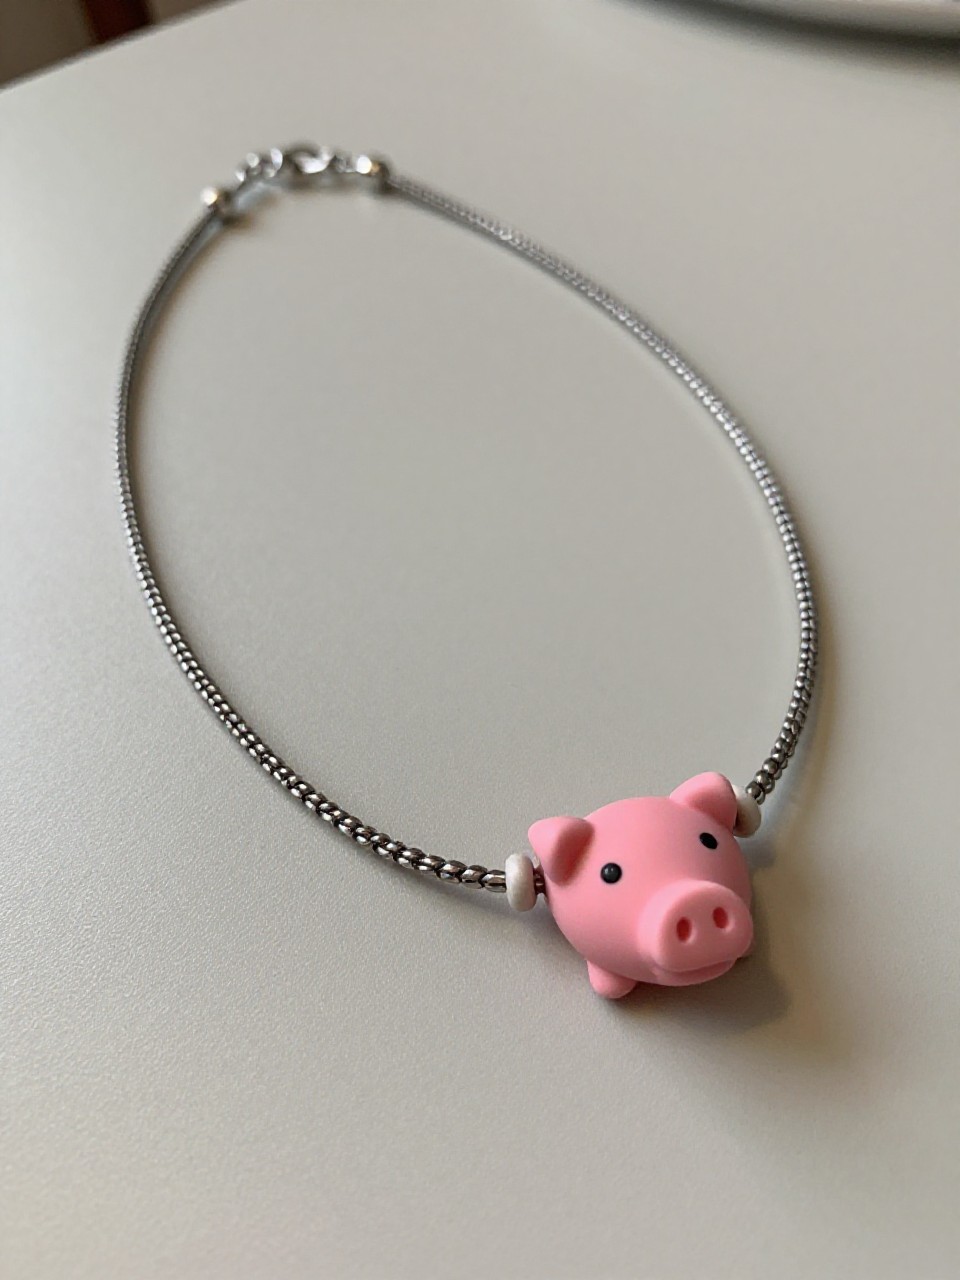
This wearable craft turns pasta into a cute pig snout charm. The chunky beads feel tactile and the painted pink finish looks polished.
Materials Needed:
- Penne pasta and yarn
- Pink paint
- Black marker
How to make it:
- 1. Paint one piece of penne pink and let it dry.
- 2. Use a marker to add two black nostrils on the pasta end.
- 3. String the pasta onto yarn with a few extra beads if you like.
- 4. Tie a knot to make a necklace and oink away.
4. Corn-on-the-Cob Bubble Paint Stamps

Stamp a whole cornfield with bubbly, golden kernels. The texture looks surprisingly real, and kids love the quick-repeat motion.
Materials Needed:
- Bubble wrap and green paper
- Yellow paint
- Glue stick
How to make it:
- 1. Paint a strip of bubble wrap with yellow paint.
- 2. Press it onto white paper to create a long oval of “kernels.”
- 3. Cut two green leaf shapes (husks) and glue them at the base.
- 4. Add a short green paper stem if you like.
5. Haystack Yarn Collage
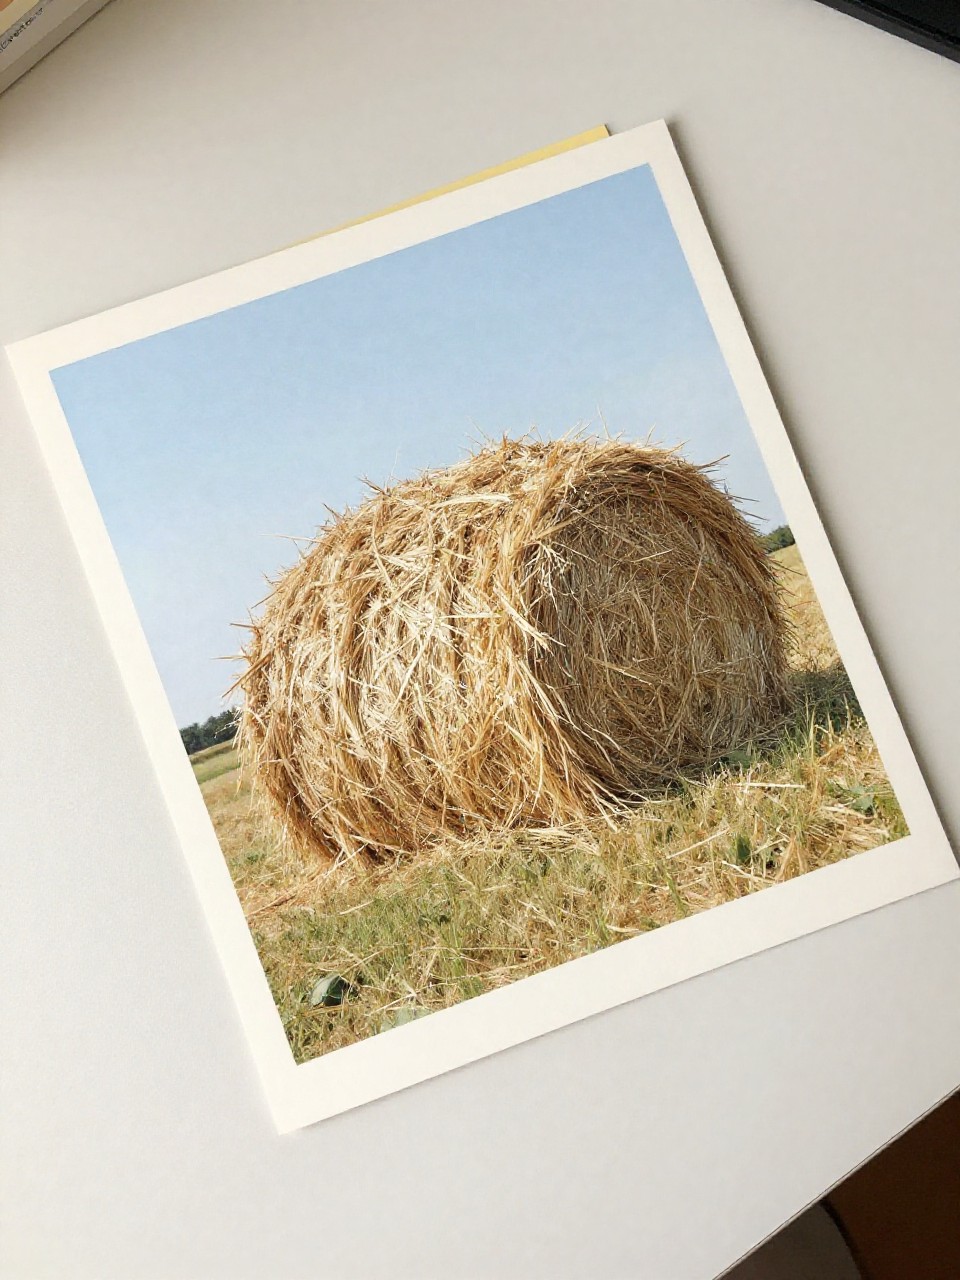
This cozy haystack uses real yarn for a 3D look. It’s a calming, snip-and-stick project with a warm, farmhouse vibe.
Materials Needed:
- Yellow yarn
- Brown paper
- Glue
How to make it:
- 1. Cut a big haystack shape from brown paper and glue it to a background.
- 2. Snip yarn into short pieces.
- 3. Brush glue on the haystack area.
- 4. Sprinkle and press yarn pieces to cover, layering for fluff.
6. Paper Plate Tractor With Rolling Wheel
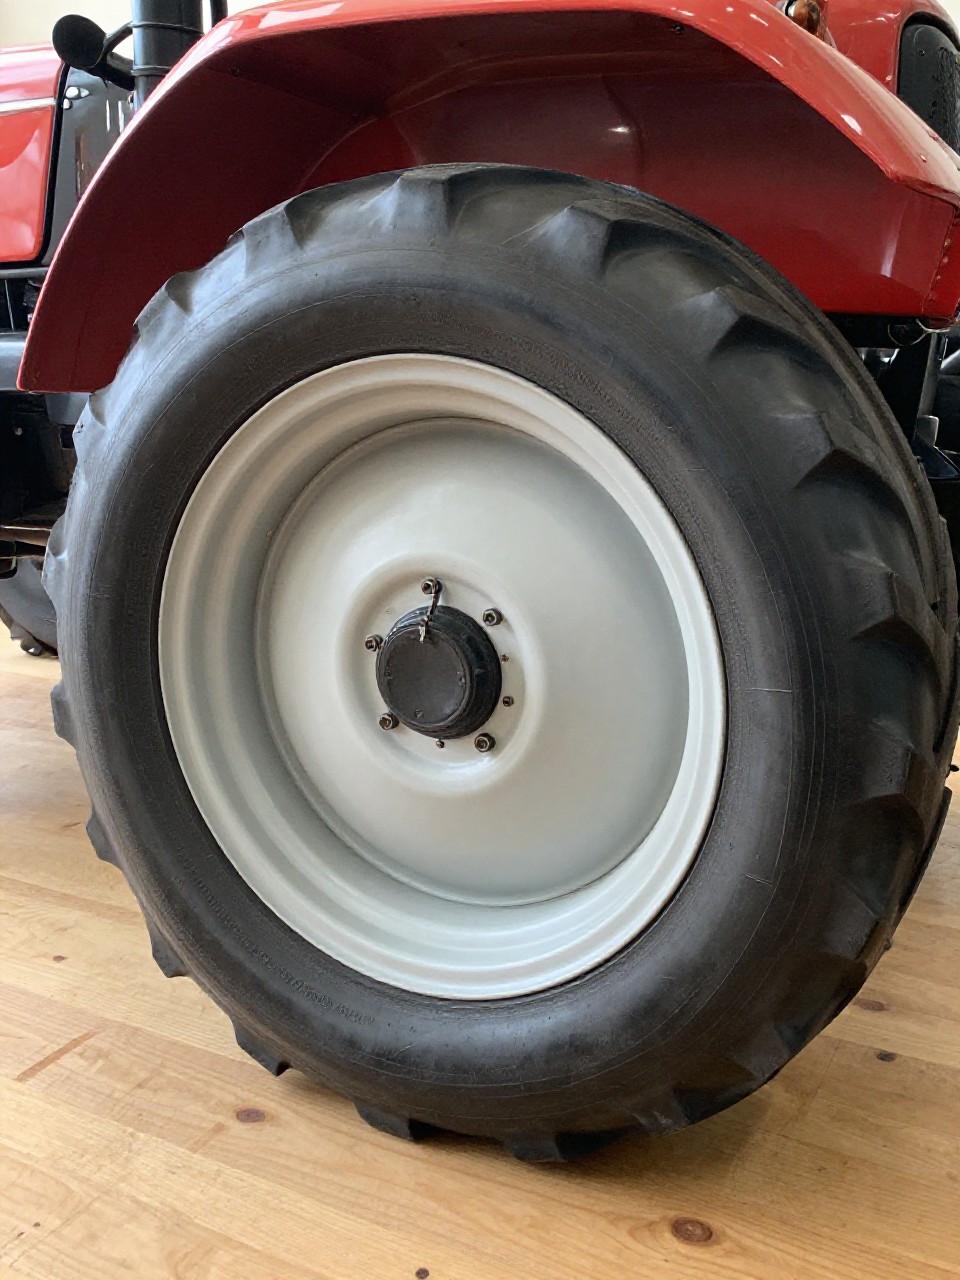
A simple tractor that actually rolls. The big wheel turns with a brad, giving this craft toy-like charm.
Materials Needed:
- Paper plate and colored paper
- Paint or markers
- Brass brad (paper fastener)
How to make it:
- 1. Cut a paper plate in half and paint it green or red for the tractor body.
- 2. Cut one large and one small paper circle for wheels.
- 3. Attach the large wheel to the plate with a brad so it spins; glue the small wheel on.
- 4. Add a paper cab, window, and a black strip for the exhaust.
7. Muddy Pig Finger-Paint Scene

Kids make glossy “mud” and happy pigs with fingerprints. The shine and smudges feel delightfully messy without a big cleanup.
Materials Needed:
- Brown paint and pink paint
- White paper
- Wet wipes
How to make it:
- 1. Finger-paint a patchy brown “mud puddle” on paper.
- 2. Use pink fingerprints to make pig bodies in or near the mud.
- 3. Add tiny dots for snouts and ears with a fingertip.
- 4. Draw eyes and tails with a marker once it’s dry.
8. Corn Kernel Mosaic Rooster
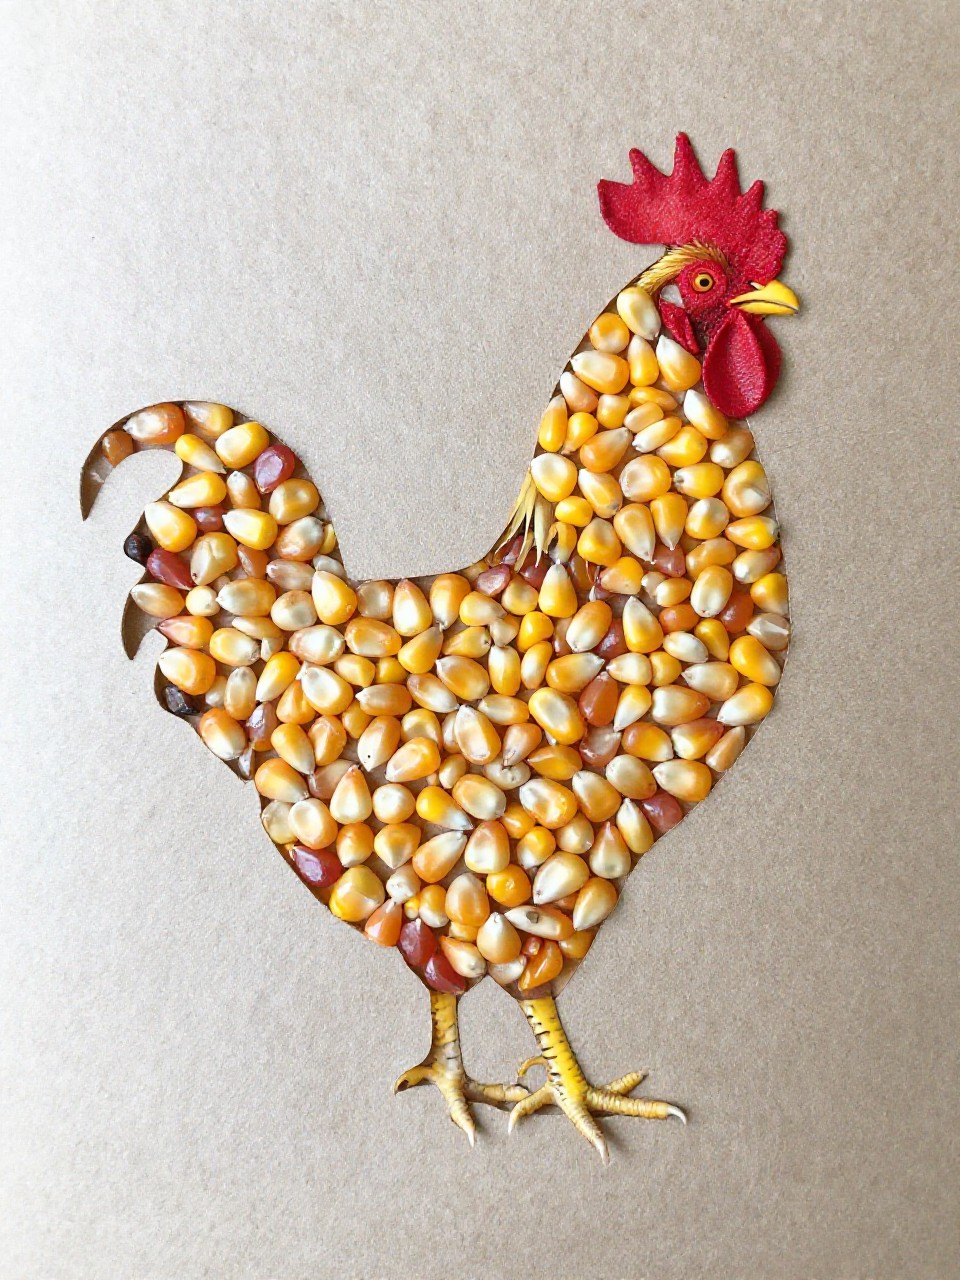
Colored corn kernels make a jewel-like rooster that sparkles in the light. The bold shapes guide kids while the mosaic texture looks fancy.
Materials Needed:
- Dried corn kernels (or colored pasta bits)
- Cardstock
- Glue
How to make it:
- 1. Draw a simple rooster silhouette on cardstock.
- 2. Spread glue in sections (body, tail, comb).
- 3. Press kernels into the glue, using different colors for each part.
- 4. Shake off excess and let it dry flat.
9. Sock and Spoon Horse Puppet
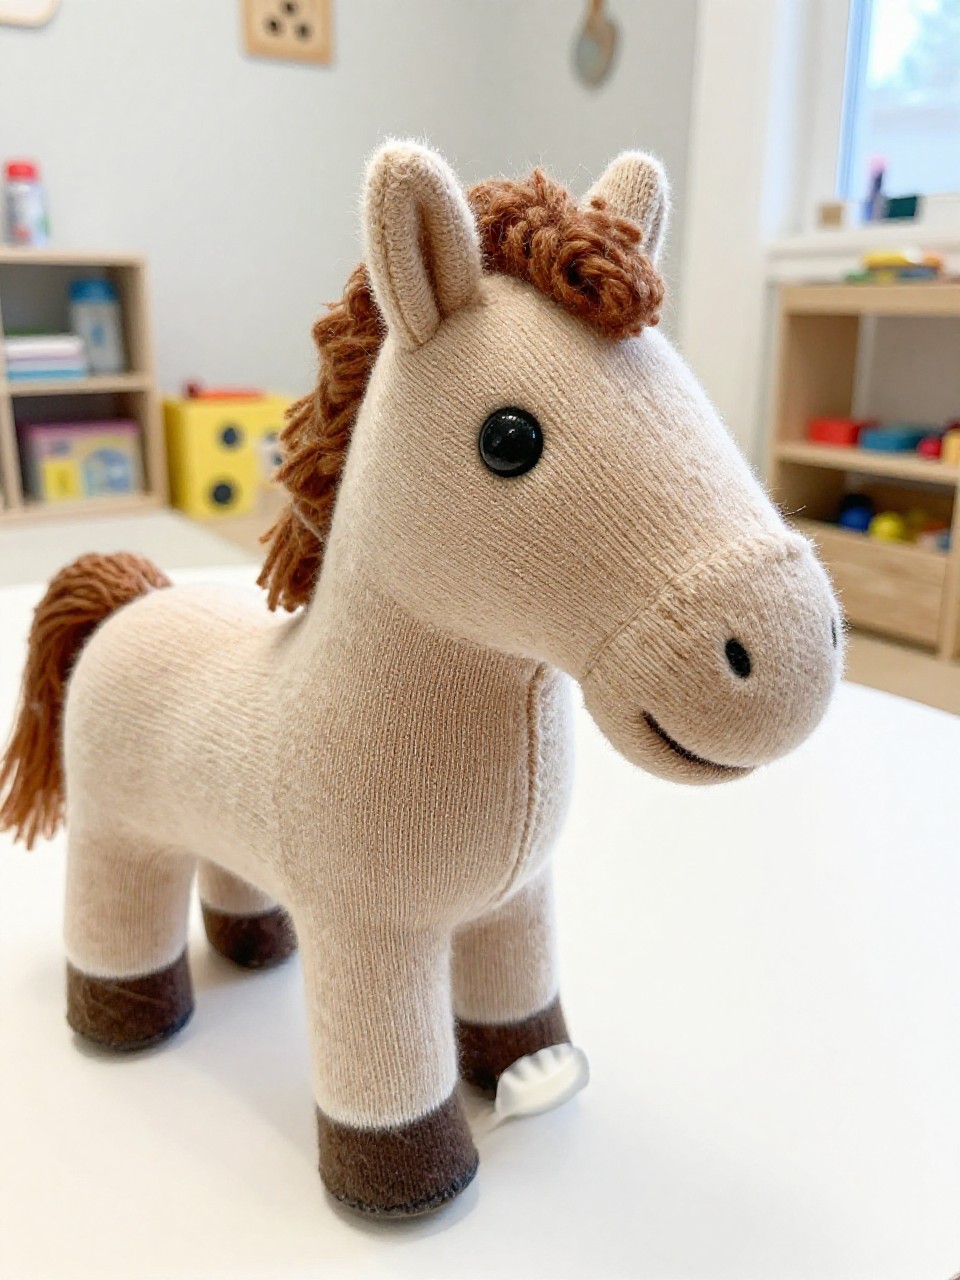
This quick puppet has a bouncy yarn mane and a friendly face. It’s sturdy enough for pretend play and cute enough for a shelf.
Materials Needed:
- Clean sock and plastic spoon
- Yarn
- Glue and markers
How to make it:
- 1. Slip the spoon bowl-first into the sock toe to form the horse head.
- 2. Tie or glue yarn along the top for the mane.
- 3. Draw eyes and nostrils with markers.
- 4. Slip your hand in the sock and trot around.
10. Button Sunflower in a Jar Lid
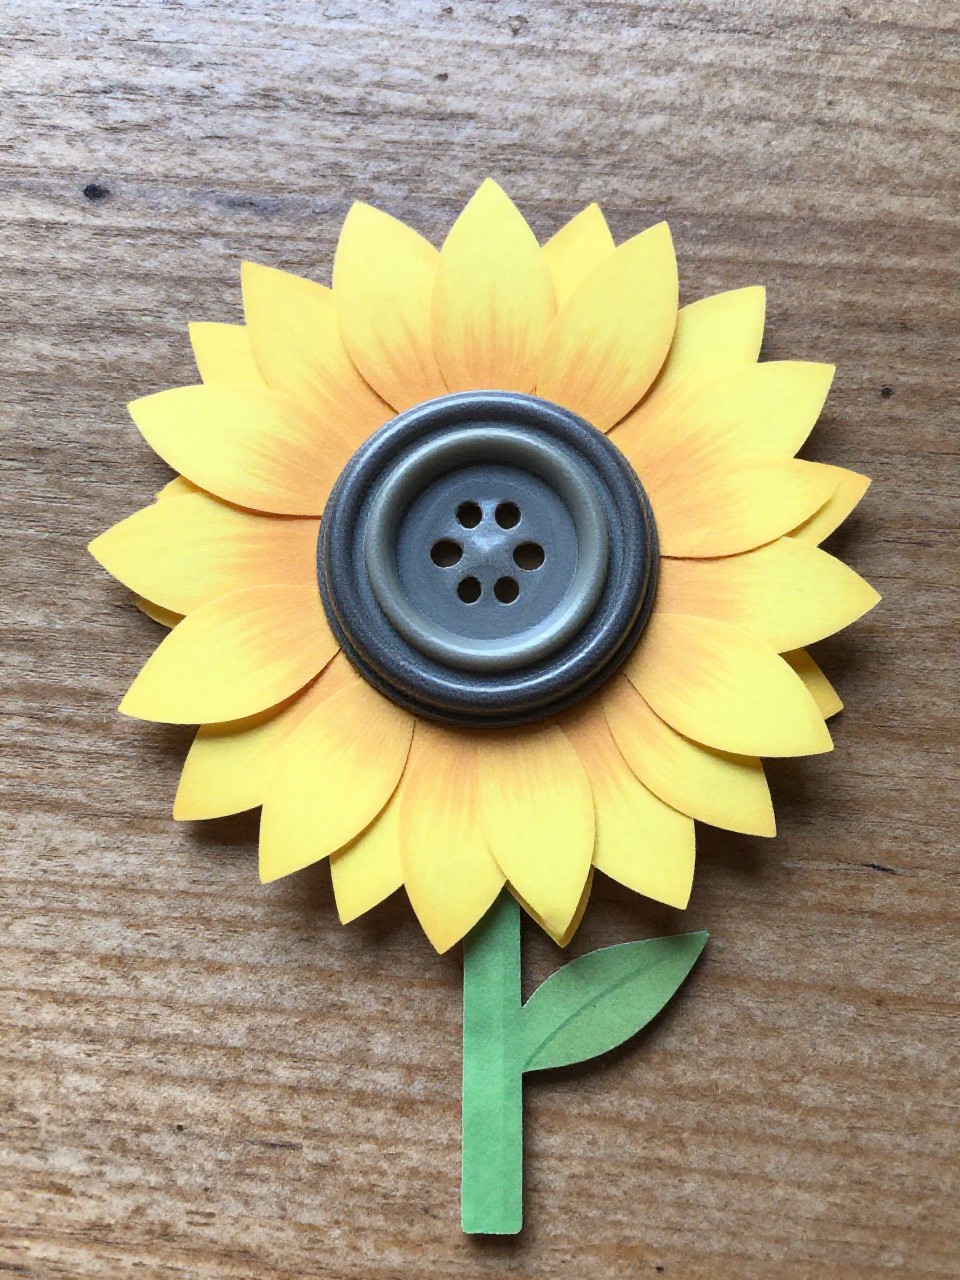
A metal jar lid becomes a framed mini sunflower. The button center and painted petals look crisp and quaint.
Materials Needed:
- Jar lid
- Yellow paint and green paper
- Large brown button
How to make it:
- 1. Paint yellow petals around the inside rim of the jar lid.
- 2. Glue a big brown button in the center.
- 3. Cut and glue a green paper stem and leaves to a backing sheet.
- 4. Glue the lid “flower” at the top of the stem.
11. Sponged Cow Spots Mask
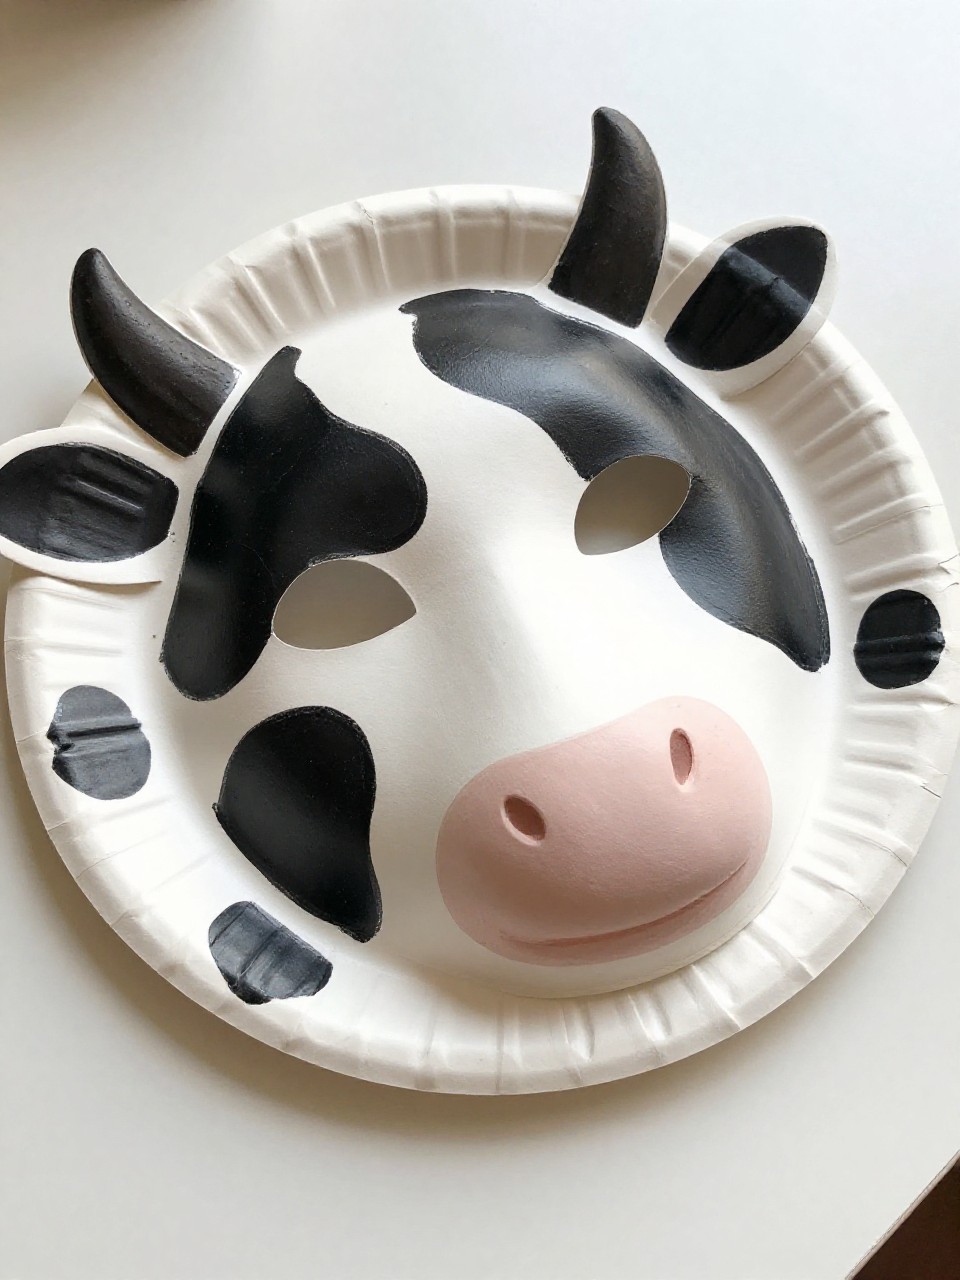
This bold mask turns any kid into a gentle cow with artsy, soft-edged spots. The sponge gives a pro finish with almost no effort.
Materials Needed:
- Paper plate
- Black paint and sponge
- String or elastic
How to make it:
- 1. Cut eye holes in a paper plate and trim sides to fit a face.
- 2. Dip a sponge in black paint and dab cow spots.
- 3. Add two small paper ears and glue at the top.
- 4. Punch holes and tie on string or elastic.
12. Felt Egg Carton Hen and Chicks
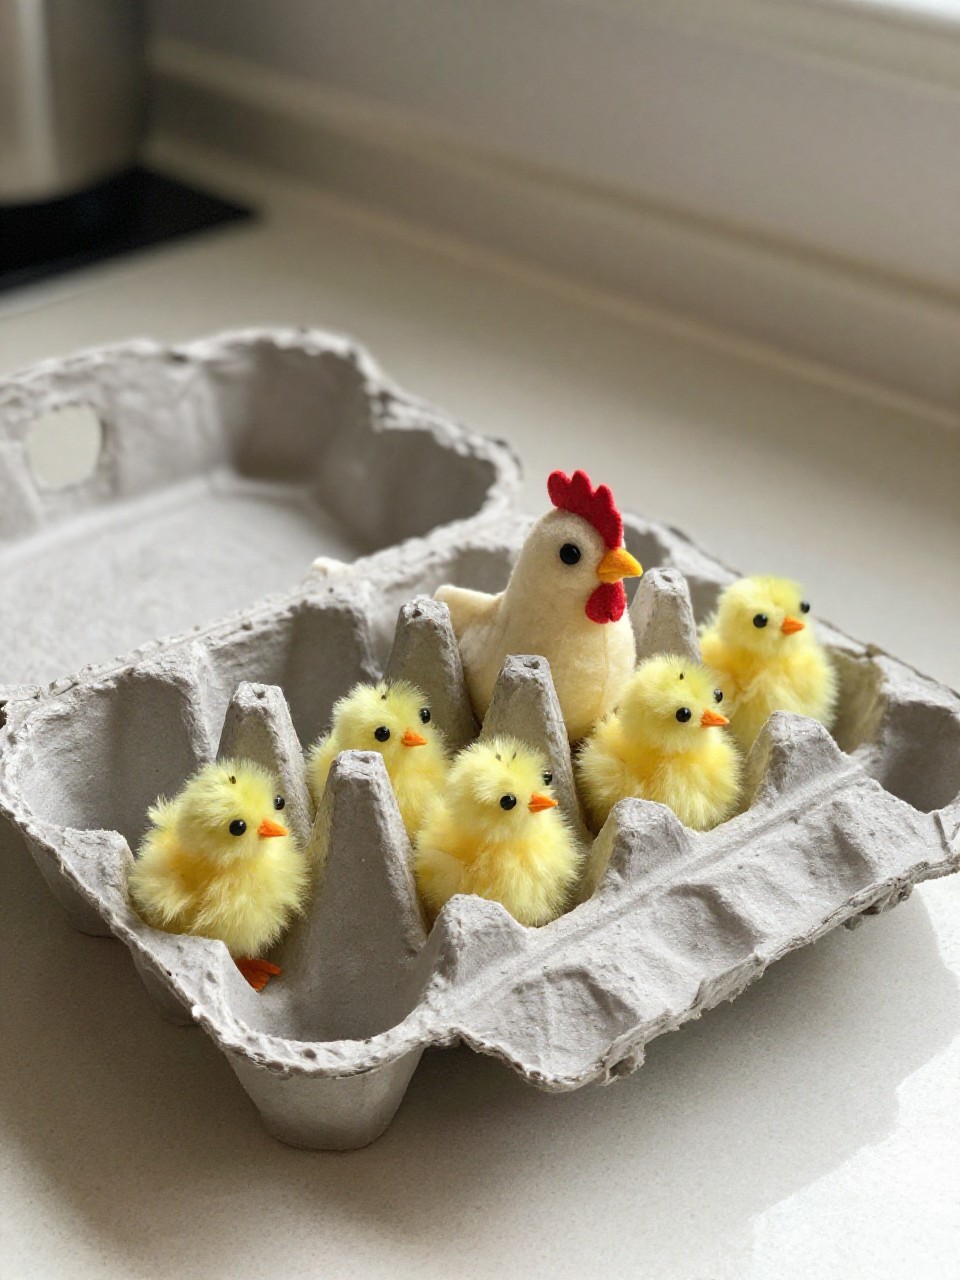
A humble egg carton becomes a charming hen with peekaboo chicks. The rounded cups look like little nest pockets.
Materials Needed:
- Egg carton
- Felt scraps
- Glue
How to make it:
- 1. Cut one egg carton row for the hen’s body and a single cup for a chick.
- 2. Glue felt triangles for beaks and combs; add tiny felt wings.
- 3. Decorate carton edges with felt feathers or shapes.
- 4. Nest the chick cup beside the hen row.
13. Tractor Track Play Mat Print
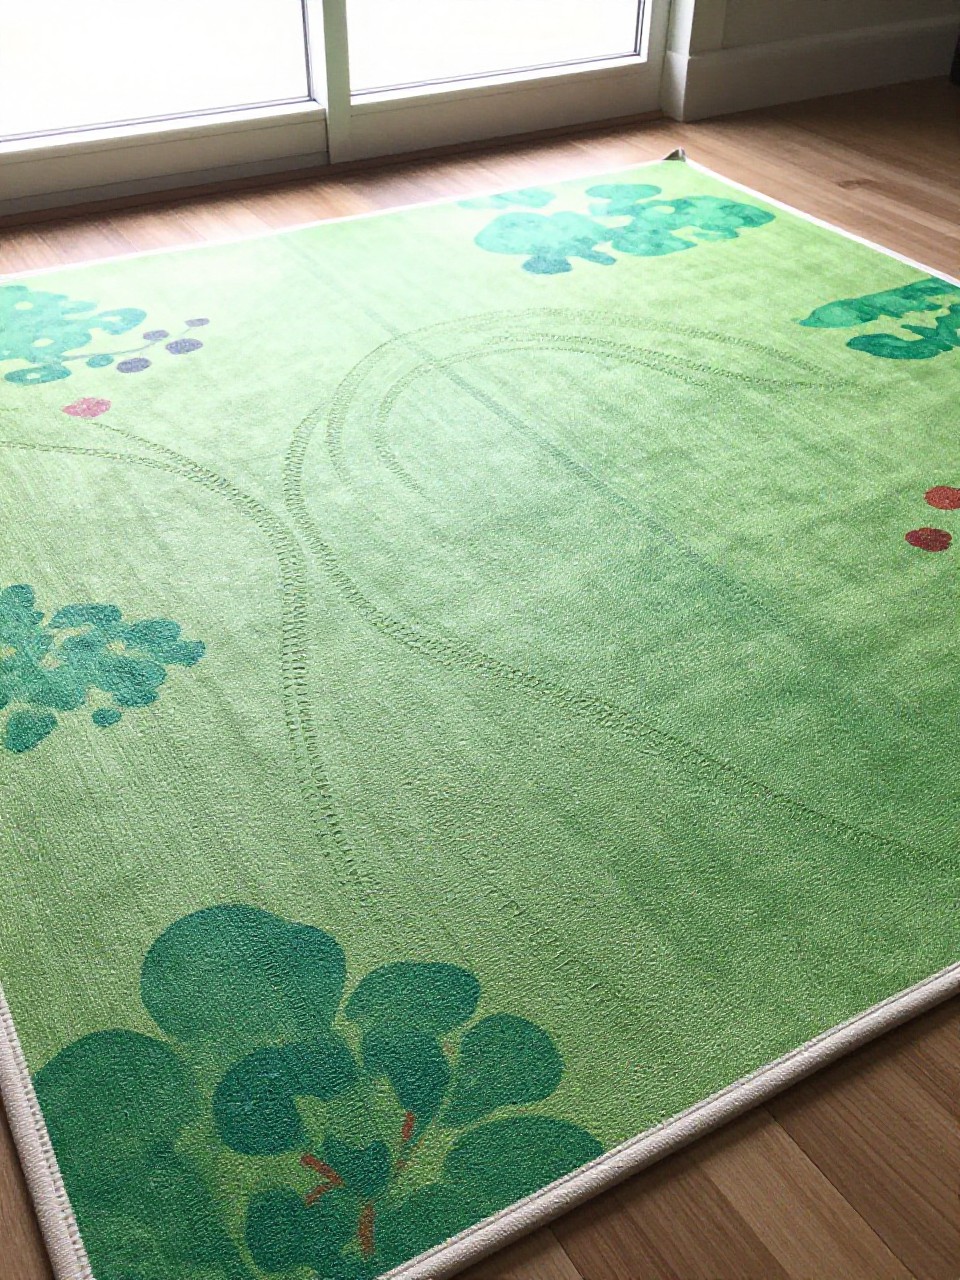
Make your own mini field with real track marks. Using toy wheels as stamps creates believable paths and patterns.
Materials Needed:
- Large paper or kraft roll
- Washable paint
- Toy tractor or car with ridged wheels
How to make it:
- 1. Roll out a big sheet of paper as the “field.”
- 2. Brush a thin layer of paint onto a tray.
- 3. Drive the toy wheels through paint, then across the paper to print tracks.
- 4. Add simple green painted patches for crops.
14. Feathered Duck Pond Plate

A calm blue pond with a fluffy duck feels storybook-sweet. Real feathers add soft texture kids can’t stop touching.
Materials Needed:
- Paper plate
- Blue paint
- Feathers and glue
How to make it:
- 1. Paint the paper plate blue for water.
- 2. Cut a simple duck body from yellow paper and glue it on.
- 3. Add a feather wing and a tiny orange beak.
- 4. Draw ripples and an eye with a marker.
15. Barnyard Windmill Spinner
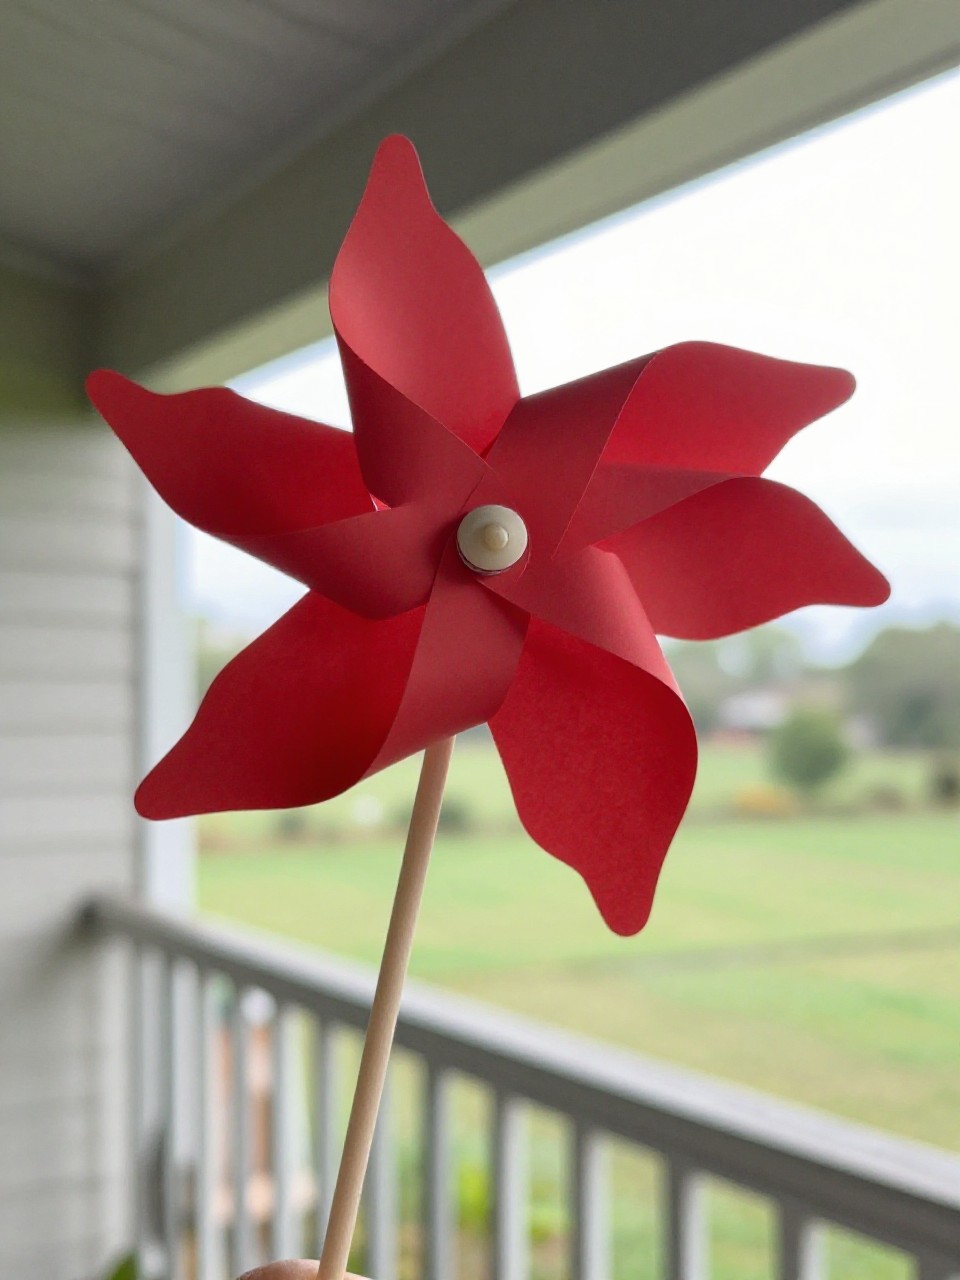
This easy spinner actually twirls with a breath or a breeze. The bold pinwheel blades feel farm-fresh and dynamic.
Materials Needed:
- Square paper (red or patterned)
- Pushpin and straw or pencil
- Glue stick
How to make it:
- 1. Fold a square paper corner-to-corner both ways and unfold.
- 2. Cut along each fold halfway to the center.
- 3. Bring every other corner to the center and glue.
- 4. Pin through the center into a straw or pencil to spin.
16. Patchwork Pig Paper Quilt
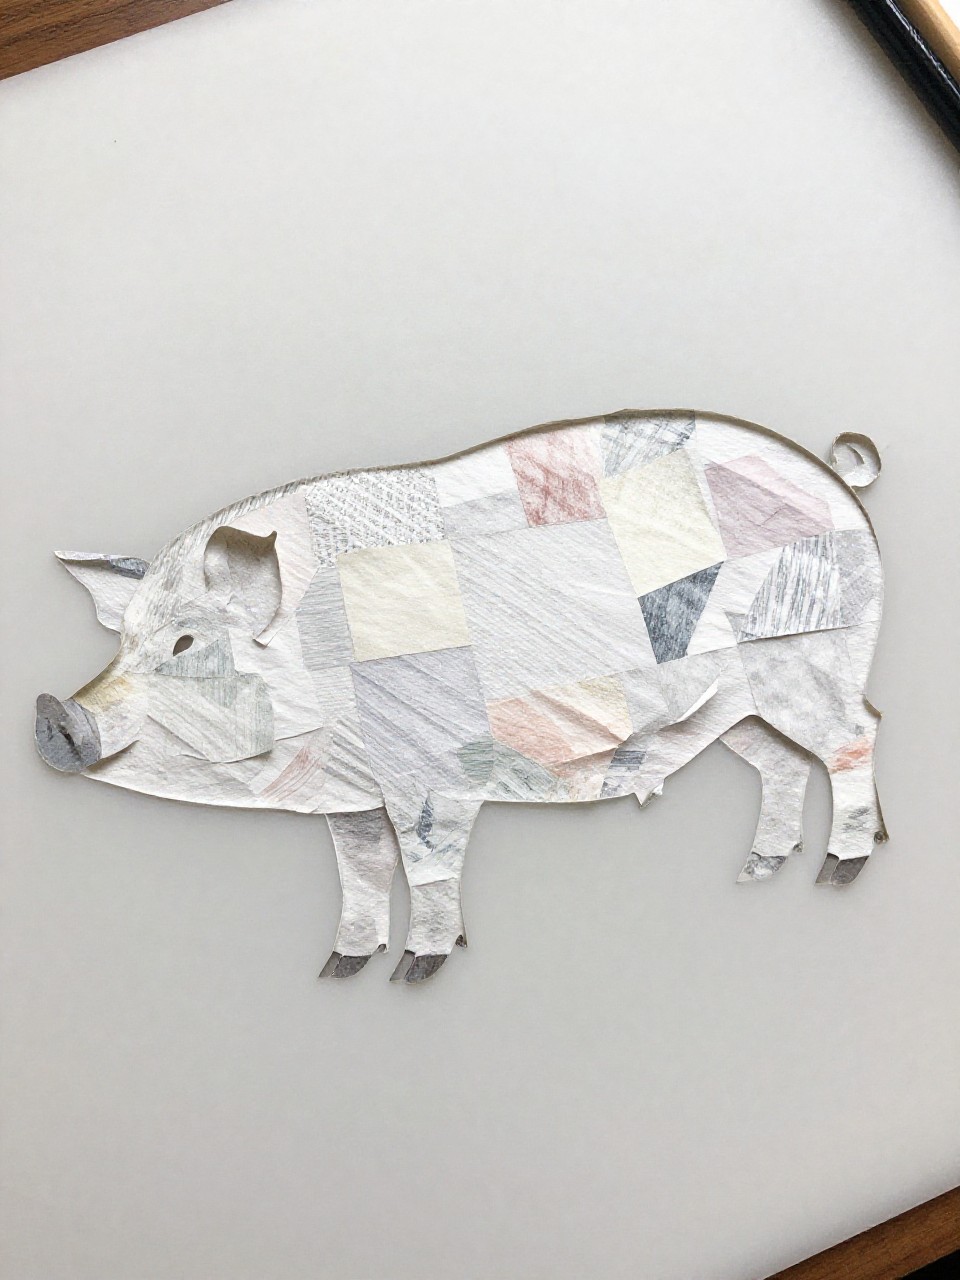
Create a pig silhouette filled with colorful paper “fabric” squares. The patchwork look is cheerful and farmhouse-chic.
Materials Needed:
- Assorted patterned paper
- Cardstock
- Glue stick
How to make it:
- 1. Draw or print a large pig outline on cardstock.
- 2. Cut small squares or rectangles from patterned paper.
- 3. Glue the pieces inside the pig shape like a quilt.
- 4. Outline the pig with a thick marker to finish.