Table of Contents Show
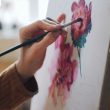
Want a relaxing painting project, but feel stuck on what to make? Swirl painting is a fun way to create movement and color without needing perfect drawing skills. These ideas are beginner-friendly, look playful, and can brighten your home or make easy gifts.
Pick one surface, choose a few colors, and let the swirls do the work.
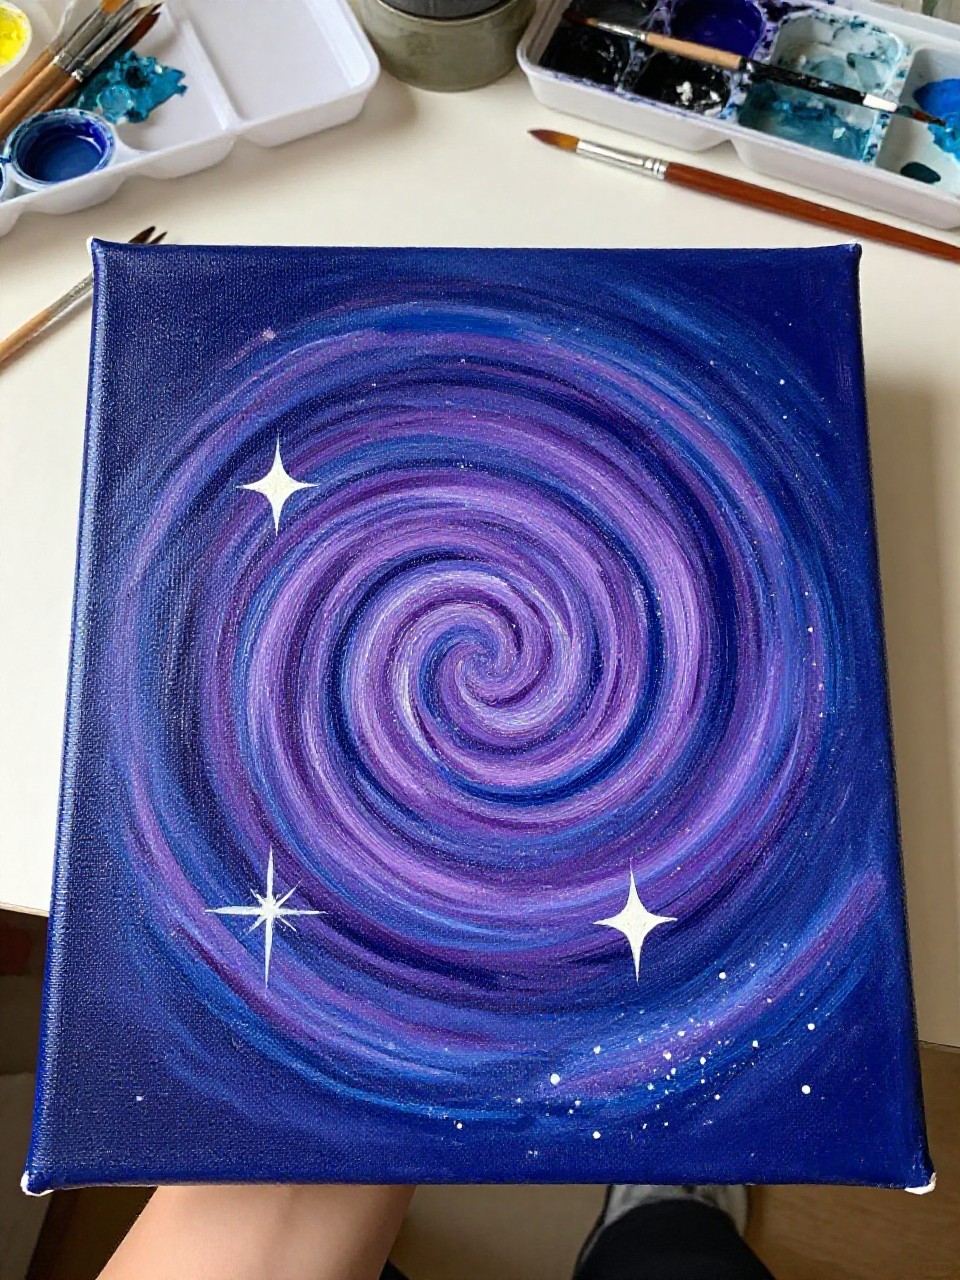
1. Pastel Galaxy Swirl Canvas
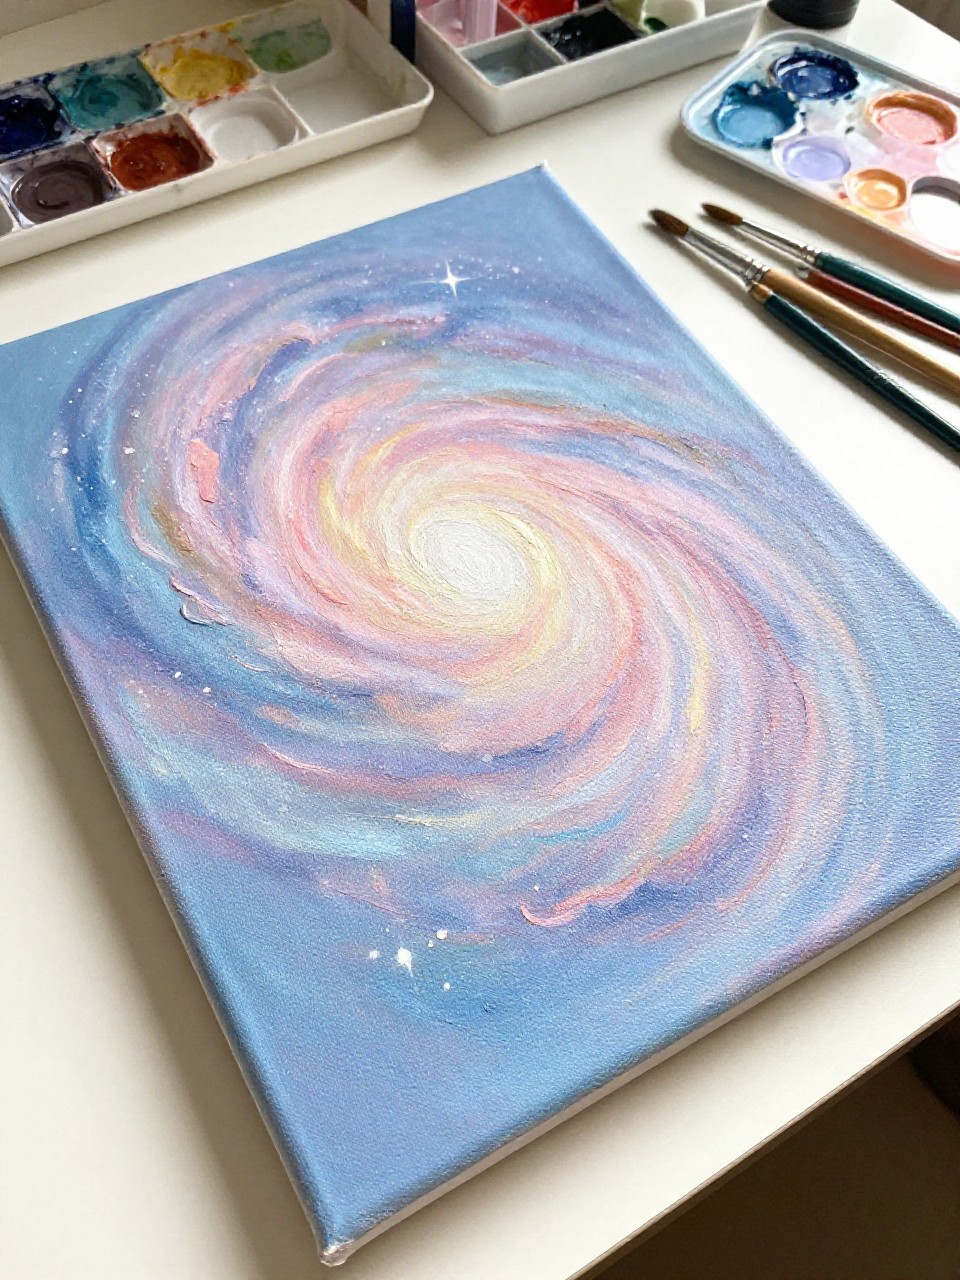
A small canvas filled with soft pastel swirls looks like a dreamy galaxy, with blended edges and a few bright highlights. It’s satisfying because you can loosen up and let colors mix without worrying about neat lines. Great for beginners who want quick wall art that feels calm.
Materials Needed:
- Stretched canvas
- Acrylic paint
- Paintbrushes in multiple sizes
- Palette or paint tray
- Optional acrylic varnish
Steps to Make:
- Lightly paint the canvas with a thin white base coat and let it dry.
- Brush curved “S” shapes in two pastel colors, leaving some white space.
- Add a third color and blend where swirls overlap using gentle side-to-side strokes.
- Dot on tiny “stars” with a small brush and add a few brighter swirl highlights.
- Let dry fully, then varnish and hang or prop it on a shelf.
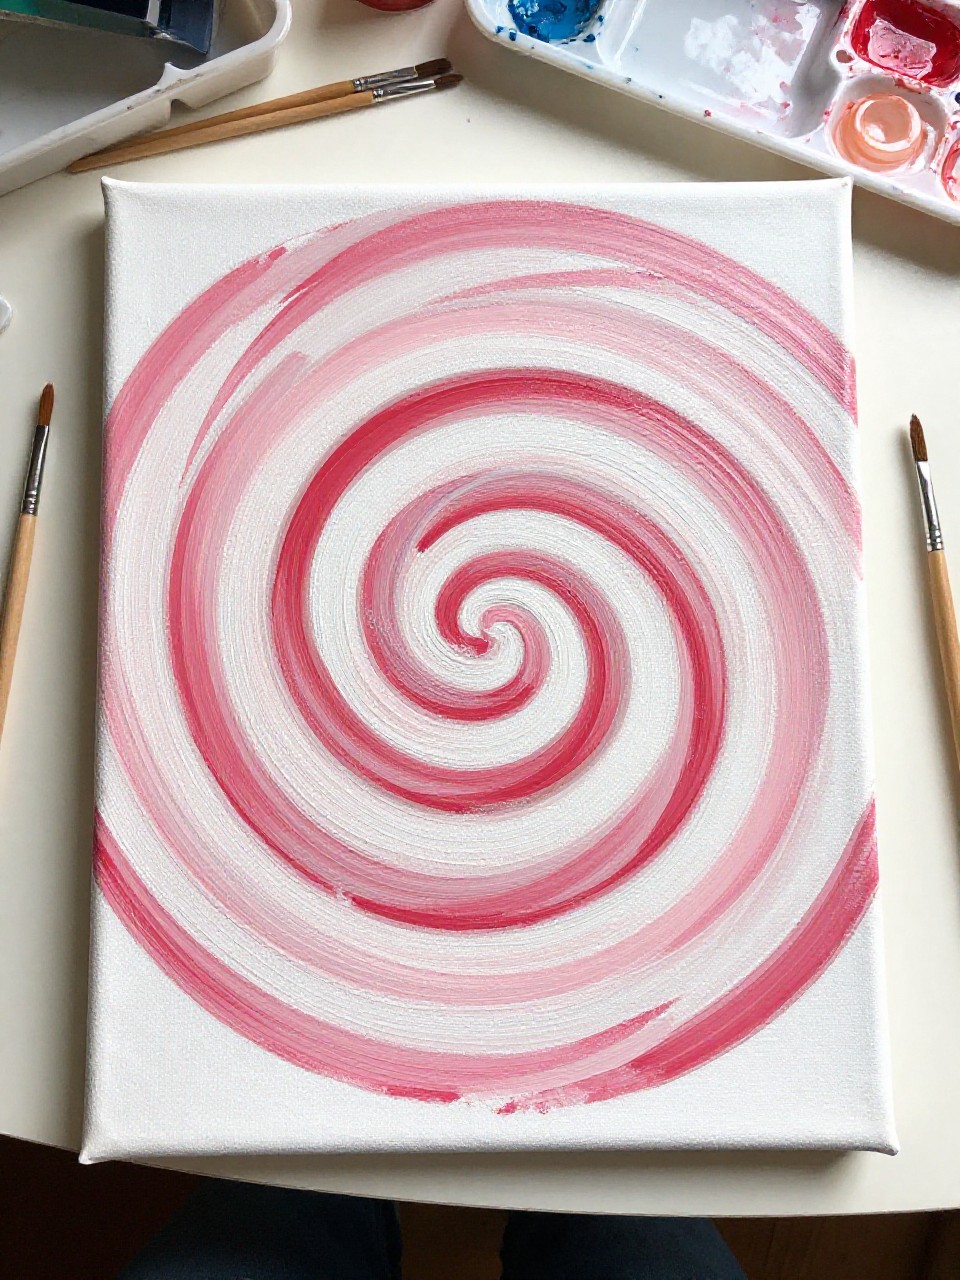
2. Rainbow Lollipop Swirl Canvas
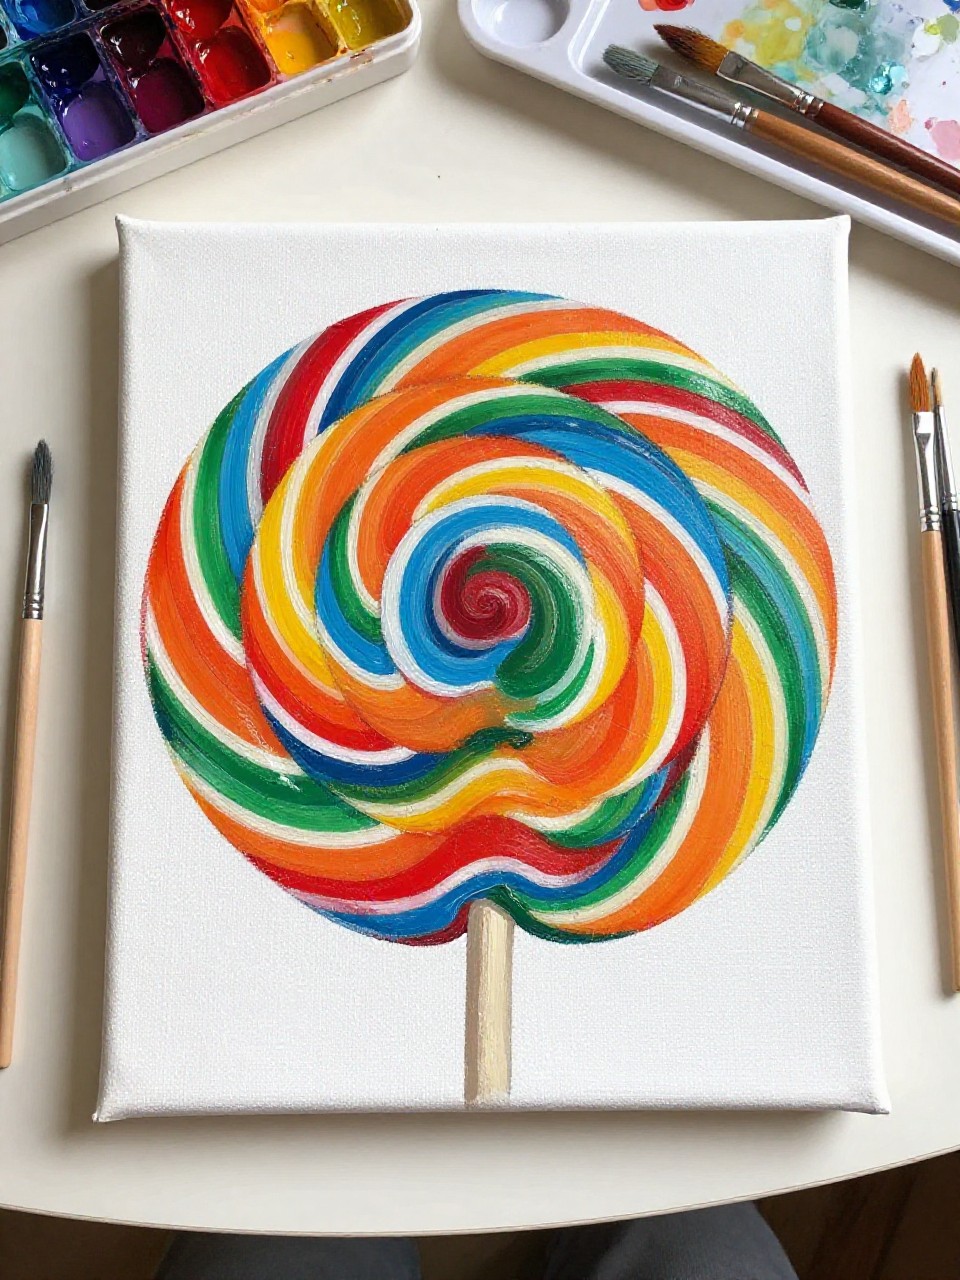
This canvas looks like one big rainbow swirl, like a lollipop pattern, with bold rings that curve toward the center. It’s playful and beginner-friendly because you can build the swirl one color at a time. It also makes cute decor for a kid’s room or a cheerful craft corner.
Materials Needed:
- Stretched canvas
- Acrylic paint
- Paintbrushes in multiple sizes
- Palette or paint tray
- Optional acrylic varnish
Steps to Make:
- Paint a light background color and let it dry so the rainbow pops.
- Mark a small center point, then sketch a loose spiral line outward with a pencil.
- Paint thick curved bands along the spiral, changing colors as you go.
- Blend the edges of each band slightly so the swirl feels smooth, not flat.
- Dry completely, varnish if you want, and display where it can brighten the space.
3. Ocean Whirlpool Mini Canvas
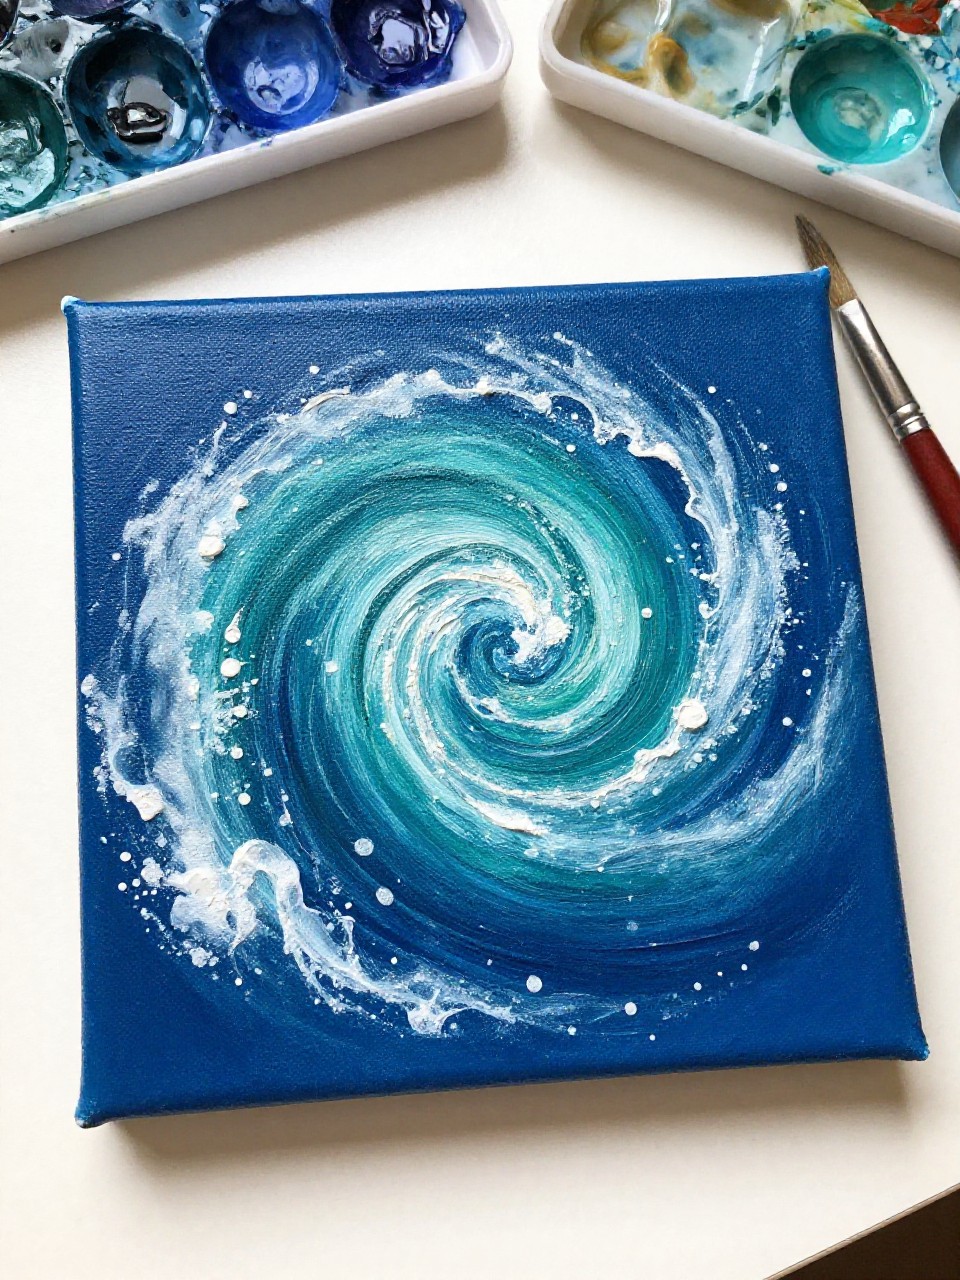
A mini canvas painted with deep blue and teal swirls looks like a tiny ocean whirlpool, with lighter foam-like strokes on top. It’s a relaxing project because the repeated circular strokes feel almost meditative. Beginners can keep it simple with just two or three colors and a few bright highlights.
Materials Needed:
- Mini stretched canvas
- Acrylic paint
- Paintbrushes in multiple sizes
- Palette or paint tray
- Optional acrylic varnish
Steps to Make:
- Brush on a dark blue base coat and dry it quickly with a thin layer.
- Paint curved whirlpool strokes in teal, circling toward a center point.
- Add lighter blue and white strokes on top to create “foam” and depth.
- Use a small brush to add thin, bright highlights along a few swirl edges.
- Let it dry, varnish if desired, and display it on a desk or small shelf.
4. Sunset Cotton-Candy Swirl Canvas
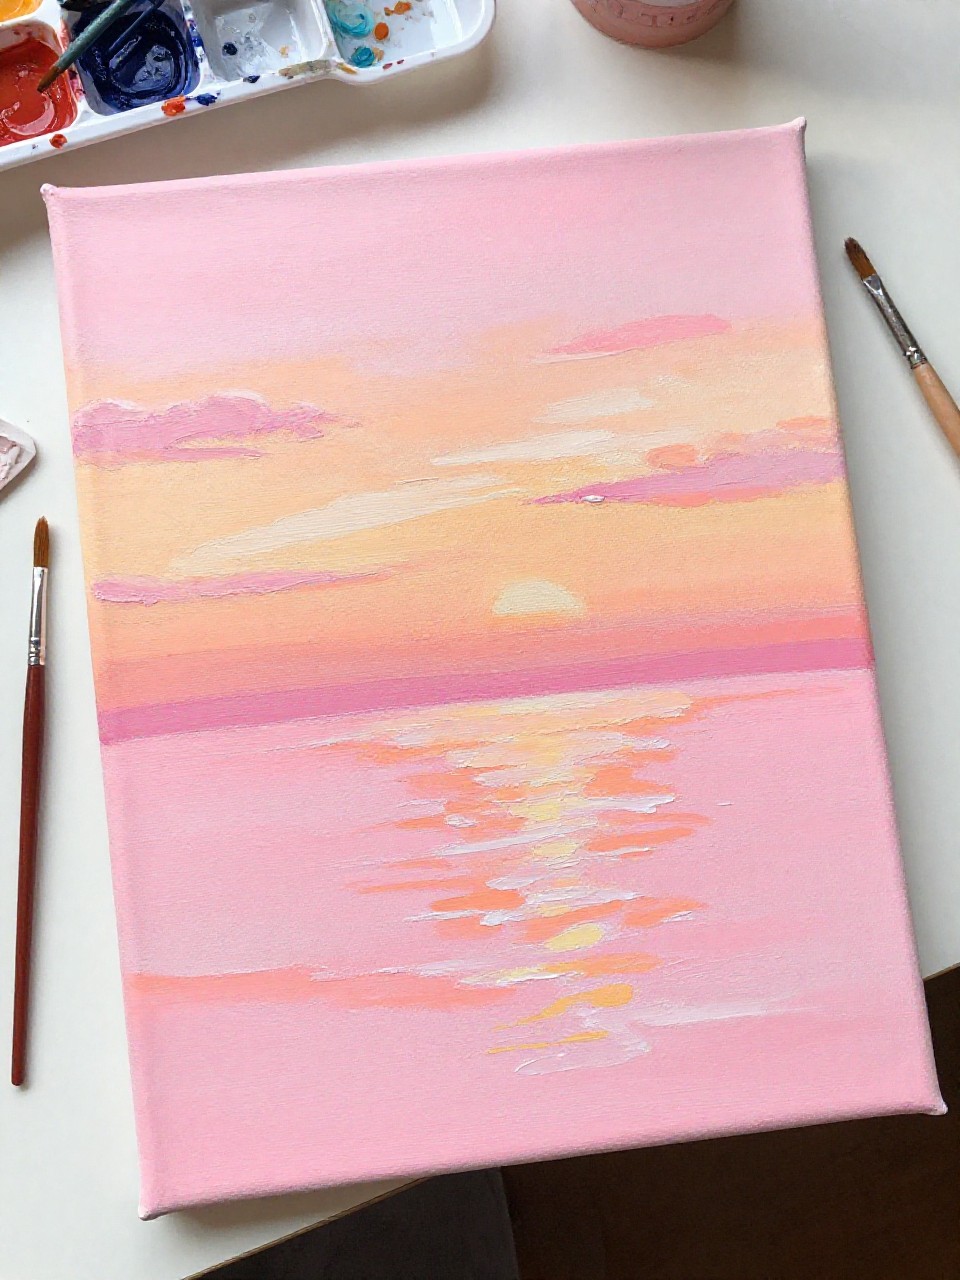
This canvas shows warm sunset swirls—pink, peach, and orange—twisting together like cotton candy in the sky. It’s perfect when you want a “pretty” result without detailed drawing. The blending is forgiving, and the layered brush strokes make it look rich even if you’re new.
Materials Needed:
- Stretched canvas
- Acrylic paint
- Paintbrushes in multiple sizes
- Palette or paint tray
- Optional acrylic varnish
Steps to Make:
- Paint a soft peach base coat and let it dry to stop muddy blending.
- Add large curved swirls of pink and orange, leaving some base color showing.
- Blend the edges with a clean, slightly damp brush to keep the colors airy.
- Add a few thin white swirls and tiny dots for a dreamy, glowing look.
- Dry fully, then varnish and hang where sunlight can bring out the warmth.
5. Black-and-White Marble Swirl Canvas
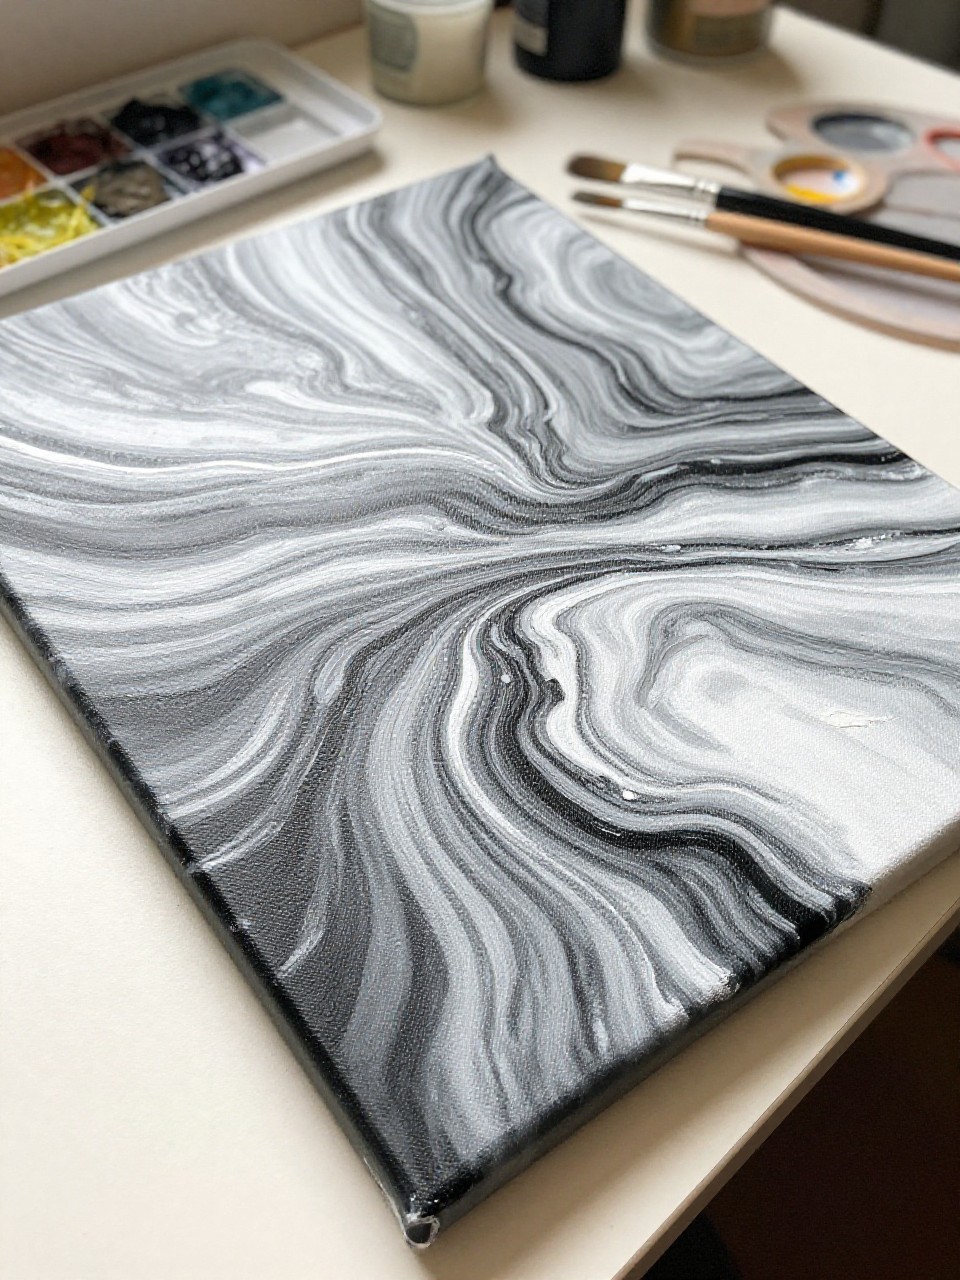
A black-and-white swirl canvas looks like simple marble, with wispy curved lines and soft gray blending. It feels calm and modern, and it’s great for anyone who likes neutral decor. Beginners can focus on pressure and brush direction instead of lots of colors, which makes it easier to control.
Materials Needed:
- Stretched canvas
- Acrylic paint
- Paintbrushes in multiple sizes
- Palette or paint tray
- Optional acrylic varnish
Steps to Make:
- Paint the canvas white and let it dry completely.
- Add loose black curved lines that travel across the canvas in gentle waves.
- Use a clean brush to soften and pull parts of the black into light gray streaks.
- Layer a few more thin lines and tiny breaks so the pattern feels natural.
- Let dry, varnish for a sleek finish, and style it with simple frames or shelves.
6. Neon Party Swirl Canvas
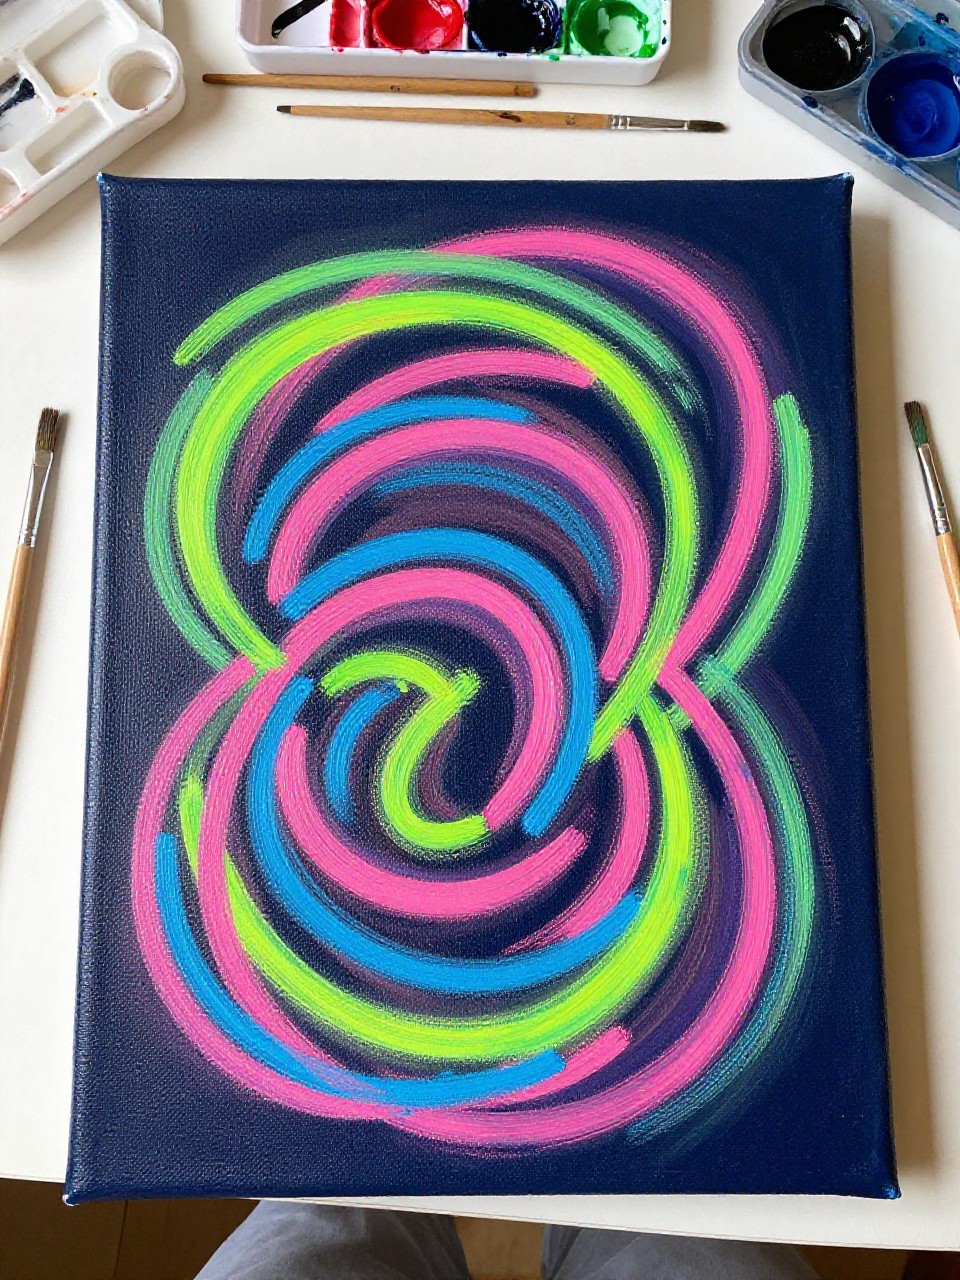
This canvas pops with neon swirls—lime, hot pink, and electric blue—looping around each other like dance-floor lights. It’s fun because the colors look exciting even with simple curved strokes. If you’re a beginner, you’ll love how fast it comes together and how bold mistakes just add energy.
Materials Needed:
- Stretched canvas
- Acrylic paint
- Paintbrushes in multiple sizes
- Palette or paint tray
- Optional acrylic varnish
Steps to Make:
- Paint a dark background (black or deep navy) and let it dry for contrast.
- Sketch a few looping swirl paths so you know where the bright lines will go.
- Paint thick neon swirls along the paths, letting some lines cross and overlap.
- Add small bright accents and thin highlights to make the swirls look layered.
- Dry completely and varnish to help the neon colors stay vivid.
7. Lavender Dream Swirl Canvas with Gold Touches
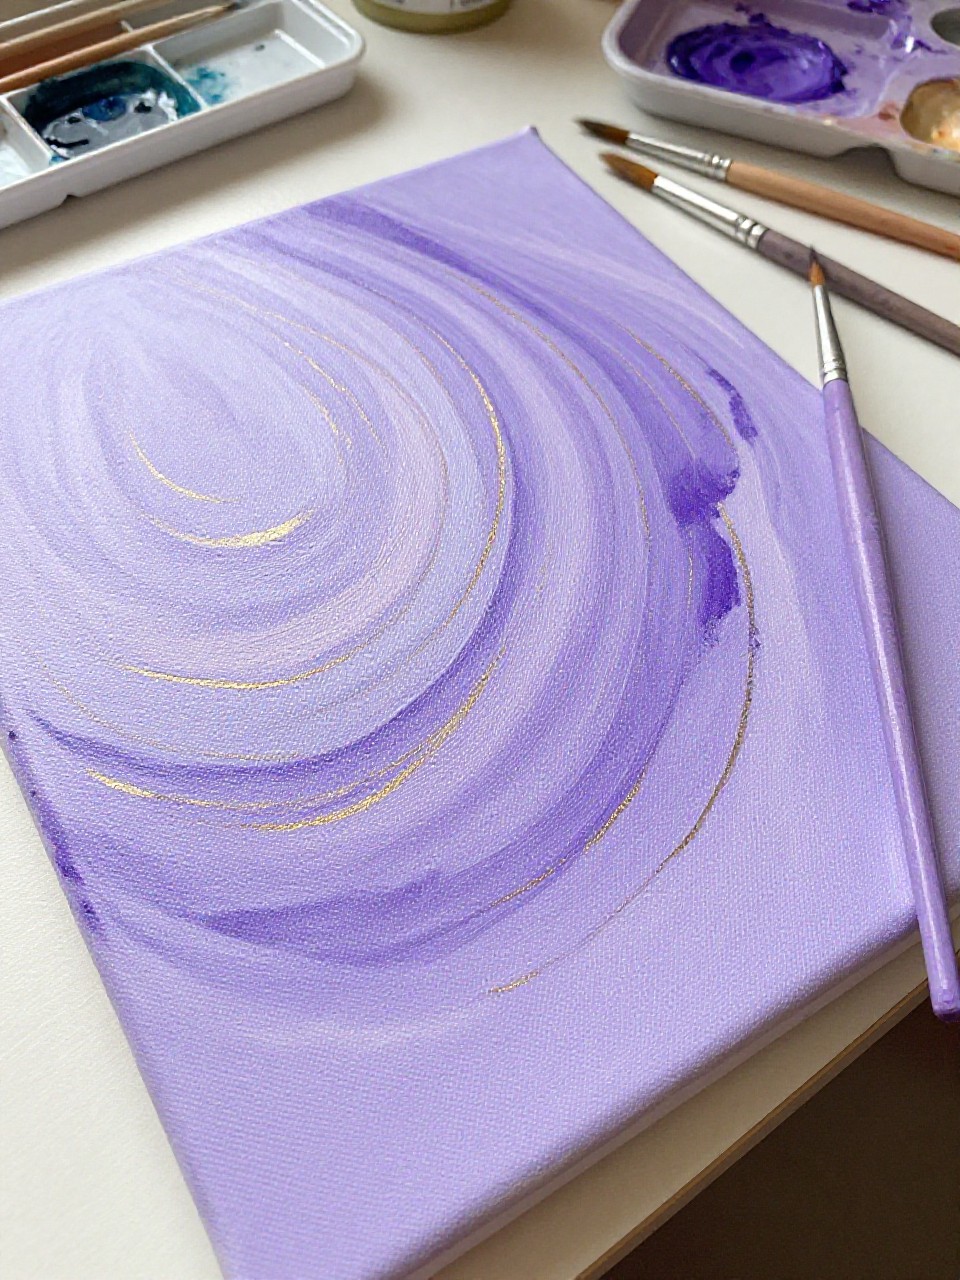
A lavender swirl canvas with small gold touches looks soft, shiny, and a little magical, with layered curves that catch the light. It’s relaxing because the main job is repeating gentle swirls and blending edges. Beginners can keep the gold minimal, and it still looks special as giftable wall art.
Materials Needed:
- Stretched canvas
- Acrylic paint (including metallic gold)
- Paintbrushes in multiple sizes
- Palette or paint tray
- Optional acrylic varnish
Steps to Make:
- Paint a pale lavender base coat and dry it fully.
- Add deeper purple swirls in long curved strokes across the canvas.
- Blend a lighter lilac into the edges to soften transitions between colors.
- Use a small brush to add thin gold lines or tiny gold dots along a few swirls.
- Let dry, then varnish lightly so the metallic paint stays bright.
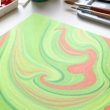
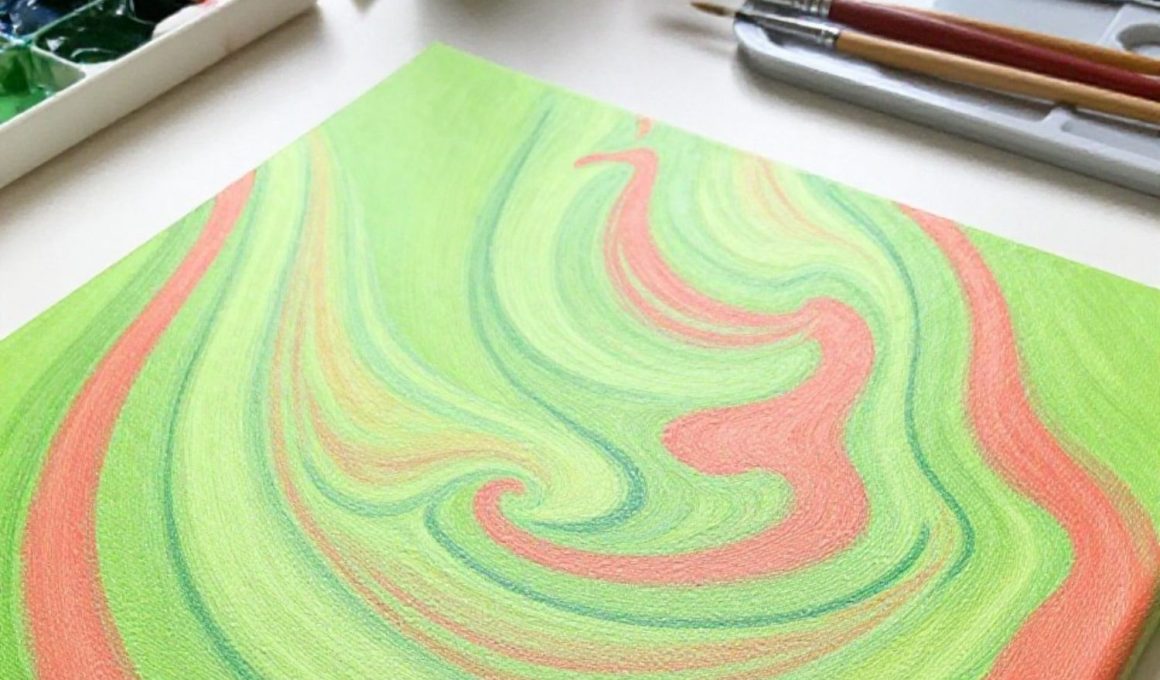
8. Tropical Lime and Coral Swirl Canvas
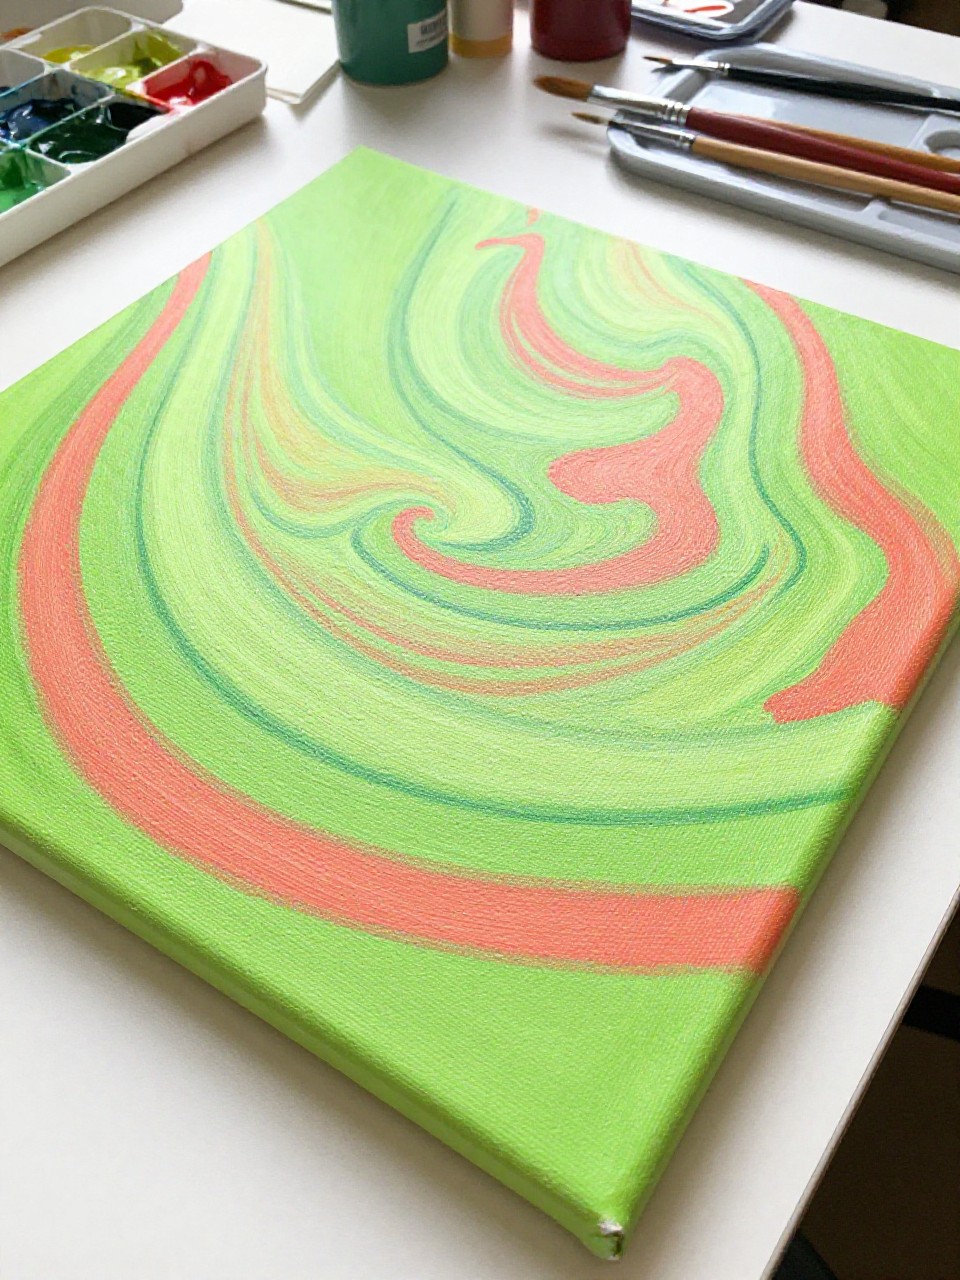
This canvas has juicy lime-green and coral swirls that feel tropical, like a summer drink stirred with a straw. It’s a simple way to practice color pairing and curved brushwork without needing any drawing. Beginners can make it as bold or soft as they want by changing how much they blend.
Materials Needed:
- Stretched canvas
- Acrylic paint
- Paintbrushes in multiple sizes
- Palette or paint tray
- Optional acrylic varnish
Steps to Make:
- Brush on a light warm base coat (like pale peach) and let it dry.
- Paint wide coral swirls in curved bands that move diagonally across the canvas.
- Add lime-green swirls between the coral bands, letting some edges overlap.
- Blend small sections where colors meet, keeping a few crisp lines for contrast.
- Dry fully, varnish, and hang it near plants or bright rooms for a sunny look.
9. Cozy Mocha Swirl Canvas
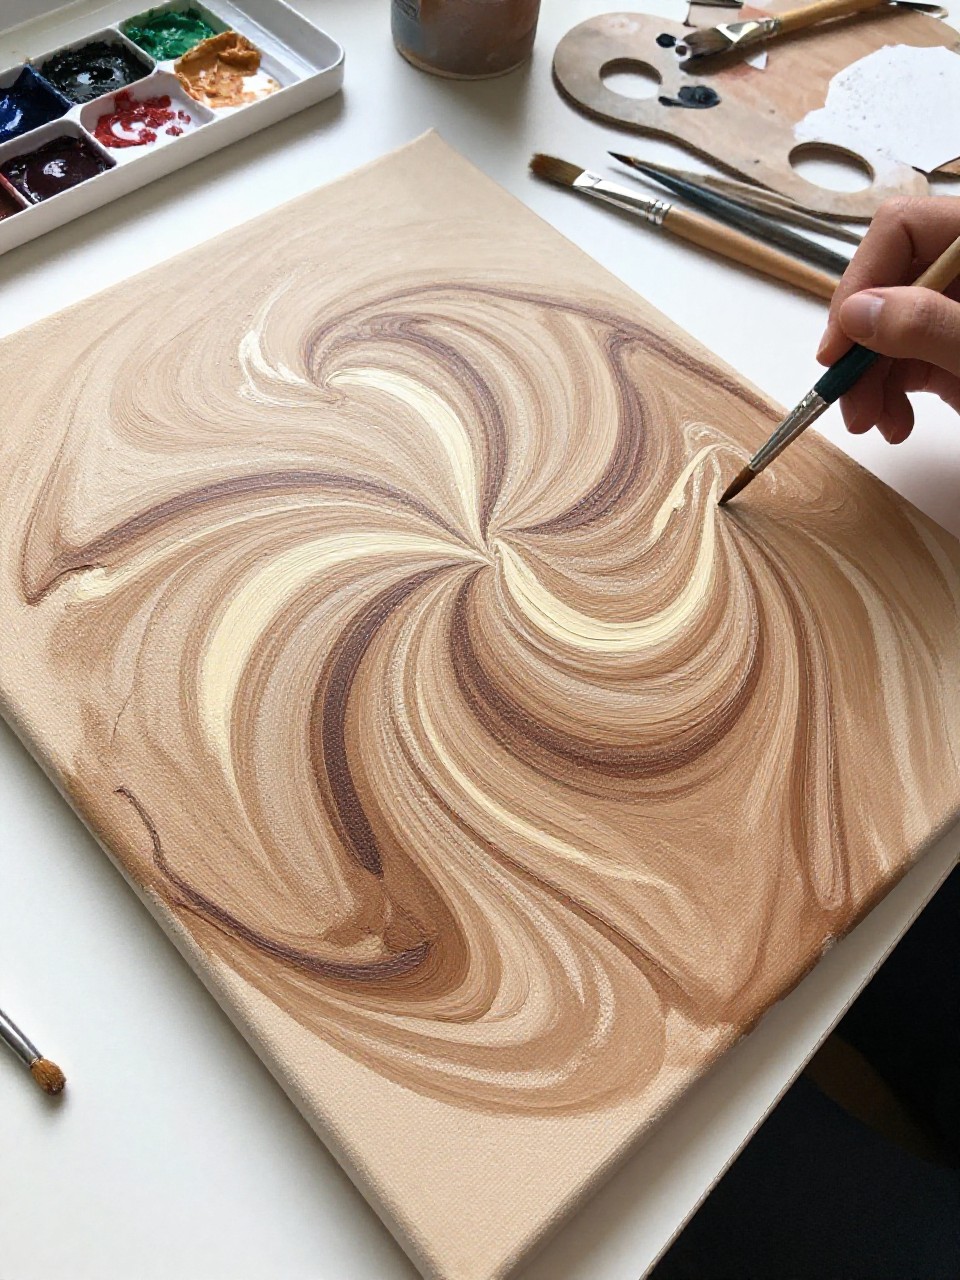
A mocha swirl canvas mixes cream, tan, and chocolate-brown curves, like coffee swirling with milk. It’s soothing to paint because the colors are gentle and forgiving, and the swirls don’t need perfect symmetry. This is a great beginner project for neutral home decor in kitchens or reading corners.
Materials Needed:
- Stretched canvas
- Acrylic paint
- Paintbrushes in multiple sizes
- Palette or paint tray
- Optional acrylic varnish
Steps to Make:
- Paint a creamy base coat and let it dry so browns stay clean.
- Add tan swirls in long arcs, following one main direction across the canvas.
- Layer darker brown swirls in smaller strokes to create depth and “coffee” contrast.
- Use a small brush to add thin cream highlights along a few edges.
- Let it dry, varnish if desired, and display it with warm wood or neutral frames.
10. Confetti Swirl Canvas
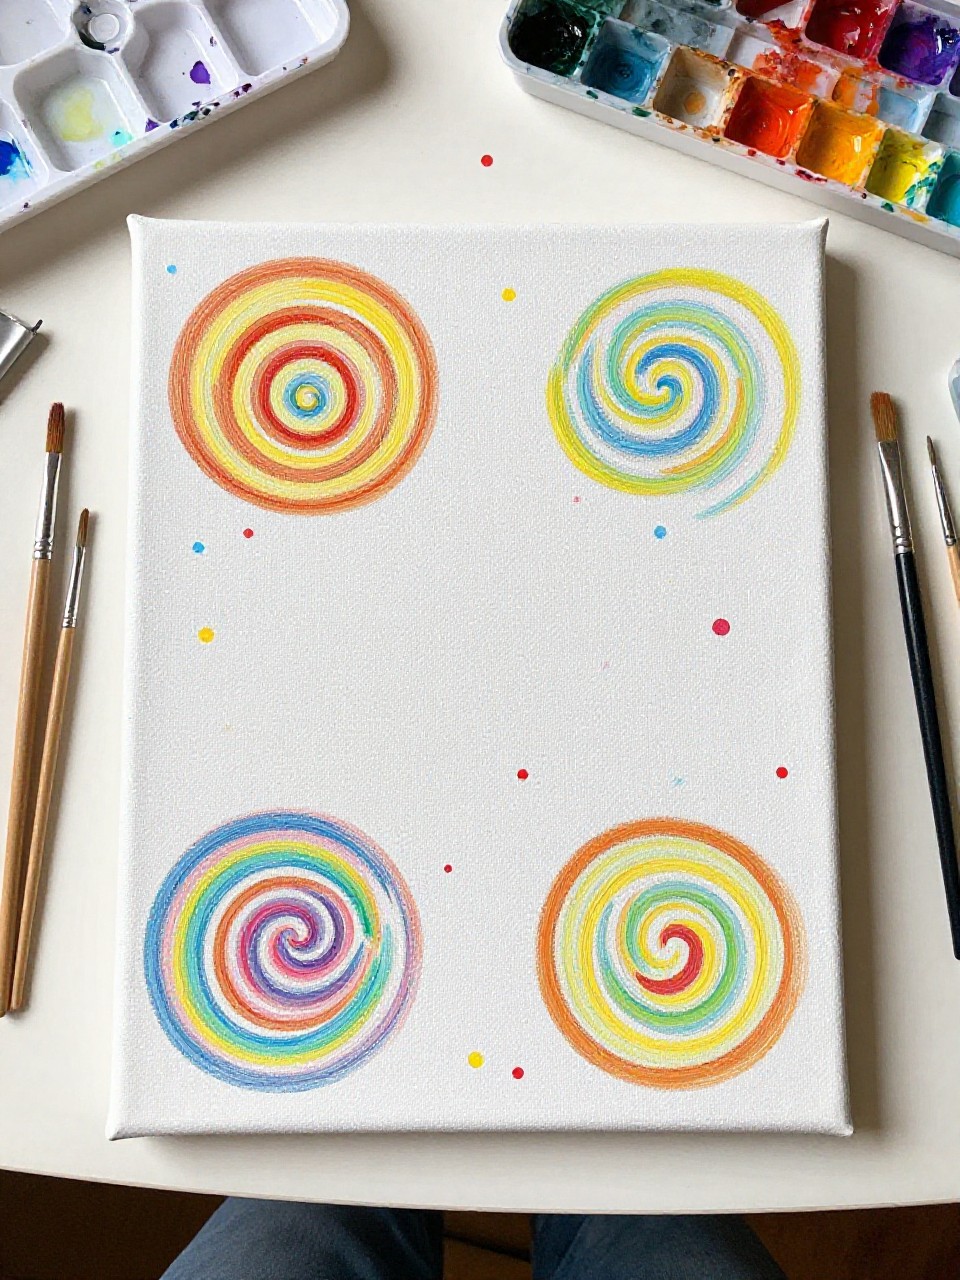
This canvas shows a light background filled with colorful swirls and tiny confetti dots scattered between them. It feels playful and “happy” without being hard, because the dots cover little mistakes and add texture fast. Beginners can use any colors they already own and still get a balanced look.
Materials Needed:
- Stretched canvas
- Acrylic paint
- Paintbrushes in multiple sizes
- Palette or paint tray
- Optional acrylic varnish
Steps to Make:
- Paint a white or pale base coat and let it dry completely.
- Add several medium swirls in different colors, spacing them out across the canvas.
- Layer a few smaller swirls that tuck into open areas to make it feel full.
- Dot confetti accents with the tip of a small brush, varying dot size and color.
- Dry fully, varnish if you like, and hang it in a hallway or craft room.
11. Two-Tone Yin-Yang Swirl Canvas
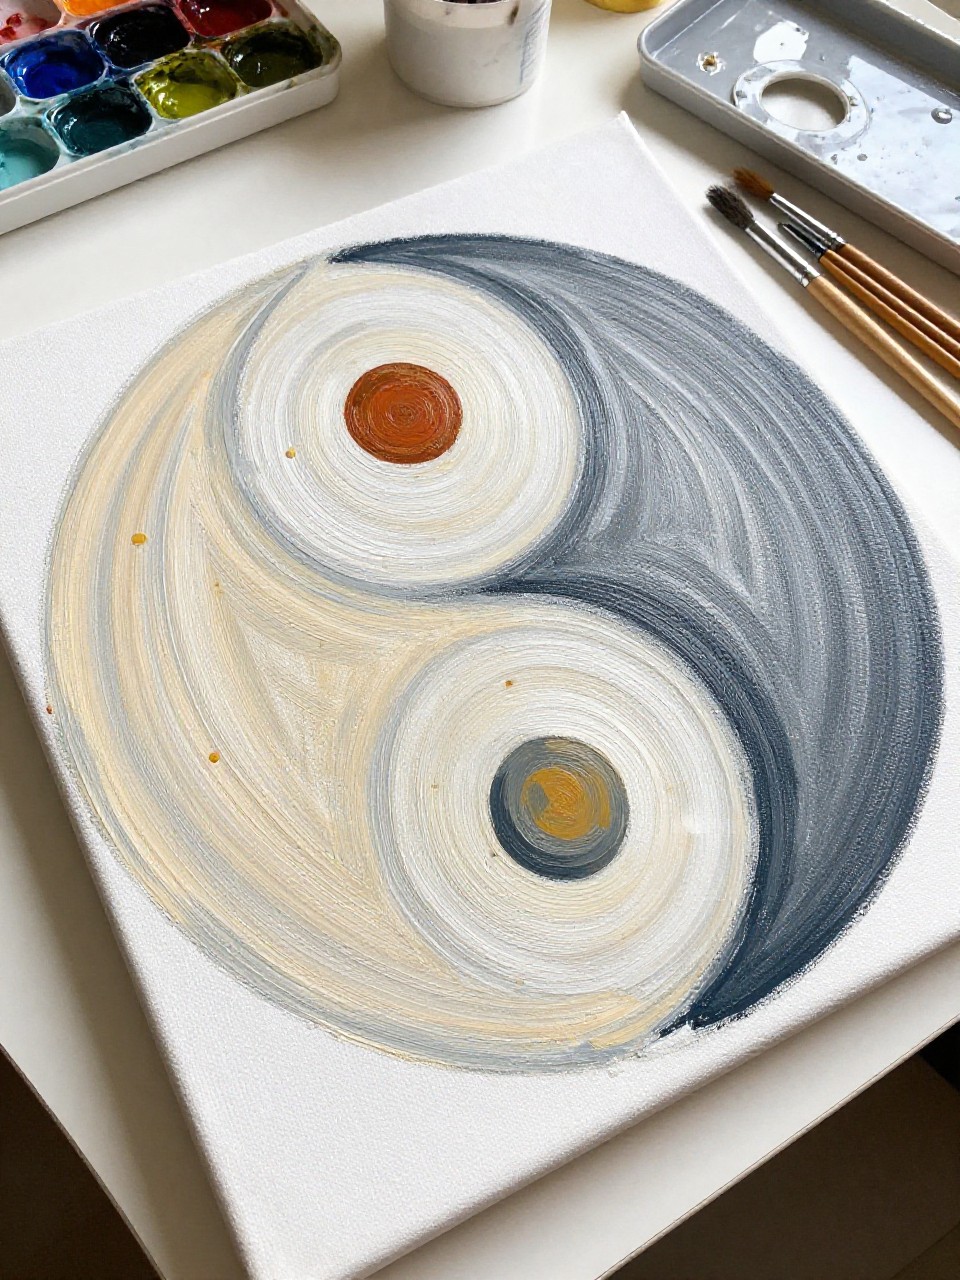
A two-tone swirl canvas looks like a loose yin-yang shape, with two big curved sections flowing into each other. It’s calming because you only use two main colors and focus on smooth brush direction. Beginners often love this one since it looks balanced even if the curves aren’t perfectly even.
Materials Needed:
- Stretched canvas
- Acrylic paint
- Paintbrushes in multiple sizes
- Palette or paint tray
- Optional acrylic varnish
Steps to Make:
- Choose two colors (like navy and cream) and paint a light base if needed.
- Sketch a large “comma” swirl shape that splits the canvas into two flowing halves.
- Fill one side with the darker color using curved strokes that follow the shape.
- Paint the other side with the lighter color, then add small opposite-color dots.
- Let dry completely and varnish for a smooth, finished look.
12. Fire and Ice Swirl Canvas
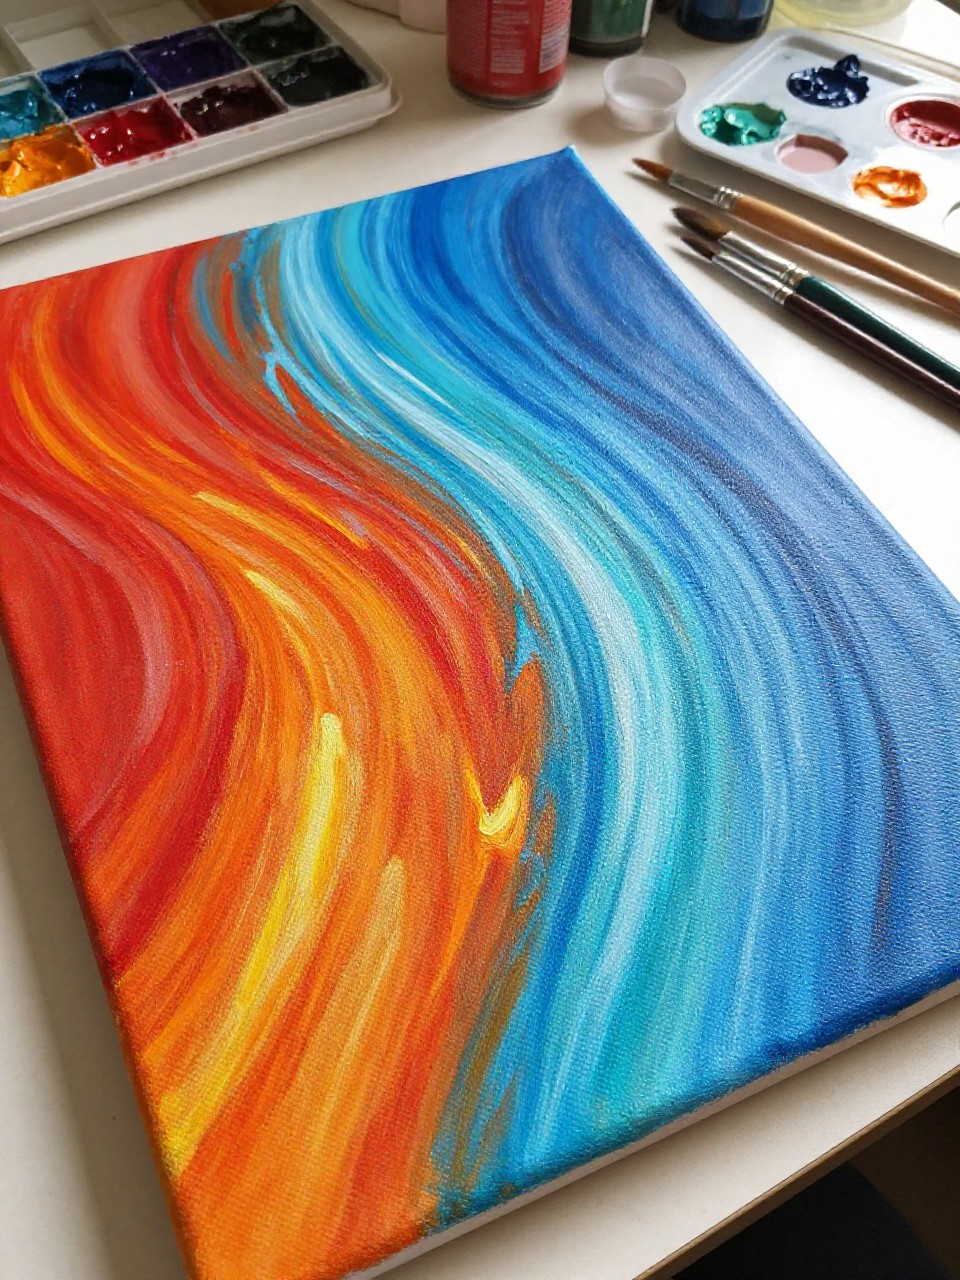
This canvas blends fiery reds and oranges on one side with icy blues on the other, meeting in swirling curves in the middle. It’s exciting to paint because you can play with contrast and layered strokes. Beginners can keep the center blend messy and it still looks dramatic and intentional.
Materials Needed:
- Stretched canvas
- Acrylic paint
- Paintbrushes in multiple sizes
- Palette or paint tray
- Optional acrylic varnish
Steps to Make:
- Paint a light neutral base coat so both warm and cool colors show well.
- On one side, paint swirling red and orange arcs that curl toward the center.
- On the other side, paint blue and teal arcs curling toward the center too.
- Add thin white highlights on the “ice” side and small yellow pops on the “fire” side.
- Dry fully, varnish, and display it as a bold statement piece.
13. Candy Stripe Swirl Canvas
A candy stripe swirl canvas has curved, striped swirls that twist like peppermint candy, with repeating bands that feel bouncy. It’s great practice for steady brush control, but it still works if your stripes wobble a little. Beginners can use just two colors for a clean look or add more for extra fun.
Materials Needed:
- Stretched canvas
- Acrylic paint
- Paintbrushes in multiple sizes
- Palette or paint tray
- Optional acrylic varnish
Steps to Make:
- Paint a solid base color and let it dry so stripes stay sharp.
- Sketch a loose spiral path, then paint the first wide swirl band along it.
- Add alternating stripe bands beside it, following the same curve around the canvas.
- Use a small brush to clean up stripe edges and add tiny highlight lines for depth.
- Let dry, varnish, and hang it where the pattern can stand out.
14. Spring Meadow Swirl Canvas
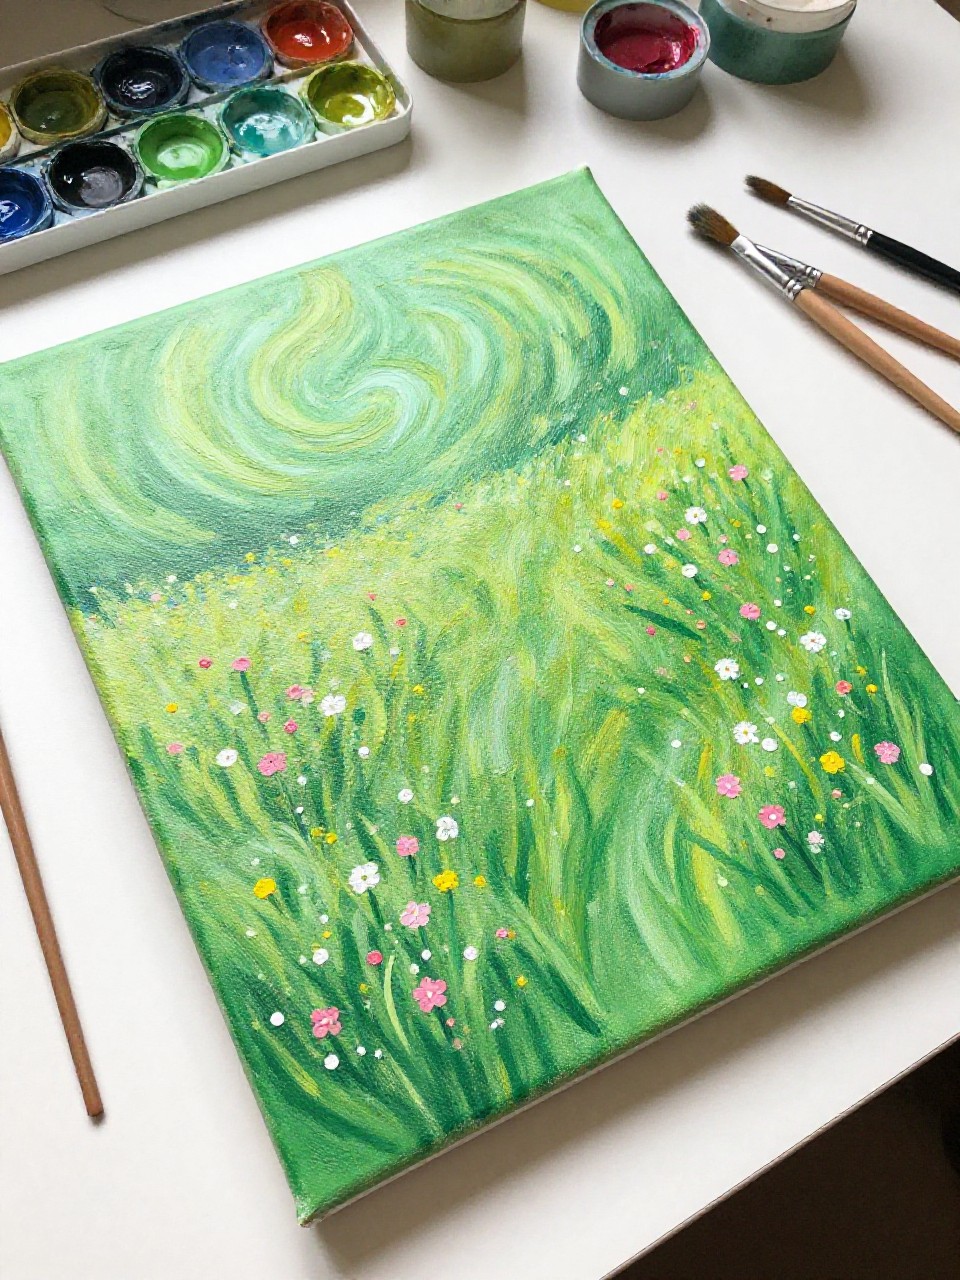
This canvas uses green swirls like rolling grass, with soft pops of yellow and pink that feel like hidden flowers. It’s a gentle, relaxing project that’s perfect when you want nature vibes without painting detailed plants. Beginners can keep the “flowers” as simple dots and still get a sweet result.
Materials Needed:
- Stretched canvas
- Acrylic paint
- Paintbrushes in multiple sizes
- Palette or paint tray
- Optional acrylic varnish
Steps to Make:
- Paint a pale sky-like top area and a light green base at the bottom; dry both.
- Add darker green swirls across the “meadow,” curving them like windy grass.
- Blend in a second green shade to create depth and layered movement.
- Dot in tiny pink, white, and yellow “flowers” along the swirl paths.
- Dry fully, varnish, and display it in a bright spot for a fresh look.
15. Midnight Star Swirl Canvas
A midnight swirl canvas looks like a night sky moving in circles, with deep indigo strokes and bright star-like specks on top. It’s satisfying because the dark colors hide small mistakes, and adding stars at the end feels like a reward. Beginners can keep the swirl simple and let the contrast do the magic.
Materials Needed:
- Stretched canvas
- Acrylic paint
- Paintbrushes in multiple sizes
- Palette or paint tray
- Optional acrylic varnish
Steps to Make:
- Paint the canvas dark navy and let it dry fully for a clean night-sky base.
- Add indigo and purple swirls in curved strokes that spiral toward one area.
- Blend small sections to create soft transitions while keeping some brush texture.
- Flick or dot white paint for stars, then add a few bigger stars with a tiny brush.
- Dry completely, varnish, and hang it where the deep colors can stand out.