


Table of Contents Show
Spring is the season when you want your home to feel lighter, brighter, and a little more joyful. But store-bought decor can feel cookie-cutter and pricey. These easy crafts look boutique-level without the stress, clutter, or special tools.
Each project is beginner-friendly, soothing to make, and finishes fast—so you can actually enjoy your weekend and still end up with something beautiful.
1. Pressed-Flower Floating Frames
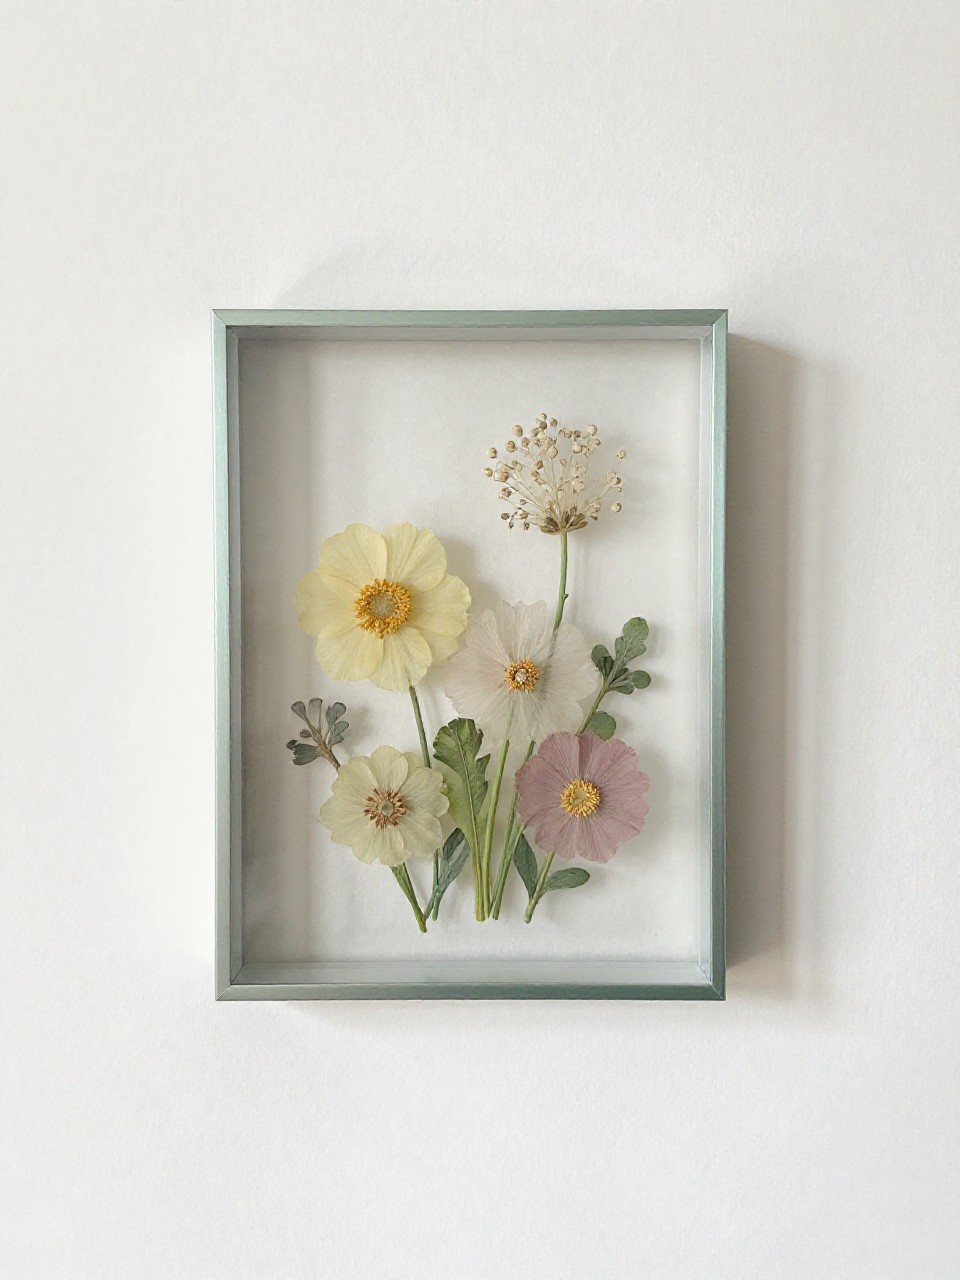
A delicate, airy frame that looks like it came from a fancy botanical shop. The flowers seem to hover, catching light and shadow on your wall or shelf. It’s elegant, simple, and wonderfully quick.
Materials Needed:
- Two glass frames or floating frame
- Pressed flowers
- Clear-drying craft glue or double-sided tape
How to make it:
- 1. Clean the glass and lay one pane flat.
- 2. Arrange pressed flowers in a balanced layout, leaving space around edges.
- 3. Secure with tiny dots of glue or tape on stems and petals.
- 4. Sandwich with the second pane and close the frame tightly.
2. Egg Carton Ranunculus Garland
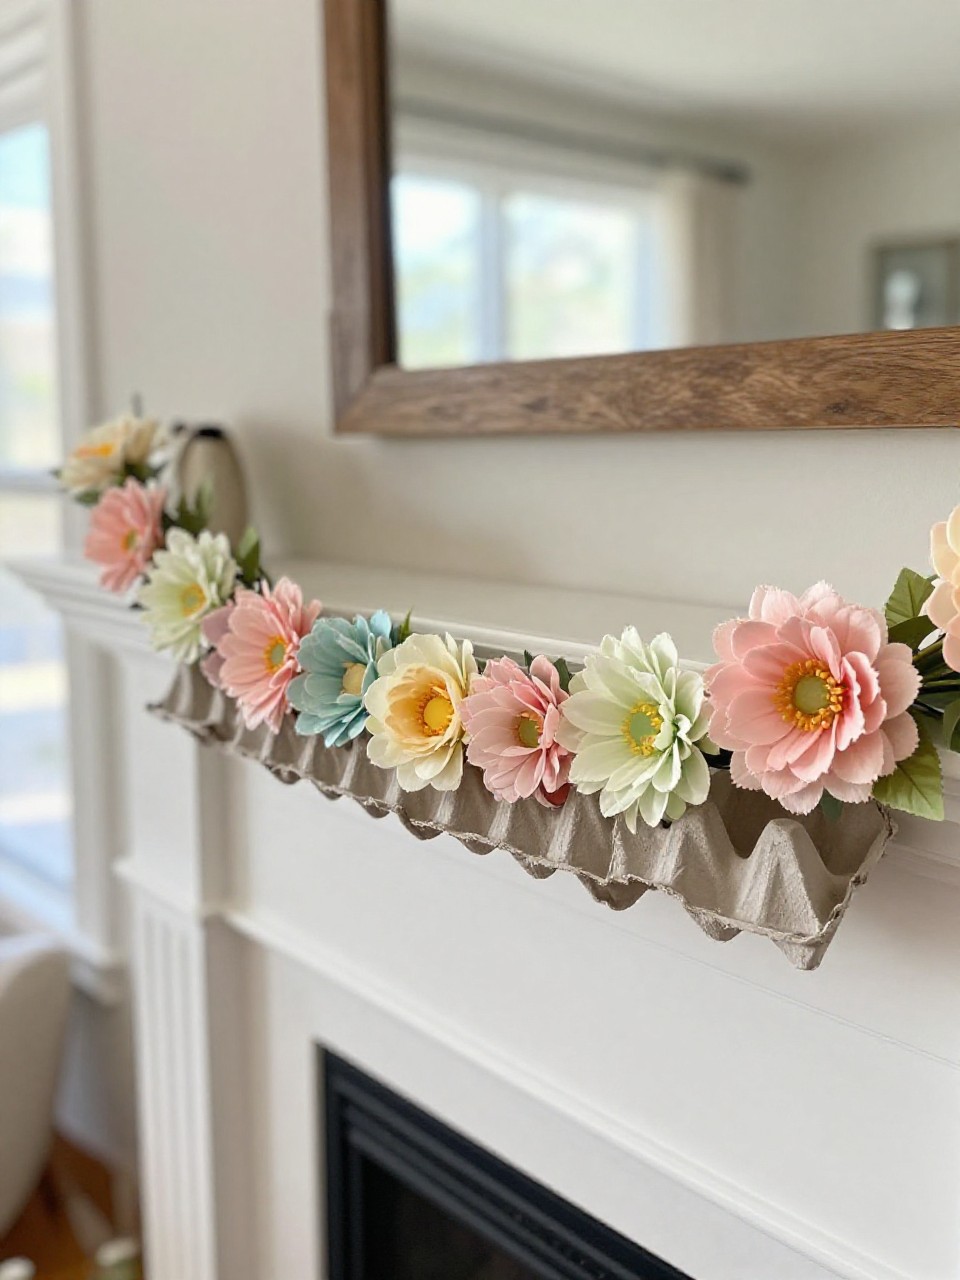
Turn trash into treasure with richly layered blooms cut from a humble egg carton. The finished garland feels plush and sculptural, like a boutique window display.
Materials Needed:
- Cardboard egg carton
- Acrylic paints + brush
- Twine or ribbon
How to make it:
- 1. Cut cups into petal rings and small circles for centers.
- 2. Paint pieces in soft spring tones; let dry.
- 3. Stack petals from largest to smallest; glue each layer.
- 4. Thread finished flowers onto twine, spacing evenly.
3. Watercolor Bloom Place Cards
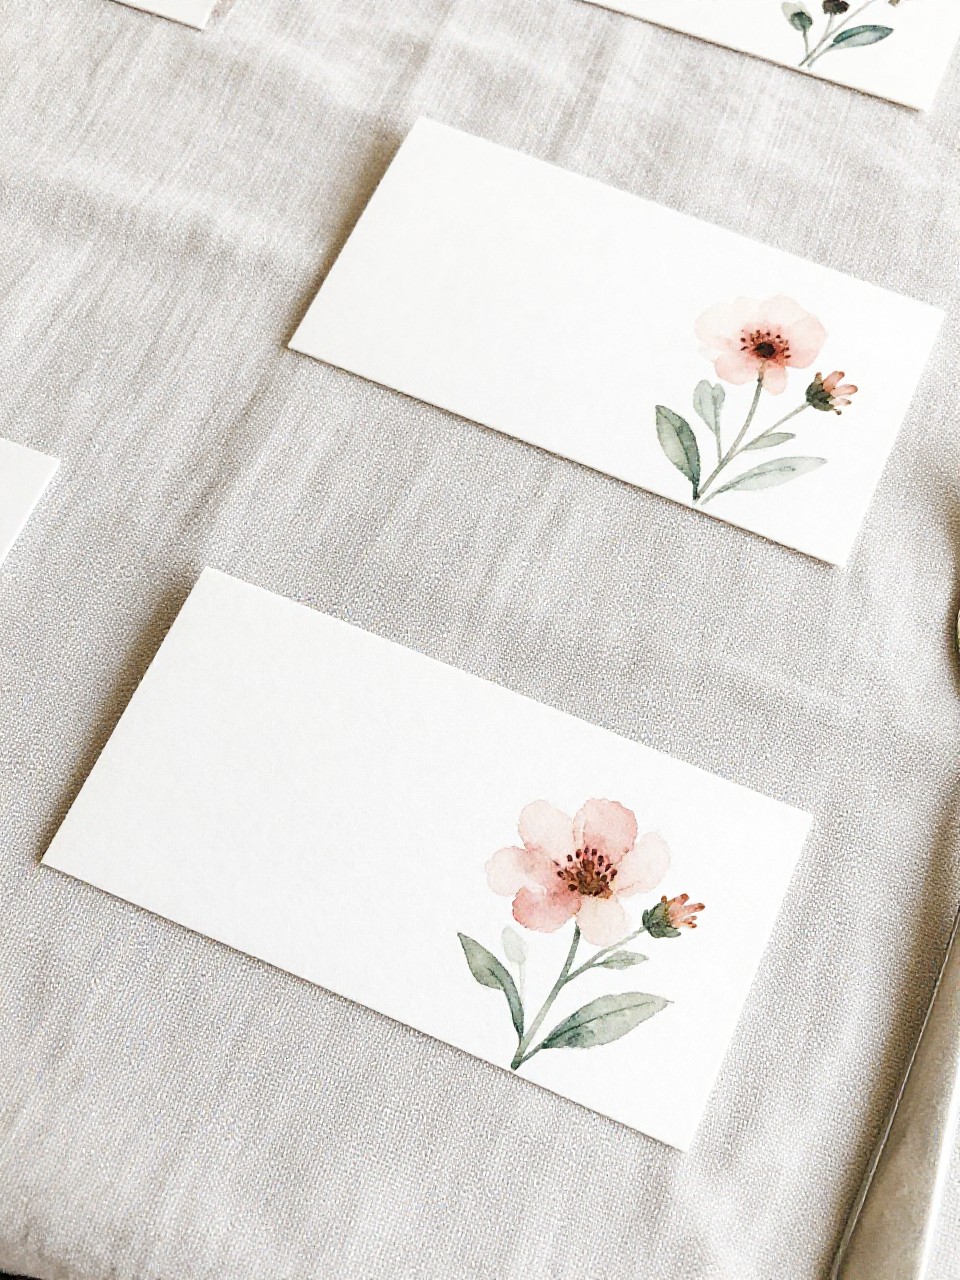
These dreamy, hand-painted cards make any table feel like a garden party. The loose watercolor look hides mistakes and looks effortlessly chic.
Materials Needed:
- Watercolor paper or blank cards
- Watercolor paints + brush
- Black fine-tip pen
How to make it:
- 1. Lightly wet the card front with clean water.
- 2. Dab on petal shapes in two shades; let colors blend.
- 3. Add a small painted center and a few leaves.
- 4. Once dry, letter names with a fine pen.
4. Blooming Candle Cloche with Faux Petals
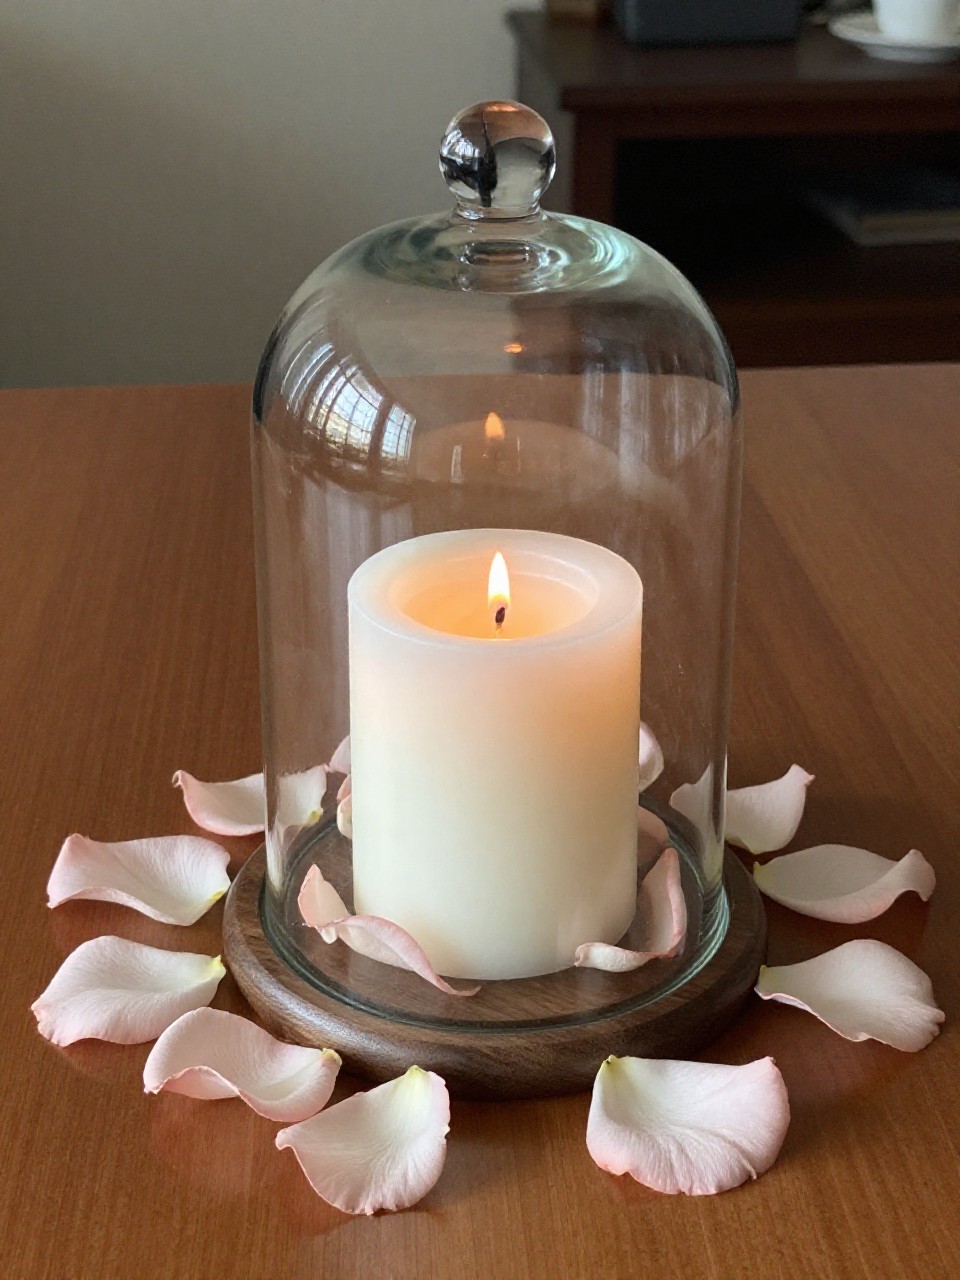
A tiny world under glass that feels luxe and giftable. The petals catch the light and make any plain candle look special.
Materials Needed:
- Small pillar or jar candle
- Glass cloche or upside-down jar
- Faux flower petals
How to make it:
- 1. Place candle on a small dish or coaster.
- 2. Scatter faux petals around the base.
- 3. Gently lower the cloche over the candle.
- 4. Adjust petals with tweezers to fill any gaps.
5. Polymer Clay Flower Trinket Dishes
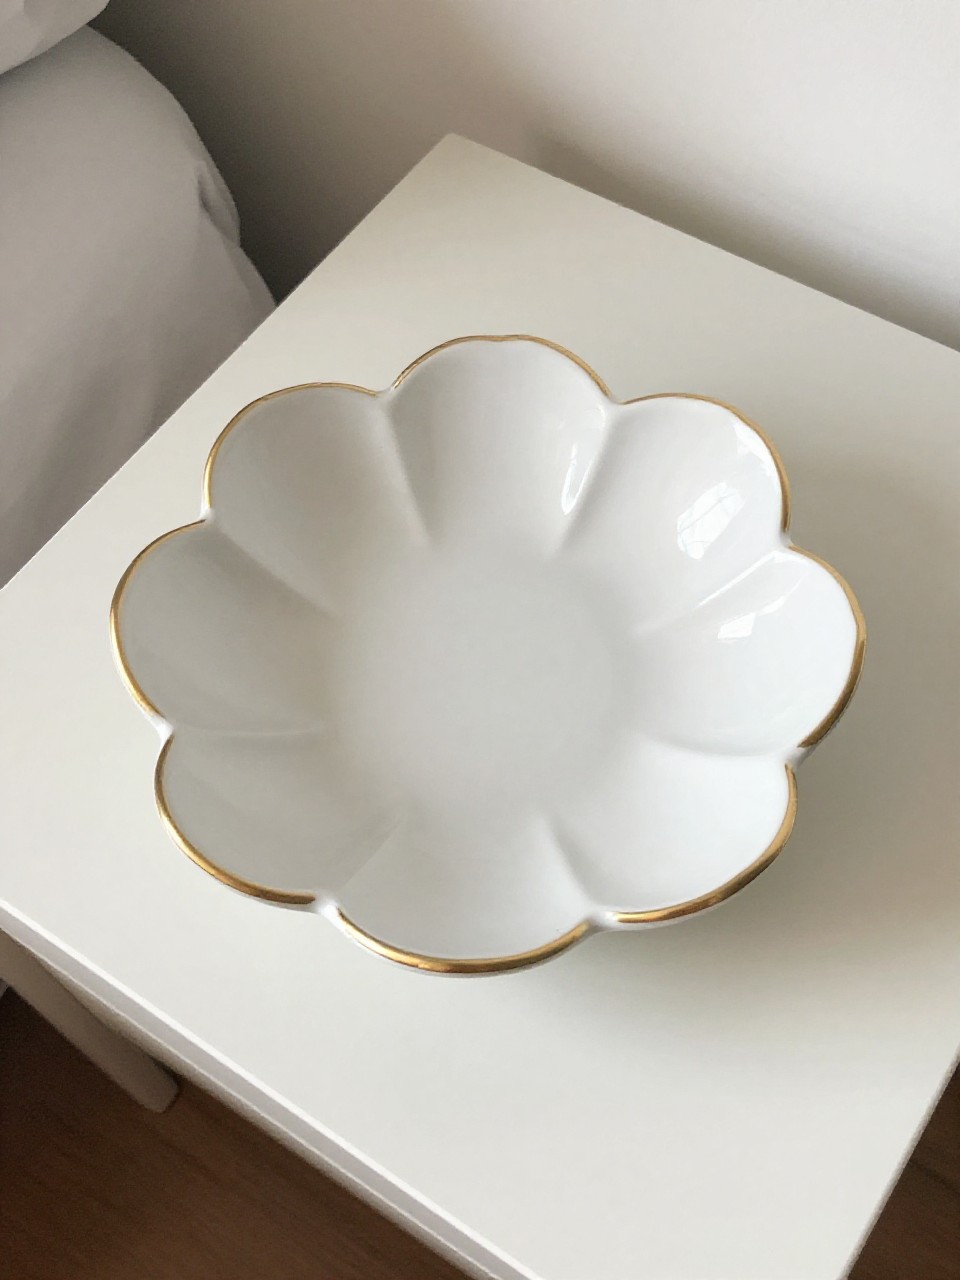
Soft, scalloped blooms that hold rings and keys with charm. The clay bakes hard and smooth, and the gold-edged petals feel like jewelry themselves.
Materials Needed:
- White polymer clay
- Gold acrylic paint or gold leaf
- Oven-safe bowl (as a mold)
How to make it:
- 1. Roll clay to 1/8 inch and cut a circle; snip five scallops for petals.
- 2. Drape the circle into an inverted bowl to create a shallow dish.
- 3. Bake per package directions; let cool fully.
- 4. Paint petal edges gold for a luxe finish.
6. Floral Stamped Tea Towels
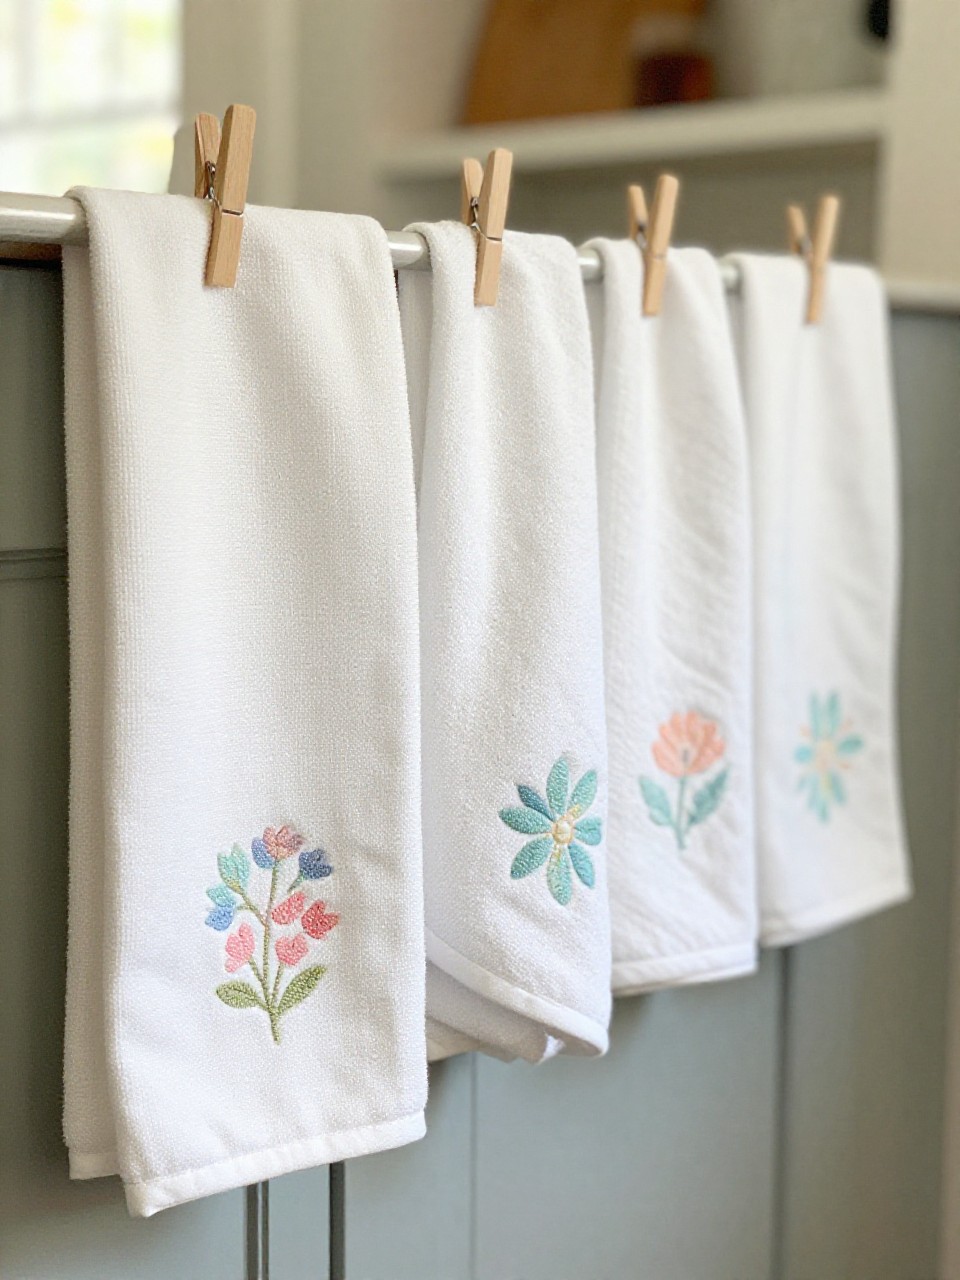
Crisp tea towels get a garden upgrade with simple stamped blooms. The repeat pattern looks designer but takes minutes.
Materials Needed:
- Plain cotton tea towels
- Craft foam + scissors
- Fabric paint
How to make it:
- 1. Cut flower and leaf shapes from craft foam.
- 2. Glue foam shapes onto scrap wood or cardboard to make stamps.
- 3. Brush fabric paint onto stamps and press onto towels.
- 4. Heat-set paint according to instructions.
7. Mason Jar Wildflower Light
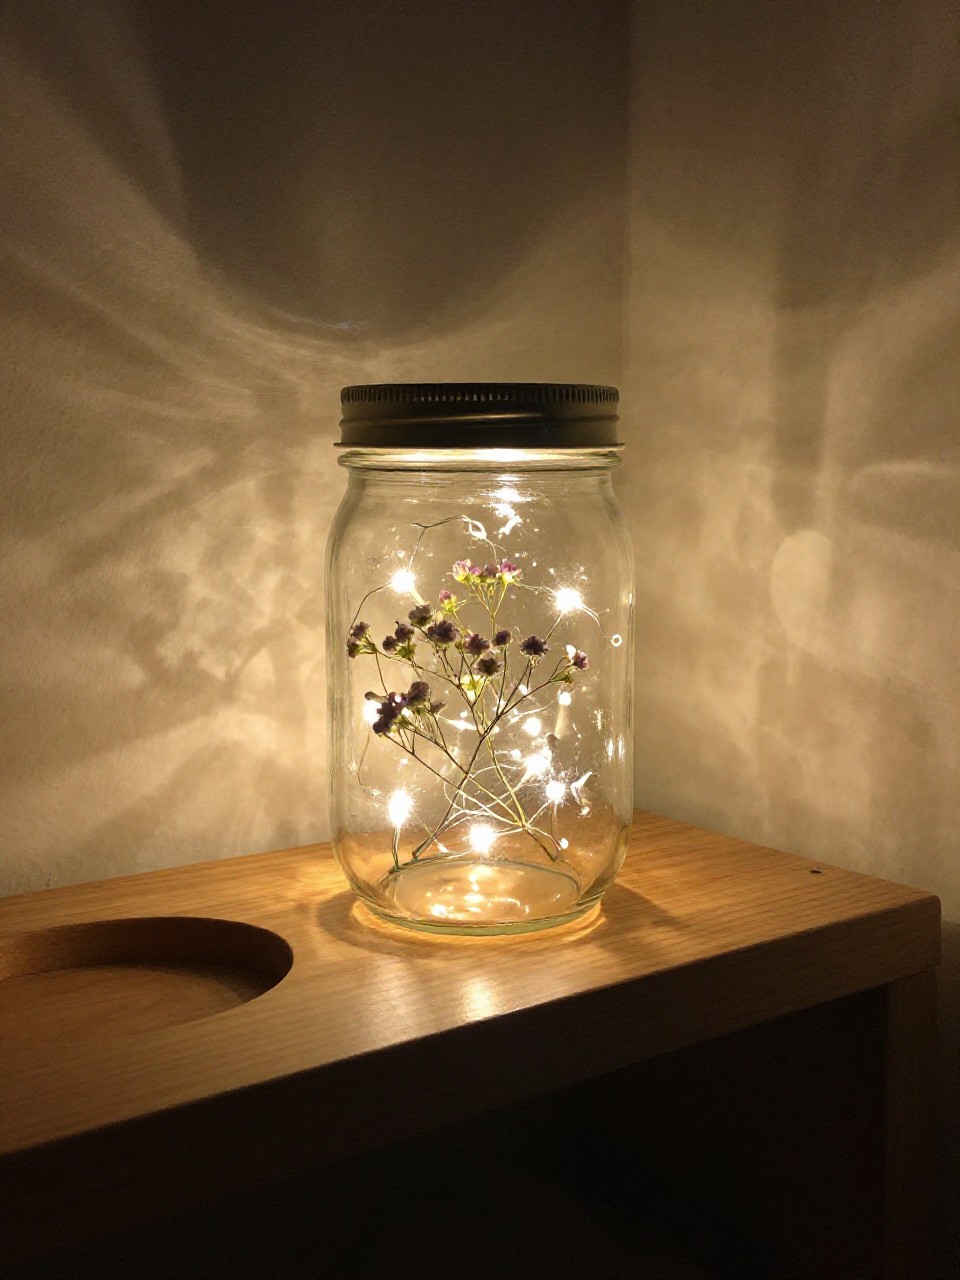
A jar full of tiny blooms that glows softly at night—like catching fireflies in a meadow. It’s cozy, whimsical, and perfect for a nightstand.
Materials Needed:
- Mason jar
- Faux mini wildflowers
- Battery fairy lights
How to make it:
- 1. Coil fairy lights loosely in the jar, leaving switch accessible.
- 2. Tuck faux stems around the lights for even color.
- 3. Add more flowers near the glass for a full look.
- 4. Close lid loosely and switch on.
8. Coffee Filter Peony Bouquet
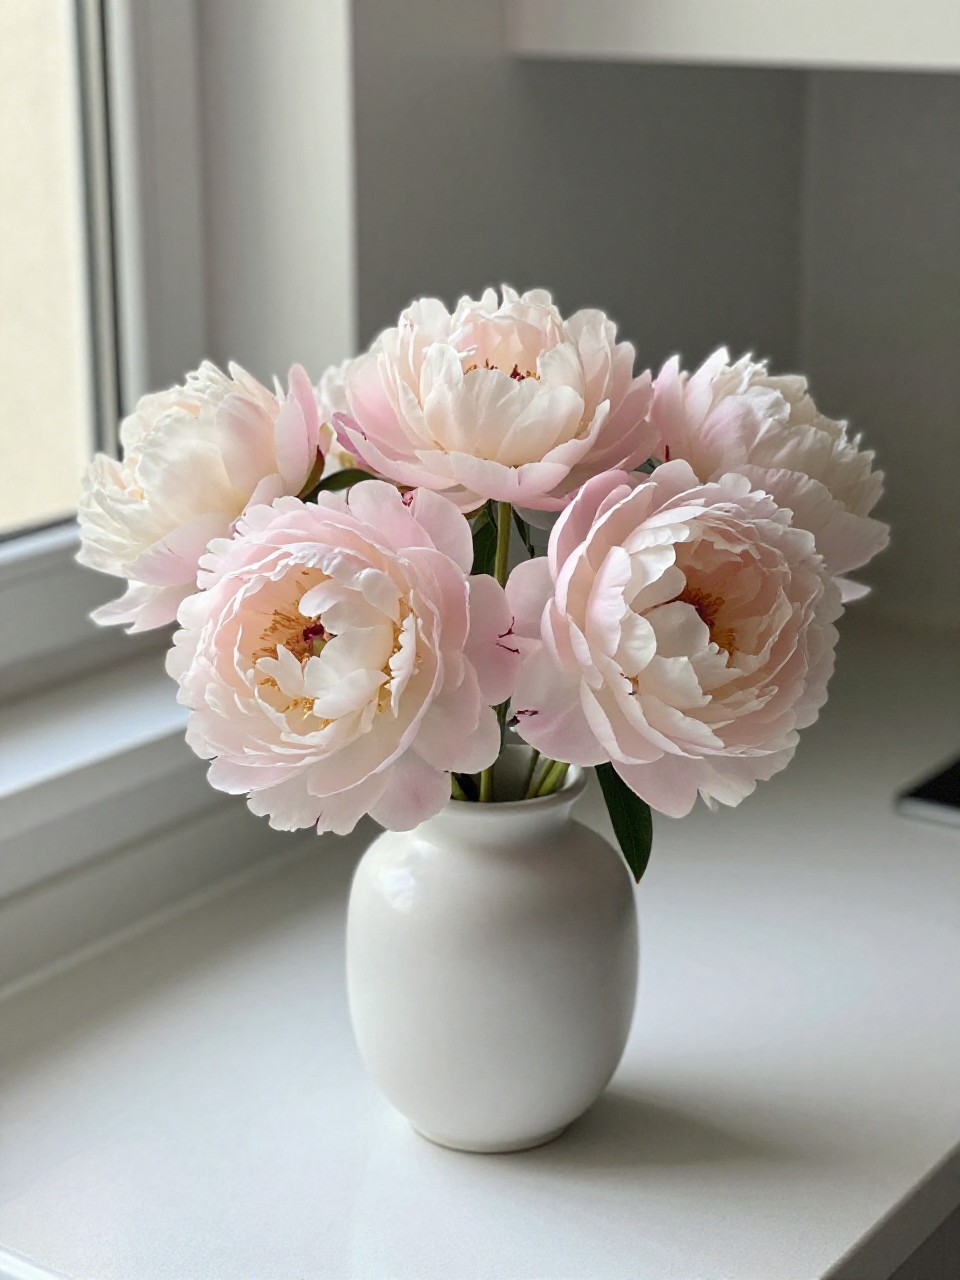
Ruffled, cloud-like peonies from everyday filters look unbelievably real. They’re light, airy, and perfect for a vase that needs volume.
Materials Needed:
- Basket-style coffee filters
- Floral wire + tape
- Watercolor or diluted food coloring
How to make it:
- 1. Dye filters in pastel wash; dry completely.
- 2. Stack 6–8 filters, fold into quarters, and snip petal curves.
- 3. Unfold, layer on wire stem, and wrap base with floral tape.
- 4. Fluff petals outward to shape the bloom.
9. Botanical Clay Wall Tiles
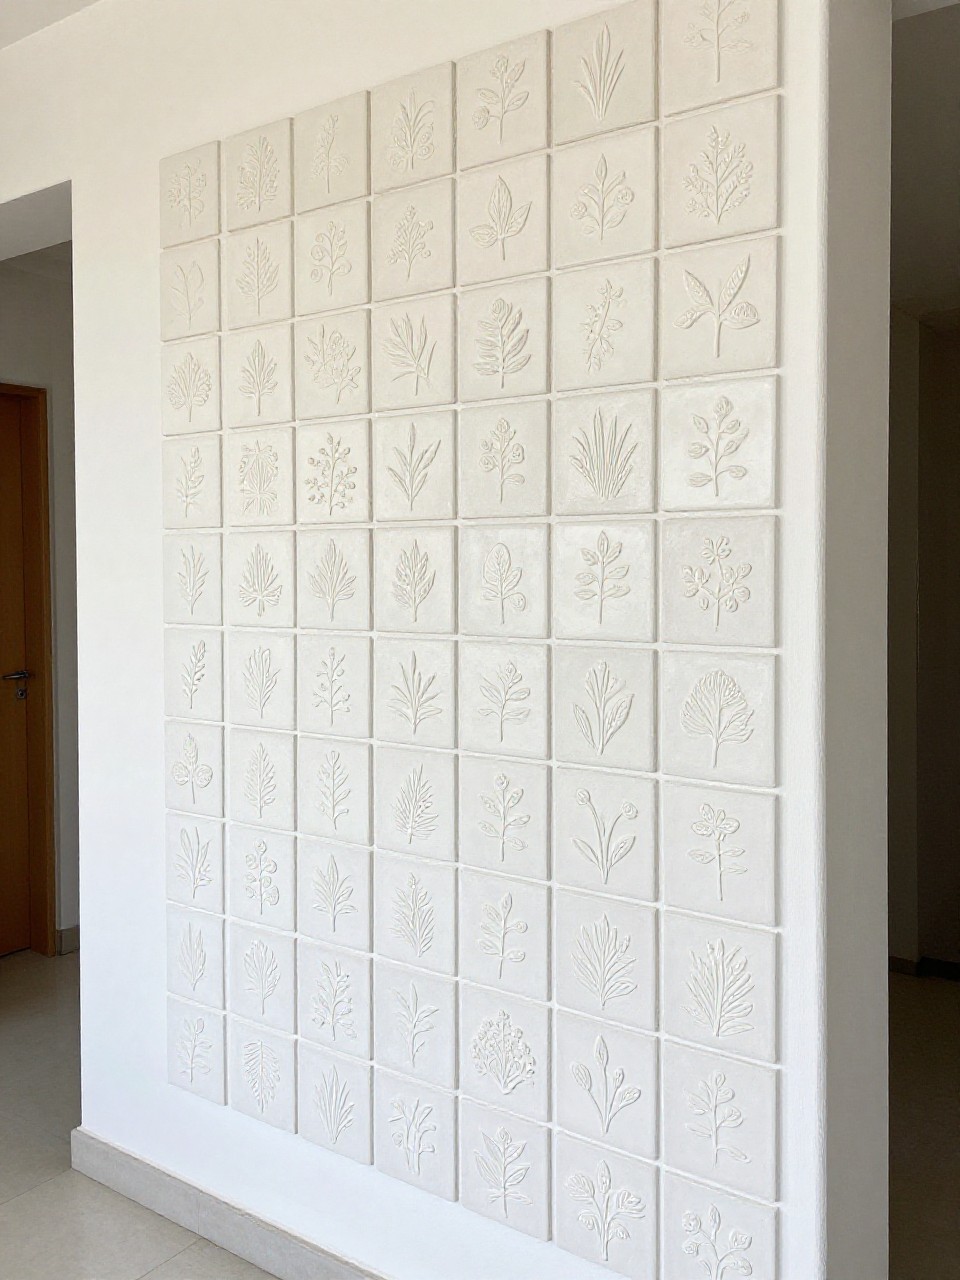
Little square tiles with pressed leaves and blooms feel like modern fossils. Hang a grid for a clean, gallery vibe.
Materials Needed:
- Air-dry clay
- Pressed leaves/flowers
- Craft knife
How to make it:
- 1. Roll clay to 1/4 inch and cut even squares.
- 2. Gently press botanicals into the surface to leave impressions.
- 3. Remove botanicals, smooth edges, and let dry fully.
- 4. Hang with command strips or add a small hole before drying.
10. Floral Resin Bookmark (No-Mess Hack)
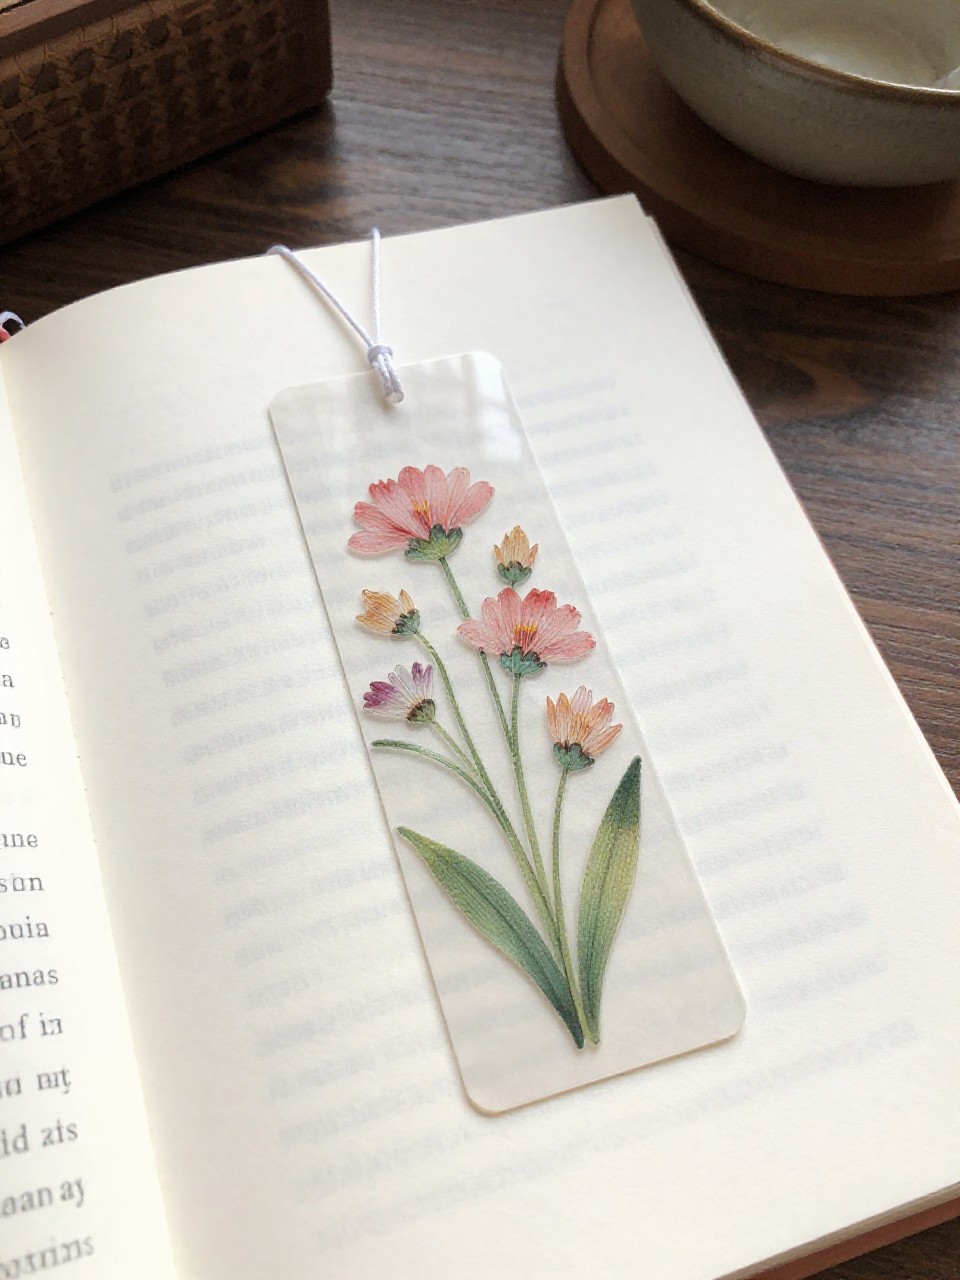
A crystal-clear bookmark with tiny petals floating inside—lightweight and giftable. We use sticker resin sheets so beginners skip the sticky pour.
Materials Needed:
- Clear self-adhesive laminating sheets
- Pressed mini flowers
- Ribbon
How to make it:
- 1. Cut two matching bookmark rectangles from laminating sheet.
- 2. Arrange pressed flowers on one, sticky side up.
- 3. Carefully seal with the second sheet, smoothing bubbles.
- 4. Punch a hole and tie a ribbon.
11. Painted Terra-Cotta “Meadow” Pots
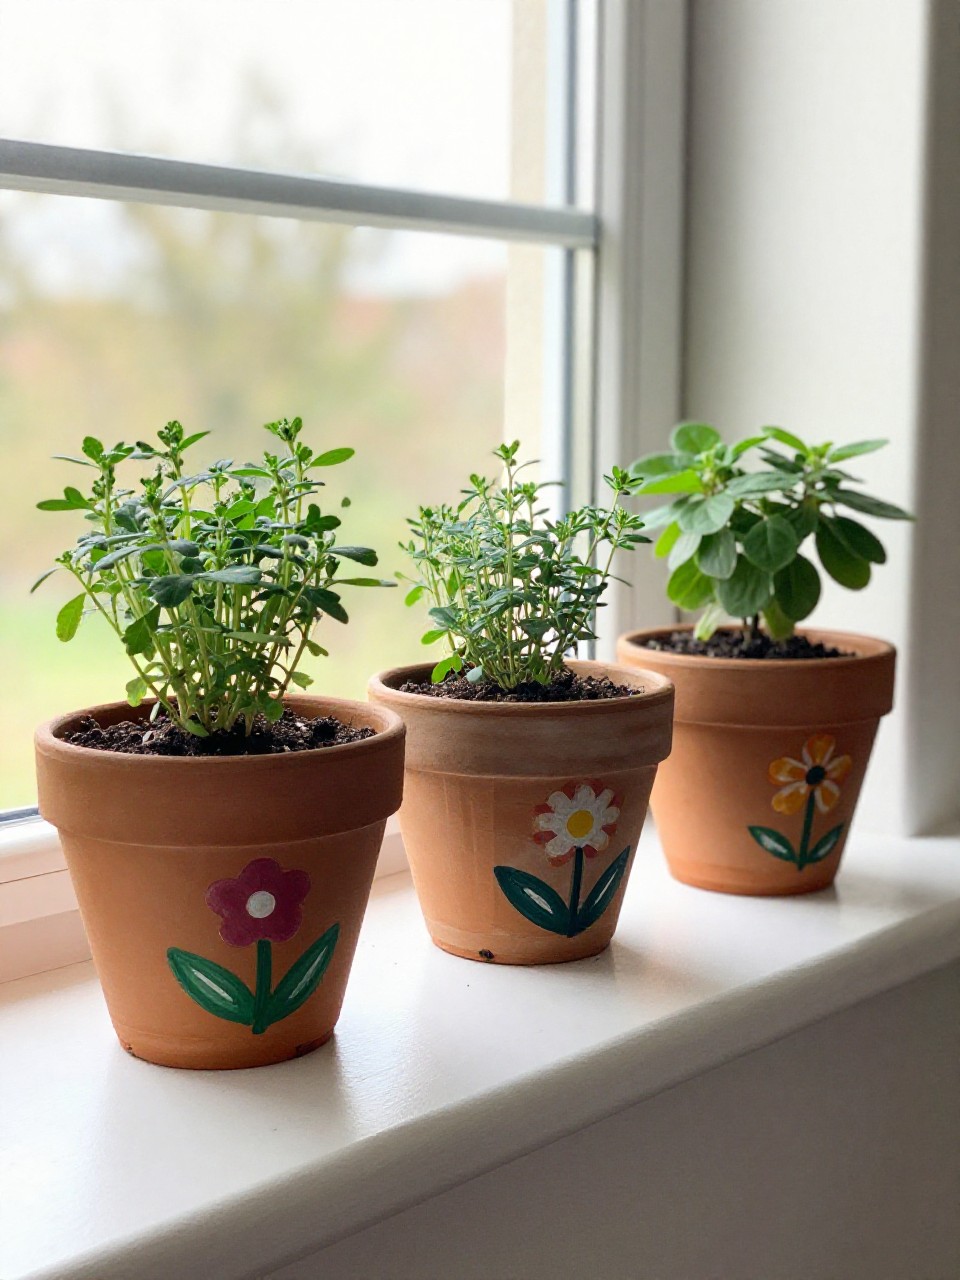
A simple pot becomes a tiny meadow with dotted florals and swaying stems. The loose pattern hides slips and looks cheerful on any sill.
Materials Needed:
- Terra-cotta pot
- Acrylic paints + small brush
- Clear sealant (optional)
How to make it:
- 1. Wipe pot clean and paint a base coat if desired; dry.
- 2. Add thin green stems and leaf flicks around the pot.
- 3. Dot on colorful petals and centers; layer for depth.
- 4. Seal lightly once fully dry.
12. Ribbon Tulip Wreath
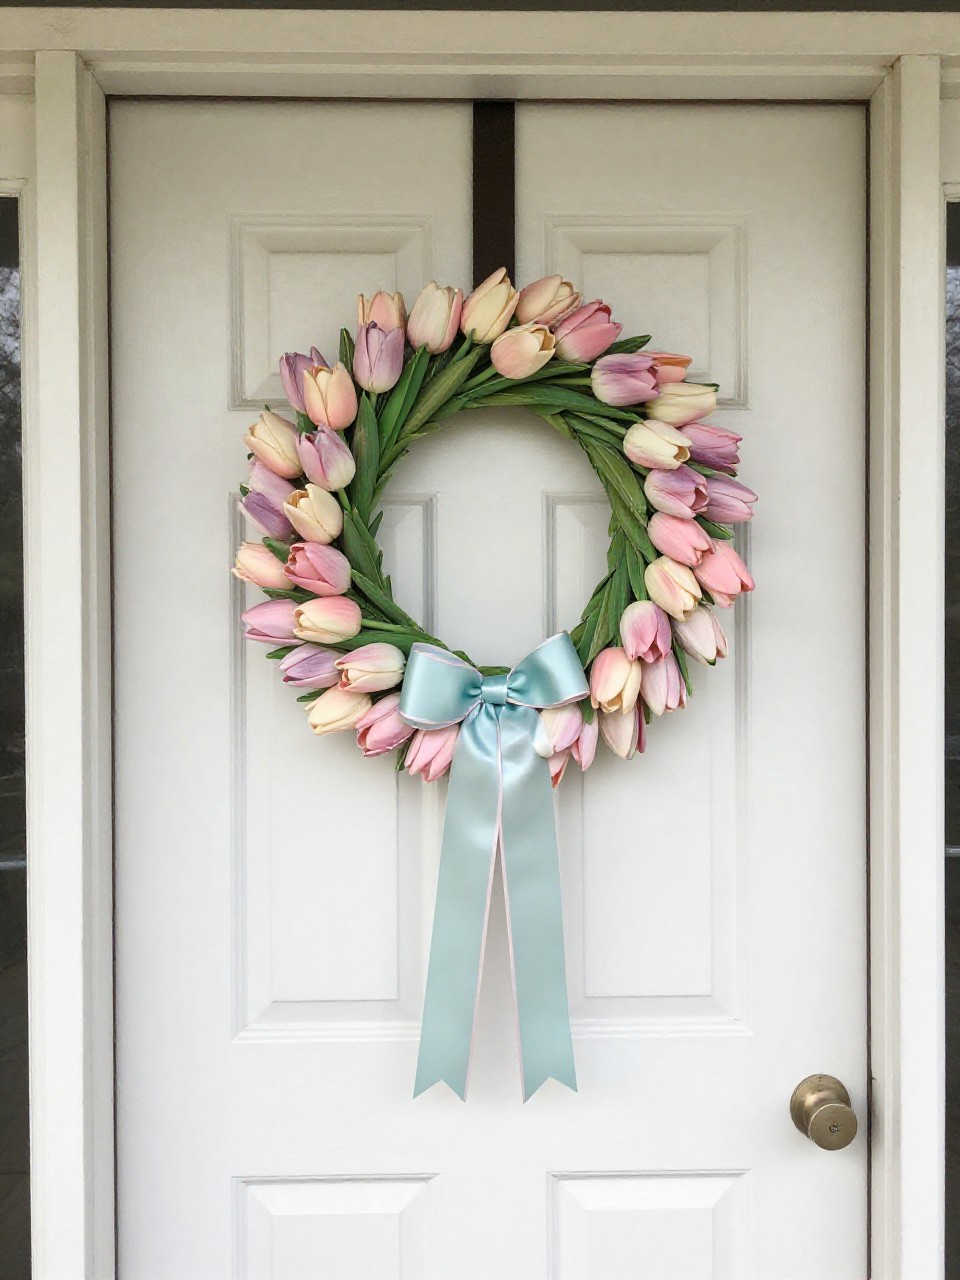
This wreath looks crisp and tailored but goes together in under an hour. The satin loops mimic tulip petals for a fresh front-door look.
Materials Needed:
- Foam wreath form
- Wide satin ribbon (two colors)
- Straight pins
How to make it:
- 1. Wrap the wreath form with ribbon; pin ends to secure.
- 2. Cut short ribbon strips and fold into petal loops.
- 3. Pin loops in rows around the form, alternating colors.
- 4. Add a hanging loop on the back with a pinned ribbon.
13. Seed Paper Gift Tags with Petal Confetti
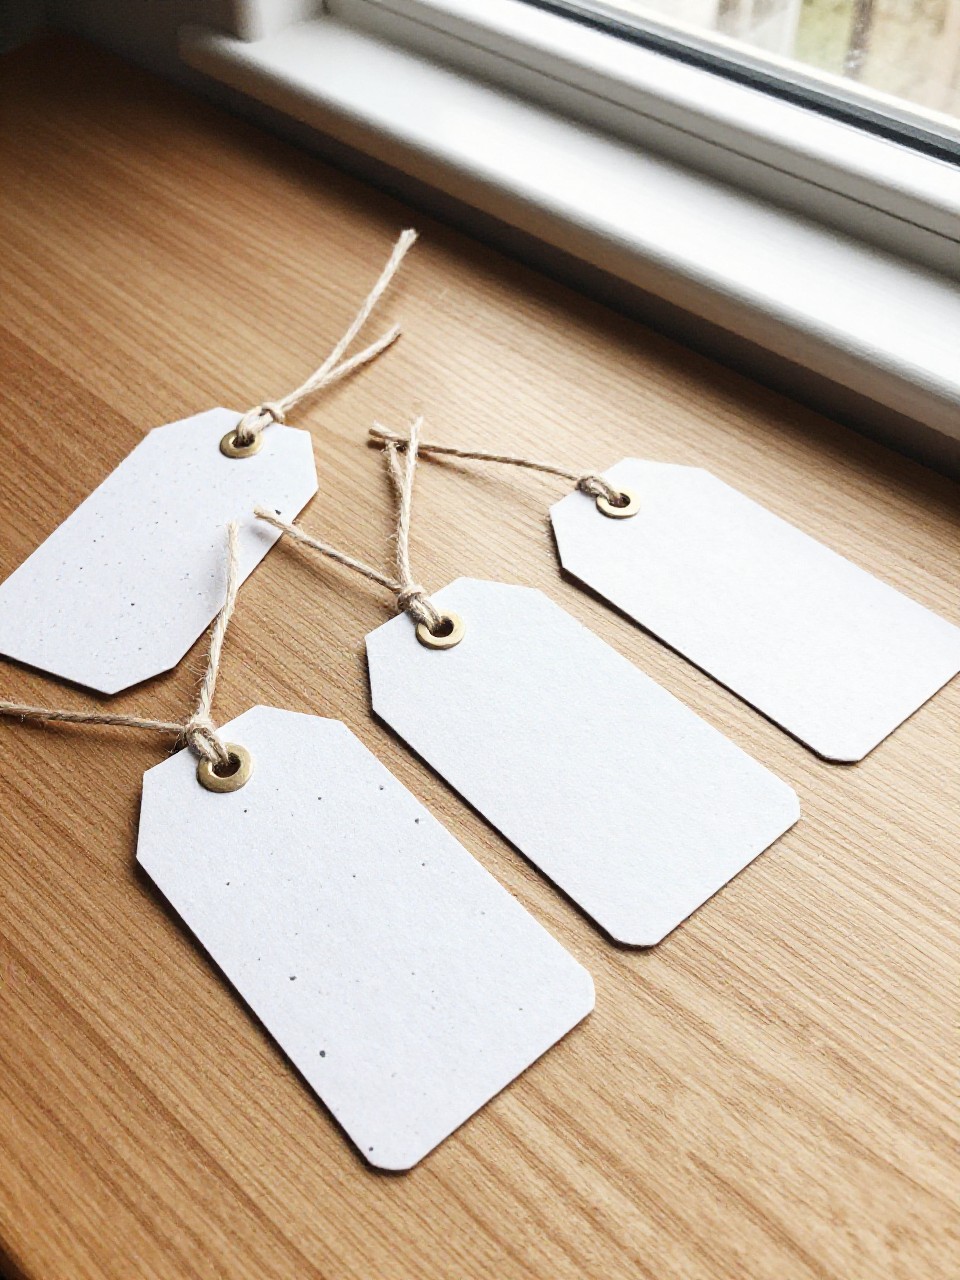
Earth-friendly tags speckled with real petals look charming and can be planted later. They make any gift feel thoughtful.
Materials Needed:
- Scrap paper (soaked)
- Wildflower seeds
- Dried petal confetti
How to make it:
- 1. Blend soaked paper with water into pulp.
- 2. Stir in seeds and petal confetti gently.
- 3. Spread thinly on a screen or towel; press and dry flat.
- 4. Cut into tag shapes; punch holes and add twine.
14. Floral Shadowbox with Fabric Scraps
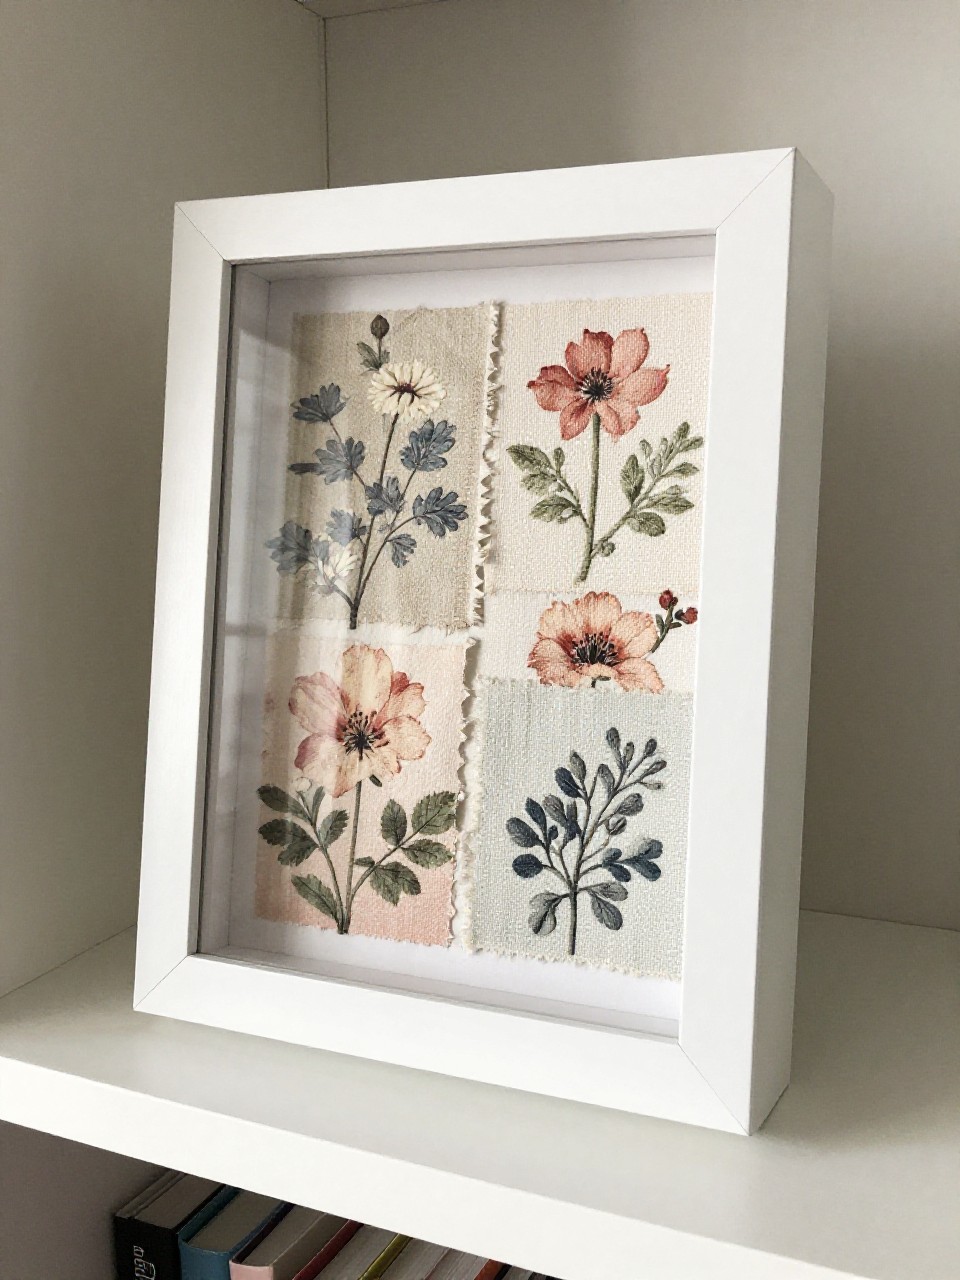
Create a dimensional collage that feels like slow art but finishes quick. Layered fabric petals add texture and cozy color.
Materials Needed:
- Shadowbox frame
- Fabric scraps
- Double-sided tape or fabric glue
How to make it:
- 1. Cut petal and leaf shapes from coordinating fabrics.
- 2. Arrange on the shadowbox backing in loose flower clusters.
- 3. Layer pieces from large to small; secure edges with tape or glue.
- 4. Close the box and fluff any lifted edges with a skewer.
15. Mini Bud Vase Magnet Set
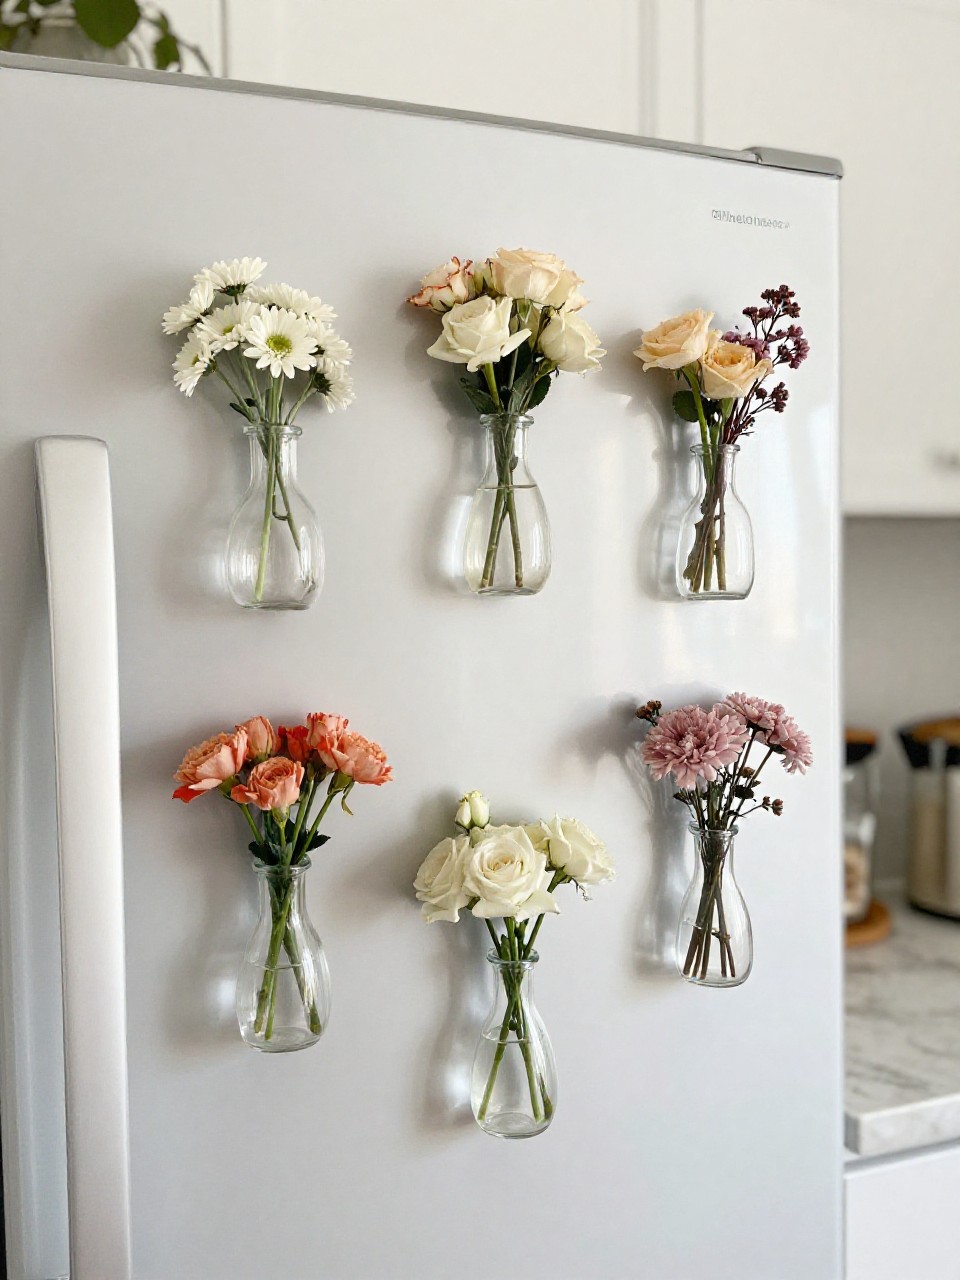
Tiny magnetic vases turn your fridge into a spring gallery. A single stem in each looks minimal and fresh.
Materials Needed:
- Test tubes or small cork bottles
- Strong magnets
- E6000 or strong adhesive
How to make it:
- 1. Clean and dry the vases completely.
- 2. Glue a magnet to the back of each; let cure fully.
- 3. Add a little water and a small fresh or faux stem.
- 4. Place on the fridge in a pleasing cluster.
16. Paper Napkin Decoupage Flower Tray
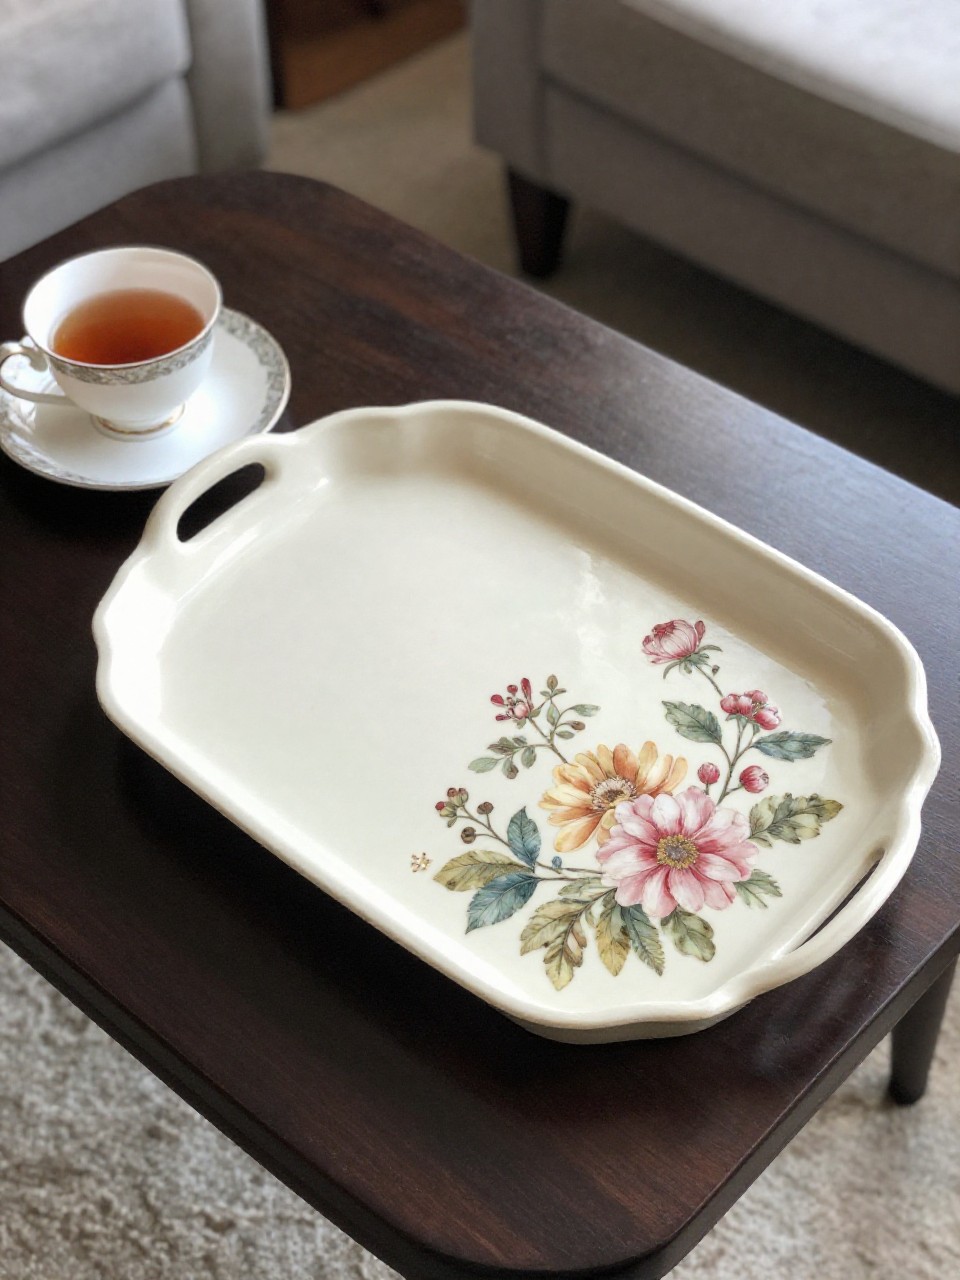
A thrifted tray becomes a showpiece with floral napkins and a glossy finish. It’s shockingly easy and looks store-bought.
Materials Needed:
- Wooden tray
- Floral paper napkins (2-ply or 3-ply)
- Mod Podge + brush
How to make it:
- 1. Paint tray base if desired; let dry.
- 2. Separate napkin to the top printed ply.
- 3. Brush Mod Podge onto tray; lay napkin gently and smooth.
- 4. Seal with a top coat once dry.
17. Wire and Bead Wildflower Stems
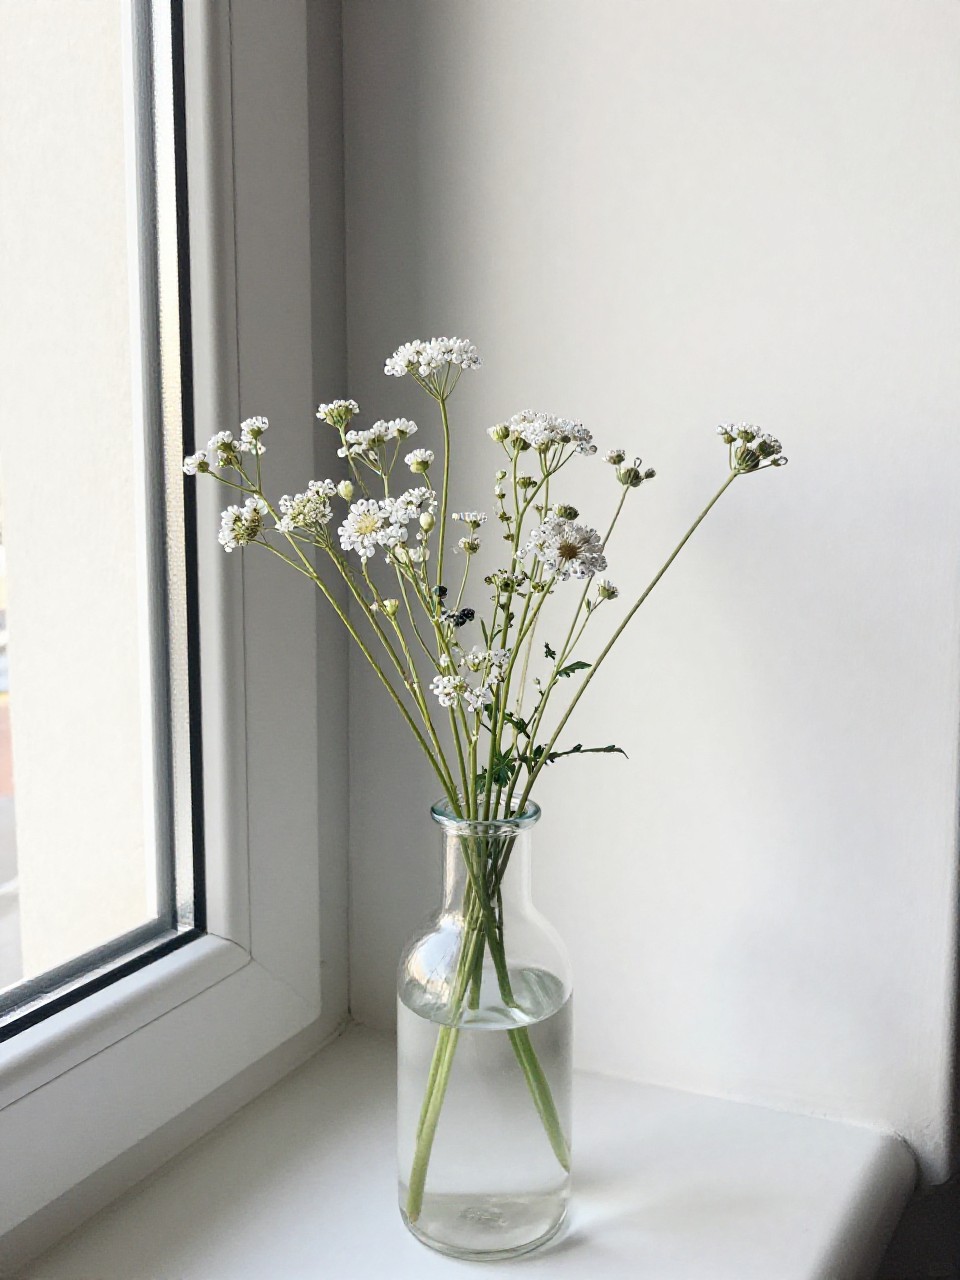
Delicate stems sparkle like dew-kissed blooms. Cluster a few in a bud vase for a modern, airy look.
Materials Needed:
- Thin craft wire
- Small glass beads
- Floral tape
How to make it:
- 1. Thread beads onto wire and twist to form tiny petals and centers.
- 2. Build 3–5 blooms per stem, leaving a long tail.
- 3. Wrap tails together with floral tape to form one stem.
- 4. Bend leaves from extra wire and tape them in place.