

Table of Contents Show
Preschoolers love making things with their hands, but most days you don’t have time to prep fussy projects. You want crafts that look amazing on the fridge, teach a tiny bit of upcycling, and won’t leave glitter in your couch for the next decade.

These recycled ideas are fresh, simple, and secretly low-effort—perfect for short attention spans and small hands. Grab the recycling bin, a glue stick, and a calm cup of coffee.
Let’s make something beautiful without a craft store run.
1. Painted Rainforest Shakers
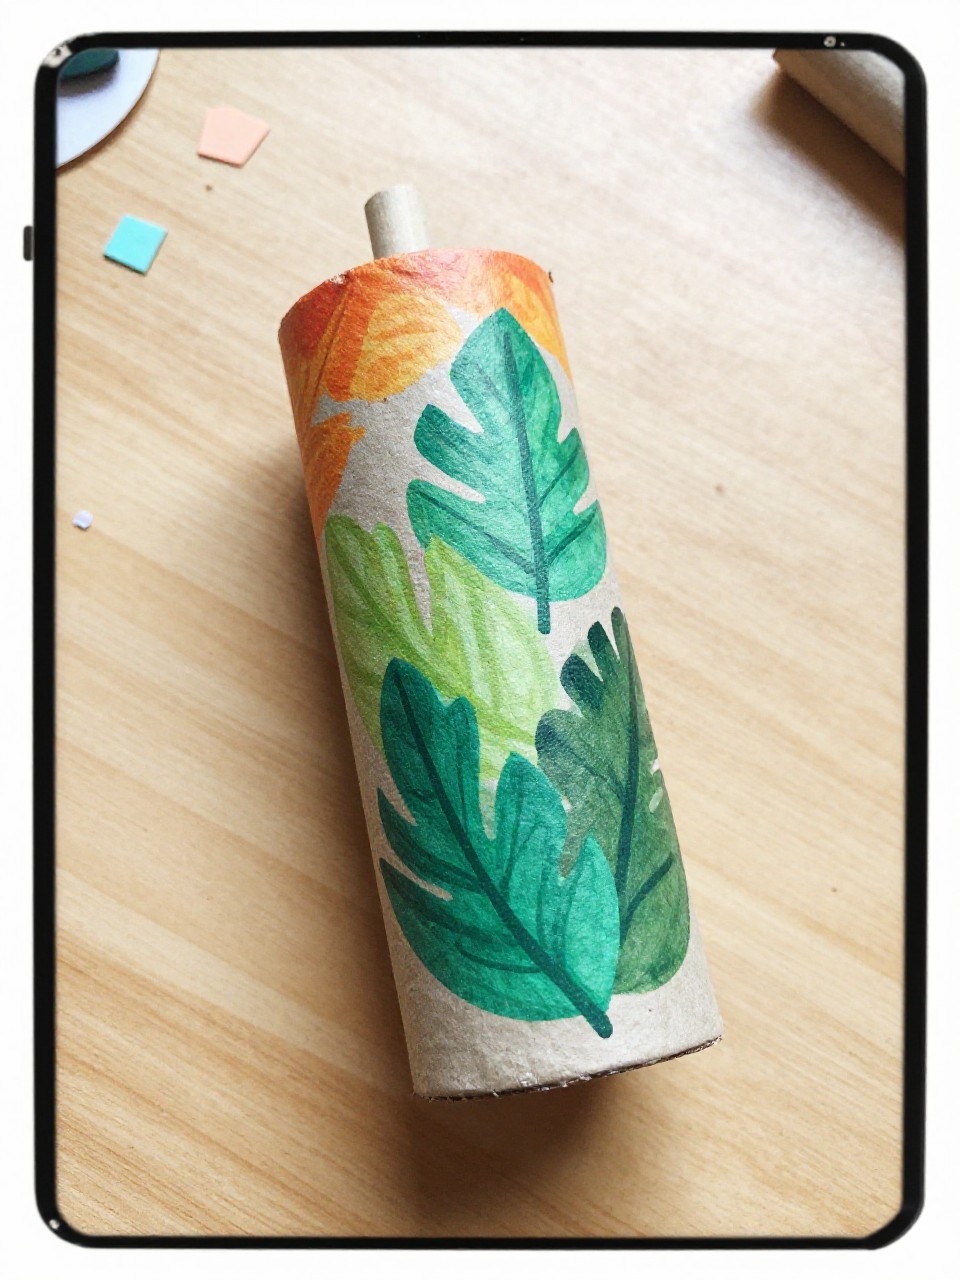
Turn cardboard tubes into mini rainsticks that sound and look lush. Kids can swirl paint and stickers to make leafy, tropical patterns that feel grown-up but are quick to pull off.
Materials Needed:
- Cardboard toilet paper tube
- Dry rice or lentils
- Washi tape or masking tape
- Paint or markers
How to make it:
- 1. Tape one end of the tube closed.
- 2. Pour a small handful of rice or lentils inside.
- 3. Tape the other end shut, then wrap more tape around for strength.
- 4. Paint leafy shapes or add stickers for a rainforest vibe.
2. Button-Top Bottle Cap Mushrooms

These tiny mushrooms look like fairy garden treasures and use up stray bottle caps. The glossy caps and bright buttons make a whimsical, display-worthy finish.
Materials Needed:
- Plastic bottle caps
- Buttons (various sizes)
- White glue or tacky glue
- Cardboard scrap for stems
How to make it:
- 1. Cut short cardboard stem strips and roll into small tubes.
- 2. Glue a stem inside each bottle cap to stand upright.
- 3. Glue a button on top of the cap or inside it for spots.
- 4. Let dry and cluster them like a mini mushroom patch.
3. Sun-catcher Lid Windows

Old clear food lids become sparkling window art. When sunlight hits the colored shapes, it throws pretty hues across the room.
Materials Needed:
- Clear plastic lids (from salad greens or takeout)
- Tissue paper scraps
- Glue stick
- String or tape
How to make it:
- 1. Cut the lid into a simple shape (circle, heart, sun).
- 2. Brush a thin glue layer and press tissue pieces onto the plastic.
- 3. Add more glue on top to seal and smooth.
- 4. Punch a hole and hang with string in a sunny window.
4. Story Stones from Cardboard Coins

Make easy “stones” from layered cardboard and turn them into picture prompts. Kids draw simple icons that spark make-believe stories and quiet time play.
Materials Needed:
- Cardboard (cereal boxes)
- Markers or paint sticks
- Glue stick
- Bottle cap for tracing circles
How to make it:
- 1. Trace and cut 2–3 cardboard circles for each coin.
- 2. Glue layers to make thicker “stones.”
- 3. Draw simple images: sun, fish, star, tree.
- 4. Let dry and keep in a pouch for storytelling games.
5. Egg Carton Garden Boats

These floaty little boats look charming with paper flags. They’re perfect for sink play or puddle adventures and dry fast for round two.
Materials Needed:
- Paper egg carton
- Drinking straws or sticks
- Scrap paper for flags
- Tape or glue
How to make it:
- 1. Cut egg carton into single cups or sets of two.
- 2. Poke a small hole and insert a straw as a mast.
- 3. Tape a paper triangle to the straw for a flag.
- 4. Seal edges with tape if you want extra float time.
6. Collage Creatures from Junk Mail

Junk mail turns into funky animal pals with bold patterns. Kids love hunting for eyes, stripes, and “fur” in the ads.
Materials Needed:
- Junk mail/magazines
- Glue stick
- Child-safe scissors
- Cardstock base
How to make it:
- 1. Cut out shapes for bodies, heads, ears, and tails.
- 2. Arrange and glue onto cardstock to build creatures.
- 3. Add eyes, spots, and whiskers from smaller scraps.
- 4. Outline with marker for a crisp, finished look.
7. Tin Foil Textured Crowns

These shiny crowns look like metalwork but are soft and light. Kids press patterns that catch the light like jewels.
Materials Needed:
- Cardboard strip (cereal box)
- Aluminum foil
- Glue stick or tape
- Stickers or washi tape (optional)
How to make it:
- 1. Cut a crown band shape from cardboard.
- 2. Wrap and glue foil tightly around the band.
- 3. Press patterns with a blunt pencil or bottle cap edges.
- 4. Fit to head and tape ends, then add stickers if you like.
8. Secret Pocket Notebooks

Turn a pasta box into a tiny notebook with a hidden pocket. It looks store-bought but takes minutes and feels magical for treasures.
Materials Needed:
- Empty cardboard food box
- Paper scraps
- Stapler or tape
- Stickers or markers
How to make it:
- 1. Cut a rectangle cover from the box and fold in half.
- 2. Stack paper scraps, fold, and staple into the cover.
- 3. Use a leftover flap to glue inside as a pocket.
- 4. Decorate the cover with markers and stickers.
9. Sock Top Puppets

Single socks find new life as adorable hand puppets. Simple faces and yarn hair make them playful and stage-ready fast.
Materials Needed:
- Clean lone sock
- Buttons or paper circles for eyes
- Yarn or fabric scraps
- Glue or needle and thread (adult help)
How to make it:
- 1. Slip the sock on a hand to mark eye and mouth spots.
- 2. Glue or sew on eyes and a felt or paper tongue.
- 3. Add yarn hair or ears from scraps.
- 4. Let dry and put on a living room puppet show.
10. Painted Leaf Print Flags
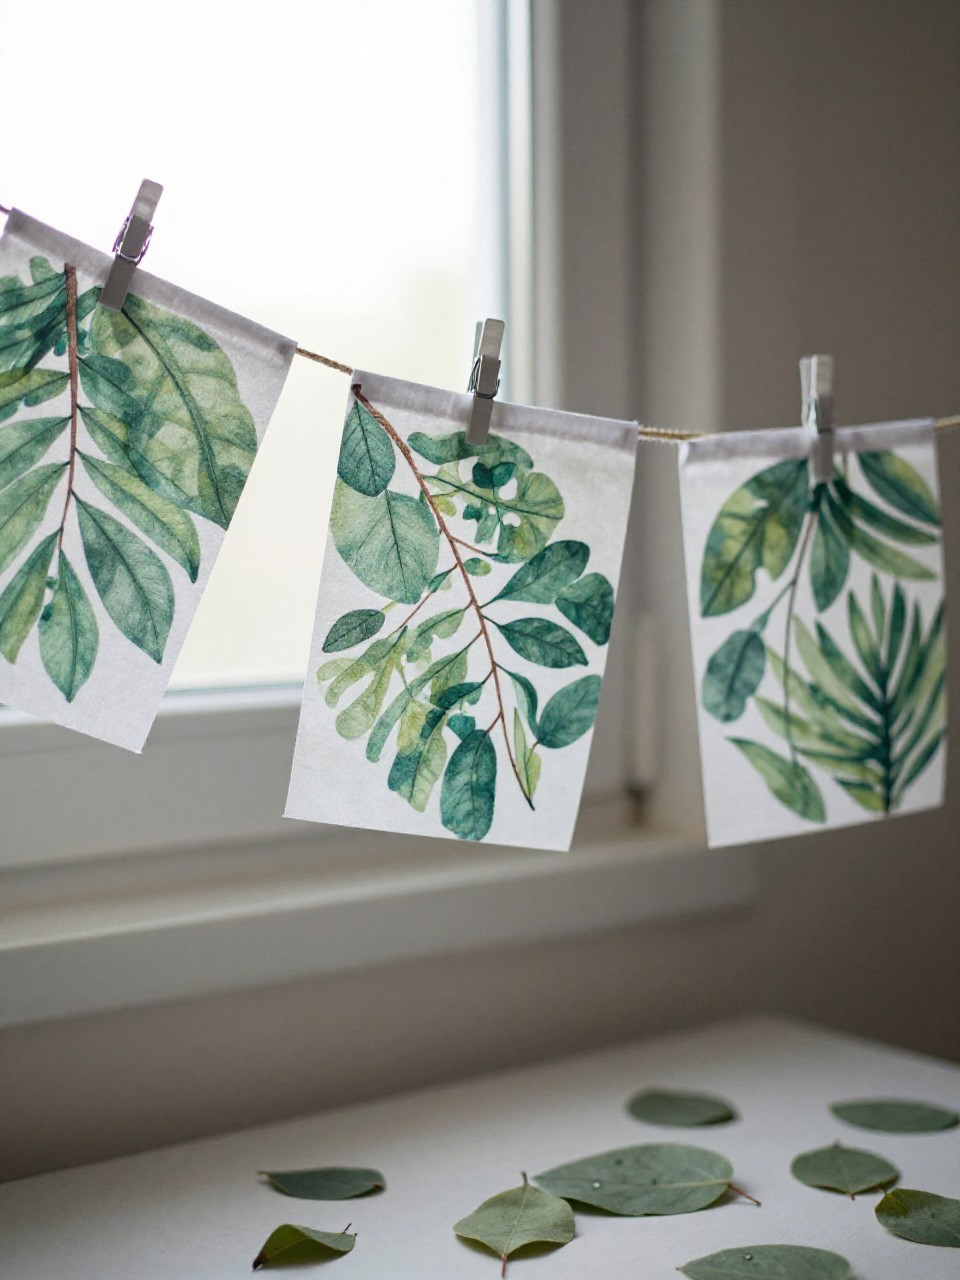
Crisp leaf prints look fancy but are super simple. Strung together, these flags make a nature-themed banner for a bedroom or play nook.
Materials Needed:
- Paper scraps or fabric strips
- Leaves (various shapes)
- Washable paint
- String
How to make it:
- 1. Brush paint onto the underside of a leaf.
- 2. Press the leaf onto paper or fabric and lift to reveal print.
- 3. Repeat with different leaves and colors.
- 4. Tape or clip flags onto a string to hang.
11. Milk Jug Firefly Lanterns

These glow bugs look magical on summer nights. The soft jug plastic diffuses light and the wings flutter when kids run.
Materials Needed:
- Small milk jug or translucent bottle
- Black paper or tape
- Pipe cleaners or paper wings
- Battery tea light
How to make it:
- 1. Clean and dry the jug; place a tea light inside.
- 2. Add black tape stripes and a simple face.
- 3. Tape on paper wings and twist pipe cleaners for antennae.
- 4. Turn on the light and carry by the handle.
12. Puzzle Piece Picture Frames

Odd puzzle leftovers become a textured, artsy frame. The layered pieces give a mosaic look you’ll want to keep.
Materials Needed:
- Leftover puzzle pieces
- Cardboard frame base
- Paint or markers
- Glue
How to make it:
- 1. Cut a simple frame shape from cardboard with a center opening.
- 2. Paint puzzle pieces in 2–3 colors and let dry.
- 3. Glue pieces around the frame, overlapping for texture.
- 4. Tape a photo or drawing to the back.
13. Crayon Box City Blocks

Empty crayon boxes turn into mini buildings for small-world play. Windows and rooftops drawn in bold marker make a cheerful skyline.
Materials Needed:
- Empty small boxes (crayon/tea boxes)
- Markers or paint
- Tape
- Paper scraps for signs
How to make it:
- 1. Seal box tops with tape.
- 2. Draw windows, doors, and bricks with marker or paint.
- 3. Add paper signs like “Library” or “Bakery.”
- 4. Arrange blocks to build a tiny city street.
14. Ocean-in-a-Bottle Calm Jar
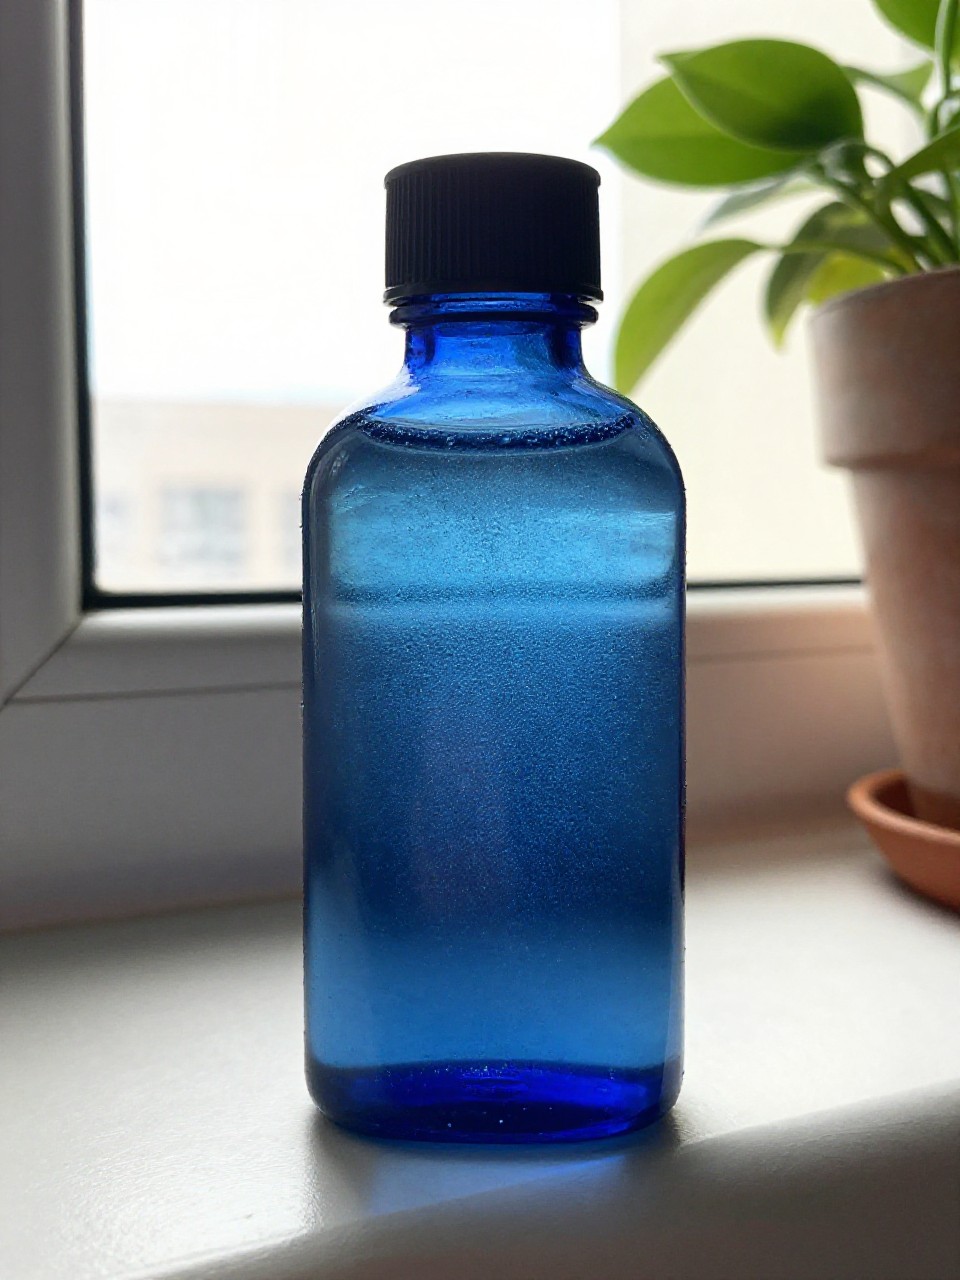
This soothing bottle looks like rolling waves and helps reset big feelings. The floating bits shimmer like sea foam.
Materials Needed:
- Clear plastic bottle with lid
- Water and a little oil
- Blue food coloring or paint
- Glitter or tiny beads (optional)
How to make it:
- 1. Fill bottle mostly with water; add a splash of oil.
- 2. Tint water lightly blue.
- 3. Sprinkle in glitter or beads if using.
- 4. Seal tightly and shake to watch the “ocean” move.
15. Cardboard Weaving Fish

Kids weave “scales” through a chunky cardboard fish. The over-under motion is calming and the result looks surprisingly polished.
Materials Needed:
- Cardboard (cereal box)
- Yarn or ribbon scraps
- Marker
- Tape
How to make it:
- 1. Draw and cut a fish shape from cardboard.
- 2. Cut simple slits across the body for weaving.
- 3. Tape one end of yarn to the back and weave over-under.
- 4. Tie off, then draw an eye and mouth to finish.