


Table of Contents Show
When you’re crafting with little kids, you want projects that feel magical without turning your table into a glue disaster. Ocean-themed crafts are perfect: calming colors, friendly sea creatures, and textures kids love to touch. The trick is finding ideas that look “wow” but are easy enough for tiny hands.
Below are 15 cute, beginner-friendly ocean crafts that use simple supplies, teach little skills, and make fridge-worthy art you’ll both be proud of.
1. Bubble-Wrap Jellyfish

These jellyfish look floaty and fancy thanks to bubbly texture prints and swishy yarn tentacles. Kids love pressing the painty bubble wrap and watching the pattern appear like ocean bubbles.
Materials Needed:
- Paper plate
- Bubble wrap + paint
- Yarn or ribbon
How to make it:
- 1. Cut the paper plate in half to make the jellyfish body.
- 2. Paint bubble wrap and press the plate onto it to transfer the bubbly texture.
- 3. Tape or glue yarn pieces to the flat edge for tentacles.
- 4. Add eyes with marker or stickers and let everything dry.
2. Sandpaper Starfish Rubbings

This starfish is touchable and sparkly, and the crayon rubbing makes a “reveal” moment kids adore. The sandpaper gives it a beachy, grainy look without the mess of real sand.
Materials Needed:
- Fine-grit sandpaper
- Crayons
- Cardstock
How to make it:
- 1. Cut a starfish shape from sandpaper.
- 2. Place it bumpy-side up under the cardstock.
- 3. Rub crayons over the top to reveal the starfish texture.
- 4. Add dots or lines with white crayon or glue on a few sequins.
3. Paper Strip Weaving Fish

This color-block fish looks like fancy stained glass but is just simple weaving. The over-under motion is great for tiny fingers and turns out bold and beautiful.
Materials Needed:
- Colored paper
- Scissors
- Glue stick
How to make it:
- 1. Cut a big fish shape and slice several slits across its body.
- 2. Cut colored paper into strips.
- 3. Weave strips through the slits, alternating over and under.
- 4. Glue ends on the back, trim, and add an eye.
4. Porthole Ocean Window

Kids build a tiny “submarine view” that looks surprisingly real. The layered frame and torn-paper water give it depth with almost no effort.
- Paper plates (2)
- Blue tissue or construction paper
- Aluminum foil
How to make it:
- 1. Cut a big circle out of the center of one plate to make a frame.
- 2. Tear blue paper and glue in waves on the other plate.
- 3. Add small fish shapes or stickers on the waves.
- 4. Cover the frame rim with foil for a metal look and glue it on top.
5. Salty Watercolor Sea Turtles
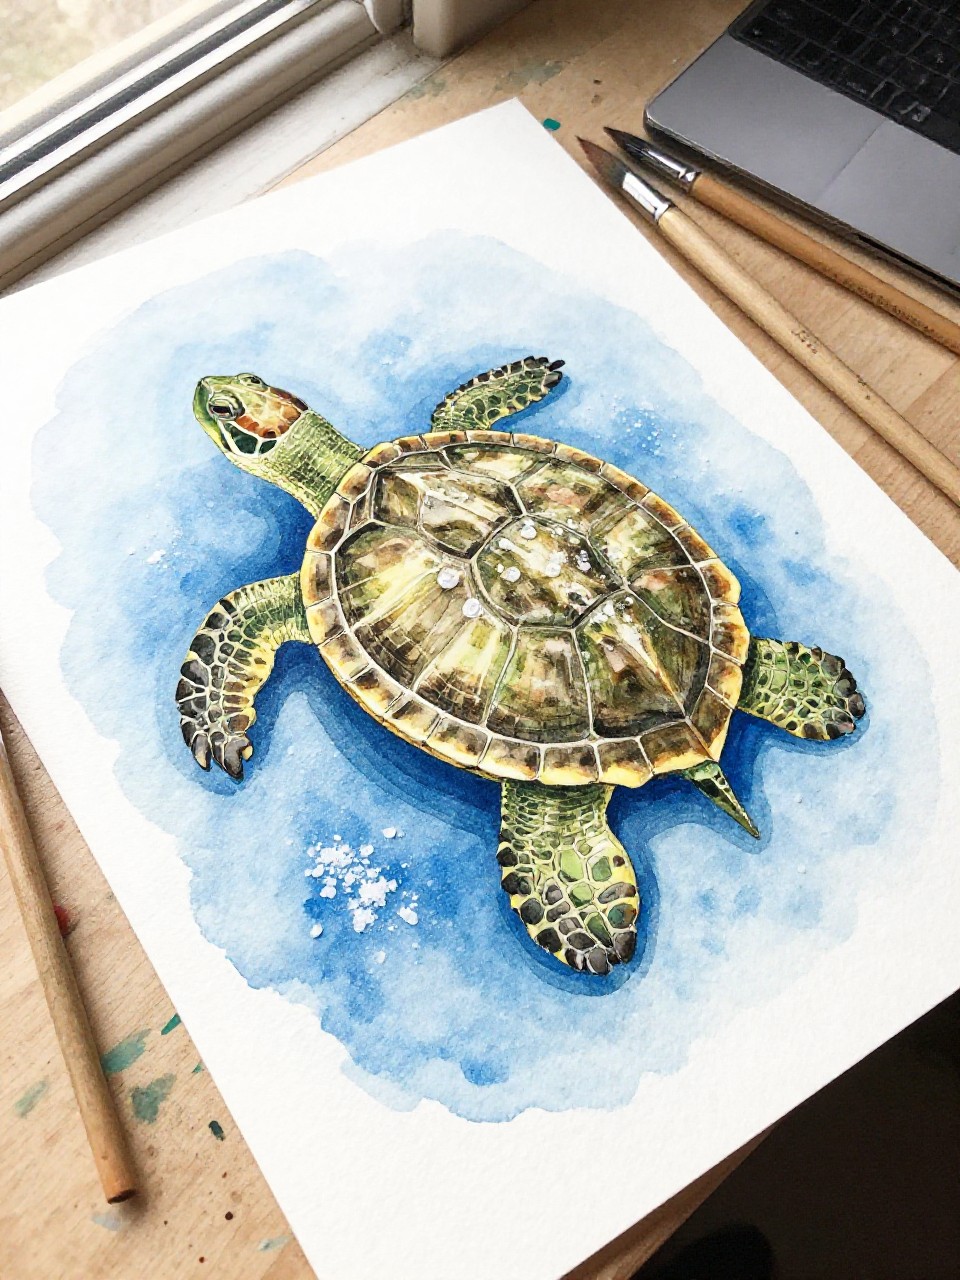
Salt crystals create dreamy ocean textures around a simple turtle silhouette. The colors blend and sparkle like real sea foam.
Materials Needed:
- Watercolor paper
- Watercolor paints + brush
- Table salt
How to make it:
- 1. Lightly draw or trace a simple turtle shape.
- 2. Paint the background with blue/green washes.
- 3. While wet, sprinkle salt to bloom oceany textures.
- 4. Paint the turtle shell with patterns and brush off salt when dry.
6. Cupcake Liner Clams with Pearls

Crinkly liners become little clams hugging a shiny “pearl.” It’s a quick glue-and-smile craft that pops on a bulletin board.
Materials Needed:
- Cupcake liners
- White pom-poms or beads
- Glue stick
How to make it:
- 1. Fold a cupcake liner in half to make a clam shell.
- 2. Glue a pom-pom “pearl” inside near the fold.
- 3. Add a tiny smile and eyes with marker.
- 4. Make a small paper “sand” oval and glue your clam on top.
7. Thumbprint School of Fish

Tiny thumbprints turn into a lively shoal in seconds. Each fish gets its own personality with a quick dot and tail.
Materials Needed:
- Washable ink pads or paint
- White cardstock
- Fine-tip marker
How to make it:
- 1. Press thumbs in ink and stamp clusters on the paper.
- 2. Add small tails and fins with the marker.
- 3. Dot on eyes and draw a few bubbles.
- 4. Title it “Our School” and add names under each fish.
8. Ocean-in-a-Bag Squish Paint

This is a mess-free, sensory ocean painting that looks glossy and deep. Kids love pushing the “waves” around with their fingers.
Materials Needed:
- Zip-top bag (quart)
- Blue and white paint
- Fish confetti or paper cutouts
How to make it:
- 1. Squeeze blue and a tiny bit of white paint into the bag.
- 2. Add a few fish cutouts.
- 3. Seal and tape the top to the table.
- 4. Squish and swirl to make waves and place fish “swimming.”
9. Seashell Rattle Shakers

A mini ocean band made from shells and a cup—cute and rhythmic. The soft rattle sounds like waves rolling pebbles.
Materials Needed:
- Small paper cup
- Seashells or dry rice
- Tape or paper circle + glue
How to make it:
- 1. Put a few shells or rice into the cup.
- 2. Cover the top with a paper circle and tape or glue securely.
- 3. Decorate the outside with markers or stickers.
- 4. Shake a gentle seaside beat.
10. Yarn-Wrapped Starfish Sculpture

Chunky yarn turns a simple cardboard star into a beachy decor piece. The wrapping is soothing and builds fine-motor skills.
Materials Needed:
- Cardboard
- Yarn
- Glue
How to make it:
- 1. Cut a starfish shape from cardboard.
- 2. Tape one end of yarn to the back.
- 3. Wrap yarn around and across the arms until covered.
- 4. Dab glue on the back to secure the end and add a button “center” if you like.
11. Tissue Paper Coral Reef Collage
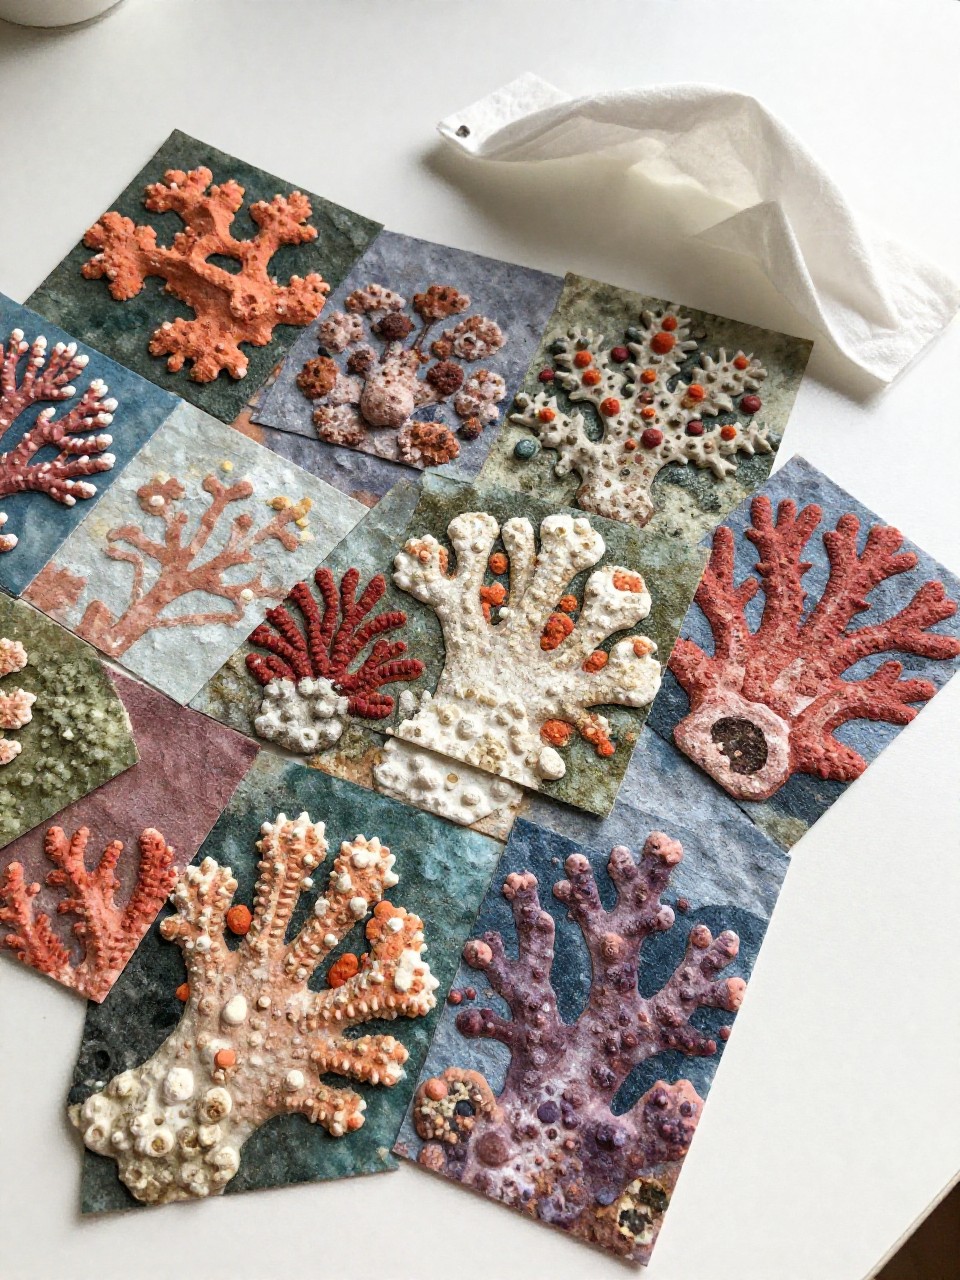
Fluffy tissue becomes soft coral and anemones with crinkly dimension. The finished reef is bright, touchable, and full of color.
Materials Needed:
- Tissue paper squares
- Glue stick
- Blue cardstock
How to make it:
- 1. Draw gentle coral shapes on the blue paper.
- 2. Crumple tissue squares and glue inside the shapes.
- 3. Add a few fish or seahorse cutouts on top.
- 4. Dot on bubbles with white paint or marker.
12. Bottle Cap Turtles

Bottle caps become chunky little turtle shells that look like toys. It’s a quick upcycle with tons of charm.
Materials Needed:
- Clean bottle caps
- Green paper or foam
- Glue
How to make it:
- 1. Cut simple turtle bodies from green paper.
- 2. Glue a bottle cap on each body for the shell.
- 3. Add eyes and a smile with marker.
- 4. Stick on tiny paper spots for extra detail.
13. Seafoam Puffy Paint Waves

Homemade puffy paint creates foamy, 3D surf kids can touch. The raised lines dry into soft, cloudlike waves.
Materials Needed:
- White glue
- Shaving cream
- Blue paper
How to make it:
- 1. Mix equal parts shaving cream and glue to make puffy paint.
- 2. Spoon or brush onto blue paper in curvy wave shapes.
- 3. Swirl lightly for texture, adding dots of extra foam.
- 4. Let dry and add a tiny boat or dolphin sticker on top.
14. Rainbow Sea Urchin Printmaking
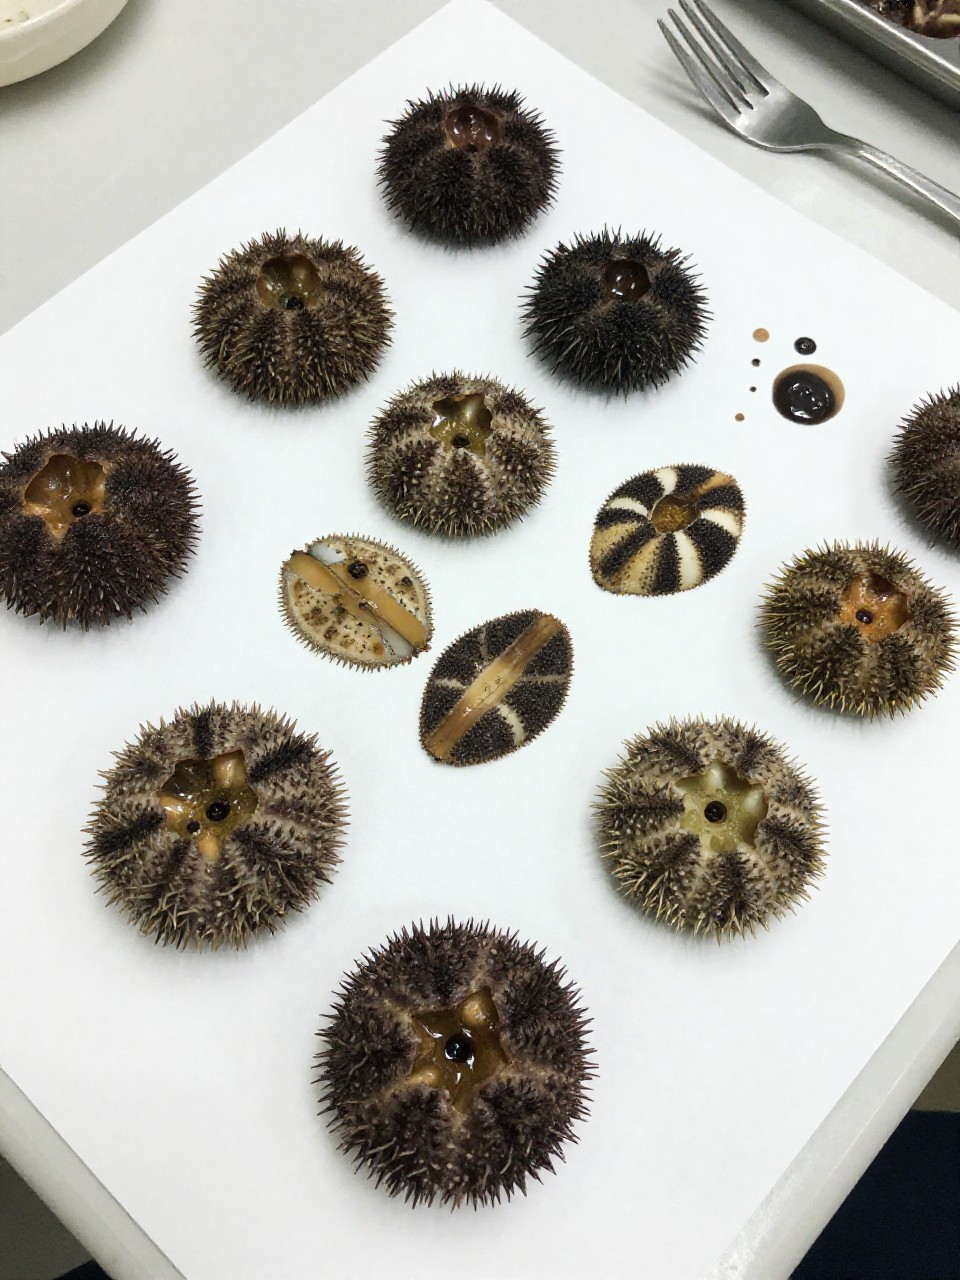
Fork painting makes perfect spiky urchins with zero stress. The circular prints look fancy and graphic in rainbow colors.
Materials Needed:
- Washable paint
- Plastic fork
- White cardstock
How to make it:
- 1. Dip the fork tips into paint.
- 2. Press and pull outward from a central point to make spikes.
- 3. Turn the paper slightly and repeat to form a round urchin.
- 4. Add a small circle in the center with a fingertip.
15. Ocean Shadow Bottle

A simple bottle turns into a glowing mini ocean when held to light. Floating shapes drift and cast soft shadows.
Materials Needed:
- Clear plastic bottle
- Blue-tinted water + glitter
- Small foam fish shapes
How to make it:
- 1. Fill the bottle with water and a drop of blue food coloring.
- 2. Add a pinch of glitter and foam fish.
- 3. Seal the cap tightly with tape or glue.
- 4. Tip and turn near a window to watch the shadows swim.