Table of Contents Show
Keeping little hands busy can be hard, especially on rainy days or when you need a quick classroom activity. If you’re looking for simple, fun ideas that use common supplies, this list is for you. These forest animal crafts are easy to set up and help kids learn about wildlife while creating cute keepsakes.
Below, you’ll find 16 projects that are playful, low-mess, and perfect for preschoolers—let’s jump into the woods!
1. Paper Plate Fox Face
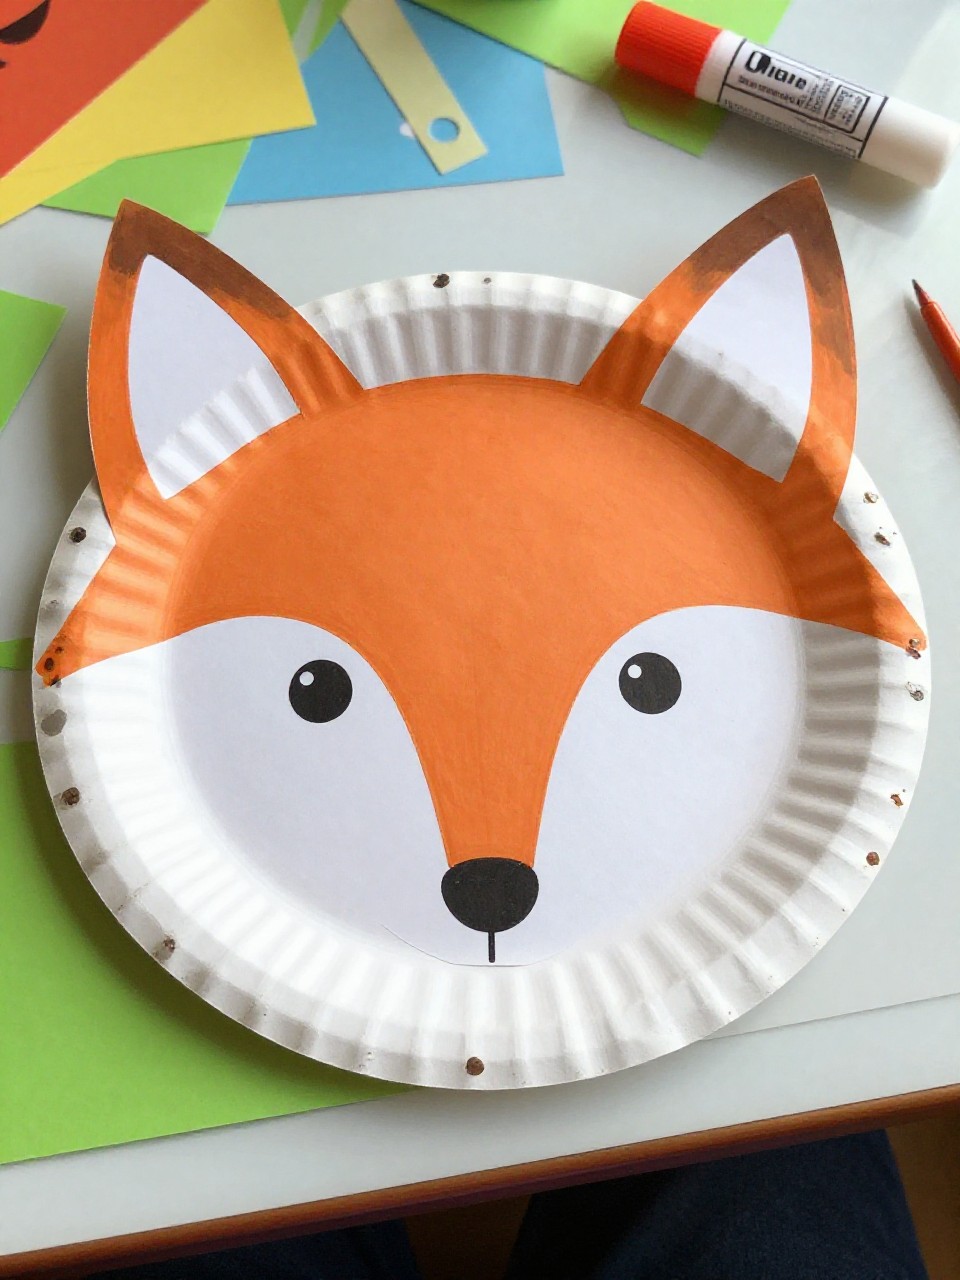
This craft makes a bright orange fox face with pointy ears and a sweet little nose, all on a paper plate. Kids love watching a plain plate turn into a friendly forest fox with just paint and simple shapes.
Materials Needed:
- Paper plate
- Orange paint and brush (or orange construction paper)
- Black marker or crayon
- Glue stick
- White paper for eye patches and ears
How to make it:
- Paint the plate orange and let it dry, or cover it with orange paper.
- Cut two orange triangles for ears and glue them to the top edge of the plate.
- Add white cheek patches and draw eyes, a black nose, and whiskers.
- Let dry, then hang on the wall or use for pretend play.
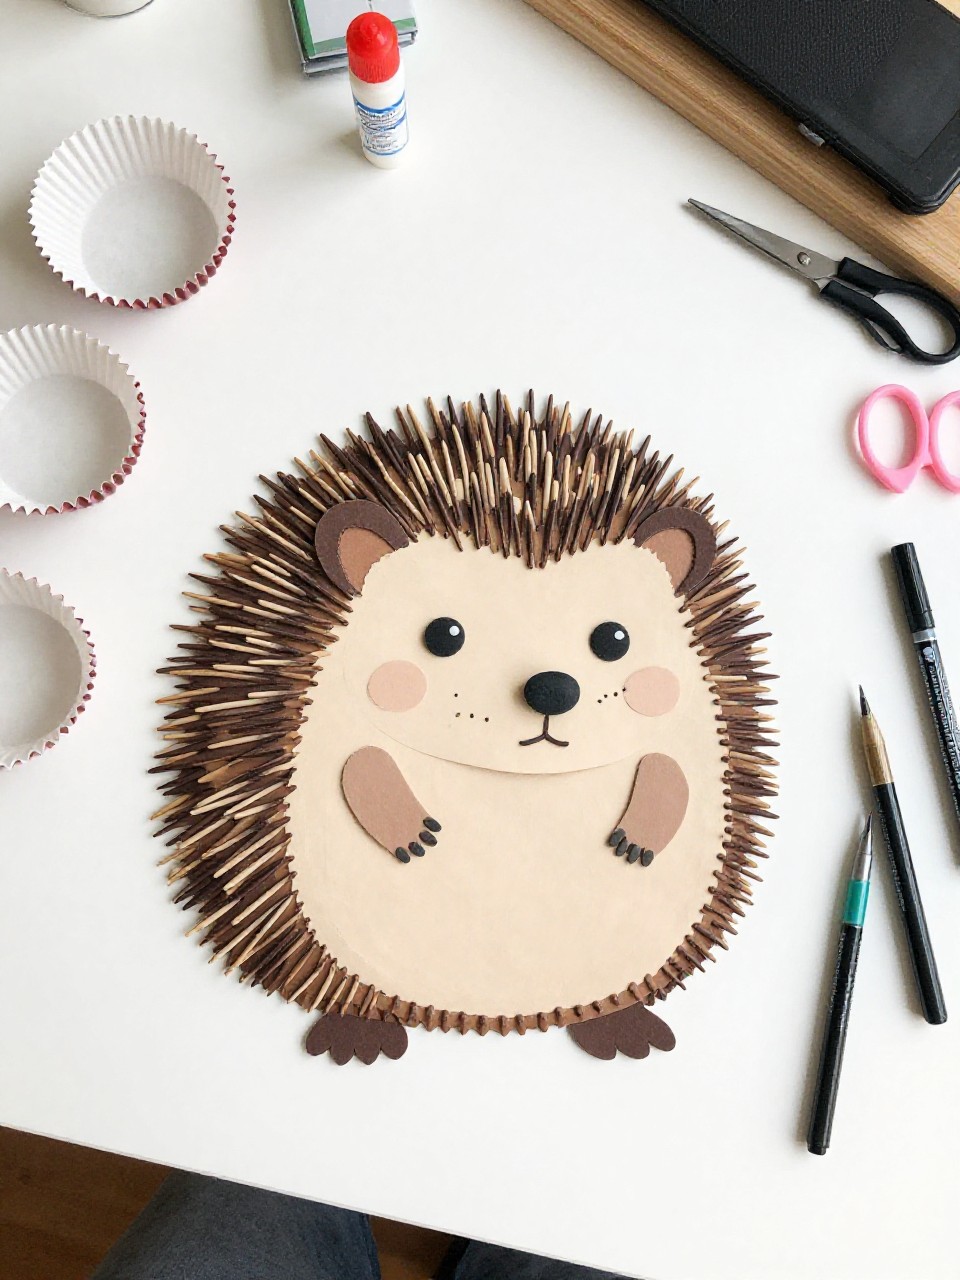
2. Handprint Hedgehog
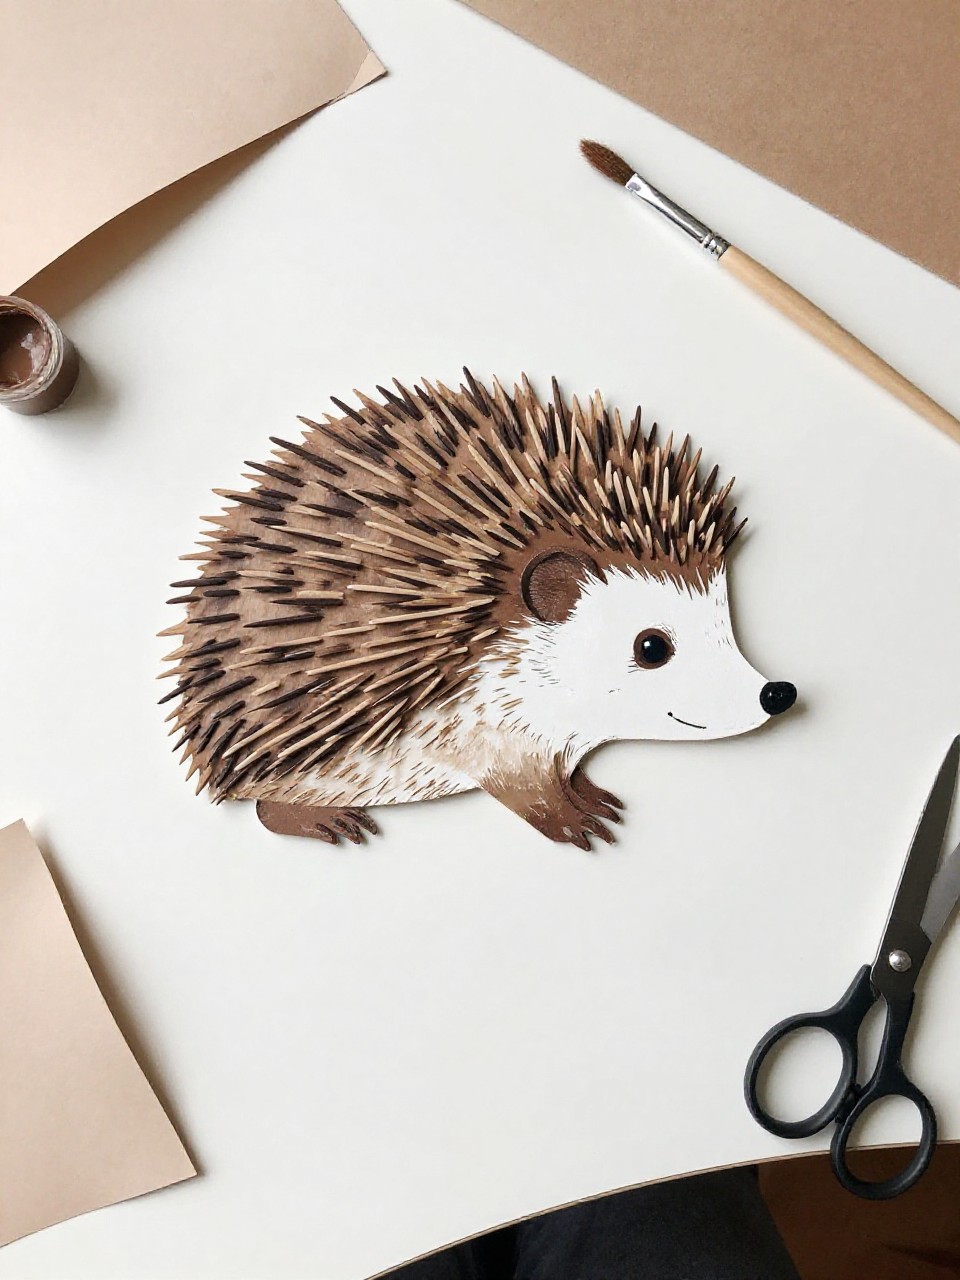
The finished hedgehog has a round paper face and a spiky back made from the child’s painted handprints. Kids enjoy the tickly paint on their hands and love seeing their own prints turn into the hedgehog’s quills.
Materials Needed:
- Brown and tan construction paper
- Washable brown paint
- Black marker
- Glue stick
- Googly eyes (optional)
How to make it:
- Paint the child’s hand with brown paint and stamp multiple prints in a fan shape on paper to form quills.
- Cut out a tan oval for the face and a small ear, then glue near the quills.
- Add googly eyes or draw eyes, a nose, and a smile with marker.
- Let the paint dry and display on a bulletin board.
3. Pinecone Owl
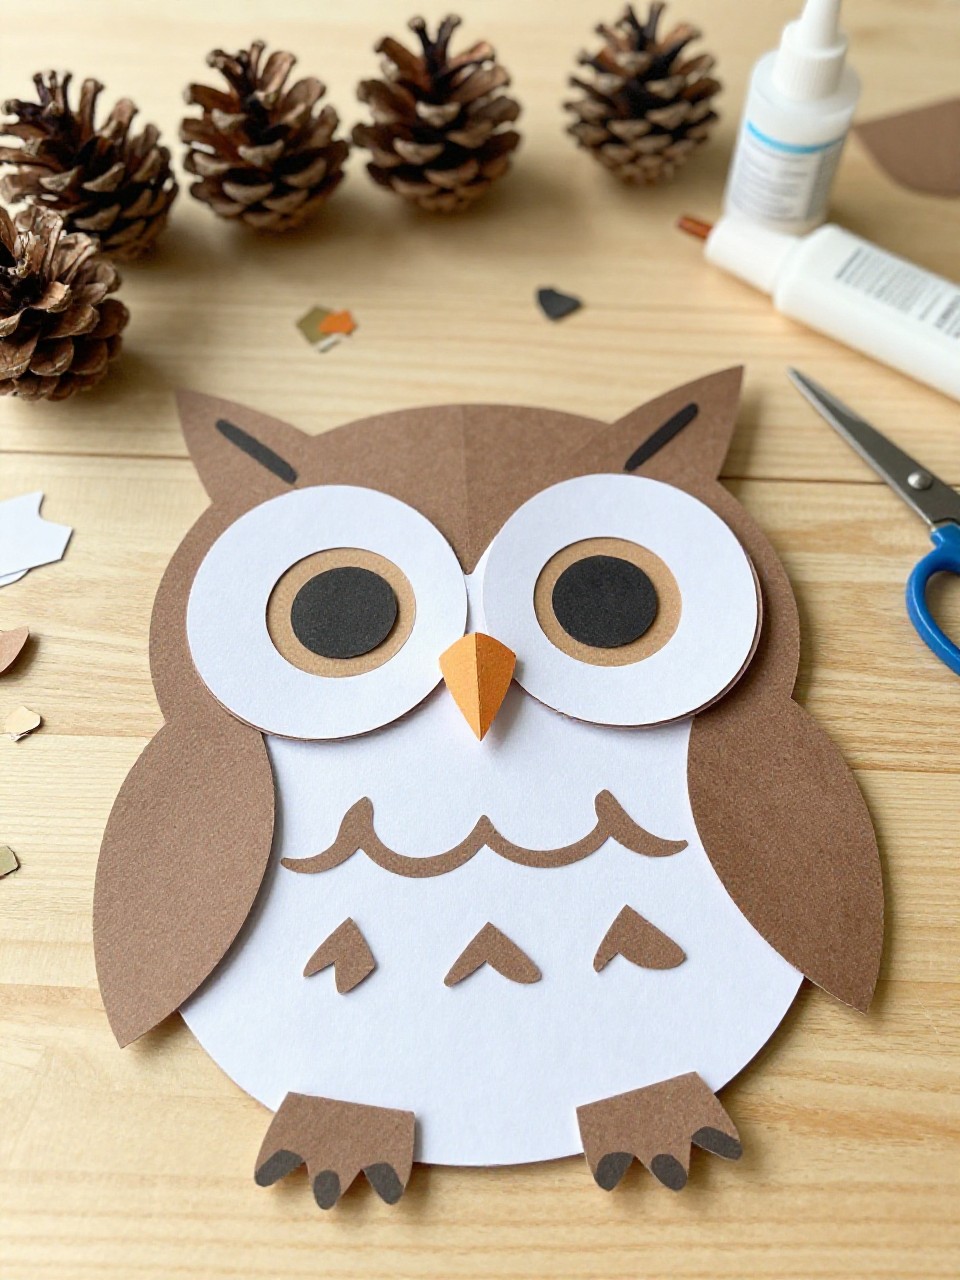
This little owl uses a real pinecone as the body, with paper wings and big round eyes. Kids love the bumpy feel of the pinecone and how quickly it turns into a wise forest friend.
Materials Needed:
- Pinecone
- Brown and yellow construction paper
- White paper or felt for eyes
- Glue (tacky glue works best)
- Small feathers (optional)
How to make it:
- Cut two brown wing shapes and a small yellow triangle beak.
- Glue the eyes and beak onto the pinecone scales near the top.
- Attach wings to the sides and add a few feathers if you like.
- Let the glue set, then stand the owl on a shelf.
4. Toilet Paper Roll Raccoon
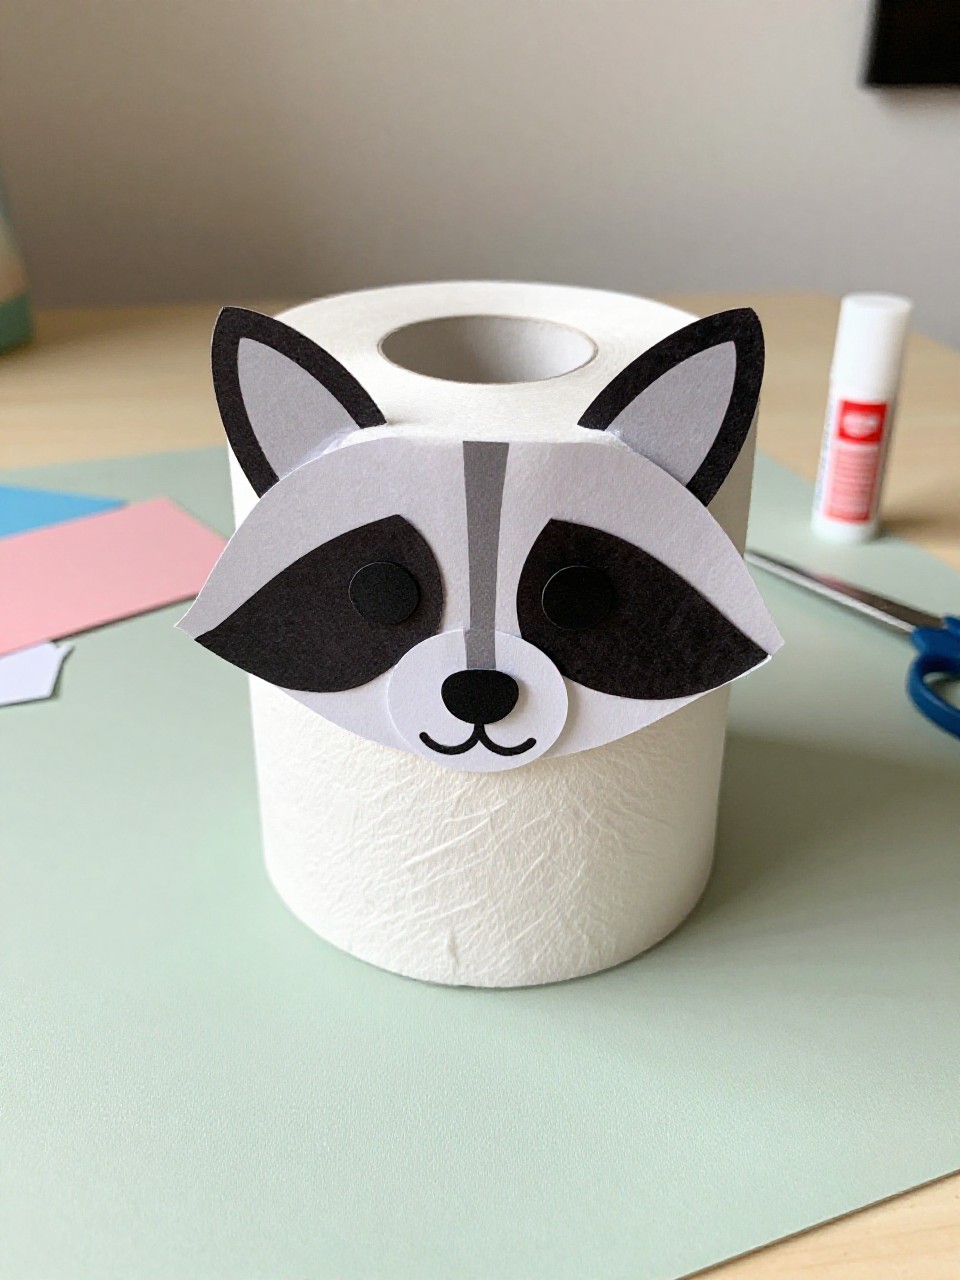
This raccoon stands upright with a striped tail and a black mask wrapped around the tube. Kids enjoy adding the cute mask and tail stripes and can make a whole raccoon family in minutes.
Materials Needed:
- Empty toilet paper roll
- Gray and black construction paper
- White paper
- Glue stick
- Black marker
How to make it:
- Wrap the roll with gray paper and glue it down.
- Cut and glue a black mask, white eye circles, and a little black nose.
- Make a striped tail from gray paper with black marker lines and glue to the back.
- Draw a mouth and tiny paws, then stand it to play.
5. Paper Bag Bear Puppet

This craft turns a brown paper lunch bag into a friendly bear puppet with round ears and a smiling face. Kids love using it for story time and play shows right after they make it.
Materials Needed:
- Brown paper lunch bag
- Brown and tan construction paper
- Black marker
- Glue stick
- Googly eyes (optional)
How to make it:
- Cut tan circles for the snout and belly, and brown circles for ears.
- Glue the snout and eyes on the bag’s flap and ears at the top.
- Draw a nose, mouth, and paw pads with the marker.
- Let glue set and use as a puppet for bear stories.
6. Leaf Print Deer Art
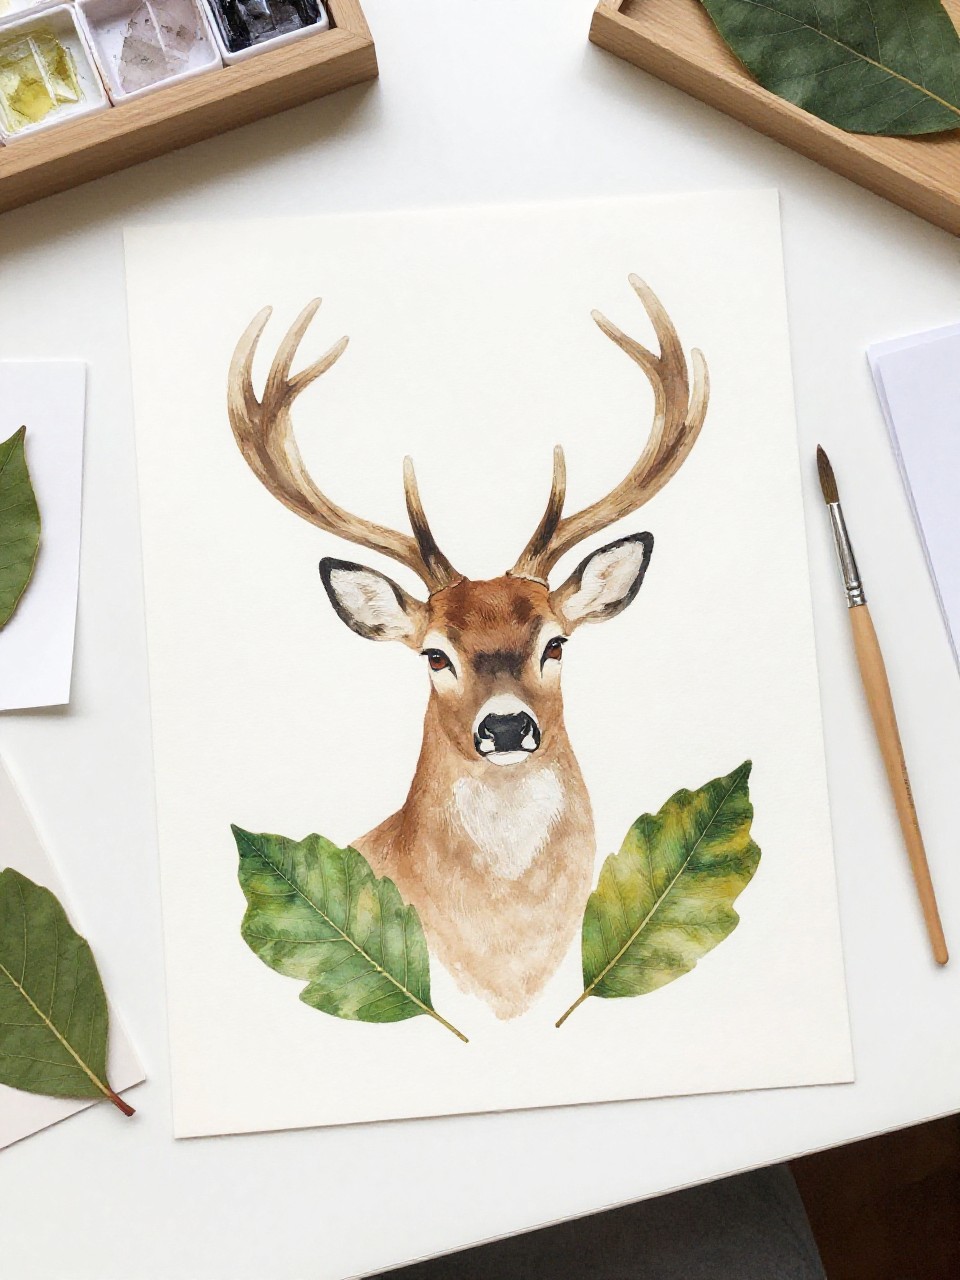
This art shows a gentle deer with a leaf-print body and paper antlers on a colorful background. Kids enjoy stamping leaves in paint and seeing the natural patterns appear.
Materials Needed:
- Assorted leaves
- Brown and orange washable paint
- White cardstock
- Tan and brown paper for head and antlers
- Glue stick
How to make it:
- Paint a leaf and press it onto cardstock to make the deer’s body; repeat for texture.
- Cut a simple oval head and two antlers from paper and glue above the body.
- Add a tiny black nose and eye with marker or paper.
- Let dry and frame on a classroom wall.
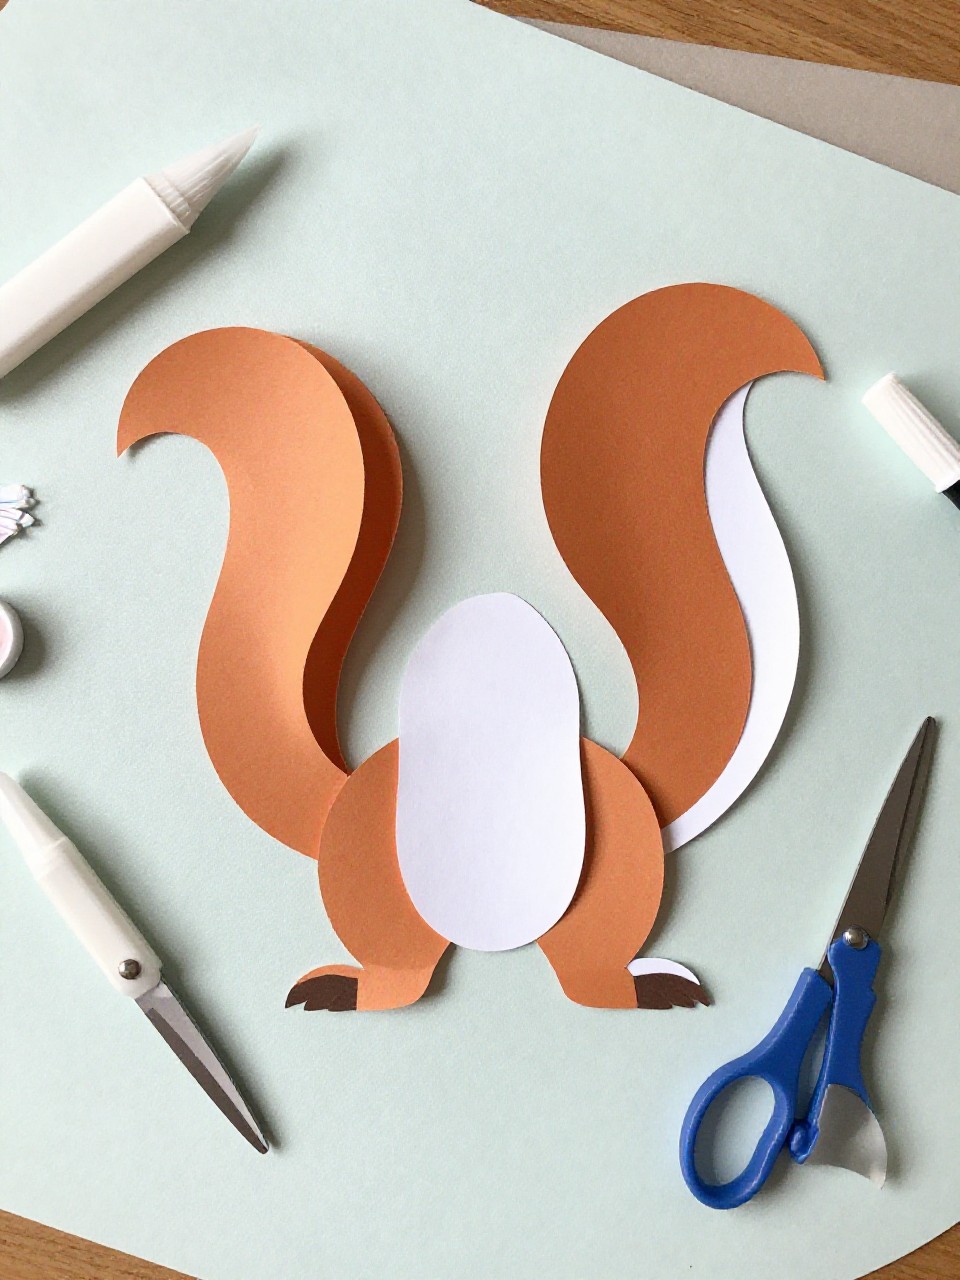
7. Popsicle Stick Squirrel
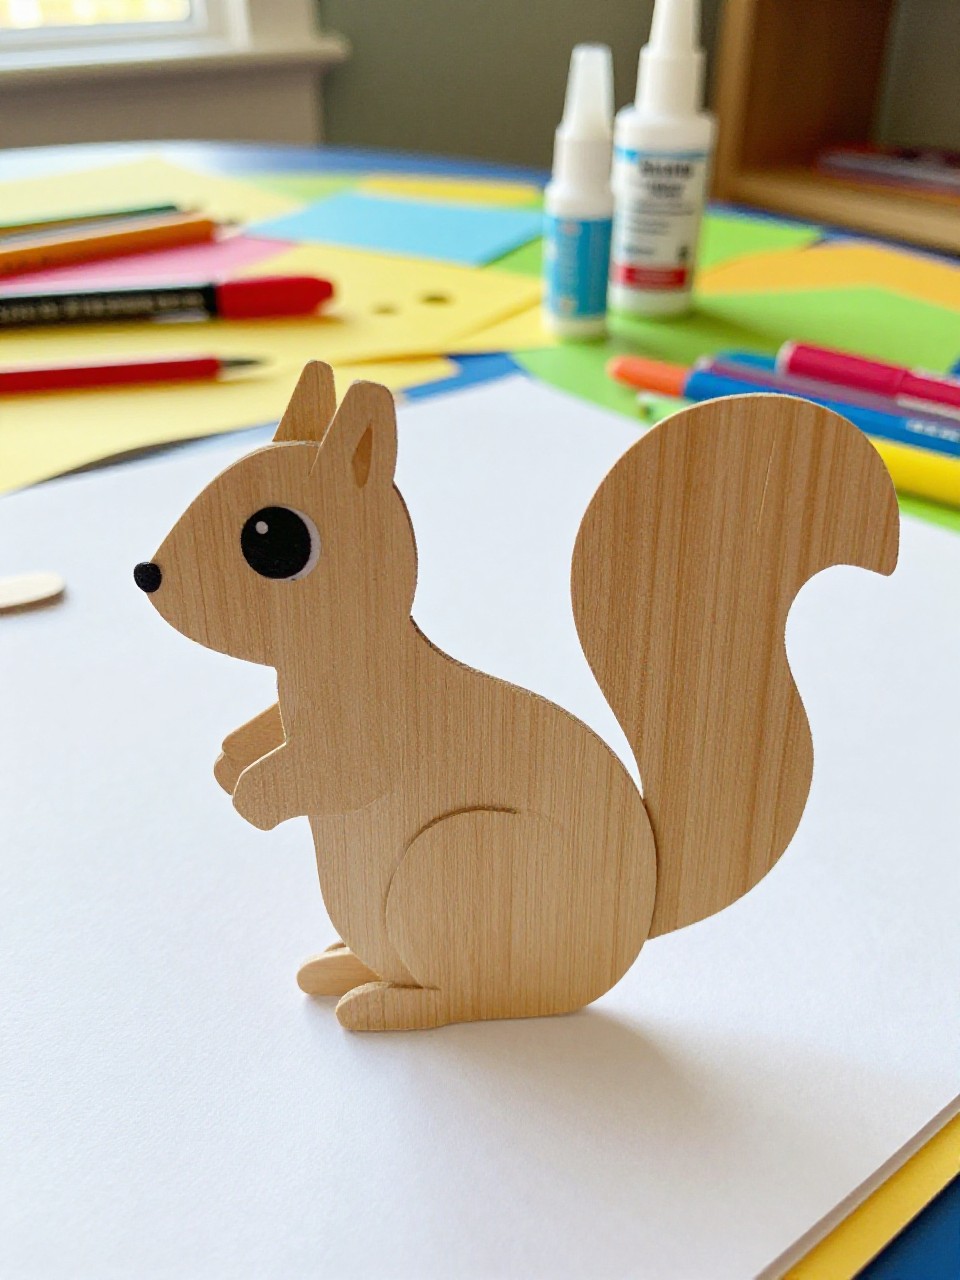
This squirrel has a popsicle stick body and fluffy tail made from paper or yarn. Kids love making the big curled tail and drawing a happy nut-holding pose.
Materials Needed:
- 5–6 craft sticks
- Brown paint or markers
- Brown construction paper or brown yarn
- Glue
- Black marker
How to make it:
- Color the sticks brown and glue them side-by-side to form a body panel.
- Cut and glue on a head, arms, and a large curved tail from brown paper (or wrap yarn to make it fluffy).
- Draw eyes, nose, and a tiny acorn between the paws.
- Let dry and prop it up for display.
8. Egg Carton Toadstool Mouse
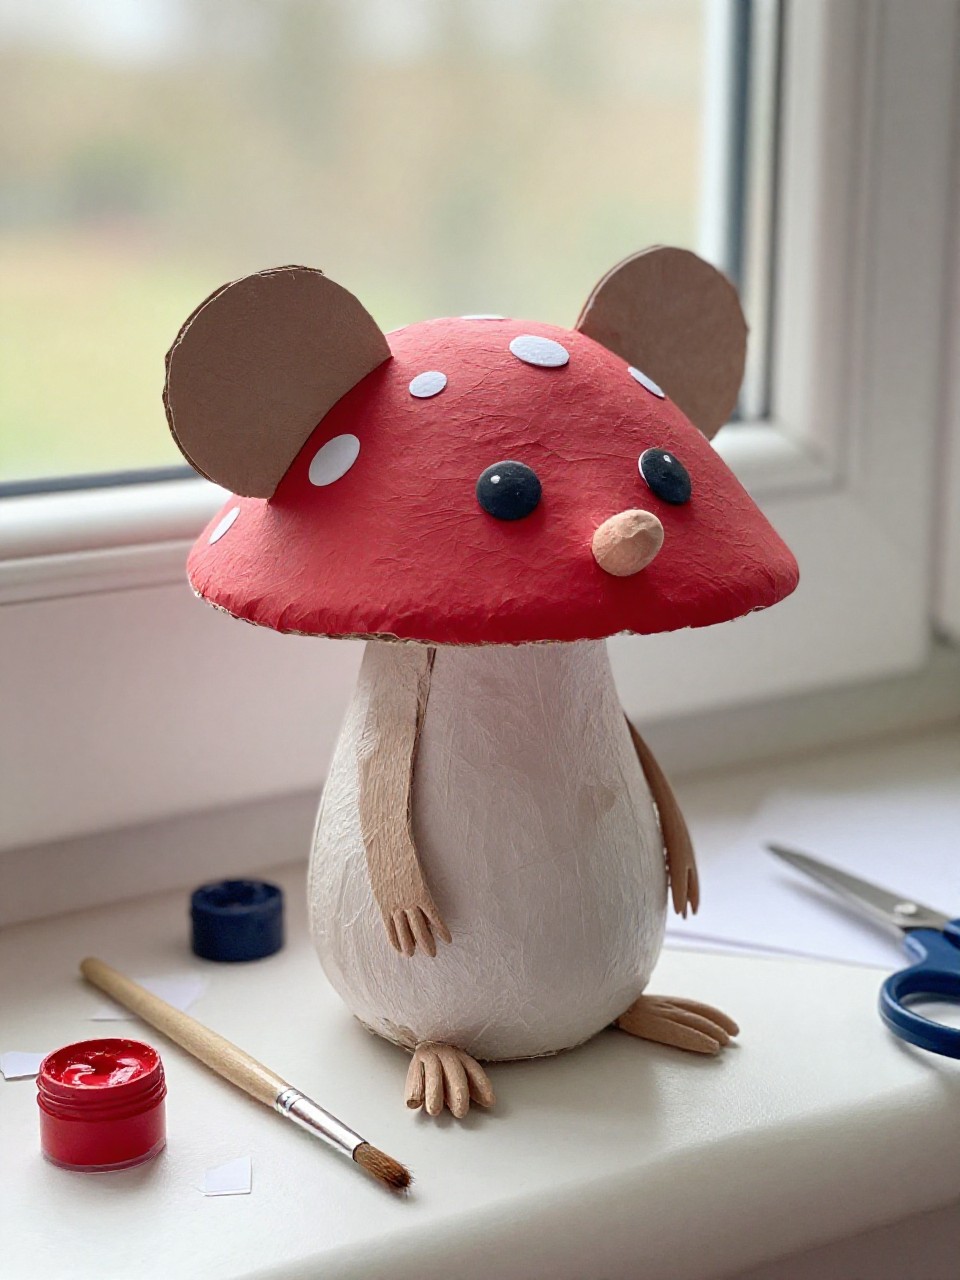
A small gray mouse peeks from under a red toadstool cap made from an egg carton cup. Kids love the tiny size and the fairy-forest feel.
Materials Needed:
- Egg carton cups
- Red and white paint
- Gray construction paper
- Glue
- Black marker
How to make it:
- Paint one cup red with white dots for the mushroom cap.
- Cut a small mouse body, ears, and tail from gray paper and draw eyes and nose.
- Glue the mouse under the cap so it peeks out.
- Let it dry and set up a mini forest scene.
9. Paper Plate Badger Mask
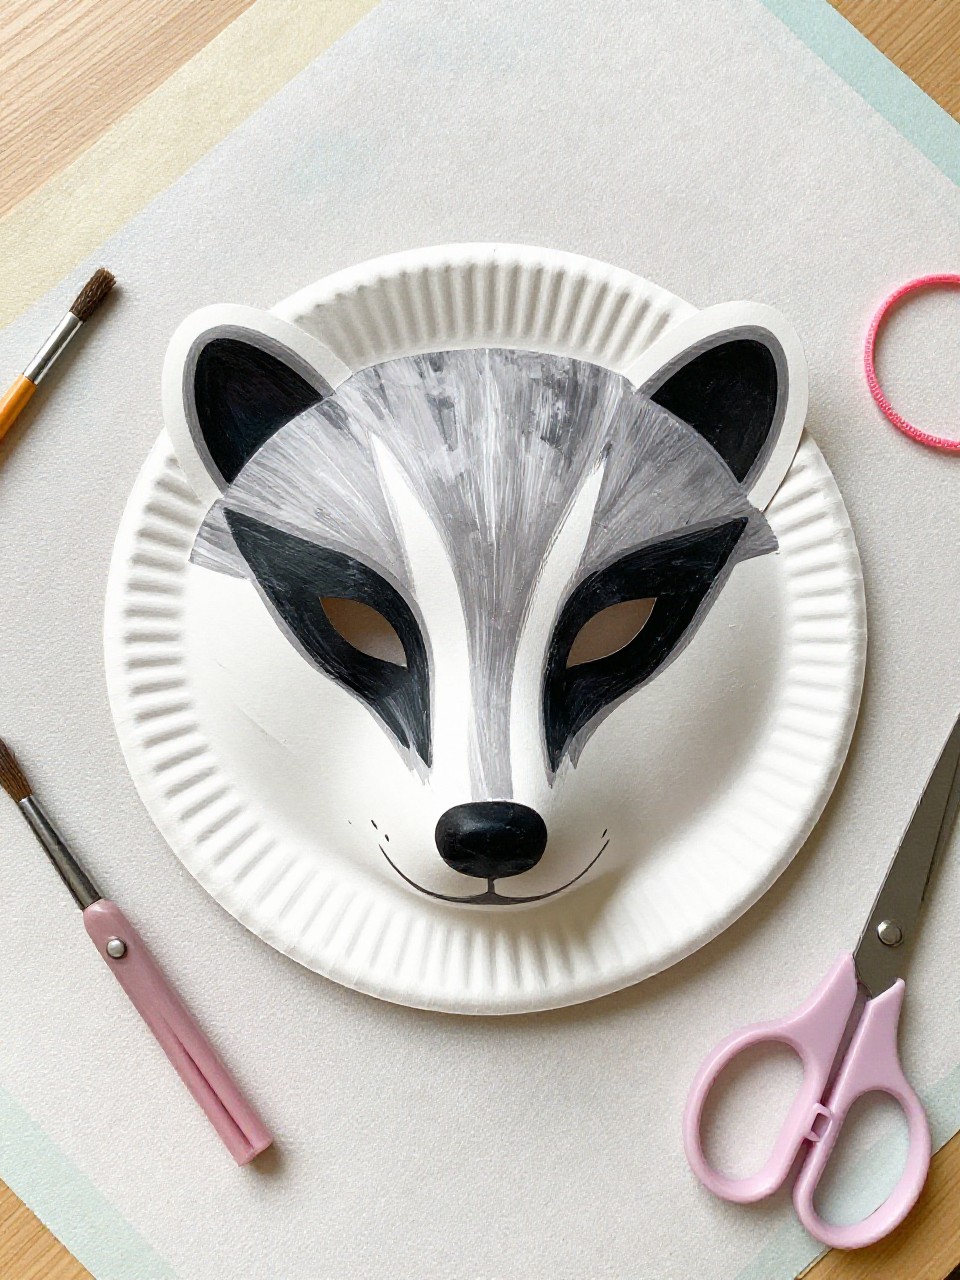
This mask shows a bold black-and-white badger face with eye holes and pointed ears. Kids enjoy wearing it and learning about nocturnal forest animals.
Materials Needed:
- Paper plate
- Black and white paint
- Scissors
- Glue stick
- Elastic string or craft stick handle
How to make it:
- Cut out two eye holes in the plate.
- Paint white on the center and black stripes on the sides to match a badger’s pattern.
- Glue on two ear triangles and attach elastic or a craft stick handle.
- Let it dry and try some badger pretend play.
10. Handprint Antler Moose
This moose features a big oval head with the child’s handprints as the antlers. Kids love the surprise of seeing their hands become huge antlers on a gentle giant.
Materials Needed:
- Brown and tan construction paper
- Washable brown paint (optional for handprints)
- Black marker
- Glue stick
- Googly eyes (optional)
How to make it:
- Trace or paint-stamp the child’s hands on tan paper and cut them out for antlers.
- Cut a large brown oval for the head and glue the handprints on top.
- Add eyes, a nose, and a smile with paper or marker.
- Mount on colored paper and display.
11. Cupcake Liner Hedgehog
The hedgehog’s body is made from layered, folded cupcake liners that look like soft spines. Kids enjoy arranging the layers and choosing fun liner patterns.
Materials Needed:
- Brown cupcake liners (plain or patterned)
- Tan construction paper
- Glue stick
- Black marker
- Googly eye (optional)
How to make it:
- Flatten and fold cupcake liners in half to make spine layers.
- Glue the layers in a fan shape on paper, overlapping them.
- Add a tan face shape, then draw a nose, eye, and feet.
- Let dry and hang the hedgehog picture.
12. Leafy Turtle Shell Collage
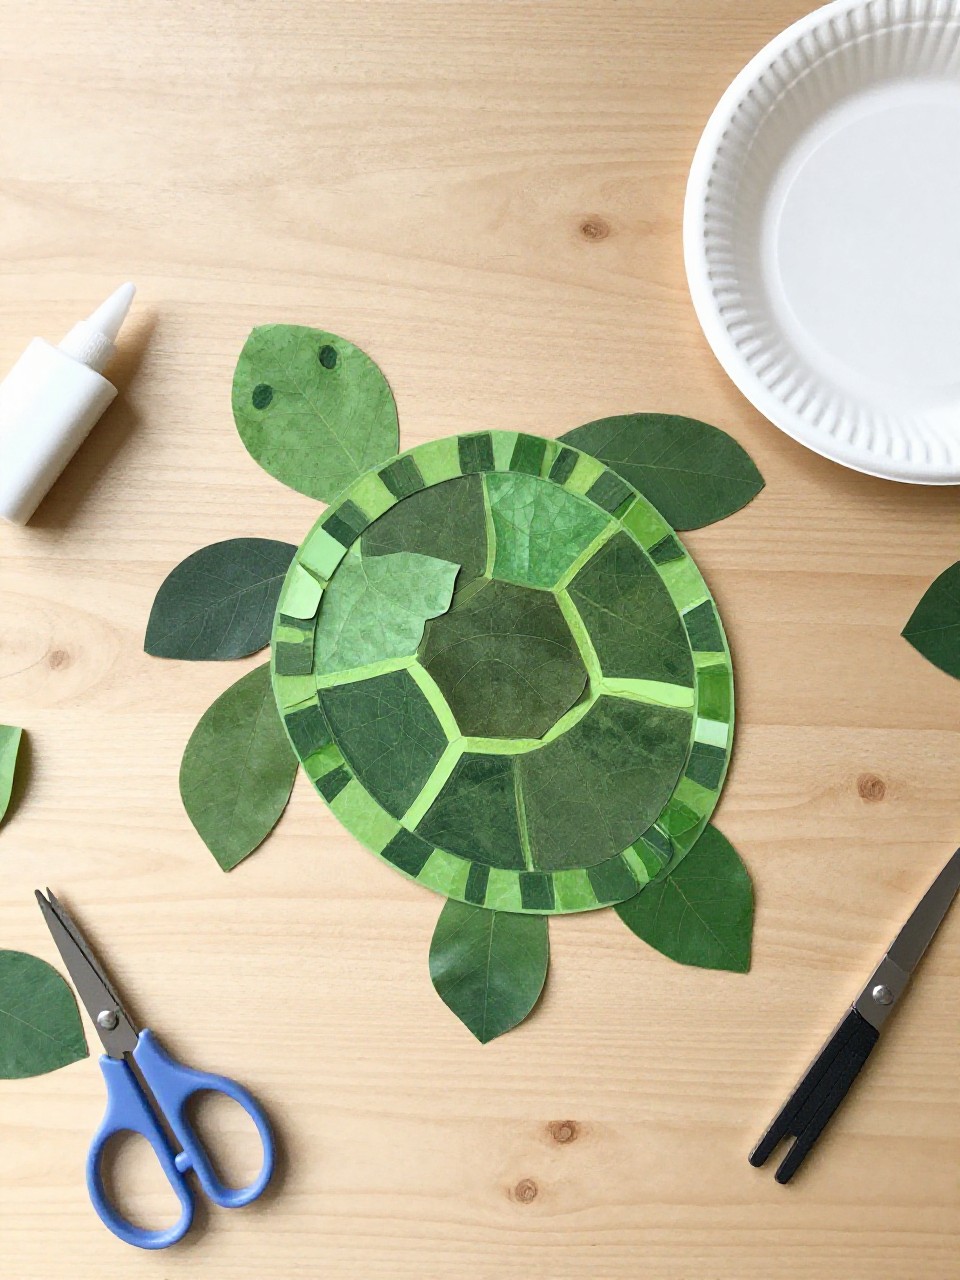
This turtle has a big round shell made from pressed leaves in greens and browns, with a simple paper head and legs. Kids enjoy choosing leaf colors and building patterns like a real shell.
Materials Needed:
- Assorted green/brown leaves
- Cardstock or paper plate base
- Glue
- Green construction paper
- Black marker
How to make it:
- Cut a round base from cardstock or use a paper plate.
- Glue leaves overlapping to fill the round shell.
- Add a green head, legs, and tail cut from paper, then draw eyes.
- Press under a book to dry flat and display.
13. Paper Strip Skunk
This skunk uses curled paper strips for a fluffy body and a bold white stripe down the back. Kids love rolling the strips and making the silly, swishy tail.
Materials Needed:
- Black and white construction paper
- Glue stick
- Pencil for curling strips
- Googly eyes (optional)
- Black marker
How to make it:
- Cut black paper into strips and curl them around a pencil.
- Glue curls onto a skunk body outline, leaving space for a white stripe.
- Add a long tail with a white center strip, plus eyes and a nose.
- Let glue dry and hang up your skunk.
14. Pebble Bear Family Rocks
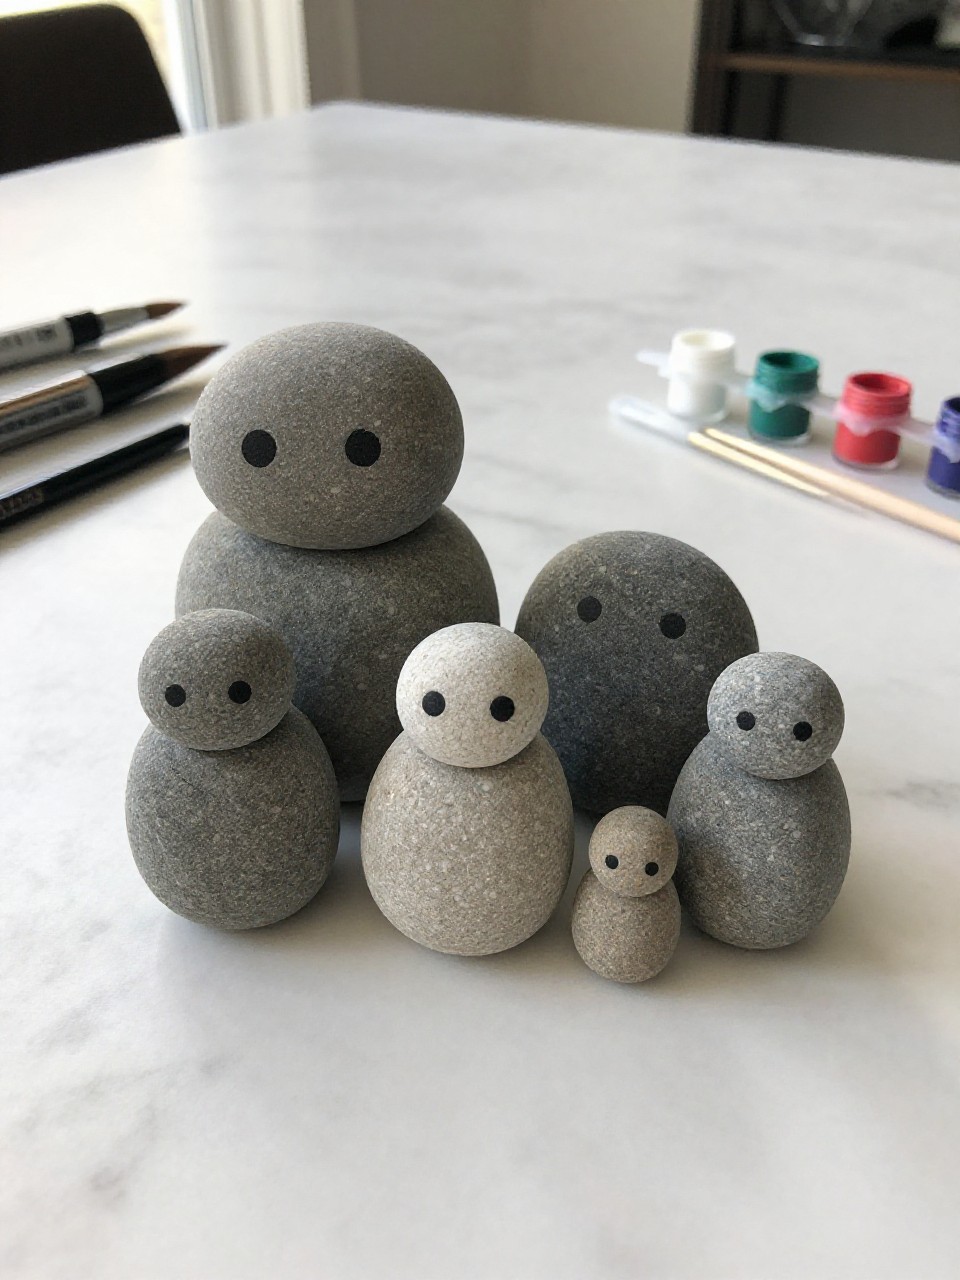
Small painted rocks turn into a family of bears with simple faces and ears. Kids enjoy choosing rock sizes and lining them up as baby, mama, and papa bears.
Materials Needed:
- Smooth pebbles or small rocks
- Brown, black, and white acrylic paint
- Paintbrushes
- Paint pens or markers
- Sealant (optional)
How to make it:
- Wash and dry pebbles, then paint them brown.
- Add simple bear faces with paint pens or a fine brush, including ears and noses.
- Let dry and seal if desired.
- Arrange the family on a shelf or plant pot.
15. Twig Antlers Forest Reindeer
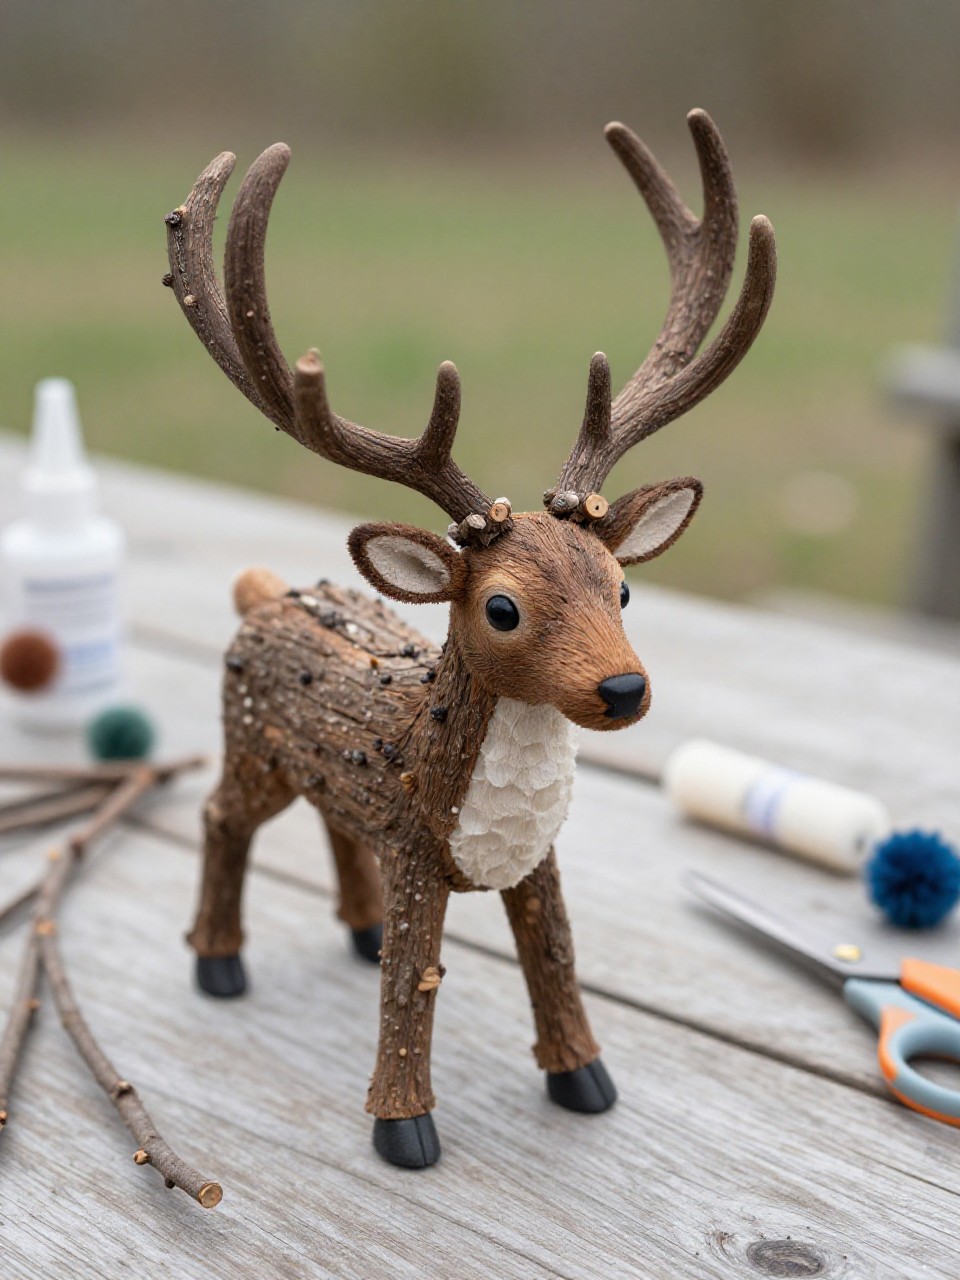
This reindeer features a paper face with real twig antlers glued on top. Kids love searching for twigs and seeing natural pieces become part of their craft.
Materials Needed:
- Light brown construction paper
- Small twigs
- Glue (tacky glue)
- Red pom-pom or paper circle for nose
- Black marker
How to make it:
- Cut a simple reindeer head shape from paper.
- Glue two twigs at the top for antlers.
- Add eyes and a big red nose, then draw a smile.
- Let glue set and hang as a woodland decoration.
16. Spiral Paper Snake
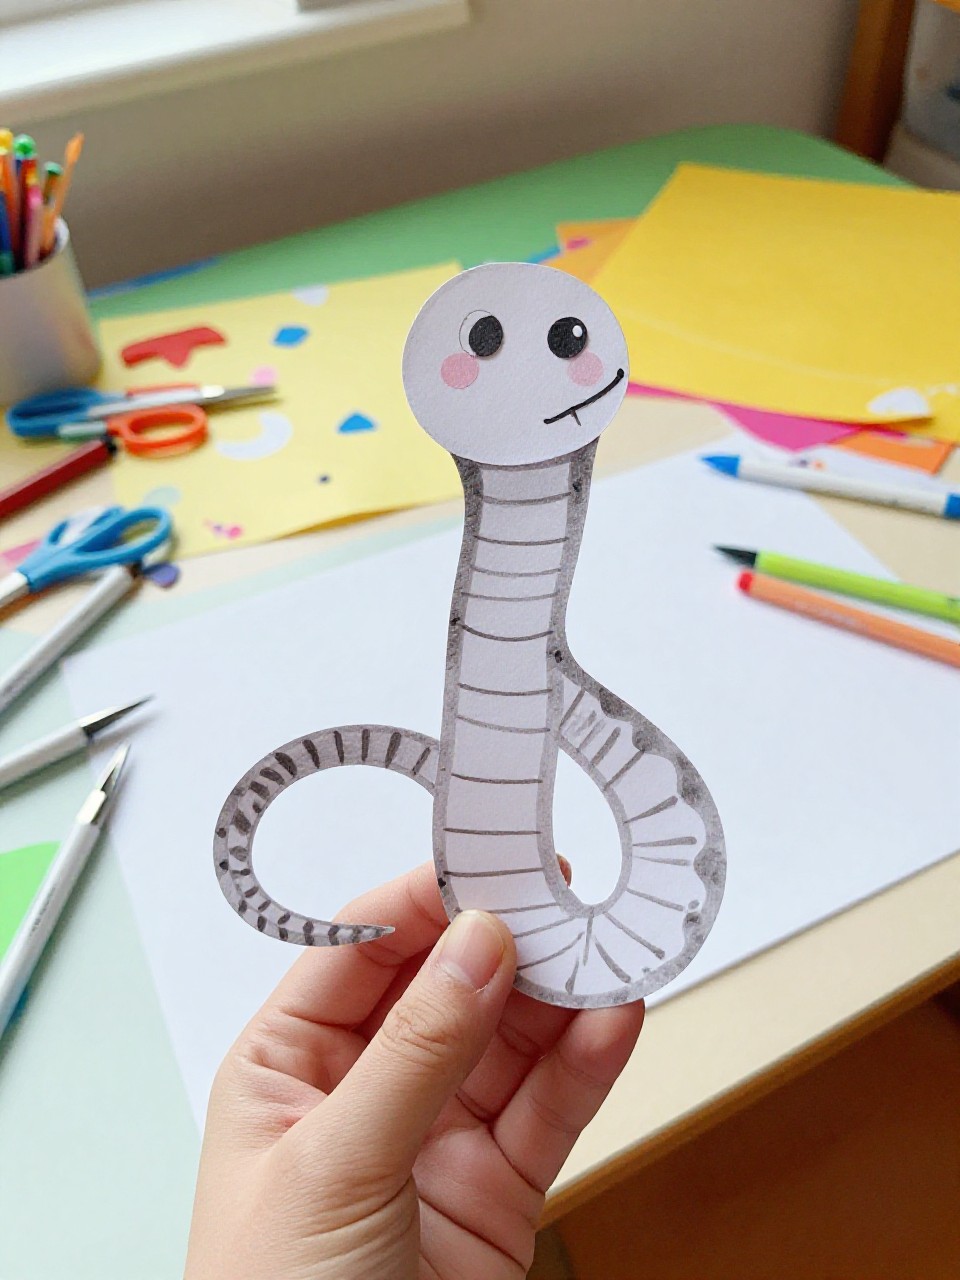
This craft makes a coiled forest snake that hangs and twirls when you hold it up. Kids enjoy coloring the spiral with patterns and watching it wiggle in the air.
Materials Needed:
- Green construction paper or cardstock
- Markers or crayons
- Scissors
- Googly eyes (optional)
- Glue stick
How to make it:
- Draw a large spiral on green paper and cut along the line.
- Decorate the spiral with stripes, spots, and a red tongue.
- Glue on eyes near the center head area.
- Hang it from a string or let it dance in the breeze.