


Table of Contents Show
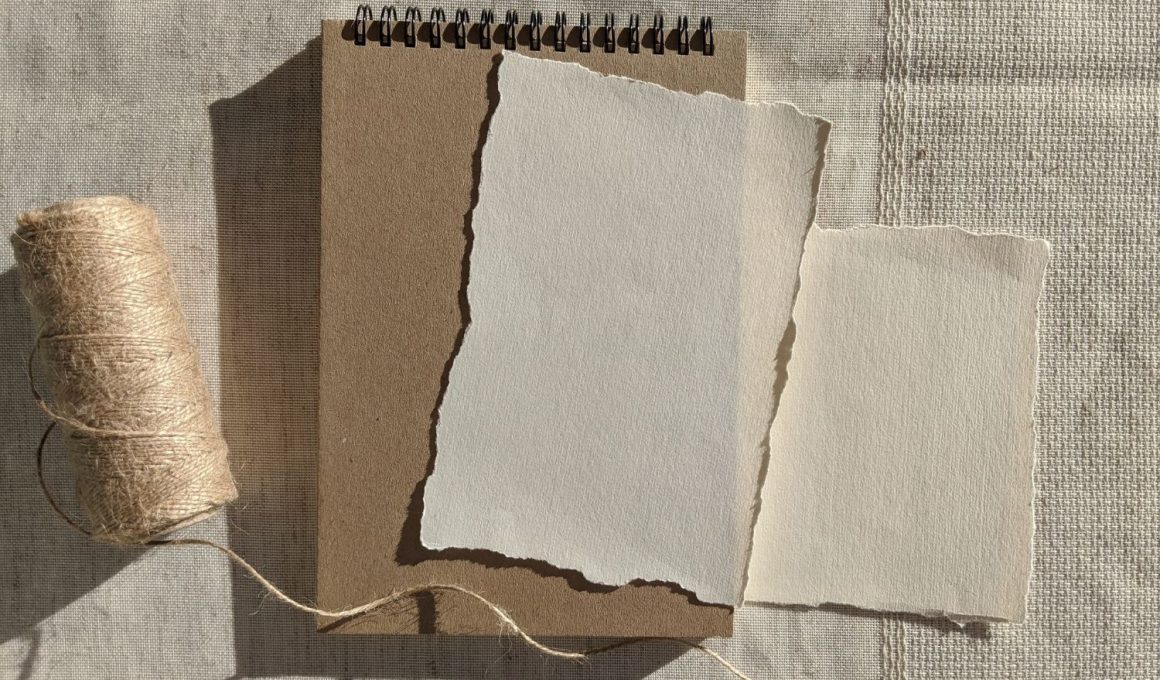
Keeping kids busy, finding rainy-day activities, or planning a simple classroom project can be tough. Mini notebooks are a small, cheerful win: they use basic supplies, feel quick to finish, and spark writing and drawing. This list shares fun, easy ideas that beginners can follow without stress.
You’ll find cute styles, clever folds, and low-mess steps—perfect for an afternoon craft.
Let’s jump into the mini notebook ideas!
1. Folded One-Sheet Pocket Notebook
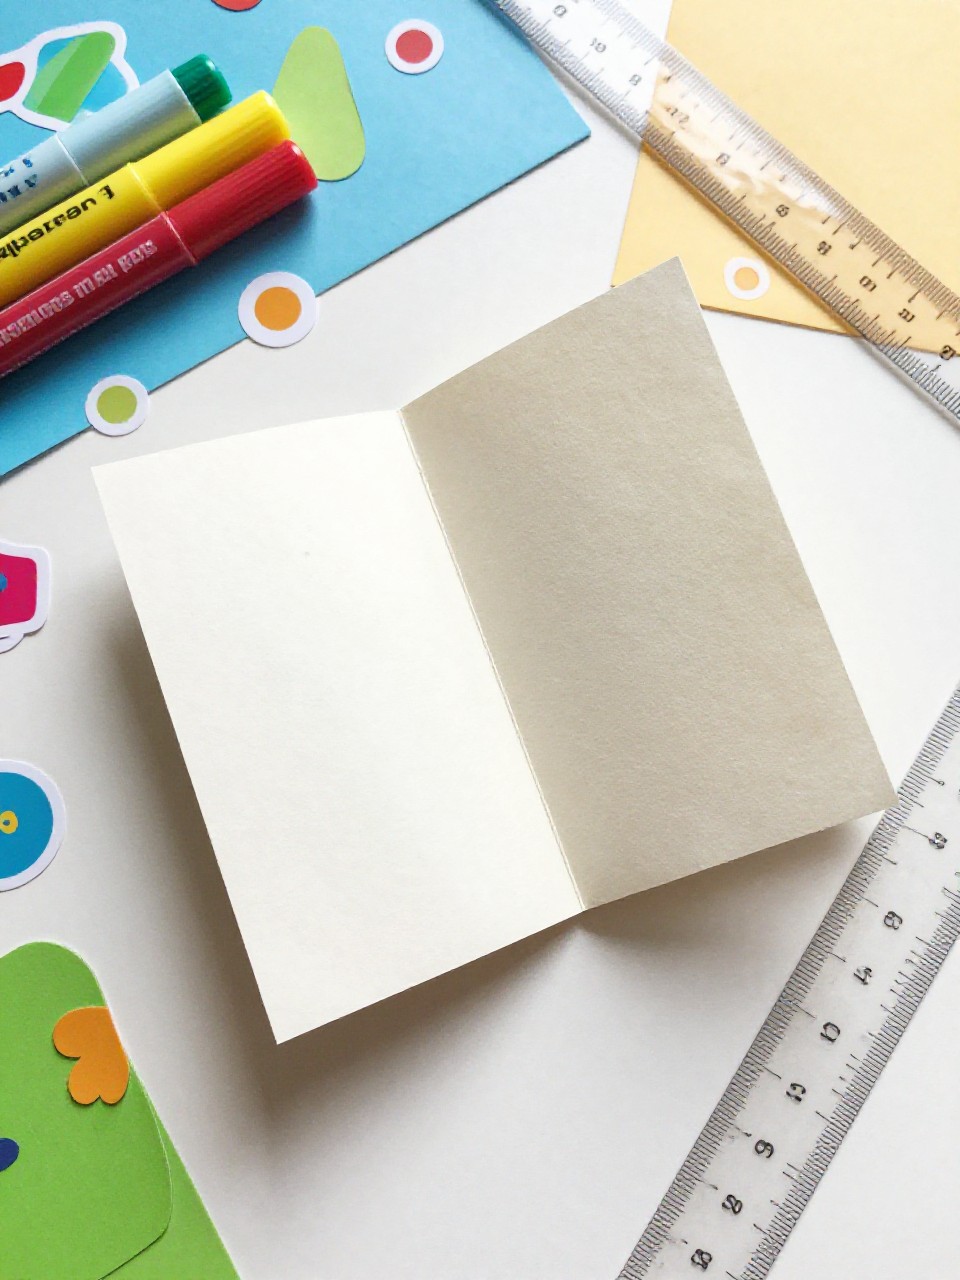
This tiny notebook folds from a single sheet of paper into a pocket-size booklet with 6–8 pages. Kids love the magic of cutting one slit and turning it into a real book; it feels like a simple puzzle that snaps into place.
Materials Needed:
For People Who Love to Make Things ✂️
- Printer paper or colored paper (8.5″ x 11″)
- Scissors
- Markers or crayons
- Stickers (optional)
- Washi tape (optional)
How to make it:
- Fold the paper in half lengthwise and widthwise to make 8 rectangles; cut a slit along the center fold between the middle sections.
- Refold and push the paper inward so it pops into a booklet.
- Decorate the cover with a title and doodles.
- Crease edges, add tape to the spine if you like, and start writing.
2. Matchbox Mini Journal

This tiny journal slides into a decorated matchbox sleeve, like a secret drawer. Kids enjoy the surprise pull-out and the cozy size; it feels like a hidden treasure.
Materials Needed:
- Empty matchbox (small)
- Scrap paper (cut to matchbox size)
- Thin cardboard for cover (cereal box)
- Glue stick
- Washi tape or patterned paper
How to make it:
- Remove matches and clean the box; measure and cut paper pages to fit inside the tray.
- Cut a cardboard cover the same size and stack with pages; glue along one edge to form a pad.
- Wrap the sleeve with patterned paper and add labels or washi.
- Slide the mini pad into the tray and decorate the top like a tiny book cover.
3. Stapled Scrap-Paper Notepad
A clean, square notepad made from cut scrap paper with a simple stapled spine. Kids like turning leftover bits into something neat and useful, and the quick results feel satisfying.
Materials Needed:
- Scrap paper (various colors, trimmed to same size)
- Decorative paper for cover
- Stapler
- Washi tape (optional)
- Corner rounder or scissors (optional)
How to make it:
- Stack 10–20 same-size paper pieces and add a slightly thicker cover.
- Staple twice along the top edge.
- Cover staples with washi tape and round the corners if you want.
- Press flat under a book for a few minutes, then start jotting.
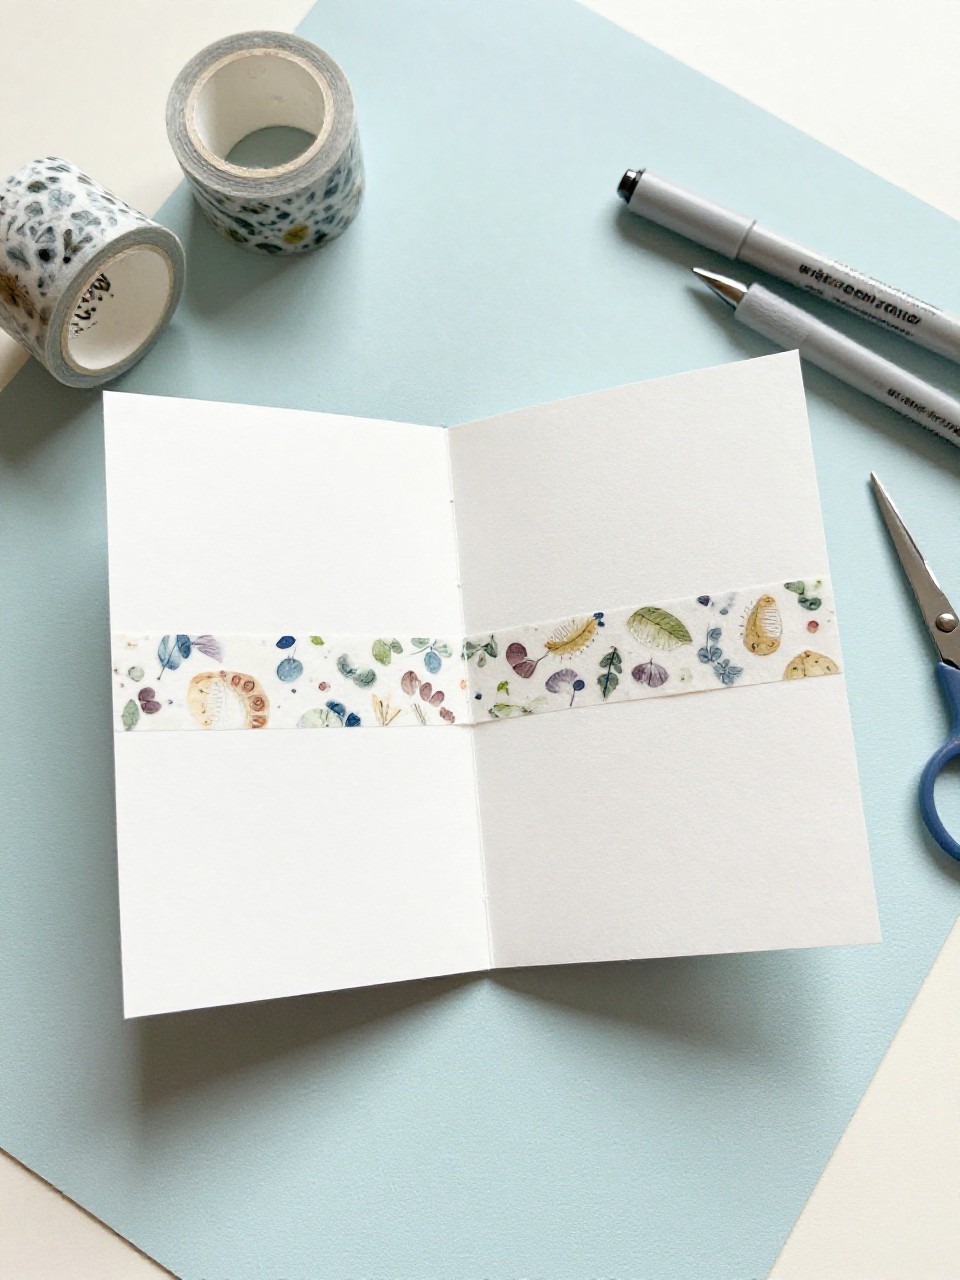
4. Mini Zine from One Page
A pocket zine with panels for comics, notes, or tiny stories, folded from a single sheet. Kids enjoy turning their drawings into a “published” booklet in minutes.
Materials Needed:
- Printer paper
- Pencil and markers
- Scissors
- Ruler (optional)
- Stickers (optional)
How to make it:
- Fold paper into 8 panels, cut the center slit, and fold into a booklet.
- Lightly sketch page layout; add a cover title and simple art.
- Ink and color each panel.
- Smooth creases and share your mini zine.
5. Button-and-String Closure Notebook

A tiny notebook with two buttons and a wraparound string that feels like a traveler’s journal. Kids love winding the string to “lock” their secrets inside.
Materials Needed:
- Cardstock for cover
- Plain paper for pages
- Two flat buttons
- String or baker’s twine
- Glue or needle and thread; hole punch (optional)
How to make it:
- Fold cardstock to pocket size; cut pages slightly smaller and fold.
- Nest pages inside and staple or sew once along the spine.
- Glue one button to the front cover and one to the back; tie string to back button.
- Wrap string around both buttons to close and decorate the cover.
6. Washi Tape Spine Flip Book
A bright mini notebook with a colorful washi spine and flip-friendly pages. Kids enjoy picking tape patterns and making a stack of themed books fast.
Materials Needed:
- Index cards or cut paper rectangles
- Cardstock cover
- Washi tape
- Stapler (optional)
- Stickers and markers
How to make it:
- Stack 8–12 small pages with a cover on top.
- Align edges and wrap washi tape along one side as the spine; add staples if needed.
- Press tape firmly and label the cover.
- Decorate with stickers and doodles, then flip through.
7. Mini Envelope Notebook with Pockets
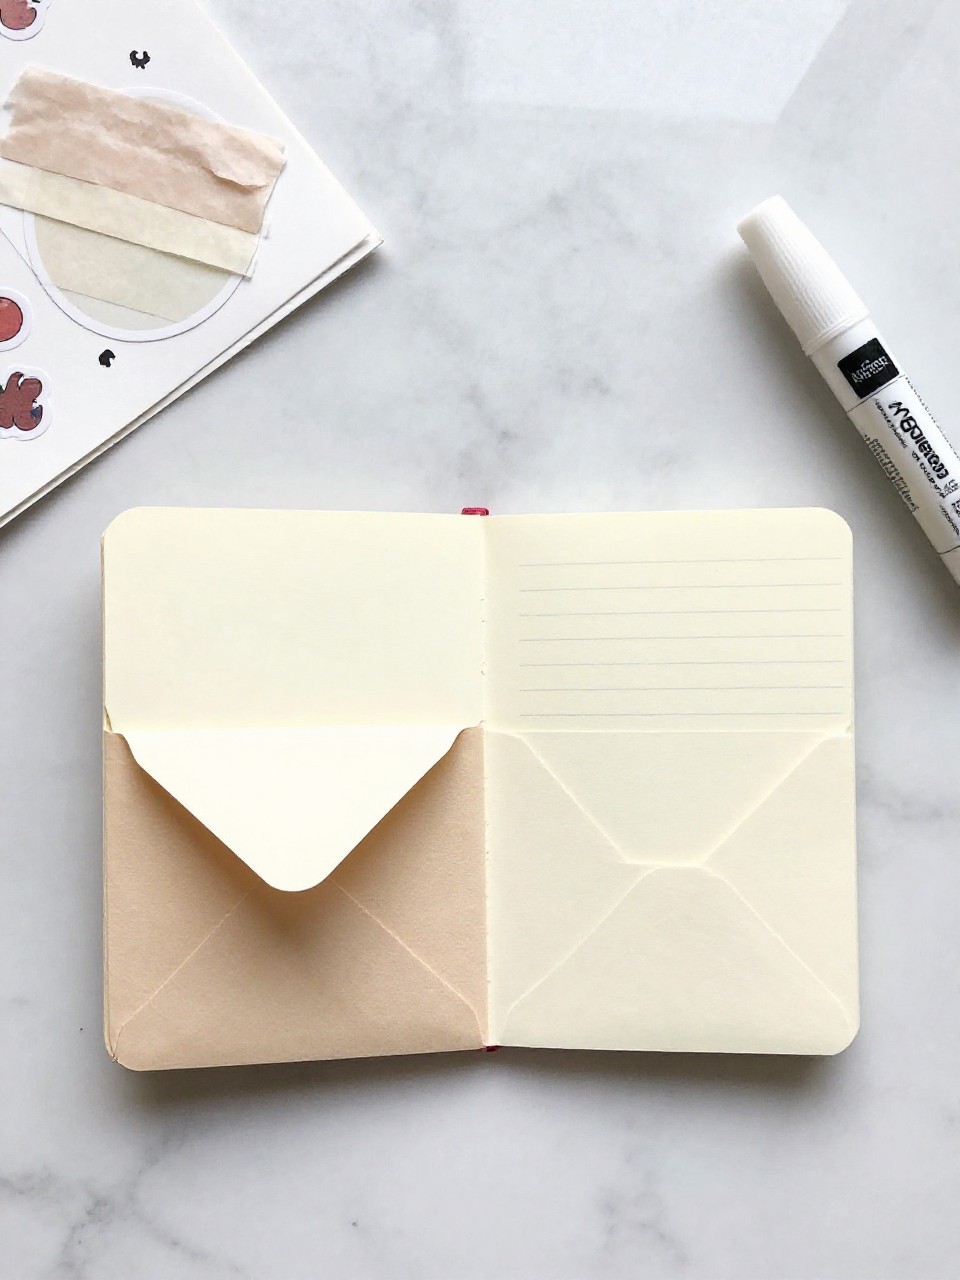
A little notebook built inside a folded envelope cover, with tiny pockets for stickers and notes. Kids love hiding messages and swapping mini art.
Materials Needed:
- A paper envelope (A2 or smaller)
- Small paper pages
- Glue stick or double-sided tape
- Stickers and washi tape
- Hole punch and ribbon (optional)
How to make it:
- Tuck the envelope flap inside to form a pocketed cover.
- Cut and stack pages to fit; glue along the fold or staple to make a booklet.
- Tape the booklet into the envelope spine and decorate the pockets.
- Add labels, slip in stickers, and tie ribbon through a punched hole if desired.
8. Paper Strip Ring-Bound Mini

A slim notebook held by one binder ring or key ring in the corner, easy to flip and customize. Kids enjoy rearranging pages and adding charms to the ring.
Materials Needed:
- Strips of cardstock or thick paper
- Single binder ring or key ring
- Hole punch
- Stickers
- Ribbon or bead charm (optional)
How to make it:
- Cut several paper strips the same size.
- Punch a hole in one corner of each strip.
- Clip all pages onto the binder ring; tie ribbon or add a charm.
- Decorate covers and pages, then flip like flash cards.
9. Fabric Scrap Cover Notebook

A cozy mini with a soft fabric cover over cardboard, giving a bookshop feel. Kids like choosing patterns and textures, and it makes a sweet gift.
Materials Needed:
- Thin cardboard (cereal box)
- Fabric scrap (slightly larger than cover)
- Glue stick or fabric glue
- Paper pages
- Clips or clothespins
How to make it:
- Cut two cardboard pieces for front and back covers; glue fabric around them, folding edges in.
- Cut and fold pages to fit between covers.
- Stack pages and covers; staple or sew at the spine.
- Clip to dry, then add a title tag or ribbon bookmark.
10. Sticky-Note Pad Jacket
Turn a store-bought sticky-note pad into a “real” mini notebook with a decorative jacket and elastic. Kids enjoy the instant upgrade and the snap of the band.
Materials Needed:
- Sticky-note pad (small)
- Cardstock or patterned paper
- Elastic hair tie or thin elastic
- Glue stick
- Stickers
How to make it:
- Measure and fold cardstock around the pad like a book cover.
- Glue the back of the pad to the inside back cover.
- Slide an elastic band around the notebook as a closure.
- Decorate the cover with stickers and a title.
11. Mini Accordion Sketch Book
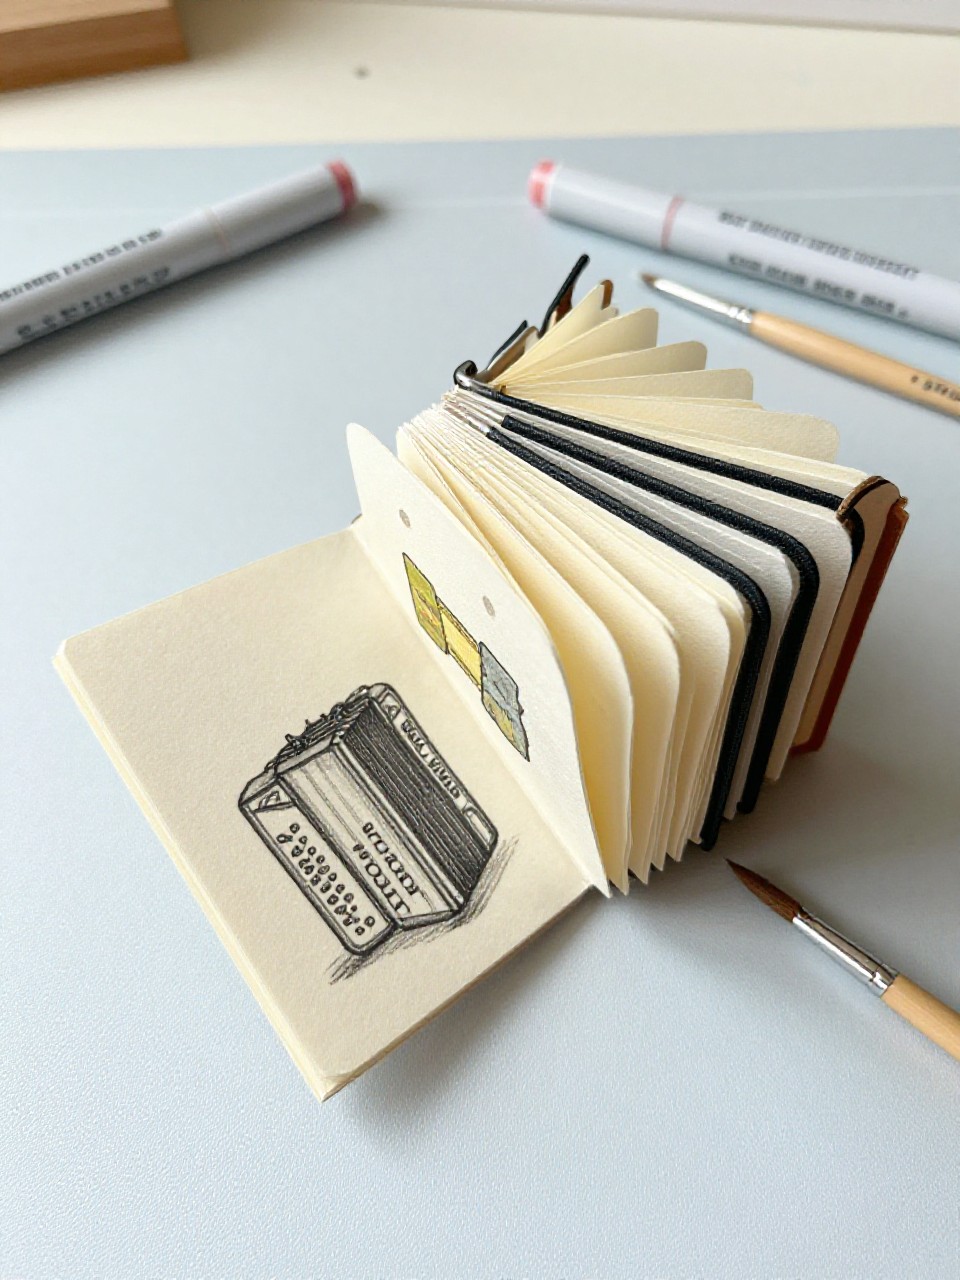
A long strip of paper folded like a zigzag with sturdy covers, perfect for tiny comics or panoramas. Kids love stretching it out and seeing their art connect.
Materials Needed:
- Long paper strip (or tape pieces together)
- Cardboard for covers
- Glue stick or double-sided tape
- Markers or watercolor pencils
- Ribbon (optional)
How to make it:
- Fold the strip back and forth to make equal panels.
- Glue small cardboard pieces to the first and last panels as covers.
- Add a ribbon under the back cover if you want a tie.
- Draw across panels, then fold up and tie.
12. Teeny Traveler’s Notebook with Inserts
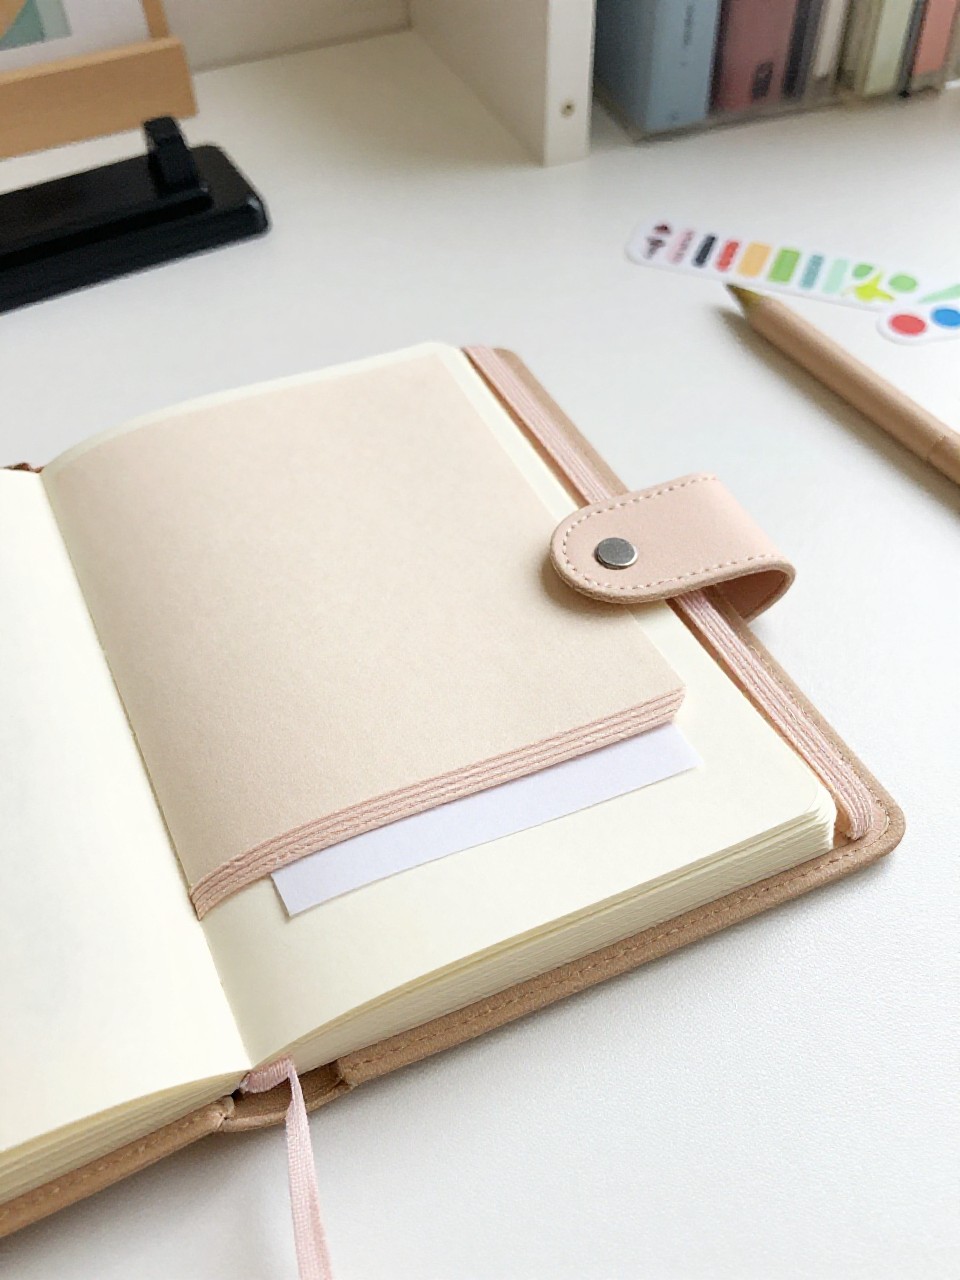
A tiny faux-leather or cardstock cover holds slide-in mini booklets using elastic bands. Kids enjoy swapping themed inserts for recipes, doodles, or lists.
Materials Needed:
- Faux leather sheet or thick cardstock
- Thin elastic cord
- Small paper inserts (simple folded booklets)
- Hole punch
- Stickers and labels
How to make it:
- Cut the cover to pocket size and round corners.
- Punch two small holes along the spine and thread elastic to create bands inside.
- Make 2–3 tiny folded booklets and slide them under the bands.
- Add labels to the cover and organize your inserts.
13. Mini Paint-Chip Notebook
Colorful paint-chip cards become sturdy covers for a bright rainbow notebook. Kids love choosing shades and seeing the gradient on the spine.
Materials Needed:
- Paint-chip cards (from hardware store or leftovers)
- Paper pages
- Stapler or needle and thread
- Washi tape
- Corner rounder (optional)
How to make it:
- Fold a paint-chip card to make the cover; cut pages slightly smaller and fold.
- Nest pages inside; staple or sew down the fold.
- Cover the spine with washi for color and strength.
- Round corners if desired and title the cover.
14. Cereal Box Flip-Top Mini
A sturdy mini notebook with a flip-top cover cut from a cereal box, like a reporter’s pad. Kids enjoy the snap-open feel and decorating familiar packaging.
Materials Needed:
- Cereal box cardboard
- Paper pages
- Glue stick
- Binder clip or small staples
- Stickers and markers
How to make it:
- Cut a rectangle of cardboard and score a short edge to make a flip-top.
- Stack pages to fit and glue the top edge; reinforce with tape or staple.
- Glue the stack under the flip-top; clip while drying.
- Decorate the cover and start jotting quick notes.