


Table of Contents Show
Finding ways to keep kids busy or add a personal touch to notes can be hard, especially on rainy days or during classroom downtime. This list gives you fun, simple ideas for making your own letter paper that feels cute and handmade. Each project is easy for beginners and uses common supplies.
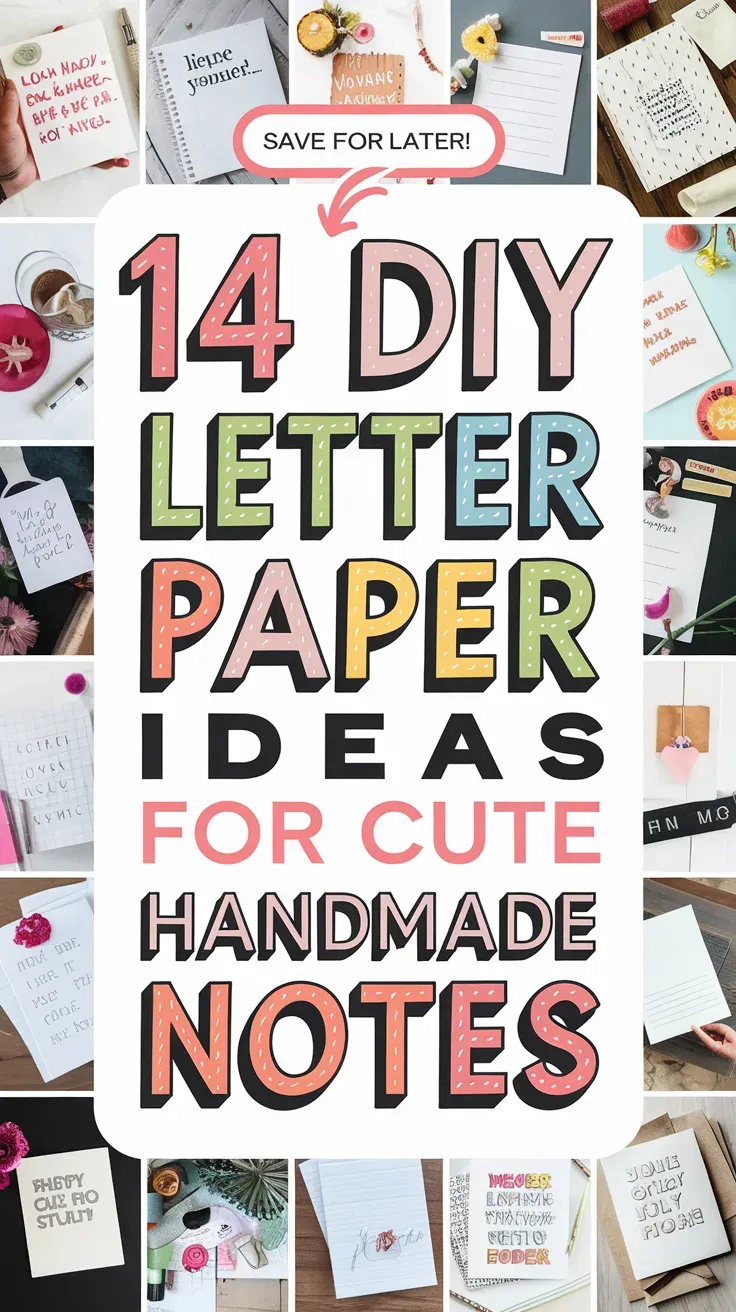
Try a few, mix styles, and enjoy writing letters that friends and family will love.
Let’s get into the ideas!
1. Dotted Strawberry Stationery
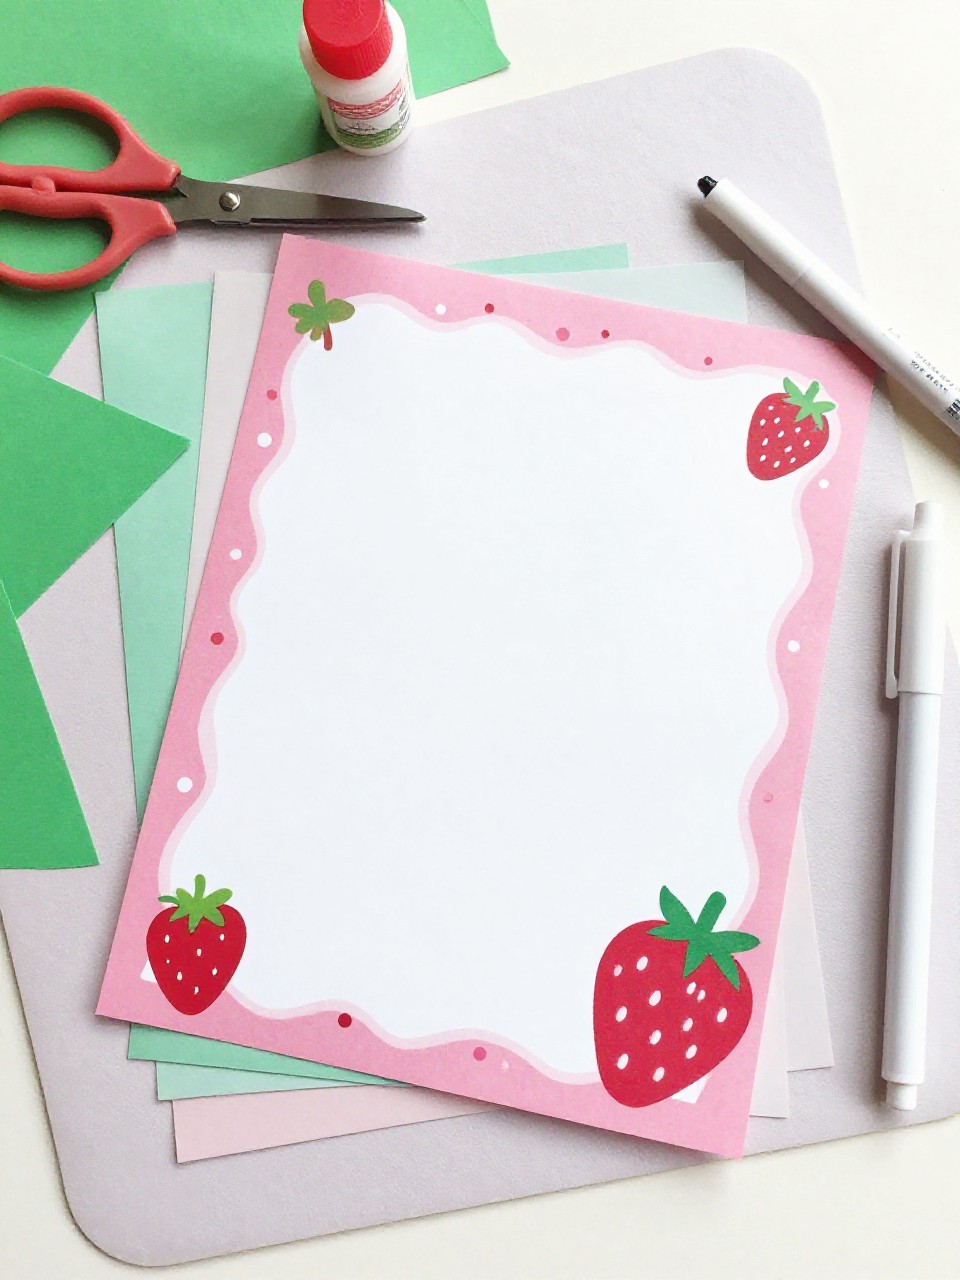
This letter paper looks like a sweet strawberry, with a pink-red page dotted with tiny white “seeds” and a little green leaf tab at the top. Kids enjoy turning a plain sheet into a fruity theme and love writing between the dot rows.
Materials Needed:
For People Who Love to Make Things ✂️
- White or pink-red printer paper
- Green construction paper
- White paint pen or correction pen
- Glue stick
- Scissors
How to make it:
- Cut a sheet into a soft rounded triangle to mimic a strawberry shape.
- Glue a small green leaf cutout to the top edge as a header tab.
- Add tiny white seed dots in neat rows, leaving space for writing.
- Let dry, then stack a few sheets for a cute letter set.
2. Rainbow Ruler-Lined Letter Paper
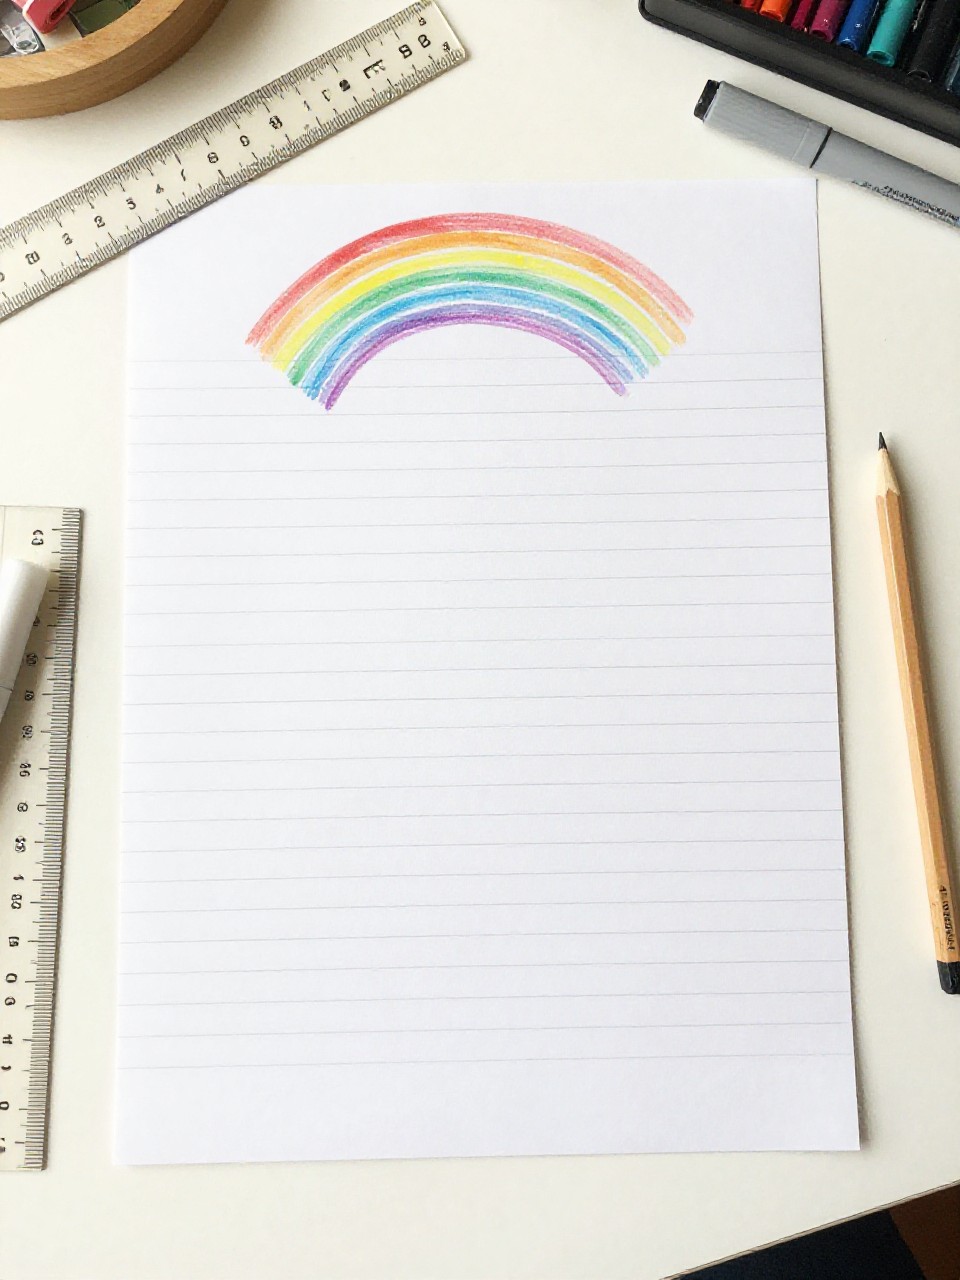
This paper has soft rainbow stripes that double as writing lines, like a cheerful notebook page. Kids love choosing colors and seeing their lines appear without a ruler, and it feels extra tidy and bright.
Materials Needed:
- White cardstock or printer paper
- Washable markers in rainbow colors
- Ruler
- Pencil
How to make it:
- Lightly mark margins with pencil to guide lines.
- Use a ruler to draw horizontal lines, changing marker color every row.
- Add a thin red or pink margin line on the left for a classic notebook look.
- Erase pencil marks, then write a happy letter on your rainbow lines.
3. Pastel Gradient Brush Letter Pages

These sheets fade from one soft color to another, like sunset clouds behind your words. It’s relaxing to brush the color and watch it blend, and the gentle tones make writing feel special.
Materials Needed:
- Mixed media or watercolor paper
- Watercolor paints or watered-down acrylics
- Wide flat brush
- Washi tape (optional for edges)
How to make it:
- Tape paper edges to a surface for clean borders.
- Brush a light wash from one color into another across the page.
- Let colors blend softly, keeping the center pale for easy reading.
- Dry completely, remove tape, and write your note.
4. Kawaii Doodle Border Paper
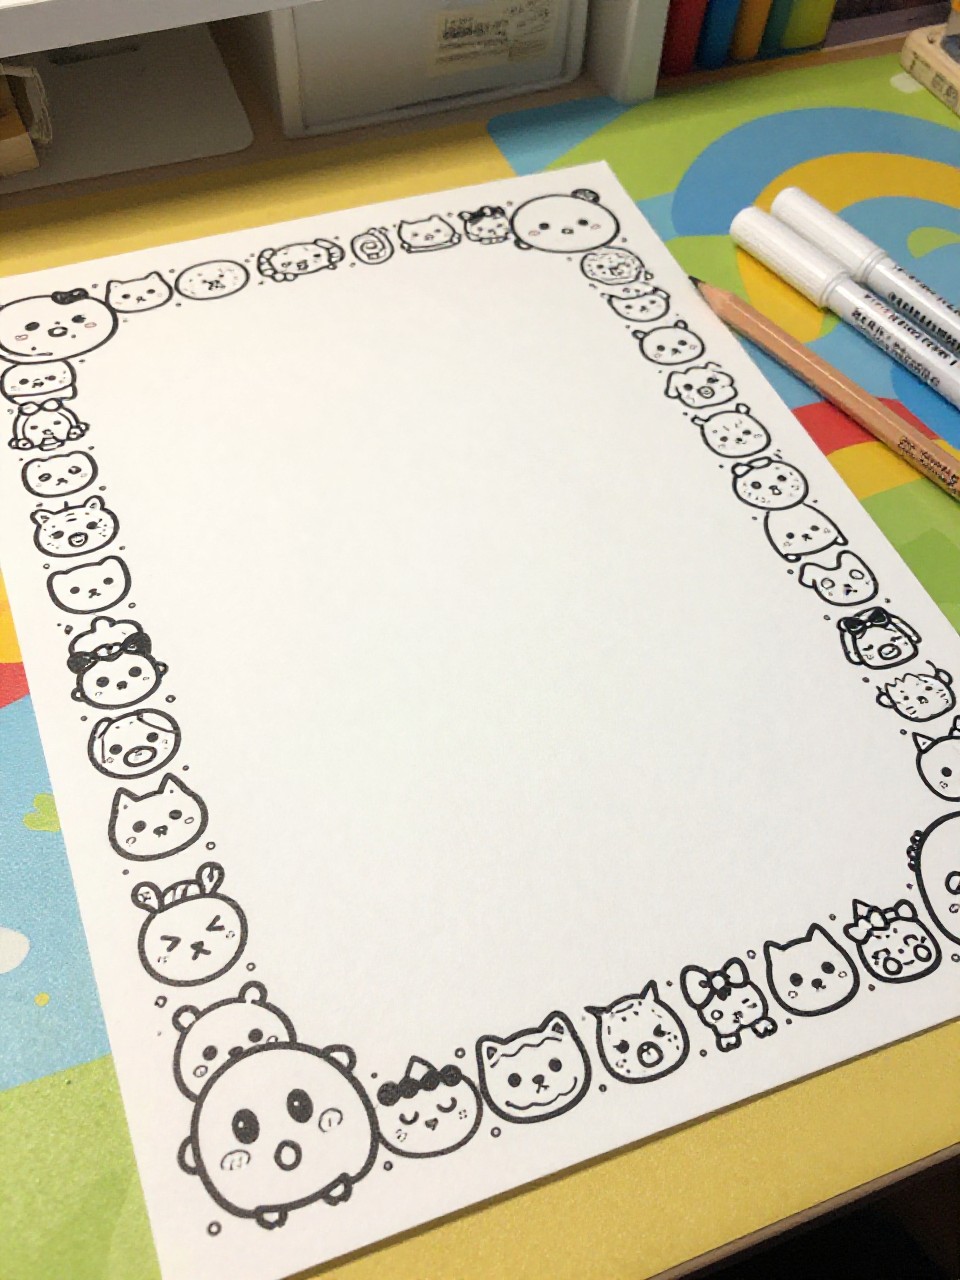
This stationery has a clean center with a border of tiny cute doodles—smiley stars, hearts, buns, cats, and bows. Kids enjoy filling the border with tiny faces, and each page looks playful but neat.
Materials Needed:
- White printer paper
- Black fineliner pen
- Colored pencils or markers
- Ruler (optional)
How to make it:
- Lightly pencil a rectangular border about an inch from the edge.
- Fill the border with small doodles spaced evenly.
- Outline in fineliner and color lightly to keep the center readable.
- Erase pencil lines and start writing your letter.
5. Floral Corner Vines Letter Set
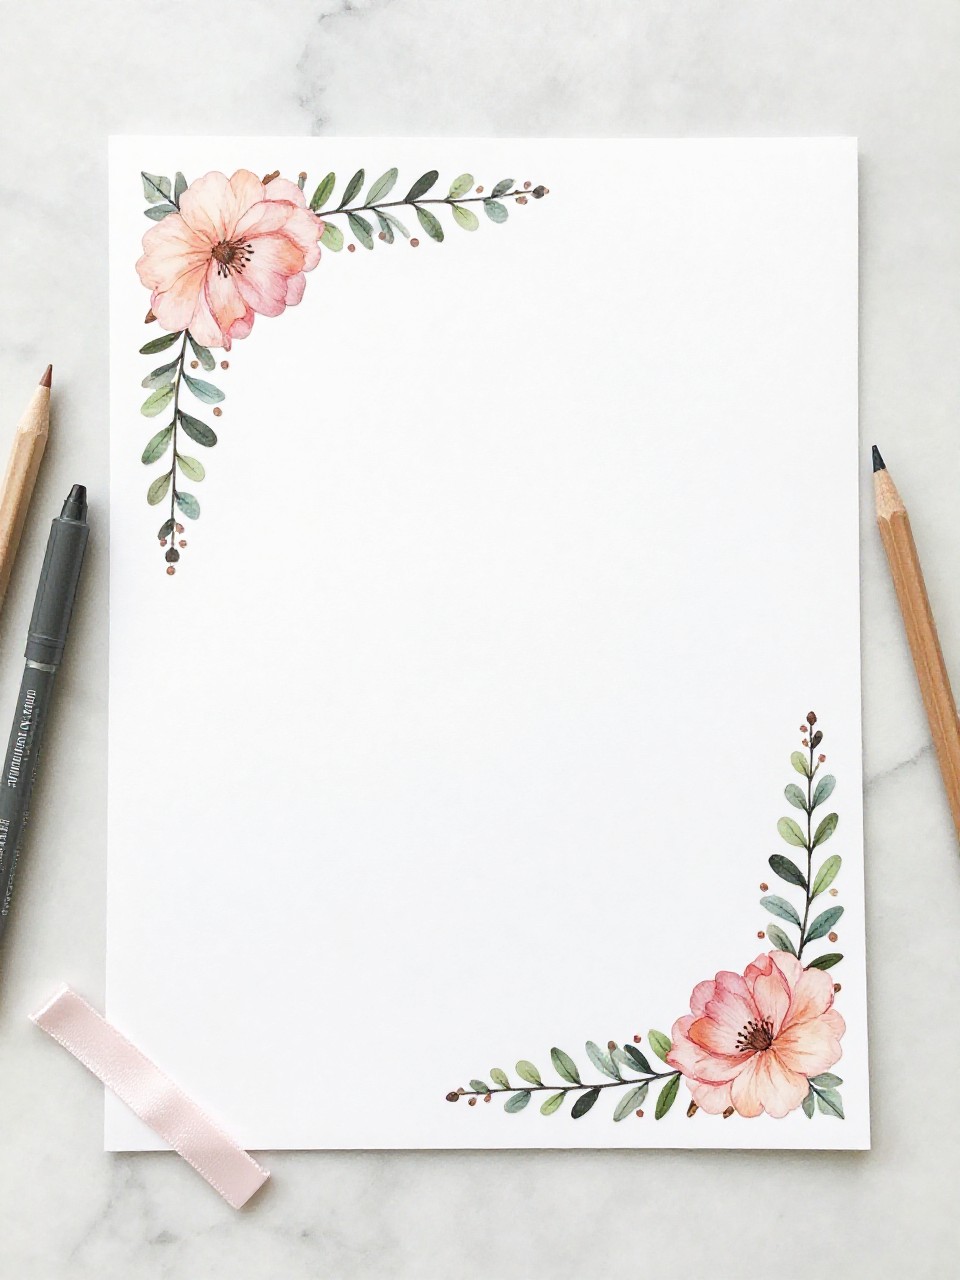
This paper features gentle vines and flowers growing from two opposite corners, leaving plenty of writing space. It feels elegant yet simple, and kids like choosing their flower colors.
Materials Needed:
- Smooth white or cream paper
- Fine-tip markers or gel pens
- Light green colored pencil
- Eraser
How to make it:
- Lightly sketch winding vines in two opposite corners.
- Ink the vines and add small flowers and leaves.
- Shade leaves with green pencil; add tiny dots as accents.
- Erase sketches and bundle a few sheets with a ribbon.
6. Mini Envelope Pattern Paper
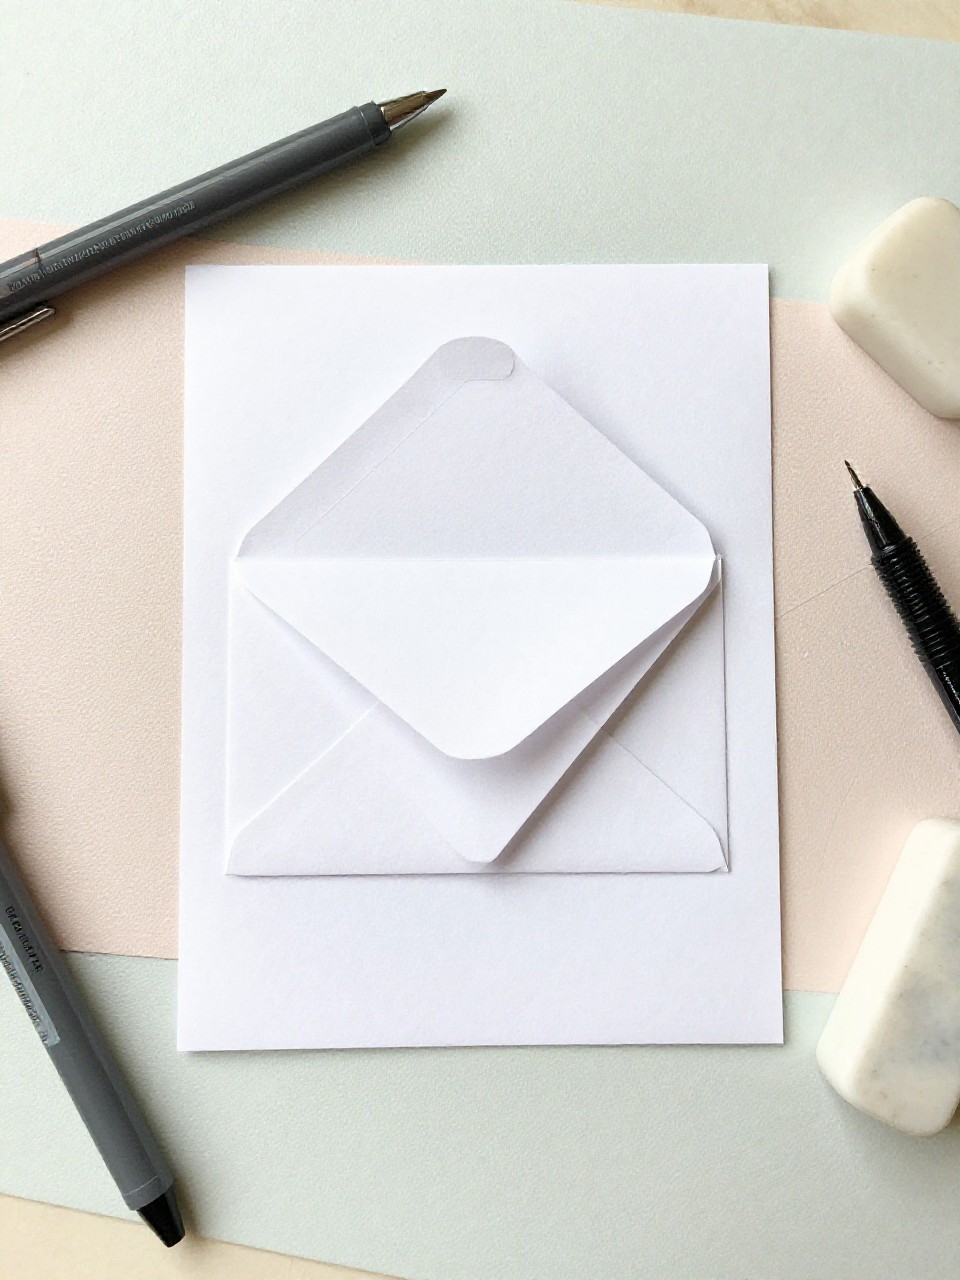
This letter paper is covered in a repeating pattern of tiny, colorful envelopes with hearts, like happy mail all over your page. Making a simple repeat is satisfying and looks store-bought.
Materials Needed:
- White printer paper
- Fine black pen
- Assorted markers
- Ruler (optional)
How to make it:
- Lightly grid the page in pencil to space motifs.
- Draw tiny envelopes with a heart seal at each grid point.
- Outline in black and color the seals or flaps in bright shades.
- Erase grid and enjoy your patterned writing paper.
7. Confetti Edge Letter Paper
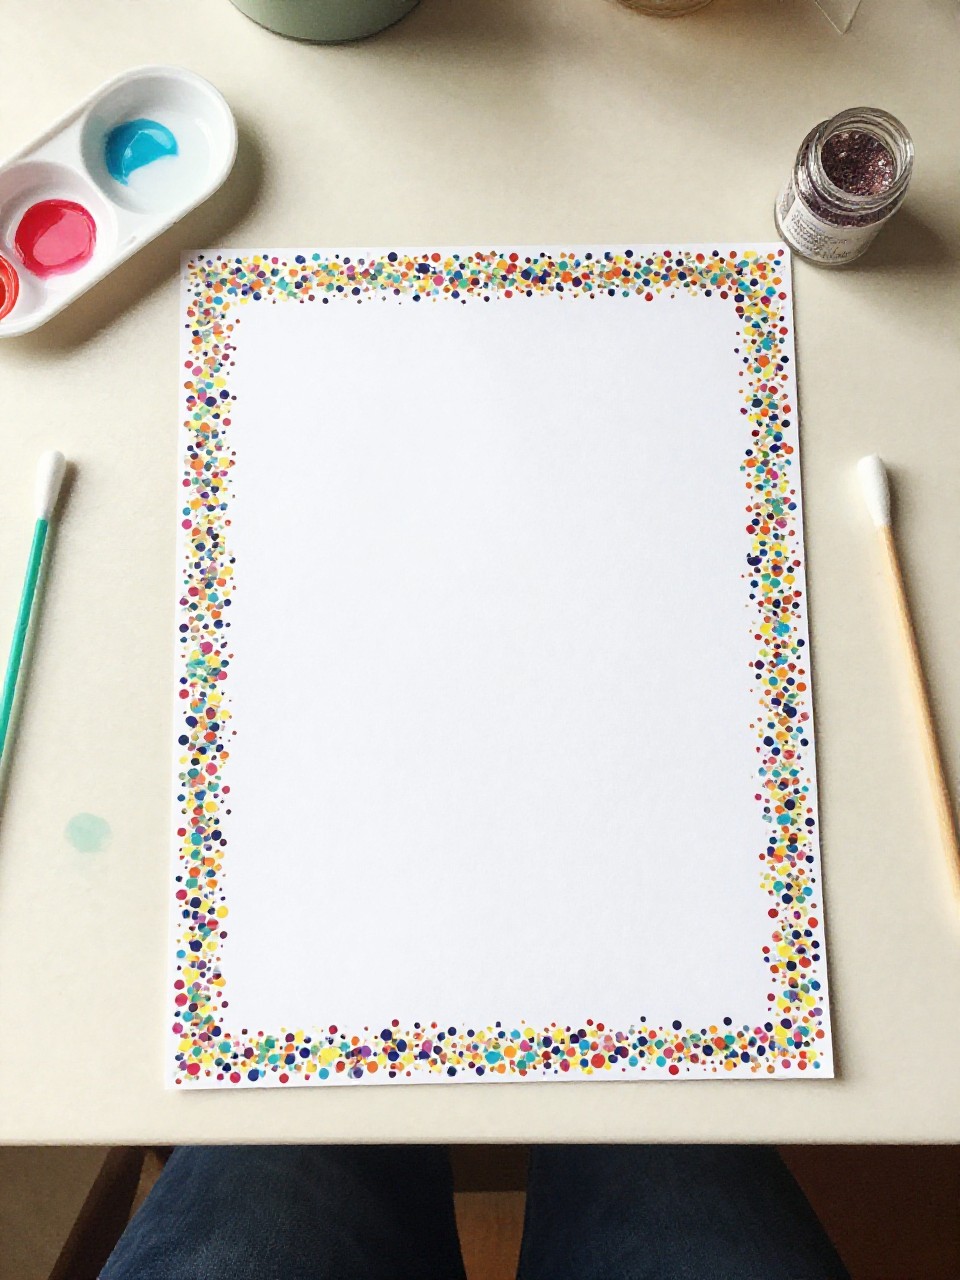
This page has sprinkled confetti along the edges, fading toward the center so text stays clear. Kids love dotting on the color and watching the borders come alive.
Materials Needed:
- White cardstock or printer paper
- Acrylic paint or markers in 3–5 colors
- Pencil eraser end or cotton swabs (for stamping)
- Scrap paper
How to make it:
- Place scrap paper under your page.
- Dip the eraser or swab in color and stamp dense dots around the edges.
- Layer colors, fading lighter as you move inward.
- Let dry, then write your message inside the colorful frame.
8. Polaroid Photo Note Paper
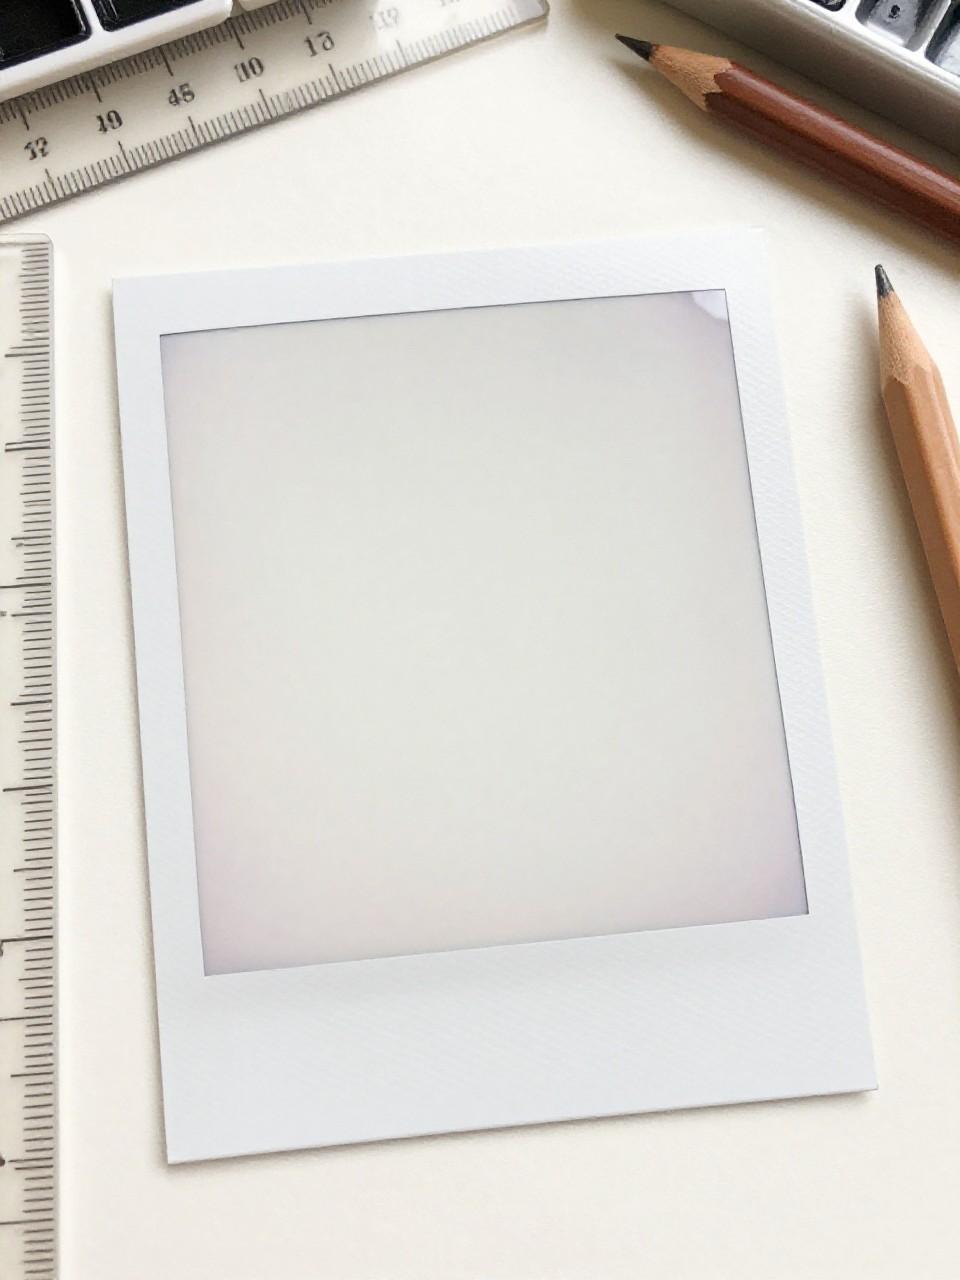
These sheets look like oversized Polaroid frames with a picture box at the top and a caption area below for your letter. Kids enjoy sketching a quick “photo” before writing.
Materials Needed:
- White cardstock
- Ruler and pencil
- Black pen
- Colored pencils or markers
How to make it:
- Draw a centered rectangle “photo” near the top, leaving a thicker bottom margin.
- Outline the photo box and add a simple scene inside.
- Add light guide lines in the caption area if desired.
- Color the mini picture and then write your note below.
9. Cloud-and-Sky Letter Sheets
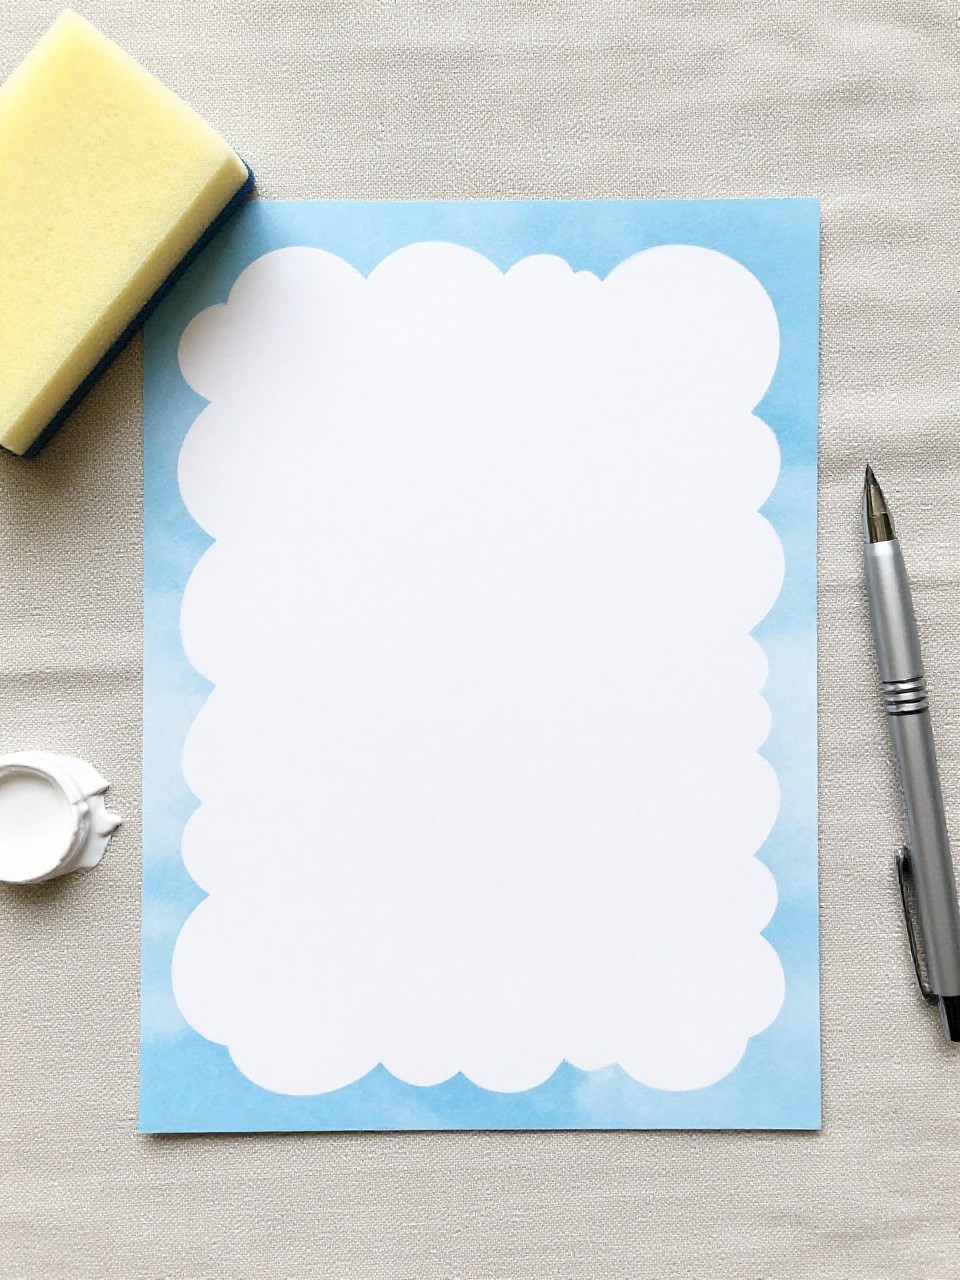
These pages have soft blue skies with fluffy white clouds tucked into the margins. It’s calming to make and sweet to write on, especially for cheerful notes.
Materials Needed:
- Light blue paper or white paper with blue paint wash
- White acrylic paint
- Small sponge or cotton balls
- Silver gel pen (optional)
How to make it:
- If using white paper, brush a thin blue wash and let dry.
- Dab white paint with a sponge to make cloud puffs along edges and corners.
- Add tiny silver stars or dots for sparkle if you like.
- Dry fully, then write between the clouds.
10. Stamp-and-Stripe Pen Pal Pages
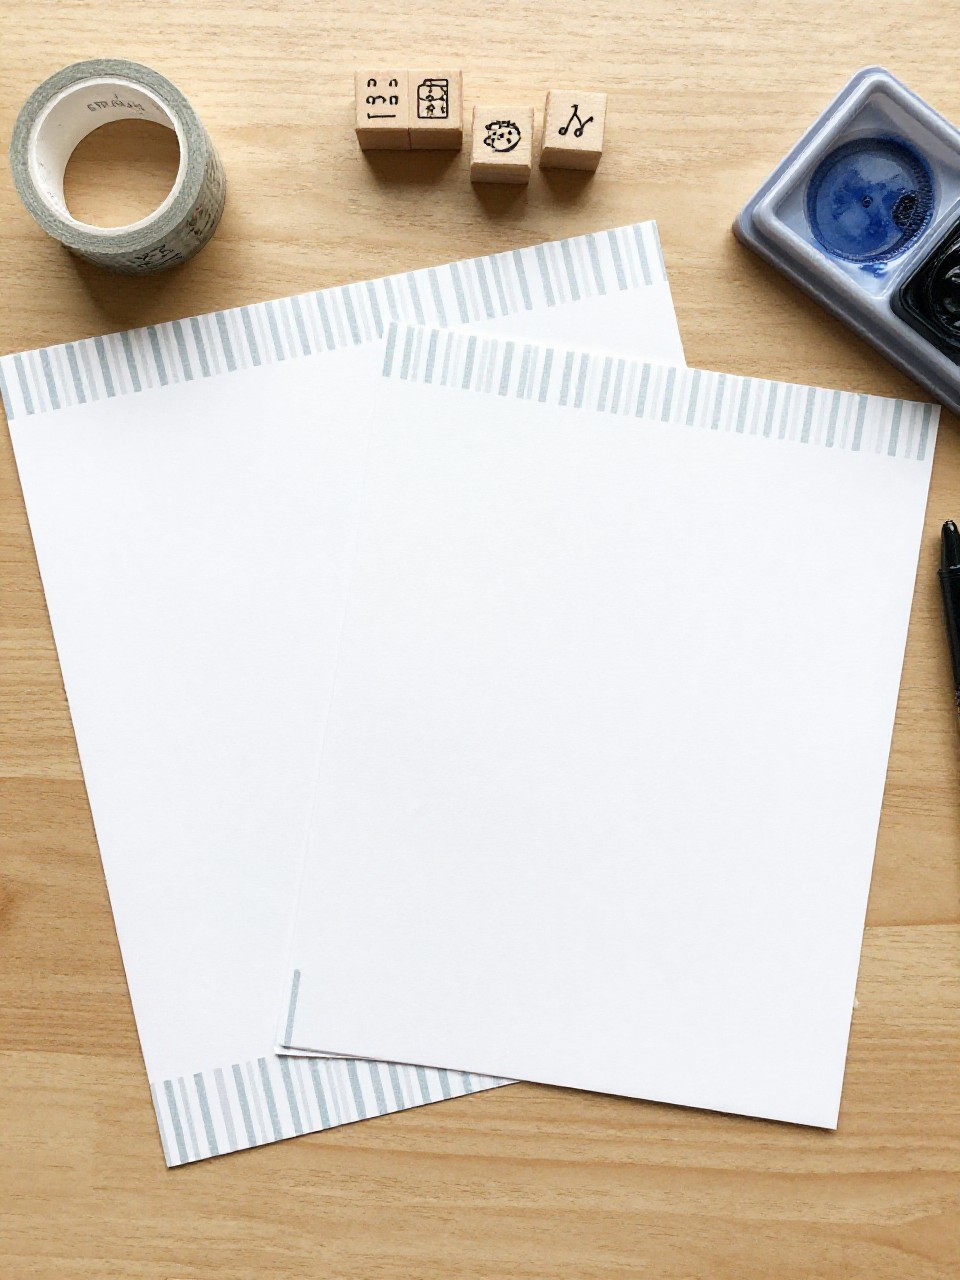
This design features bold horizontal stripes made with washi tape masking, plus cute rubber stamp icons between lines. The peel-and-reveal moment is very satisfying and looks neat.
Materials Needed:
- White paper
- Washi tape
- Ink pad and small rubber stamps
- Ruler (optional)
How to make it:
- Mask even horizontal stripes with washi tape, leaving gaps for color.
- Sponge or stamp ink into the open gaps to make tinted stripes.
- Remove tape and stamp small icons between lines.
- Let dry and write your letter on the crisp stripes.
11. Simple Grid Bullet Letter Paper
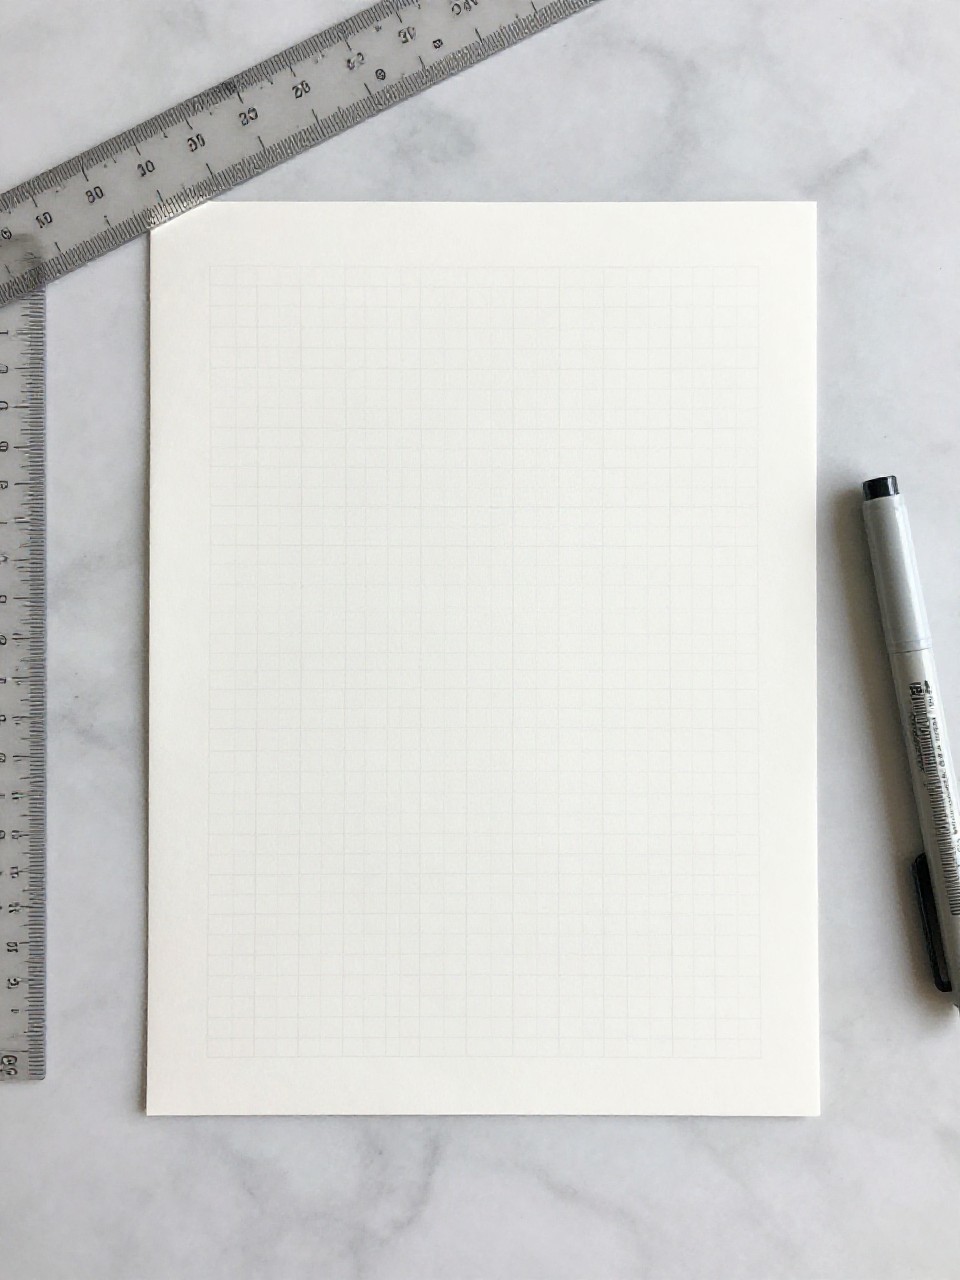
This paper has a light dot grid or square grid to guide tidy writing and tiny doodles. Kids like the organized look and how easy it is to keep letters straight.
Materials Needed:
- White paper
- Light gray marker or pencil
- Ruler
- Fineliner (optional for headings)
How to make it:
- Use a ruler to make faint dots or squares across the page.
- Keep lines very light so writing shows clearly.
- Add a small header box at the top for date or title.
- Write your letter using the grid as a guide.
12. Tear-and-Layer Pastel Collage Paper
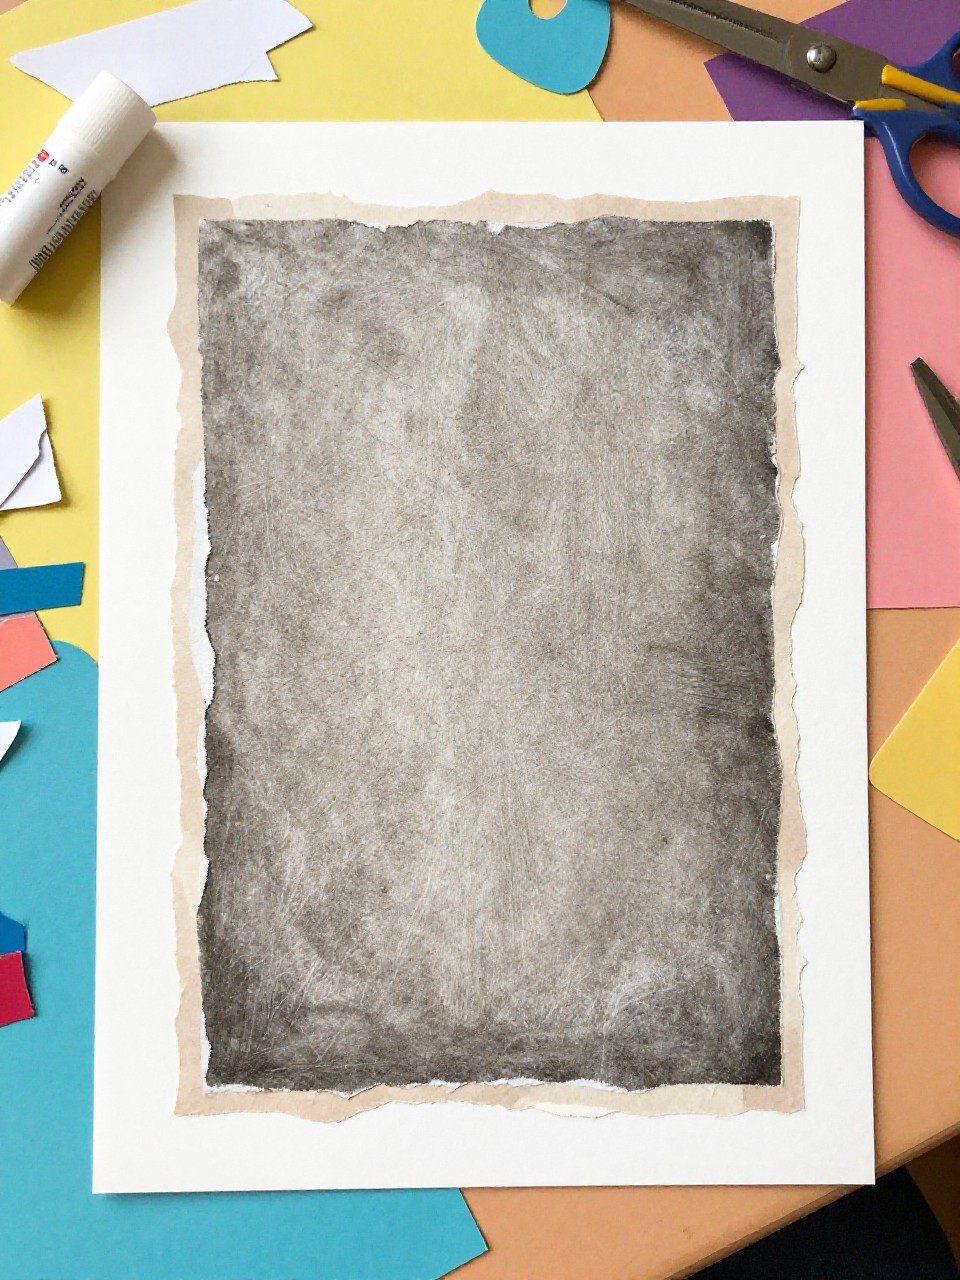
These letter pages have a clean center with torn pastel paper layers around the edges, like a soft scrapbook frame. The ripping step is fun and forgiving for little hands.
Materials Needed:
- White paper (base)
- Pastel construction paper
- Glue stick
- Scissors (optional)
How to make it:
- Tear pastel strips with deckled edges.
- Glue strips around the border, overlapping slightly, leaving a wide blank center.
- Add one or two tiny cutout shapes (hearts, stars) in corners.
- Press flat under a book, then write inside the soft frame.
13. Tea-Stained Vintage Letter Pages

These sheets look old and cozy, with warm brown edges and gentle wrinkles. Kids enjoy watching the paper age like a treasure map, then writing in their best “old-time” script.
Materials Needed:
- Printer paper
- Black tea bag and hot water (adult help)
- Baking sheet
- Paper towels
How to make it:
- Brew strong tea and let it cool slightly.
- Place paper on a baking sheet and dab tea over the surface.
- Darken edges by adding extra tea; let dry or bake on low briefly with supervision.
- Flatten under a heavy book, then write your vintage-style note.
14. Sticker Header Stationery
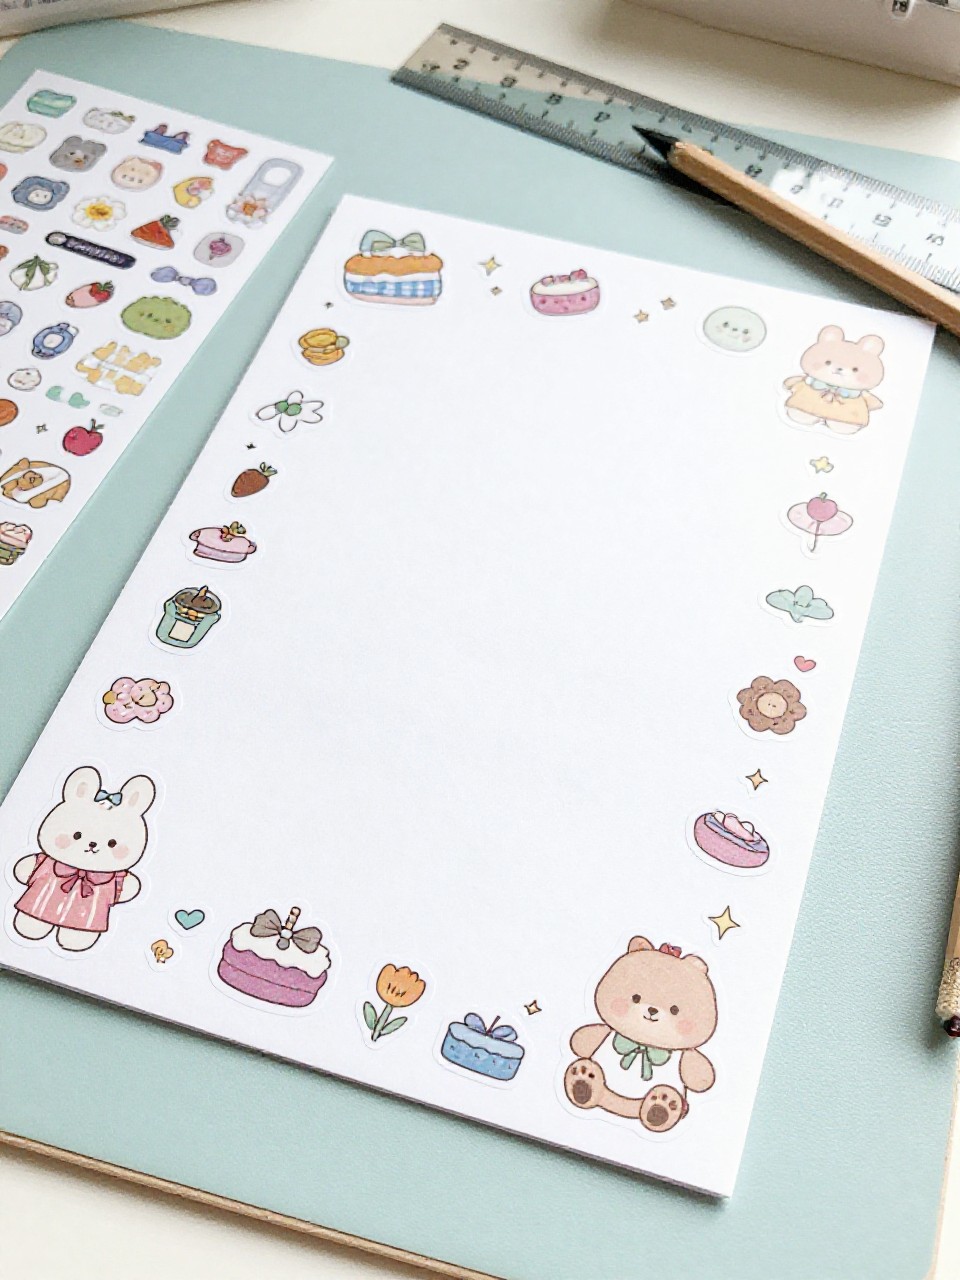
This design uses a row of cute stickers across the top as a simple header, with light guide lines below. Picking and arranging stickers is quick, satisfying, and totally customizable.
Materials Needed:
- White or pastel paper
- Small sticker sheet (stars, animals, foods, or letters)
- Ruler
- Light gray pen or pencil
How to make it:
- Place a neat row of stickers across the top margin for a title or mood.
- Draw faint horizontal lines for writing under the header.
- Add one tiny sticker in a bottom corner to balance the page.
- Smooth stickers well, then write your cheerful letter.