


Table of Contents Show
Keeping kids busy or finding a calm activity for class time can be hard, especially on rainy days. If you love cute stationery and want simple projects that don’t make a big mess, washi tape is perfect. It’s easy to peel, colorful, and turns plain supplies into something special.
This list gives you quick, fun ideas that beginners can do with little setup.
Let’s jump into 12 DIY washi tape crafts that will brighten notebooks, desks, and pencil pouches.
1. Washi Tape Notebook Cover Makeover
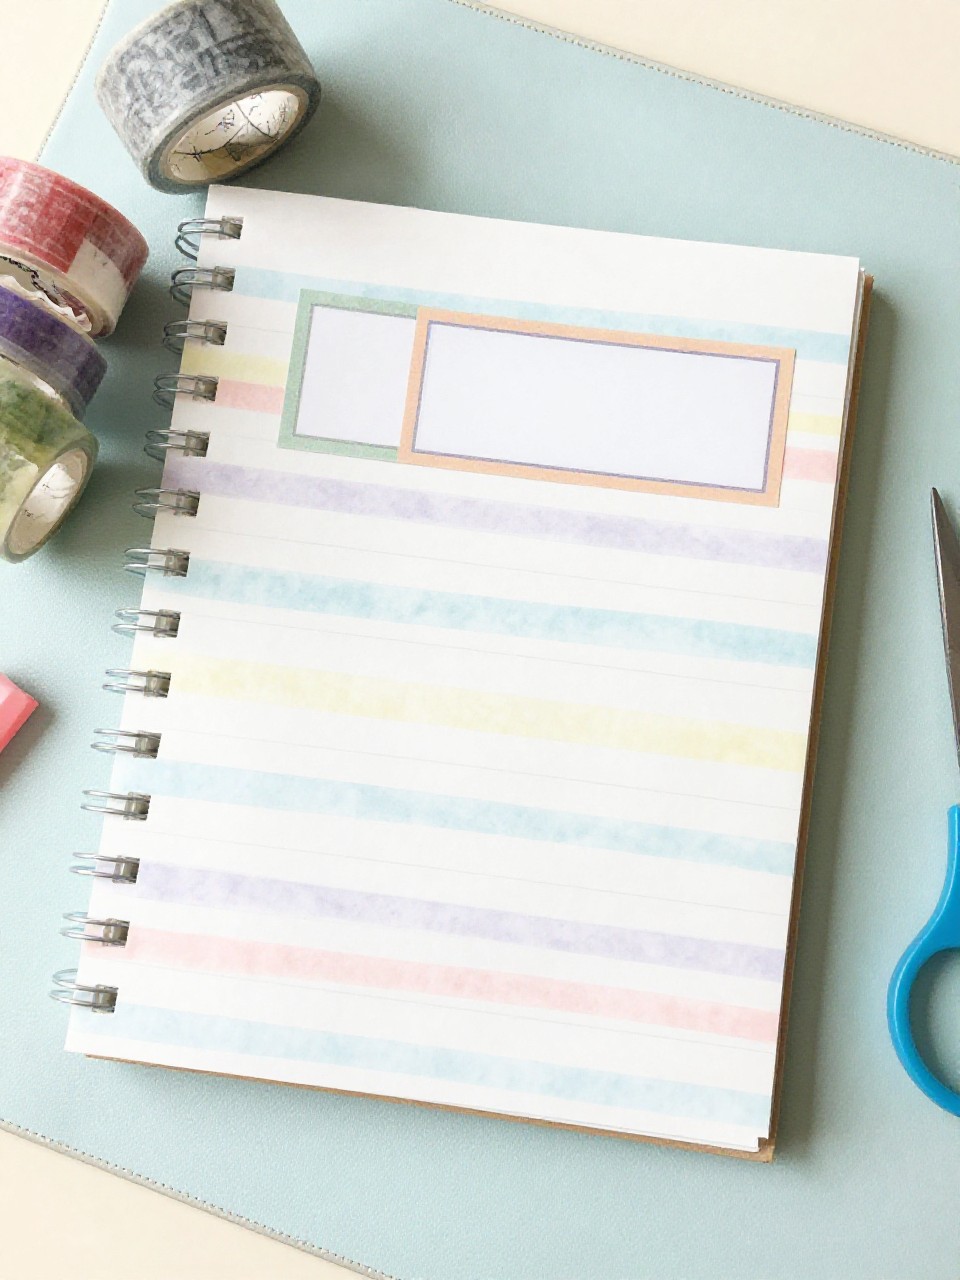
This project turns a plain notebook into a striped or patterned cover using colorful washi tape in neat rows or diagonals. Kids love picking patterns and seeing the instant change, and it’s easy enough for beginners.
Materials Needed:
For People Who Love to Make Things ✂️
- Plain spiral or composition notebook
- Assorted washi tapes (thin and wide)
- Scissors
- Bone folder or ruler (for smoothing)
- Clear contact paper (optional for durability)
How to make it:
- Wipe the notebook cover clean and dry.
- Lay washi tape in stripes, chevrons, or diagonals across the cover, trimming edges.
- Smooth with a ruler to remove bubbles; add a label box with a contrasting tape.
- Seal with clear contact paper if desired, then let it rest for 10 minutes before using.
2. Color-Blocked Washi Pencil Set
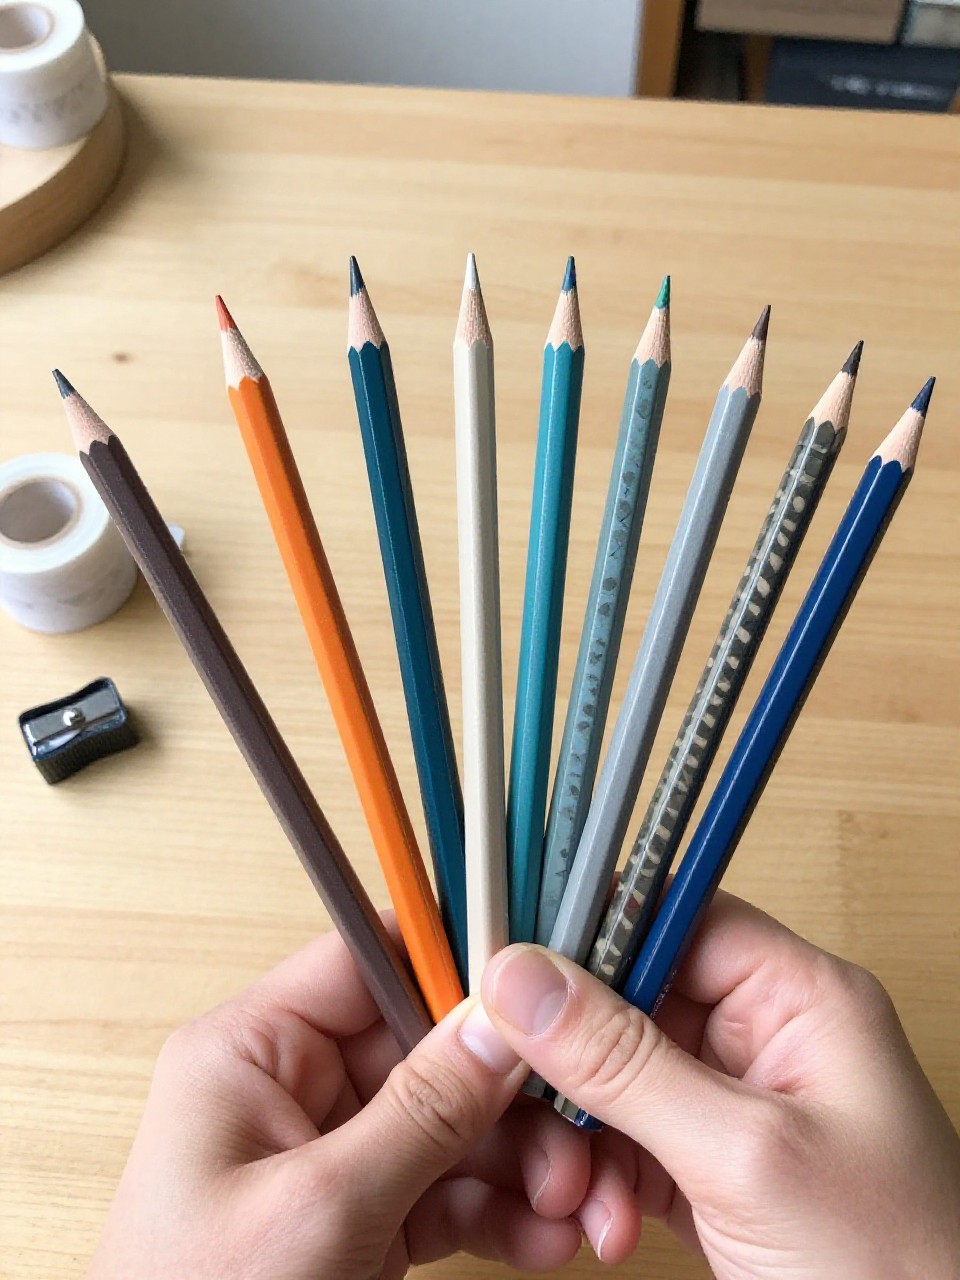
Pencils get color-blocked ends and stripes with bright washi, turning an ordinary set into a matching stationery bundle. Kids enjoy mixing colors and instantly seeing a set that feels like their own.
Materials Needed:
- Wooden pencils (unsharpened or sharpened)
- Assorted washi tapes
- Craft knife or scissors
- Pencil sharpener
- Clear tape (optional for tips)
How to make it:
- Clean pencil barrels; decide where the color blocks will go.
- Wrap washi around the barrel in bands or spirals, trimming neatly at seams.
- Add a thin accent stripe for contrast near the eraser.
- Sharpen tips if needed and press seams to set; add clear tape near points for extra hold.
3. Mini Washi Tape Page Flags

Make sticky page flags by folding washi over the edge of a clear tab, creating tiny bookmarks for planners and textbooks. Kids love choosing patterns for different subjects, and it’s quick, tidy, and useful.
Materials Needed:
- Washi tapes (thin and medium)
- Wax paper or acetate sheet
- Scissors
- Hole punch (optional to store on a ring)
- Binder ring (optional)
How to make it:
- Stick short strips of washi to wax paper, leaving half the strip free.
- Fold each strip over on itself to form a flag; trim ends into points or fishtails.
- Peel off the wax paper backing to reveal low-tack flags.
- Store flags on a binder ring or inside a notebook pocket for easy use.
4. Washi Border Stationery Set
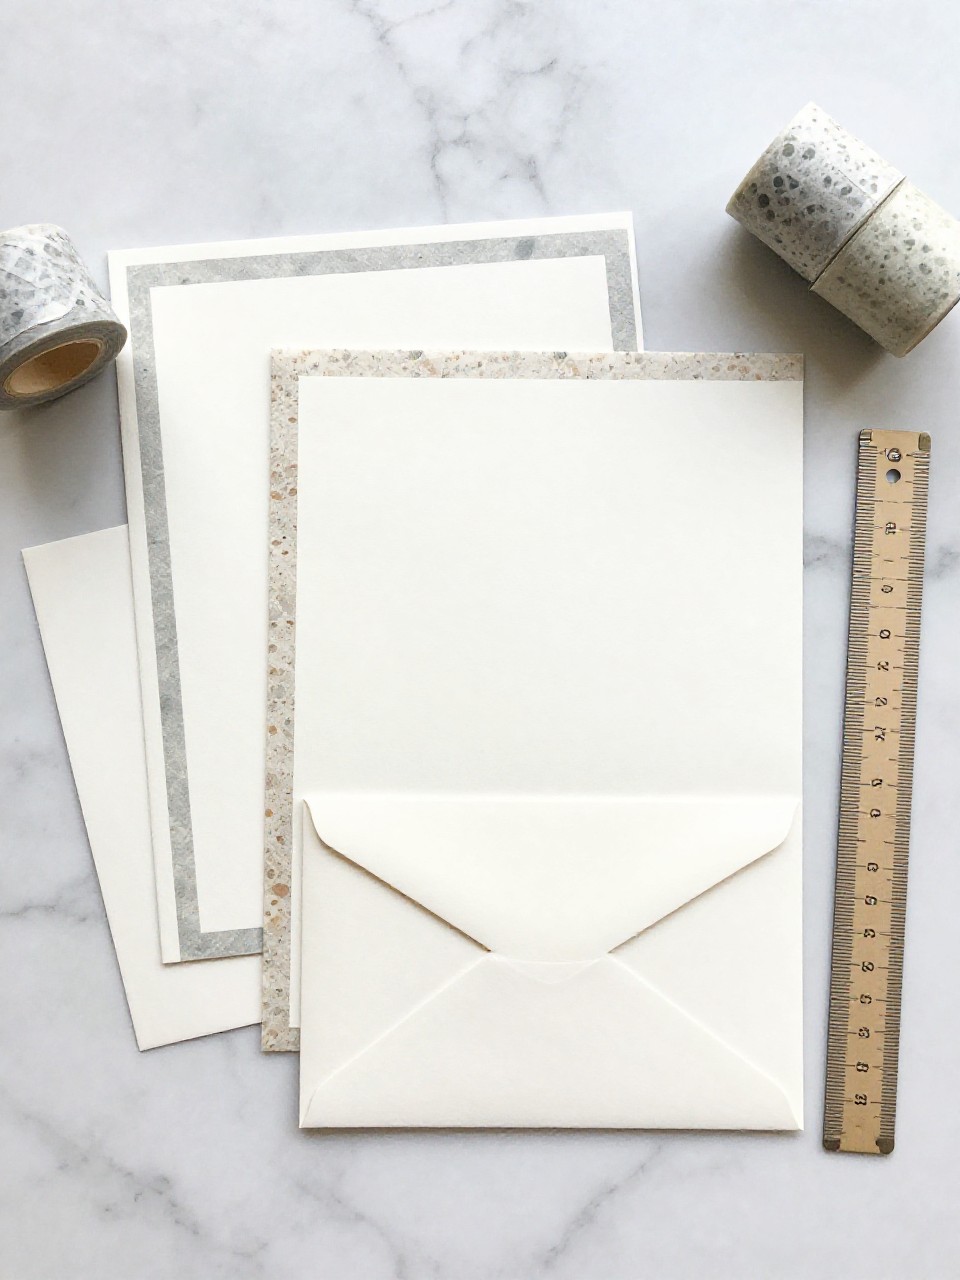
Turn plain note cards and envelopes into a matching set with clean washi borders around the edges. It’s satisfying because the results look like boutique stationery with very little effort.
Materials Needed:
- Blank note cards and envelopes
- Assorted washi tapes (coordinated colors)
- Ruler
- Scissors or craft knife
- Pencil (light marking)
How to make it:
- Lightly mark a border guide around each card and envelope flap.
- Apply washi along the edges, mitering corners by trimming at 45 degrees.
- Add a contrasting inner border or a small heart/star sticker made from washi.
- Press down firmly and stack under a book for 5 minutes to set.
5. Patterned Washi Paper Clips

Large paper clips become cute bookmarks by adding folded washi flags or tiny looped bows. Kids enjoy making a bunch fast and trading patterns with friends.
Materials Needed:
- Large paper clips
- Washi tapes (varied patterns)
- Scissors
- Small stickers (optional)
- Clear nail top coat (optional for extra hold)
How to make it:
- Cut short strips of washi and fold them over the top of a paper clip to make a flag.
- Trim ends into triangles or scallops; layer two patterns for contrast.
- Add a tiny sticker at the base or seal edges with a light coat of clear top coat.
- Slide onto pages as bookmarks or binder markers.
6. Washi Tape Bookmark Tabs
Create sturdy corner tabs or long strip bookmarks decorated with neat washi patterns and labels. It’s fun because readers can customize by subject, mood, or color theme.
Materials Needed:
- Cardstock or index cards
- Assorted washi tapes
- Hole punch and ribbon (optional)
- Scissors
- Fine-tip marker
How to make it:
- Cut cardstock into long strips or right-angle corner tabs.
- Cover the surface with bands of washi; wrap edges to the back for a clean finish.
- Write labels or doodle icons with a fine-tip marker.
- Punch a hole and tie ribbon for strip bookmarks, then slide into books.
7. DIY Washi Tape Binder Dividers
Plain dividers get bold borders, tabs, and small icons made from washi shapes. Kids enjoy seeing their school binder look organized and cute at the same time.
Materials Needed:
- Plastic or cardstock binder dividers
- Assorted washi tapes (including thin for borders)
- Hole punch reinforcements (optional)
- Scissors and craft knife
- Cutting mat
How to make it:
- Add thin washi borders along divider edges and around the tab area.
- Layer a wider tape over the tab; trim to shape with a craft knife on a mat.
- Punch or stick reinforcements, then add tiny washi icon stickers (stars, arrows).
- Press firmly and snap dividers into the binder.
8. Washi-Wrapped Highlighter and Pen Set
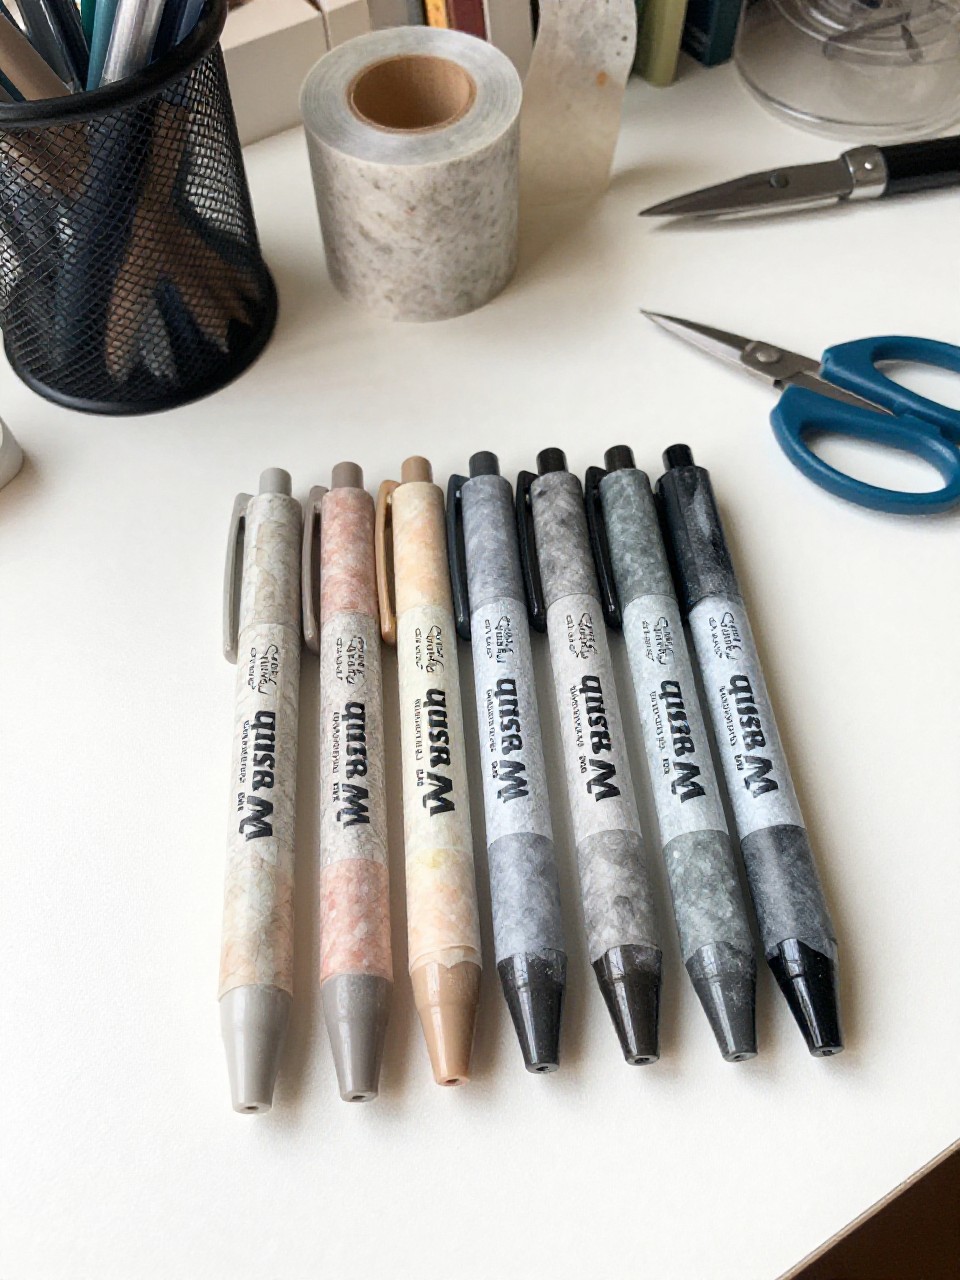
Pens and highlighters get matching sleeves of patterned washi, turning a desk cup into a rainbow display. It’s satisfying to make sets for friends or color-code notes.
Materials Needed:
- Smooth-barrel pens and highlighters
- Assorted washi tapes
- Craft knife
- Rubbing alcohol and cloth
- Clear tape (optional)
How to make it:
- Wipe barrels with alcohol and let dry.
- Wrap washi in neat spirals or straight bands, aligning seams; trim around clips with a craft knife.
- Add a thin accent stripe near the cap for a finished look.
- Press seams and secure ends with tiny pieces of clear tape if needed.
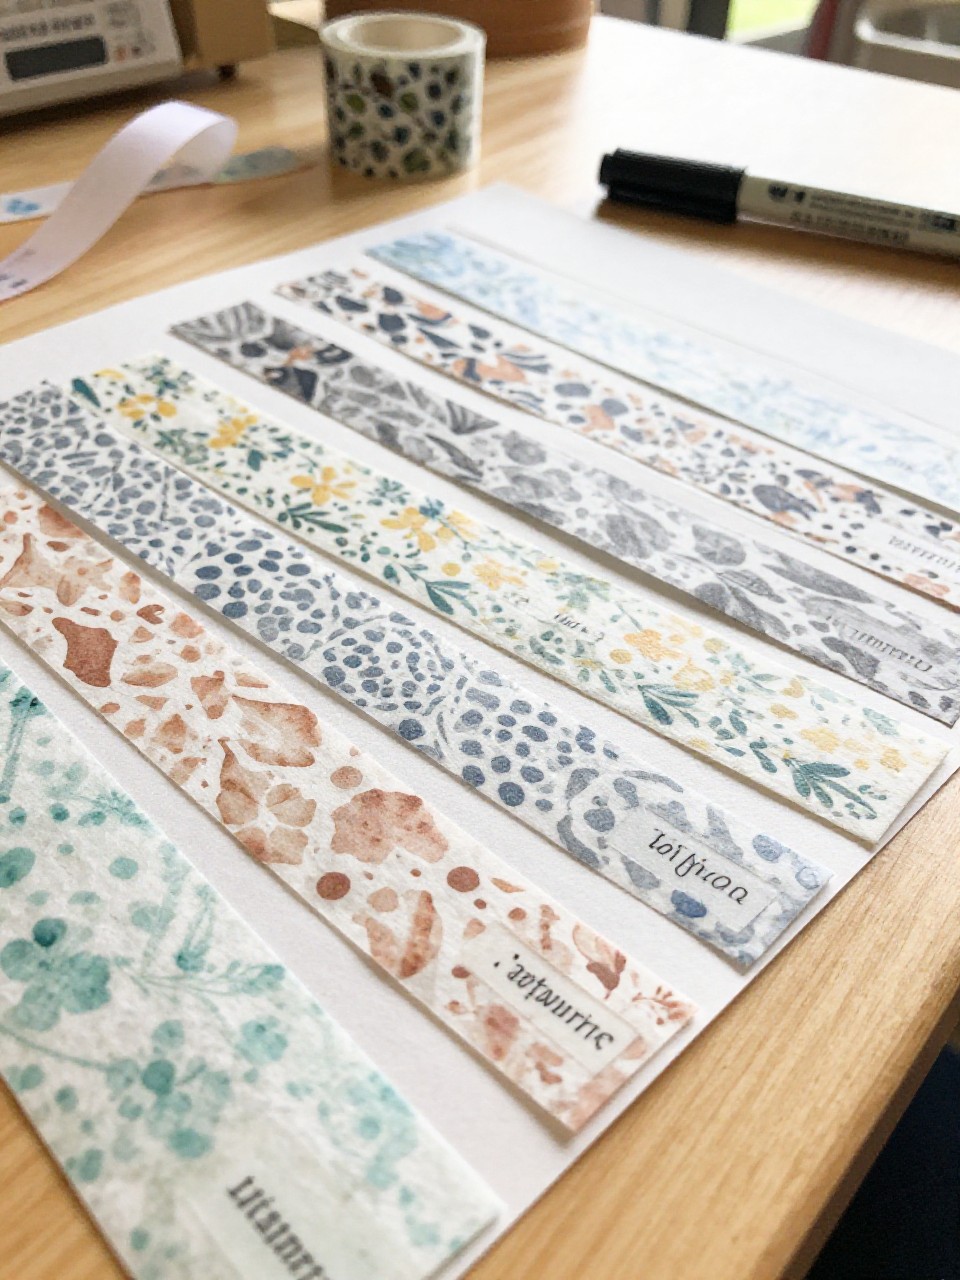
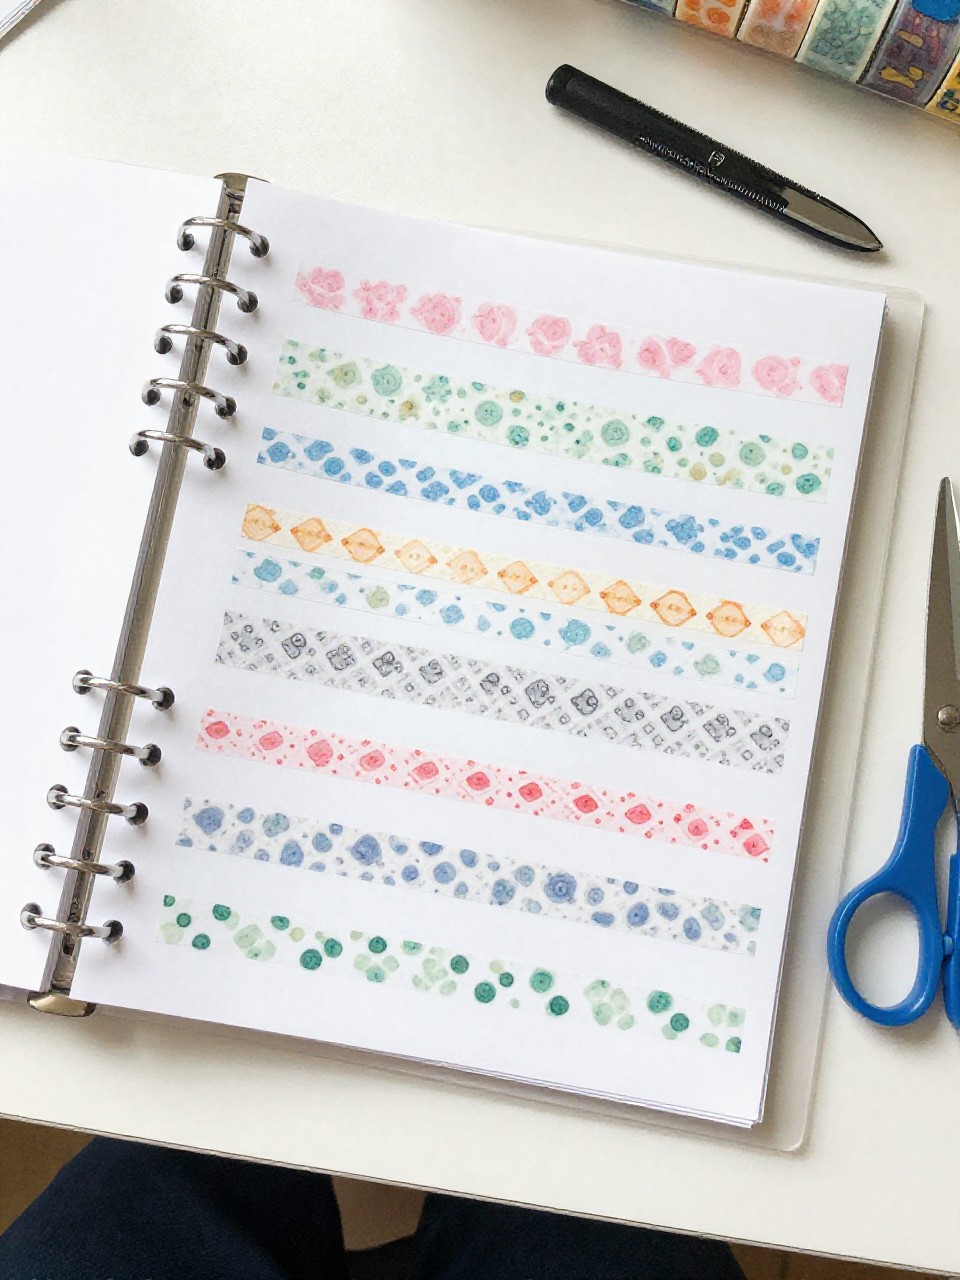
9. Washi Tape Envelope Seals and Stickers
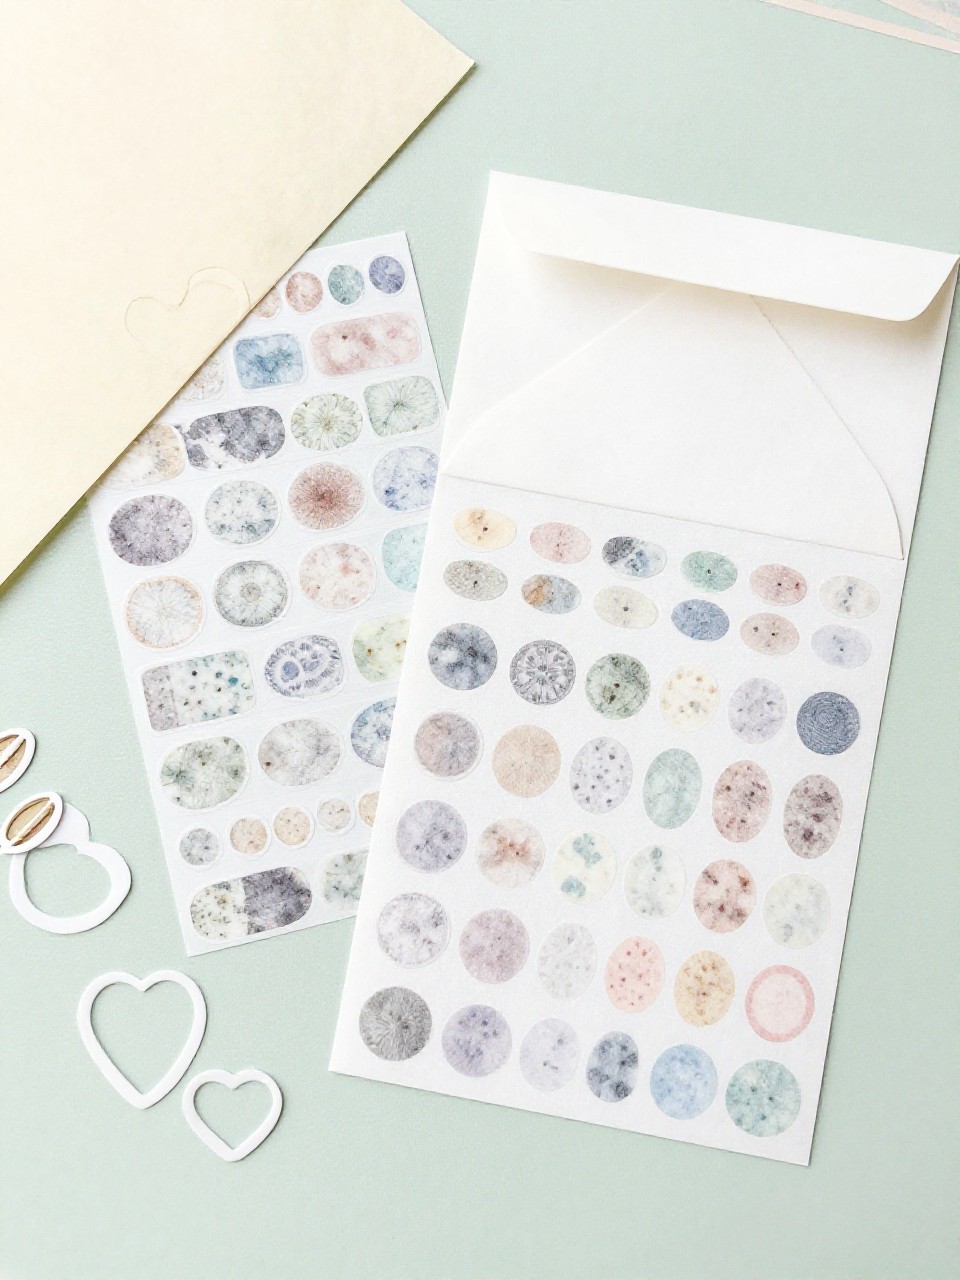
Make peel-off sticker sheets by layering washi on baking parchment and punching shapes. Kids love designing their own seals for letters, planners, and gifts.
Materials Needed:
- Washi tapes
- Baking parchment or wax paper
- Paper punchers (circles, hearts, stars)
- Scissors
- Small storage envelope
How to make it:
- Lay strips of washi on parchment, overlapping slightly.
- Punch shapes through the layered washi to create stickers.
- Peel and stick onto envelopes or planner pages.
- Store extra stickers in a small labeled envelope.
10. Washi Edge Index Cards for Study
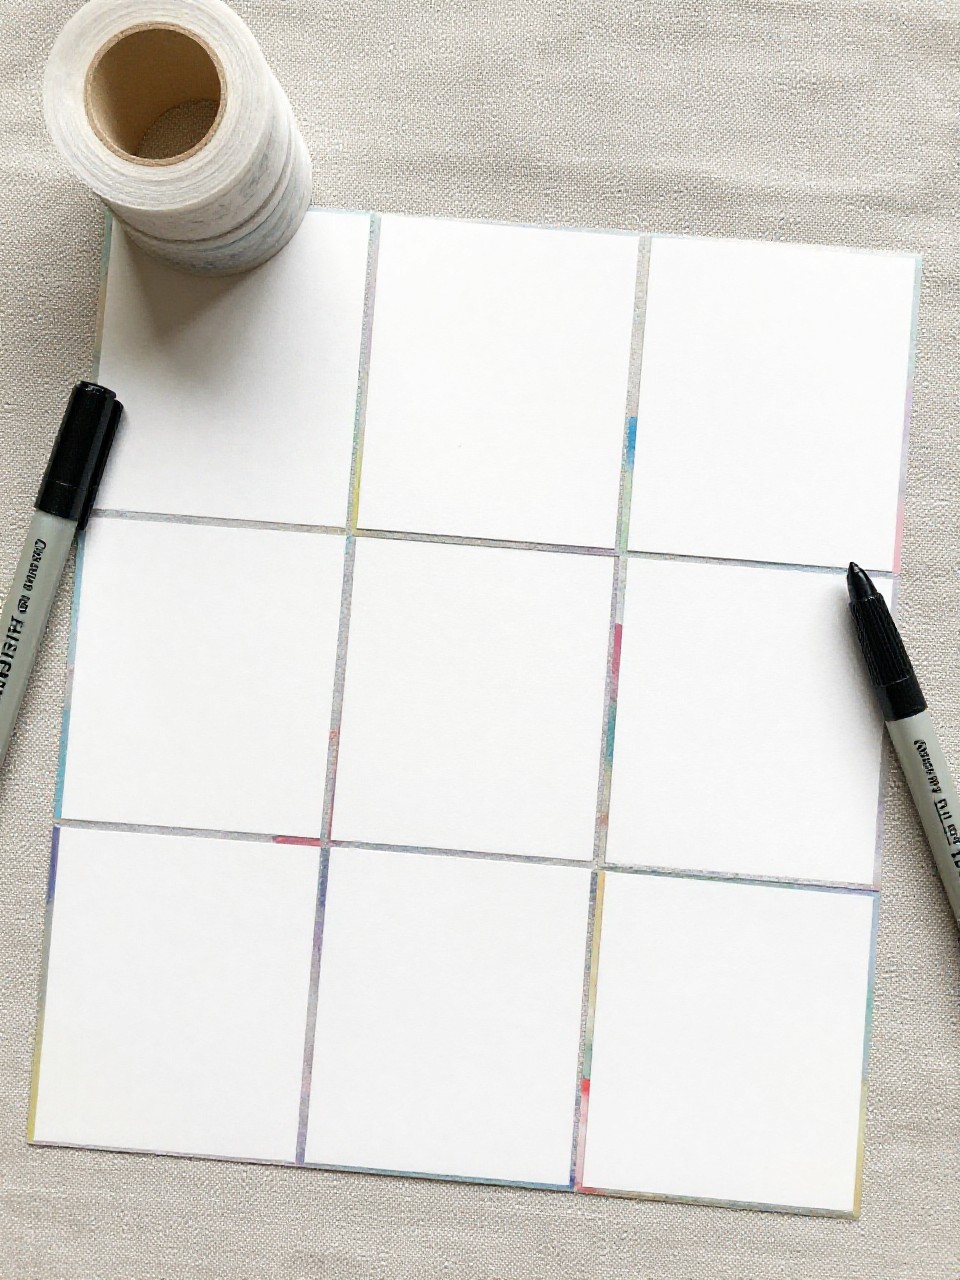
Index cards get colored edges and tiny icon corners to sort subjects fast. It’s appealing because studying feels more fun with bright, tidy cards.
Materials Needed:
- Blank index cards
- Assorted thin and medium washi tapes
- Fine-tip marker
- Scissors
- Rubber band or card box
How to make it:
- Add thin washi along one or two edges of each card.
- Place a small square of patterned washi in a corner and draw an icon on it.
- Make color sets for different subjects or topics.
- Stack cards and secure with a band or place in a box.
11. Washi Corner Photo and Note Frames
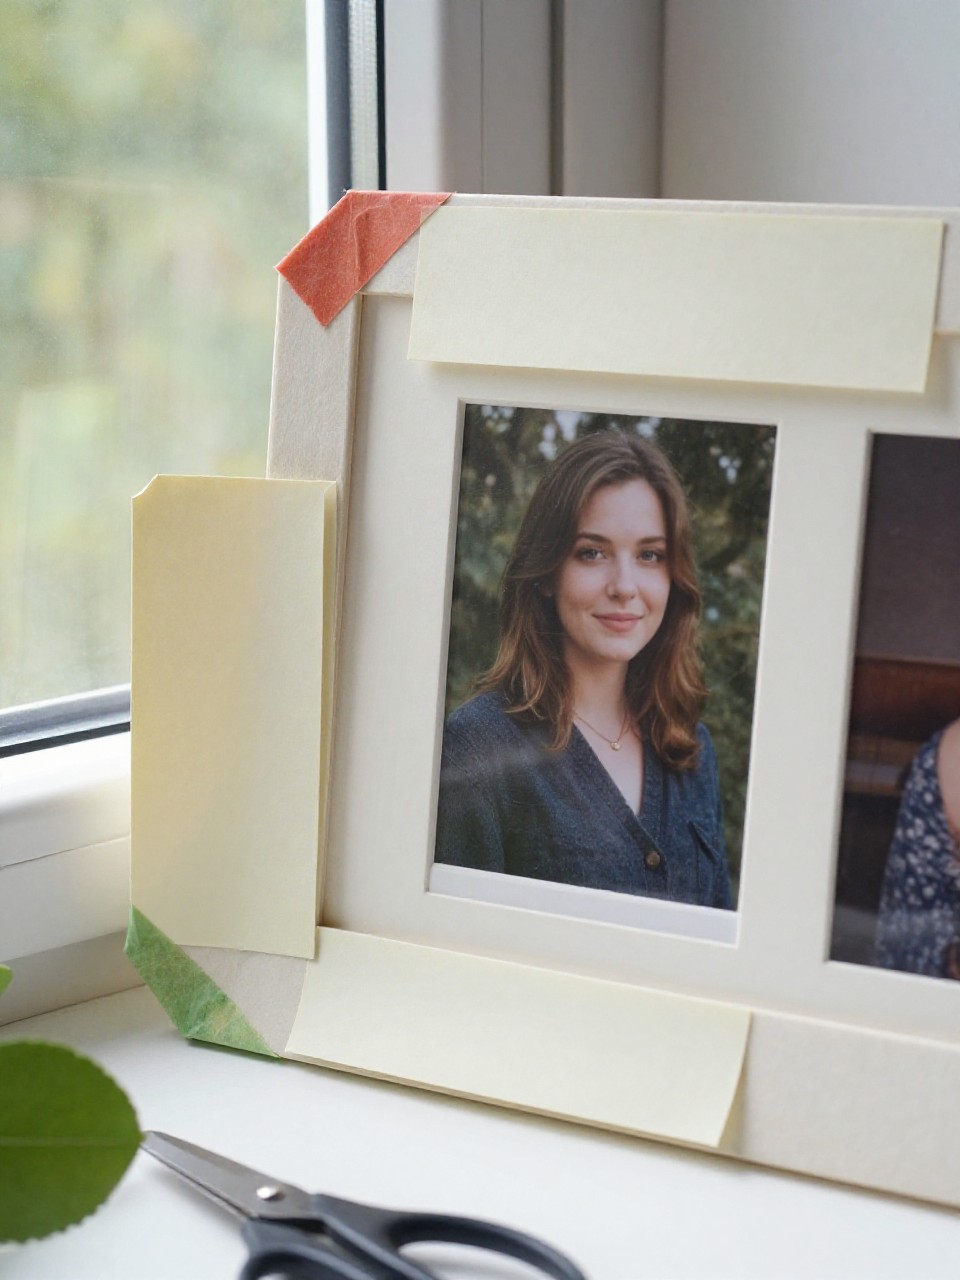
Create L-shaped corners and mini frames from washi to hold photos and notes in journals or on walls. Kids like that it looks like a gallery and won’t damage surfaces.
Materials Needed:
- Journals or cardstock backing
- Assorted washi tapes
- Ruler
- Scissors
- Printed photos or notes
How to make it:
- Cut short pieces of washi and fold to form neat L-corners.
- Place corners on the page or backing, then slide in a photo or note.
- Add a thin border around the photo for a framed look.
- Press edges and display in a journal or on a corkboard.
12. Washi Tape Pencil Pouch Labels
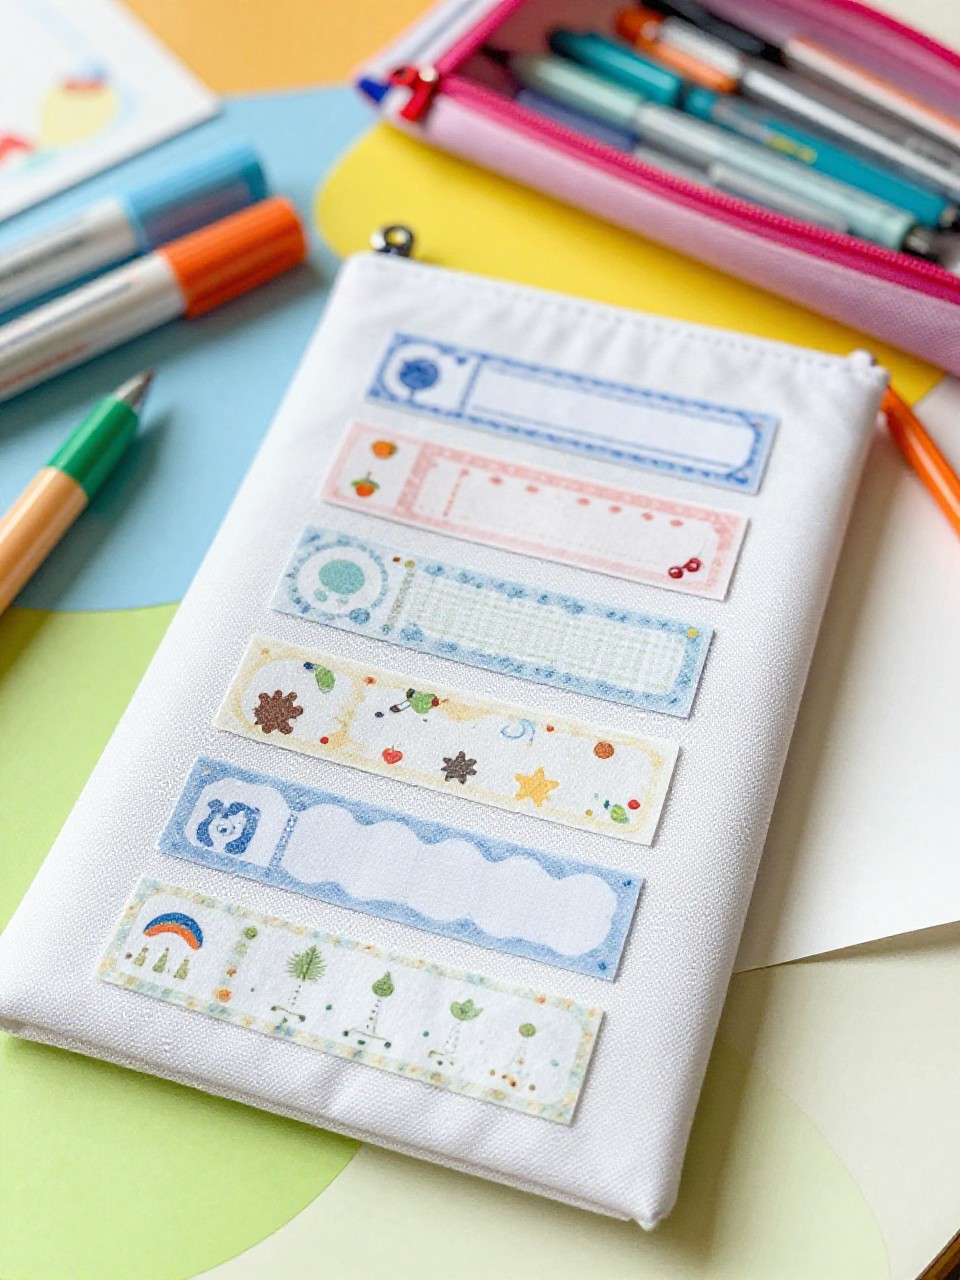
Fabric or plastic pouches get bold washi labels and icons to show what’s inside—pens, art, or stickers. It’s fun because it makes backpacks tidy and easy to find things.
Materials Needed:
- Clear or fabric pencil pouches
- Assorted washi tapes (bold patterns)
- Permanent marker
- Scissors
- Clear packing tape (optional for sealing)
How to make it:
- Wipe the pouch surface clean and dry.
- Lay a rectangle of washi to create a label panel; layer two tapes for contrast.
- Write the category or draw a simple icon on the label.
- Seal with clear tape for extra durability and press edges firmly.