

Table of Contents Show
Keeping kids busy or finding an easy activity for a rainy afternoon can be tough. This list gives you fun, simple DIY stationery projects you can make at home or in a classroom with basic supplies.
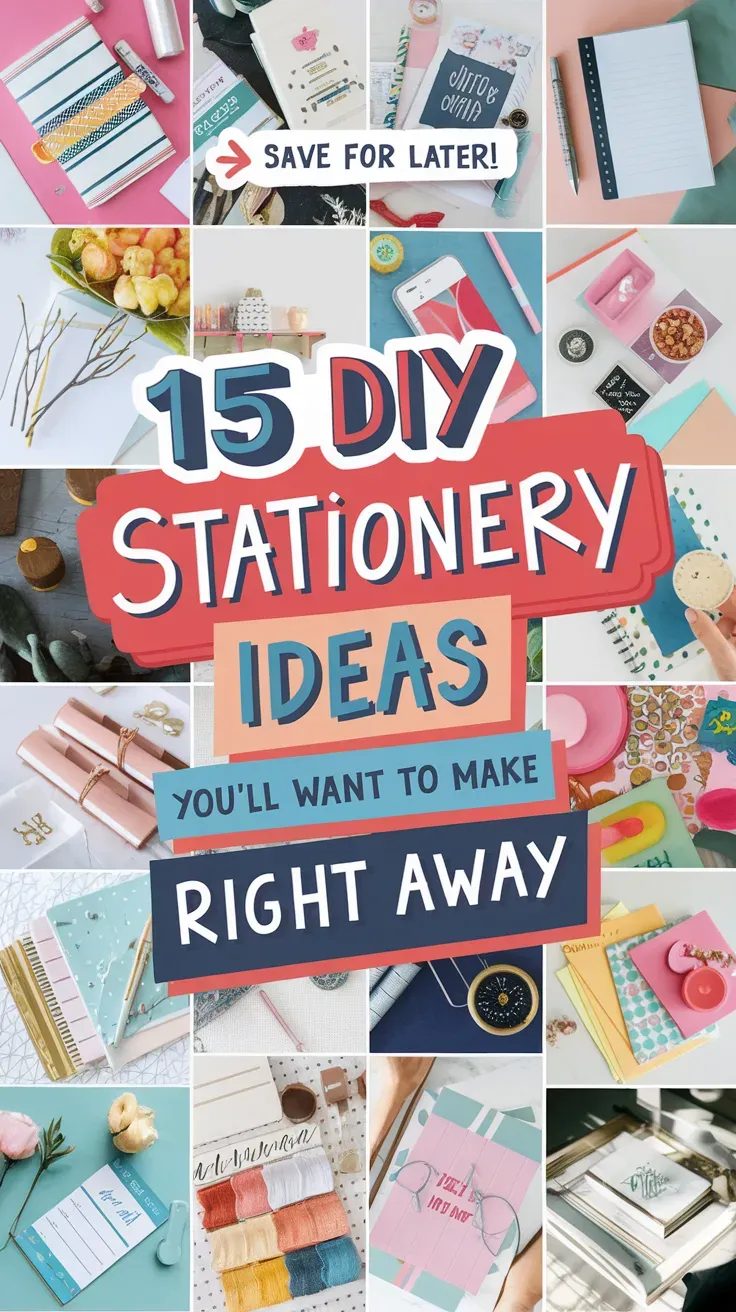
You’ll create cute, useful items like notebooks, bookmarks, and pens that make writing and drawing more exciting.
Let’s jump into 15 ideas you’ll want to make right away.
1. Washi Tape Covered Notebooks

These pocket notebooks shine with stripes, dots, or checkerboard patterns made from washi tape. Kids love choosing colors and laying tape in neat lines, and the result looks store-bought but personal.
Materials Needed:
For People Who Love to Make Things ✂️
- Plain kraft or composition notebook
- Washi tapes in mixed colors and widths
- Scissors
- Clear tape or clear contact paper (optional for durability)
- Sticker letters (optional)
How to make it:
- Wipe the notebook cover clean and dry.
- Lay washi tape across the cover in stripes, diagonals, or checkerboard, trimming edges.
- Add sticker letters or small shapes for a title.
- Seal with clear tape or contact paper if the notebook will get heavy use.
2. Stamp Art Stationery Set

This set includes matching note paper, envelopes, and gift tags stamped with simple icons like stars, leaves, or hearts. Kids enjoy repeating patterns and seeing quick results as the set comes together.
Materials Needed:
- Blank note cards or printer paper cut to size
- Blank envelopes
- Small ink pads (assorted colors)
- Rubber stamps or DIY eraser stamps
- Twine (optional)
How to make it:
- Lay out papers and envelopes on a protected surface.
- Stamp a chosen motif on the top corners of notes and the flap of envelopes.
- Add matching stamps to gift tags or small rectangles of card stock.
- Tie the finished set with twine for gifting.
3. Painted Pencil Jar With Label

A recycled jar turns into a tidy pencil holder painted in cheerful colors, with a simple label on the front. It’s satisfying to transform trash into something useful for a desk.
Materials Needed:
- Clean glass or tin jar
- Acrylic paint or chalk paint
- Painter’s tape
- Adhesive label or chalkboard label
- Paintbrush
How to make it:
- Tape off stripes or a color block on the jar.
- Paint the jar, let dry, and add a second coat if needed.
- Stick on a label and write “Pencils” or a name.
- Fill with pencils and let the paint cure overnight.
4. Paper Clip Ribbon Bookmarks
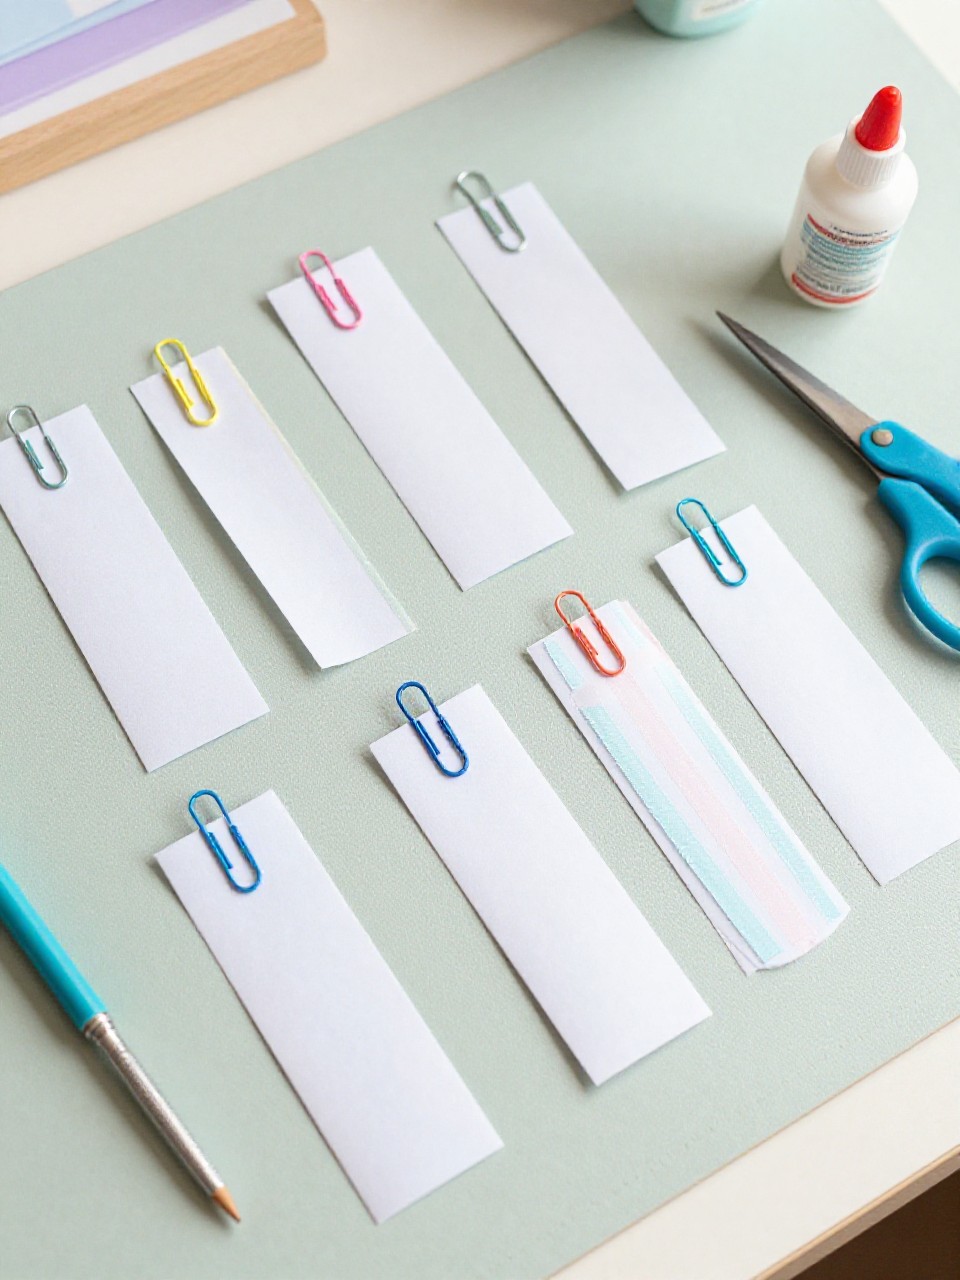
Large paper clips wear short ribbon “ties” that peek out of your book like mini flags. Kids enjoy picking ribbon colors and seeing an instant bookmark in minutes.
Materials Needed:
- Jumbo paper clips
- Ribbon scraps (3–5 inches each)
- Scissors
- Fray check or clear nail polish (optional)
How to make it:
- Cut ribbon pieces and trim ends at an angle.
- Fold a ribbon through the top loop of a paper clip and knot it.
- Dab ends with fray check to prevent fraying.
- Slide into a favorite book or planner.
5. Doodle-Covered Folder

A plain folder becomes a one-of-a-kind sketch surface filled with doodles, borders, and tiny icons. Kids like the freedom to draw anything and make a folder that feels truly theirs.
Materials Needed:
- Kraft or white folder
- Permanent markers or paint markers
- Ruler (optional for borders)
- Pencil and eraser (optional)
How to make it:
- Sketch light pencil guides or borders if desired.
- Use markers to fill the cover with doodles, patterns, and a name label area.
- Outline with a darker marker for contrast.
- Let dry and slide in school papers.
6. Confetti Edge Notepaper
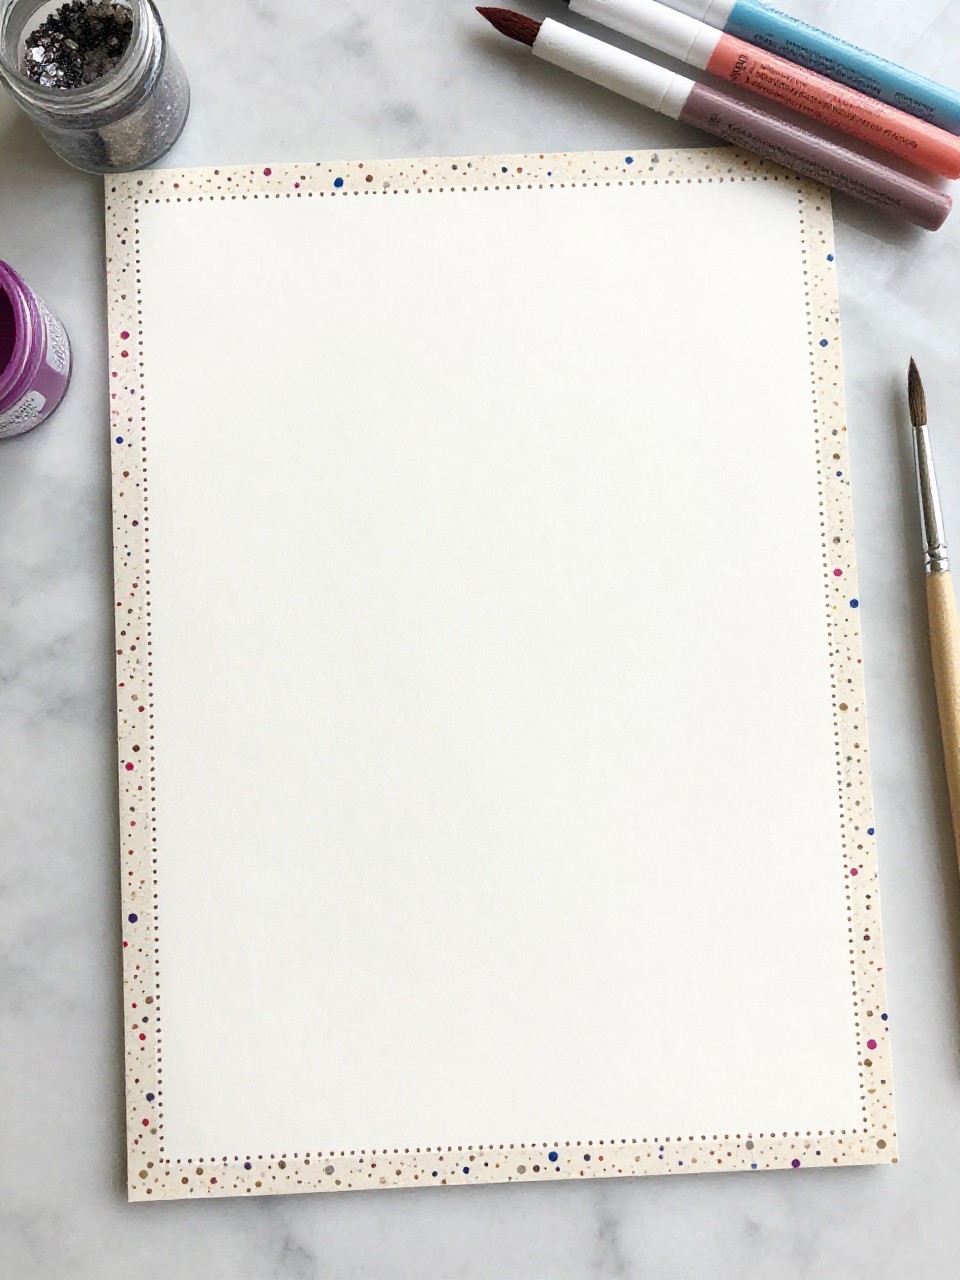
These note sheets have playful “confetti” dots along the top or side, making simple lists feel festive. Dotting with paint or markers is easy and relaxing.
Materials Needed:
- White or pastel printer paper
- Acrylic paint or dot markers
- Cotton swabs or round foam daubers
- Clipboard or cardboard (to protect surface)
How to make it:
- Stack a few sheets on a protected surface.
- Dip a dauber or swab into paint and stamp dots along one edge.
- Add a second color for depth and let dry.
- Trim edges if needed and use for notes or letters.
7. DIY Button Magnets for Lockers
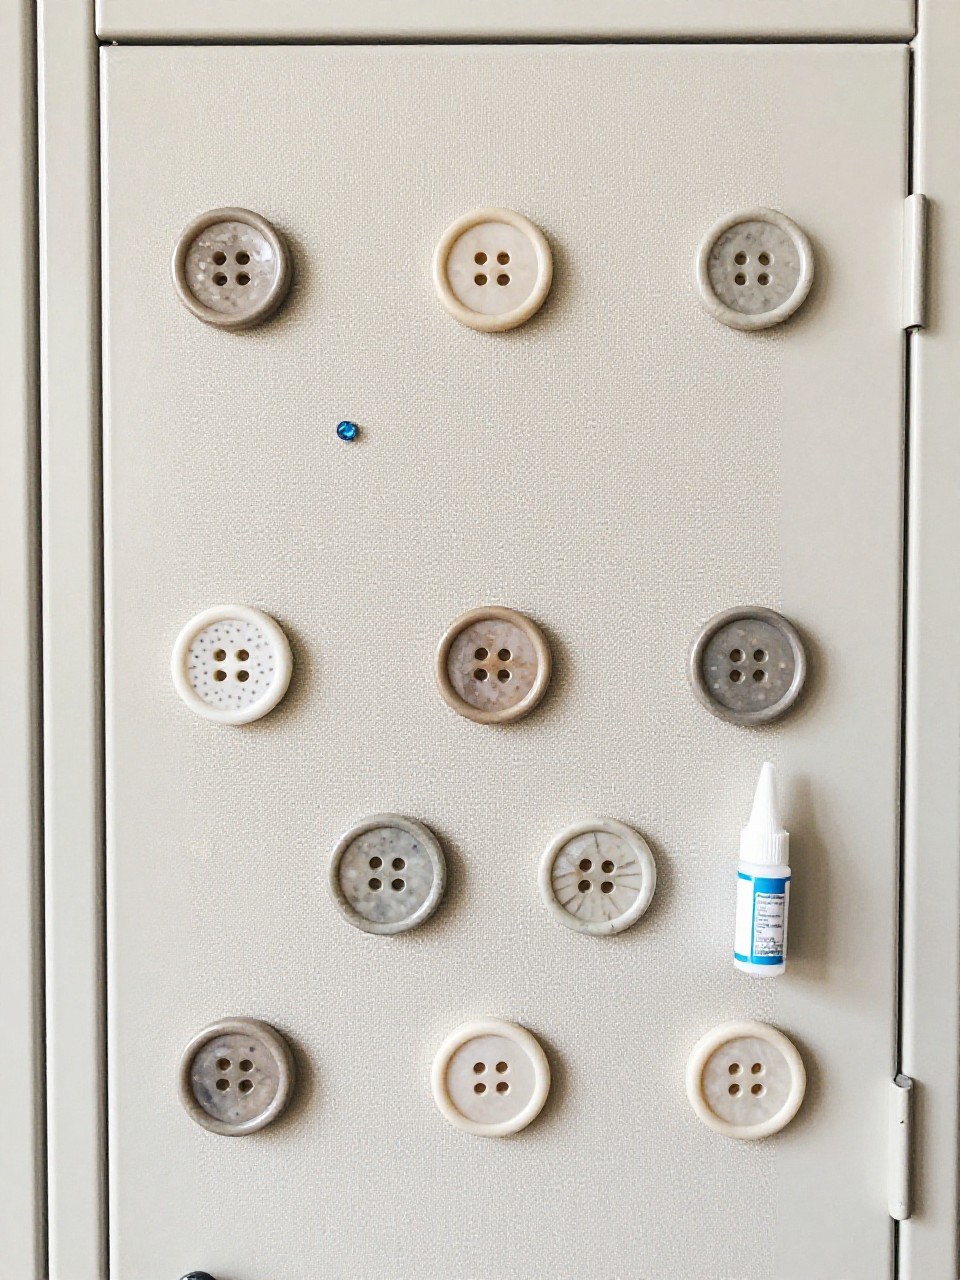
Cute buttons become strong little magnets that hold notes or photos on a locker or board. Kids like choosing fun patterns and seeing instant results.
Materials Needed:
- Flat-backed craft buttons or bottle caps
- Strong craft magnets
- Hot glue or strong craft glue
- Small embellishments (optional)
How to make it:
- Arrange buttons or caps face-up to plan sets.
- Glue a magnet to the back of each piece and let set.
- Add tiny gems or stickers if desired.
- Use to hold reminders and mini calendars.
8. Color-Block Pencils

Plain pencils get dipped or painted in two or three bold color sections with a crisp tape line. It’s satisfying to peel the tape and reveal clean edges.
Materials Needed:
- Unpainted wood pencils
- Acrylic paint or nail polish
- Painter’s tape
- Disposable cup for drying (eraser side down)
How to make it:
- Tape off sections on each pencil.
- Paint the exposed areas and stand pencils eraser-up to dry.
- Add a second coat and peel tape carefully.
- Sharpen and enjoy bright writing tools.
9. Pocket Envelope Sticker Book
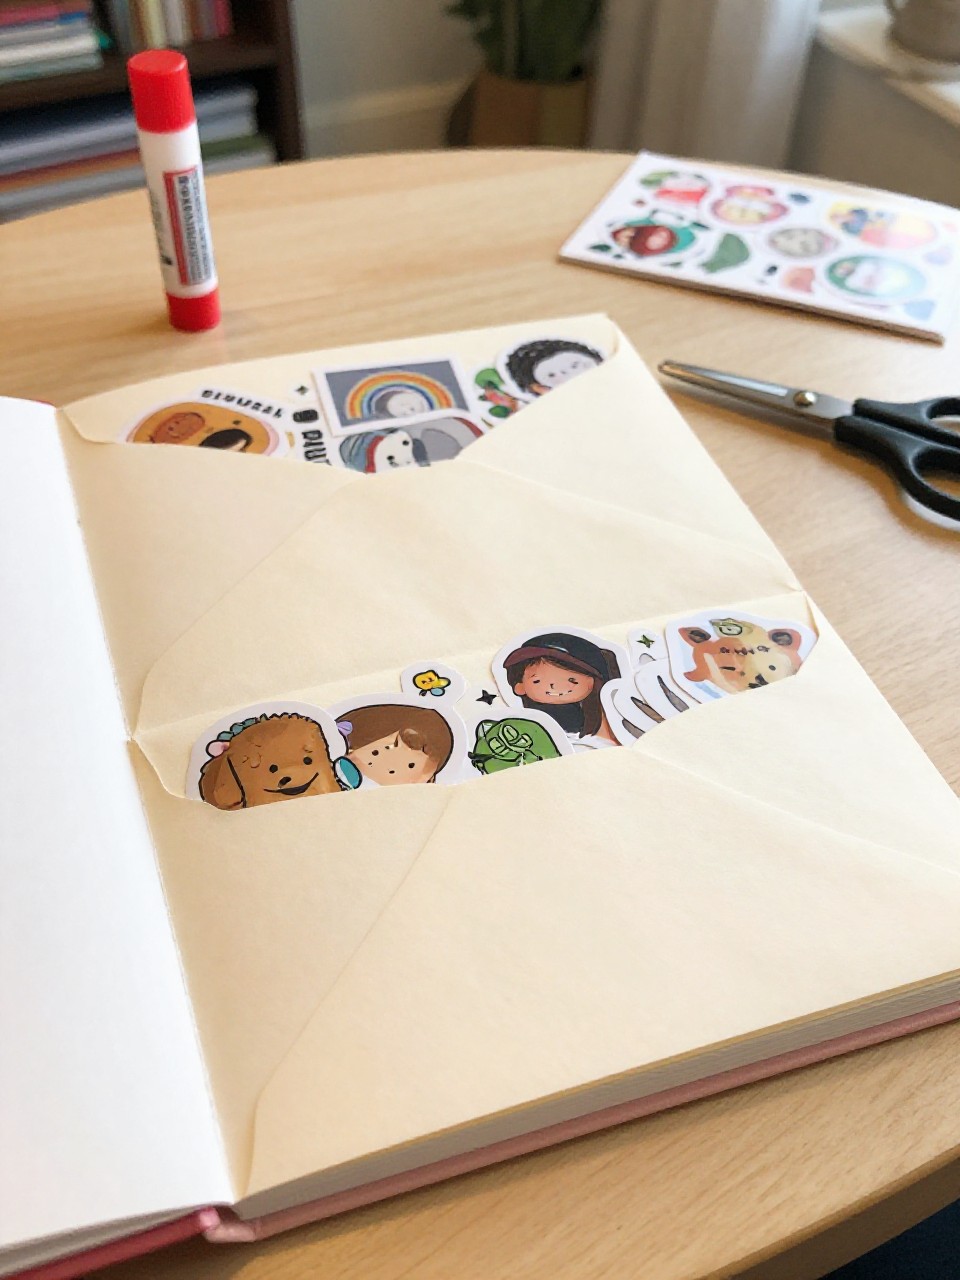
A small booklet with pockets holds sticker sheets, washi bits, and tiny notes for on-the-go fun. Kids love organizing and swapping stickers with friends.
Materials Needed:
- Colorful scrapbook paper or card stock
- Glue stick or double-sided tape
- Scissors
- Velcro dot or ribbon closure (optional)
How to make it:
- Fold a sheet of card stock in half to make a cover.
- Cut and glue smaller folded pieces inside to create pockets.
- Decorate the cover with a title and simple stickers.
- Add a Velcro dot or ribbon to keep it closed.
10. Pressed Flower Bookmarks

Clear bookmarks show off real pressed flowers sealed between laminating sheets or tape. The nature look feels calming and makes reading special.
Materials Needed:
- Pressed flowers or small leaves
- Laminating pouches or wide clear packing tape
- Card stock for backing strip (optional)
- Hole punch and ribbon (optional)
How to make it:
- Arrange pressed flowers on one laminating sheet or tape strip.
- Cover with the second sheet or tape and press out air bubbles.
- Trim edges and round the corners.
- Punch a hole and add ribbon if you like.
11. Sticky Note Holder From Cereal Box

This mini desktop stand keeps sticky notes tidy, with a fun printed inside from the cereal box design. Kids enjoy seeing a familiar box turn into something helpful.
Materials Needed:
- Empty cereal box
- Ruler and pencil
- Scissors or craft knife (adult help)
- Glue stick or double-sided tape
- Decorative paper (optional)
How to make it:
- Cut a rectangle and score folds to make a small easel stand.
- Glue flaps to secure the base shape.
- Cover with decorative paper or leave the cereal print inside.
- Stick a pad of notes on the front.
12. Personalized Name Tabs for Notebooks
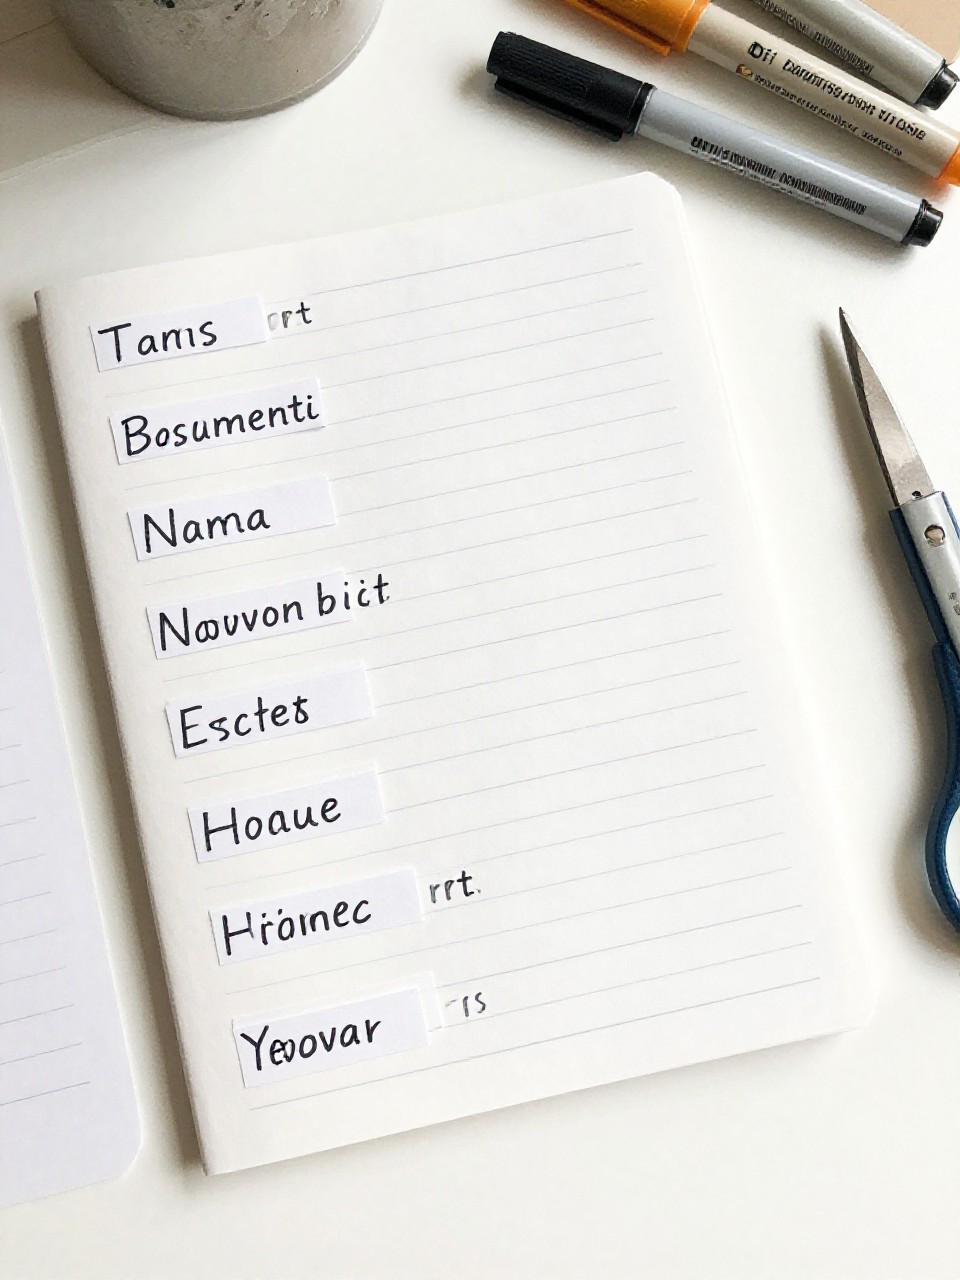
Colorful tabs label sections like Math, Reading, or Ideas, and stick out neatly from notebook pages. Kids like choosing colors and making schoolwork feel organized.
Materials Needed:
- Colorful washi tape or card stock tabs
- Marker or label maker
- Scissors
- Clear tape (optional)
How to make it:
- Write subject names on pieces of washi or pre-cut card tabs.
- Fold tabs over page edges to stick out evenly.
- Reinforce with clear tape if needed.
- Stagger tabs down the notebook for easy flipping.
13. Fabric-Covered Pencil Pouch
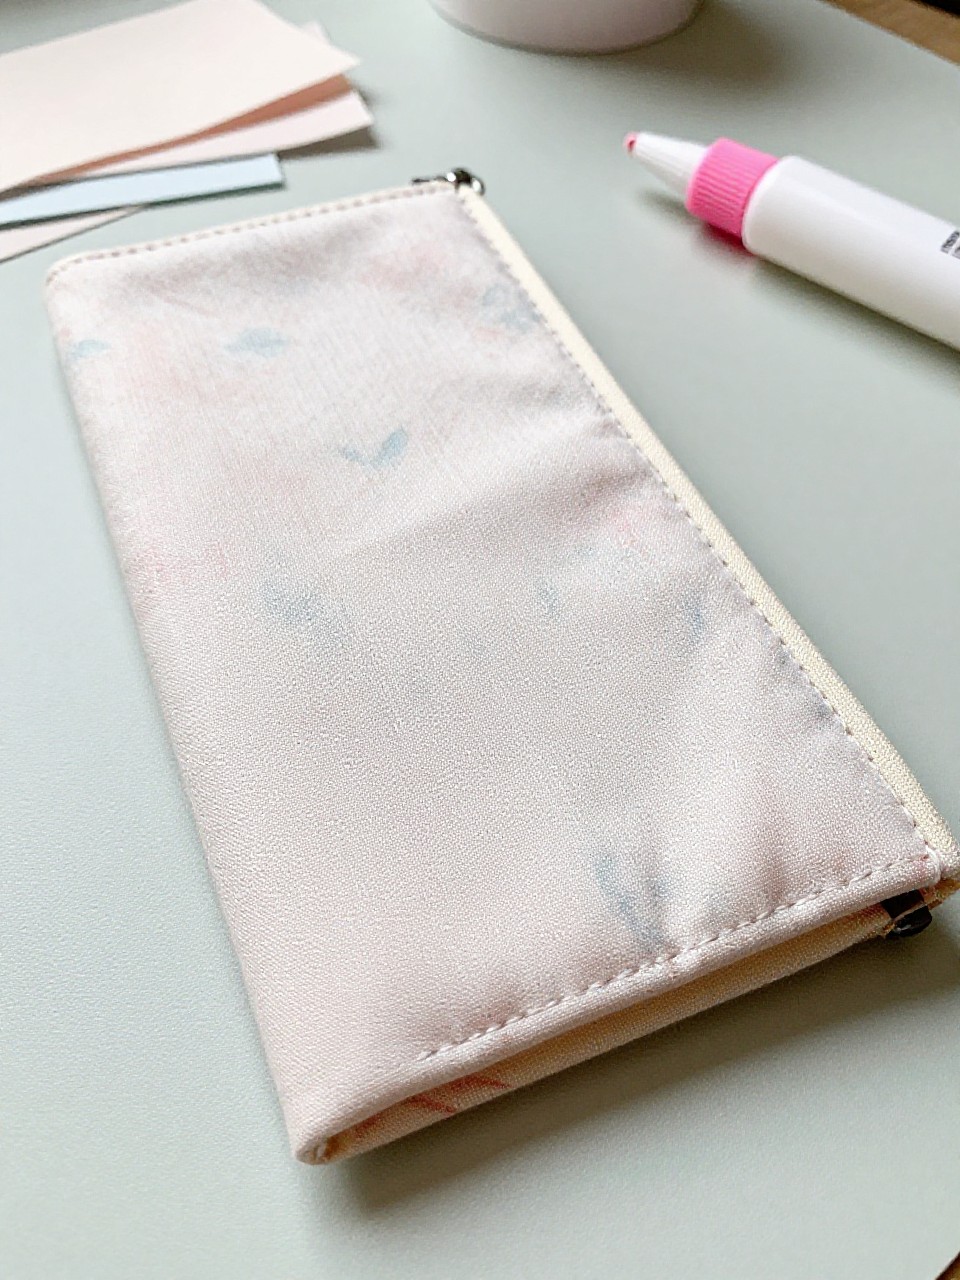
A simple zip bag gets a fresh look with fabric scraps and fabric glue, creating a soft, colorful pouch. Kids enjoy choosing patterns and seeing the quick makeover.
Materials Needed:
- Plain zipper pouch (canvas or nylon)
- Fabric scraps
- Fabric glue or hot glue
- Trim or ribbon (optional)
How to make it:
- Cut fabric to fit the front of the pouch.
- Glue the fabric in place and smooth bubbles.
- Add ribbon trim or a small patch for flair.
- Let dry and fill with pens and erasers.
14. Geometric Stencil Letter Paper

Bold shapes frame the page using easy stencils and a sponge, perfect for letter writing or class notes. Sponging color through stencils feels quick and artsy.
Materials Needed:
- White printer paper or card stock
- Geometric stencils (triangles, circles, hexagons)
- Acrylic paint or ink pads
- Sponge or stencil brush
- Washi tape (optional to tape paper down)
How to make it:
- Tape paper to the table to prevent shifting.
- Place stencils along the border and dab on color with a sponge.
- Layer a second shape in another color for depth.
- Let dry and write your note inside the frame.
15. Pom-Pom Topped Pens

Fluffy pom-poms turn regular pens into cheerful desk buddies that are hard to lose. Kids love the soft texture and the quick, playful look.
Materials Needed:
- Ballpoint pens with caps
- Small yarn pom-poms (store-bought or homemade)
- Hot glue or strong craft glue
- Washi tape (optional for wrapping pen body)
How to make it:
- Wrap the pen body with washi tape if you want extra color.
- Glue a pom-pom to the top end of the pen (not the cap end).
- Hold in place until secure.
- Let dry and start writing in style.