


Table of Contents Show
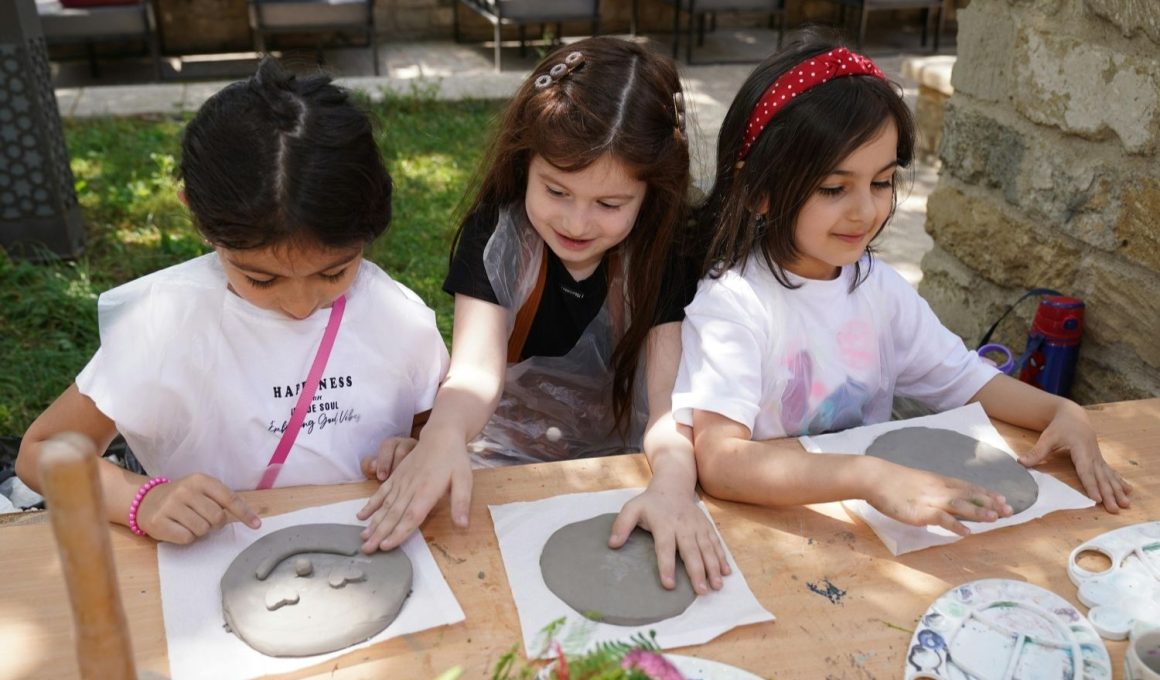
Keeping little hands busy isn’t always easy, especially on rainy days or in a busy classroom. If you’re looking for simple projects that teach kindness and sharing, these friendship crafts are a sweet fit.
Each idea is easy, colorful, and made for preschoolers to create together or give to friends.
Use this list to spark quick setups, calm playtime, and happy hearts—let’s jump into the crafts.
1. Friendship Handprint Wreath
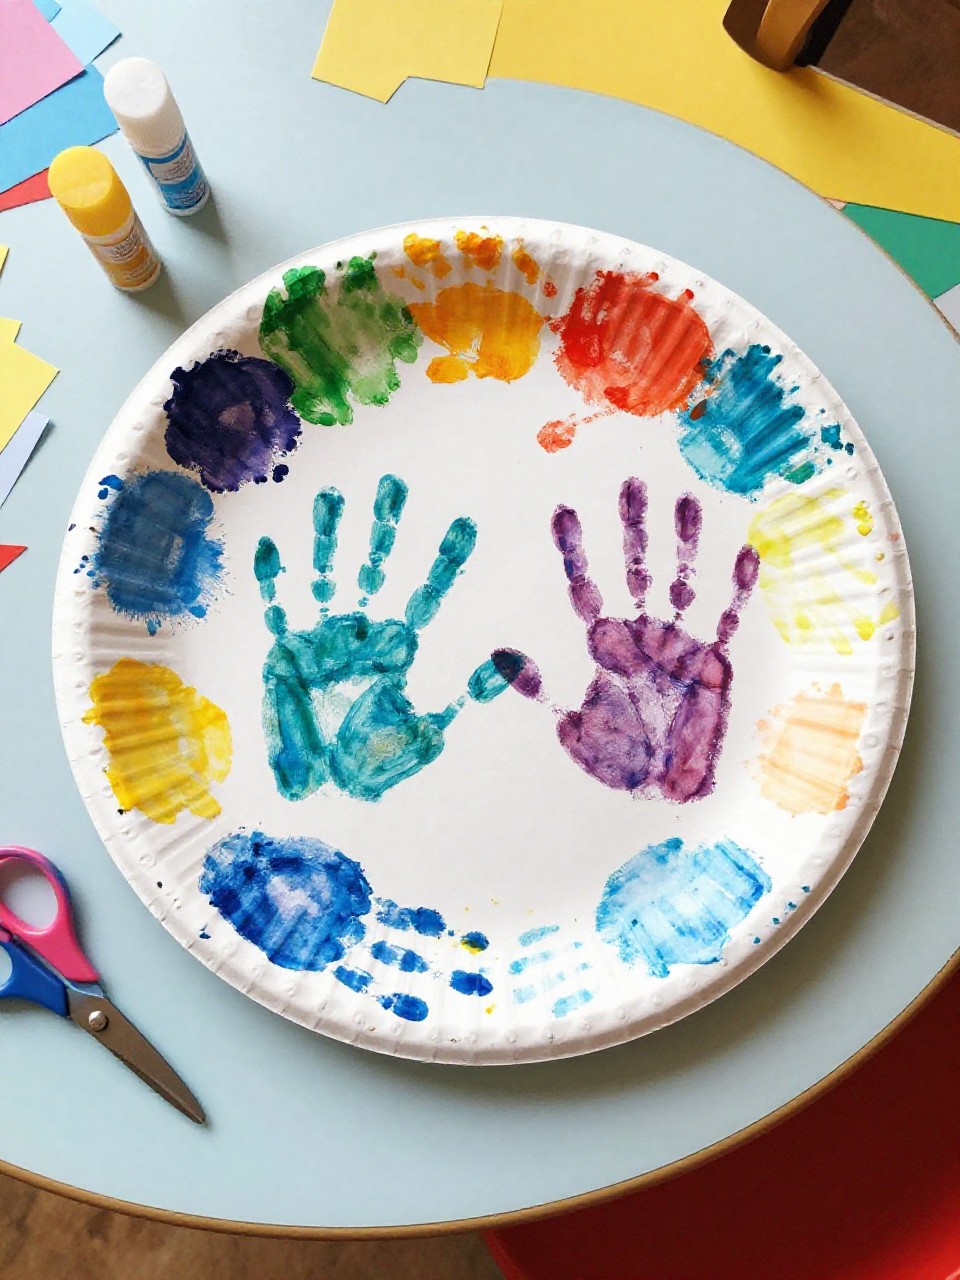
A circle wreath made from colorful paper handprints shows a ring of “friends” holding hands. Kids love tracing their hands and seeing how different sizes and colors come together to make one shared artwork.
Materials Needed:
For People Who Love to Make Things ✂️
- Paper plates (center cut out for wreath base)
- Colored construction paper
- Pencil and child-safe scissors
- Glue stick
- Stickers or sequins (optional)
How to make it:
- Cut the center from a paper plate to make a ring.
- Trace each child’s hand on colored paper and cut out several handprints.
- Glue handprints around the ring, overlapping like linked hands; add stickers if you like.
- Let dry and hang on a door or bulletin board as a class friendship wreath.
2. Best Buddy Bead Bracelets
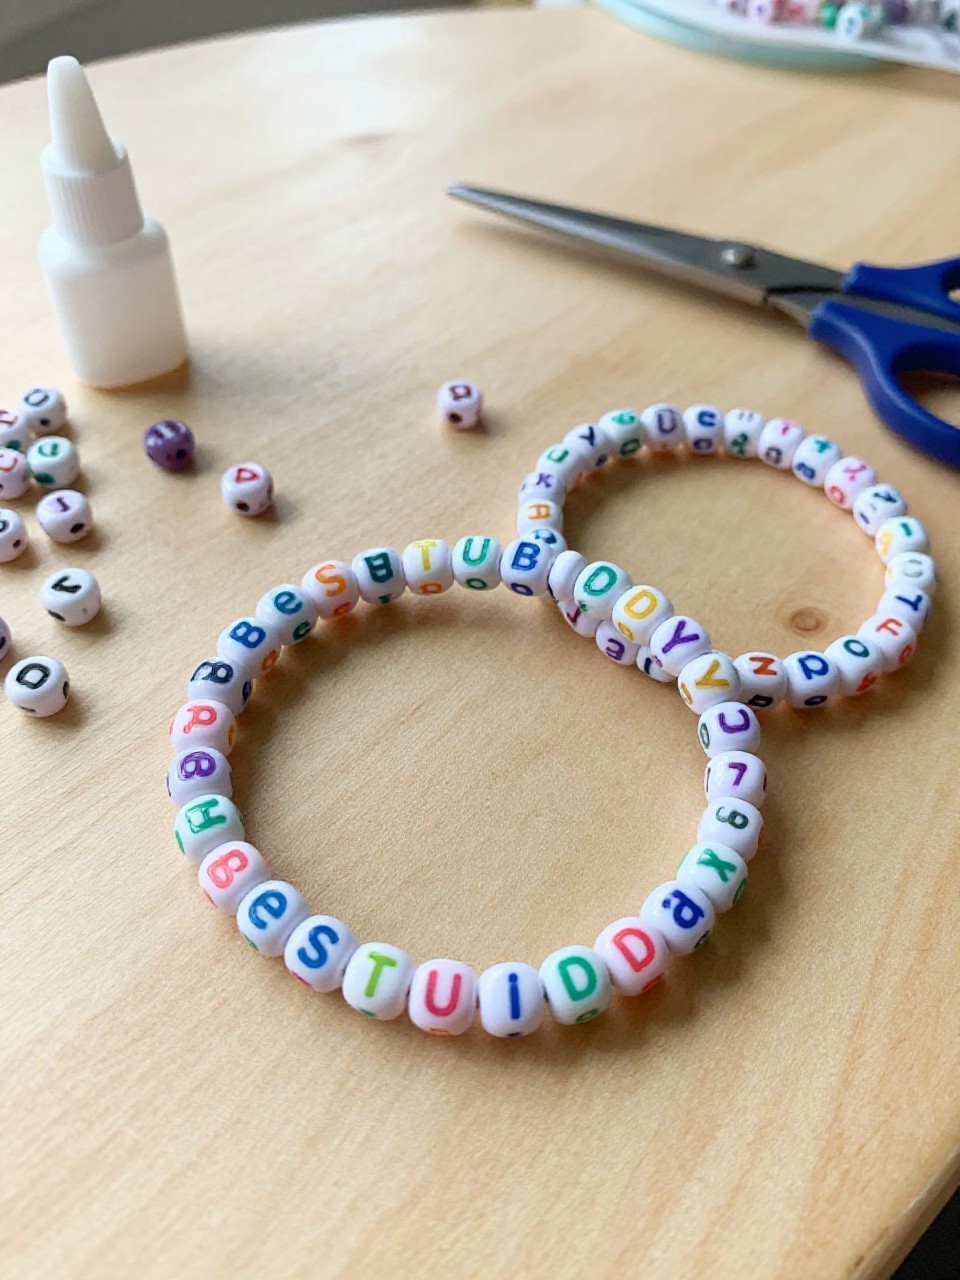
Simple elastic bracelets with chunky beads spell out “FRIEND” or a friend’s name. Preschoolers enjoy choosing colors and patterns, and gifting the bracelet makes them proud.
Materials Needed:
- Stretchy bead cord (child-safe)
- Large plastic pony beads
- Alphabet beads
- Tape (to hold cord end)
- Small zip bags for gifting (optional)
How to make it:
- Cut a piece of stretchy cord and tape one end to the table.
- String colorful beads, adding alphabet beads for names or “BFF.”
- Check size, then tie a tight double knot; add a dab of glue if needed.
- Let the knot set and place in a bag to gift to a friend.
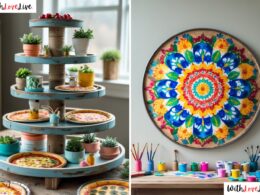
3. Paper Plate Friendship Pizza
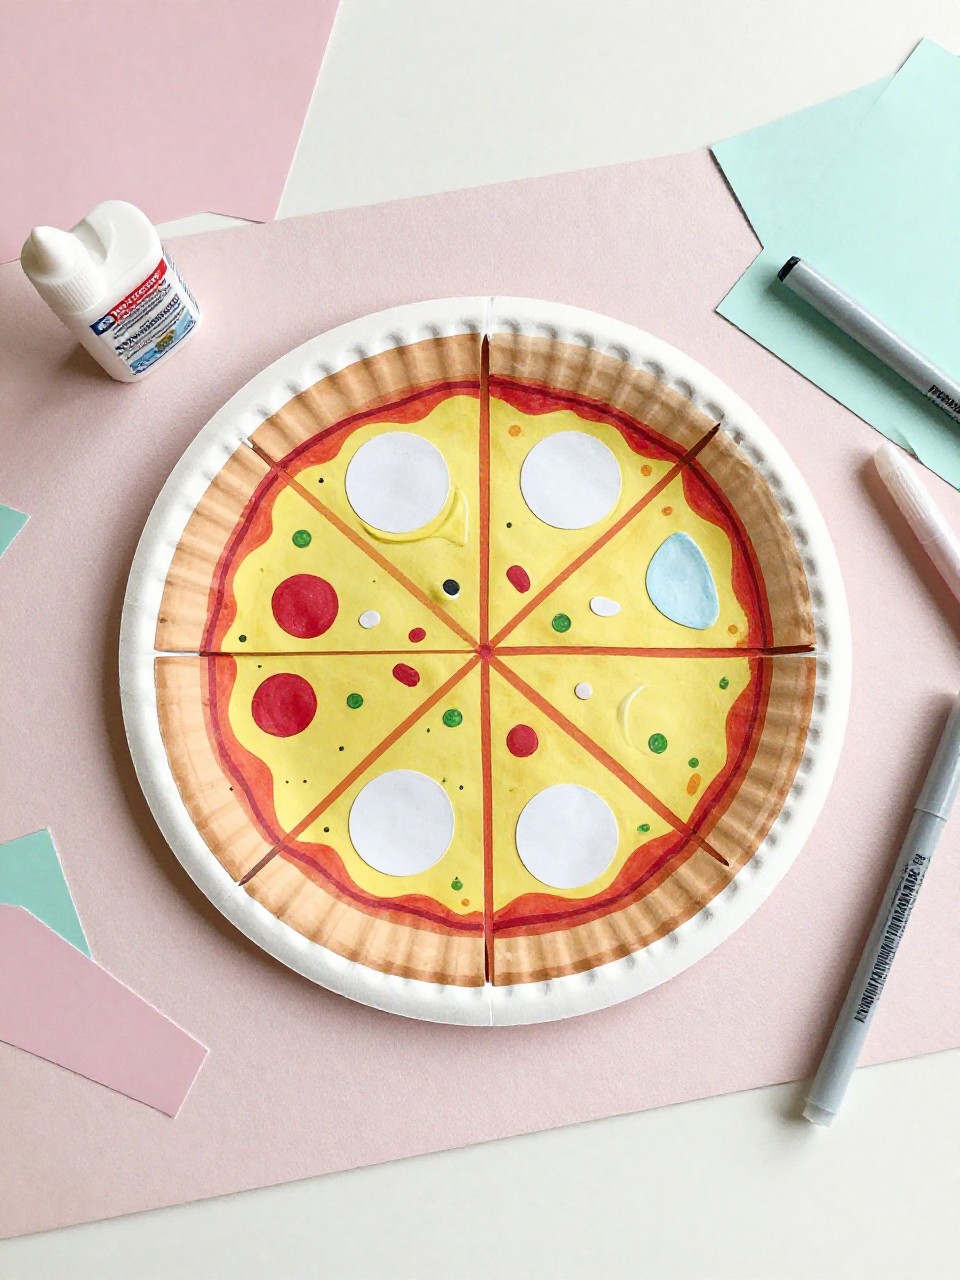
A paper plate “pizza” with paper toppings where each topping represents a friend’s favorite thing. Kids love adding their choice of toppings and seeing a shared pizza of favorites.
Materials Needed:
- Paper plates
- Brown and yellow paint or crayons
- Colored paper for toppings
- Glue stick
- Marker
How to make it:
- Color the plate brown crust on the edge and yellow “cheese” in the center.
- Cut simple topping shapes (red circles, green strips, etc.).
- Each child adds a topping and writes or draws their name beside it.
- Let dry and display as a class friendship pizza.
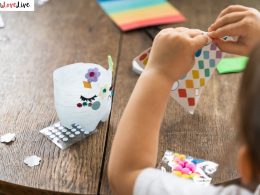
4. Heart-in-Hand Friendship Cards
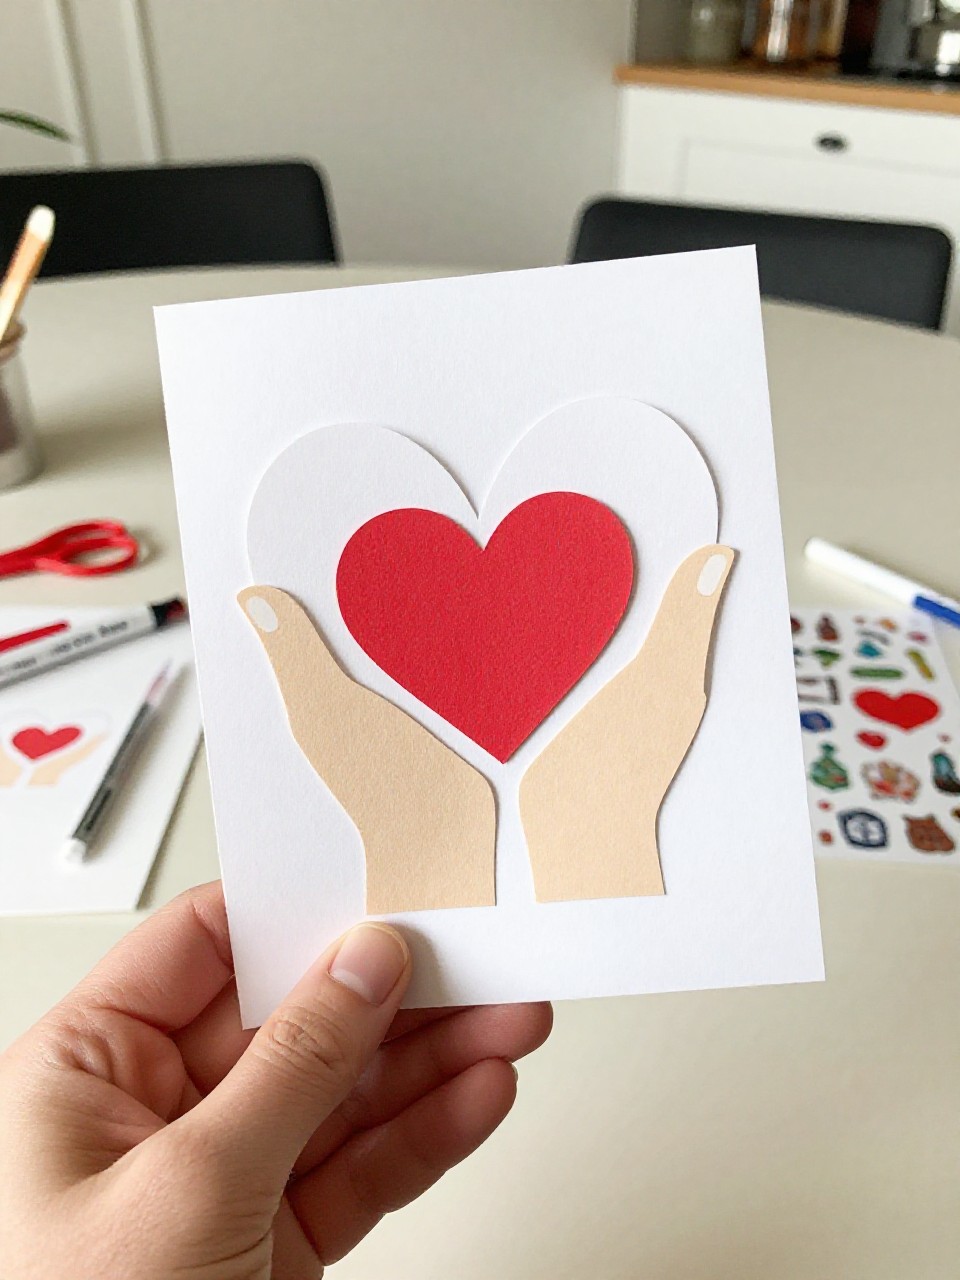
Folded cards show a traced hand that opens to reveal a pop-up heart with a kind message. Children enjoy tracing their hands and giving a sweet surprise to a buddy.
Materials Needed:
- Construction paper (two colors)
- Pencil and child-safe scissors
- Glue stick
- Crayons or markers
- Stickers (optional)
How to make it:
- Fold a paper in half and trace the child’s hand with the thumb and index finger touching the fold.
- Cut around the hand shape, keeping the fold intact to make a hand-shaped card.
- Cut a small heart from another color, glue inside, and draw a smiley or write “You’re my friend!”
- Add stickers and give the card to a classmate.
5. Friendship Chain People
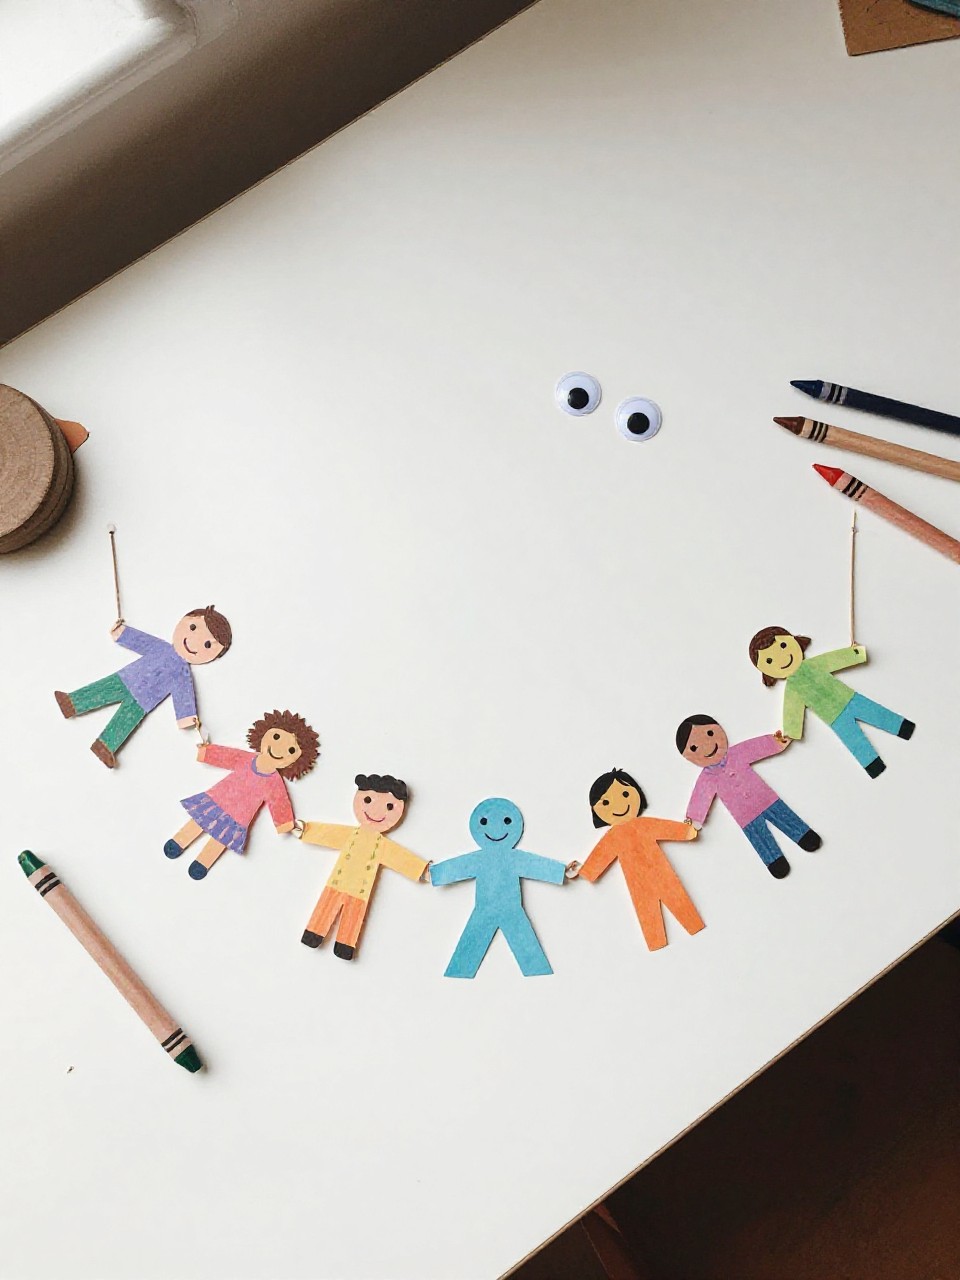
Connected paper “people” decorated to look like classmates linking arms. Kids love turning each figure into a friend with hair, clothes, and smiles.
Materials Needed:
- Long strips of white paper
- Pencil
- Child-safe scissors
- Crayons or markers
- Glue-on googly eyes (optional)
How to make it:
- Accordion-fold a paper strip into equal sections.
- Draw a simple person shape so the hands touch the folds; cut it out, keeping hands connected.
- Unfold and decorate each person to match friends.
- Hang the chain across a wall to show everyone together.
6. Shared Colors Friendship Painting
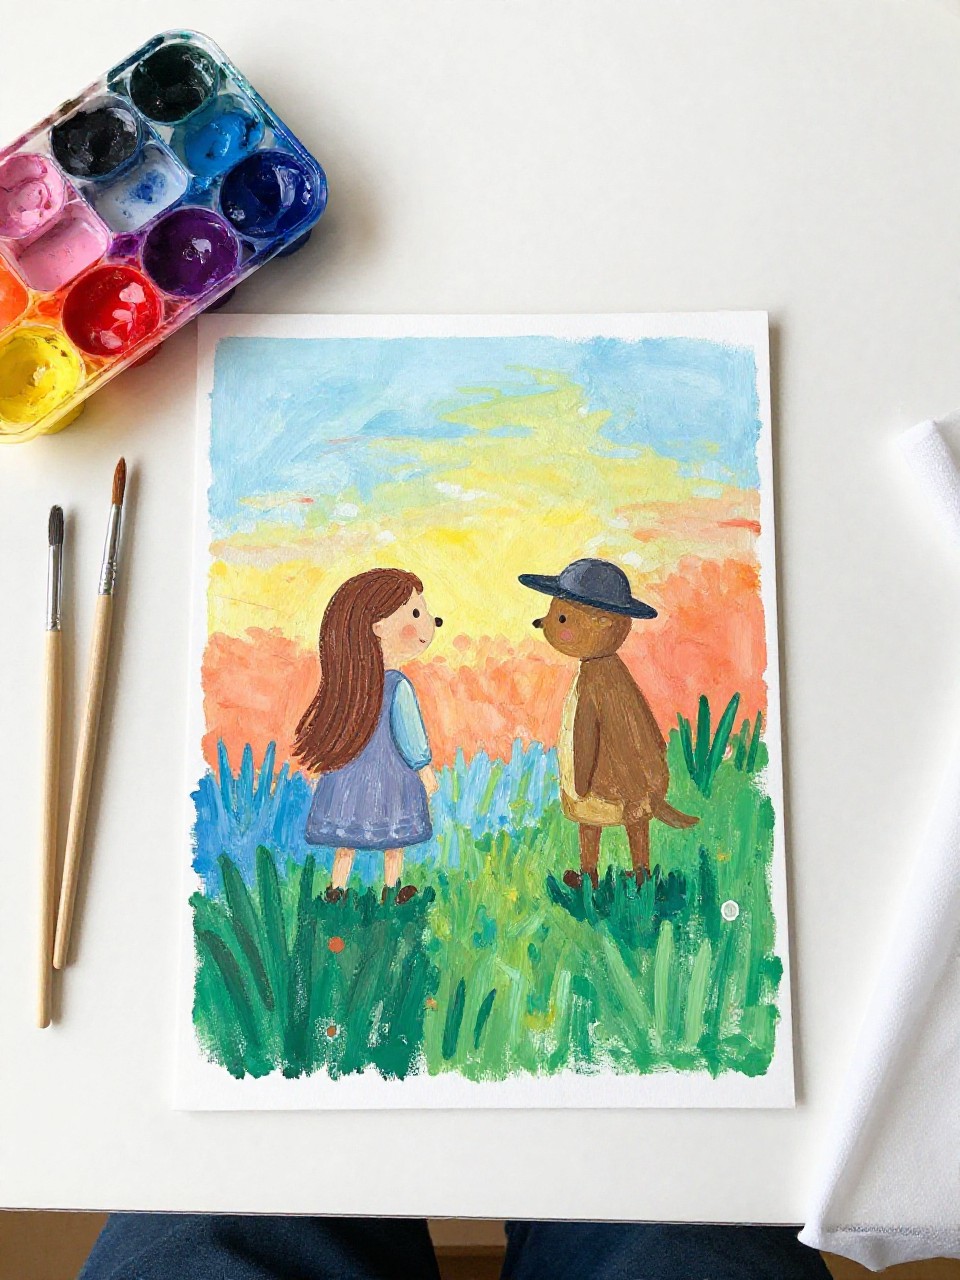
Two kids paint one big page together using their favorite colors, blending where they meet to make new shades. The shared canvas feels magical and teaches cooperation.
Materials Needed:
- Large sheet of watercolor or poster paper
- Washable tempera or watercolor paints
- Two paintbrushes
- Paint trays
- Smocks and table cover
How to make it:
- Place the large paper in the center and set out paints on both sides.
- Each child paints from their side toward the middle.
- Encourage blending in the center to create a “friendship zone.”
- Let it dry flat, then display with both artists’ names.
7. Kindness Coupon Book for Friends
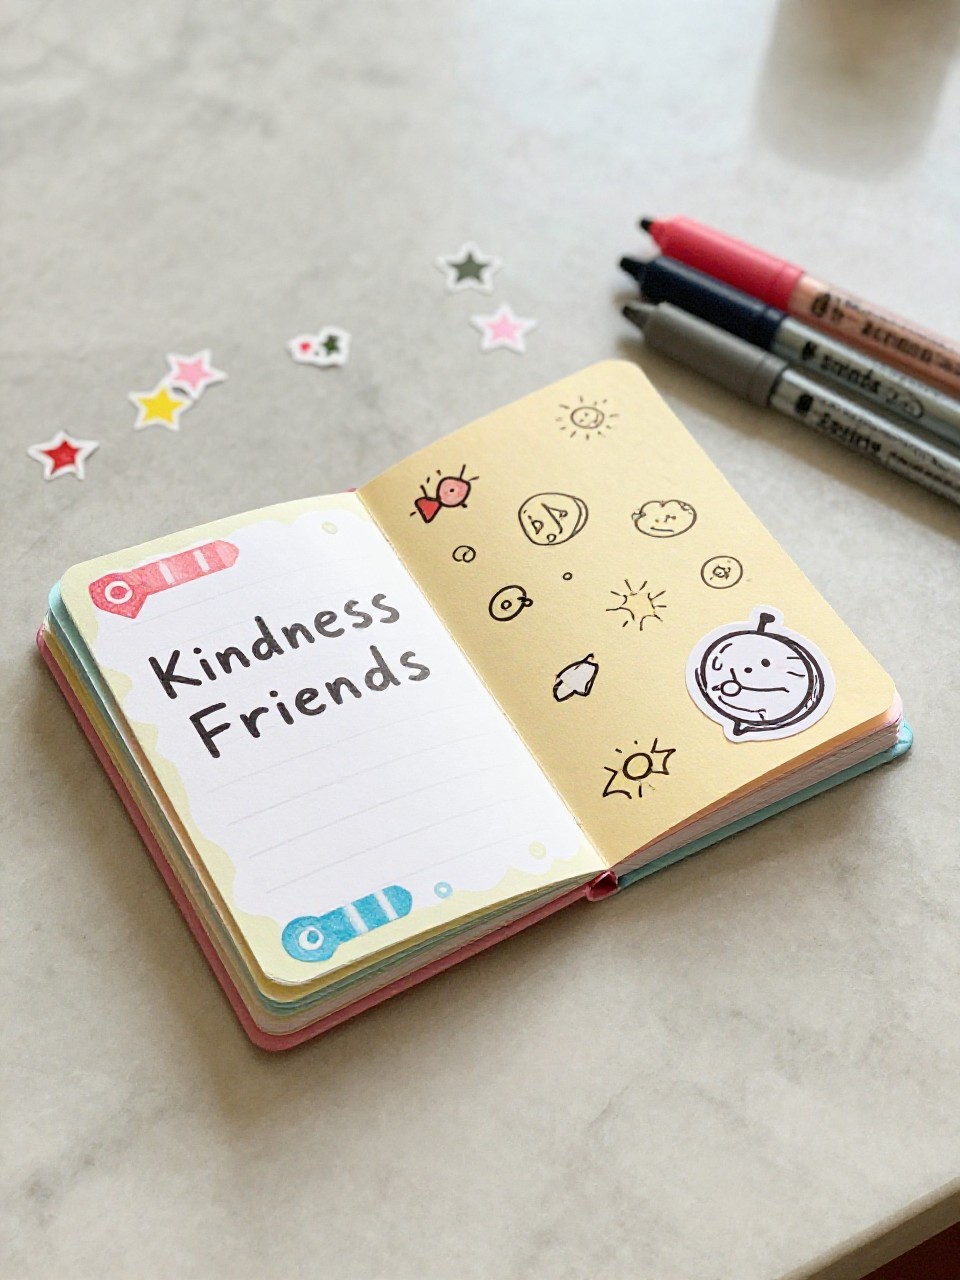
A tiny booklet of simple “coupons” like “I’ll share a toy” or “Play tag with me.” Kids enjoy coloring the pages and handing a coupon to brighten a friend’s day.
Materials Needed:
- White paper cut into small rectangles
- Crayons or markers
- Stapler or yarn for binding
- Stickers (optional)
- Hole punch (optional)
How to make it:
- Stack small paper rectangles and staple or tie with yarn to make a booklet.
- On each page, draw or write a simple kind act (help, share, hug with permission).
- Color and add stickers to decorate the cover.
- Give the book to a friend to “redeem” coupons during the week.
8. Friendship Flower Bouquet
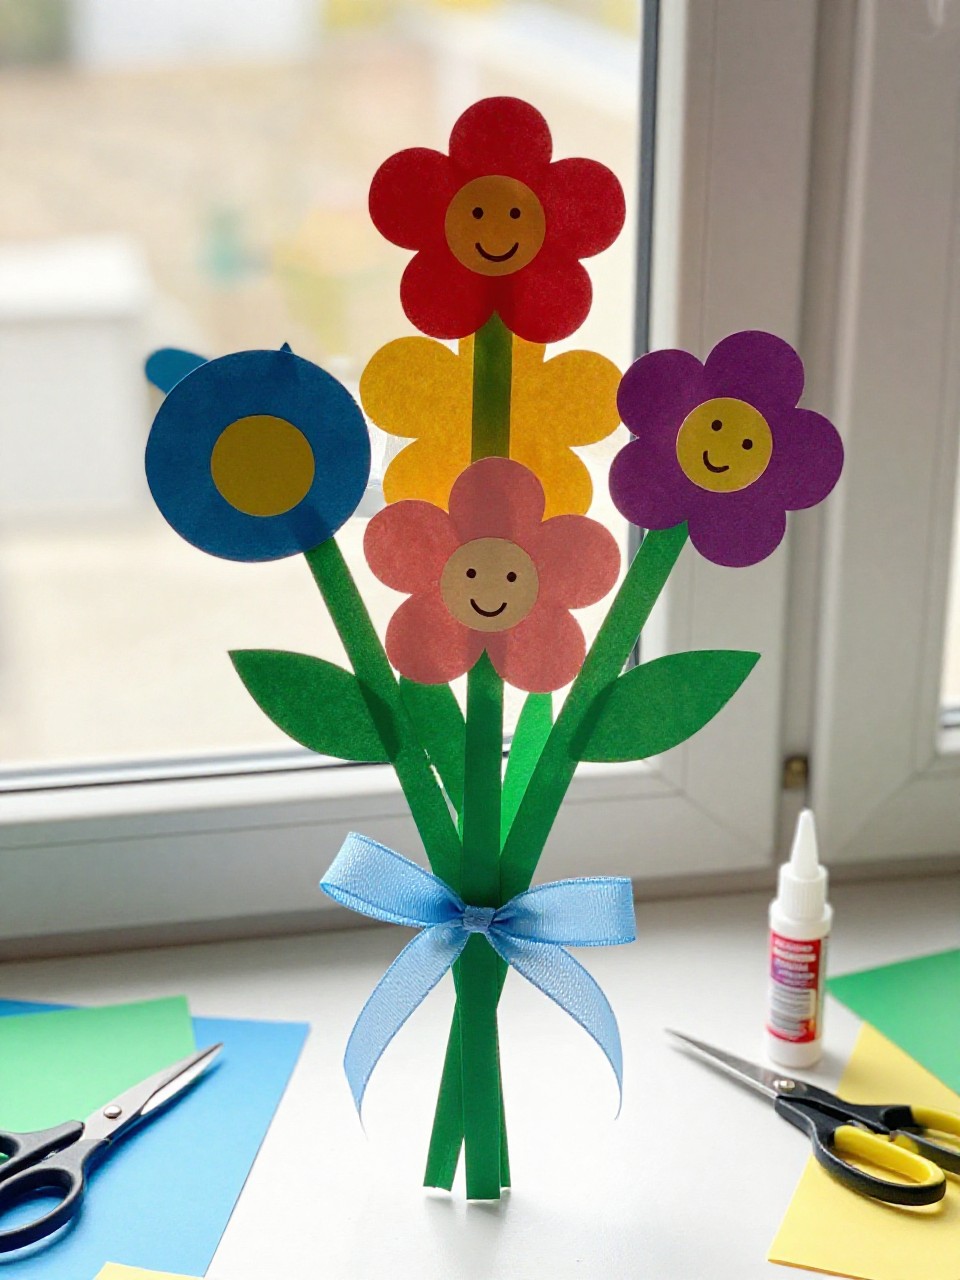
Paper flowers with each petal labeled with a friend’s name, gathered into a bright bouquet. Children enjoy “picking” which friends to include and gifting the bunch.
Materials Needed:
- Colored construction paper
- Green craft sticks or straws
- Glue stick or tape
- Marker
- Ribbon (optional)
How to make it:
- Cut simple flower shapes and circles for centers.
- Glue flowers to green sticks for stems.
- Write a different friend’s name on each petal or center.
- Tie with ribbon and stand the bouquet in a cup to display.
9. We Fit Together Friendship Puzzle
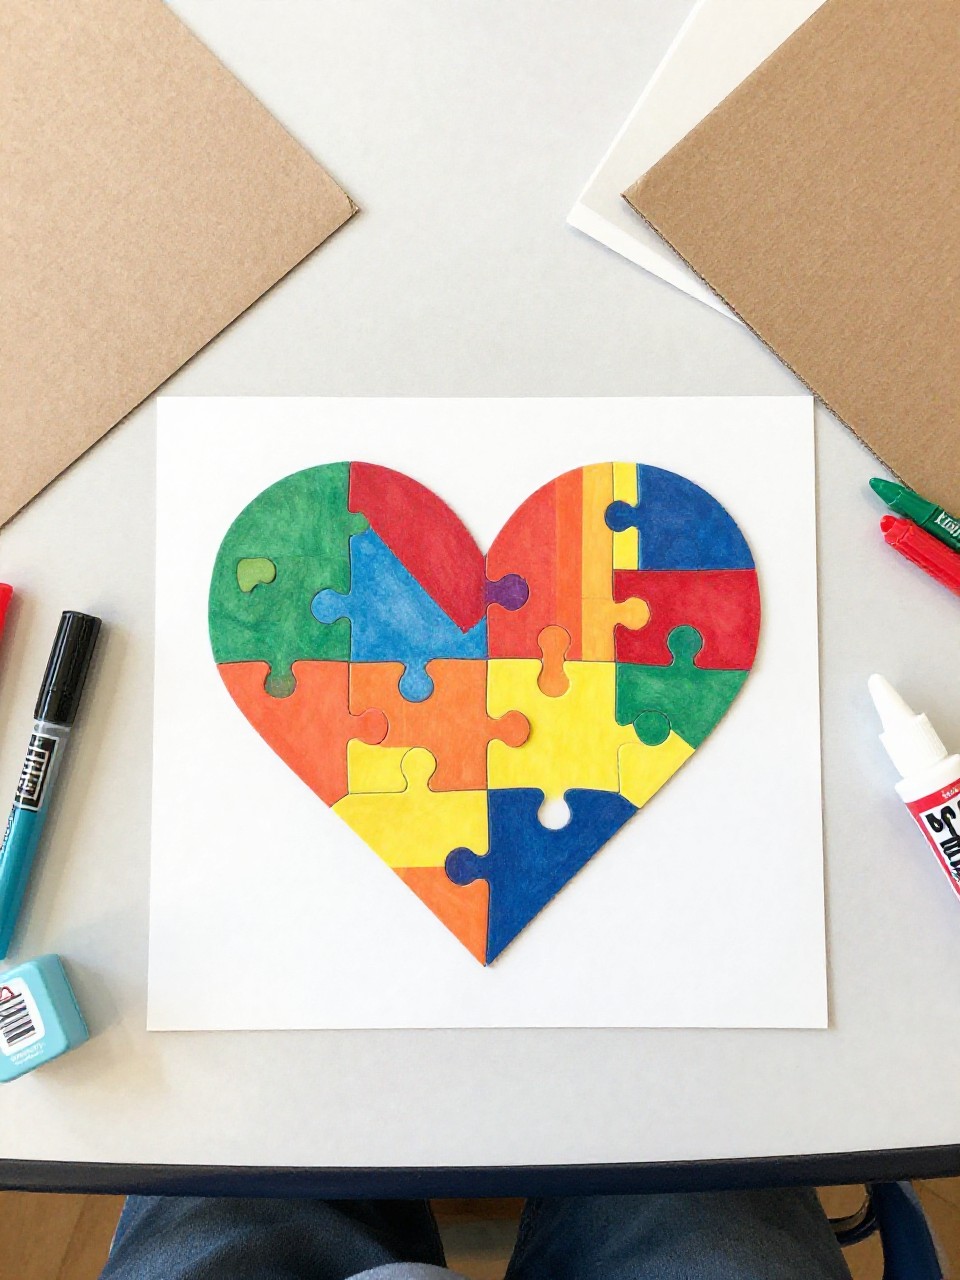
A large heart cut into simple puzzle pieces that different kids decorate and then reassemble. They love seeing how every piece matters to complete the heart.
Materials Needed:
- Poster board (heart shape)
- Pencil and marker
- Child-safe scissors
- Crayons, markers, or paint sticks
- Glue for mounting (optional)
How to make it:
- Draw and cut a big heart from poster board, then lightly sketch chunky puzzle lines and cut apart.
- Give each child a piece to color and sign.
- Work together to reassemble the heart on the table.
- Glue onto a backing sheet and hang as a class display.
10. Friendship Rainbow Stick Craft
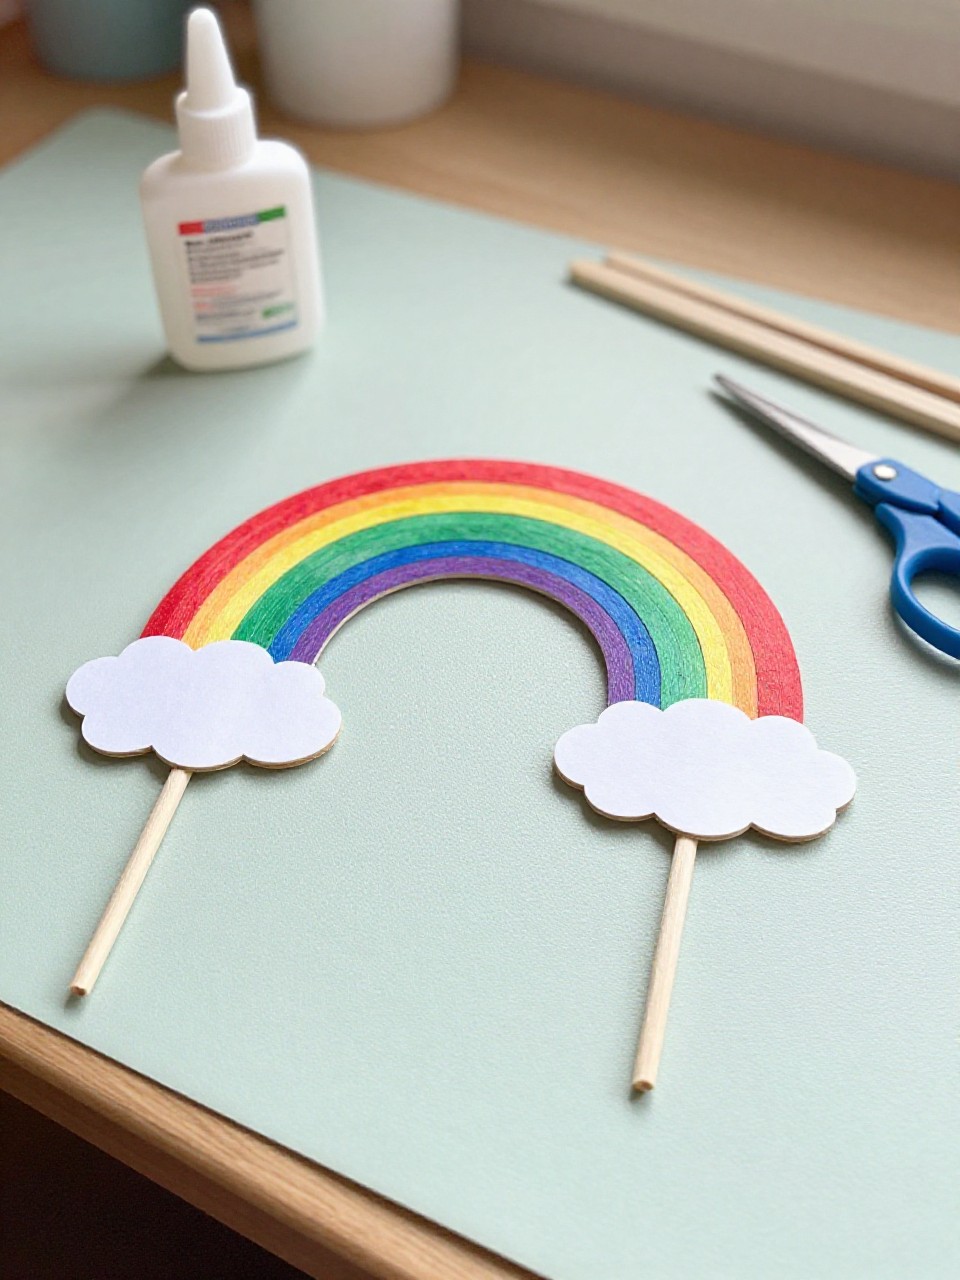
A rainbow made from glued-on popsicle sticks, with a cloud on each end labeled with two friends’ names. Kids like arranging the sticks in color order and seeing their names together.
Materials Needed:
- Colored popsicle sticks (or paint plain ones)
- White cardstock for clouds
- Glue
- Marker
- String for hanging (optional)
How to make it:
- Line up popsicle sticks in rainbow order and glue them side by side.
- Cut two cloud shapes and write friends’ names on each.
- Glue clouds to both ends of the rainbow.
- Add a string on top and hang to display.
11. Share-a-Smile Photo Frame
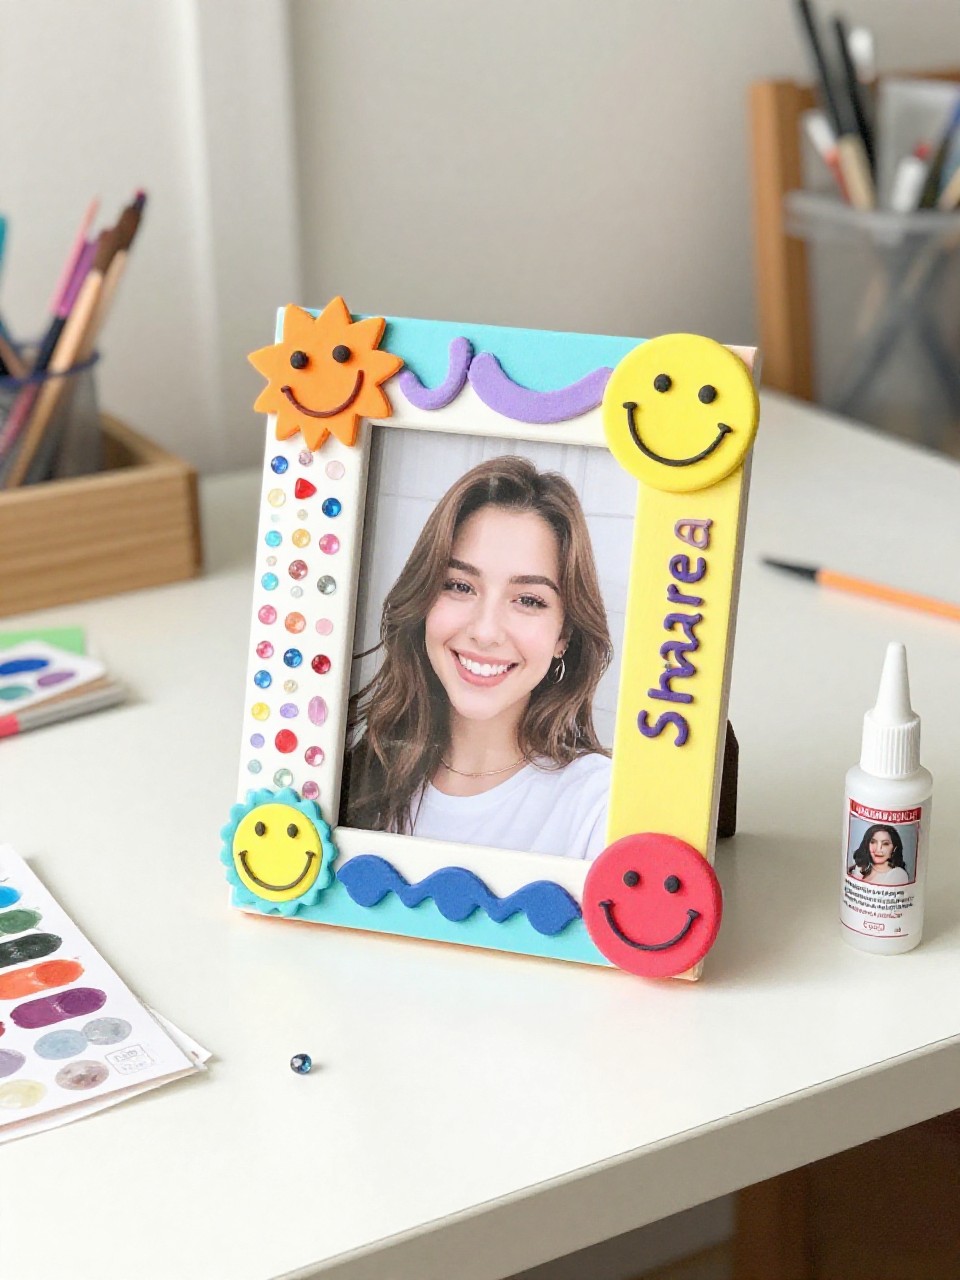
A simple cardboard frame decorated with smiley stickers and gems, made to hold a photo of two friends. Kids enjoy adding cheerful details and taking a photo together to place inside.
Materials Needed:
- Cardboard or thick cardstock frame shape
- Washable paint or markers
- Stickers, gems, or buttons
- Glue
- Small printed photo (or drawing)
How to make it:
- Cut a rectangle frame from cardboard (adult help) or use a pre-cut frame.
- Paint or color the frame and let it set.
- Decorate with smiley stickers and gems.
- Attach a photo of friends or a drawing and display.
12. Friendship Birds on a Branch
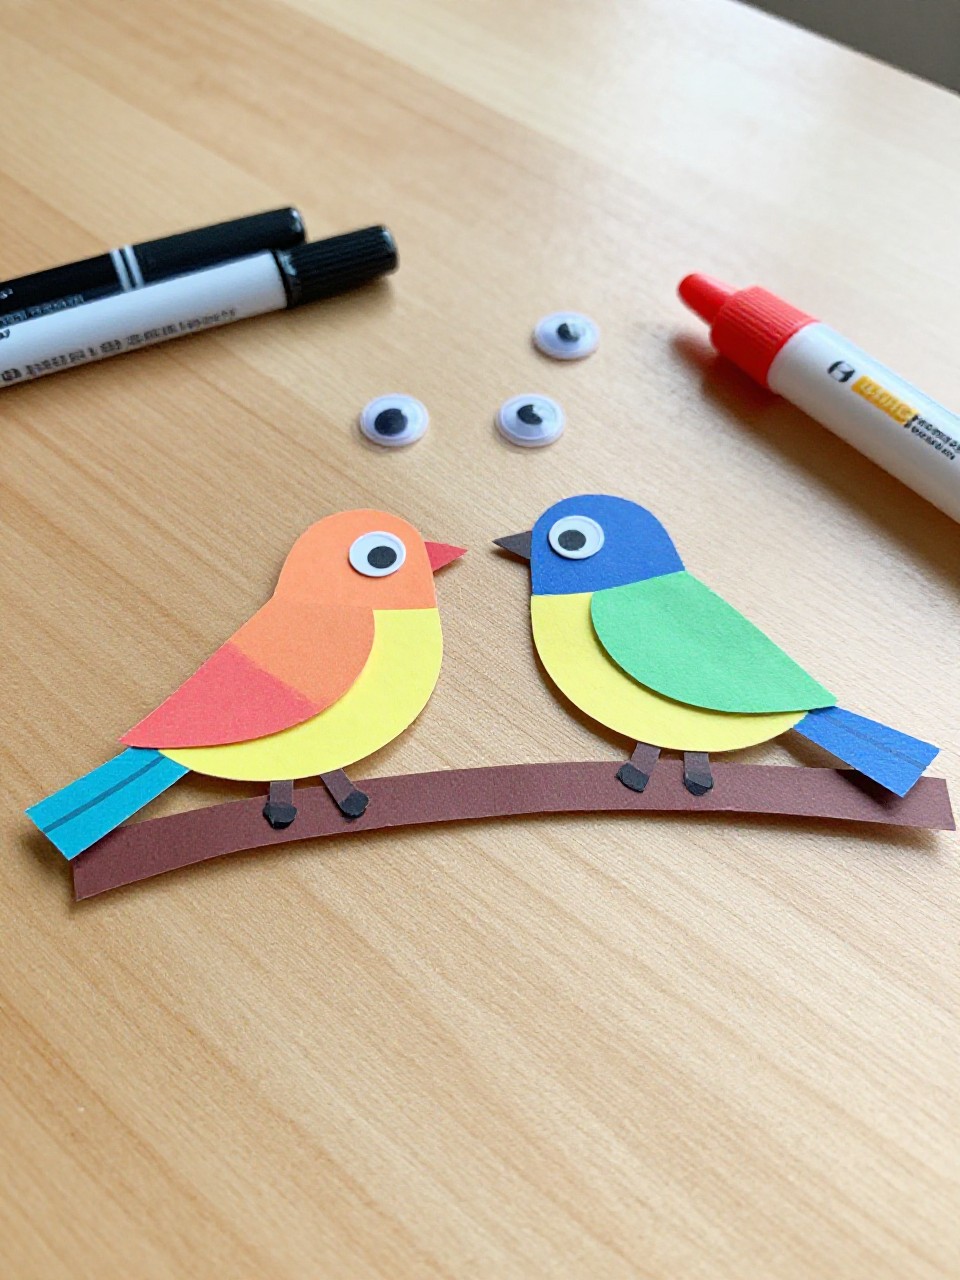
Two cute paper birds sitting together on a popsicle-stick “branch,” each labeled with a child’s name. Preschoolers love choosing bird colors and adding tiny wings and eyes.
Materials Needed:
- Colored paper
- Popsicle sticks
- Glue stick
- Marker
- Googly eyes (optional)
How to make it:
- Glue two popsicle sticks side by side to make a branch.
- Cut two simple bird bodies and wings from paper.
- Glue birds on the branch, add eyes and beaks, and write names on each.
- Let dry and prop on a shelf or hang with tape.
13. Friendship Footstep Path
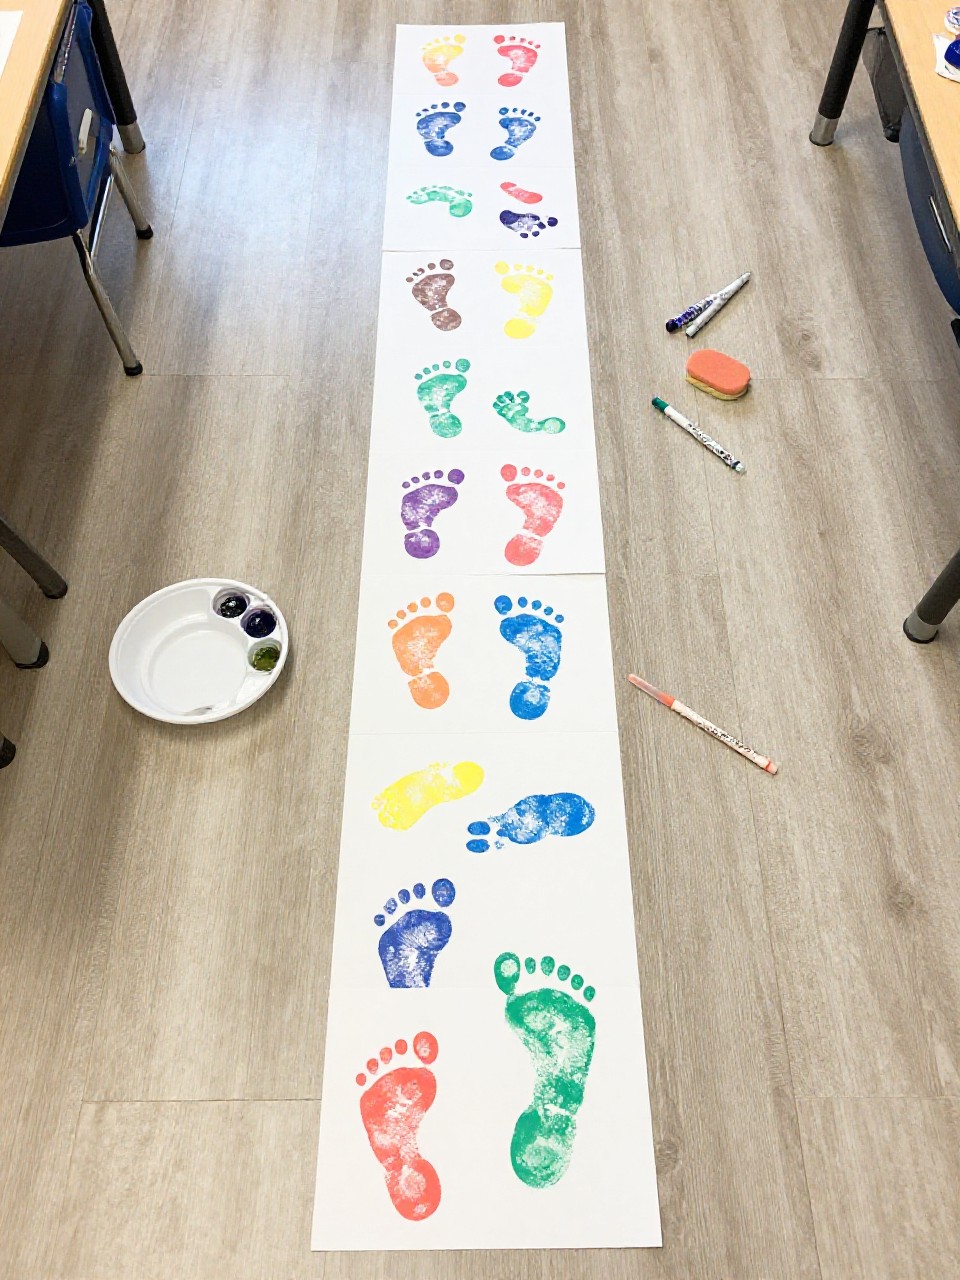
Painted footprints on a long paper path with kind words along the way, made by pairs walking heel-to-toe with sponge-painted “steps.” Kids enjoy the silly stepping and seeing a shared trail.
Materials Needed:
- Long roll of paper
- Washable paint
- Sponge cut into foot shapes (or shoe stamp)
- Paint trays
- Markers
How to make it:
- Roll out paper on the floor and tape edges down.
- Dip sponge “feet” in paint and stamp a path, taking turns with a friend.
- Write simple kind words like “share,” “help,” and “play” along the path.
- Let dry and hang as a hallway banner.
14. Two-Piece Heart Necklaces
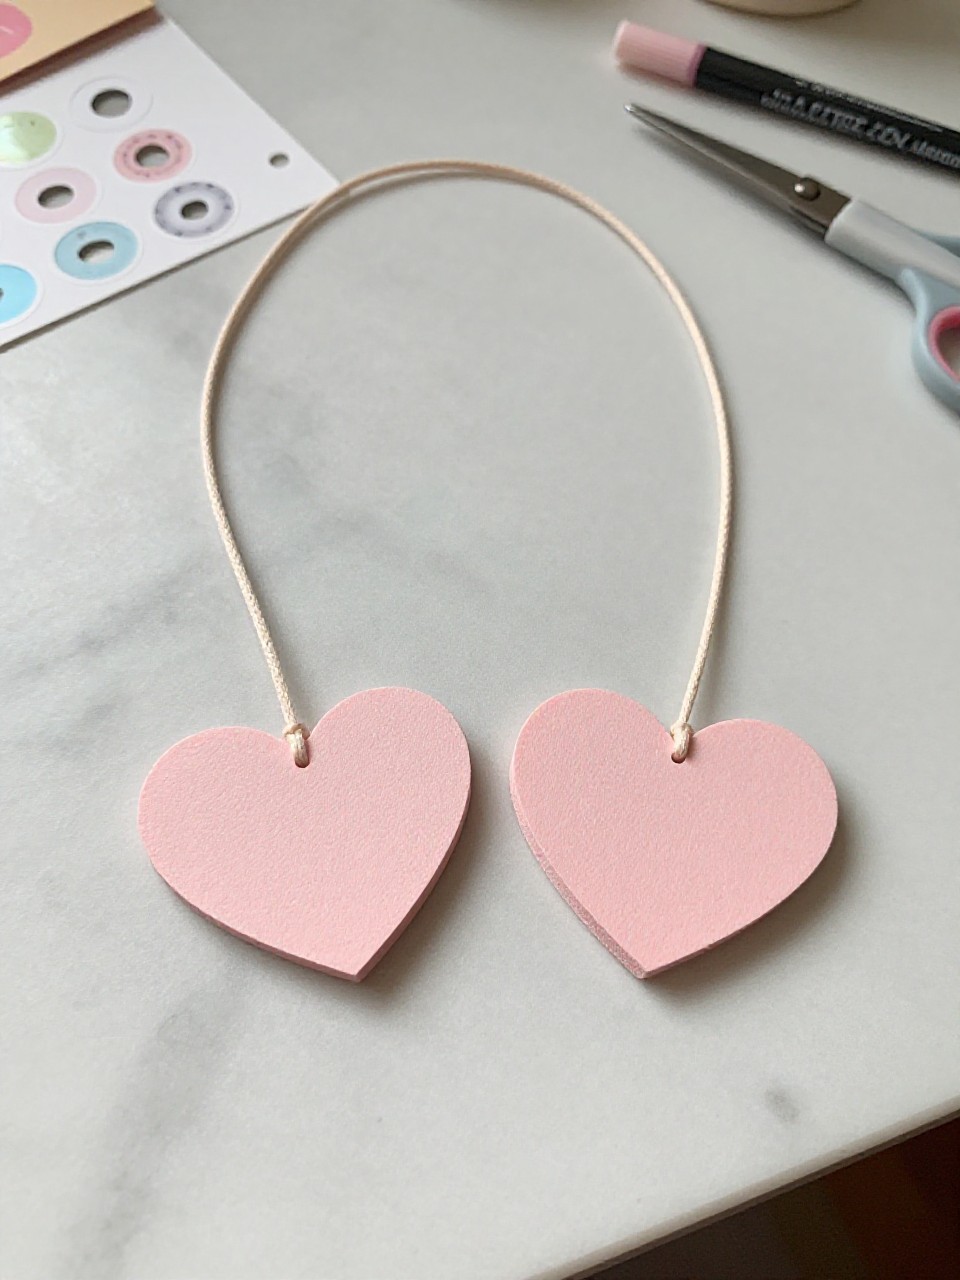
Two foam heart halves that fit together to make one heart, each on its own string, for friends to wear. Kids love the idea of matching pieces and choosing colors and stickers.
Materials Needed:
- Craft foam sheets
- Yarn or necklace cord
- Hole punch
- Stickers or foam shapes
- Marker
How to make it:
- Cut a medium heart from foam and slice it into two puzzle-like halves.
- Punch a hole at the top of each half and thread yarn for necklaces.
- Decorate with stickers and draw small patterns or initials.
- Give one half to a friend and wear them together.
15. Friendship Quilt Squares
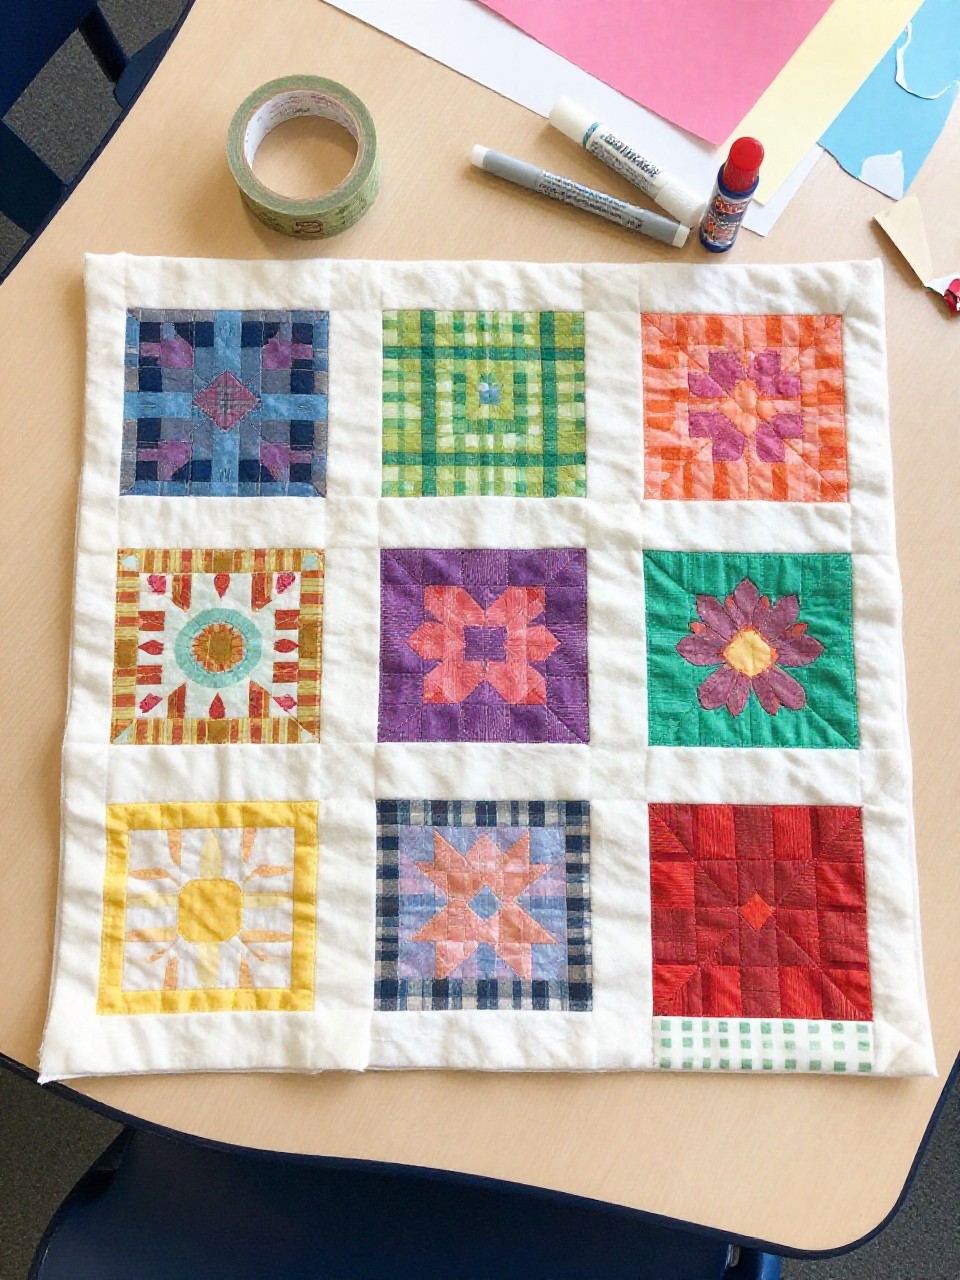
Paper “quilt squares” decorated by each child, then taped together into a big friendship quilt wall display. Kids enjoy seeing their square connect with everyone else’s in a colorful patchwork.
Materials Needed:
- 6×6 inch paper squares (assorted colors)
- Crayons, markers, or paint sticks
- Stickers or washi tape
- Glue stick
- Large backing paper or wall space
How to make it:
- Give each child a colored square to decorate with patterns, names, and hearts.
- Add stickers or tape strips as borders.
- Arrange squares in rows to form a big quilt pattern.
- Glue or tape onto backing paper and display the finished “quilt.”