


Table of Contents Show
Keeping little hands busy can be tough, especially on rainy days or when you need quick classroom activities. If you’re looking for simple, cheerful projects that preschoolers can actually finish and feel proud of, this list is for you.
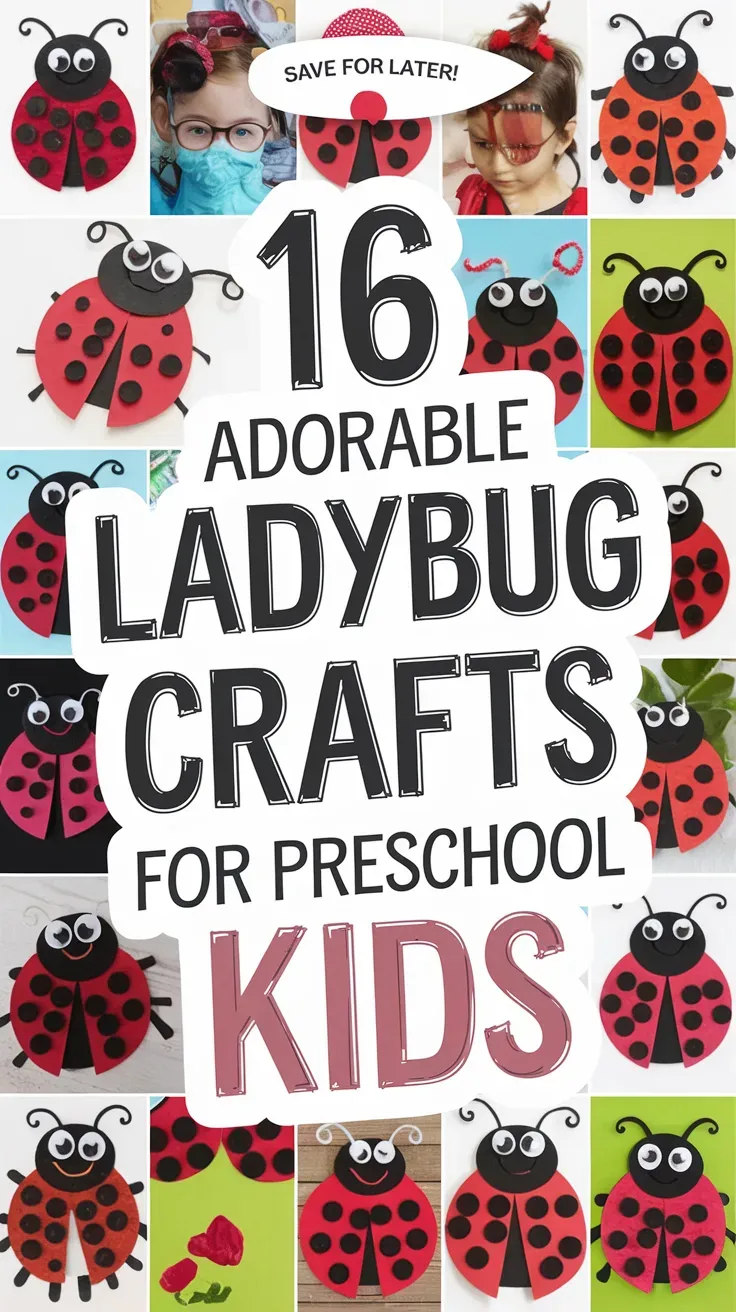
Below you’ll find easy ladybug crafts with clear steps and basic supplies.
They’re cute, low-mess, and perfect for building fine motor skills. Let’s jump into the ladybug fun!
1. Paper Plate Ladybug

This craft turns a small paper plate into a bright red ladybug with bold black spots and sweet antennae. Kids love painting the plate and choosing where the spots go, and it’s simple enough for a quick afternoon activity.
Materials Needed:
For People Who Love to Make Things ✂️
- Small paper plate
- Red paint and black paint
- Black construction paper
- Glue stick
- Googly eyes (optional)
How to make it:
- Paint the paper plate red and let it dry.
- Cut a small black semicircle for the head and glue it to the plate’s edge.
- Punch or cut black circles for spots and glue them on; add googly eyes and paper antennae.
- Let dry completely and display on a wall or fridge.
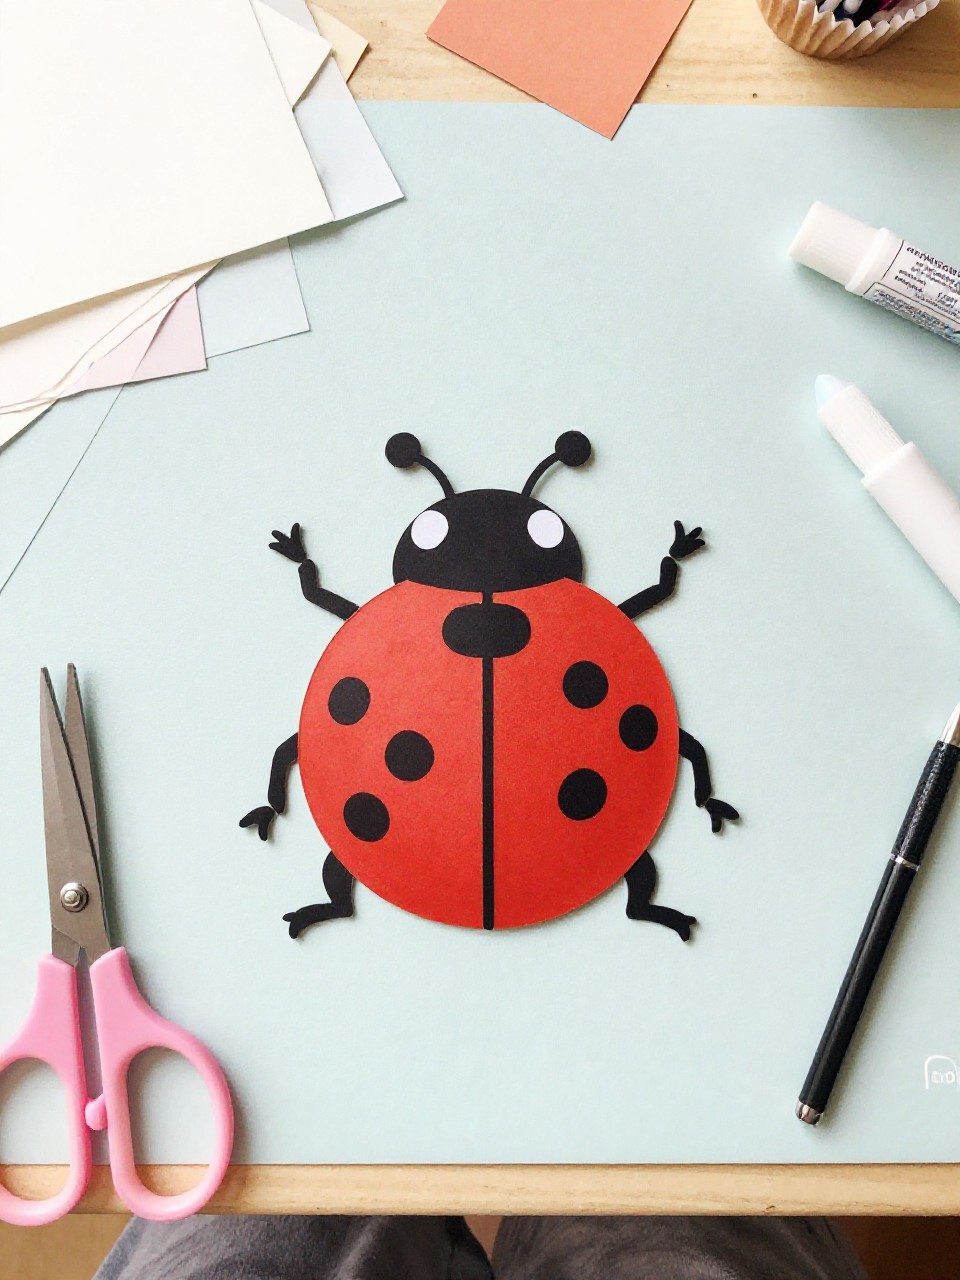
2. Handprint Ladybug Art

A child’s painted handprint becomes the ladybug’s red wings, with a black head and cute dots added on top. Kids enjoy seeing their handprint turn into a bug, and it makes a keepsake for parents.
Materials Needed:
- White cardstock
- Red washable paint
- Black marker or paint
- Googly eyes (optional)
- Baby wipes for cleanup
How to make it:
- Paint the child’s palm and fingers red and press onto cardstock with fingers spread like wings.
- Add a black head shape at the bottom of the handprint.
- Draw a center line and black spots; glue on googly eyes if using.
- Let it dry and write the child’s name and date.
3. Egg Carton Ladybug
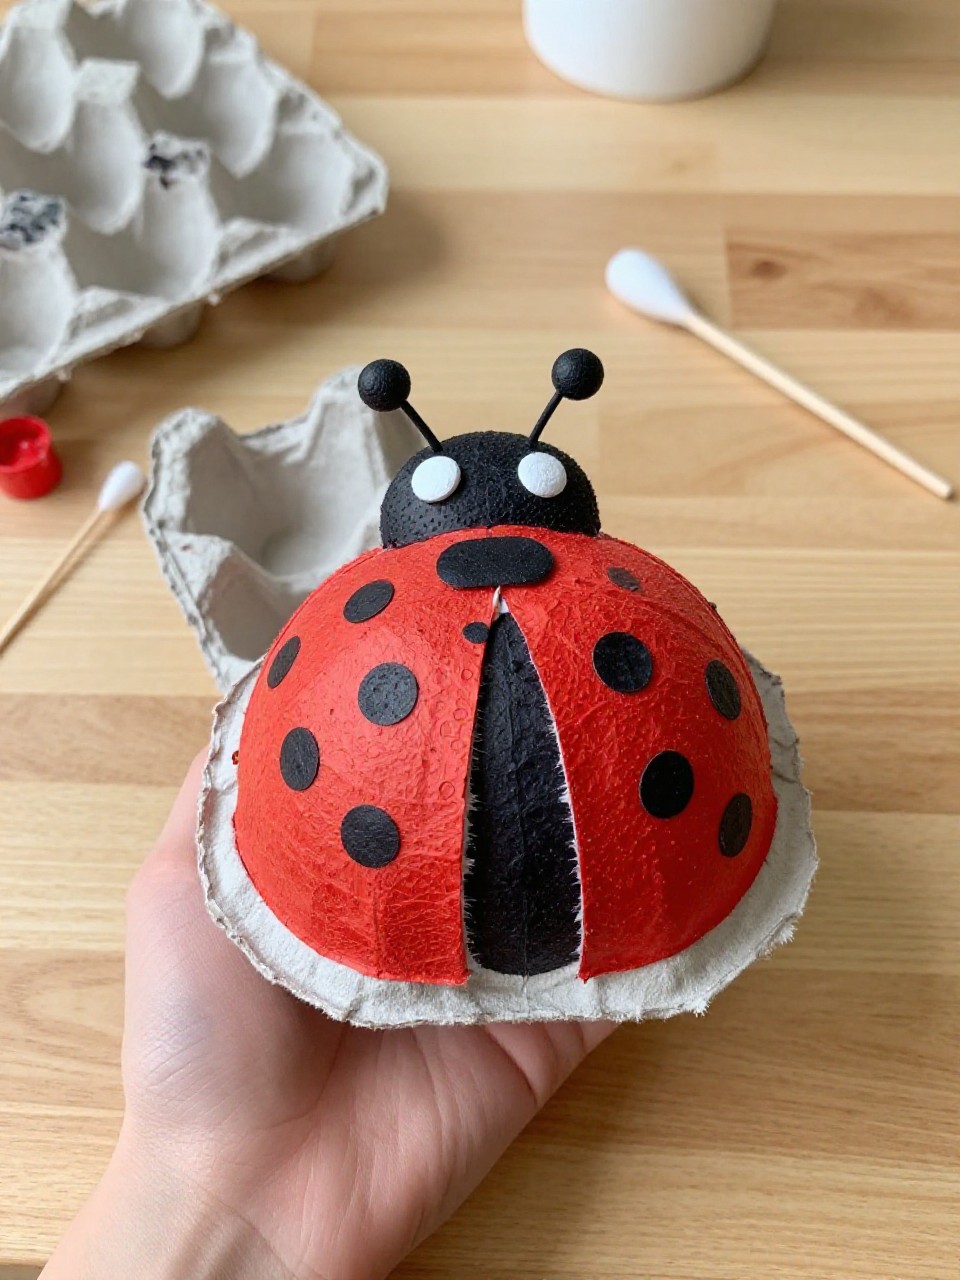
A cut egg cup becomes a round little ladybug body, painted red with black dots and a tiny face. Preschoolers love the 3D shape and the chance to dot on spots.
Materials Needed:
- Cardboard egg carton cup
- Red and black paint
- Small paintbrush and cotton swab
- Pipe cleaner (for antennae)
- Glue
How to make it:
- Cut a single cup from an egg carton and paint it red; let dry.
- Paint a small black head area on one side.
- Use a cotton swab to dot on black spots; glue short pipe cleaner pieces as antennae.
- Dry and display on a shelf or use for pretend play.
4. Ladybug Rock Pet
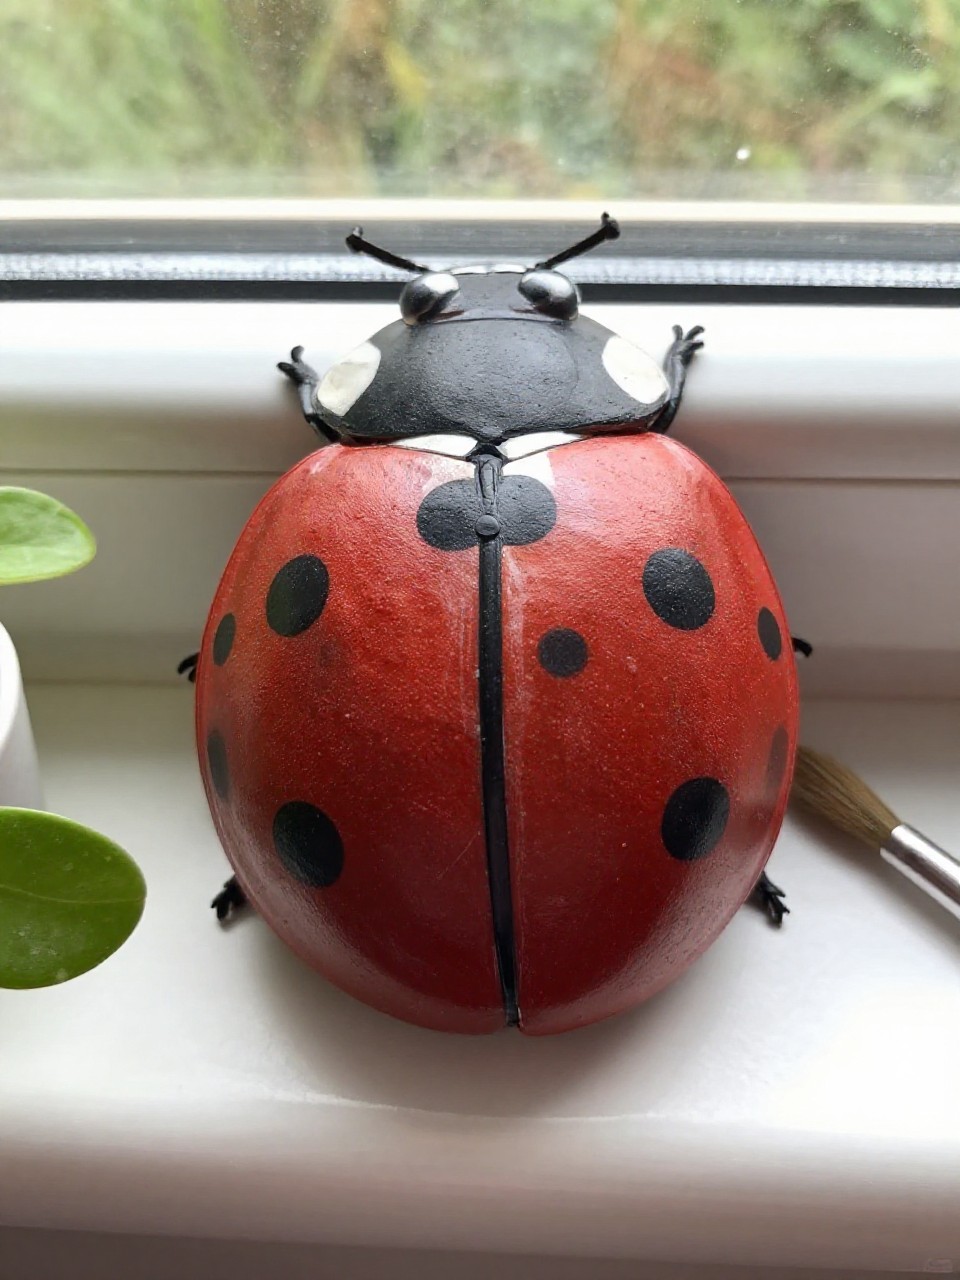
A smooth rock is transformed into a sturdy ladybug pet with shiny red paint and bold black dots. Kids enjoy the tactile feel and can take their little pet outside or keep it on a windowsill.
Materials Needed:
- Smooth oval rock
- Acrylic paint: red, black, white
- Paintbrush
- Clear non-toxic sealer (optional)
- Marker (optional for outline)
How to make it:
- Wash and dry the rock, then paint it red and let dry.
- Paint a black head and a center line down the back.
- Add black spots and two white eye dots; outline if desired.
- Seal if you like and place on a windowsill or garden pot.
5. Cupcake Liner Ladybug
A red cupcake liner becomes a cute, domed ladybug body with paper spots and a small head. Children love flattening and decorating the liner, and the craft is low-mess and quick.
Materials Needed:
- Red cupcake liner
- Black construction paper
- Glue stick
- Googly eyes
- Marker
How to make it:
- Gently flatten a red liner and glue it to cardstock as the body.
- Cut and glue a small black circle for the head and a thin strip for the center line.
- Punch or cut tiny black circles and glue as spots; add googly eyes and antennae.
- Let dry and hang as a simple wall display.
6. Paper Tube Ladybug
A recycled toilet paper tube turns into a standing ladybug with paper wings and cheerful eyes. Kids enjoy wrapping the tube and making it stand like a tiny toy.
Materials Needed:
- Cardboard toilet paper tube
- Red and black construction paper
- Glue stick or tape
- Googly eyes
- Marker
How to make it:
- Wrap the tube with red paper and secure.
- Cut a black head circle and glue it to the front top of the tube.
- Cut two red wing ovals and glue them to the back; add black paper spots and eyes.
- Draw a smile and set it upright to play.
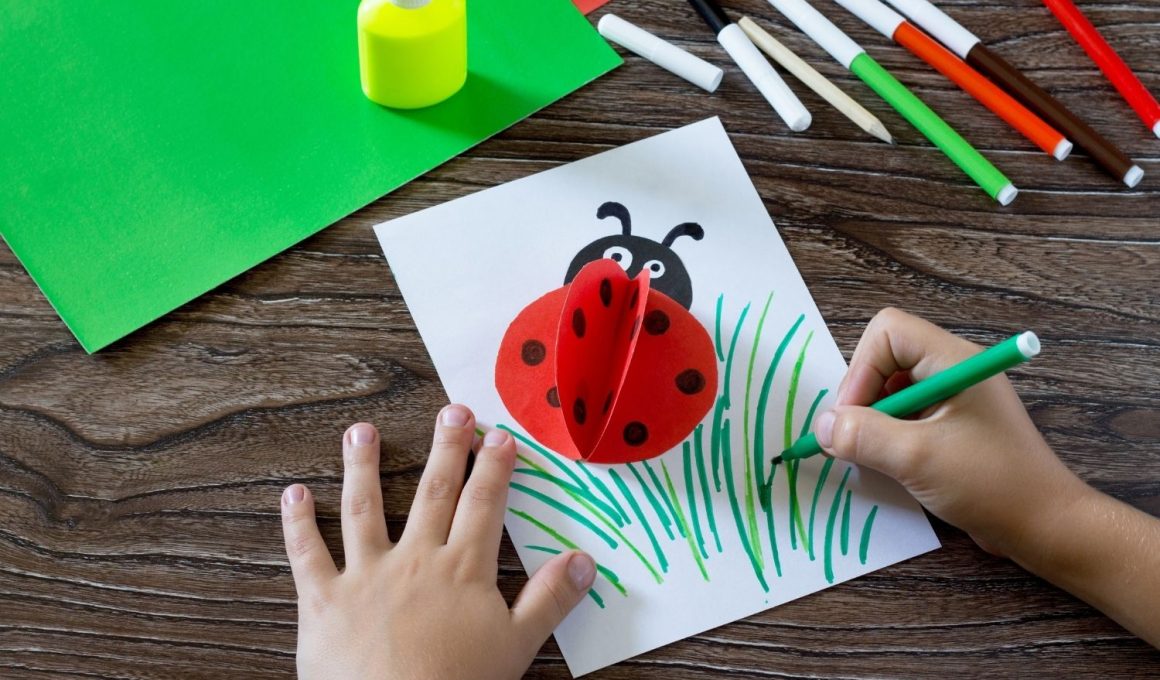
7. Fingerprint Spot Ladybug Card

A simple folded card features a ladybug with spots made from the child’s black fingerprints. Kids love making “dot” prints and gifting the card to someone special.
Materials Needed:
- Blank note card or folded cardstock
- Red paint and black ink pad or paint
- Fine-tip marker
- Googly eyes (optional)
- Baby wipes
How to make it:
- Paint or draw a red oval body and a small black head on the card front.
- Press black fingerprints onto the red oval as spots.
- Add a center line, eyes, and a short message inside.
- Let dry and place in an envelope.
8. Ladybug Paper Crown
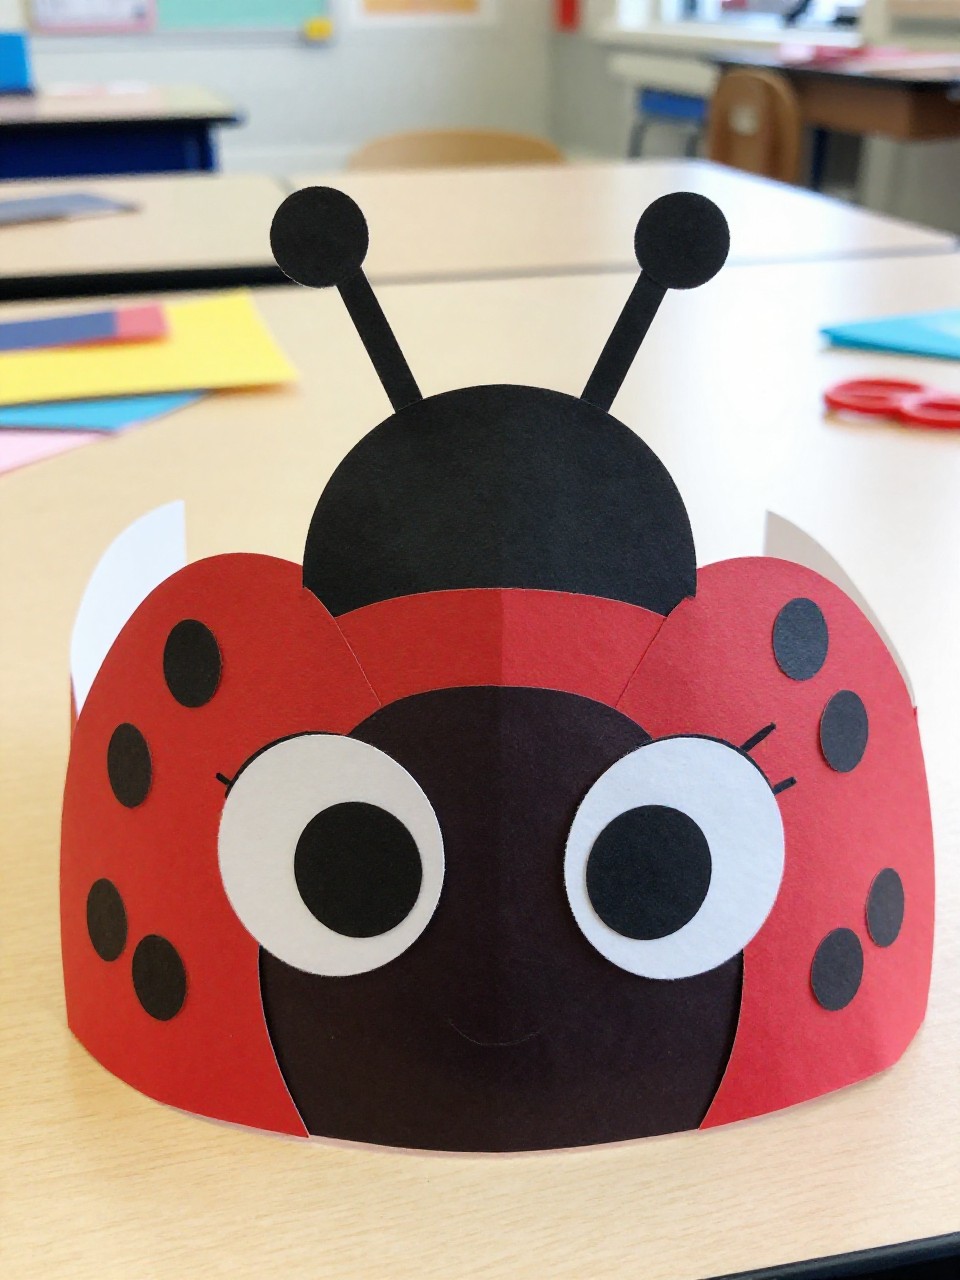
A simple paper crown decorated with bright ladybugs wraps around a child’s head for pretend play. Kids enjoy wearing their own bug-themed “royal” headband.
Materials Needed:
- Red and black construction paper
- Stapler or tape
- Glue stick
- Marker
- Googly eyes (optional)
How to make it:
- Cut long strips of black paper to fit around the child’s head and staple into a band.
- Cut small red ovals for ladybugs and glue along the band.
- Add tiny black paper spots, heads, and eyes to each oval.
- Adjust fit and let the child wear their crown.
9. Pom-Pom Ladybug Magnet

A fuzzy red pom-pom turns into a mini ladybug with black felt details and a small magnet on back. Children like the soft texture and sticking it onto the fridge.
Materials Needed:
- Large red pom-pom
- Black felt
- Small self-adhesive magnet
- Tacky glue
- Googly eyes
How to make it:
- Cut a small black felt circle for the head and a thin strip for the center line.
- Glue the head and line onto the pom-pom, then add felt dots and googly eyes.
- Press a magnet onto the back with glue if needed.
- Let dry fully before placing on the fridge.
10. Leaf and Ladybug Collage
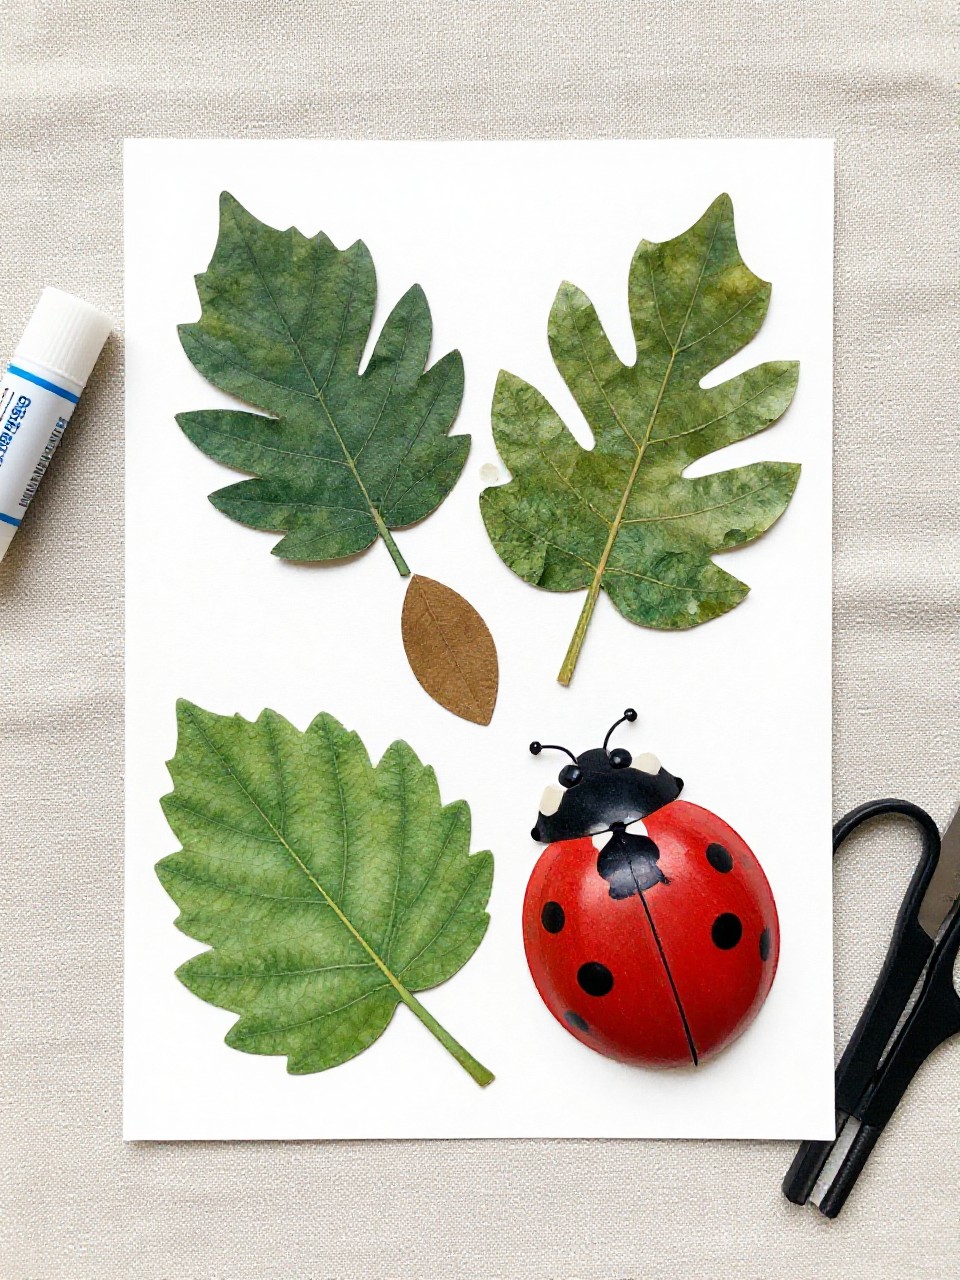
A simple collage shows red ladybugs crawling across real or paper leaves. Kids enjoy arranging leaves and placing spotted bugs in different positions.
Materials Needed:
- Green construction paper or real leaves
- Red and black paper
- Glue stick
- Marker
- Googly eyes (optional)
How to make it:
- Glue green paper leaves (or pressed leaves) onto a sheet of cardstock.
- Cut small red ovals for ladybugs and glue them on the leaves.
- Add black heads, a center line, and paper or marker dots; add googly eyes.
- Let dry and display as a nature scene.
11. Paper Bag Ladybug Puppet

A lunch bag becomes a friendly ladybug puppet with a big smile and flappy wings. Kids love making it talk and using it in pretend stories.
Materials Needed:
- Brown paper lunch bag
- Red and black construction paper
- Glue stick
- Marker
- Googly eyes (optional)
How to make it:
- Lay the bag flat with the flap as the face area.
- Cover the bag front with red paper and add a black head at the flap.
- Cut and glue wings and black spots; add eyes and a smile.
- Put your hand in and put on a ladybug show.
12. Clothespin Clip Ladybugs
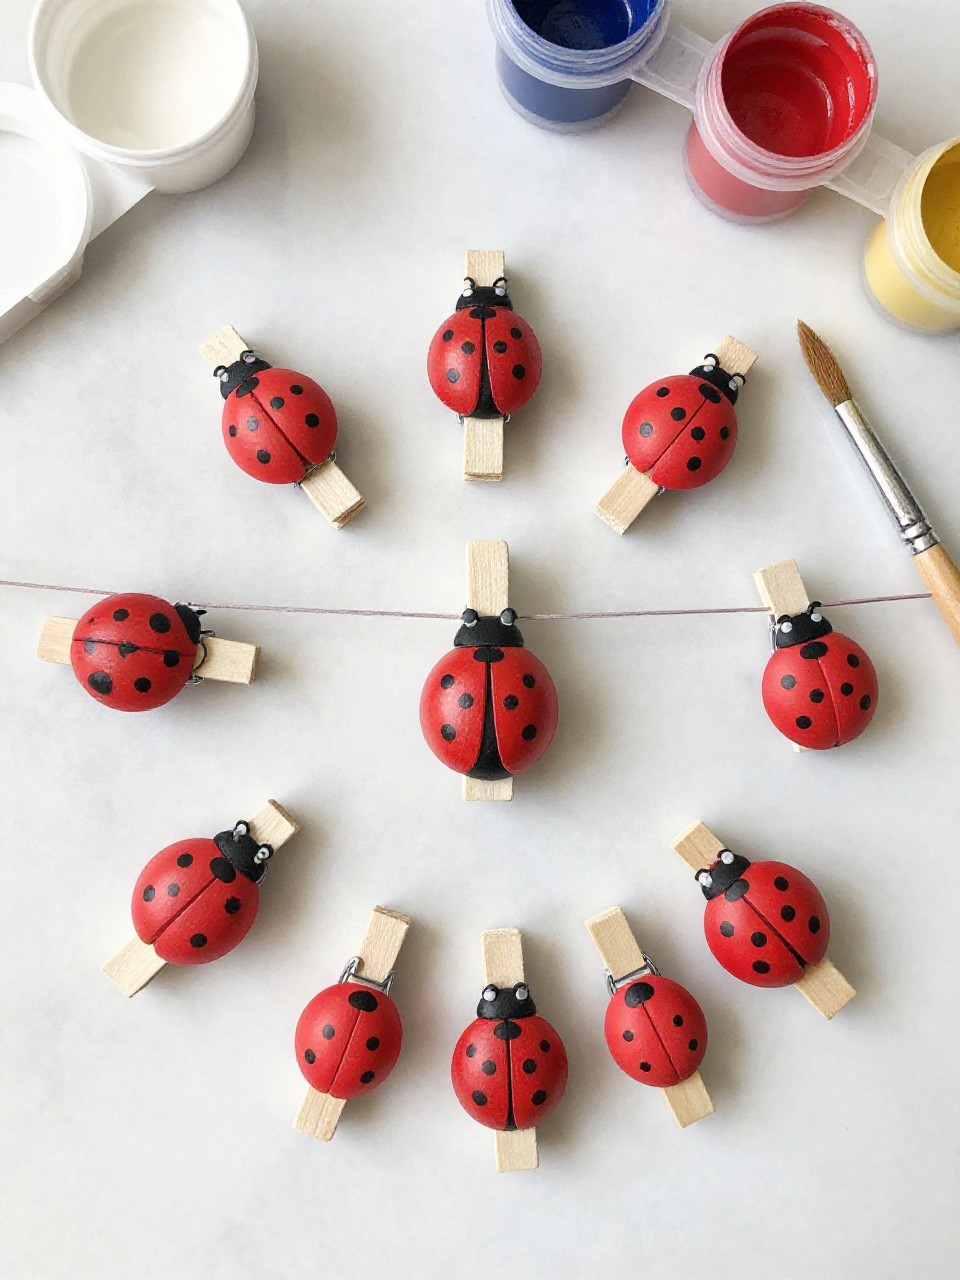
Painted wooden clothespins turn into tiny ladybugs that can clip onto notes or plants. Children like the snapping action and bright colors.
Materials Needed:
- Wooden clothespins
- Red and black acrylic paint
- Fine brush
- White paint pen (optional)
- Clear sealer (optional)
How to make it:
- Paint the top of each clothespin red and let dry.
- Add a black head area and a black center line.
- Dot on black spots and tiny white eyes.
- Seal if desired and clip onto art or plants.
13. Ladybug Dot Sticker Art
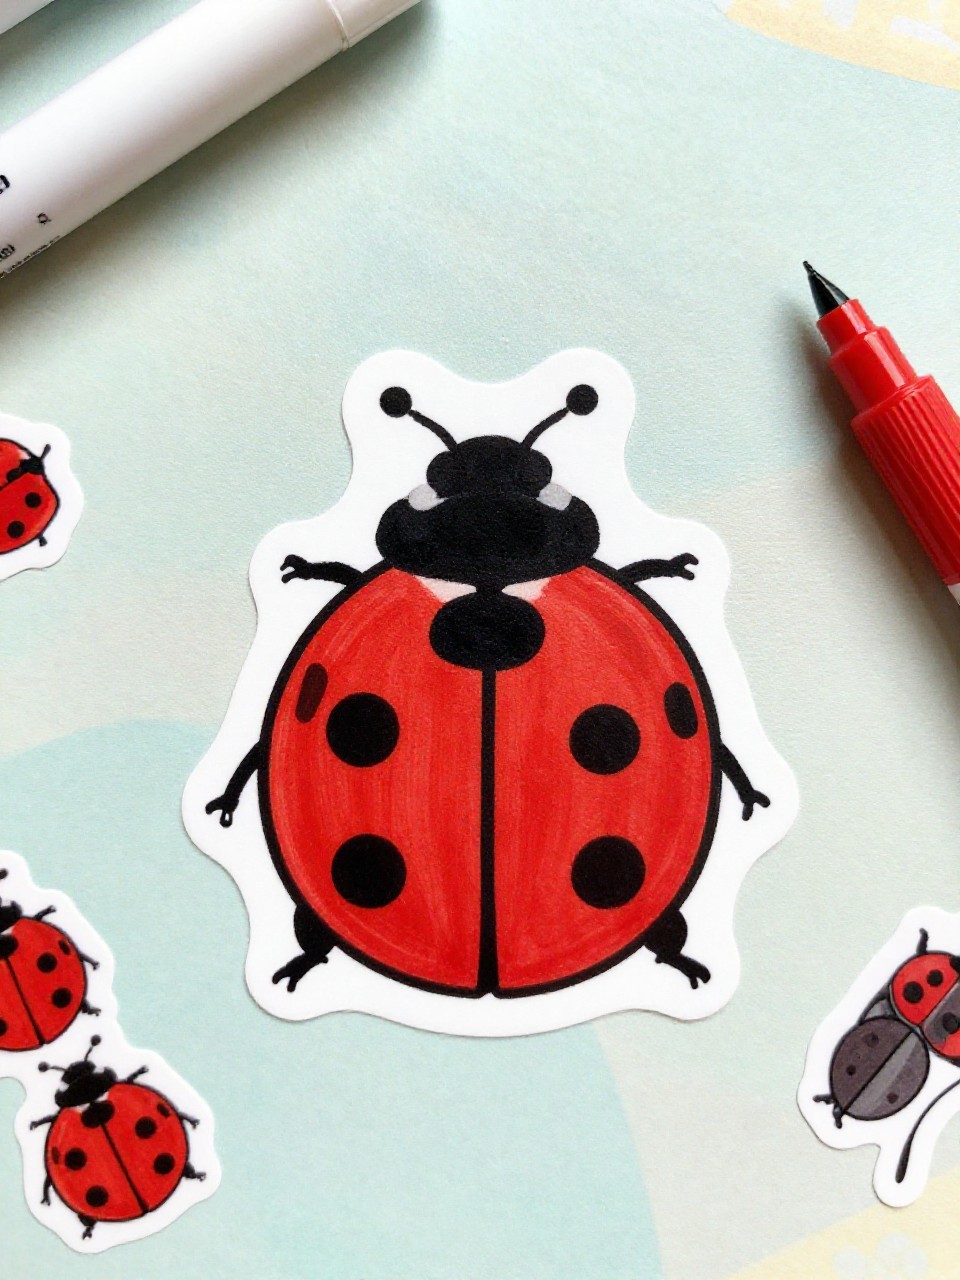
Kids create a big ladybug using red and black dot stickers on a white sheet. The easy peeling and placing builds fine motor skills and keeps mess to a minimum.
Materials Needed:
- White cardstock
- Red dot stickers
- Black dot stickers
- Black marker
- Ruler (optional for center line)
How to make it:
- Draw a large oval for the body and a smaller head circle at the top.
- Fill the oval with red stickers, leaving space for black spots.
- Add black dot stickers as spots and draw the center line and antennae.
- Display the bold, graphic ladybug art.
14. Popsicle Stick Ladybug Wand
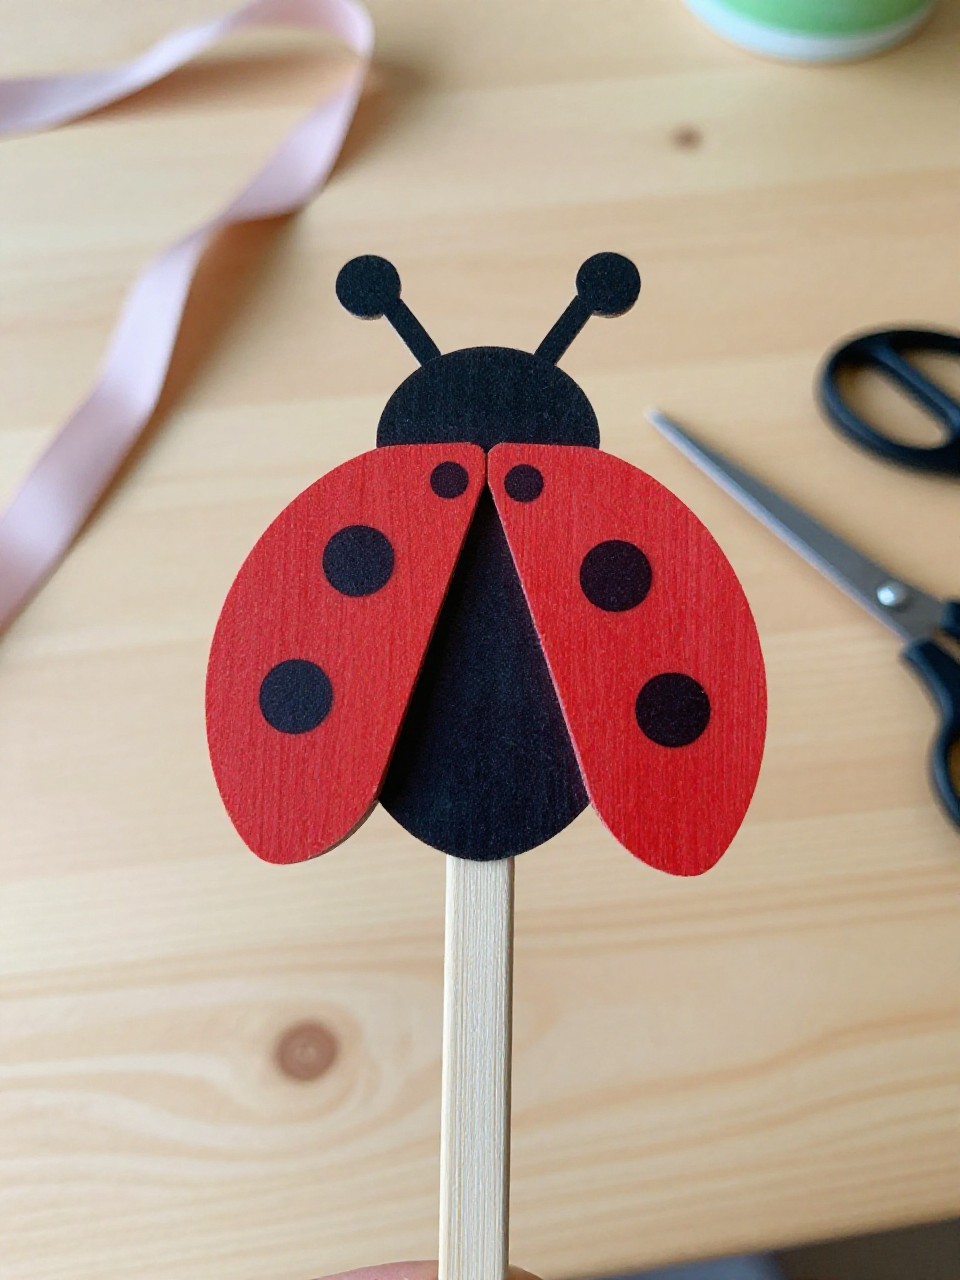
Craft sticks become a playful ladybug wand with a round bug on top and a ribbon tail. Kids enjoy waving it around for imaginative play.
Materials Needed:
- Jumbo popsicle stick
- Red and black craft foam or paper
- Glue
- Red ribbon
- Googly eyes (optional)
How to make it:
- Cut a red circle for the body and a smaller black circle for the head.
- Glue the head to the body, add a black center line and foam spots.
- Glue the circle ladybug to the top of the stick; tie ribbon to the handle.
- Let dry and swish the wand around.
15. Paper Doily Ladybug
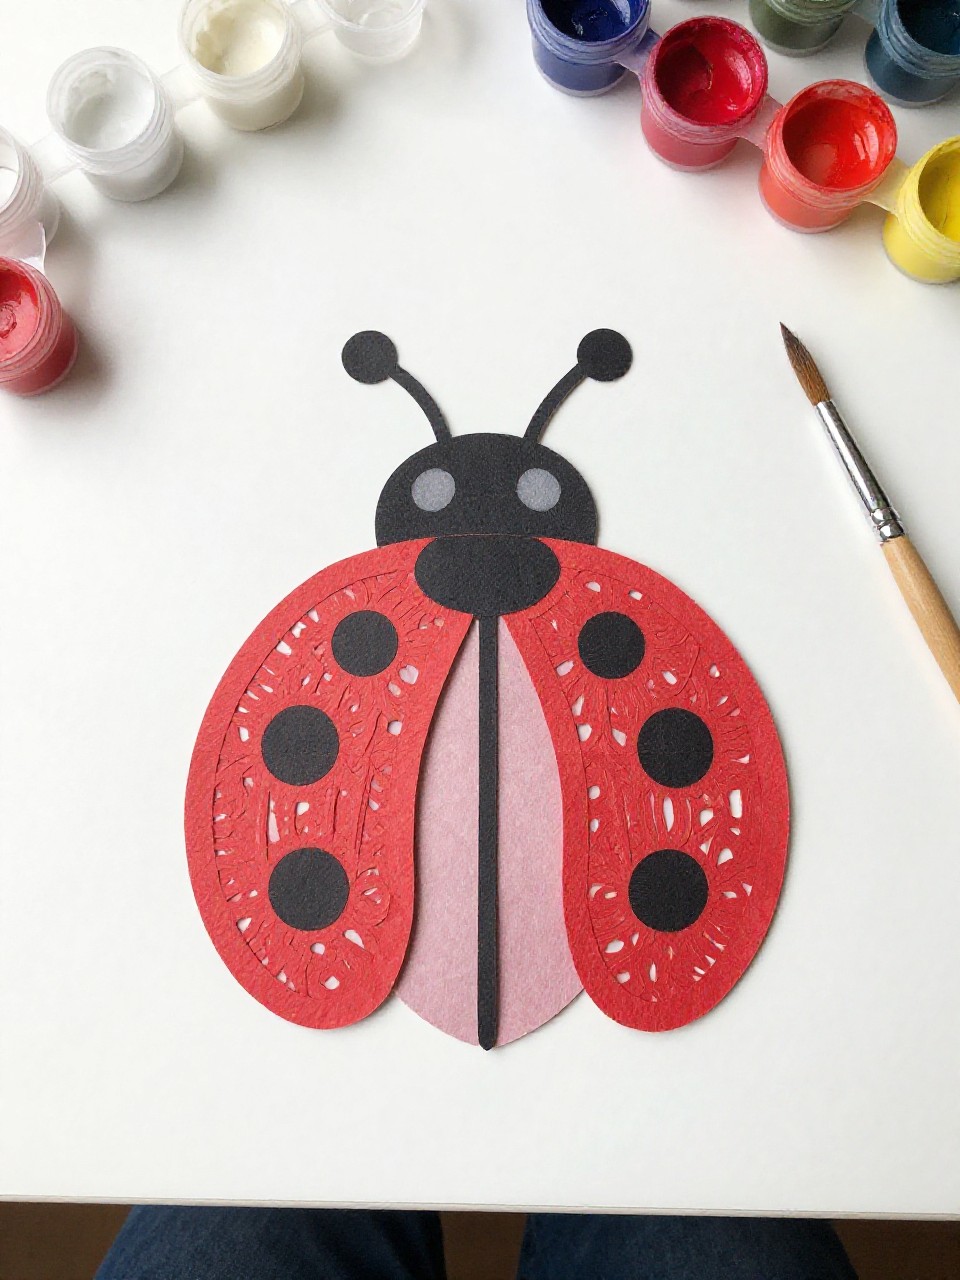
A red-painted lace doily becomes a delicate ladybug with pretty textures and simple dots. Kids enjoy dabbing paint over the holes and seeing the pattern pop.
Materials Needed:
- White paper doily
- Red and black paint
- Paintbrush or sponge
- Black paper for head
- Glue stick
How to make it:
- Paint the doily red and let it dry flat.
- Glue a small black paper head to one edge.
- Paint on a center line and black spots; add tiny eyes.
- Dry and mount on contrasting cardstock.
16. Button Spot Ladybug Canvas
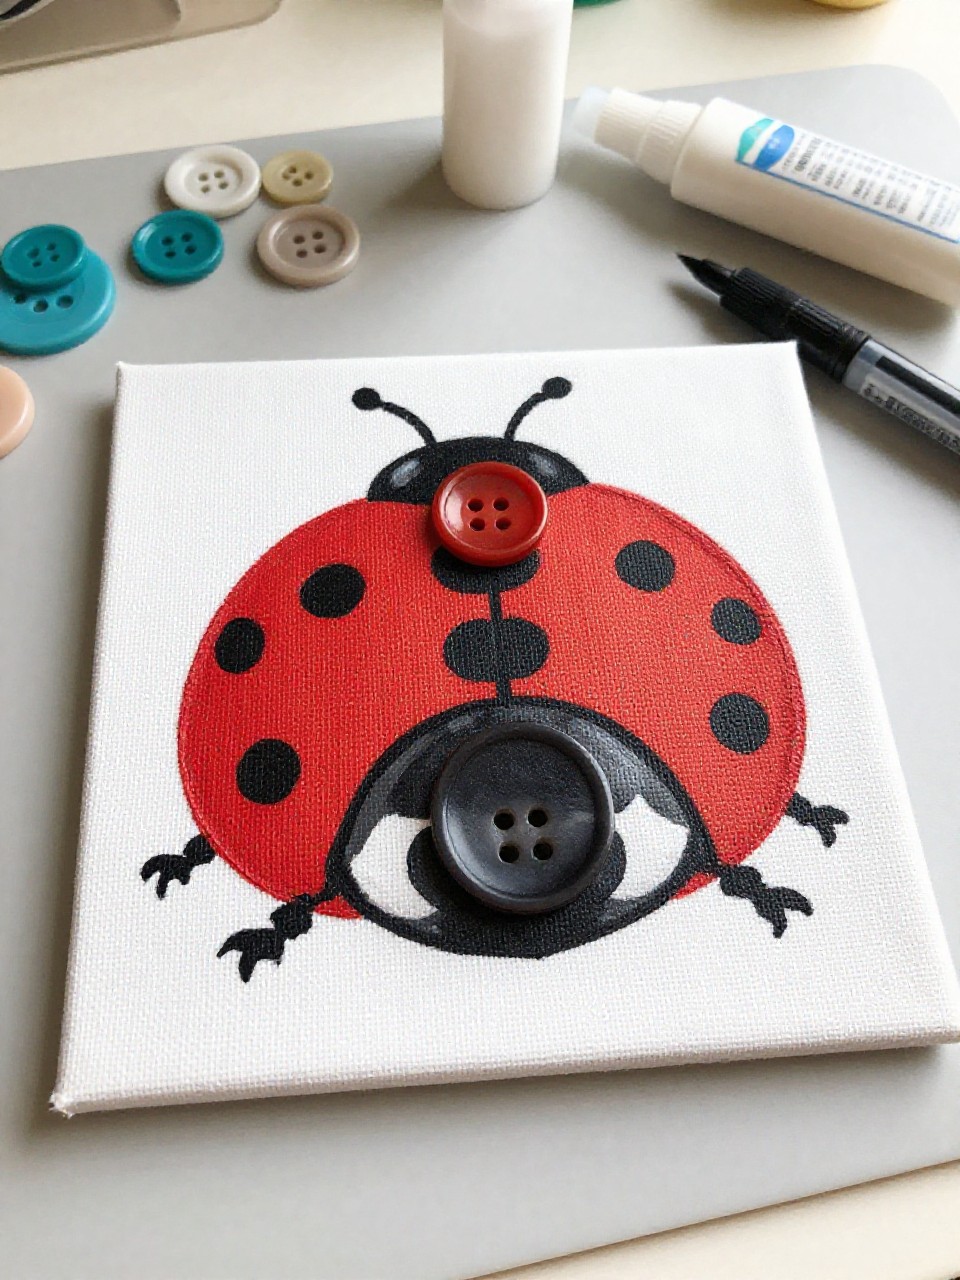
A mini canvas shows a red ladybug with shiny black buttons for spots. Kids like choosing and gluing the buttons, and the small canvas makes a sweet gift.
Materials Needed:
- Small canvas or thick cardstock
- Red and black paint
- Assorted black buttons
- Tacky glue
- Fine-tip marker
How to make it:
- Paint a red oval body and a black head on the canvas; let dry.
- Draw a thin center line down the body.
- Glue black buttons as spots and add simple eyes and antennae.
- Let dry and set on a shelf or easel.