


Table of Contents Show
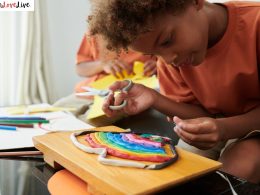
Keeping kids busy can be hard, especially on rainy days or during quiet classroom time. If you want easy activities that still feel creative, this list is for you. Here are 15 simple Letter E crafts that turn learning into play, with quick materials and clear steps.
You’ll find fun projects that help kids remember the letter E while making cute art to display.
Let’s jump into the ideas!
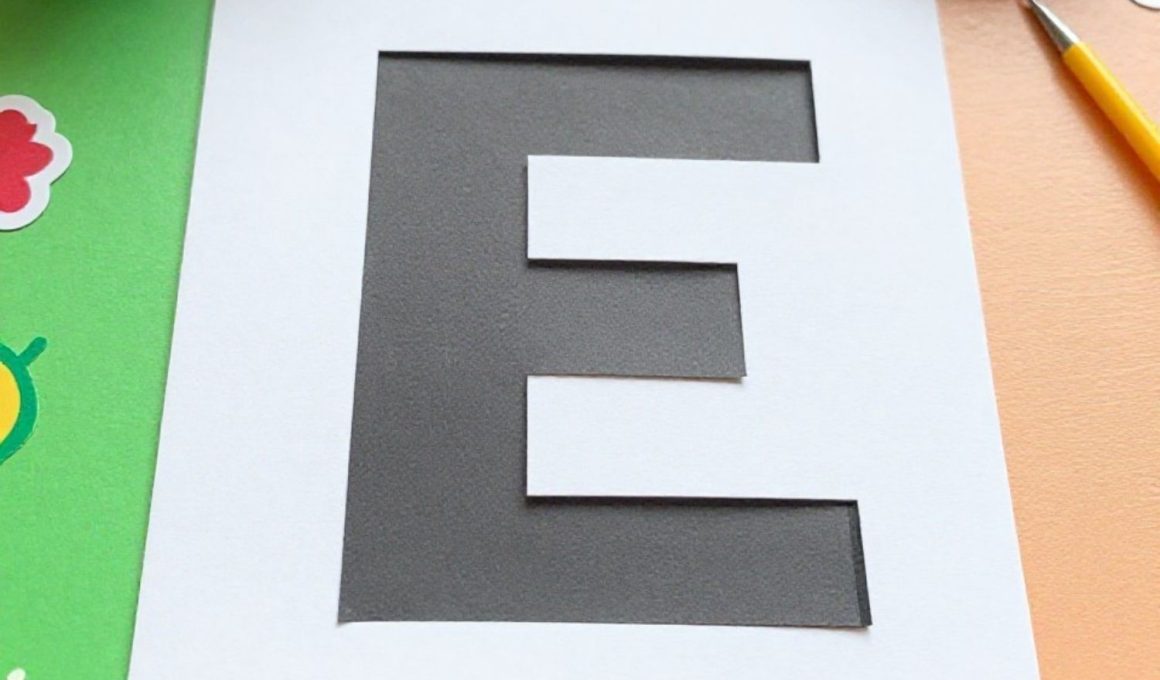
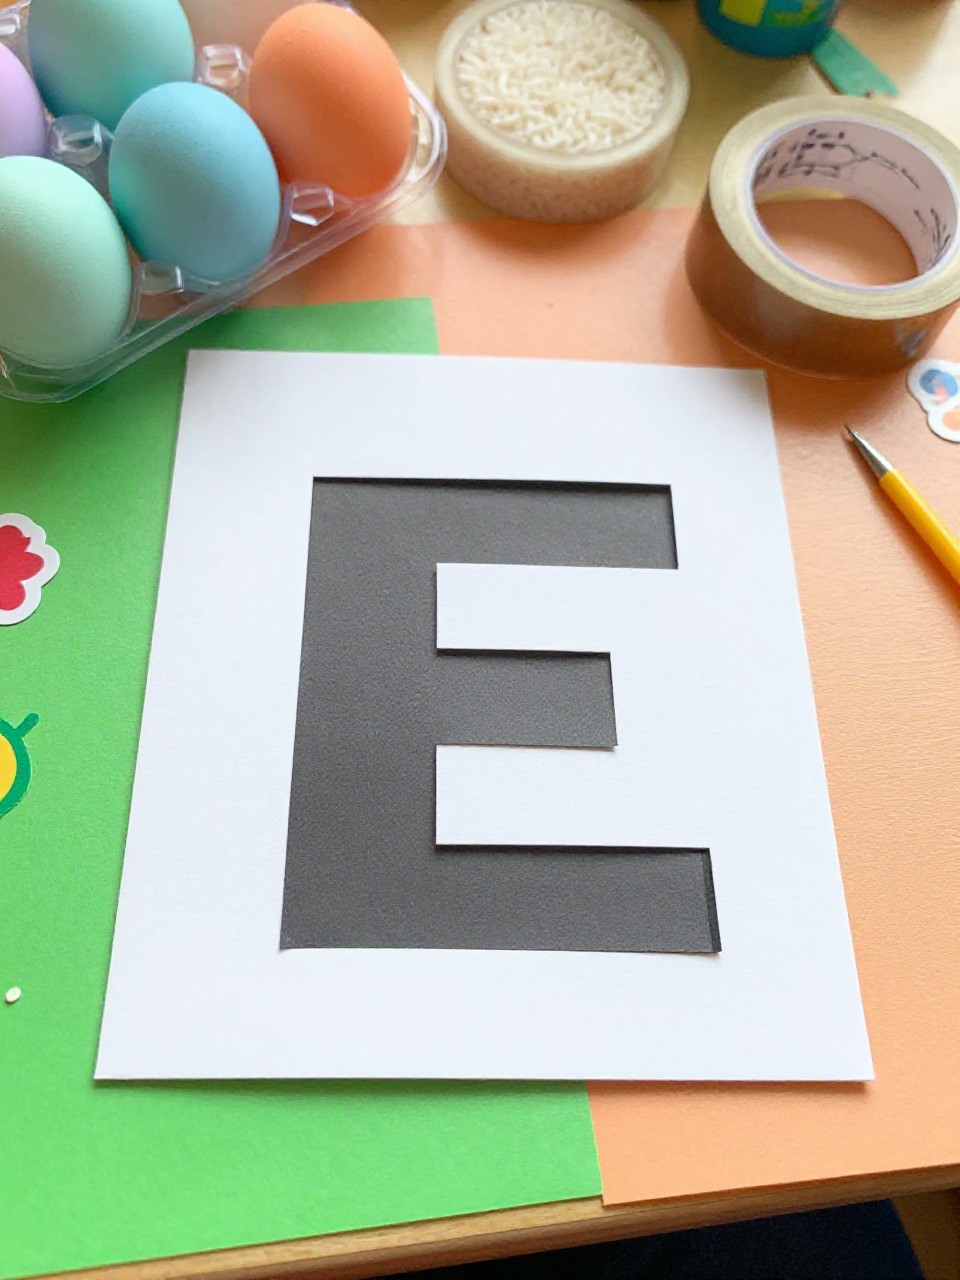
1. Big Letter E Collage
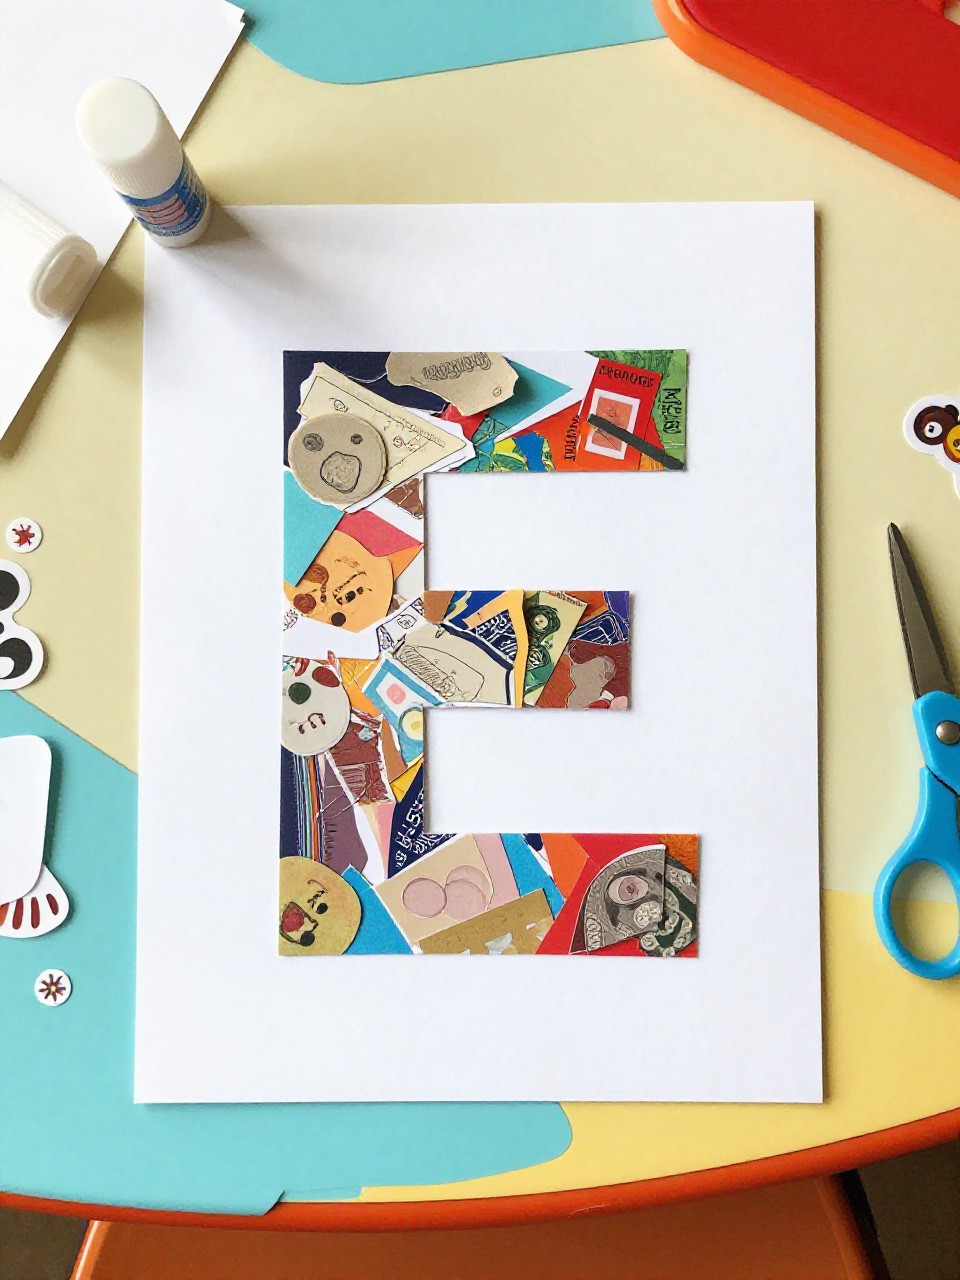
This craft makes a bold, cut-out Letter E filled with bright paper scraps and stickers. Kids love choosing colors and patterns, and it’s simple enough for beginners and preschoolers to enjoy.
Materials Needed:
For People Who Love to Make Things ✂️
- Cardstock or cereal box for a sturdy E
- Colored paper scraps
- Glue stick
- Child-safe scissors
- Stickers or washi tape (optional)
How to make it:
- 1. Draw and cut a large block Letter E from cardstock or box board.
- 2. Cut or tear colored paper into small pieces.
- 3. Glue the scraps to cover the E, adding stickers or tape for flair.
- 4. Let dry flat, then hang on a door or classroom wall.
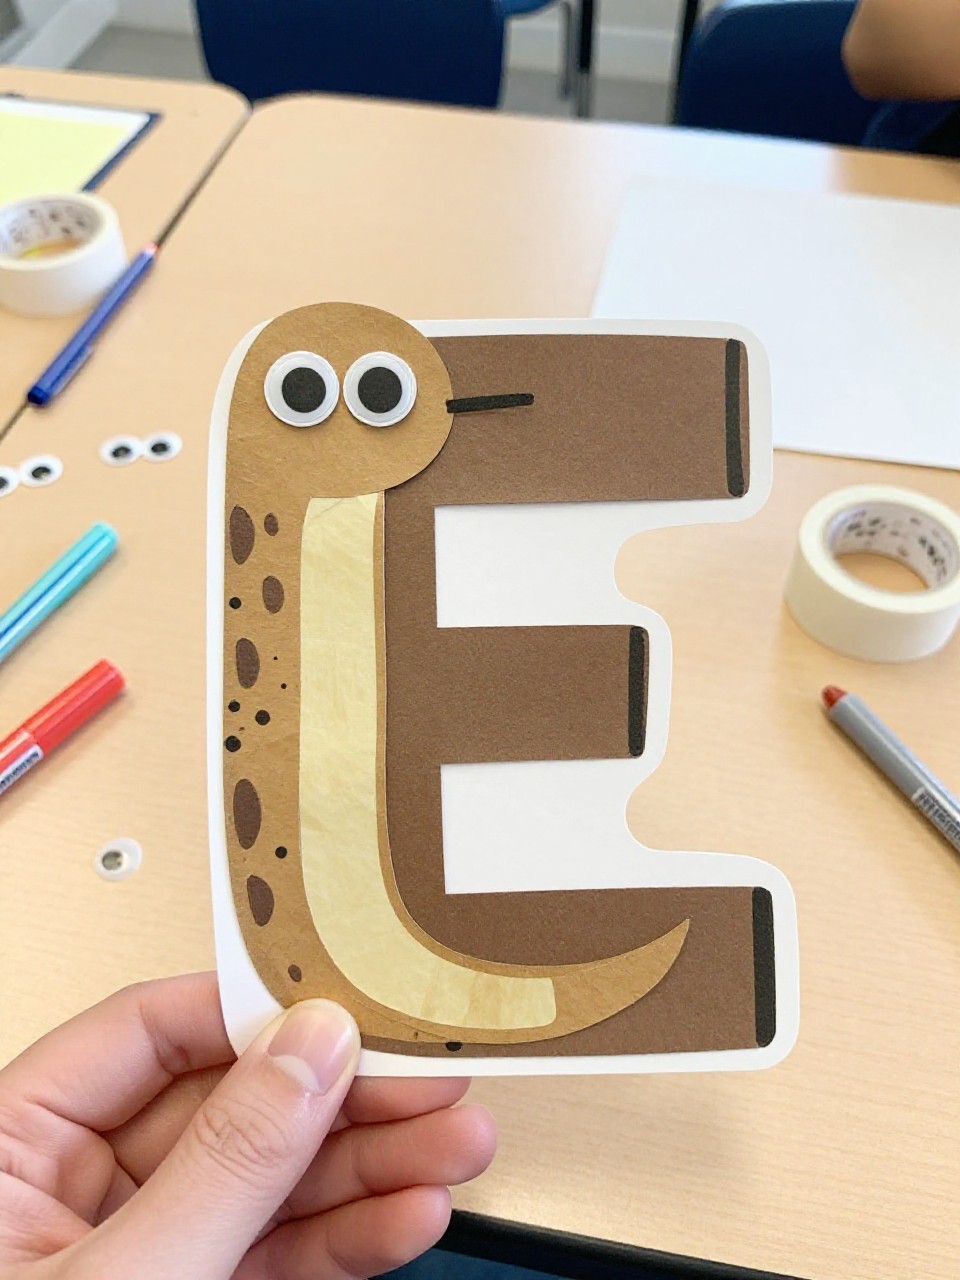
2. Egg Carton Elephant E
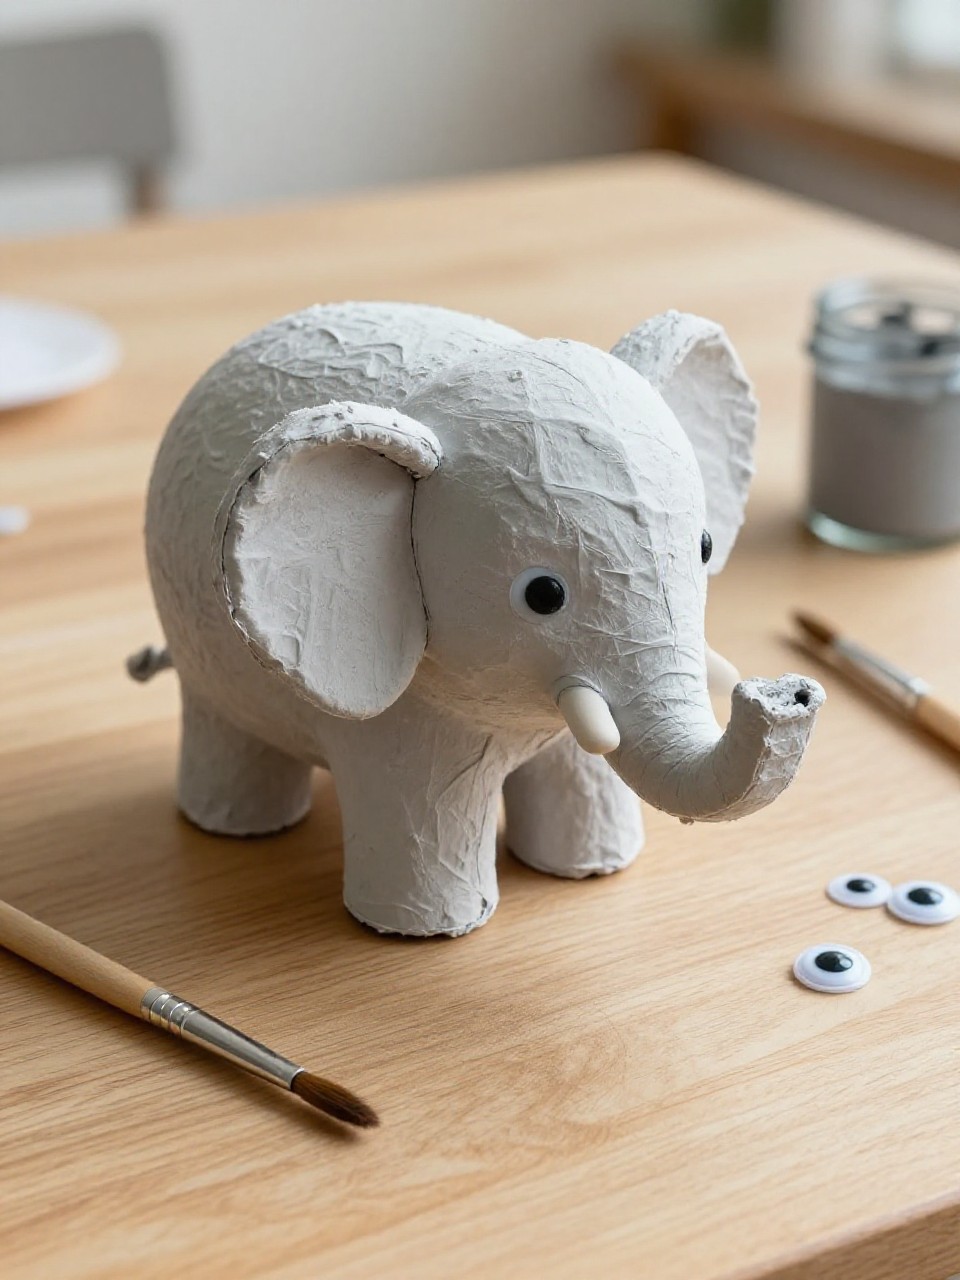
This craft turns an egg carton cup and a giant E into a friendly elephant attached to the letter. Kids enjoy the 3D feel and the playful trunk, which makes the letter memorable.
Materials Needed:
- Printed or hand-drawn large Letter E on cardstock
- Egg carton cup
- Gray paint or gray paper
- Googly eyes
- Glue and tape
How to make it:
- 1. Paint the egg carton cup gray and let it dry.
- 2. Glue the cup to the top bar of the E as the elephant’s head.
- 3. Cut a paper trunk and ears, glue them on, and add googly eyes.
- 4. Add small toenails or wrinkles with marker, then display.
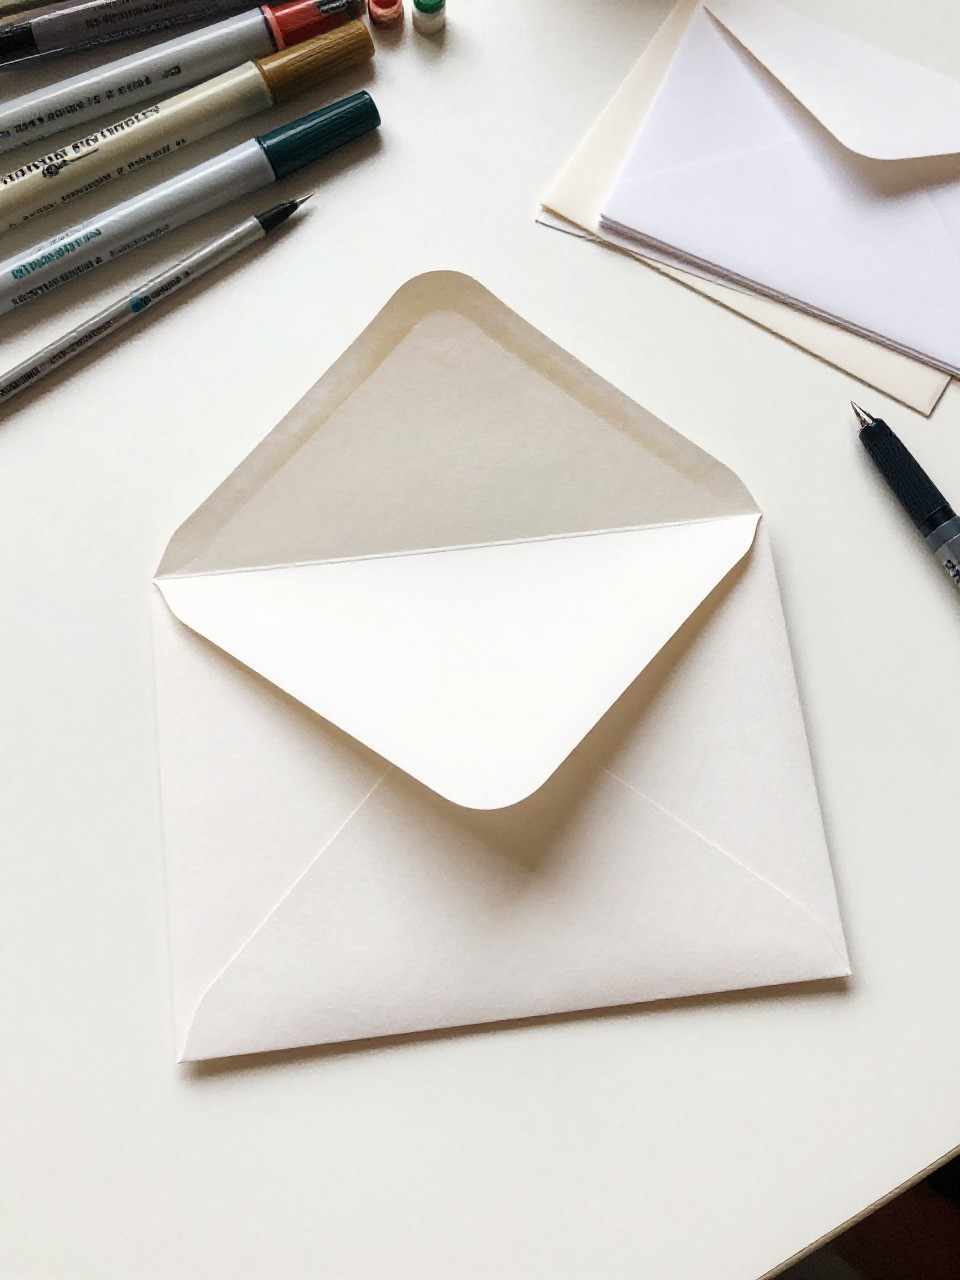
3. Envelope E Letter Pocket
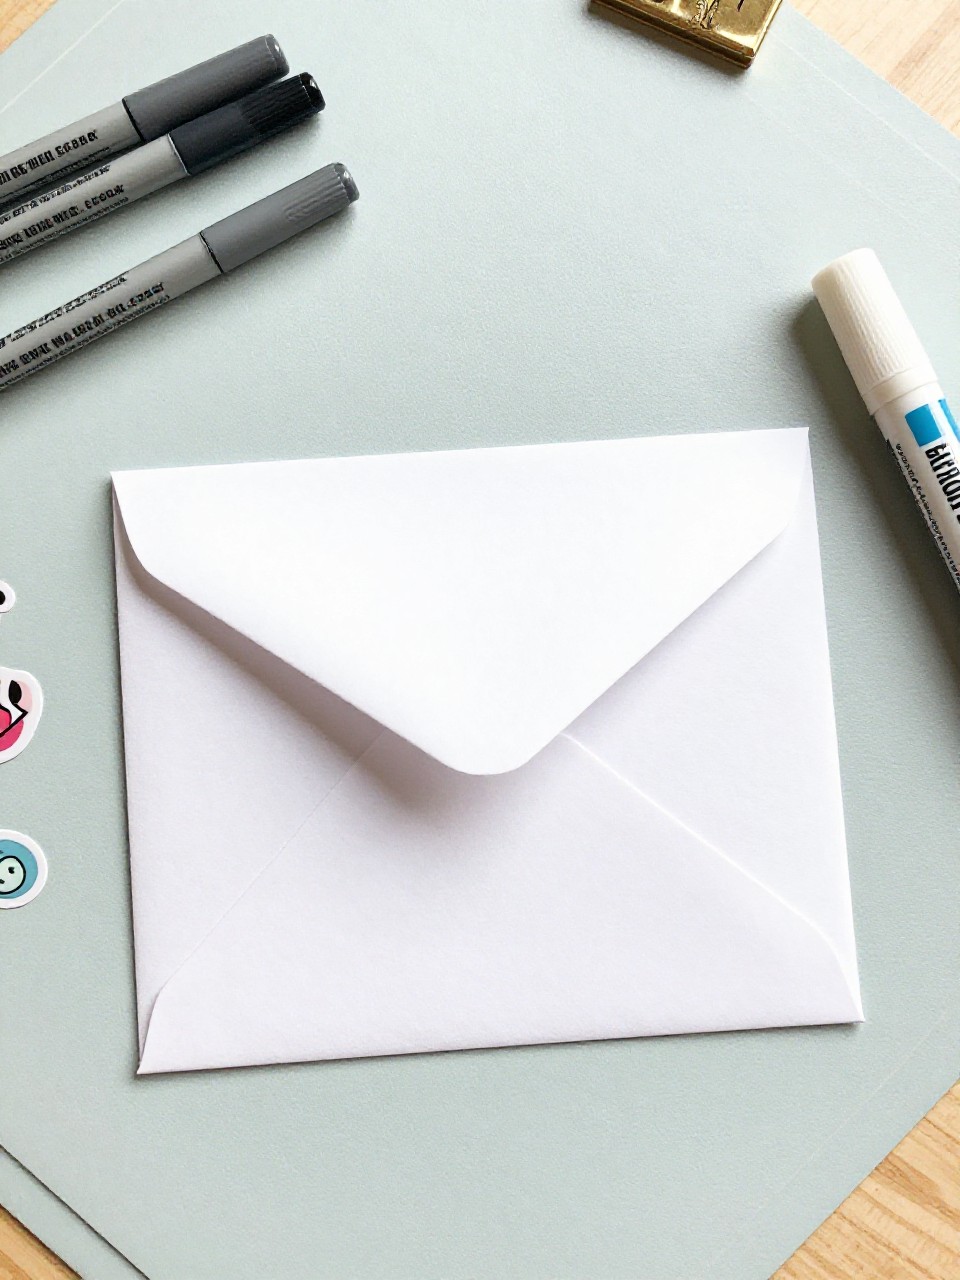
This project makes a big E that opens like a pocket using a small envelope, perfect for storing mini drawings or alphabet cards. Kids like tucking notes inside and practicing the letter at the same time.
Materials Needed:
- Large cardstock Letter E
- Small envelope (any color)
- Markers or crayons
- Stickers
- Glue
How to make it:
- 1. Cut a large Letter E from cardstock.
- 2. Glue the envelope to the center bar of the E with the flap facing out.
- 3. Decorate the E with markers and stickers, labeling “E is for Envelope.”
- 4. Slip tiny drawings or word cards into the pocket and display.
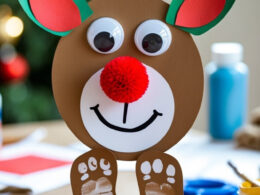
4. Handprint Eagle on E
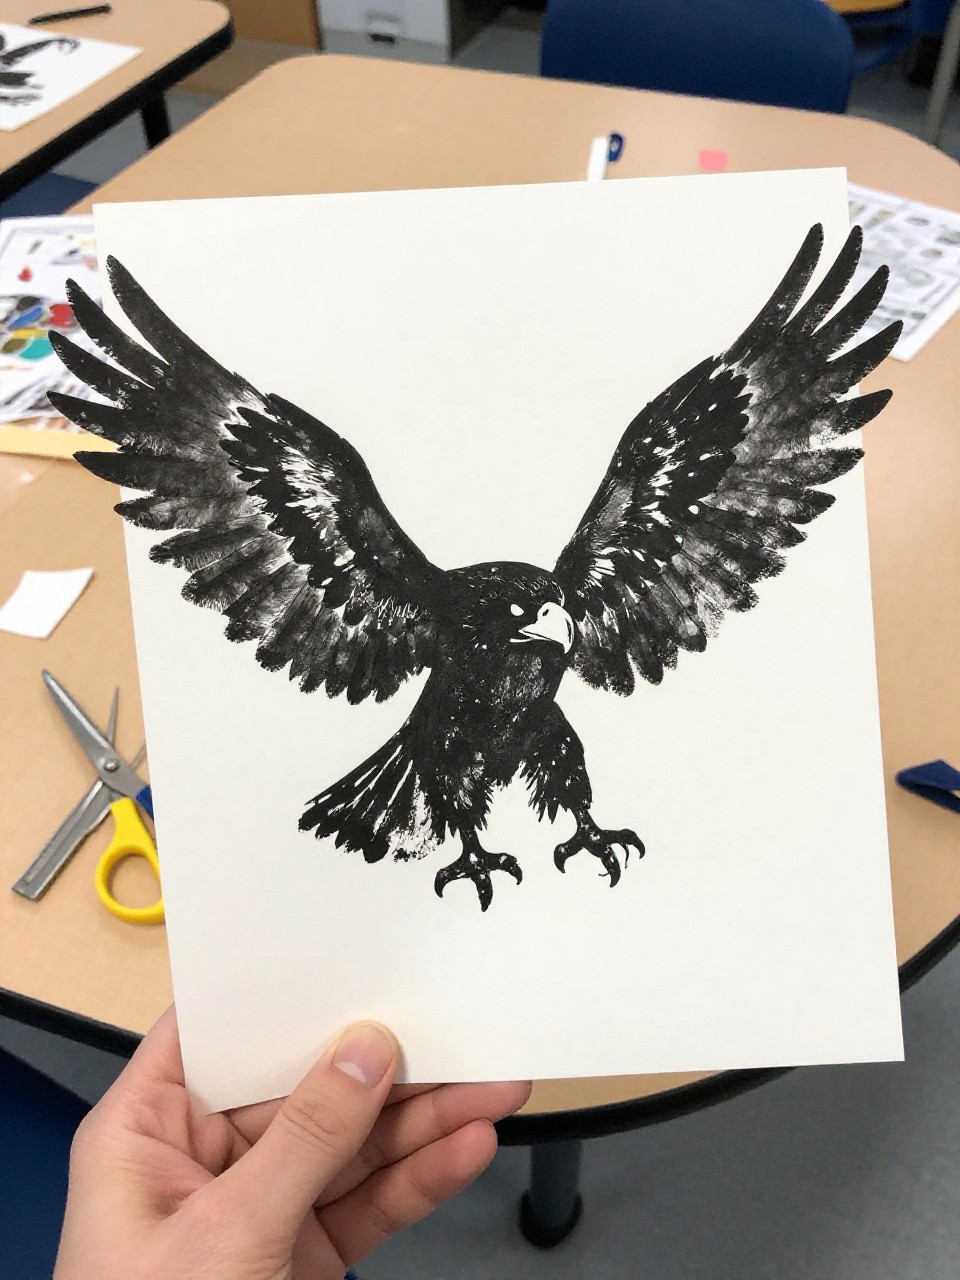
This craft features a bold Letter E with a handprint eagle perched on top, using brown and white paper. Kids love seeing their handprint become a bird, and it’s a great fine-motor cut-and-glue activity.
Materials Needed:
- Large Letter E cut from blue cardstock
- Brown and white construction paper
- Googly eye or black marker
- Glue stick
- Child-safe scissors
How to make it:
- 1. Trace and cut a handprint on brown paper for wings.
- 2. Cut a white oval for the eagle’s head and a small yellow beak.
- 3. Glue the handprint wings and head on the E’s top bar; add eye and beak.
- 4. Add clouds and “E is for Eagle,” then hang to dry.
5. E is for Earth Collage
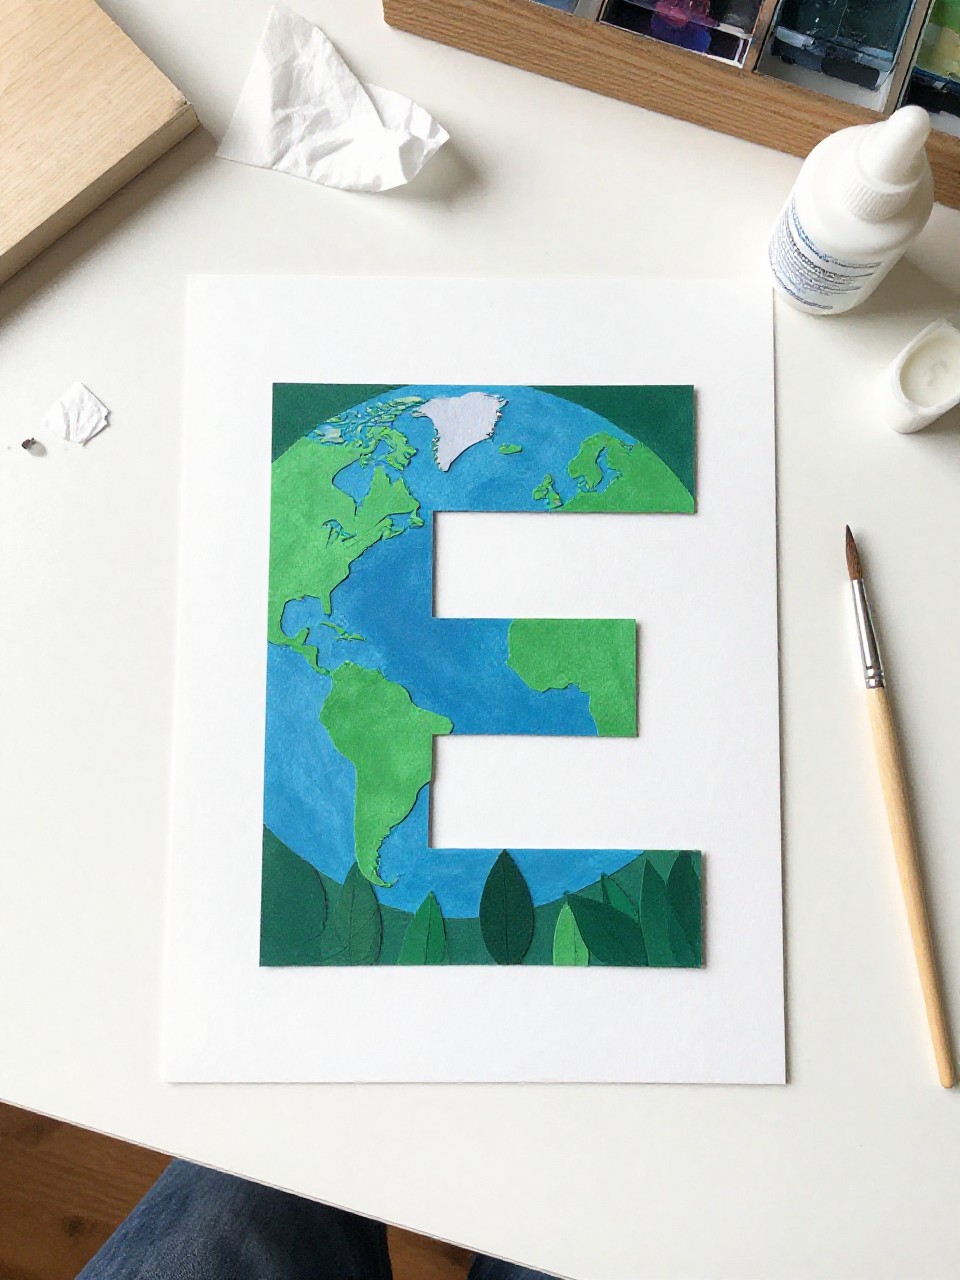
This makes a big Letter E filled with a blue-and-green tissue paper Earth pattern. Kids enjoy crumpling tissue and learning about our planet while practicing the letter.
Materials Needed:
- Thick paper Letter E
- Blue and green tissue paper
- Glue stick or school glue
- Paintbrush for glue (optional)
How to make it:
- 1. Cut a bold Letter E from thick paper.
- 2. Tear tissue into small pieces; crumple lightly.
- 3. Glue blue and green tissue all over the E to look like oceans and land.
- 4. Let dry and display for Earth Day or science time.
6. Eggshell Mosaic E
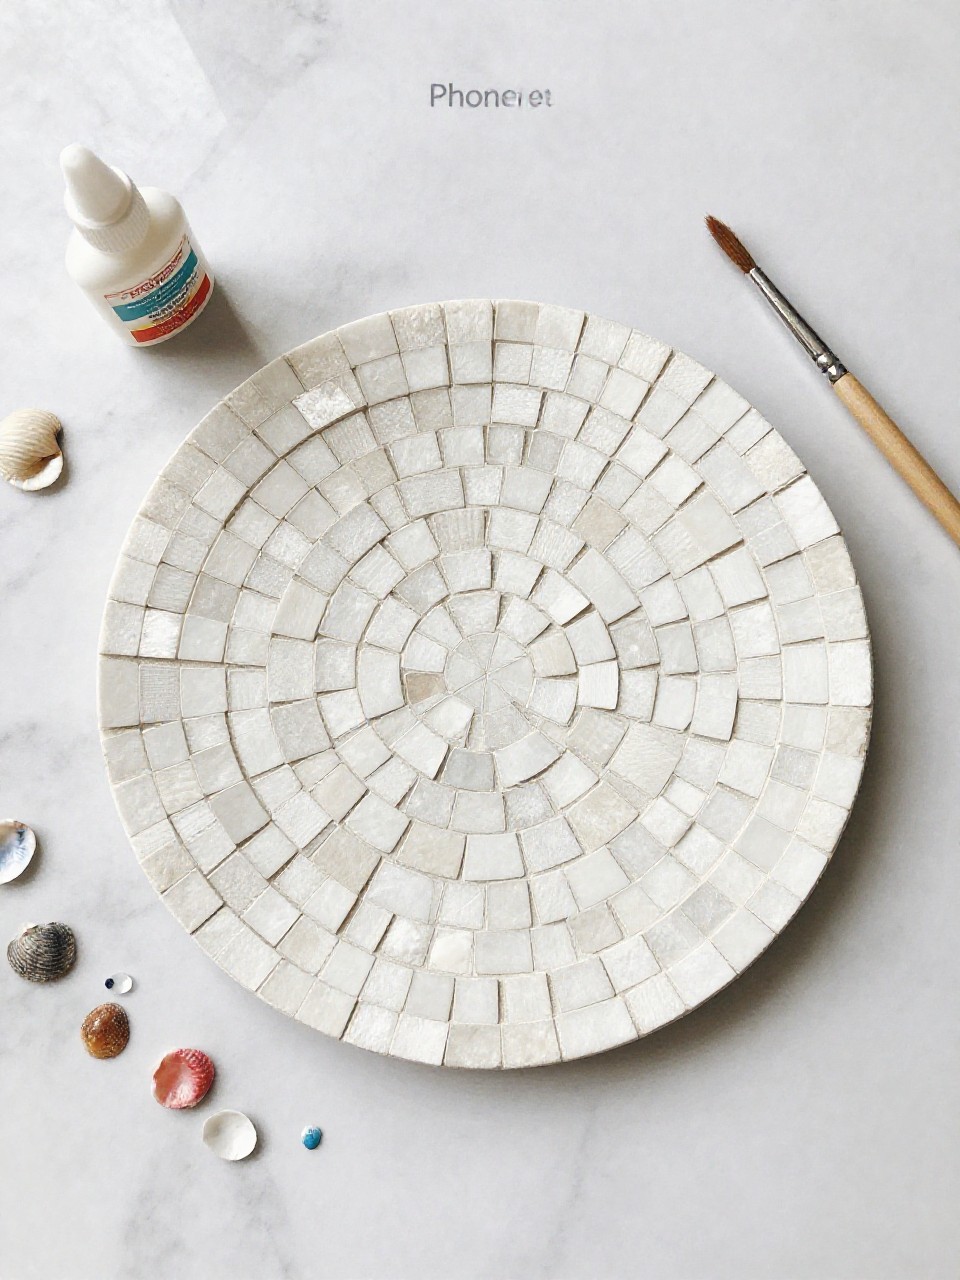
This craft uses clean, colored eggshells to create a shiny mosaic on a large Letter E. Kids love the crunchy, shiny look and the sensory feel while placing pieces.
Materials Needed:
- Large cardstock Letter E
- Rinsed, dried eggshells
- Food coloring or watercolor paint
- White glue
- Tweezers (optional)
How to make it:
- 1. Dye or paint eggshells in a few colors; let dry and gently crush.
- 2. Outline a big E on cardstock or cut one out.
- 3. Brush glue on sections and place eggshell bits to fill the E.
- 4. Let dry completely, then display flat to avoid flaking.
7. E-Popsicle Stick Fence (E for Enclosure)
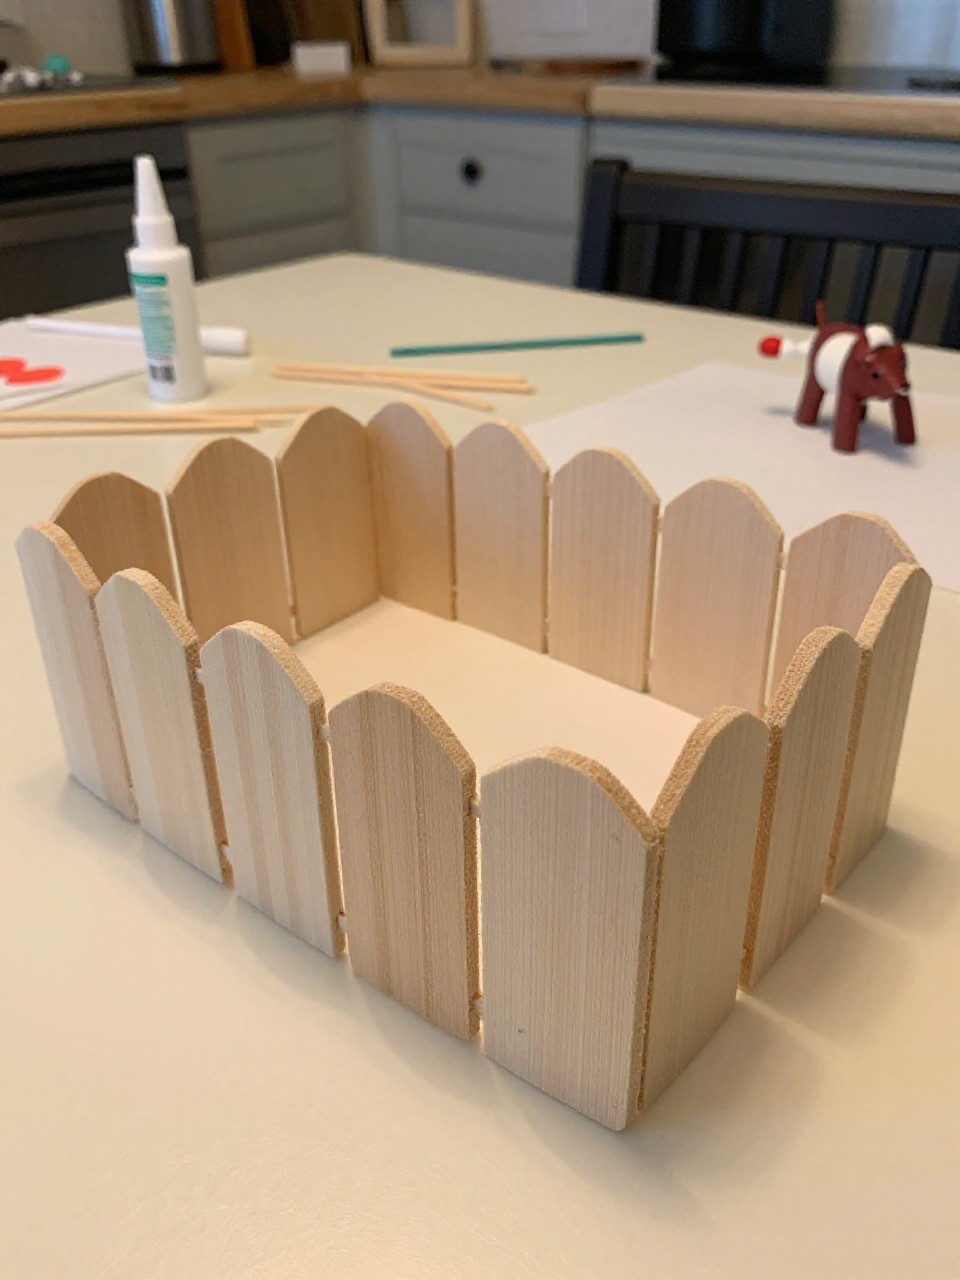
This project turns the Letter E into a tiny “enclosure” fence using craft sticks. Kids enjoy lining up sticks and making a mini corral for toy animals.
Materials Needed:
- Cardboard Letter E base
- Mini or regular popsicle sticks
- White paint (optional) or markers
- Glue
- Small toy animal (optional)
How to make it:
- 1. Cut a sturdy Letter E from cardboard.
- 2. Glue sticks along the edges to make fence rails and posts on each bar.
- 3. Paint or color the fence white or brown; add a sign “E = Enclosure.”
- 4. Let dry, then set a tiny toy animal inside for play.
8. Sparkly E with Eraser-Stamp Dots
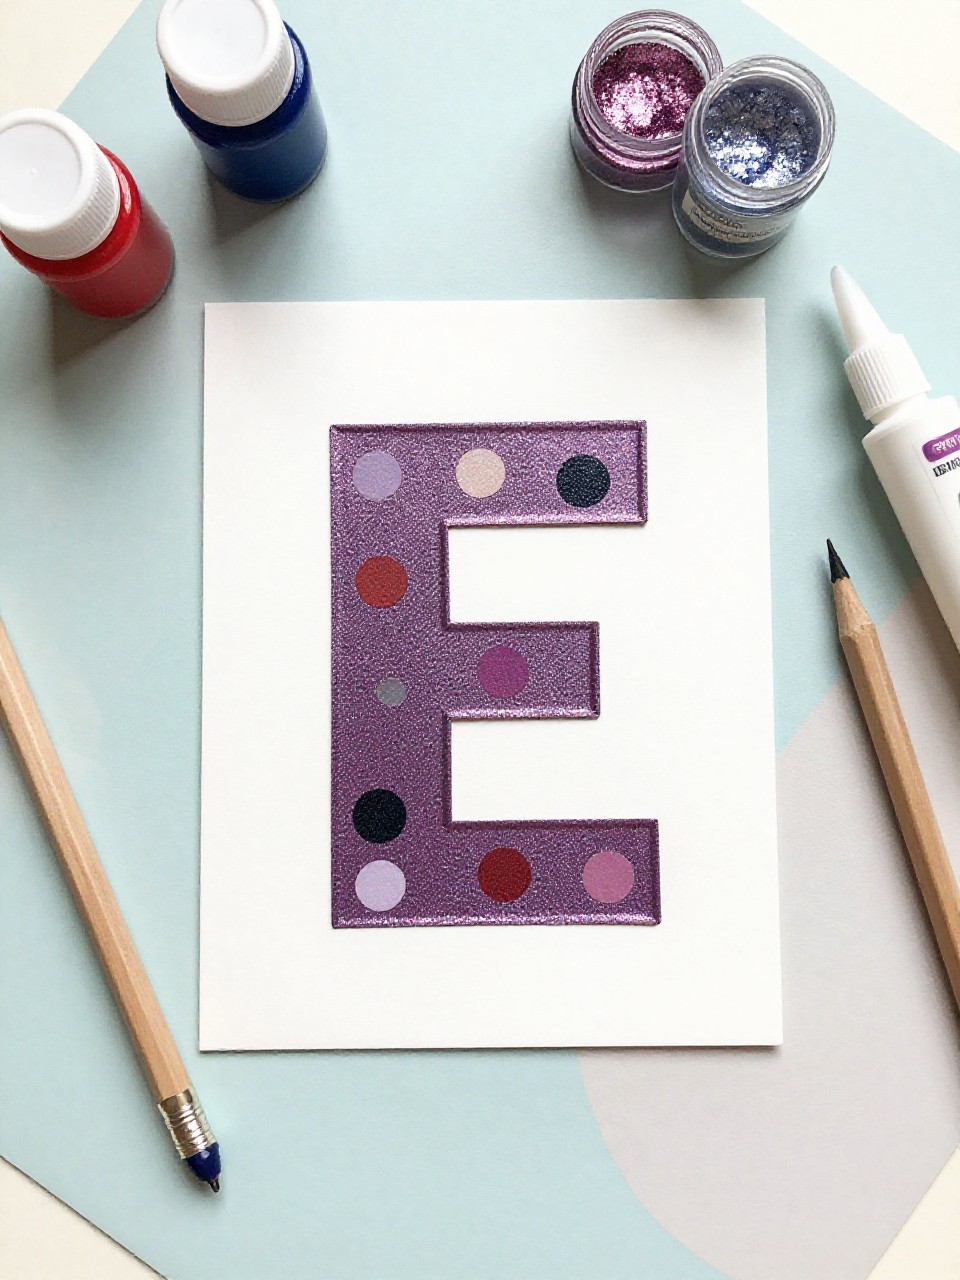
This craft is a bright, glittered Letter E decorated with paint dots made from pencil erasers. Kids love the easy stamping and sparkly finish.
Materials Needed:
- Cardstock Letter E
- Tempera or acrylic paint
- Pencil with clean eraser
- White glue and glitter (or glitter glue)
- Scrap paper for blotting
How to make it:
- 1. Cut or print a big Letter E on cardstock.
- 2. Dip the eraser in paint and stamp colorful dots all over the E.
- 3. Add glue lines on the edges and sprinkle glitter; shake off extra.
- 4. Let dry flat, then mount on contrasting paper.
9. E is for Engine Paper Train
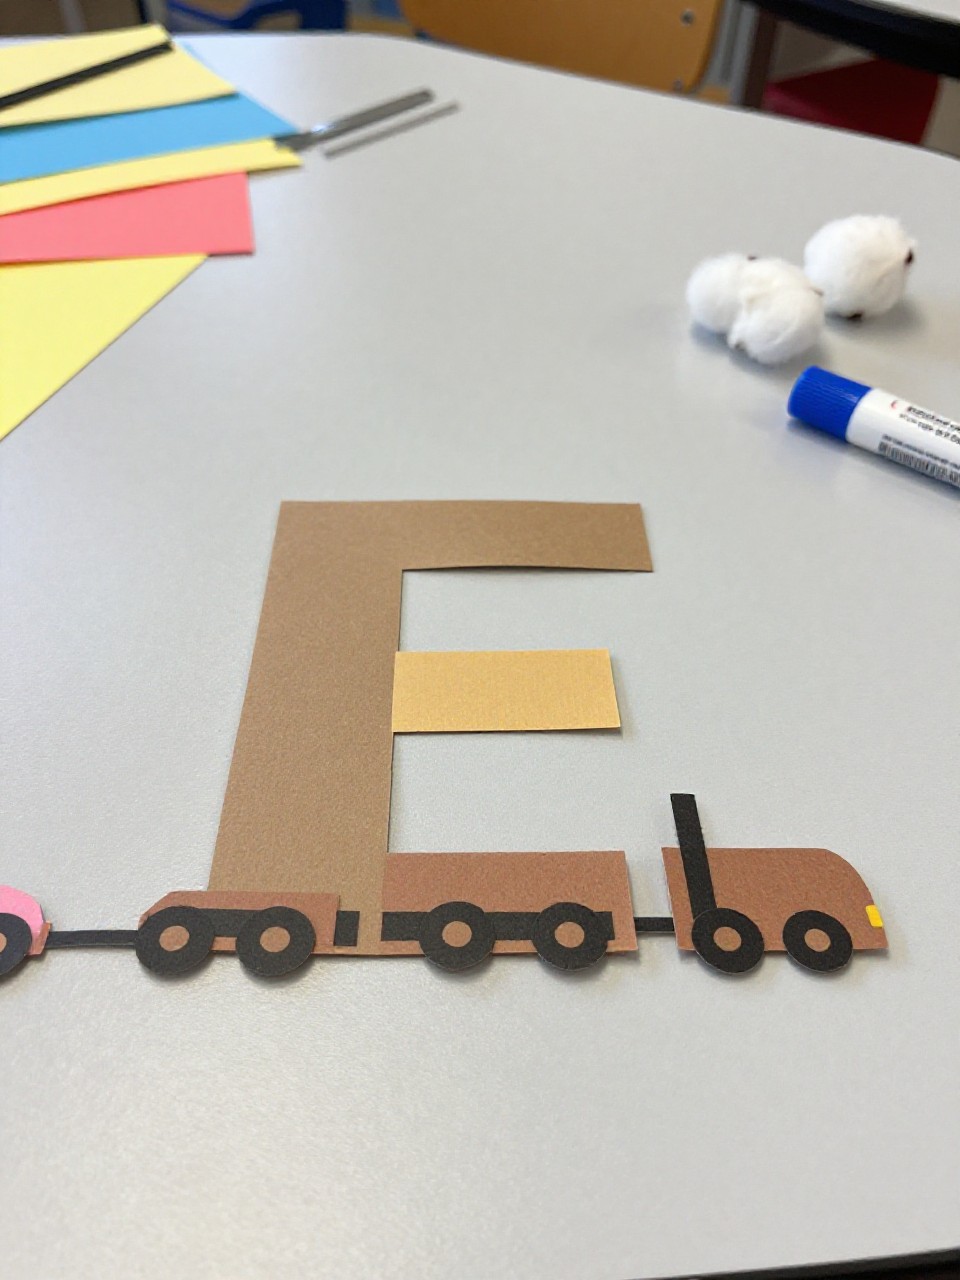
This craft features a bold E turned into a simple train engine with wheels and a smokestack. Kids enjoy pretending to “chug” while learning a strong E word.
Materials Needed:
- Large Letter E base (construction paper)
- Black, red, and yellow paper for details
- Bottle cap or paper circles for wheels
- Glue stick
- Cotton ball for smoke (optional)
How to make it:
- 1. Cut a large E from colored paper.
- 2. Add a rectangle cab, round wheels, and a small smokestack on top.
- 3. Glue on a window and stripes; add cotton ball smoke if you like.
- 4. Let dry and display a train track drawn on paper.
10. Envelope-Flip E Book
This mini book uses three small envelopes stacked onto a giant E, making flip pockets for picture cards of E words. Kids enjoy flipping through and hiding little drawings.
Materials Needed:
- Large cardstock Letter E
- 3 small envelopes
- Markers
- Glue or double-sided tape
- Small index cards
How to make it:
- 1. Glue envelopes along the E’s bars like shelves, flaps facing out.
- 2. Label each envelope with an E word (egg, ear, eel) using markers.
- 3. Draw matching pictures on index cards and tuck into pockets.
- 4. Add a title on top and share with a friend.
11. E is for Egg Shaker
This project turns a paper E into a music shaker by attaching plastic Easter eggs filled with rice. Kids love shaking along to songs while practicing the letter sound.
Materials Needed:
- Large cardboard Letter E
- 1–2 plastic Easter eggs
- Dry rice or beans
- Tape and glue
- Stickers or tape for decoration
How to make it:
- 1. Fill eggs with a tablespoon of rice and tape them shut.
- 2. Glue and tape the eggs onto the middle bar of the E.
- 3. Decorate the E with stickers or colorful tape.
- 4. Shake gently and sing an E song.
12. E is for Evergreen Tree Scene
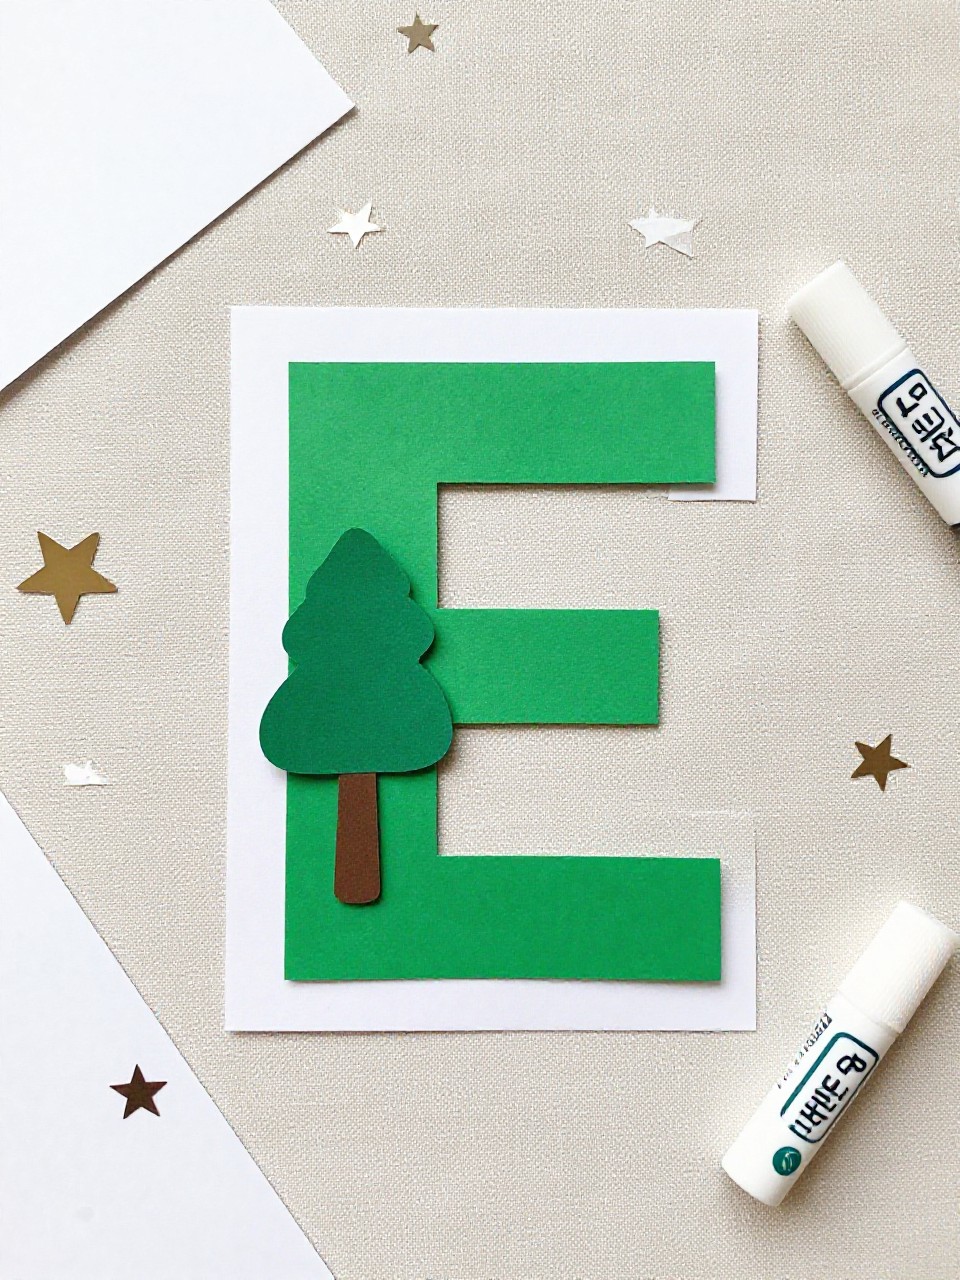
This craft shows a green evergreen forest built on the bars of a large Letter E. Kids enjoy layering triangles to make trees and adding simple snow dots.
Materials Needed:
- Large Letter E base (cardstock)
- Green and brown paper
- White paint or correction pen for snow
- Glue stick
- Star stickers (optional)
How to make it:
- 1. Cut small green triangles and brown rectangles for trees and trunks.
- 2. Glue trees along each bar of the E to form a forest.
- 3. Add snow dots with white paint or a correction pen.
- 4. Place star stickers on a few tree tops and let dry.
13. E-Shaped Elastic Weaving Board
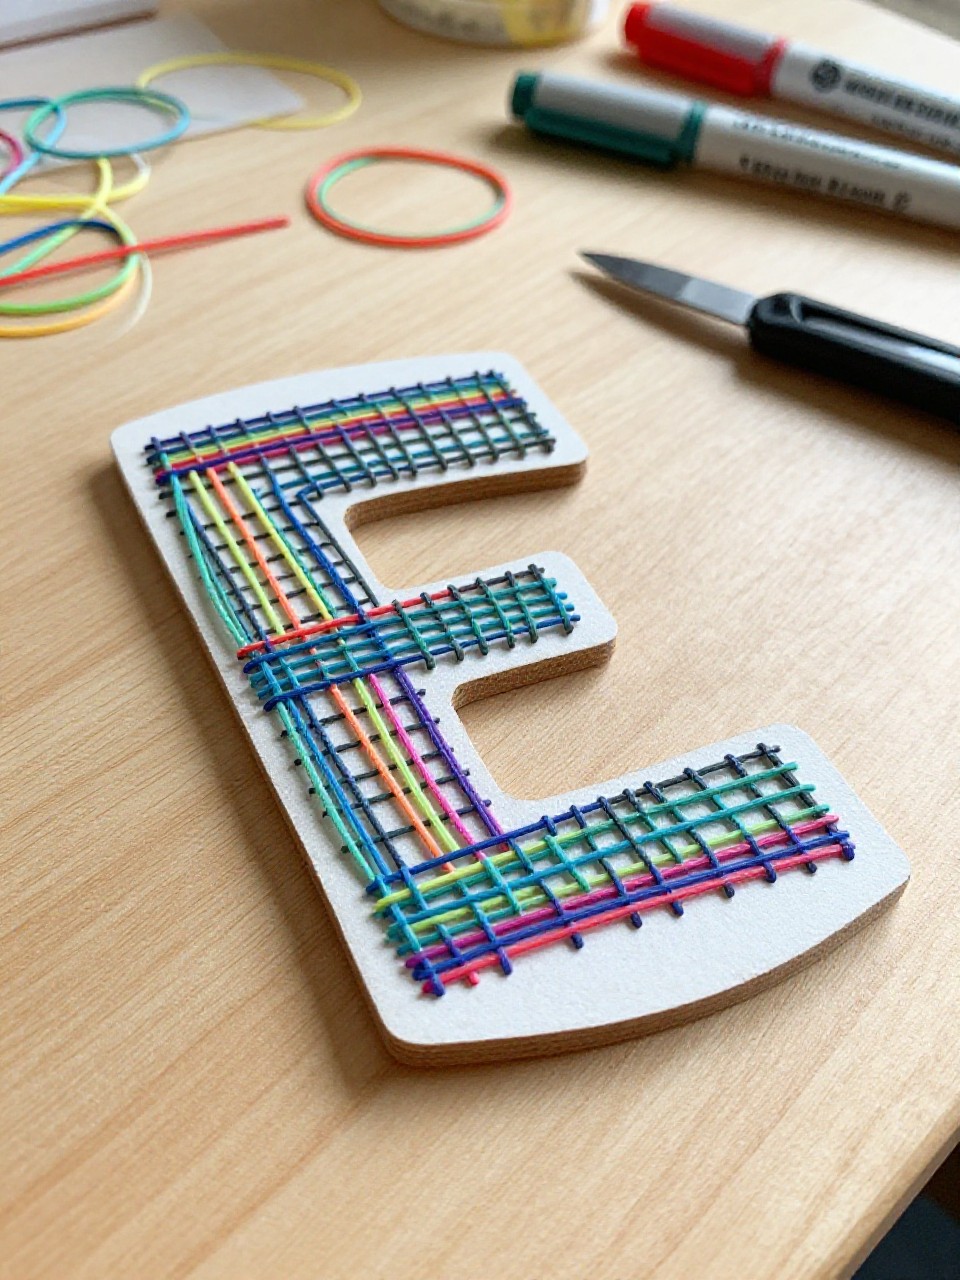
This project creates a sturdy E with notches that hold colorful hair elastics for simple weaving. Kids love stretching bands and seeing patterns appear.
Materials Needed:
- Cardboard Letter E (thick)
- Craft knife (adult use only) to cut small notches
- Colorful hair elastics or loom bands
- Markers for decorating
- Tape (optional)
How to make it:
- 1. Cut a large E from thick cardboard; adult adds small notches along edges.
- 2. Loop elastics across the E’s bars, hooking into notches to weave.
- 3. Decorate the cardboard with markers around the edges.
- 4. Remove and rearrange bands to make new designs.
14. E is for Eel Paper Puppet
This craft makes a long, wavy eel puppet that slides through a slit in a big Letter E. Kids enjoy moving the eel back and forth like it’s swimming.
Materials Needed:
- Large Letter E on cardstock
- Long strip of green or blue paper for eel
- Markers and googly eye
- Tape
- Craft stick (optional handle)
How to make it:
- 1. Cut a horizontal slit along the middle bar of the E.
- 2. Draw and cut a wavy eel shape from the strip; add eye and stripes.
- 3. Slide the eel through the slit; tape a craft stick to the end as a handle.
- 4. Move the eel to “swim” through the E and tell a story.
15. E is for Ear Headband
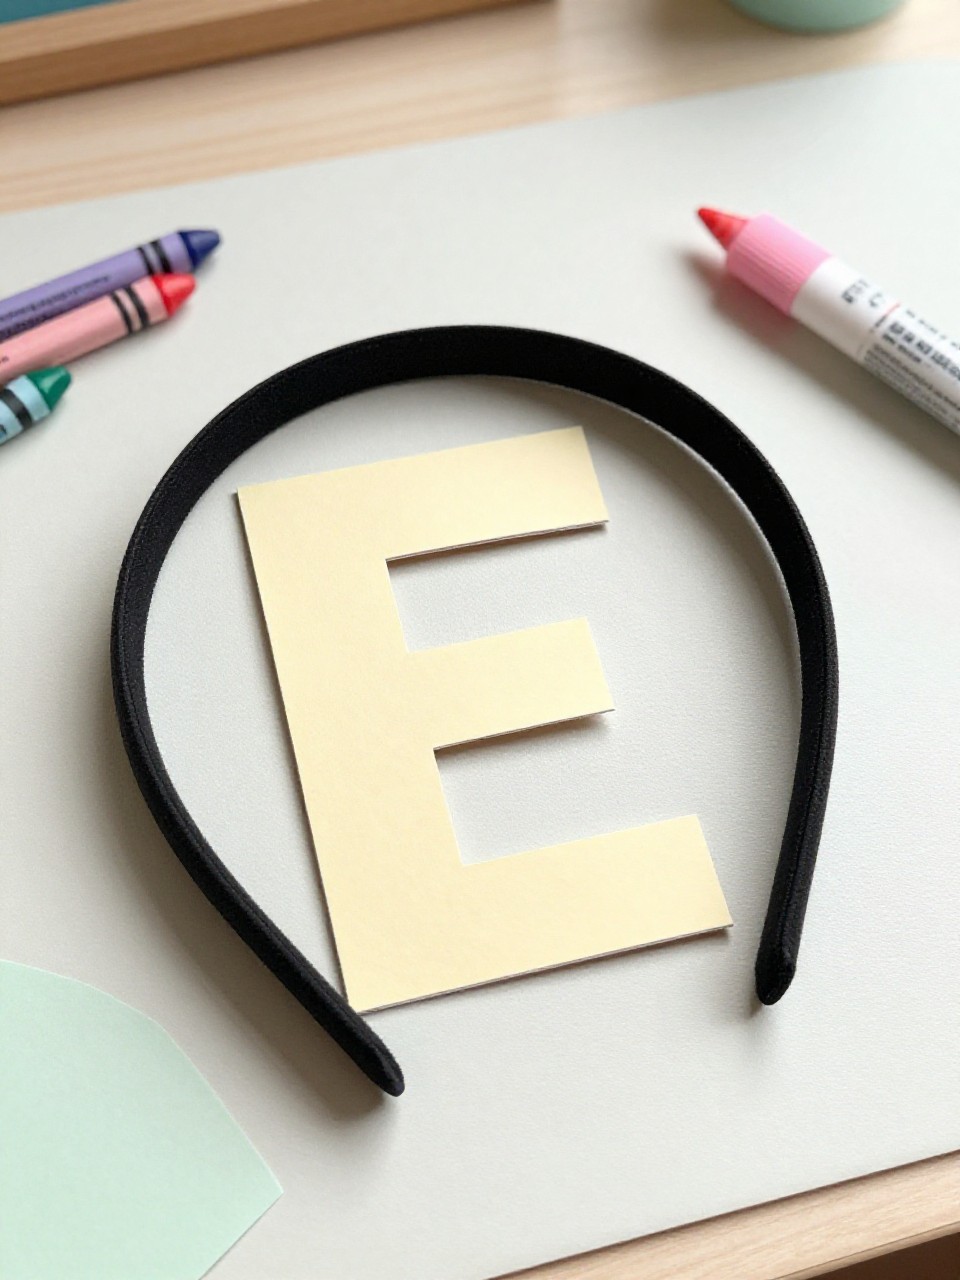
This craft turns the letter into a simple headband with big cartoon ears that spell out E on the front. Kids enjoy wearing it for letter-of-the-week or a quick classroom parade.
Materials Needed:
- Strips of cardstock for headband
- Extra cardstock for two big ear shapes
- Marker to write E
- Glue or stapler (adult help)
- Crayons for coloring
How to make it:
- 1. Measure a cardstock strip around the head and staple or glue to fit.
- 2. Cut two big ear shapes and color the inner ear.
- 3. Glue ears to the band; write a bold E at the center front.
- 4. Let dry, then wear and practice the E sound.