
Table of Contents Show
Getting little kids to care about teeth can feel like trying to brush a crocodile—there’s wiggles, giggles, and short attention spans. These crafts turn dental health into playful, hands-on moments that stick.
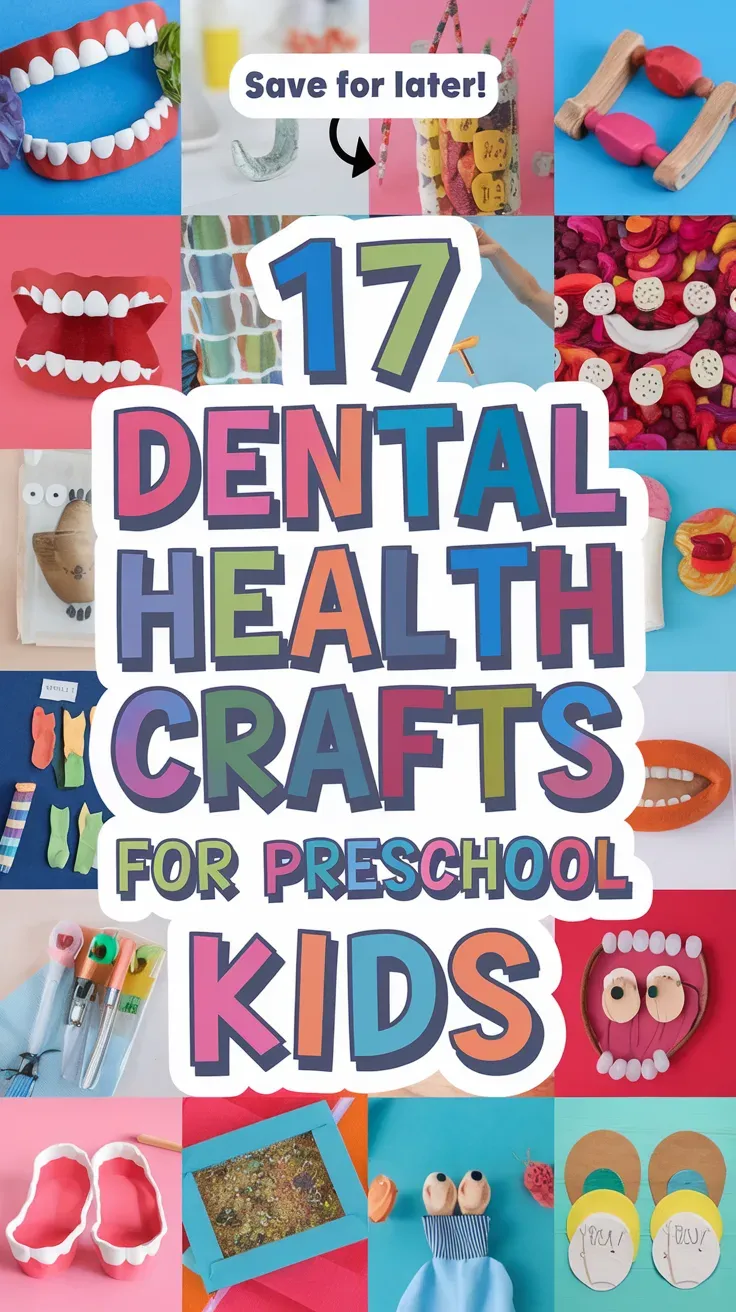
Each project looks impressive on the fridge or classroom wall, but they’re simple enough for tiny hands.
Use them during dental week, before a dentist visit, or anytime you want to make brushing and healthy smiles feel exciting and familiar.
1. Sparkle-Tooth Sun Catcher
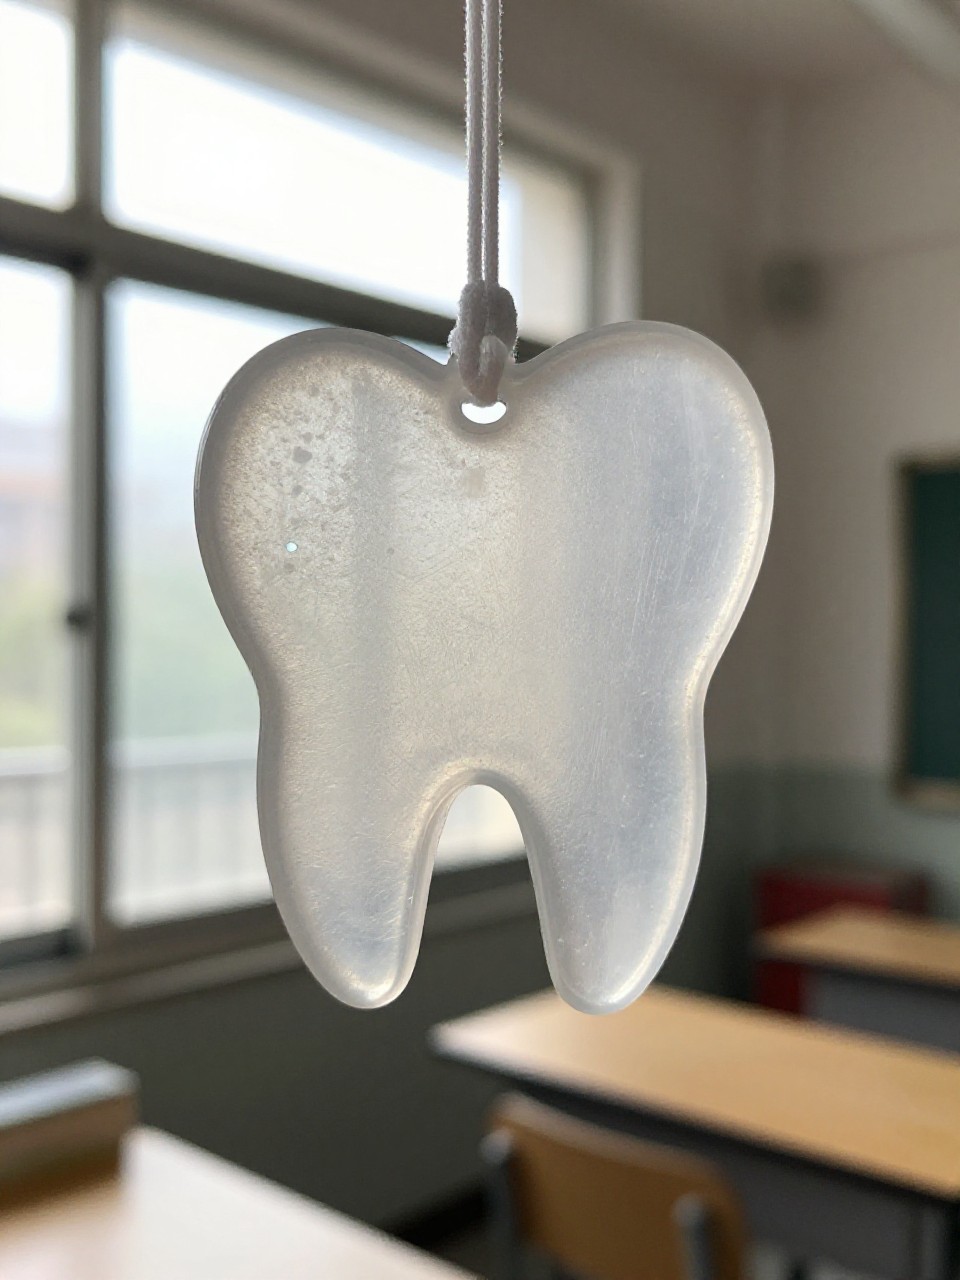
A bright, see-through tooth that glows in the window like a gem. Kids love sticking on the “plaque” and then covering it with “sparkles,” practicing the idea of clean vs. dirty in a magical way.
Materials Needed:
For People Who Love to Make Things ✂️
- Clear contact paper
- White tissue paper squares
- Glitter or iridescent sequins
How to make it:
- 1. Cut two matching tooth shapes from contact paper.
- 2. Peel one and place sticky-side up; fill with white tissue squares.
- 3. Sprinkle a light layer of glitter/sequins on top.
- 4. Seal with the second contact-paper tooth and press well; hang on a window.
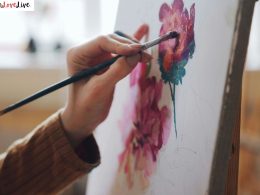
2. Brush-and-Paint Plaque Reveal
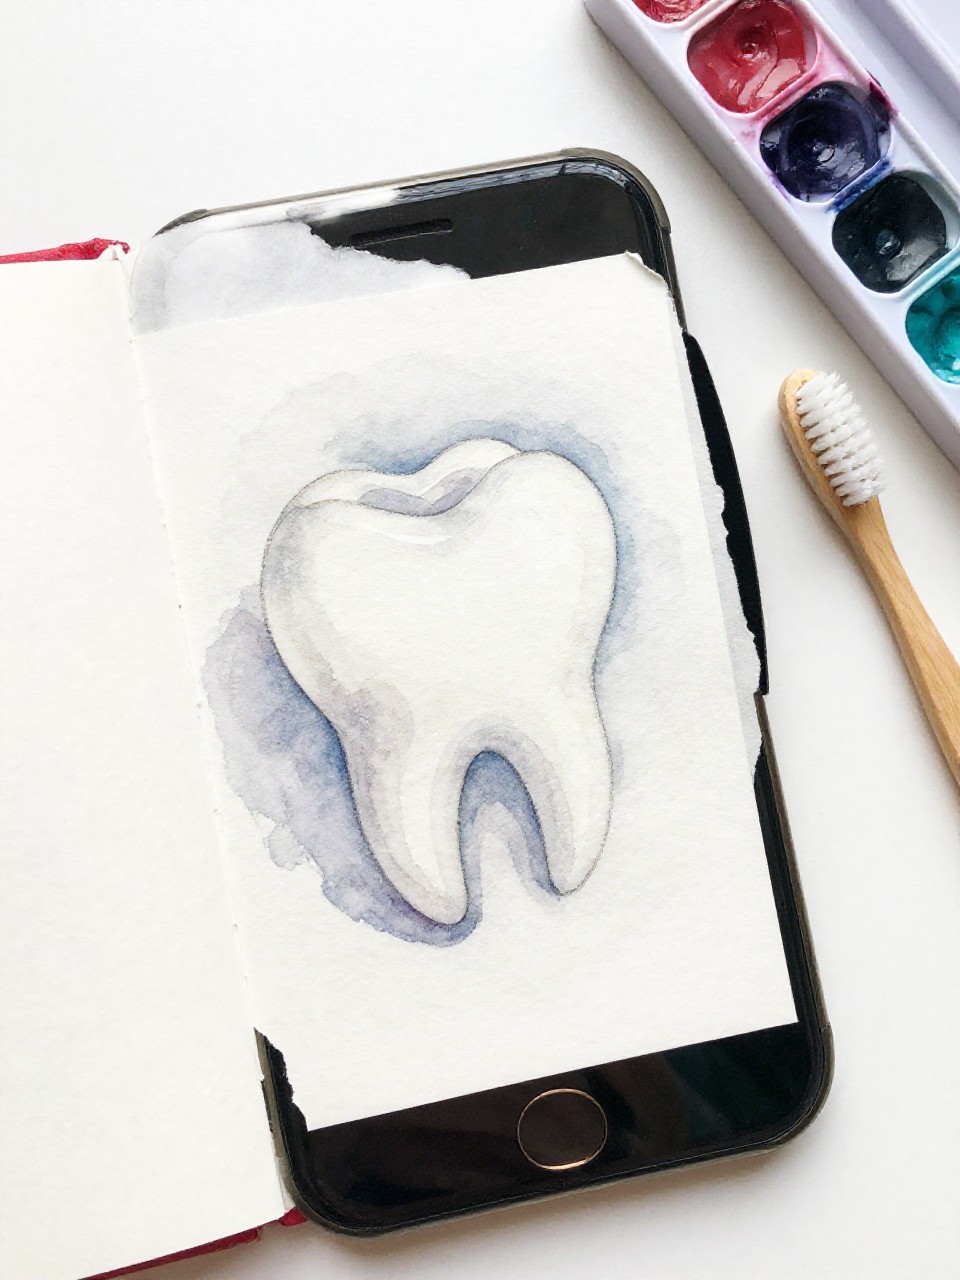
A magical “dirty tooth” painting that reveals a white smile when kids scrub with a brush. It’s a wow moment that models how brushing removes gunk.
Materials Needed:
- White crayon
- Watercolor paints
- New, clean toothbrush
How to make it:
- 1. Draw a big tooth outline on paper with white crayon; add hidden smiley face or stars inside.
- 2. Paint over the whole page with watercolor “plaque” colors (browns, greens).
- 3. Let dry slightly, then “brush” with a dry toothbrush to texture and lift paint.
- 4. Watch the crayon-resist tooth shine through; add a tiny heart or sparkle.
3. Felt Flossing Puppet
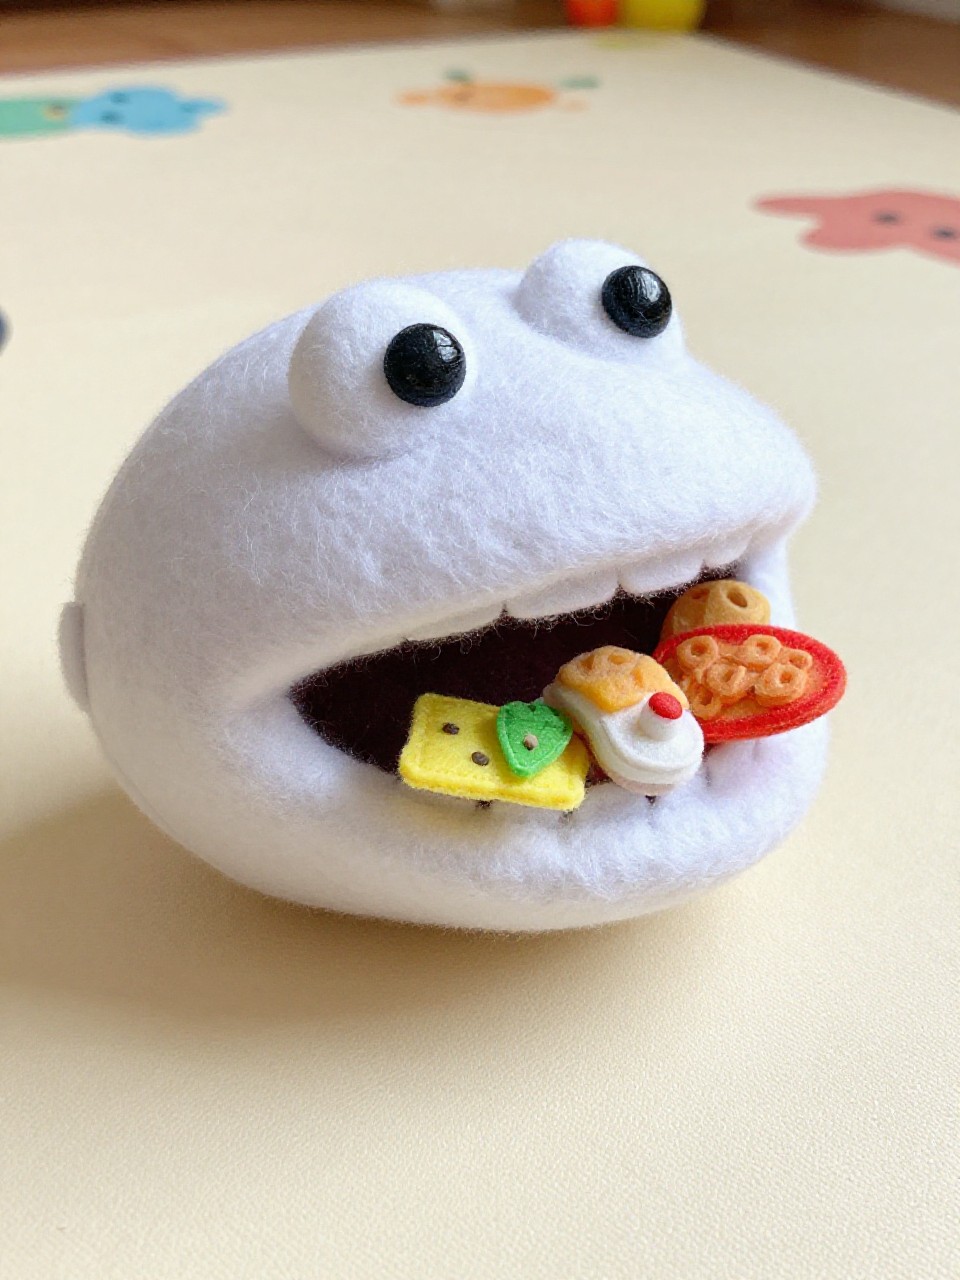
A simple mouth puppet where kids can practice “flossing” food shapes from between teeth. It’s cute, soft, and surprisingly sturdy.
Materials Needed:
- Stiff white felt
- Colored felt scraps
- Yarn or ribbon “floss”
How to make it:
- 1. Cut two identical mouth shapes with square “teeth” notches from white felt.
- 2. Glue edges to form a pocket puppet, leaving the bottom open for a hand.
- 3. Cut tiny “food” bits (felt popcorn, apple slices) and tuck between teeth notches.
- 4. Use yarn to gently “floss” the food out during pretend play.
4. Happy Molar Shaker
A rattle shaped like a molar that jingles when you brush it with a tiny craft brush. Kids love the sound-and-brush combo.
Materials Needed:
- White cardstock
- Dry rice or small beads
- Tape or glue stick
How to make it:
- 1. Cut two matching molar shapes from cardstock.
- 2. Tape or glue around edges, leaving a small opening.
- 3. Pour in a spoonful of rice/beads; seal tightly.
- 4. Draw a smiling face; “brush” the molar while you shake it to a brushing rhythm.
5. Color-Changing Plaque Play Foam
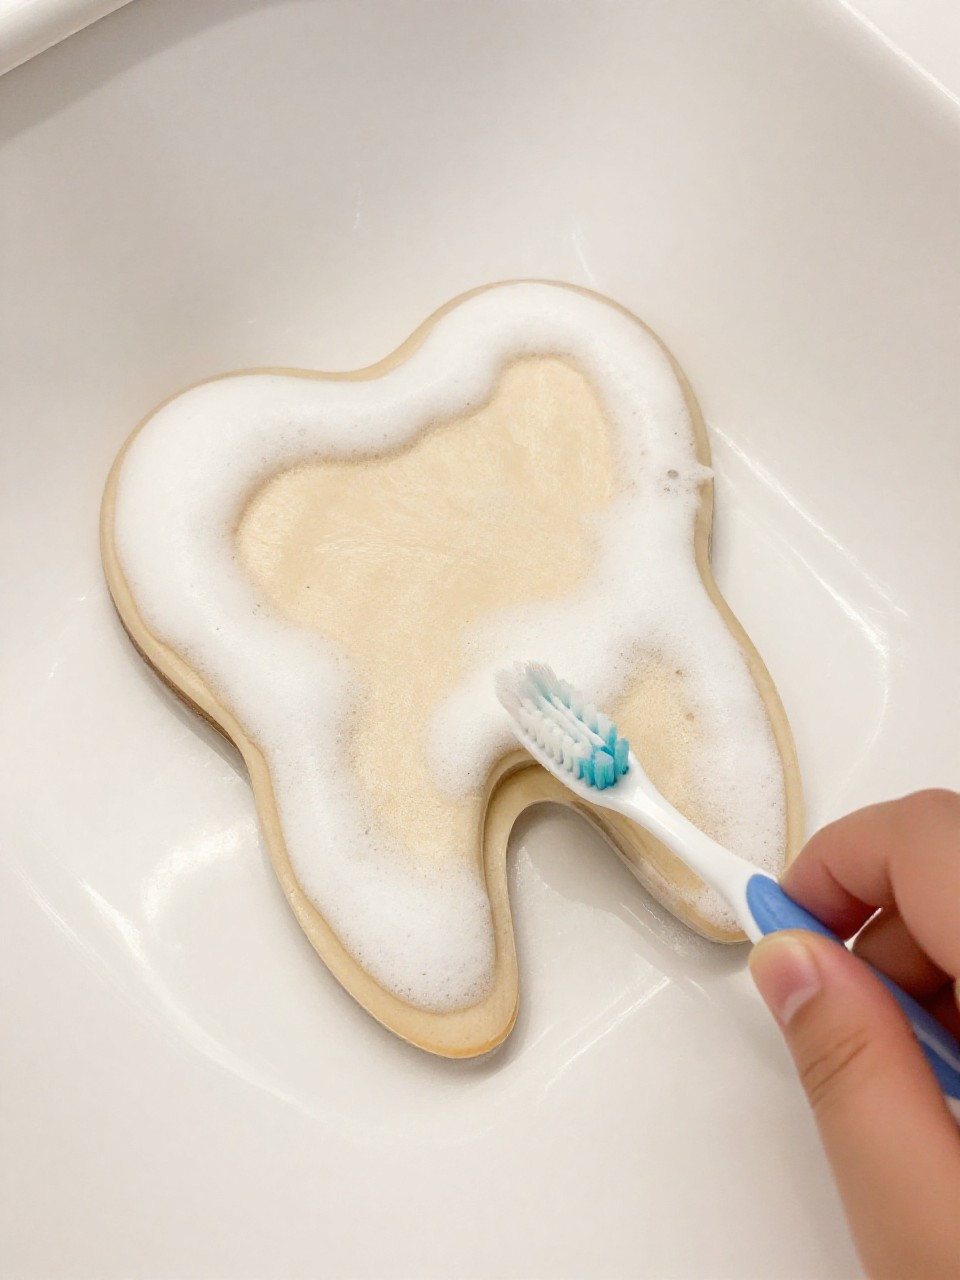
Squishy, color-morphing “plaque” you can spread on a big tooth and then squeegee off with a brush. Feels like magic and cleans up easily.
Materials Needed:
- Shaving cream
- Washable paint
- Laminated tooth mat (or sheet protector with tooth print)
How to make it:
- 1. Print a big tooth and slide into a sheet protector or laminate it.
- 2. Mix shaving cream with a drop of washable paint to make “plaque.”
- 3. Spread foam over the tooth with fingers.
- 4. “Brush” it clean with a toothbrush; wipe and repeat.
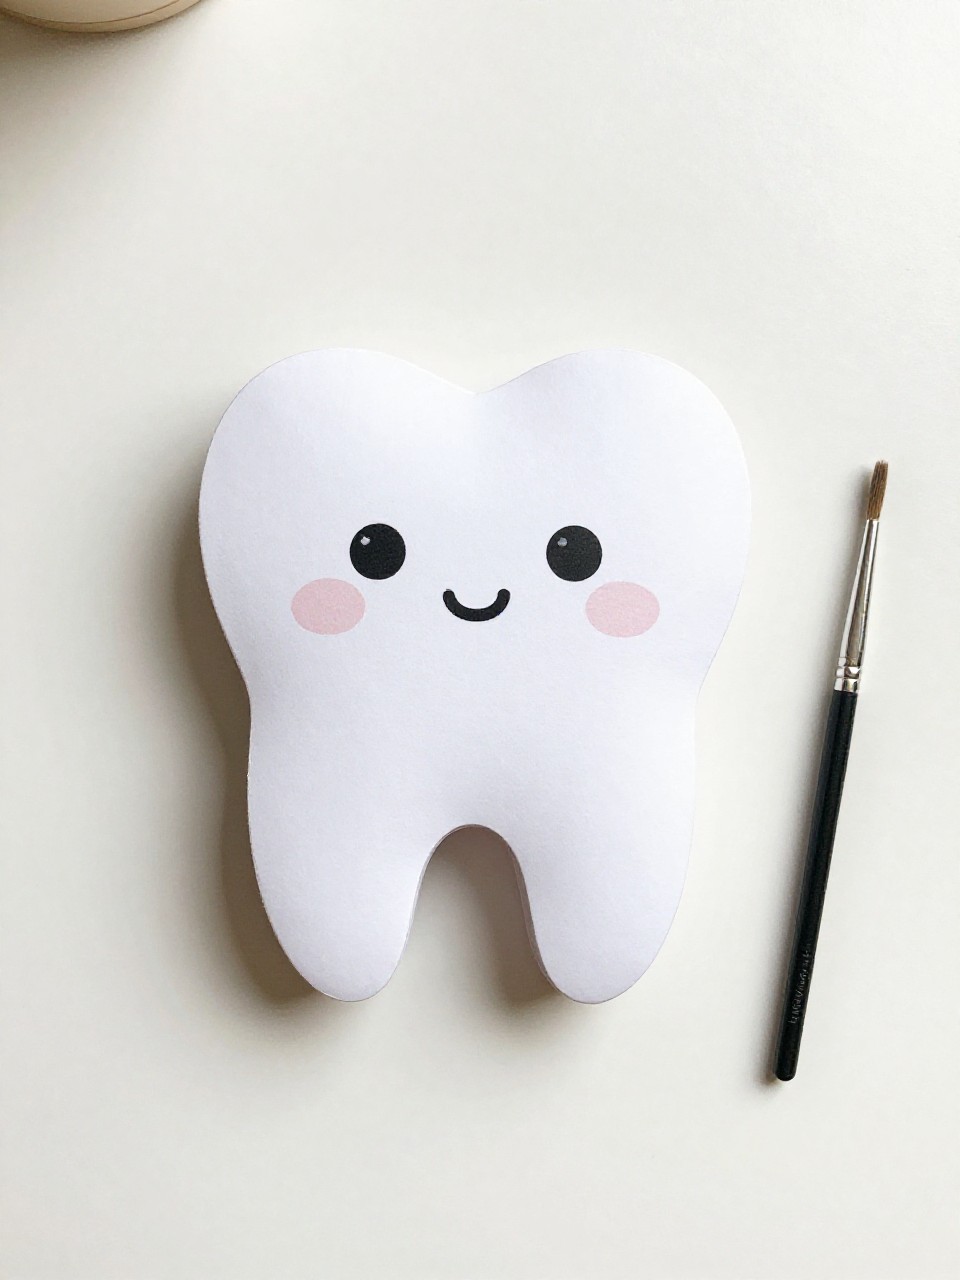
6. Gummy Grin Paper Plate Mask
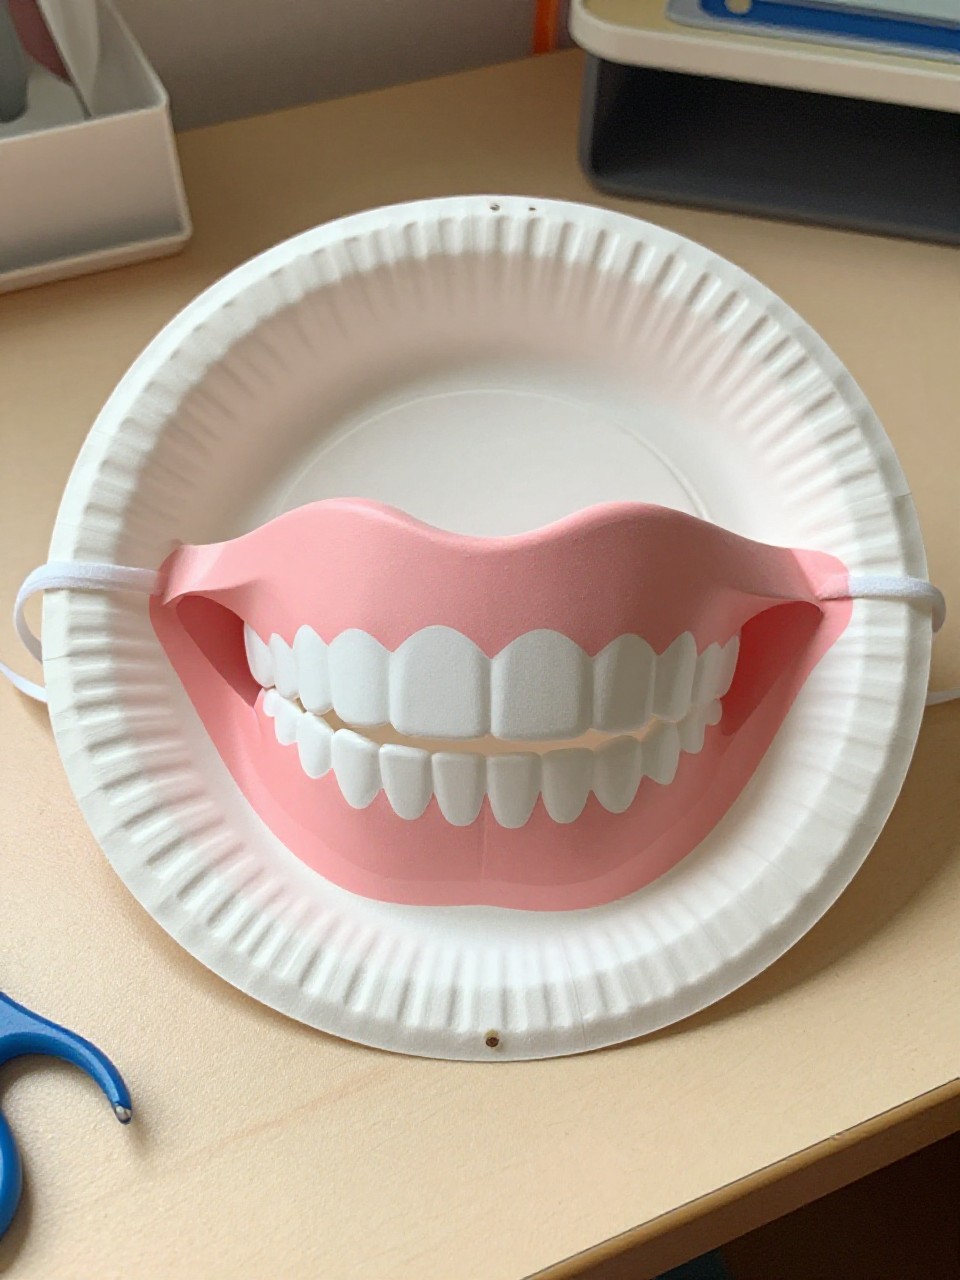
A fun mask that shows off big white teeth and silly gums. Kids decorate it, then practice smiling wide for pretend dentist checks.
Materials Needed:
- Paper plate
- Pink and white paper
- Craft stick
How to make it:
- 1. Cut a mouth opening in the plate.
- 2. Add a pink paper “gum” strip around the opening.
- 3. Cut and glue white paper rectangles as teeth along the gums.
- 4. Tape a craft stick handle to hold the mask up to the face.
7. Tooth Tidy Travel Bag
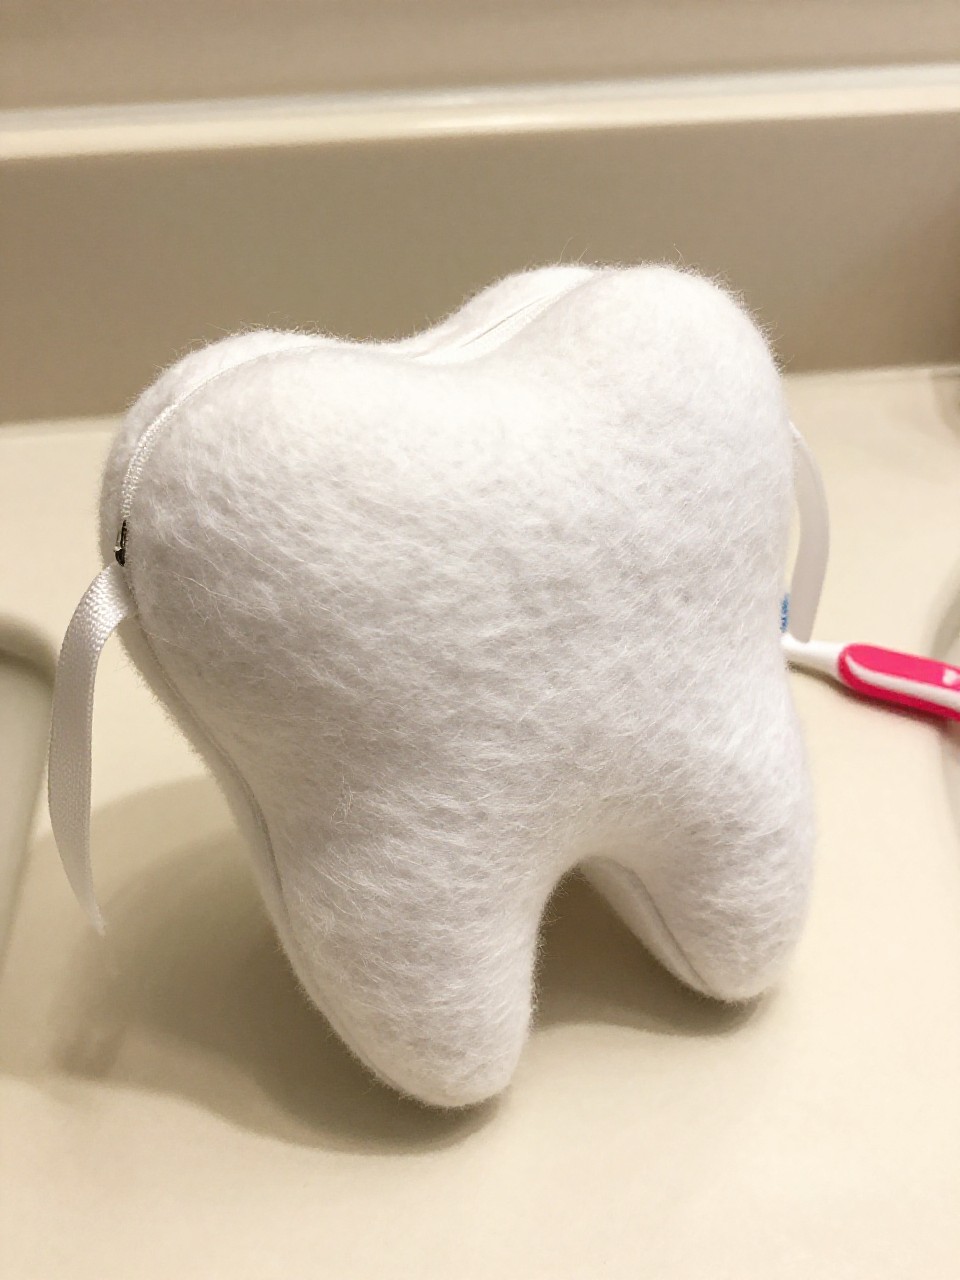
A no-sew drawstring pouch decorated like a tooth, perfect for carrying a kid’s brush for sleepovers.
Materials Needed:
- White felt
- Fabric glue
- Ribbon
How to make it:
- 1. Cut two matching tooth shapes from felt.
- 2. Glue edges, leaving the top open.
- 3. Snip two small side holes and thread ribbon through as a drawstring.
- 4. Add a tiny felt pocket or smiley face if you like.
8. Sugar Bug Stomp Stamps
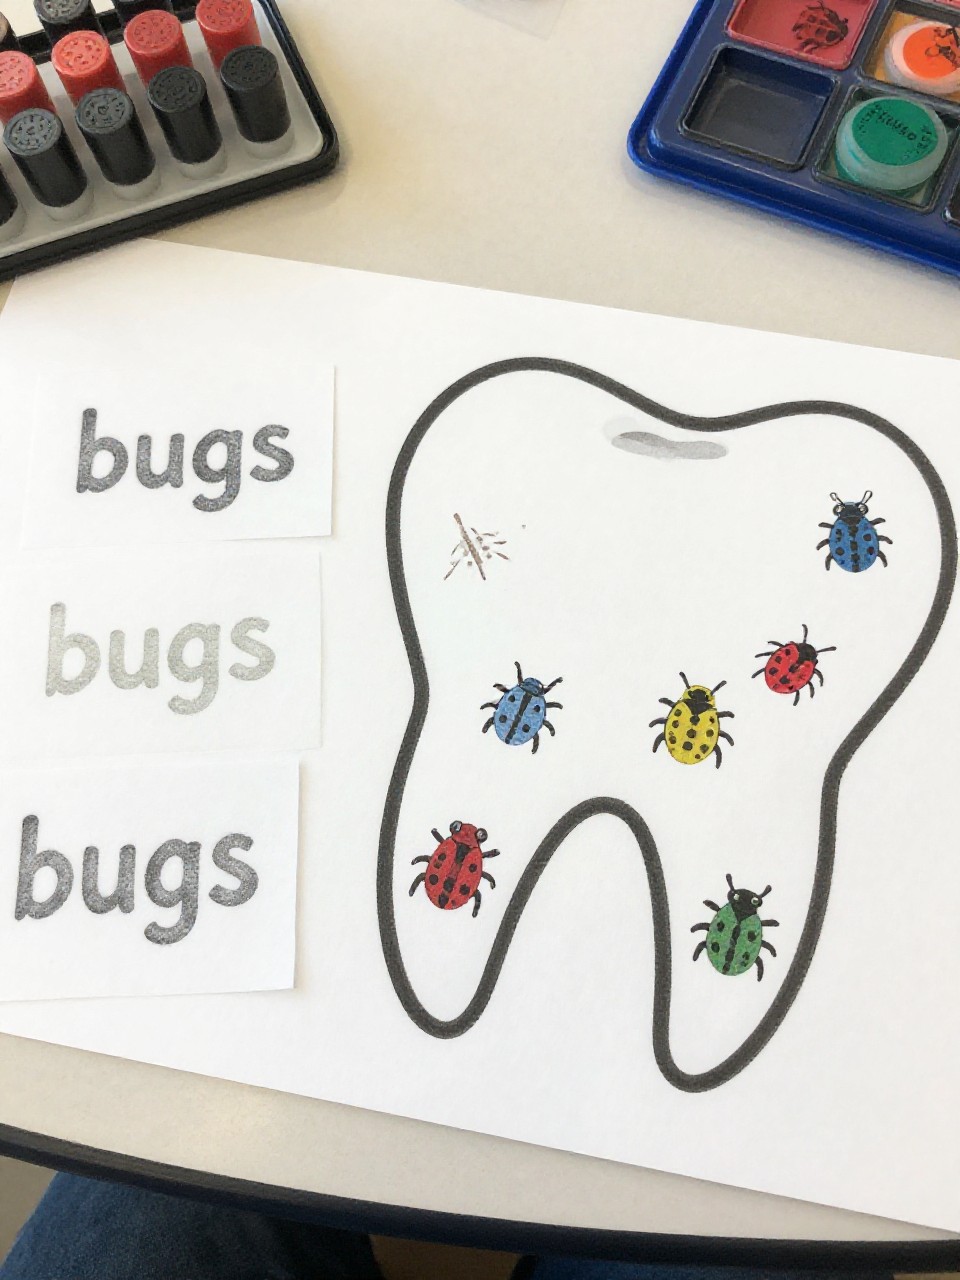
Make tiny “sugar bug” stamps, then stamp them on a big tooth poster and brush them away.
Materials Needed:
- Bottle caps or foam blocks
- Self-adhesive foam shapes
- Washable stamp pad
How to make it:
- 1. Stick foam dots or shapes onto caps to form little “bugs.”
- 2. Stamp bugs all over a large paper tooth.
- 3. Let kids “brush” the bugs off with a damp sponge or brush strokes.
- 4. Re-stamp and repeat for practice.
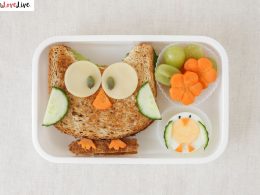
9. Candy vs. Crunchy Collage
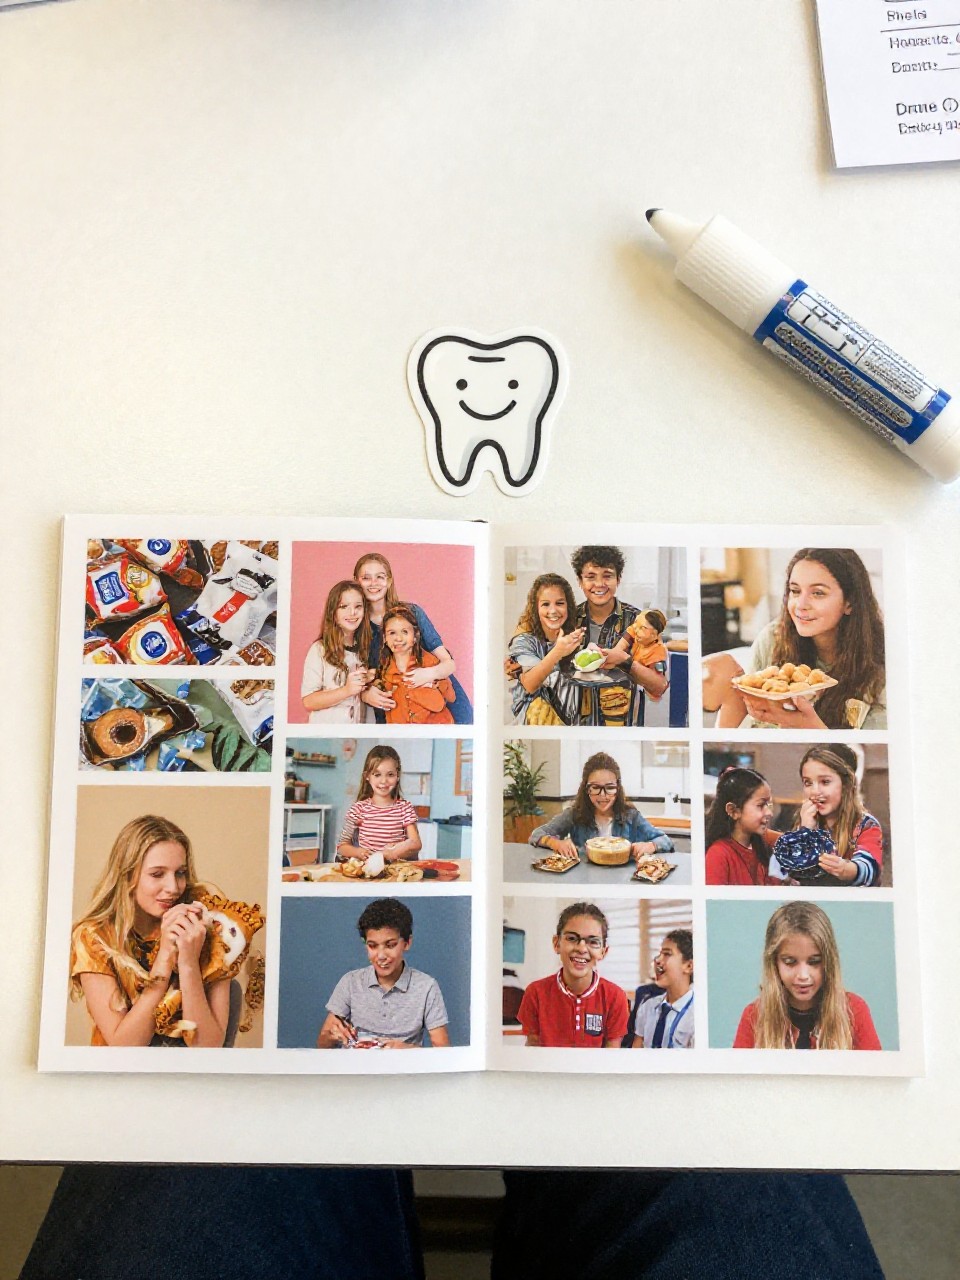
A side-by-side collage that compares snack choices with color and texture. Simple, bold, and very visual.
Materials Needed:
- Magazine scraps or printed pictures
- Glue stick
- Poster board
How to make it:
- 1. Draw a big line down the poster: “Candy” on one side, “Crunchy/Healthy” on the other.
- 2. Cut and sort pictures together (apples, carrots, cheese vs. lollipops, gummies).
- 3. Glue into two bright clusters.
- 4. Add a happy tooth sticker on the healthy side and a silly face on the candy side.
10. Wiggly Tooth Wand
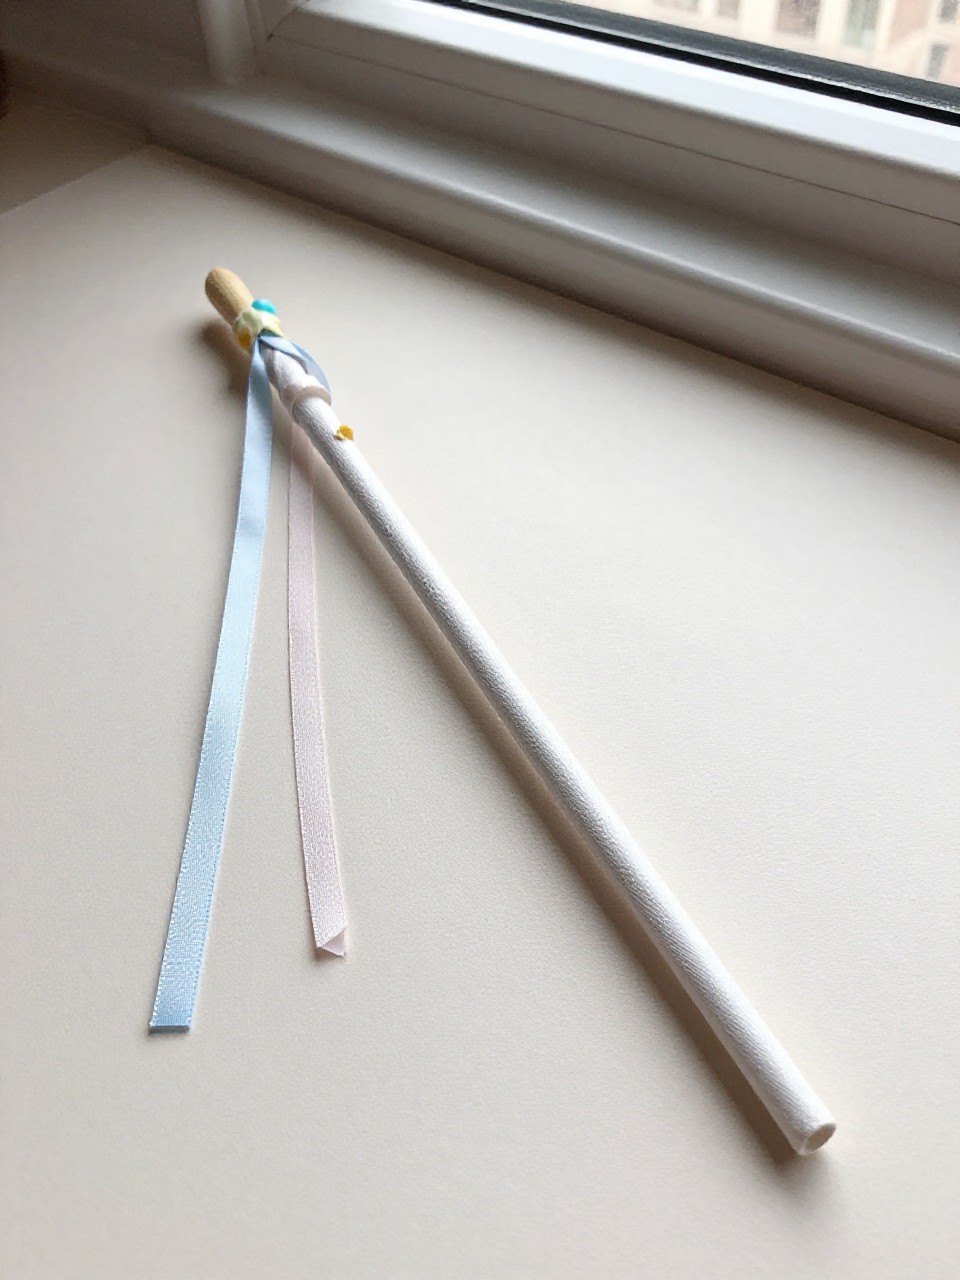
A playful wand with a tooth topper and ribbons that “wiggle” like a loose tooth. Perfect for pretending and cheering on brave brushers.
Materials Needed:
- Craft stick
- White foam sheet
- Ribbon
How to make it:
- 1. Cut a small tooth shape from foam.
- 2. Glue it to the top of a craft stick.
- 3. Tie or glue ribbon strands behind the tooth.
- 4. Draw a tiny face or add star stickers.
11. Minty Fresh Playdough Mouth

Build a mouth with playdough gums and pop-in teeth, then practice brushing with a toy brush. Smells clean and looks adorable.
Materials Needed:
- White and pink playdough
- Peppermint extract (optional)
- Toy toothbrush
How to make it:
- Mix a drop of peppermint extract into pink dough (optional).
- Shape a gum arch with pink dough.
- Roll small white balls and press them as “teeth” into the gumline.
- Gently “brush” the teeth with the toy brush and count together.
12. Shadow Smile Lightbox
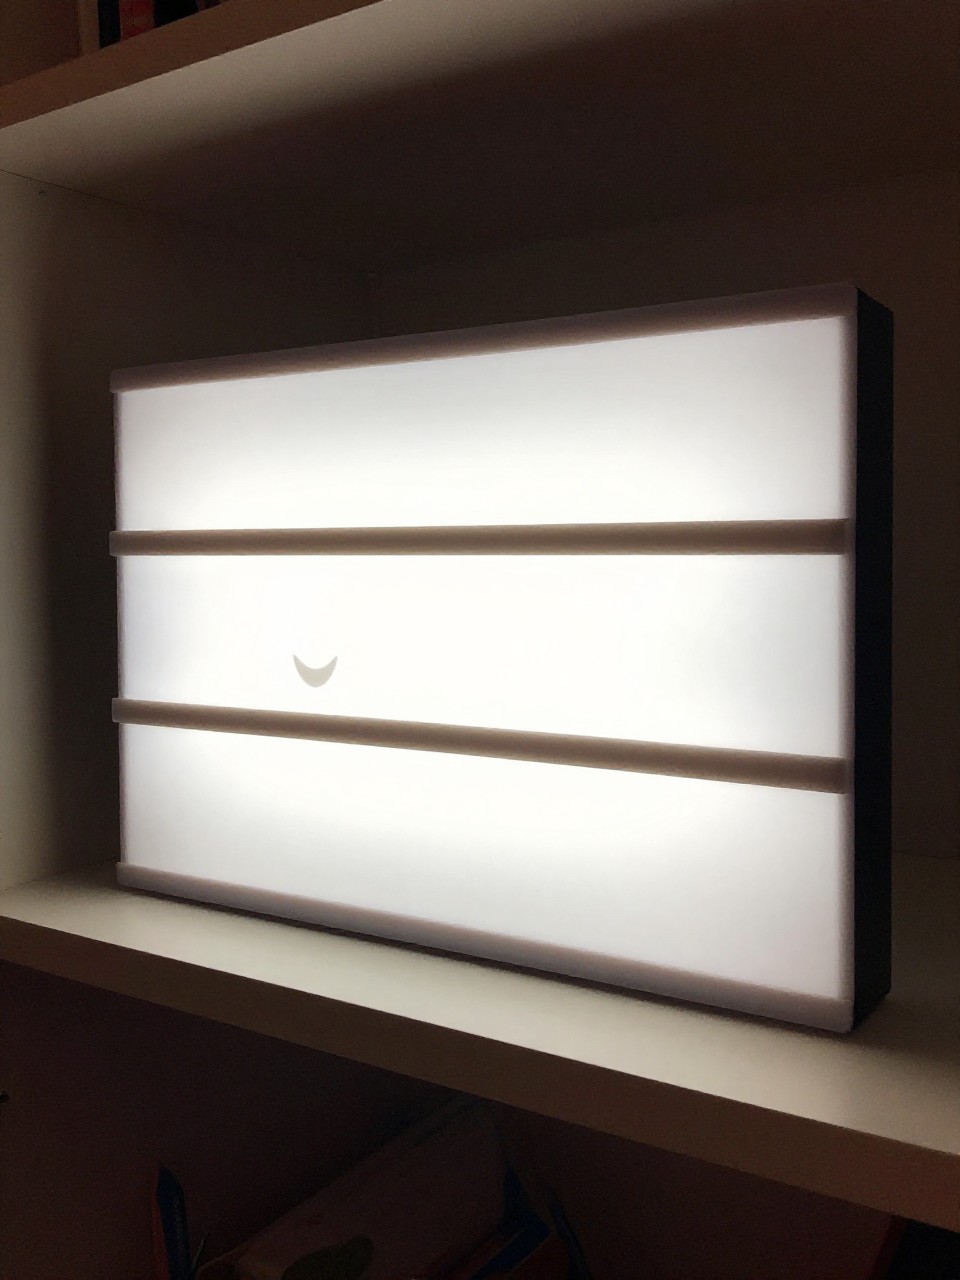
A glowing frame where white tooth shapes pop against a lit background—calming and magical for quiet corners.
Materials Needed:
- Shoebox
- Parchment paper
- LED tea light
How to make it:
- 1. Cut a window in the shoebox lid and tape parchment over it.
- 2. Cut white paper teeth and a smile shape; tape inside the box facing the parchment.
- 3. Place an LED tea light inside.
- 4. Close the lid and watch the smile glow.
13. Floss-O-Saurus Dinosaur
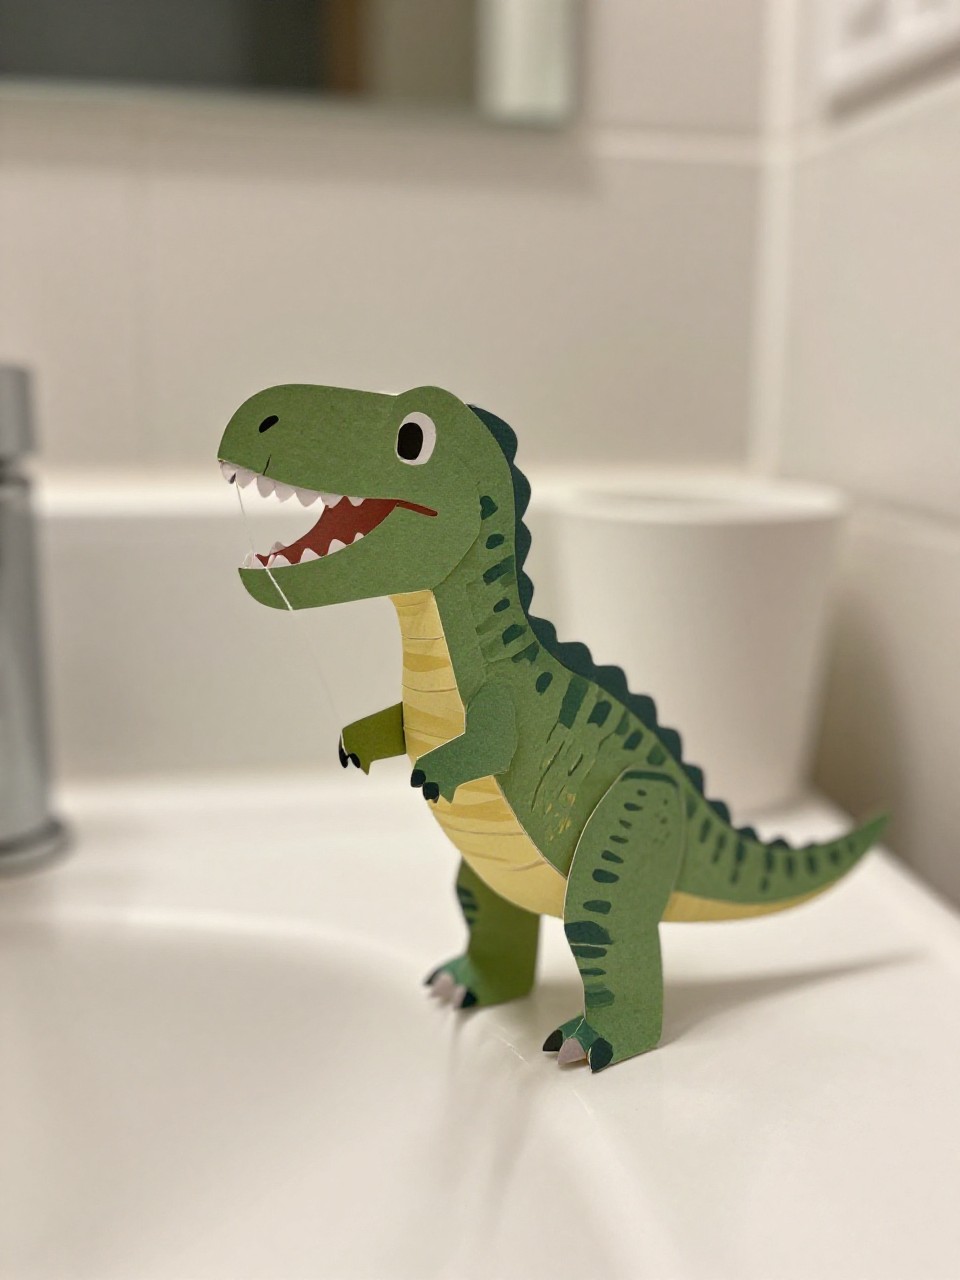
Turn a tiny paper dino into a floss holder so kids remember to floss daily. Cute on bathroom counters.
Materials Needed:
- Cardstock
- Markers
- Unwaxed floss
How to make it:
- 1. Draw and cut a small dinosaur with an open mouth on cardstock.
- 2. Cut two small slits where the mouth is.
- 3. Thread floss through the slits to look like the dino is holding it.
- 4. Wrap extra floss around the body and tape the end on the back.
14. Bubble Timer Necklace
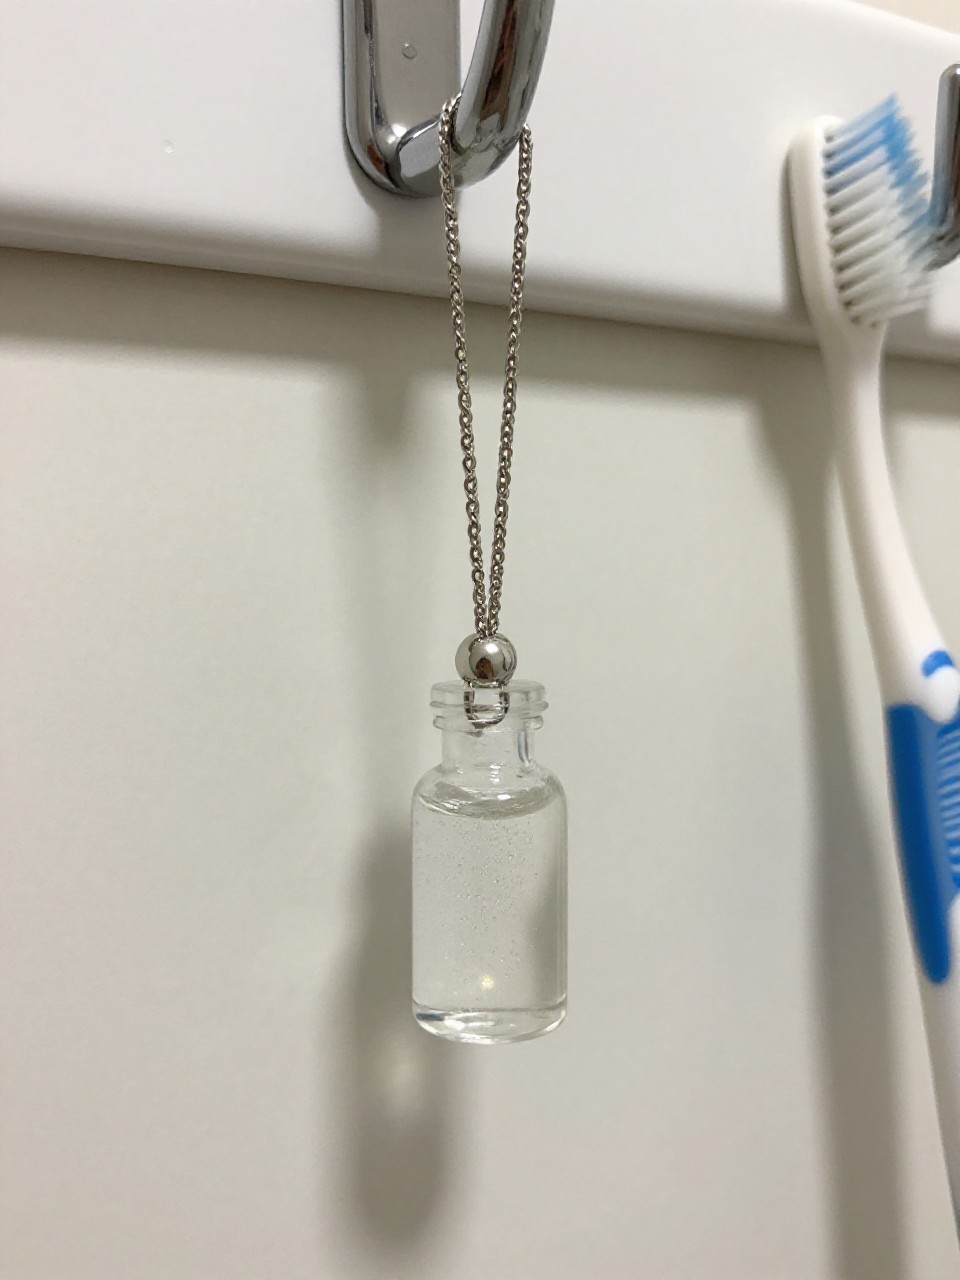
A simple see-through timer kids can flip while brushing—watching bubbles float down for two minutes is calming.
Materials Needed:
- Clear plastic mini bottle
- Baby oil or glycerin
- Glitter and tiny beads
How to make it:
- 1. Fill the bottle halfway with water and the rest with oil or glycerin.
- 2. Add glitter and a few tiny beads.
- 3. Seal the cap tightly and add a string to wear (adult knot and supervision).
- 4. Flip during brushing and watch the bubbles drift down.
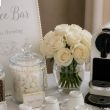
15. Tooth Fairy Mailbox
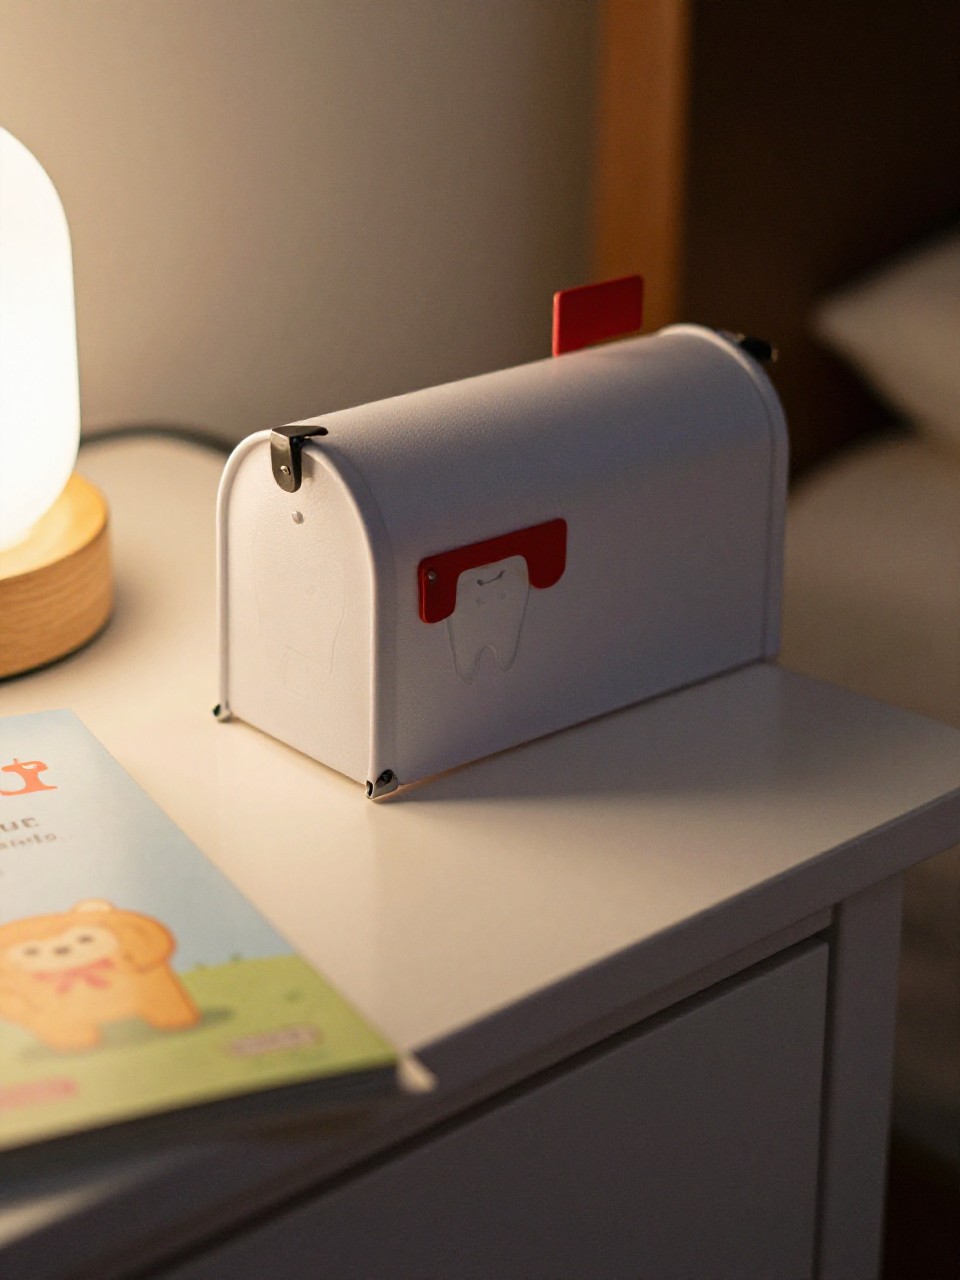
A miniature mailbox for Tooth Fairy notes that encourages gentle tooth care and bedtime routines.
Materials Needed:
- Small cardboard box
- White paint or paper wrap
- Stickers
How to make it:
- 1. Cover the box in white paint or paper.
- 2. Cut a mail slot in the front.
- 3. Decorate with star and tooth stickers.
- 4. Place by the bed for letters and “thank you” notes.
16. Snack Detective Magnifying Glass
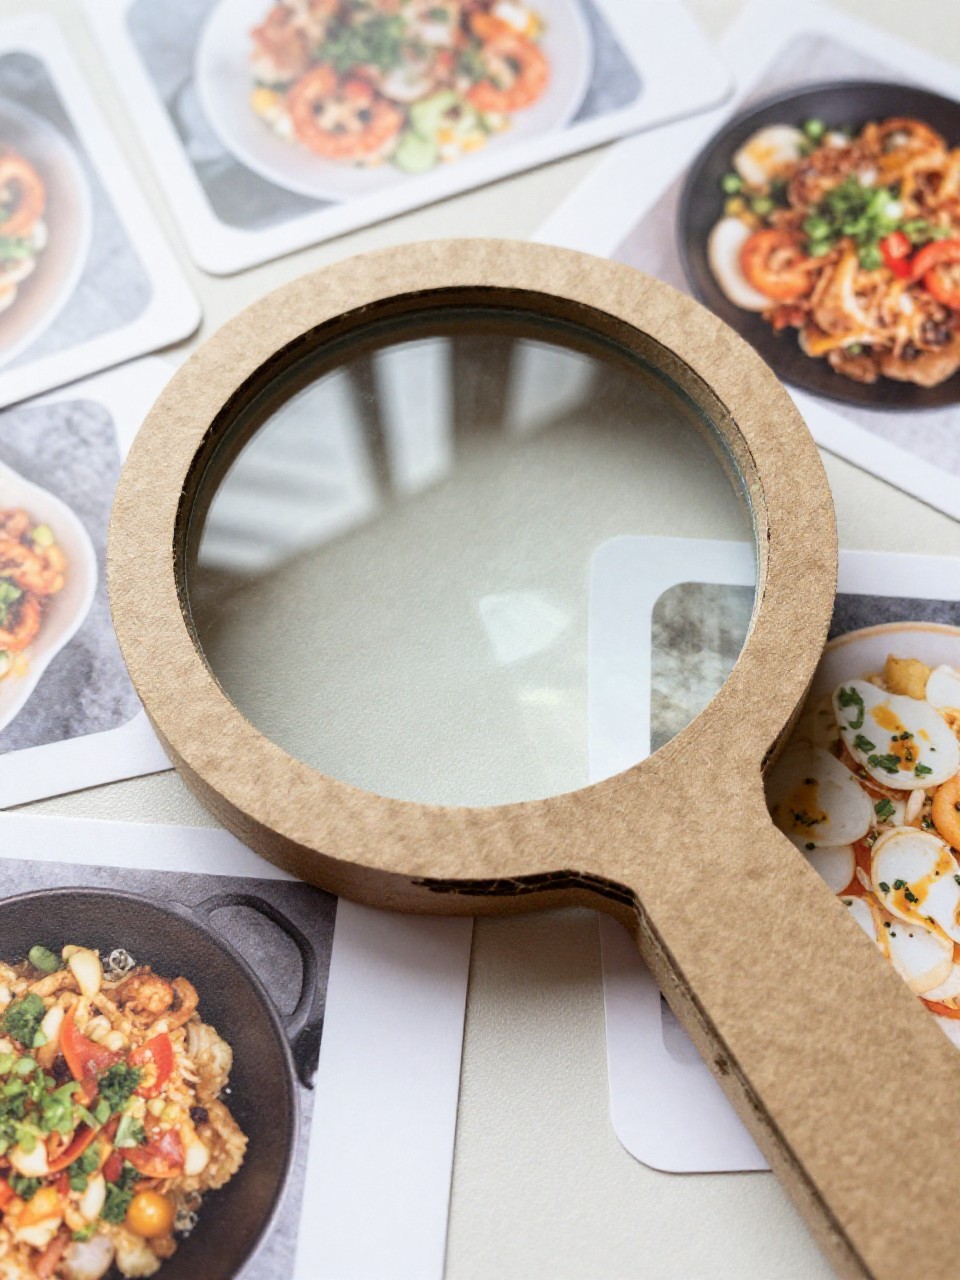
A pretend magnifier to “inspect” snack labels and pictures—kids role-play as cavity detectives.
Materials Needed:
- Cardboard circle and handle
- Clear plastic from packaging
- Tape
How to make it:
- 1. Cut a circle from cardboard; cut out the center to make a frame.
- 2. Tape clear plastic over the opening.
- 3. Attach a cardboard handle.
- 4. Decorate, then use to “inspect” snack images on a chart.
17. Rainbow Bristle Brush Art
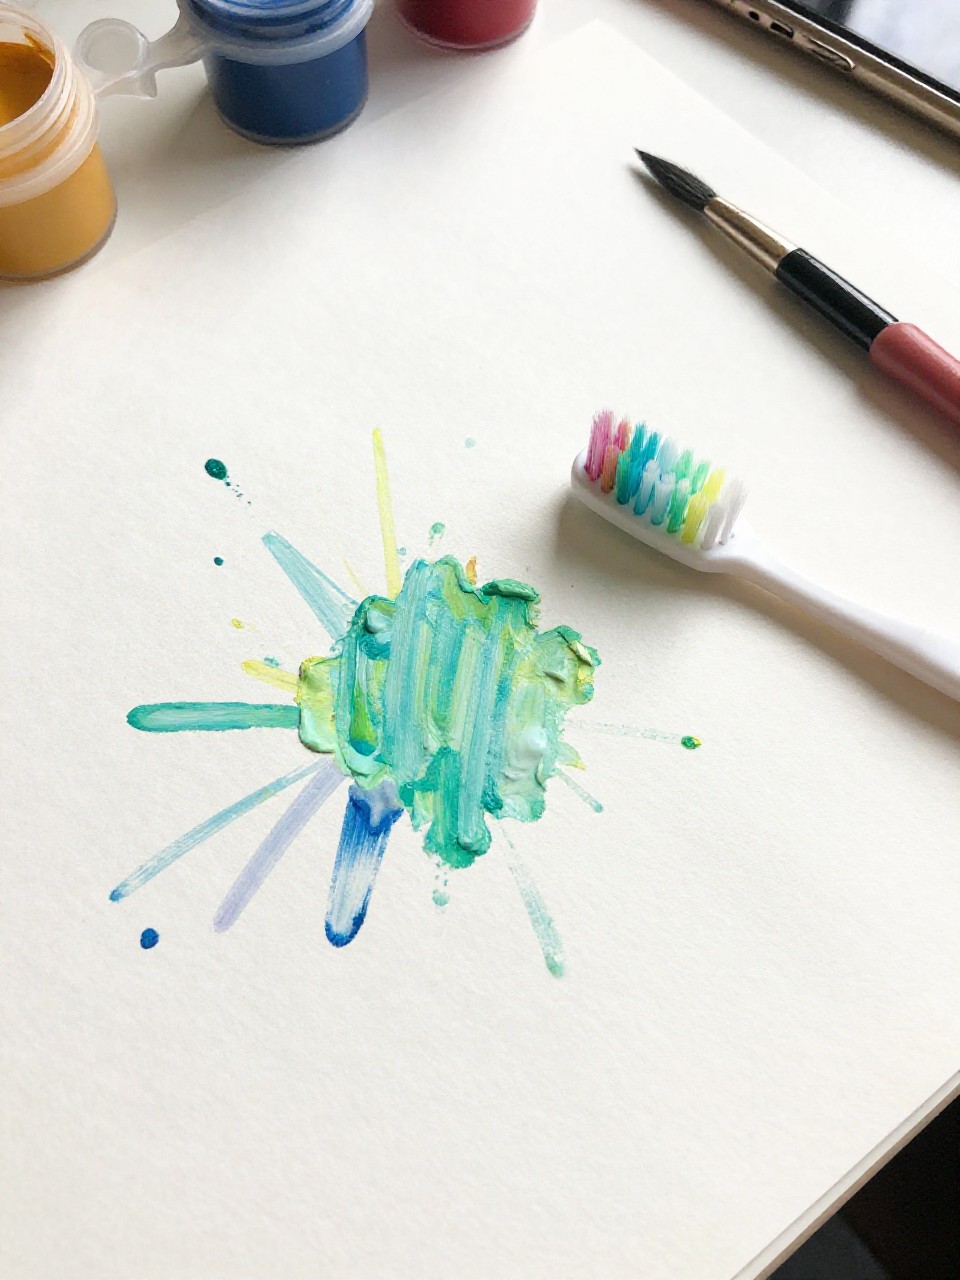
Paint with toothbrushes to make rainbow bursts that look like fireworks—then talk about using the brush for teeth, not paint.
Materials Needed:
- New, cheap toothbrushes for art
- Washable paint
- Thick paper
How to make it:
- 1. Dip toothbrush bristles lightly in paint.
- 2. Flick or stamp onto paper to make soft, spiky blooms.
- 3. Layer colors for a rainbow effect.
- 4. Label the art “Brush Power!” and hang it by the sink.