


Table of Contents Show
Mother’s Day sneaks up fast, and little hands are eager to help. The challenge? Finding crafts that look “wow” without needing fancy tools or lots of time. These projects are beginner-friendly for preschoolers, yet creative and unique enough to feel like real keepsakes.
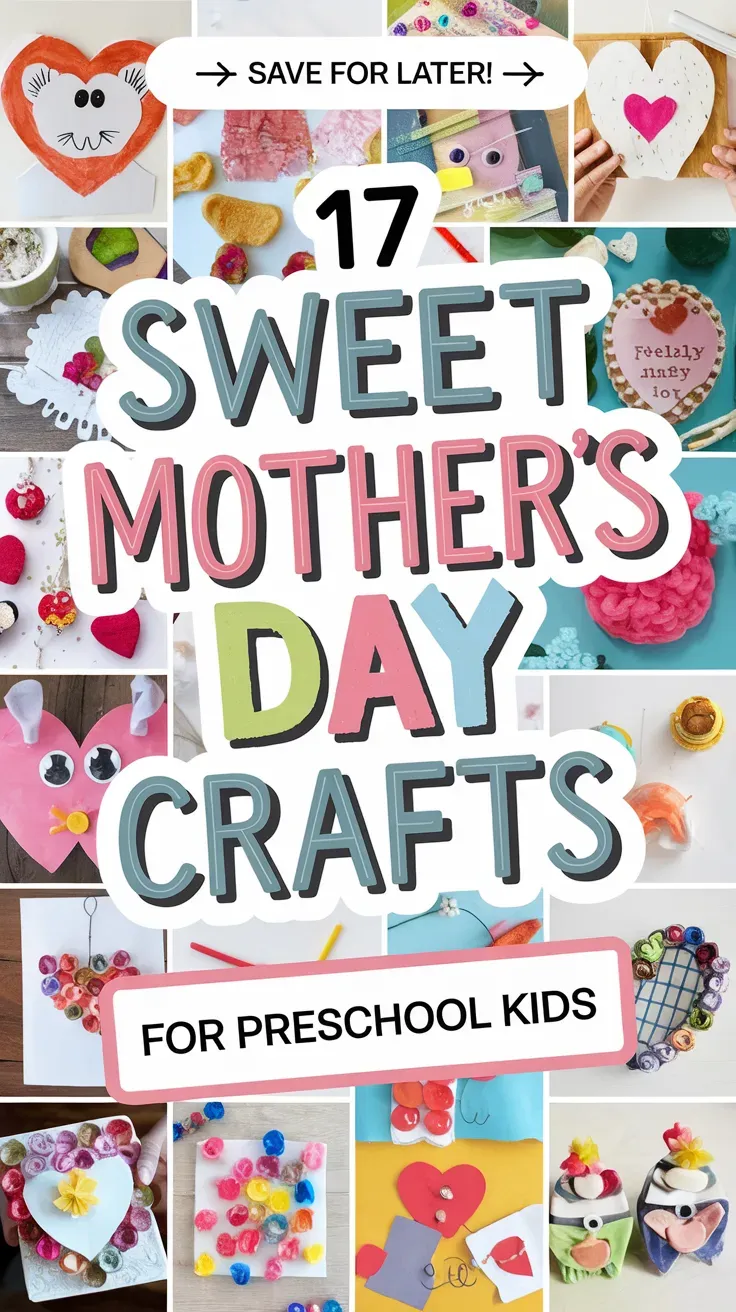
With simple steps, easy materials, and a touch of polish, your child can make something Mom will love—and you won’t stress about the mess.
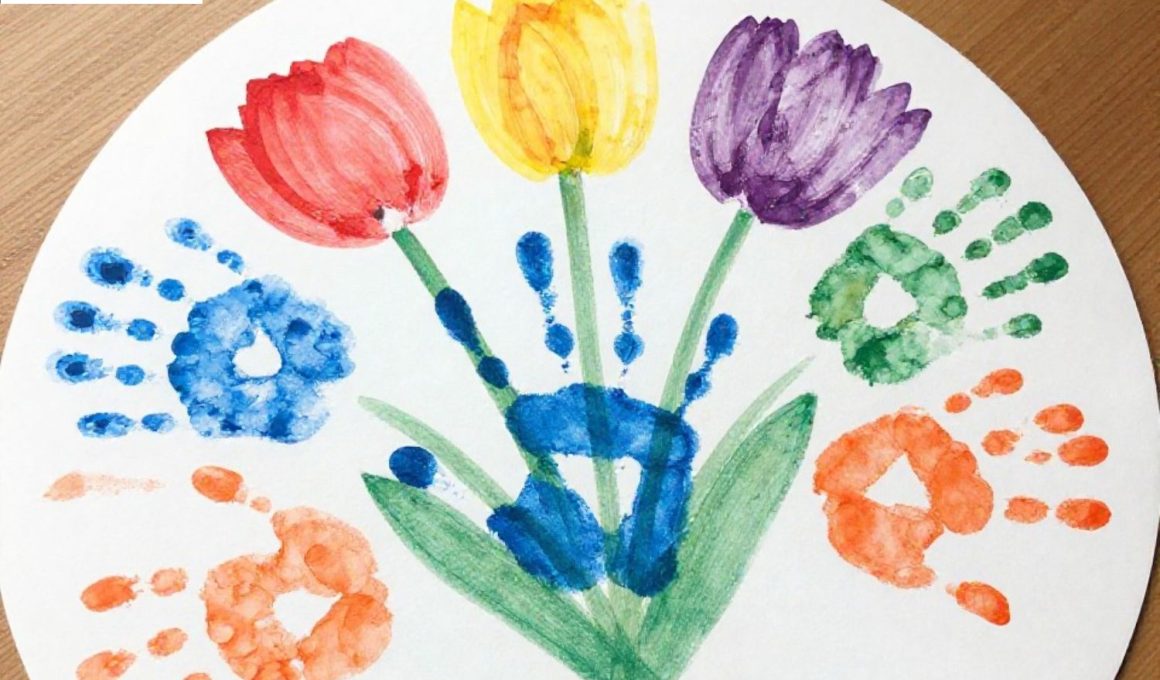
1. Sunburst Handprint Bouquet
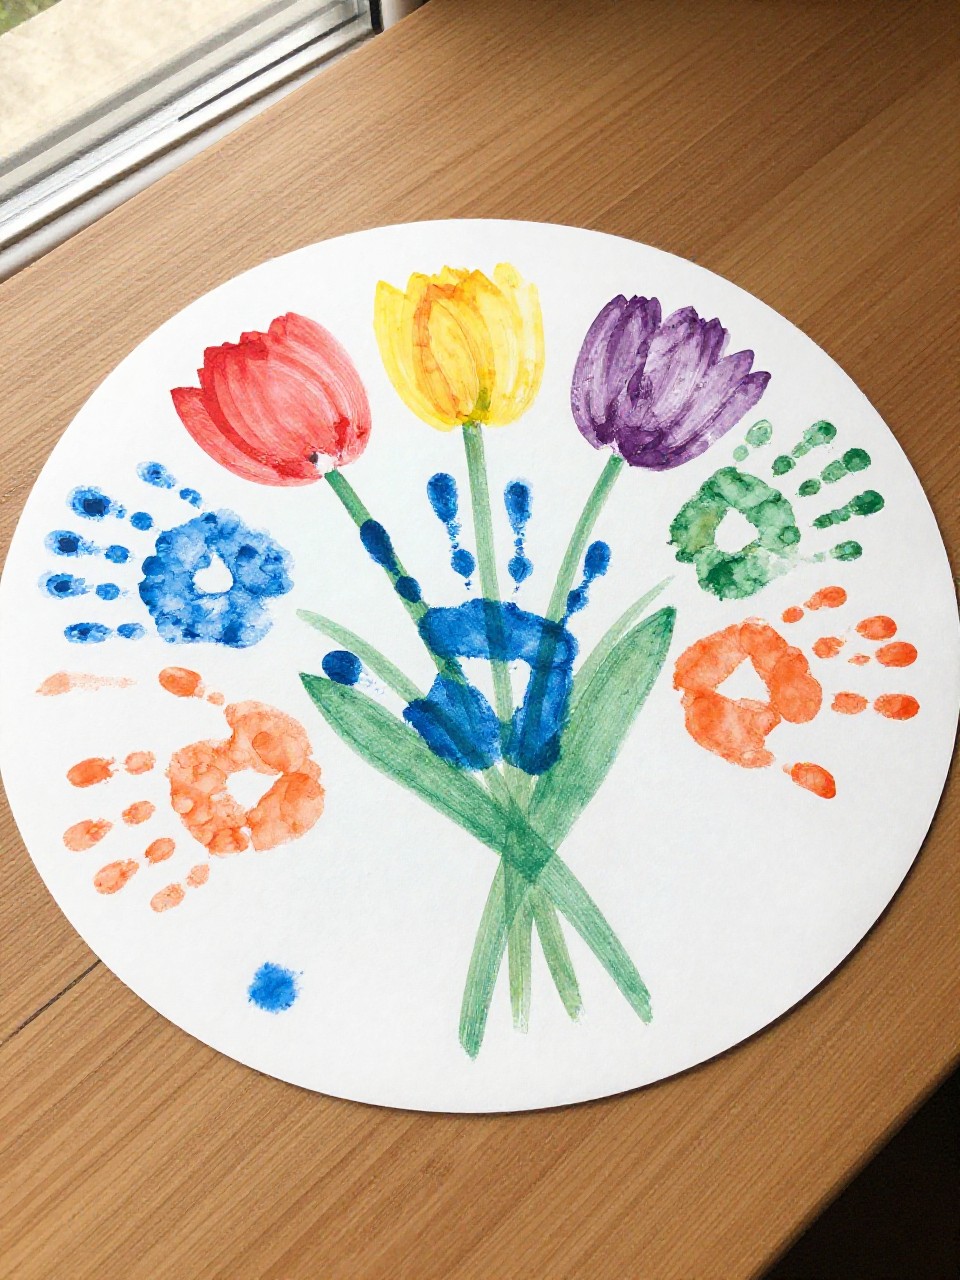
A bright, cheery bouquet that spreads out like sunshine. Each handprint becomes a petal, layered for a full, artsy look. It’s quick to assemble and feels like a frame-worthy piece.
Materials Needed:
- Colored cardstock
- Washable paint
- Glue stick
- Ribbon
How to make it:
For People Who Love to Make Things ✂️
- 1. Paint your child’s hand and press onto cardstock to make 6–8 handprints; let dry.
- 2. Cut out the handprints and arrange them in a circle like petals.
- 3. Glue down the petals, leaving space in the center for a small heart.
- 4. Tie a ribbon bow and glue it at the bottom as a “bouquet wrap.”
2. Confetti Heart Suncatcher
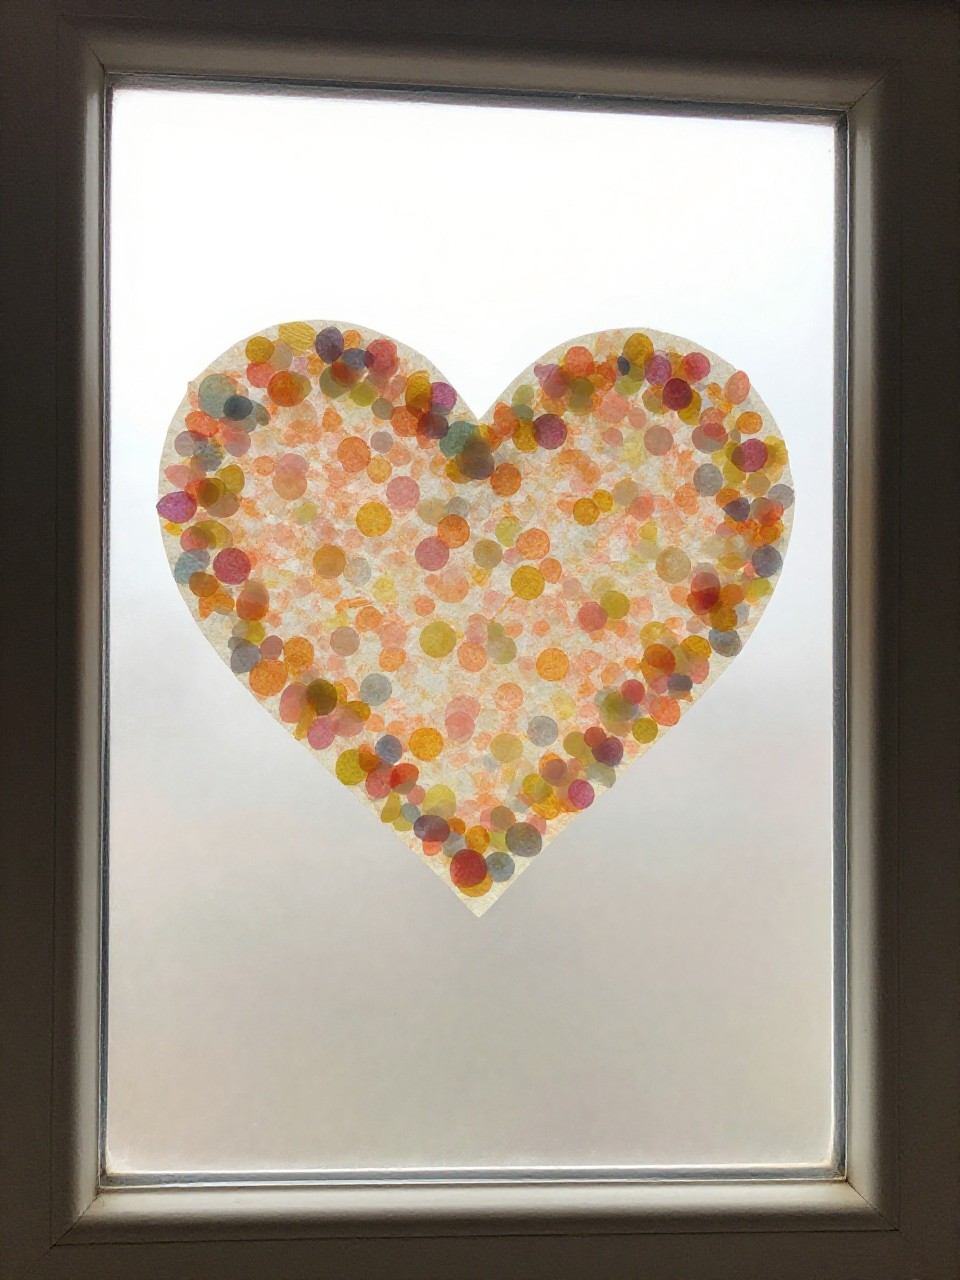
Light pours through tiny bits of color for a stained-glass effect. The heart outline keeps everything neat and pretty on a window. It’s a mess-free way to work with “confetti.”
Materials Needed:
- Contact paper (clear)
- Tissue paper squares
- Black cardstock
- Scissors
How to make it:
- 1. Cut a heart frame from black cardstock by removing the inside, leaving a thick border.
- 2. Stick the heart frame onto sticky contact paper.
- 3. Sprinkle tissue squares inside the heart until it’s filled.
- 4. Seal with another layer of contact paper and trim the edges.
3. Painted Petal Spoon Bouquet
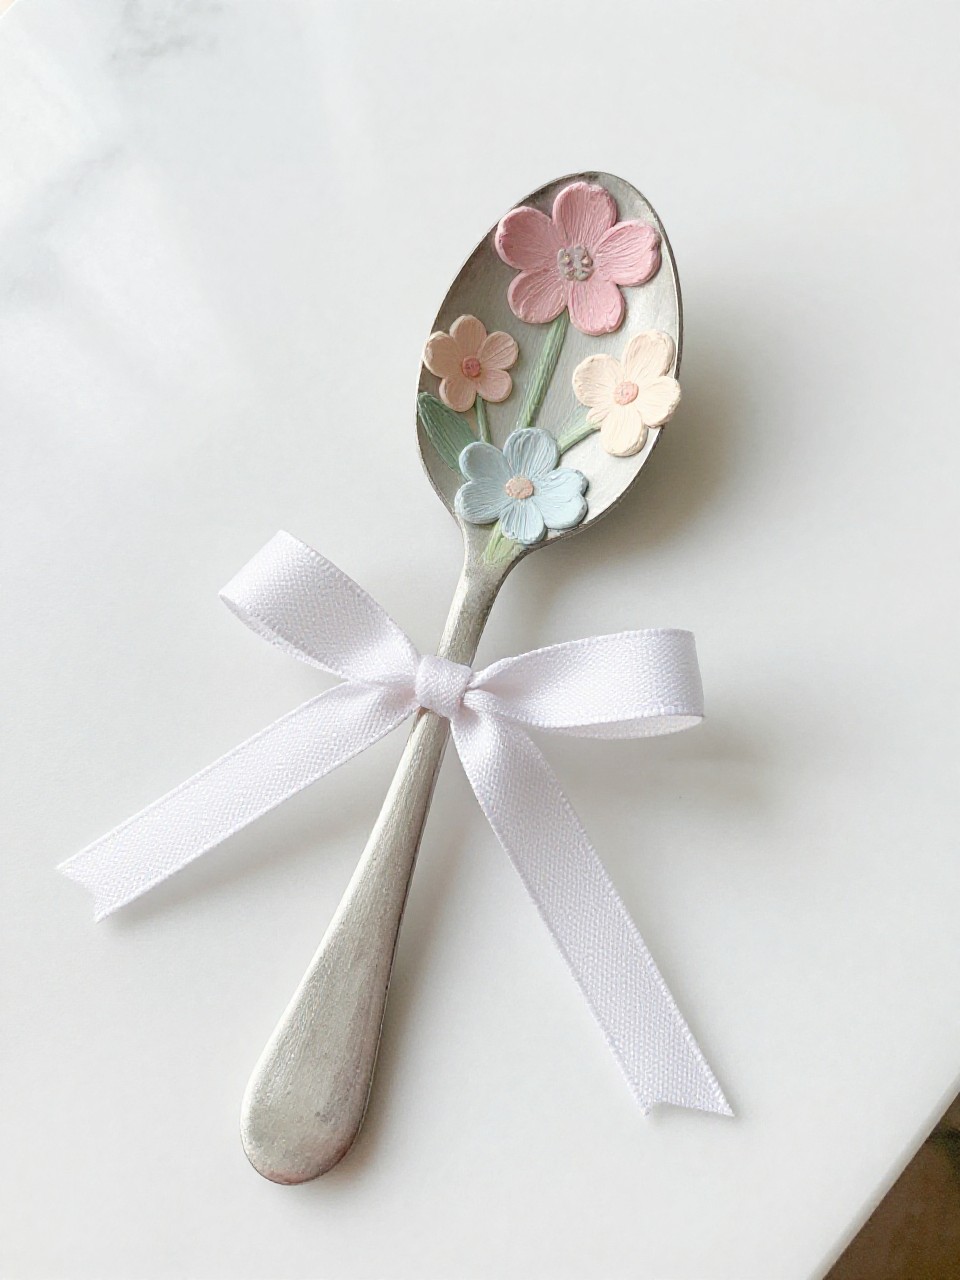
Plastic spoons become glossy flower petals with a surprising, modern look. Arranged in a bunch, they look like a mini designer bouquet. Super satisfying to paint and assemble.
Materials Needed:
- Plastic spoons
- Acrylic paint (pastels)
- Green pipe cleaners
- Hot glue (adult use)
How to make it:
- 1. Paint spoon backs in pastel colors; let dry.
- 2. Glue 5–6 spoon backs together in a circle to make a flower.
- 3. Twist a green pipe cleaner as the stem and glue to the back.
- 4. Make 2–3 flowers and bundle stems with a ribbon.
4. Thumbprint Tea Towel Garden
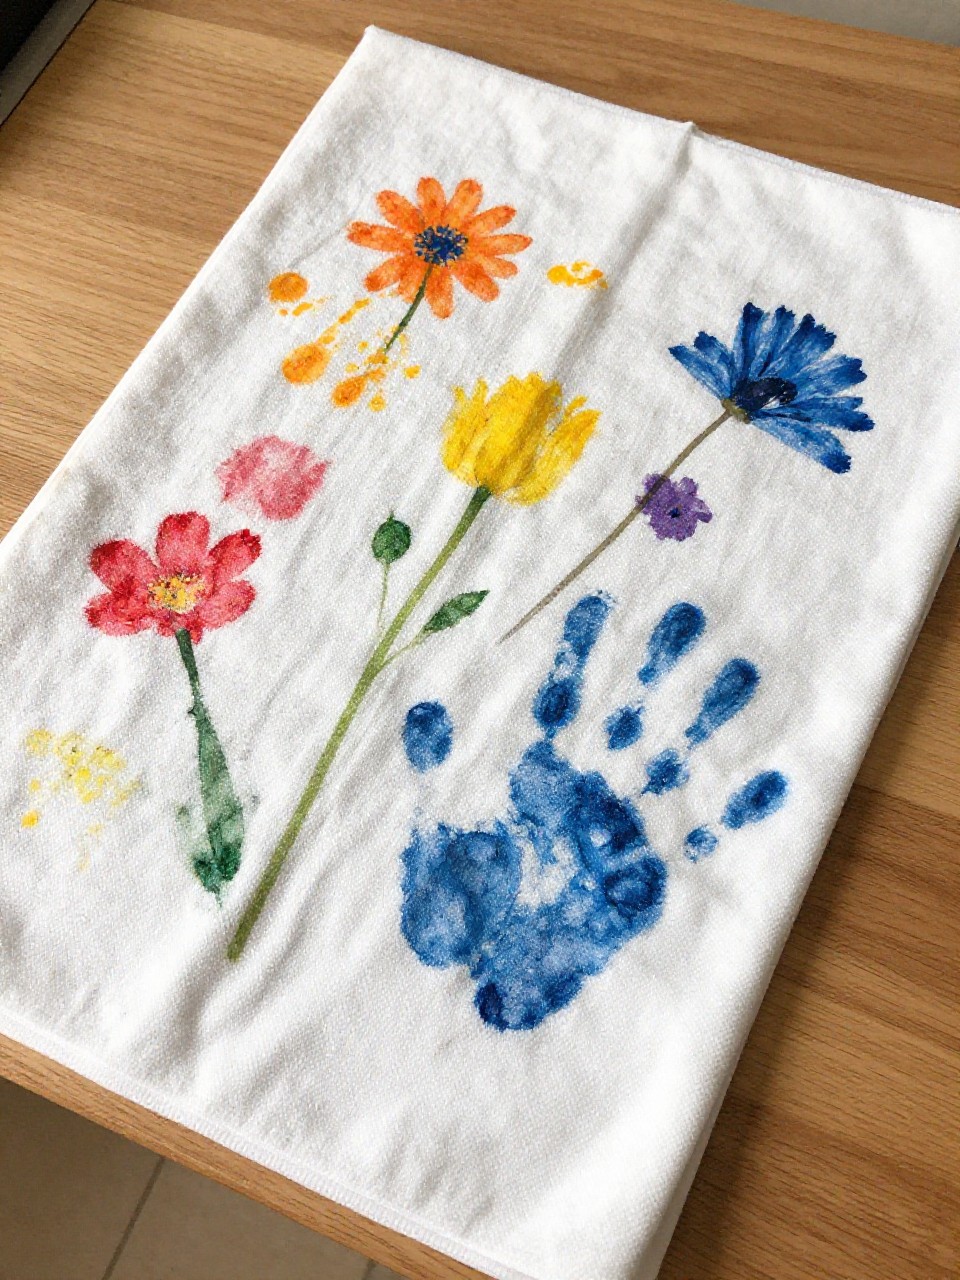
Tiny thumbprints transform into a blooming kitchen garden. Simple dot prints turn into flowers, leaves, and little buzzing bees. It’s sweet, washable art Mom will actually use.
Materials Needed:
- Plain cotton tea towel
- Fabric paint
- Pencil with eraser (optional for dots)
- Cardboard (to place under towel)
How to make it:
- 1. Lay the towel flat with cardboard underneath to prevent bleed.
- 2. Dip thumbs in fabric paint and press dots for flower heads and leaves.
- 3. Add stems and details with a thin brush or the pencil eraser edge.
- 4. Let dry fully and heat-set per paint instructions.
5. Mini Clay Trinket Dish with Lace Imprint
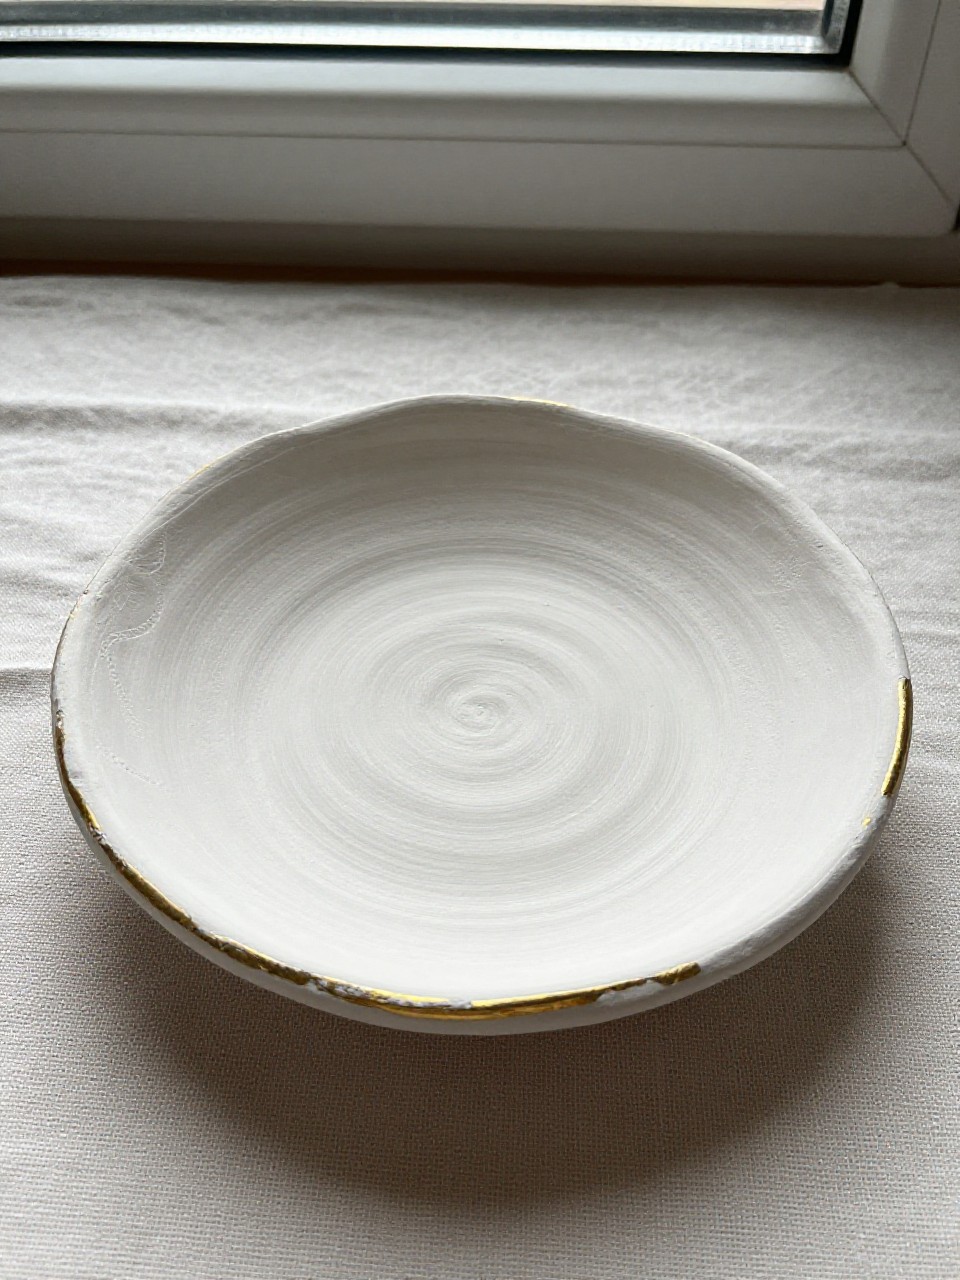
Air-dry clay picks up lace texture for a delicate, handmade dish. It looks boutique-level but takes minutes to shape. Perfect for rings, keys, or sweet notes.
Materials Needed:
- Air-dry clay
- Lace scrap or doily
- Small bowl (for shaping)
- Gold paint or marker (optional)
How to make it:
- 1. Roll a clay circle about 1/4 inch thick.
- 2. Press lace onto the surface, then lift to reveal the pattern.
- 3. Drape the clay over an upside-down bowl to form a shallow dish; smooth edges.
- 4. Let dry, then brush edges with gold if desired.
6. Blooming Photo Flower Magnet

A smiling face at the center of a sturdy bloom that sticks to the fridge. The layered petals give it a 3D pop. It’s a daily reminder of your little one.
Materials Needed:
- Colored foam sheets
- Child’s photo
- Glue stick
- Adhesive magnet strip
How to make it:
- 1. Cut a circle from the photo for the flower center.
- 2. Cut foam petals and a leaf; layer petals behind the photo circle.
- 3. Glue all pieces together securely.
- 4. Attach magnet strip to the back.
7. Painted Wood Bead Bud Vase
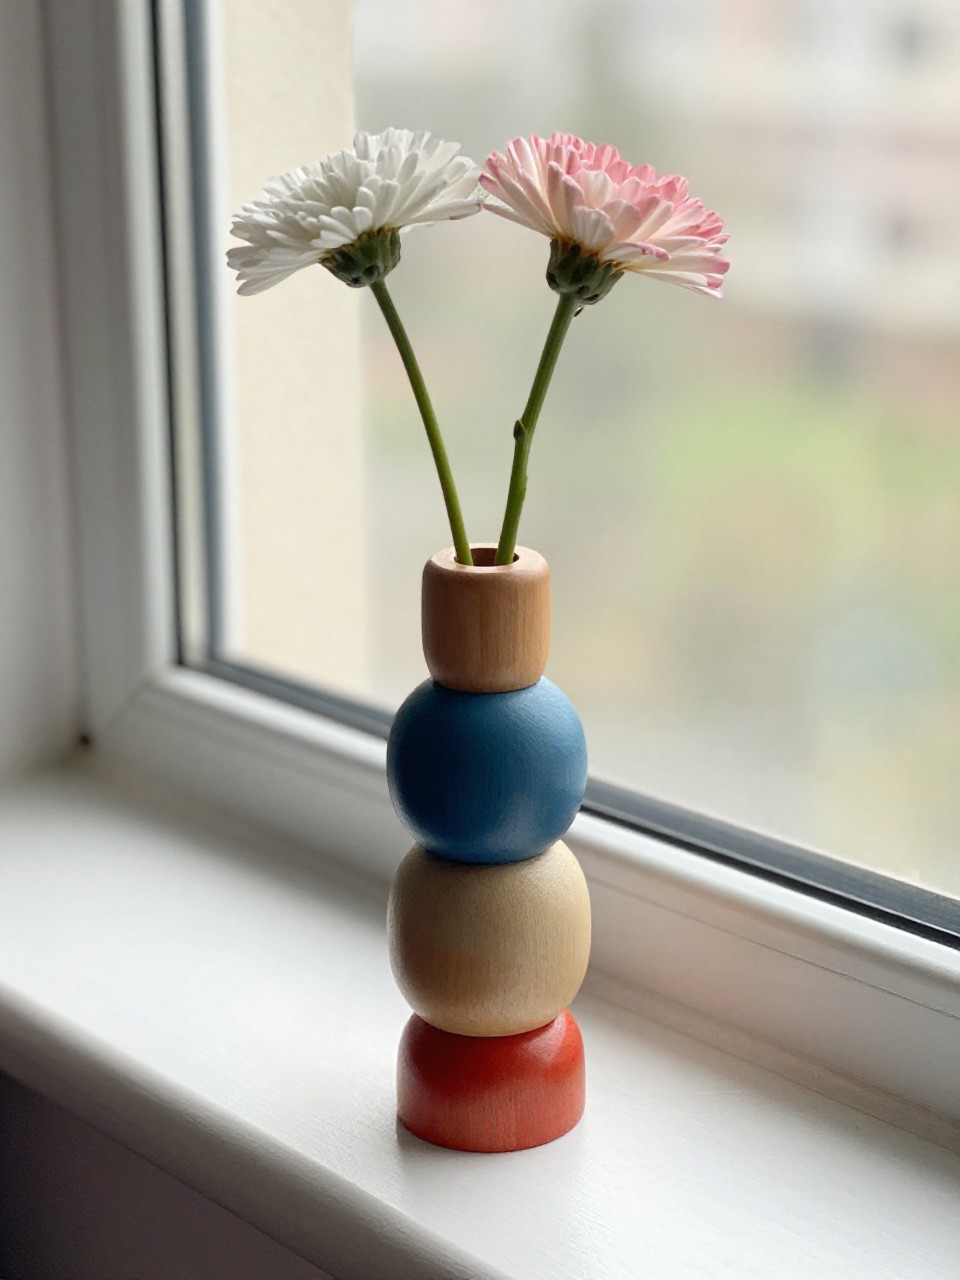
Chunky beads turn into a cute, color-blocked vase for a single stem. The simple stacking is soothing and stylish. It’s the kind of “tiny decor” Moms love.
Materials Needed:
- Large wooden beads
- Wooden skewer or dowel
- Acrylic paint
- Small test tube or trimmed straw (for water)
How to make it:
- 1. Paint beads in coordinating colors; let dry.
- 2. Slide beads onto a skewer glued into a wooden base or bottle cap.
- 3. Insert a small test tube or sturdy straw in the center.
- 4. Add a flower stem and let it shine.
8. Pressed Flower Bookmark with Tape
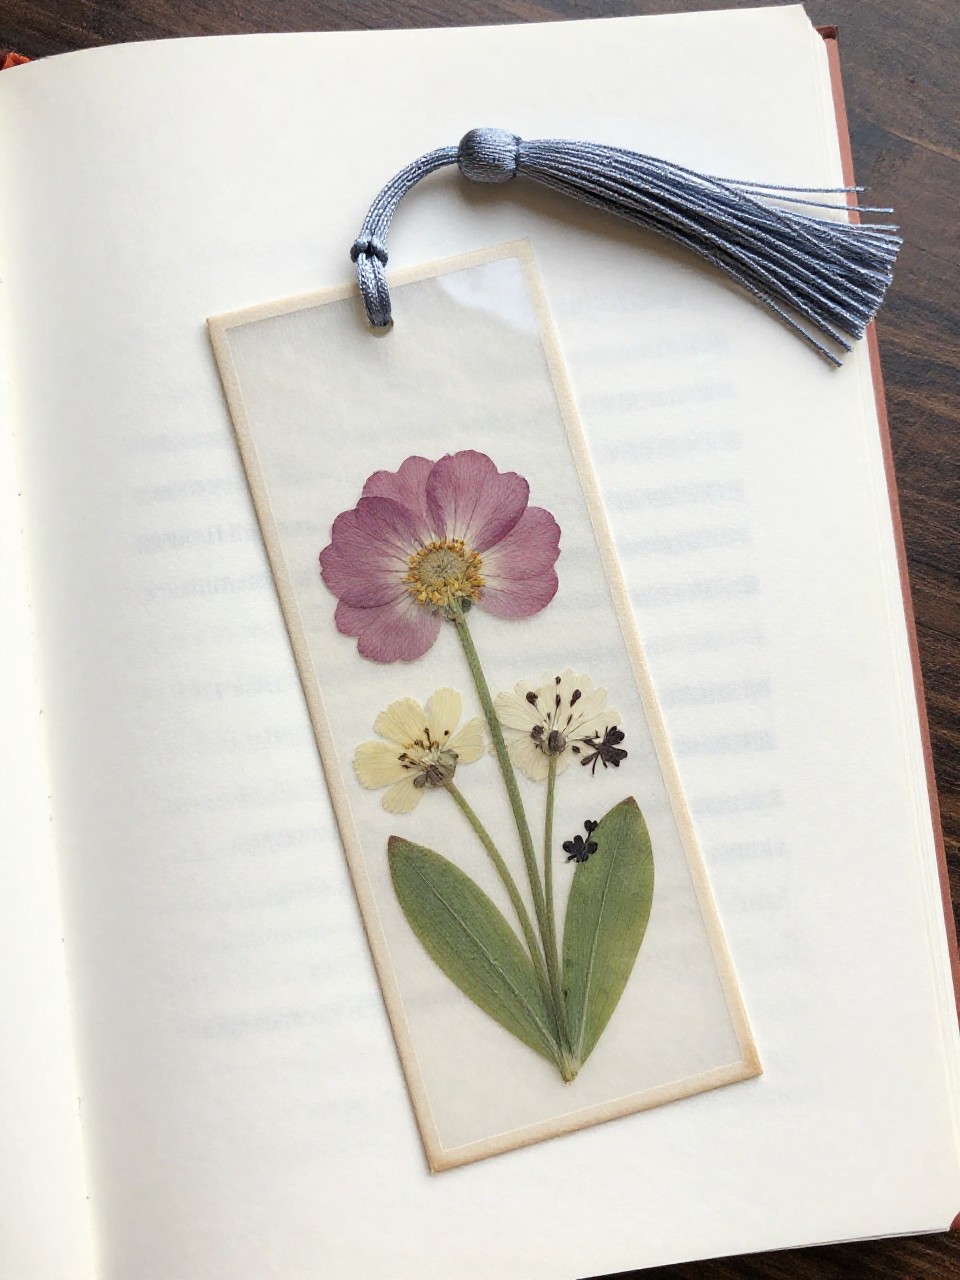
Real petals forever saved inside a sleek, clear bookmark. The laminating-with-tape trick is preschool-easy and looks polished. Add a tassel for extra charm.
Materials Needed:
- Flat pressed flowers/leaves
- Wide clear packing tape
- Cardstock strip
- Hole punch and ribbon
How to make it:
- 1. Cut a cardstock strip to bookmark size.
- 2. Arrange pressed flowers on top.
- 3. Cover both sides with clear tape, smoothing bubbles; trim edges.
- 4. Punch a hole and tie a ribbon tassel.
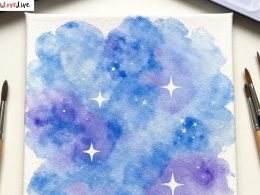
9. Salt Paint “Bloom” Canvas
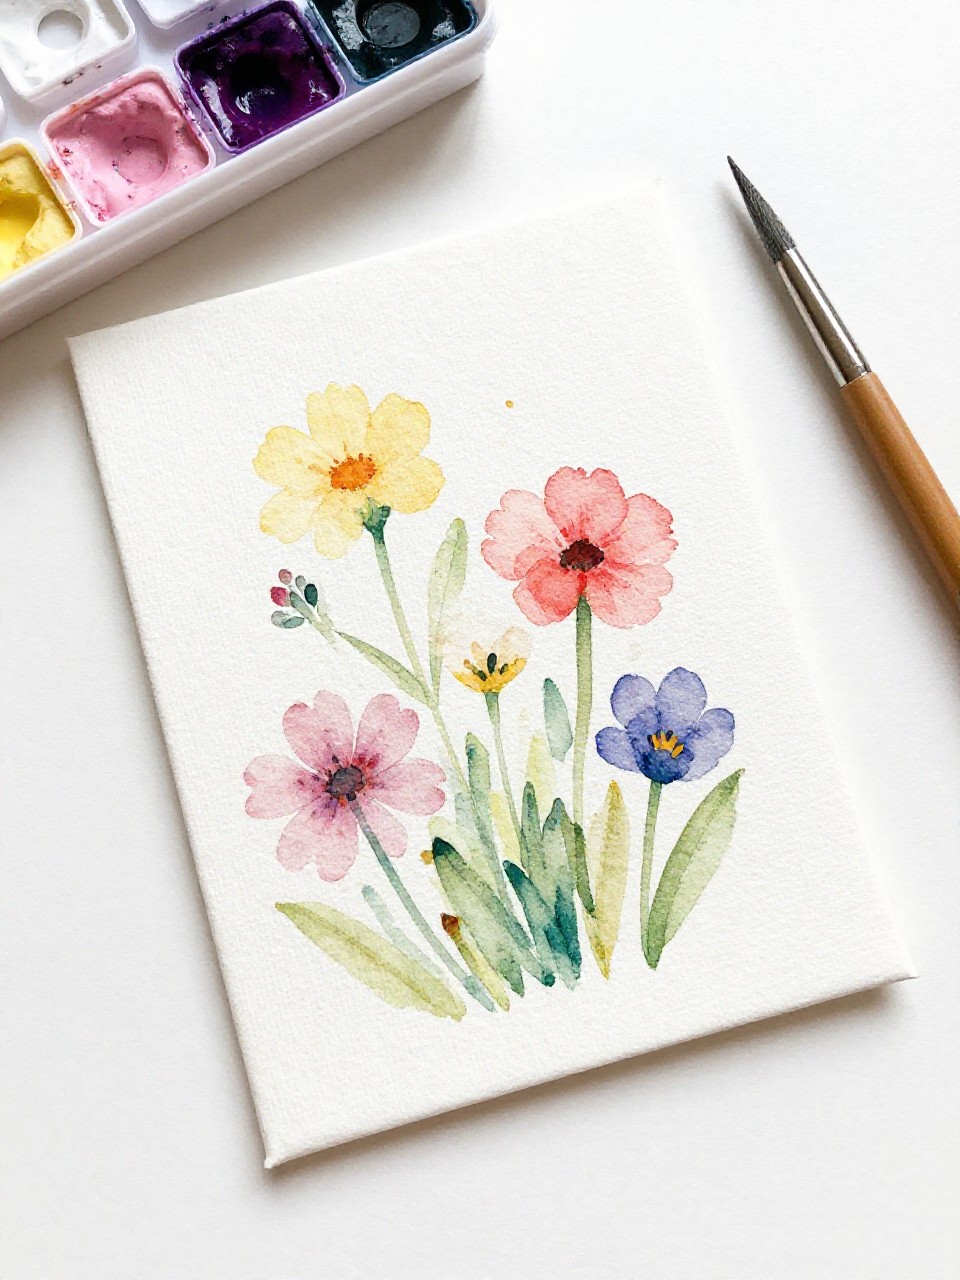
Salt turns watercolors into sparkly, crystallized blooms. The texture makes every piece look gallery-worthy. Kids love watching the colors spread and dance.
Materials Needed:
- Small canvas or watercolor paper
- White glue
- Table salt
- Watercolors and brush
How to make it:
- 1. Draw simple flower lines with white glue on the canvas.
- 2. Sprinkle salt over the glue; shake off excess and let set.
- 3. Touch watercolors onto the salt lines and watch colors travel.
- 4. Dry flat and display upright.
10. Rainbow Weaving Heart
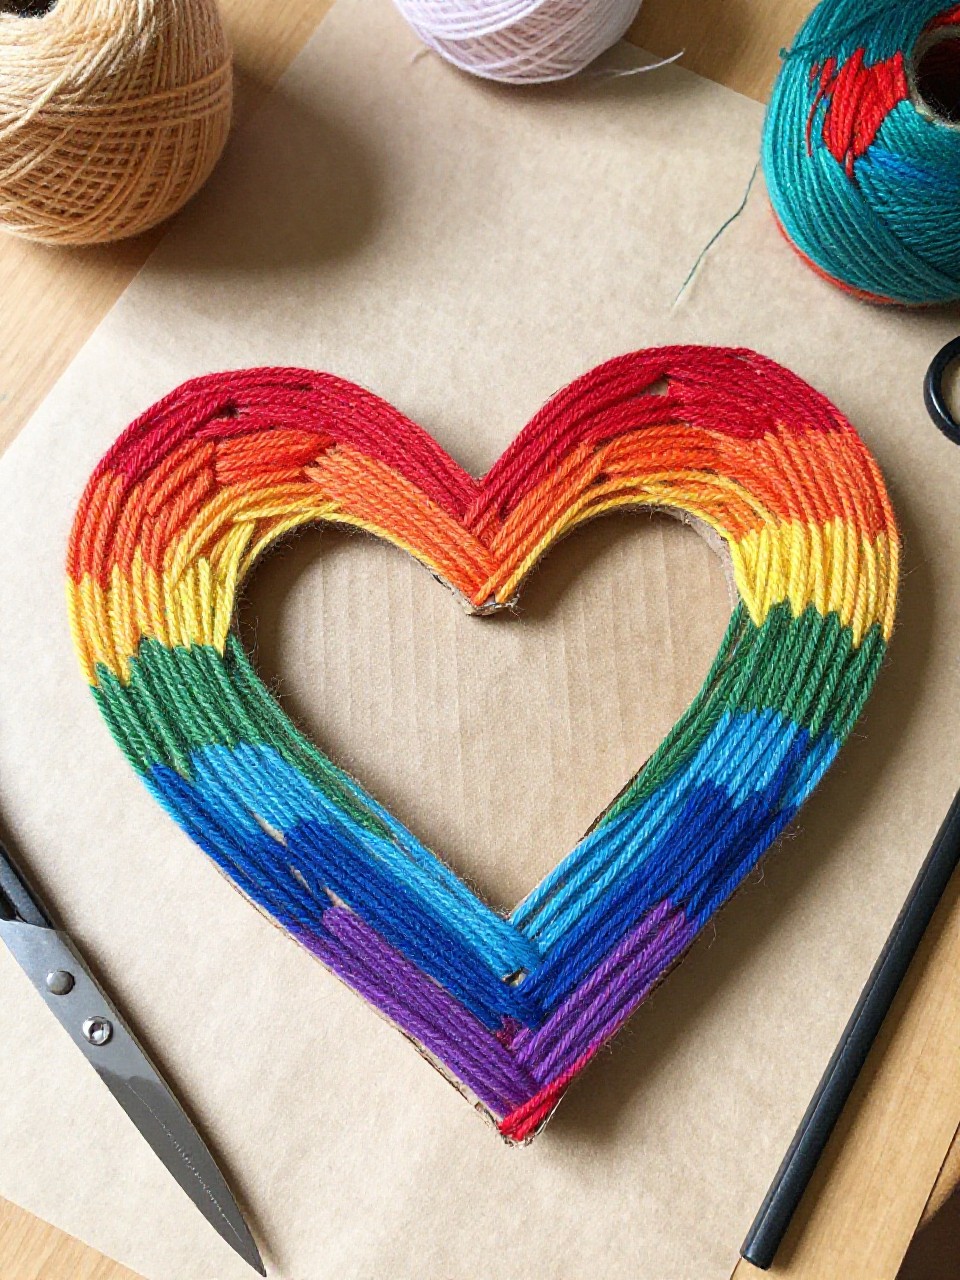
A sturdy cardboard heart becomes a bright woven keepsake. The rainbow yarn crisscross makes it look intricate without being hard. Great for tiny hands to practice over-under.
Materials Needed:
- Cardboard
- Yarn in rainbow colors
- Tape
- Scissors
How to make it:
- 1. Cut a large heart from cardboard and snip small notches around the edge.
- 2. Tape one end of yarn to the back and start wrapping across the heart.
- 3. Switch colors as you go, tucking into notches to hold yarn.
- 4. Tie off in back and trim tails.
11. Stamped Blossom Tote

Simple stamps turn a plain tote into a spring market bag. Repeating dotted blooms look clean and modern. Mom will love using it for errands.
Materials Needed:
- Plain canvas tote
- Fabric paint
- Pencil eraser or cork (for stamping)
- Cardboard insert
How to make it:
- 1. Place cardboard inside the tote to prevent bleed.
- 2. Dip the eraser or cork in paint and stamp circles into flower shapes.
- 3. Add stems or centers with a small brush.
- 4. Dry and heat-set per paint instructions.
12. Perfumed Paper Sachets
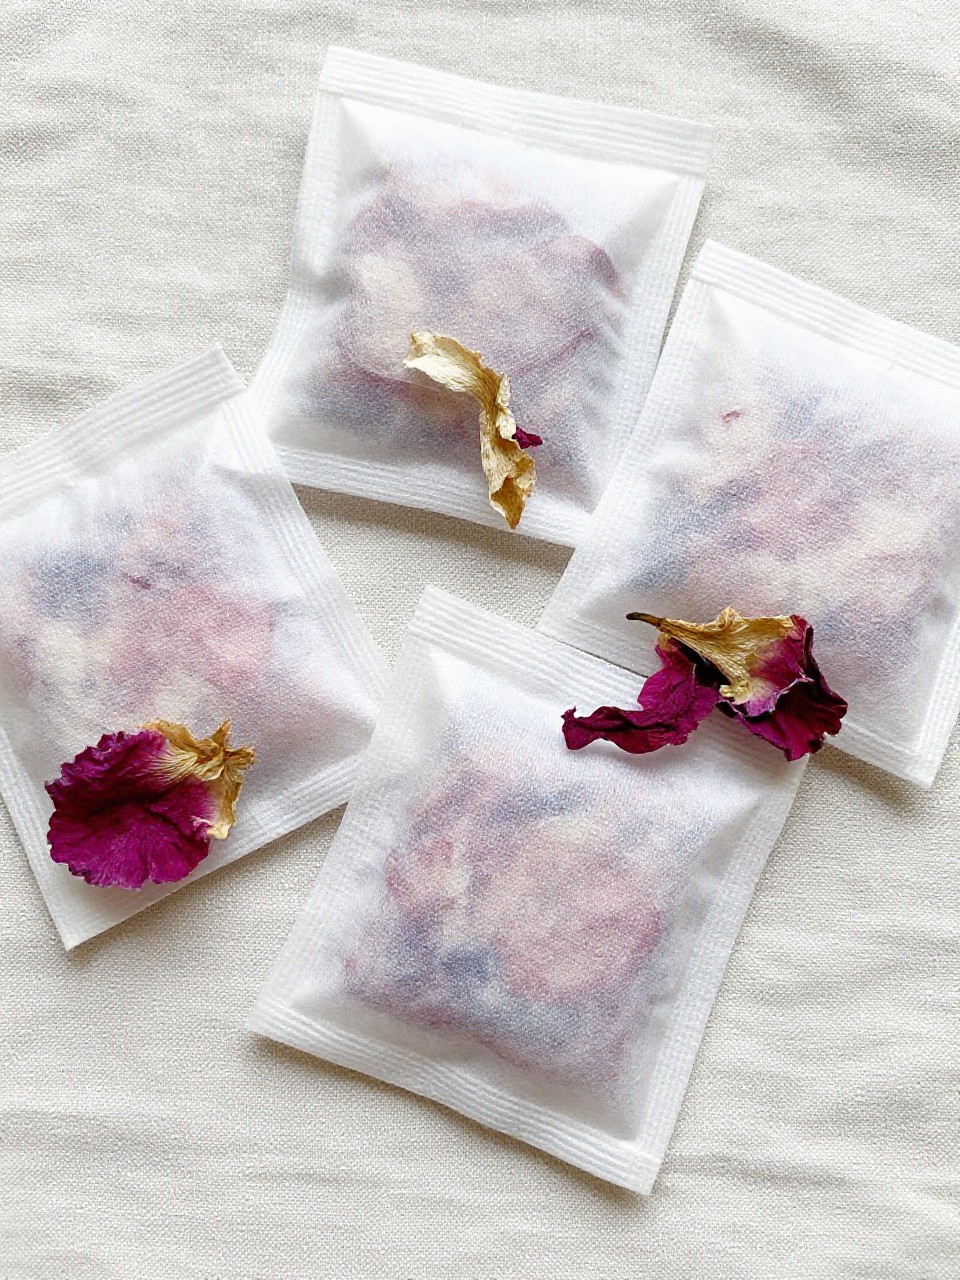
Pretty folded envelopes filled with sweet-smelling petals. They tuck into drawers and feel like a tiny luxury. Kids can decorate and fill them themselves.
Materials Needed:
- Decorative paper
- Dried lavender or rose petals
- Glue stick
- Stickers or crayons
How to make it:
- 1. Cut paper into squares and fold into small envelopes or pockets.
- 2. Decorate with crayons or stickers.
- 3. Spoon dried petals inside.
- 4. Glue or sticker the flap closed.
13. Tissue Paper Carnation Corsage
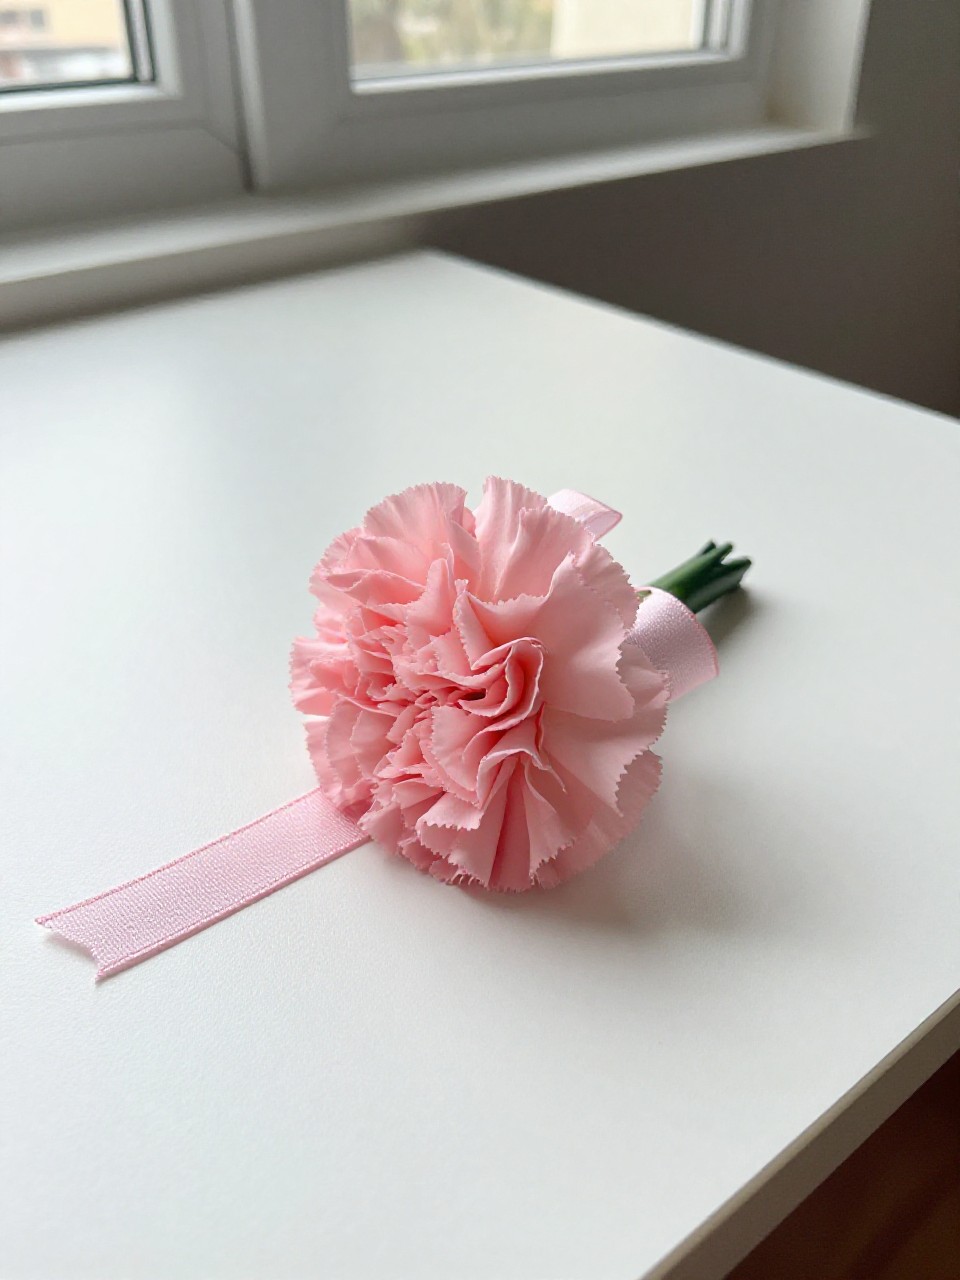
Crinkled layers turn tissue into fluffy carnations. Add a ribbon tie for a sweet wrist corsage Mom can wear. It’s lightweight, bold, and festive.
Materials Needed:
- Tissue paper squares
- Pipe cleaner
- Ribbon
- Scissors
How to make it:
- 1. Stack 6–8 tissue squares and accordion-fold.
- 2. Wrap the center with a pipe cleaner and twist to secure.
- 3. Round the ends with scissors, then fluff each layer.
- 4. Tie ribbon to the pipe cleaner to make a wrist tie.
14. Painted Rock Garden Markers
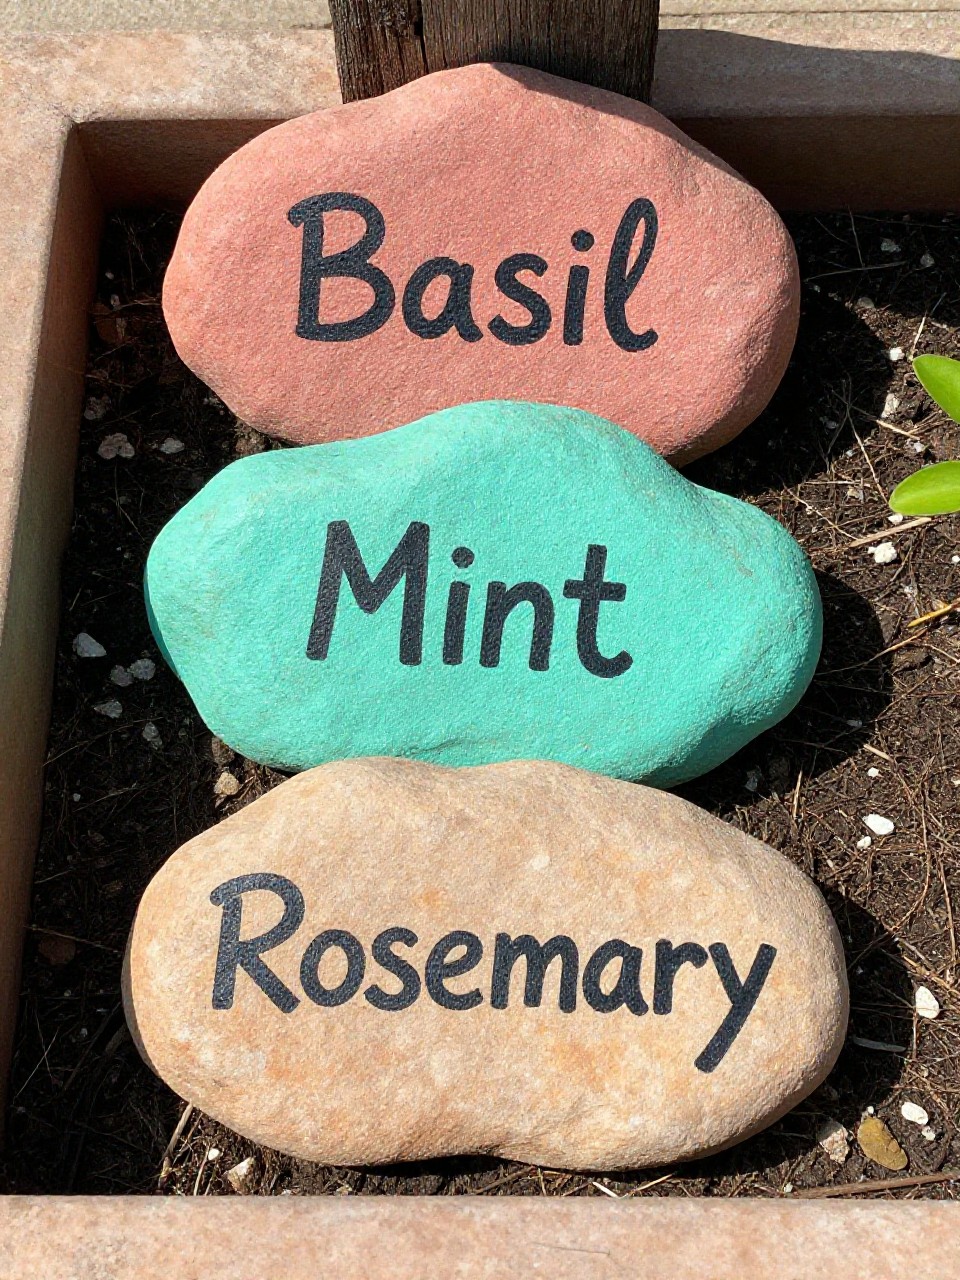
Smooth stones become bright plant labels with kid art flair. They look charming lined up in pots or herb beds. Durable and delightfully imperfect.
Materials Needed:
- Smooth rocks
- Acrylic paint or paint pens
- Clear sealer (optional)
- Fine brush
How to make it:
- 1. Wash and dry rocks.
- 2. Paint base colors and let dry.
- 3. Add plant names and tiny flowers with a fine brush or paint pen.
- 4. Seal if desired for outdoor use.
15. Ribbon-Wrapped Photo Frame
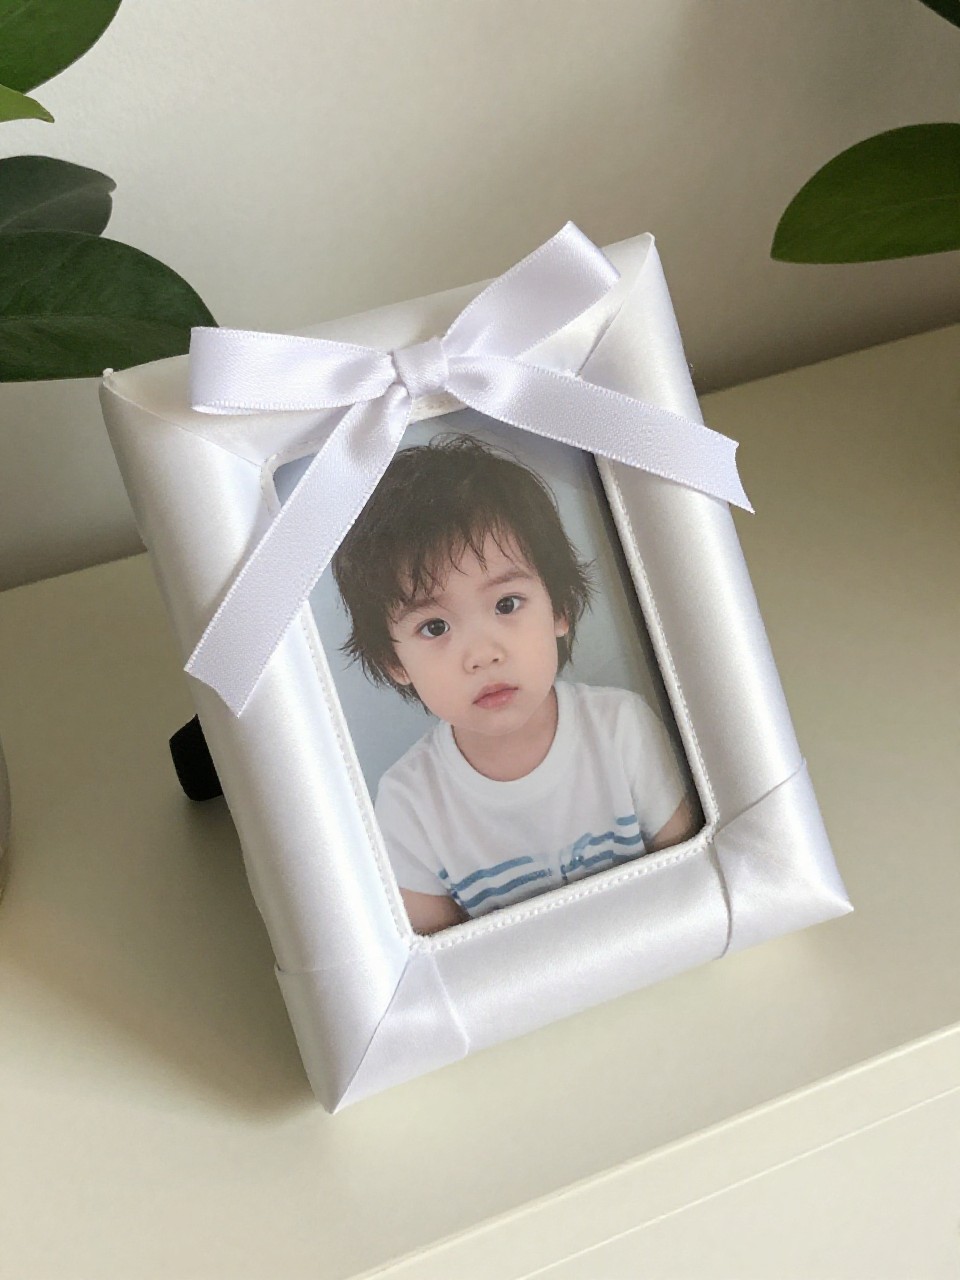
A simple frame gets a soft, gift-ready makeover. Overlapping ribbons create a cozy, woven look. Add a favorite photo for instant heart-melt.
Materials Needed:
- Plain cardboard or dollar-store frame
- Assorted ribbons
- Glue stick or double-sided tape
- Printed photo
How to make it:
- 1. Cut a frame shape from cardboard if not using a ready-made frame.
- 2. Wrap ribbons around the frame, overlapping slightly.
- 3. Secure ends on the back with glue or tape.
- 4. Add the photo and secure in place.
16. Mother’s Day “Hug” Card with Accordion Arms

Open the card and two long arms pop out for a paper hug. It’s adorable and interactive, with a big heart on the front. A sweet keepsake that feels like a squeeze.
Materials Needed:
- Cardstock
- Colored paper
- Markers
- Glue stick
How to make it:
- 1. Fold cardstock into a card and decorate the cover with a big heart.
- 2. Cut two long paper strips and accordion-fold for arms.
- 3. Draw and cut small hand shapes and glue to the ends.
- 4. Glue the arms inside the card so they stretch when opened.
17. Watercolor Resist Flower Portrait
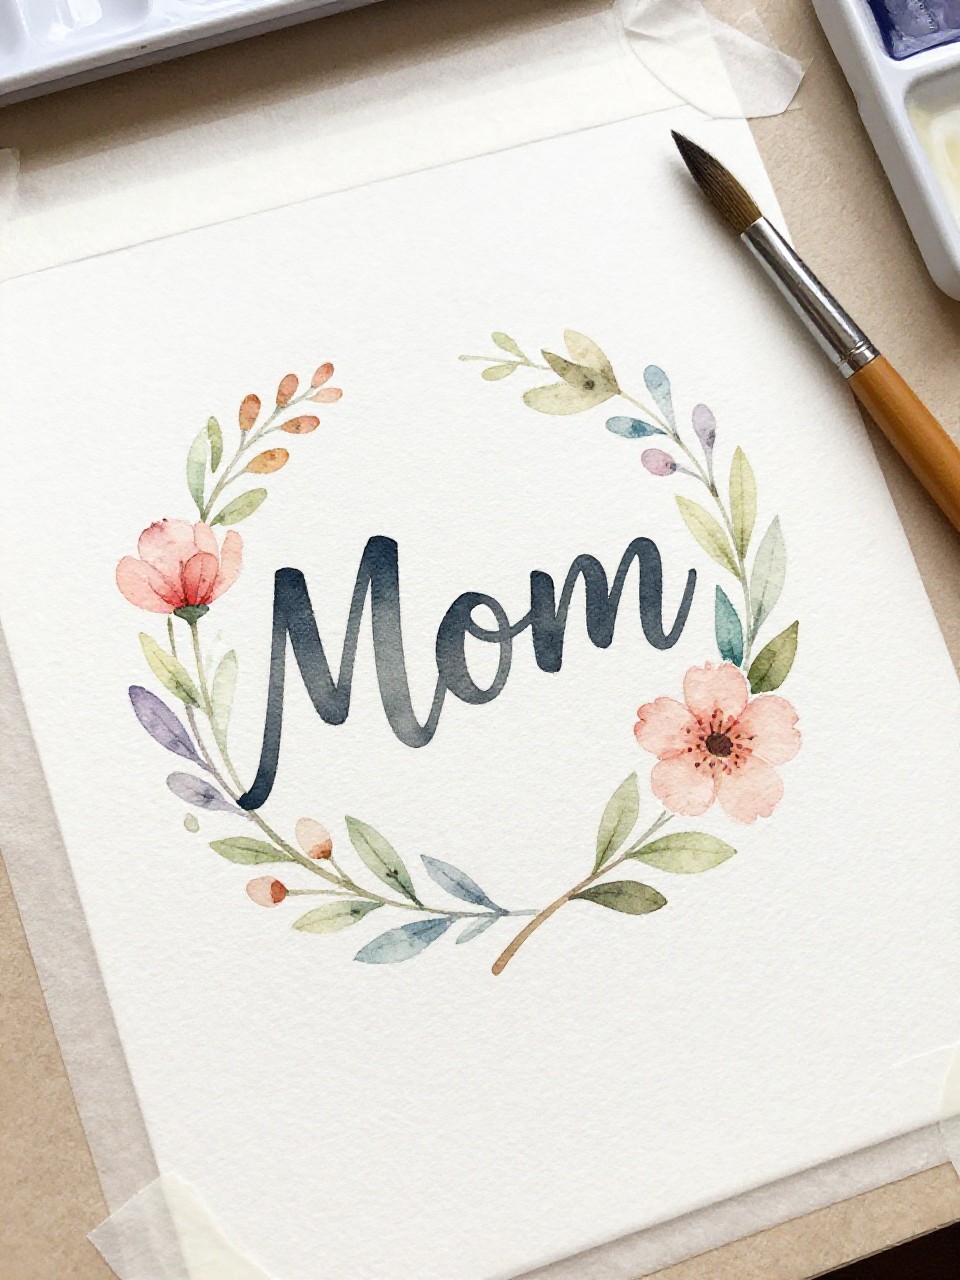
A secret message and floral frame appear as kids paint. The wax crayon resists watercolor, revealing shapes and words like “Mom.” It looks magical and artsy.
Materials Needed:
- Watercolor paper
- White crayon
- Watercolors and brush
- Tape (to hold paper)
How to make it:
- 1. Tape paper edges to the table for a clean border.
- 2. Draw flowers, leaves, and “Mom” with a white crayon.
- 3. Brush watercolors across the page to reveal the designs.
- 4. Peel tape for a crisp edge and let dry flat.